Augusta Cole’s motto is “Variety is the spice of life” and she travels with a lovely quilted wall hanging bearing that motto. You can see the wall hanging and a good picture of her on the front page of her website.
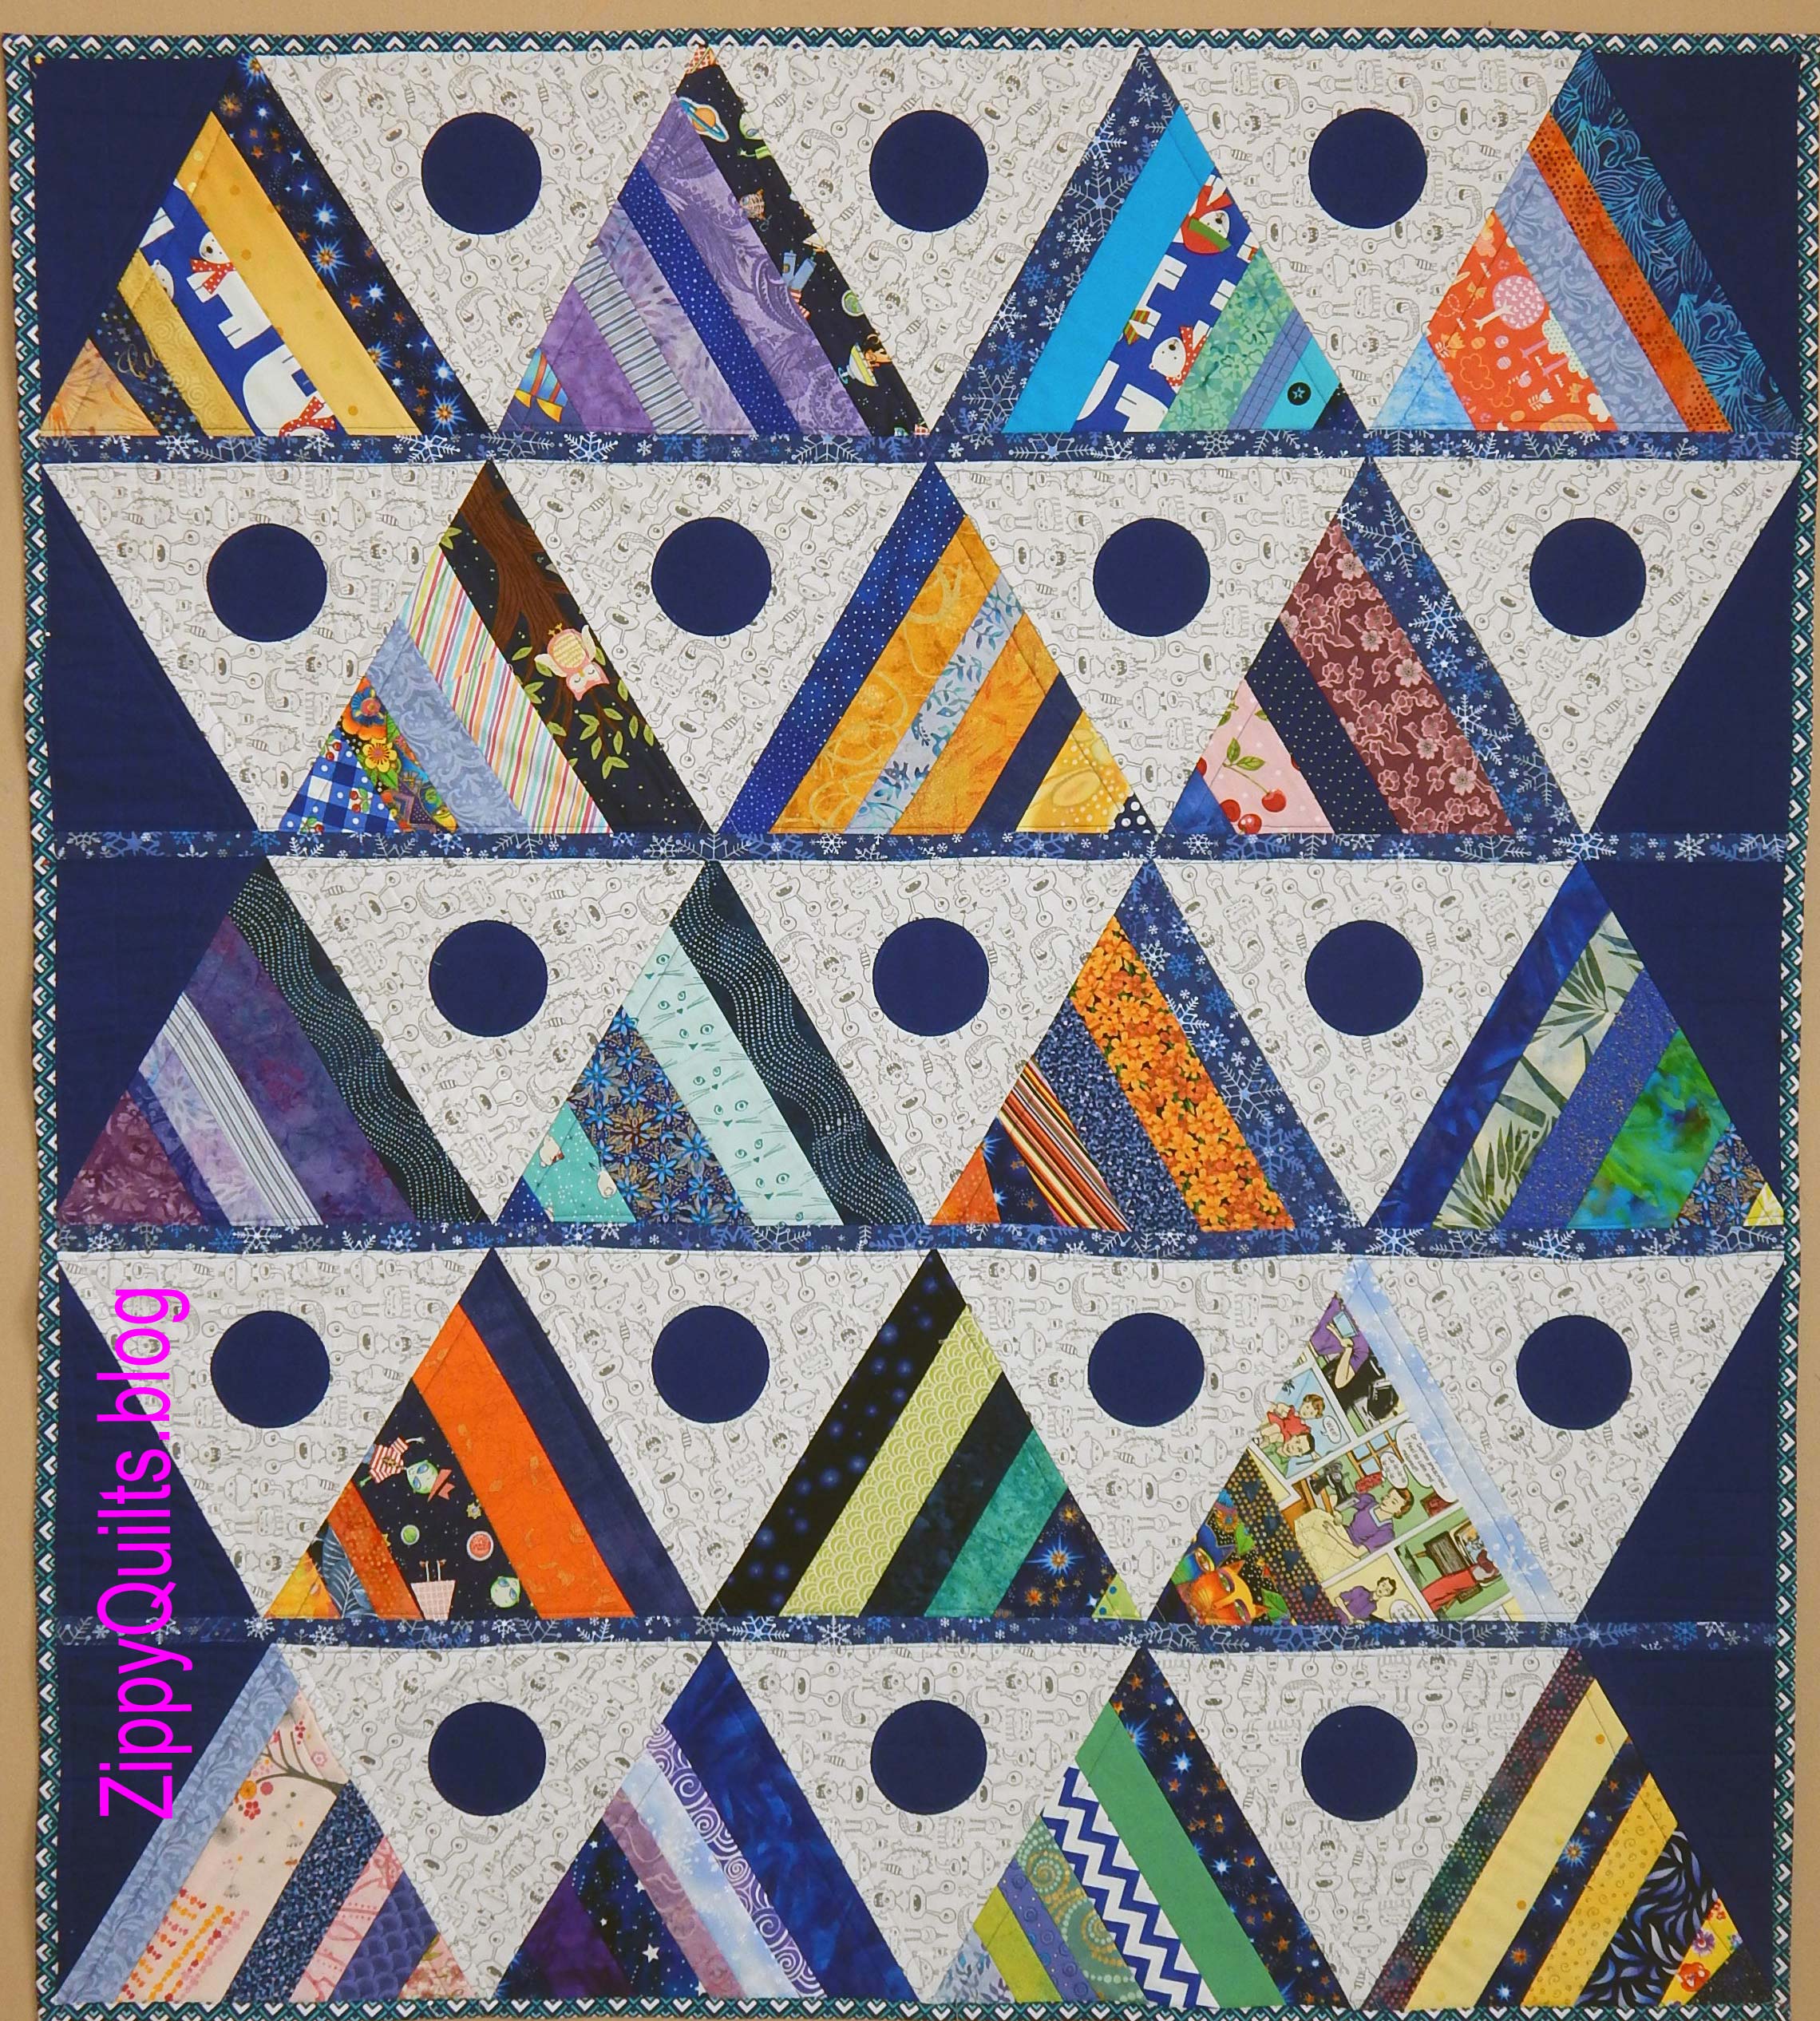
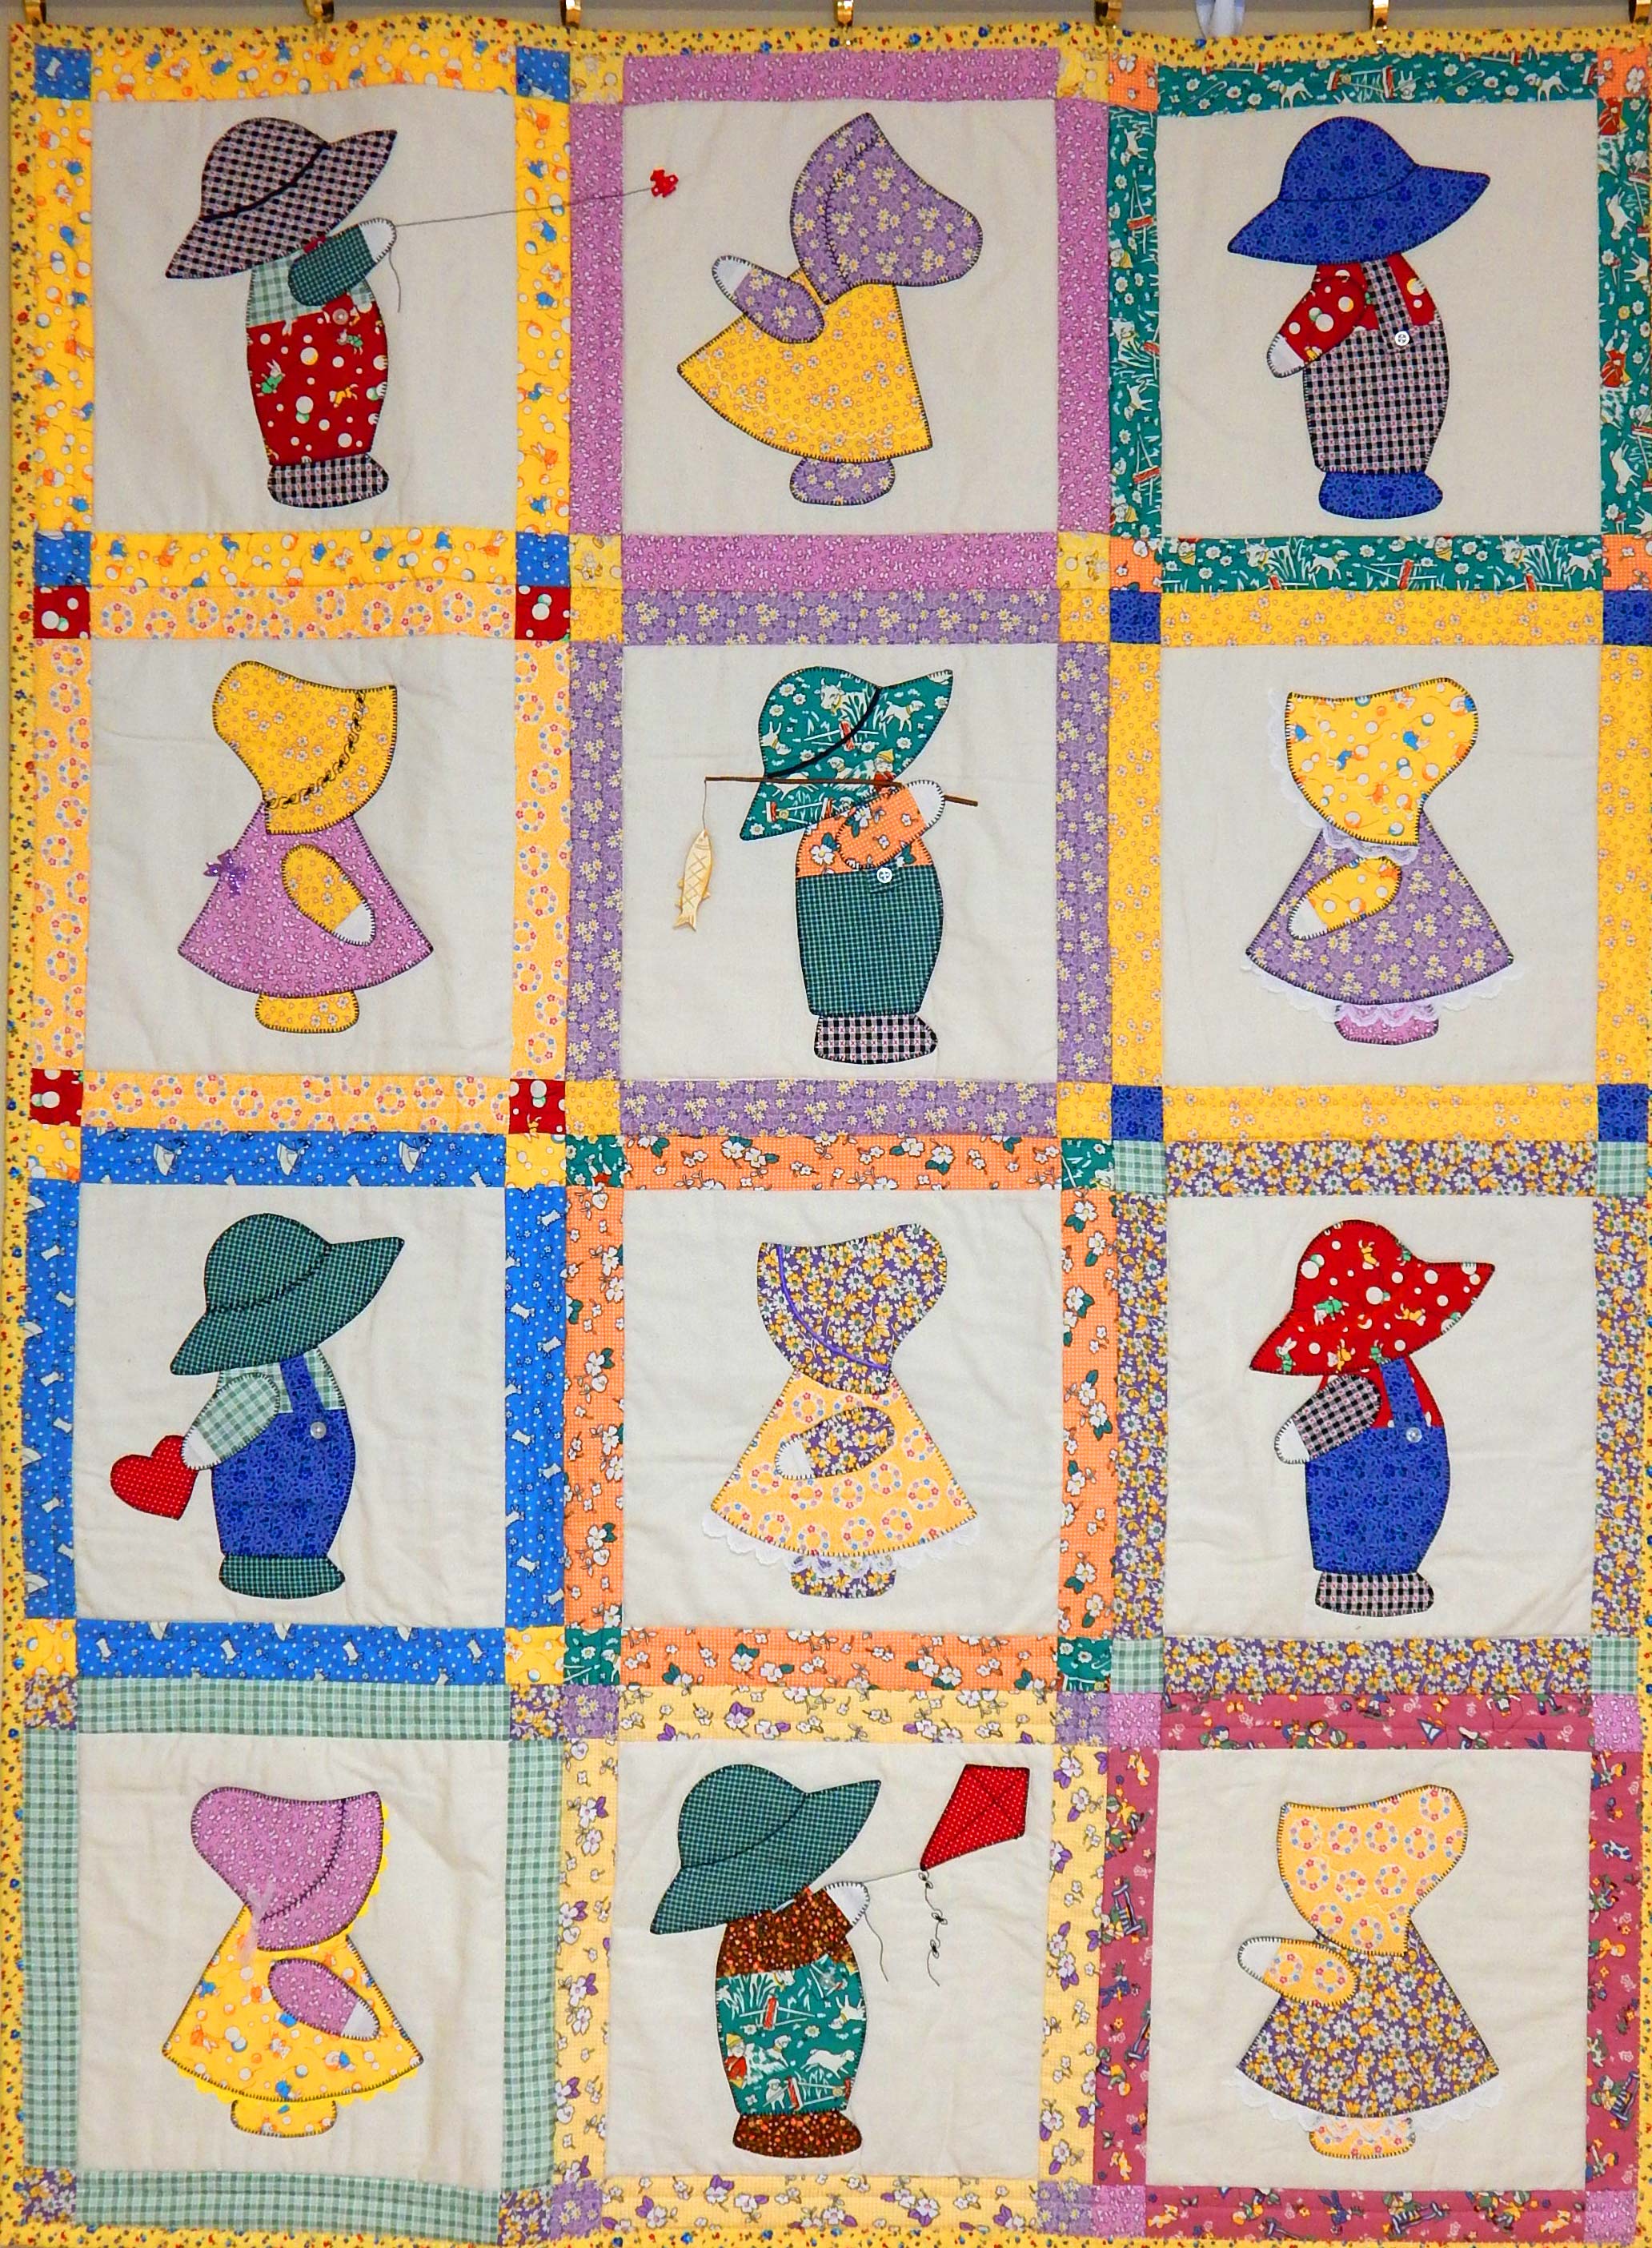
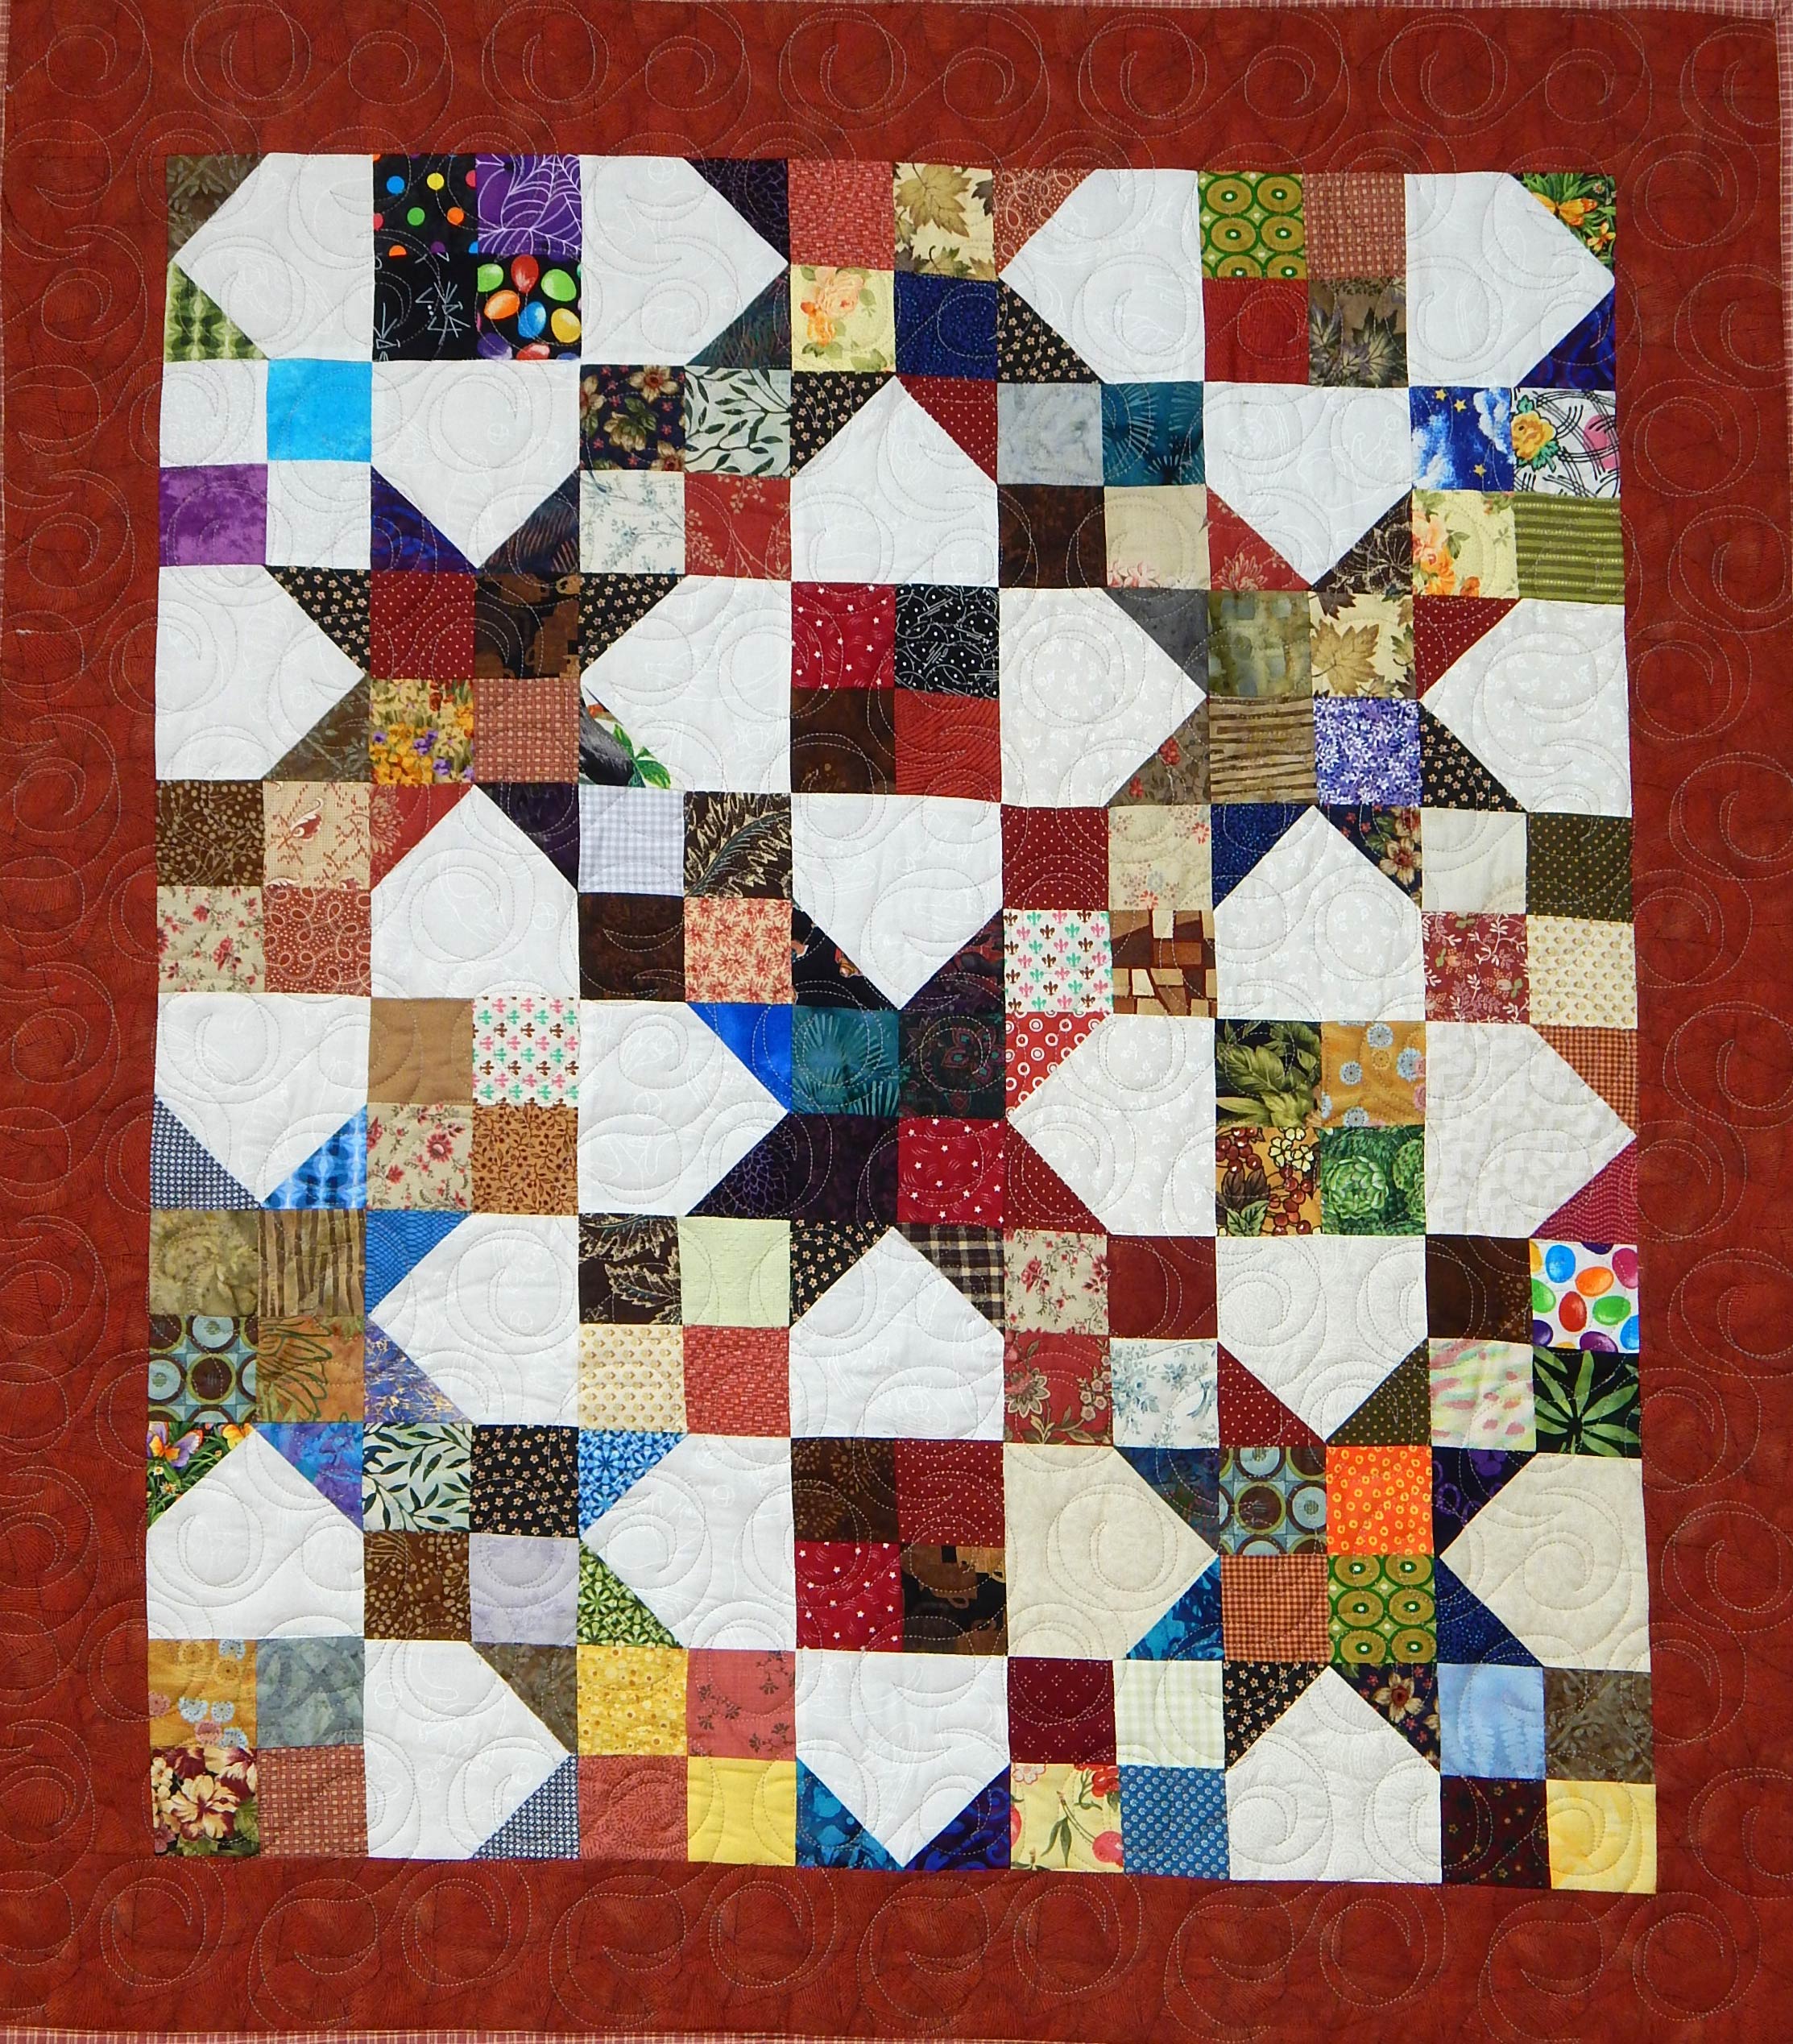
Augusta designs and teaches beautiful scrap quilts that I’ve admired for years, and certainly scrap quilts have plenty of variety!. She was one of the instructors at the North Carolina Quilt Symposium, so I took the opportunity to interview her. I’ve been following her online ever since I found her Snappy, Scrappy Stars quilt pattern many years ago. Here is one of the multiple versions I’ve made of that quilt (her version has a much fancier border):

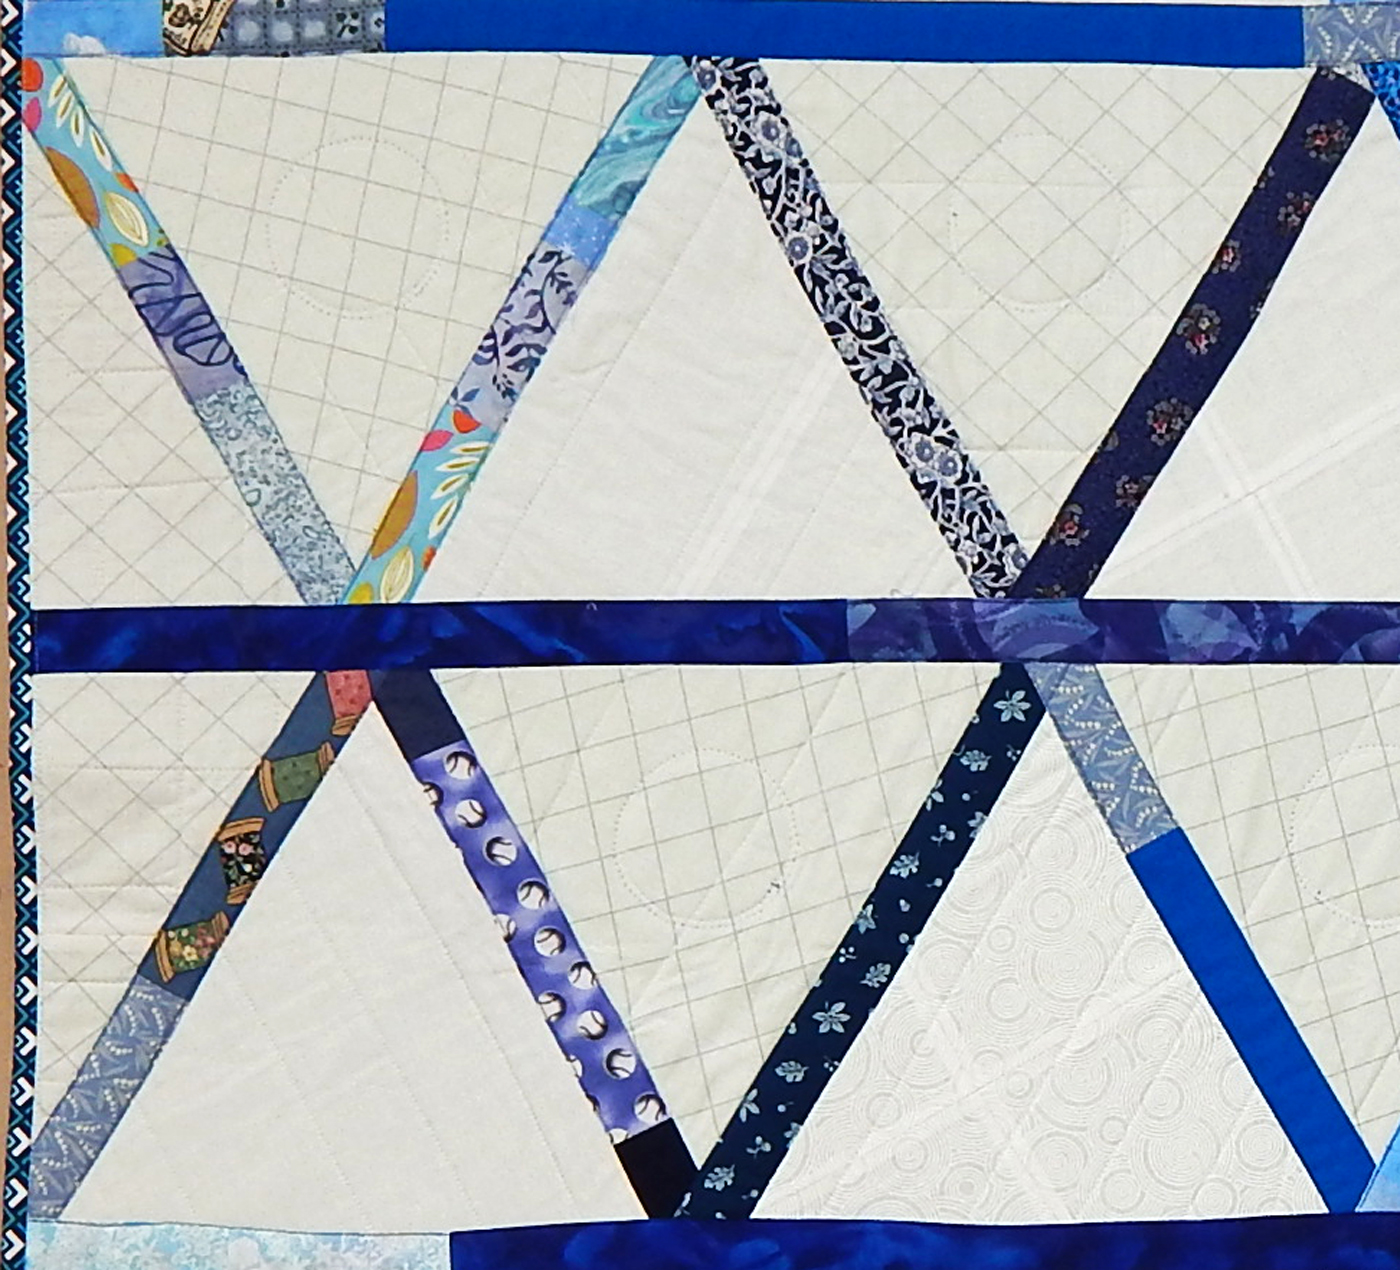
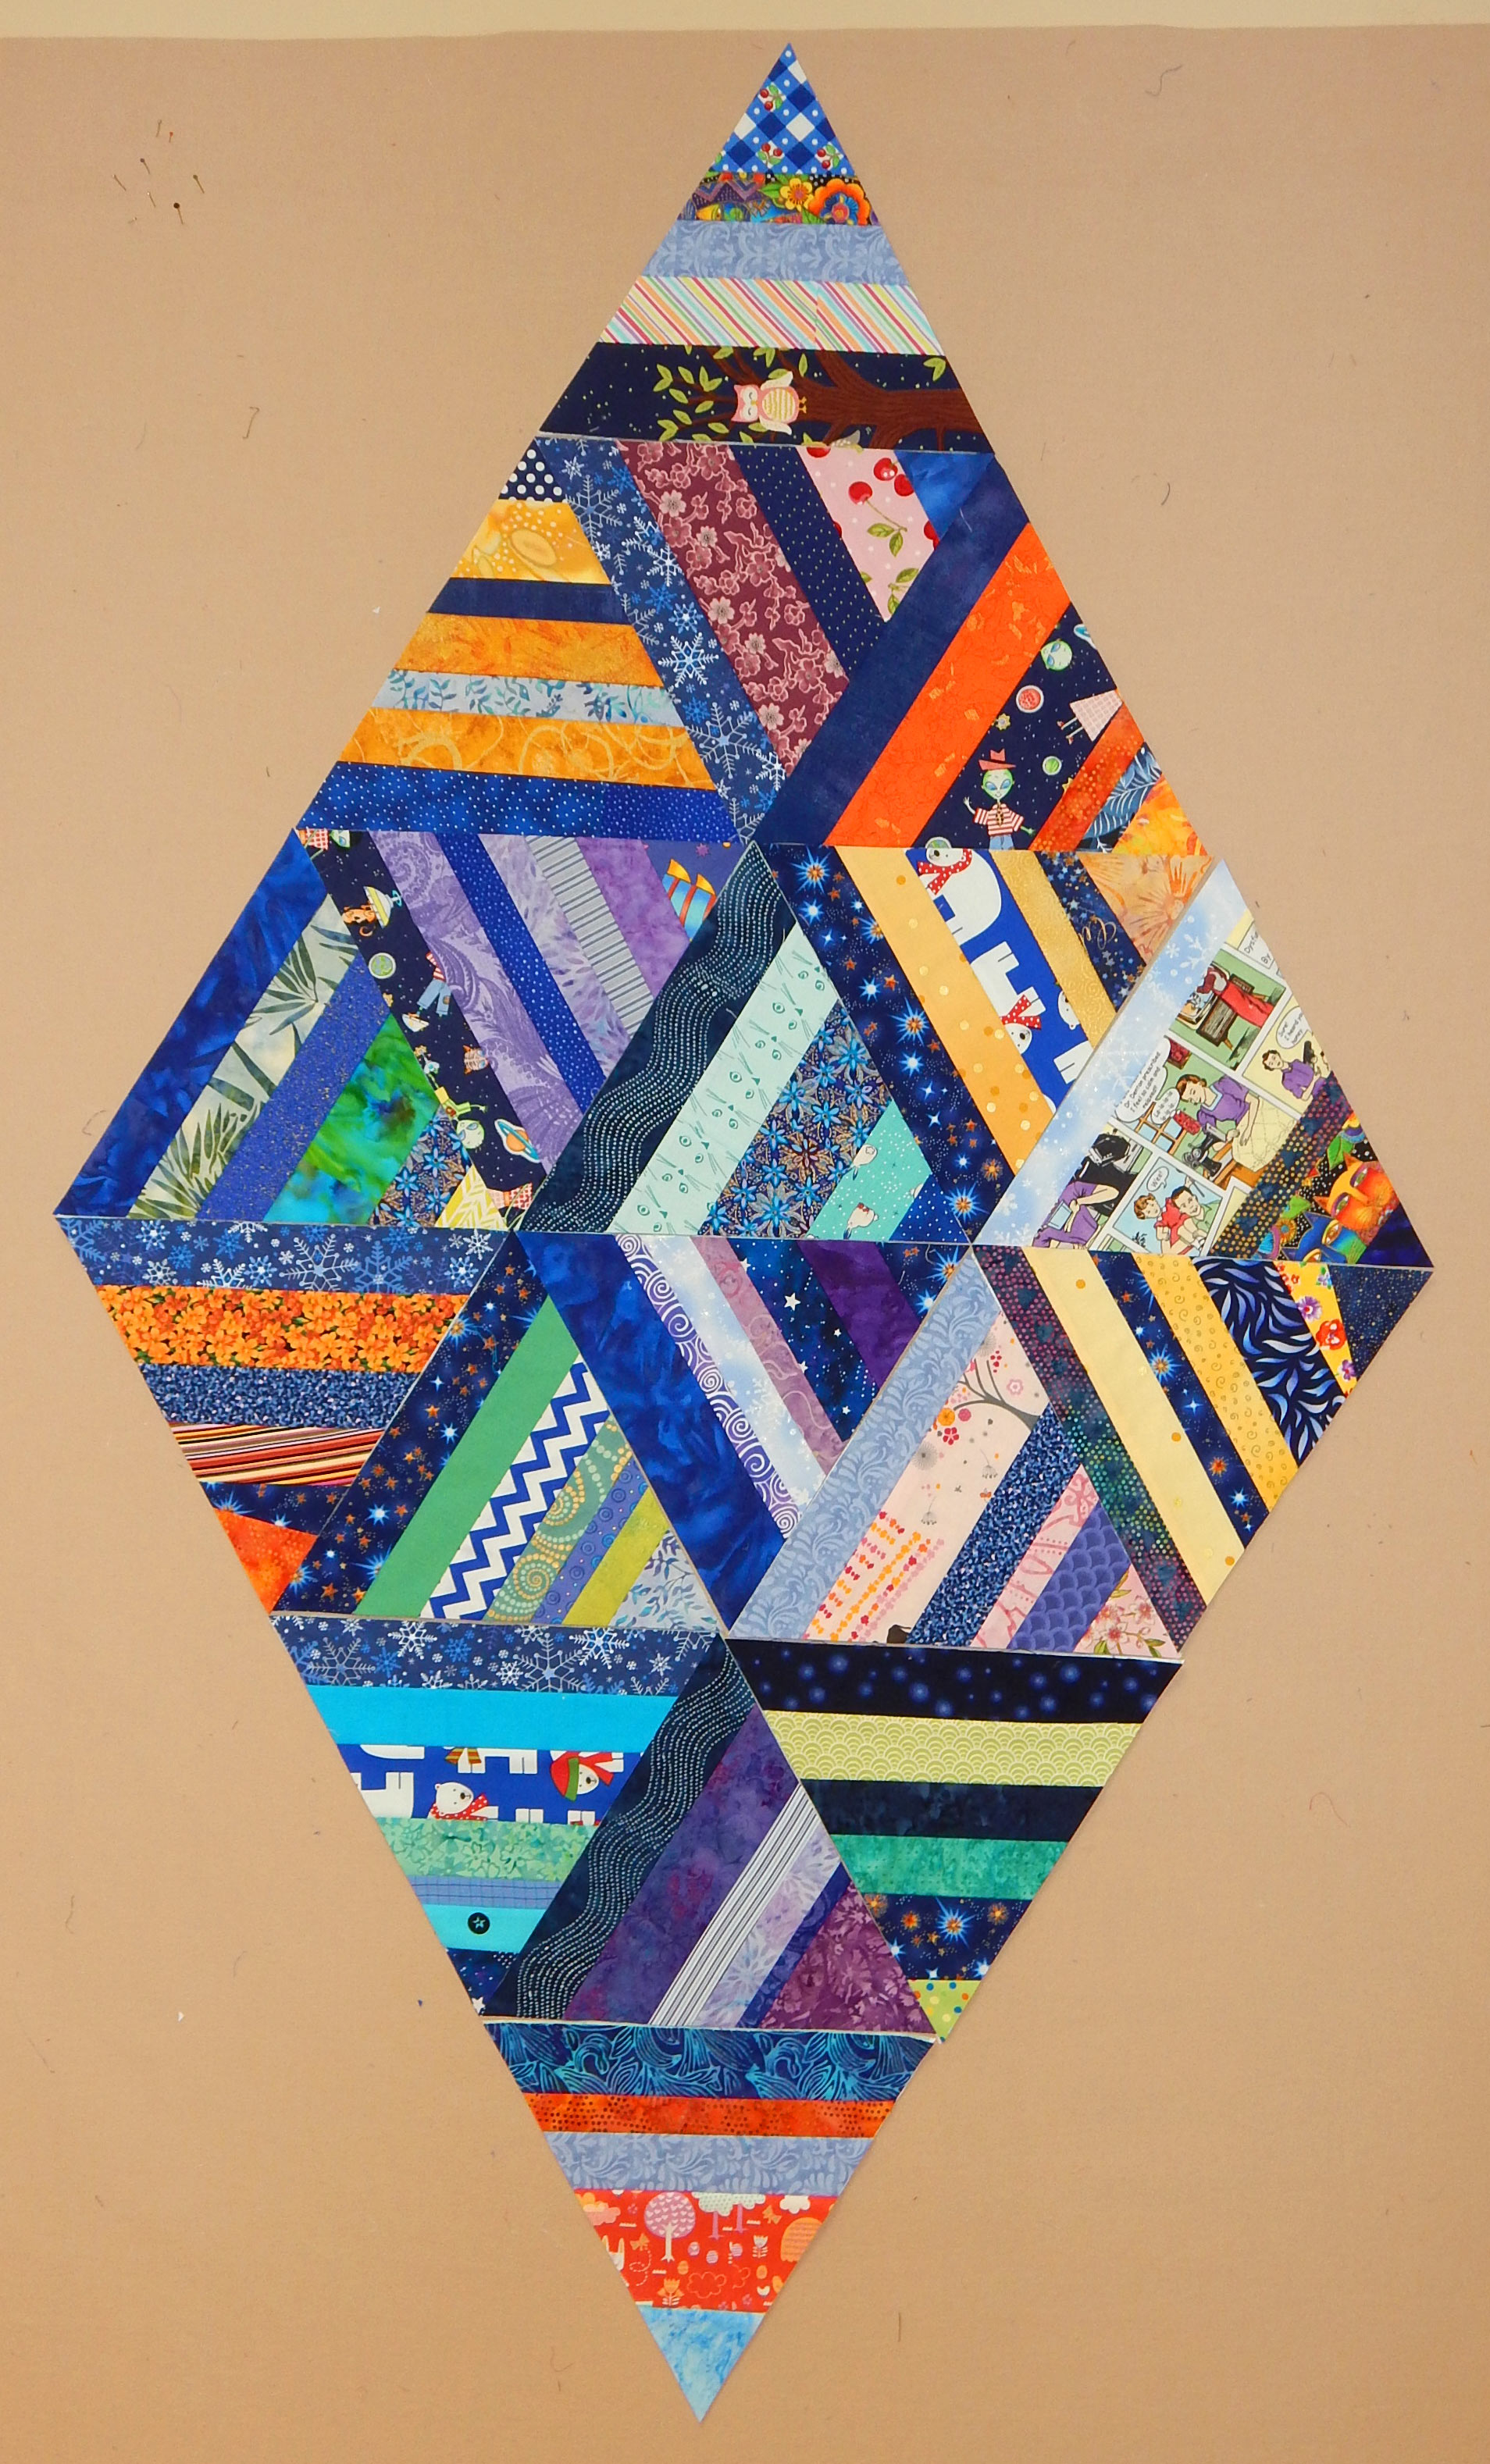
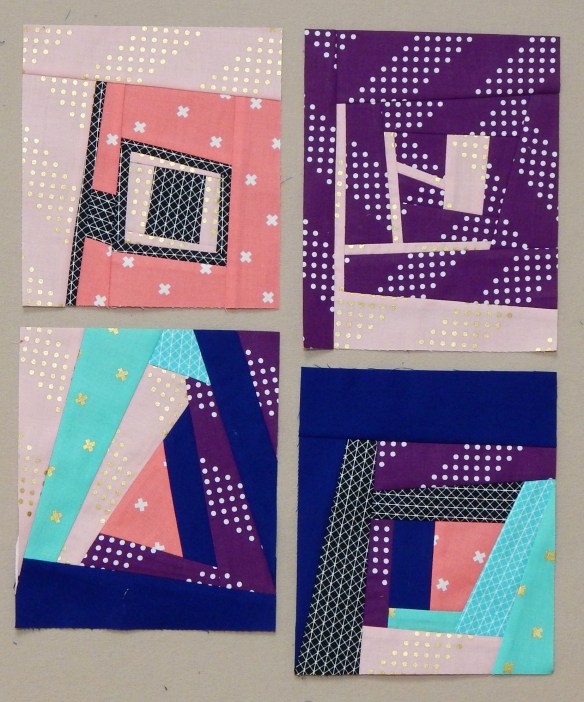
I was unable to lift pictures from her site–which usually is how people want me to get pictures to go with my interviews–due to the format. These pictures of some of her quilts are those I took at the quilt symposium. 
Augusta says she has a lifelong history of crafting and keeping her hands busy. She took up quilting after her second child was born, and “it came very naturally.” A class with Karen Pervier was especially influential, and Karen remains a good friend.
After living in New York state and North Carolina, Augusta now lives in the Richmond (Virginia) area. Since retiring from her career as a physical education teacher, she travels to teach quilting. Her husband is supportive and even keeps the books for her!
 I was unable to fit in a class with Augusta, but a friend who took her class really enjoyed it. She reports Augusta is a lively and engaging teacher. Augusta’s patterns are available on her website. (Go look at her pretty quilts even if you don’t need a pattern!). I continue to be inspired by her many variations on scrap quilts.
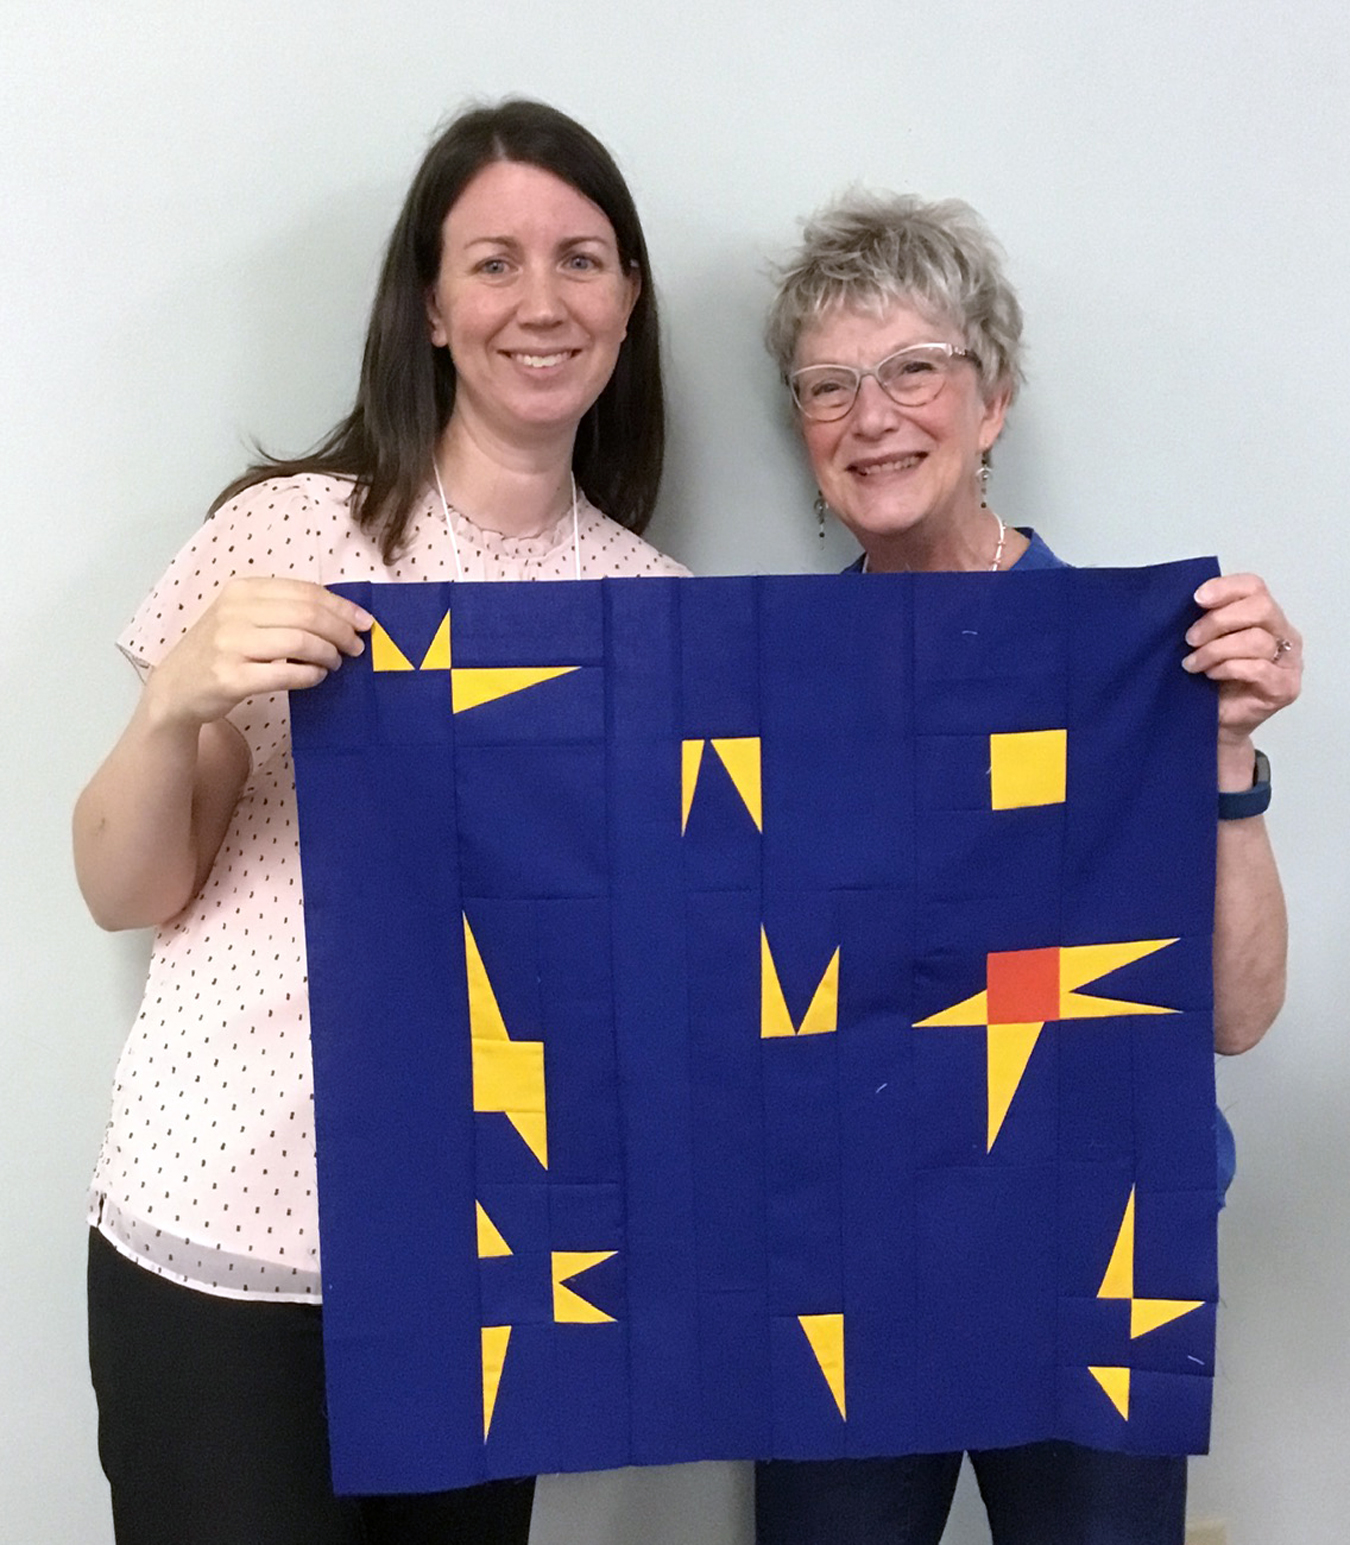
Addendum: Here is a picture from Augusta’s Cutting Bee class, kindly provided by Chris Crouch: