52 weeks and a May finish

pieced quilt
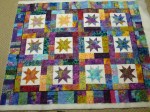
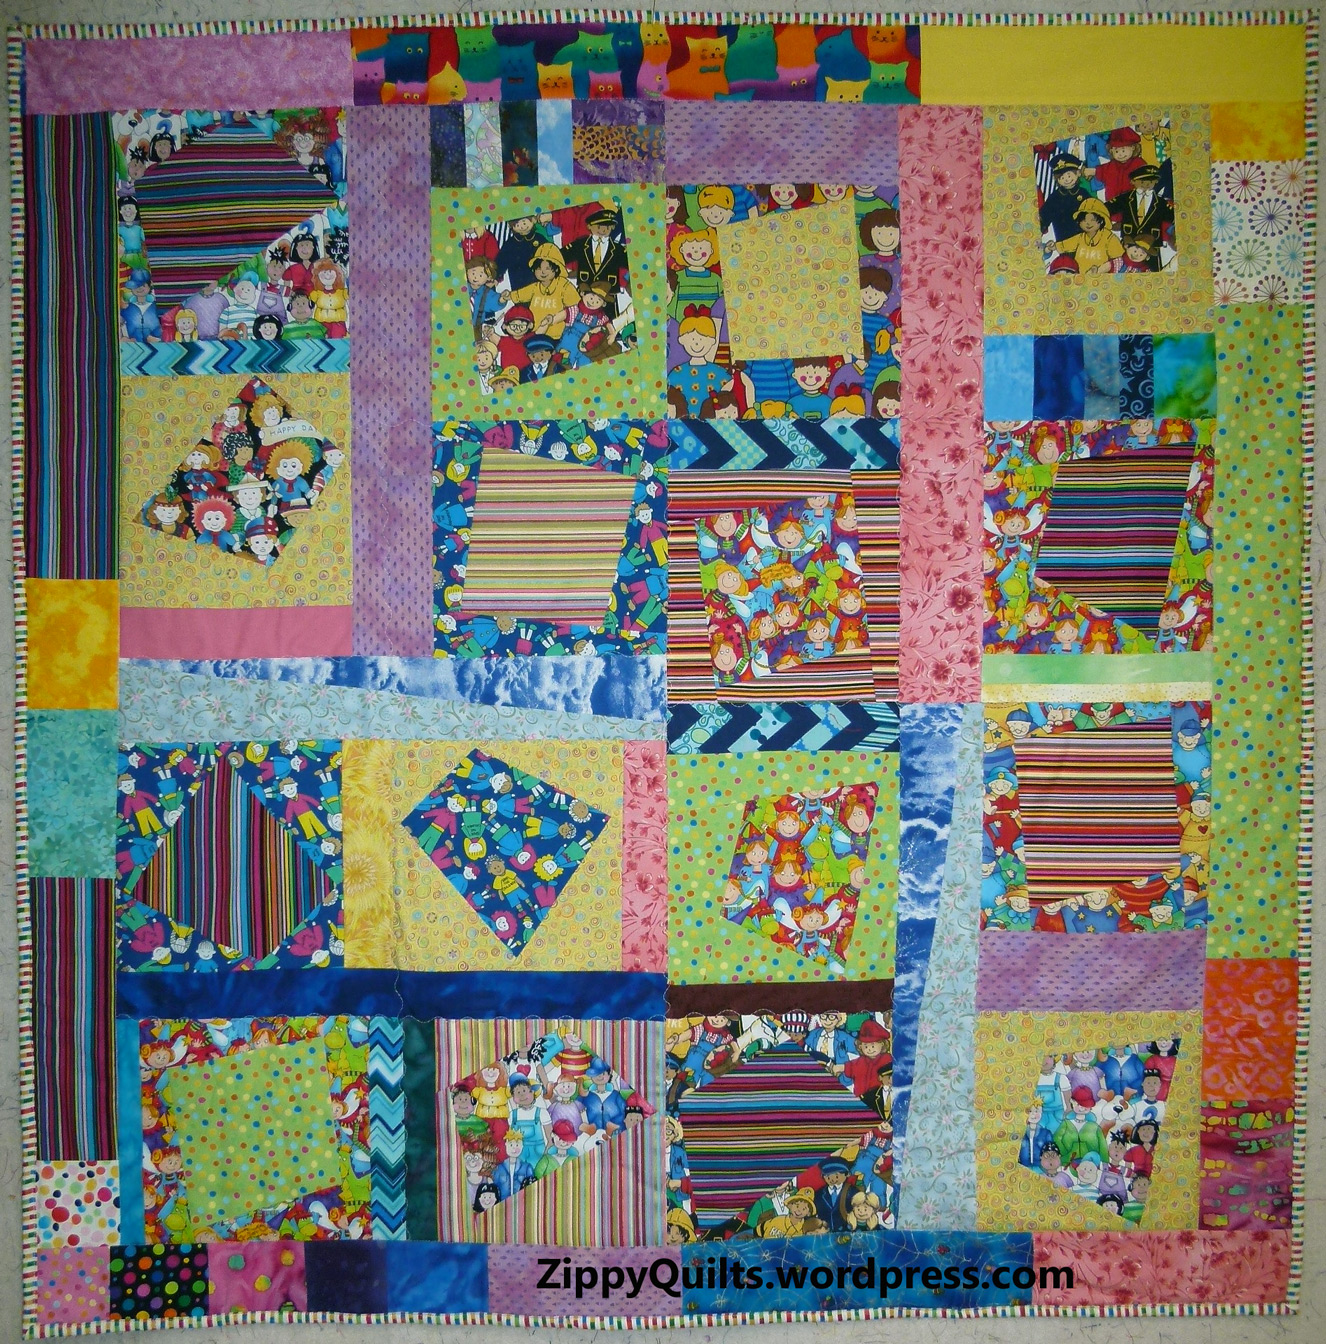
Here’s the UFO finish for May, which barely got done among all the other projects in May! It is a donation quilt made out of orphan blocks; I’ve made a couple of similar ones in the past year because there were a LOT of these blocks!  I actually made the quilt top in September of last year to demonstrate use of improvised sashing, and then the top kind of languished.  When it came up as the finish for May I had already chosen the binding, so it was actually pretty quick to finish.

striped bindingI love the striped fabric for binding, an idea I got from Rita over at RedPepperQuilts.com. She makes beautiful quilts!

And WordPress tells me I have now done 52 posts, which would be about right for the 1 year since I started this blog! Thanks to everyone who is following. I also appreciate your comments–it’s nice to know somebody is looking!

Two Favorite Quilt Patterns

I love designing quilts and making my own designs, but I also enjoy making quilts from outstanding designs by other people.  I thought I’d list a couple of my favorites, and I hope you’ll let me know (in the comments) what some of your favorites are, too.

star quilt

A floral quilt made from Lucky Stars by Atkinson Designs

A favorite quilt pattern for me should be striking in appearance, should have foolproof instructions [because I certainly could be a fool on any given day ;-)], and should be something that makes me say, “I wish I’d thought of that!”

Lucky Stars by Atkinson Designs.  This is the first quilt pattern I ever bought, though far from the first quilt I made.  When I started quilting, I just decided what I wanted, drafted the pattern,and then made it.  Buying this pattern was a revelation!  Such great instructions!  Such great results!  And so little effort compared to what I’d been doing!  I’ve made this pattern several times, and the recipients have loved every one of these quilts.  I’ve also used this to teach “Make Your Second Quilt” for advanced beginners, and the students loved it, too.

I LOVE any quilt with concentric boxes, and having them in multiple sizes and bright colors is just the BEST!  This quilt pattern is Outside the Box, by Rose Mason.  I put 4 of these together to make a queen quilt for a friend’s daughter when she got married, and it worked out really well.

Outside the Box, pattern by Rose Mason

Outside the Box, pattern by Rose Mason

 And even that didn’t wear me out on concentric boxes!  I’ve made many more, both from patterns and my own designs. 

Please leave a comment telling me what your favorite patterns are, and I’ll pass along the love in a later post.

Happy Plaids is my own design, but there are MANY similar quilts out there

Happy Plaids is my own design, but there are MANY similar quilts out there

Personal labels 3 ways

quilt back and binding

The first quilt to have my new label on the back!

I’ve been thinking for some time that I’d like a “standard” Zippy Quilts label to sew into the binding of my quilts in addition to the usual label I put on with the name of the quilt and the date.  I’ve seen several such labels and think they look cool.  They make me think the creator takes herself and her work seriously enough to have a professional label.

I collected a bunch of ideas for making labels on my Pinterest page, here, if you want to look.  Pinterest is great for gathering idea from around the web and organizing them all in one place.  I also got some of those ideas by doing a search within Pinterest for “fabric labels”, which lead me to things other people had discovered.

It boiled down to just a few good options in 3 categories:

1.  Print your own labels, sort of like I do my labels with the quilt name/date/etc.  This would be fairly economical despite the cost of printable fabric, because the labels are small.  However, the washability of some of the printable fabrics was in question, and there would be the need to finish the edges in some way to avoid fraying.  Nevertheless, there’s a very nice tutorial on how to do it here, on the Emmaline blog.

2.  Get commercially-made labels, either woven or printed, from specialty companies that make them.  There are lots of companies that offer lots of different labels, from laundry tags like you sew into your kids’ clothes before they go to camp to really professional woven labels.  The cost varies a lot, too.  The main drawback was that, for the better looking ones, you have to order an awful lot.  What if I had 1000 labels I didn’t much care for?

3.  Design your own at Spoonflower and have them printed up on fabric for you to cut apart into labels.  There’s a tutorial on how to do it here, on a nice blog called “While They Snooze”.  This is what I ultimately decided to do.  They’ll print either a sample or a fat quarter (FQ) for you, so I ordered FQs of 2 different layouts to see if I liked them.

Spoonflower labels

Spoonflower labels–first layout

I cut them apart with pinking shears to avoid a hard edge and sewed a little hem around each one to prevent fraying.  I think another time I’d make them a little smaller, but this is a good start.  The Spoonflower site is easy enough to use that I never even had to contact them for help.

Spoonflower label

The second layout

My second layout left space below my name on each label so that I could cut out the label, hem the sides only, and then fold it in half, inserting the remaining raw edges in the binding.  This avoids the need to sew it down separately on 4 sides.  I may like this better, but I haven’t had time to try them much yet.  The first one is going on my Quilt Alliance donation quilt, which I’m still binding.  I think I’ll go back and put them on all this year’s projects.

If you get some labels made for your projects, write and let me know what you did and how it worked out.

Spoonflower label

Label on Quilt Alliance quilt back

Your Inner Designer, Part 2: Many block arrangements

In our last exciting episode (as they used to say on the radio), we took a traditional-type quilt pattern and tweaked it 3 (or more) ways to make different quilt designs.

pieced quilt design

Large blocks, with the intersections lined up

pieced quilt design

Now we’ll take some combinations of blocks and arrange them to make new designs. As before, your new designs can be drawn on graph paper (or with a computer program like Electric Quilt). It’s your choice whether to make them in cloth or not.

1. Combine two easy, familiar blocks.The usual advice is to combine blocks such that their seams will line up,like that first one on the left. This has the advantage of making more secondary patterns when you look at the combination overall, and the disadvantage of making the construction more tedious. Try it both ways.  My personal preference is for the second design on the left.  The different sizes of the pieces in the blocks make the quilt more interesting; I really don’t notice that the seams haven’t lined up.

.

.

2. Take a quilt made of just one block, or even just one patch, and color it different ways. Here’s one of my favorites.  It starts as the traditional tumbling blocks pattern, but can also be stars, chevrons, or many, many other things. There is LOTS of room for experimentation here.

Some folks make an outline drawing then copy it several times so they can color it different ways.  I can see this going on for weeks if you attend lots of boring meetings where you can take your sketchbook 😉

3. Pick an asymmetric block, make lots of them (on paper or in fabric) and rotate them into different combinations. There are almost endless variations with HST (half-square triangle) blocks, for example.

These options should keep you busy for a LONG time. I suggest you buy a graph paper notebook and some colored pencils so you can keep your designs all together. Next thing you know, you’ll have more quilt designs than you could make up in a lifetime! You can just pick your current favorite next time you want to make an original quilt.

The next blog on designing your own quilts will be the first Sunday in June.  Meanwhile, remember that it can be fun to try out a design by making just a small quilt.  You could make a lot of HSTs and combine them in 4 different ways for a set of 4 placemats, for example.  Have fun!

pieced placemat

This is made from HSTs that finish 3″ square, set 4 x 6 so that the mat is 12″ x 18″

pieced placemat

The same HSTs have been rearranged here

pieced placemat

Using the same fabric in different arrangements is a fun way to make a unique set of placemats

pieced placemat

I recently saw this arrangement touted as an “easy herringbone quilt”