An Experiment in Quilting on the DSM

I’ve quilted a number of quilts, large and small, on my home machine (Domestic Sewing Machine, DSM) with the variable results that might be expected 😉 I now do mostly small pieces and send the large ones to long arm quilters.
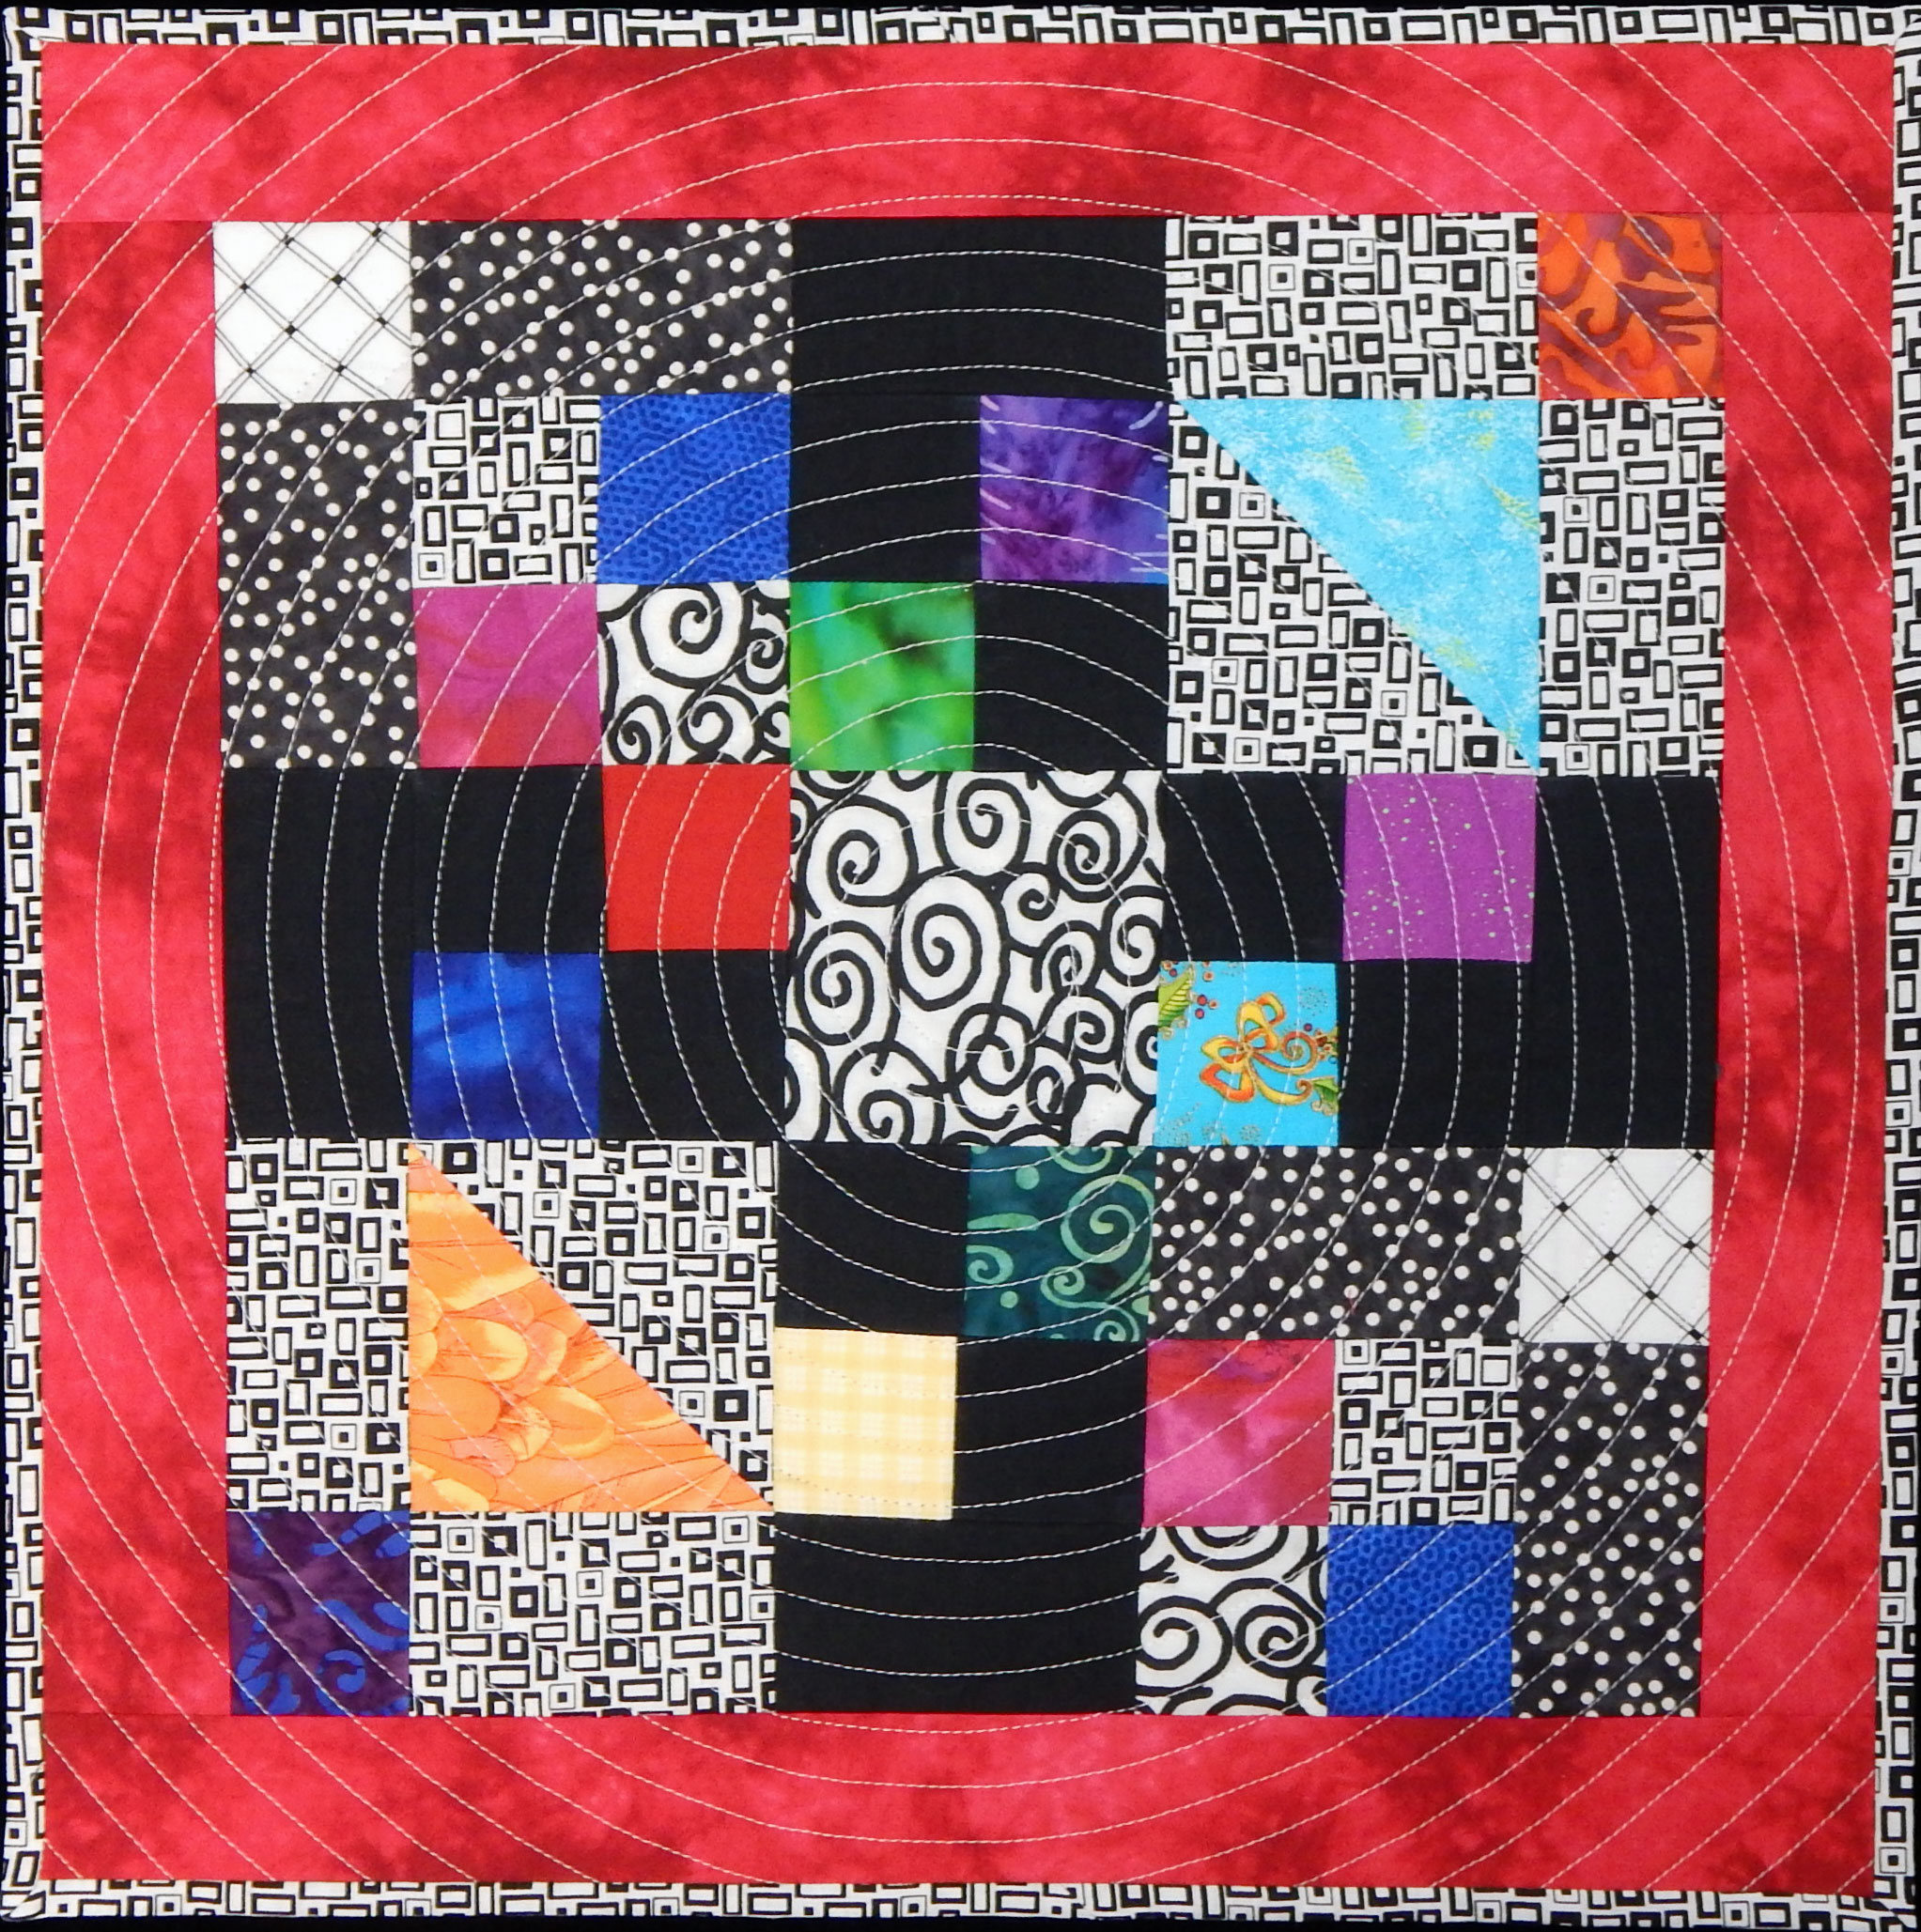
Then last fall I saw this quilt by my friend Diane Ramsay.

Detail of Dutch Holiday by Diana Ramsay

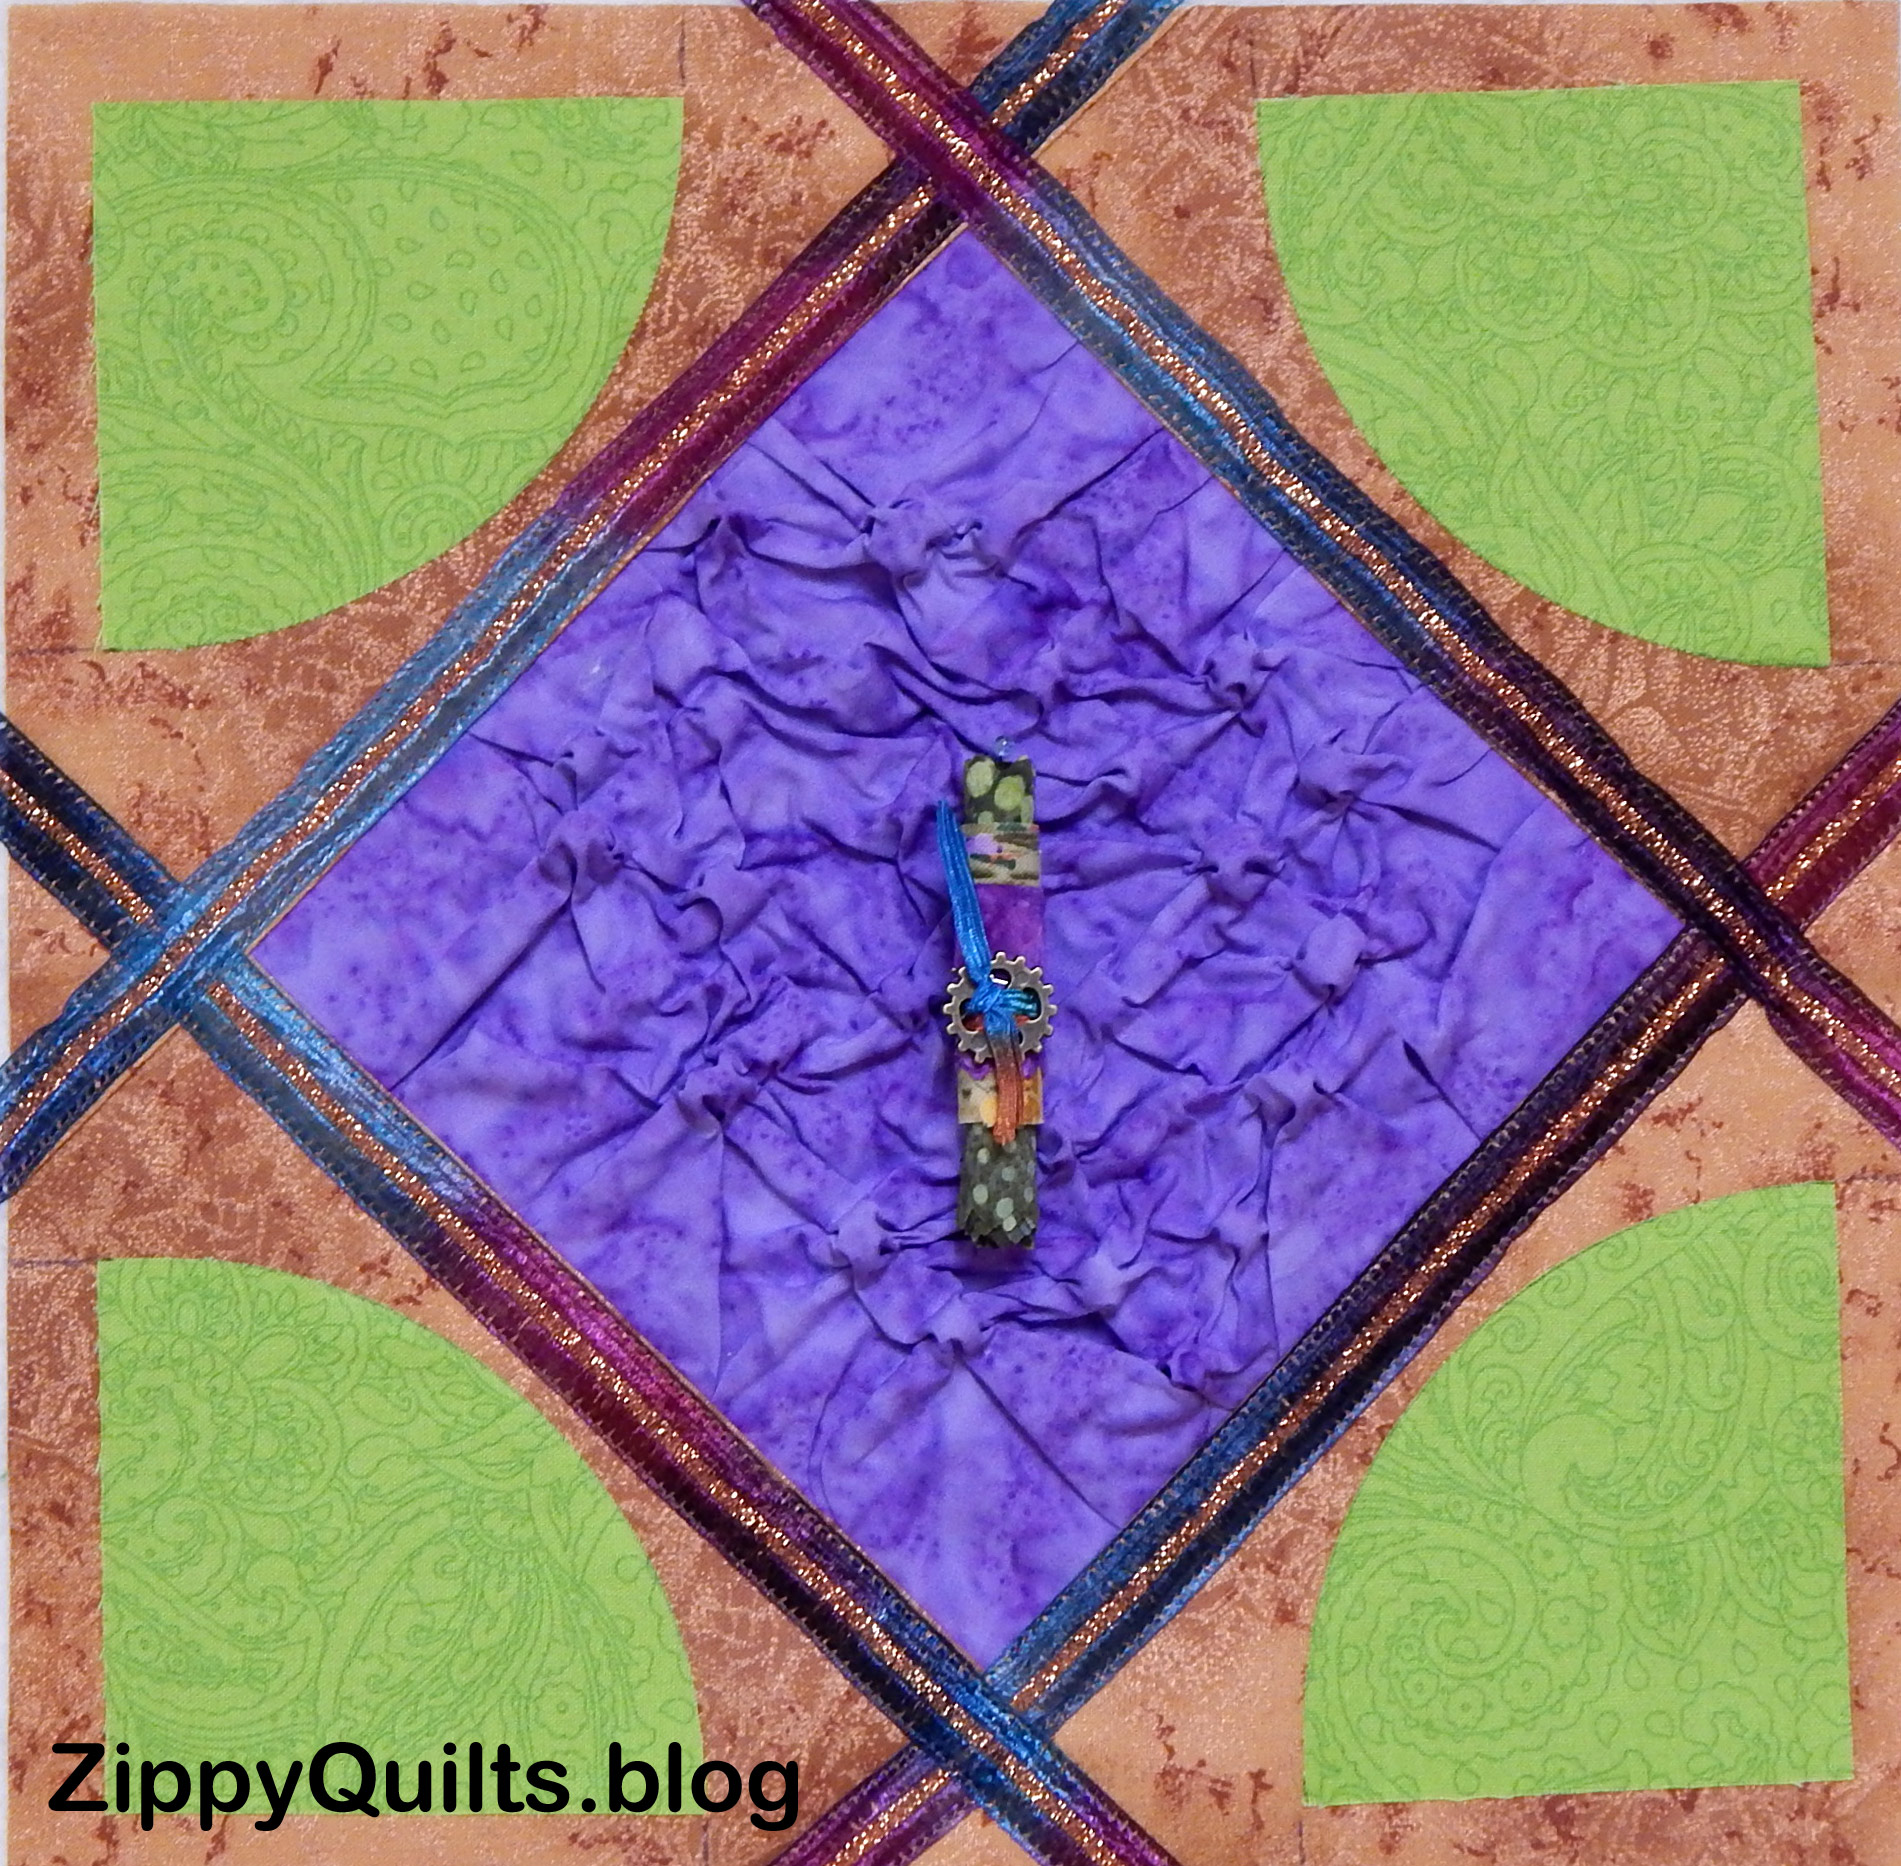
In addition to thinking it is a wonderful quilt, I particularly liked the grid pattern of the quilting. So when I needed to quilt fabric for a project recently, I gave it a try.

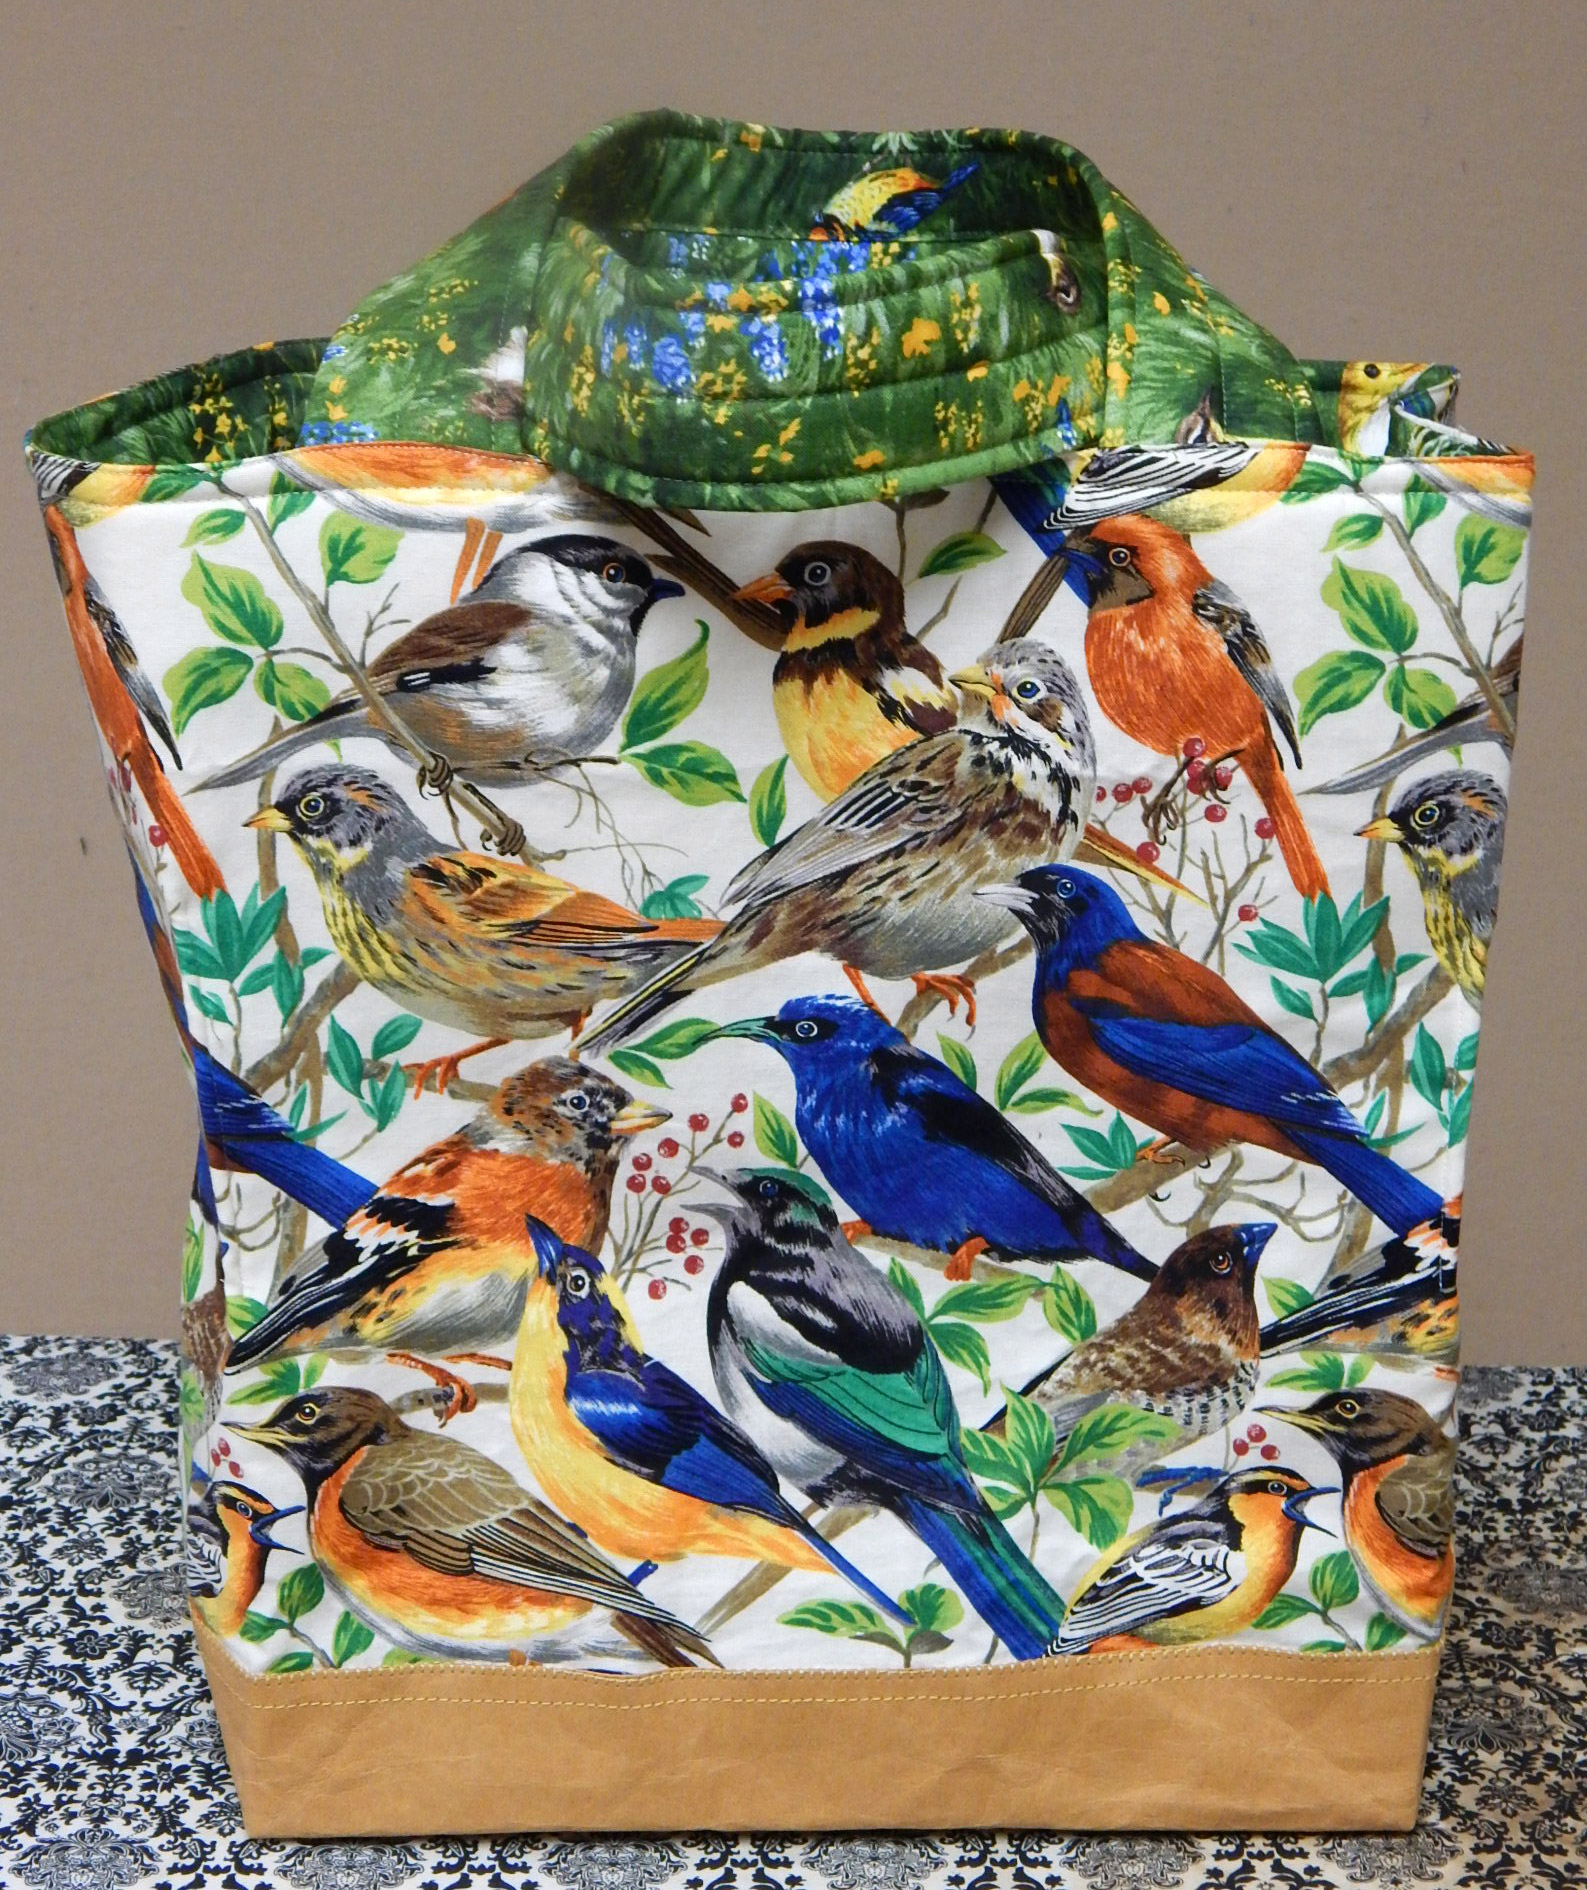
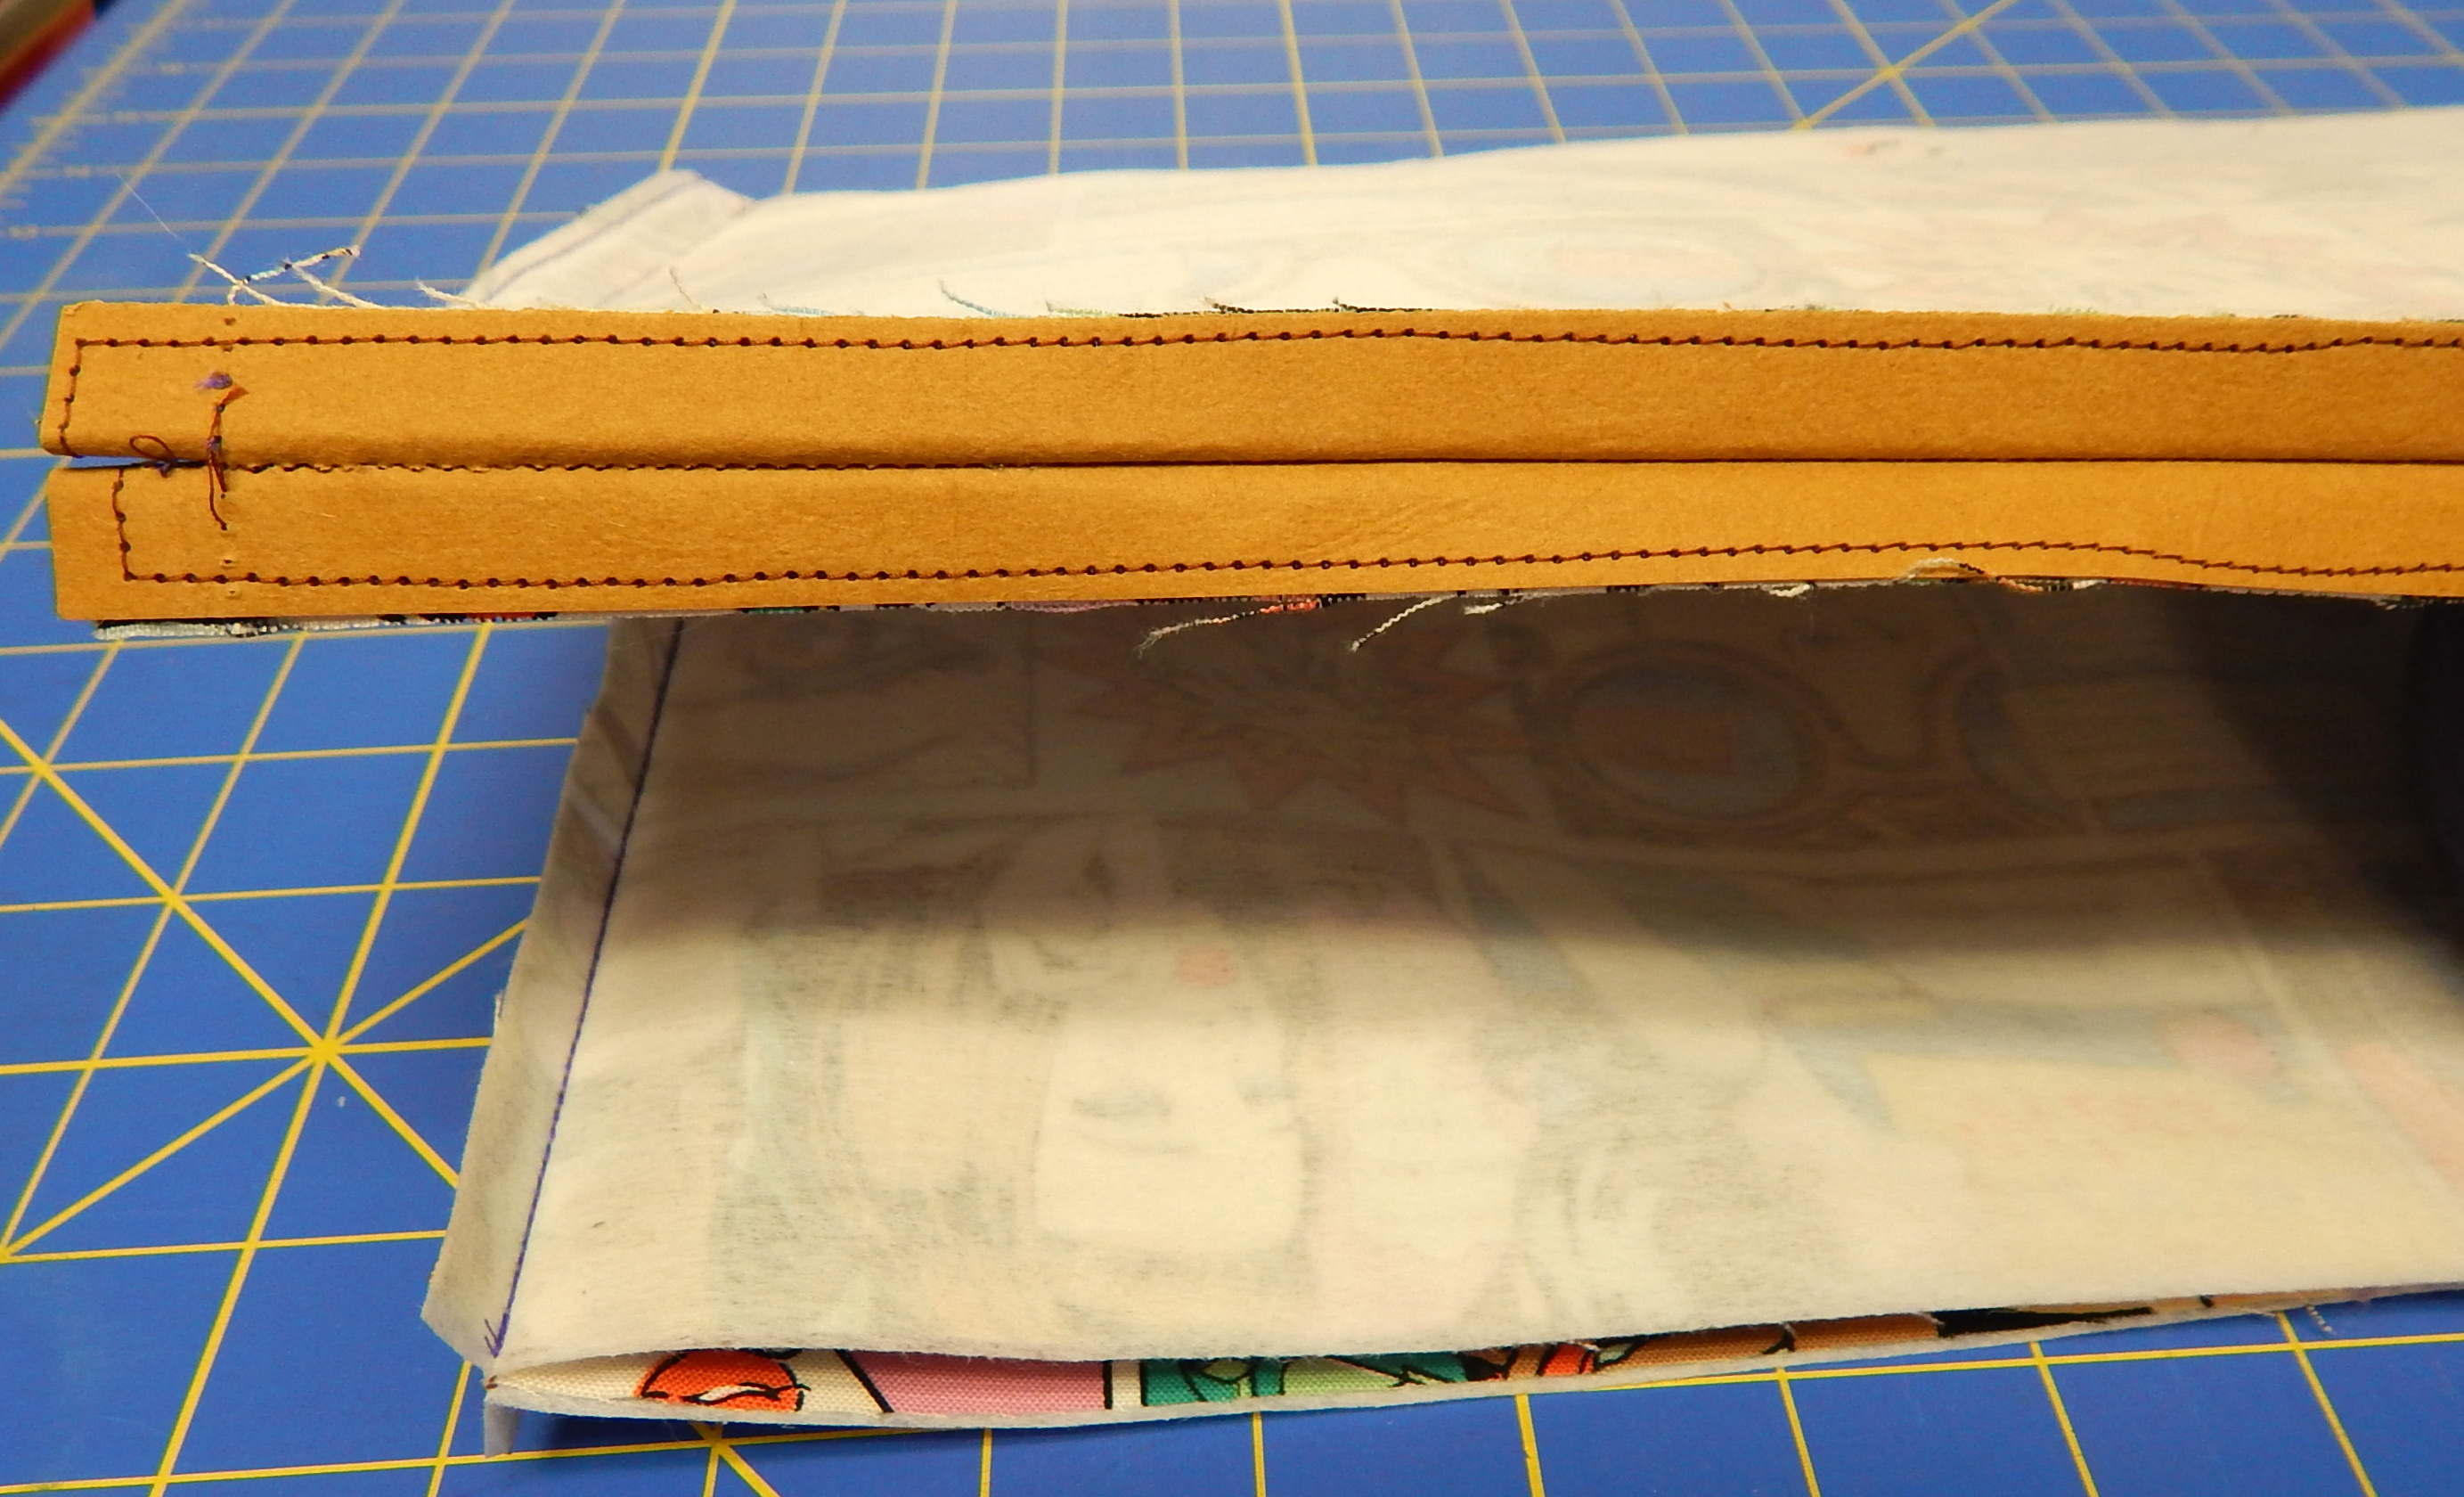
First I spray basted the fabric really well.  It’s small, only about 13 x 18 inches, so it was pretty easy to spray baste.  I then marked a line with 1″ painter’s tape and quilted along both edges of the tape. tape guide for machine quilting

The rest of my lines were spaced by simply moving the tape every time.  Again, the piece is small, so I only needed one length of tape for all the lengthwise lines.  The layers were basted tightly enough that there was minimal shifting, but I did alternate directions as I quilted the lines.

After doing all the lengthwise lines, I put several evenly-spaced lengths of tape crosswise and quilted on both sides of them, moved the tape and quilted some more, etc.  I was greatly relieved to see that there was no puckering where the lines of quilting crossed.

The quilting doesn’t show up much on that busy fabric, so here’s a picture of the finished back:

This was very successful, primarily because it was tightly basted, I think.  Has anybody else tried this?  Any advice?


Bag With Kraft-Tex Base

A while back I made a bag for carrying stuff to guild meetings and used some scraps of Kraft-Tex to reinforce the base. I have enjoyed that addition, both because it helps the bag stand up on its own and because I don’t have to worry about putting the bag on the floor.

Kraft-Tex for bags

Then recently I saw this Alexander Henry fabric and of course I was forced to buy it 😉

Alexander Henry fabric showing melodramatic “sewing woes”

I decided to make another tote bag using this tutorial from Bijou Lovely Designs, Holly DeGroot’s blog.  Her tutorial includes the free pattern, so go make it if you want to.  Her instructions and illustrations are excellent.

Here are my modifications for making the base of Kraft-Tex.

Holly’s instructions used the same fabric for the bag lining and the base, so of course I didn’t do that.  I cut the Kraft-Tex base 1/2″ narrower (top to bottom measurement) than Holly’s instructions, because the base on her bag is joined with a 1/4″ seam and then pressed back.  I just appliqued the Kraft-Tex to the bag.  Naturally, that required clips rather than pins–don’t want holes in the Kraft-Tex!

You can see that the fabric wasn’t printed entirely straight; the other side was straighter.  Luckily, this bag is for fun.

You can see my top-stitching here. This is the straighter side 🙂

When it came time to press the seams open, I just folded back the seams that contained Kraft-Tex, then ran the handle of my scissors along the seam to crease the Kraft-Tex into place.

You can also see where I stitched around the edge to hold the Kraft-Tex in place before assembly

The seams were not as bulky as I had anticipated, and gave me no trouble.  The only difficult part was turning the bag right-side-out through the opening in the lining.  The Kraft-Tex was a little stiff for that, but not too bad.

The Kraft-Tex stood up but the bag sides above it drooped

When I got the bag done, the Kraft-Tex part was great, but the rest of the bag was limp despite interfacing.  I took the bag for a shakedown cruise when we went to the big city Saturday, and it was a pain to get things in and out of it because the sides collapsed.  So…

I took out the top seams, inserted pieces of Peltex cut to fit, and stitched all around them.  They needed to overlap the Kraft-Tex a little to make the whole thing stand up.

That makes this “Holly’s bag with significant modifications”, but you can still get the measurements and construction details from her blog.  I like the bag now, and it is a good size.  Next time I’ll use Peltex from the get-go, probably still with the Kraft-Tex.

My Year in Scraps

When we lived in Pennsylvania, I learned this quilt block from Barbara C. Lenox. As she made her quilts, she cut her scraps from each project into the sizes needed for this block.  She saved the scraps and assembled them into blocks, and then a quilt, at the end of the year.  She called this her “Sourdough” quilt.

Sourdough block, taught to me by Barbara C Lenox

I can’t find her online now except, of course, for those creepy websites that want to sell you information on any name you put in (e.g., “get Santa Claus address, phone, arrest record…”).

I’ve made numerous quilts using this design.  As with all diagonally split blocks, this one allows for many interesting arrangements of the blocks.

The block is a great way to learn about color and value, since the design shows itself through contrast in value, regardless of color.  And sometimes things that worked fine as a dark or light in one context totally fail in another.  

Patch 1 and Patch 2 in the picture above worked fine as a dark and a light when I put them together in a single block.  But when I put them together with the other blocks, the turquoise was too bright to play well with the other dark values.  It’s common for yellow, red, and orange to have trouble being dark values, but the turquoise was kind of a surprise!  I’ll be re-making that block.  Another learning experience 😀

I’m teaching my version of this at Studio Stitch on Saturday, January 26.


What Did I Learn in 2018?

My friend Melanie recently listed some (quilty) things she learned or re-learned in 2018, and it seemed like a good idea! So here goes…

And while I’m at it, I’ll re-introduce a few of the quilts I finished in 2018.

The center piece is a fabric”jewel” made in the same guild workshop as the block

1. Despite my history of using high-loft batting, I learned that it is much easier to neatly trim, square up, and bind a quilt made with LOW loft batting!

Mini-Quilt for Jill made from an orphan block

2. Deb Tucker’s “Tucker Trimmer” is the bomb for making half square triangles!  A friend introduced me to this tool.  I have used at least 3 other methods for trimming HSTs, and this is by far the best.  Much better than the (considerably more expensive) Bloc Loc tool, more accurate than my slotted square-up ruler, faster and easier than just using a regular ruler.

art quilt

Small quilt for a challenge with my local MQG

3. After many years of quilting, I have LOTS of small pieces of fabric but not many big pieces. I went to pull blue fabric for a quilt from my blue drawer.  I thought I had plenty since the drawer is full, but most pieces were less than half a yard!  So…

donation quilt

Donation quilt: The concentric squares are pieced; the other pieces are a print from Michael Miller

4. When I buy fabric for stash now, I often buy 3 yards at a time because that’s likely what will be needed for a single fabric in a planned quilt.

Gypsy Wife quilt

Finished Gypsy Wife; it was made from a couple of FQ bundles but the background required yardage

5. I want to do everything, but I’m going to have to choose and prioritize or nothing gets done.  Maybe a little of everything???

slabs, scrap blocks, scrap quilt

Donation quilt from single-color scrap blocks

6. Some projects just need to go in the fizzle drawer!

One for the fizzle drawer, but I have taken it apart and will re-purpose the fabrics in 2019

And a few opinions I haven’t changed my mind about:

  1. Almost all quilts need some purple in them somewhere!

    Block made in a workshop with Rosalie Dace

  2. Superior So Fine is a great thread for piecing, resulting in very little lint in my machine.

    I will be teaching this triangle quilt in March at Studio Stitch in Greensboro

  3. Almost any day is a good day if I learn something new

As always, these opinions are my own and I have received no compensation for sharing my favorite tools.  Your opinions and results may vary 😉