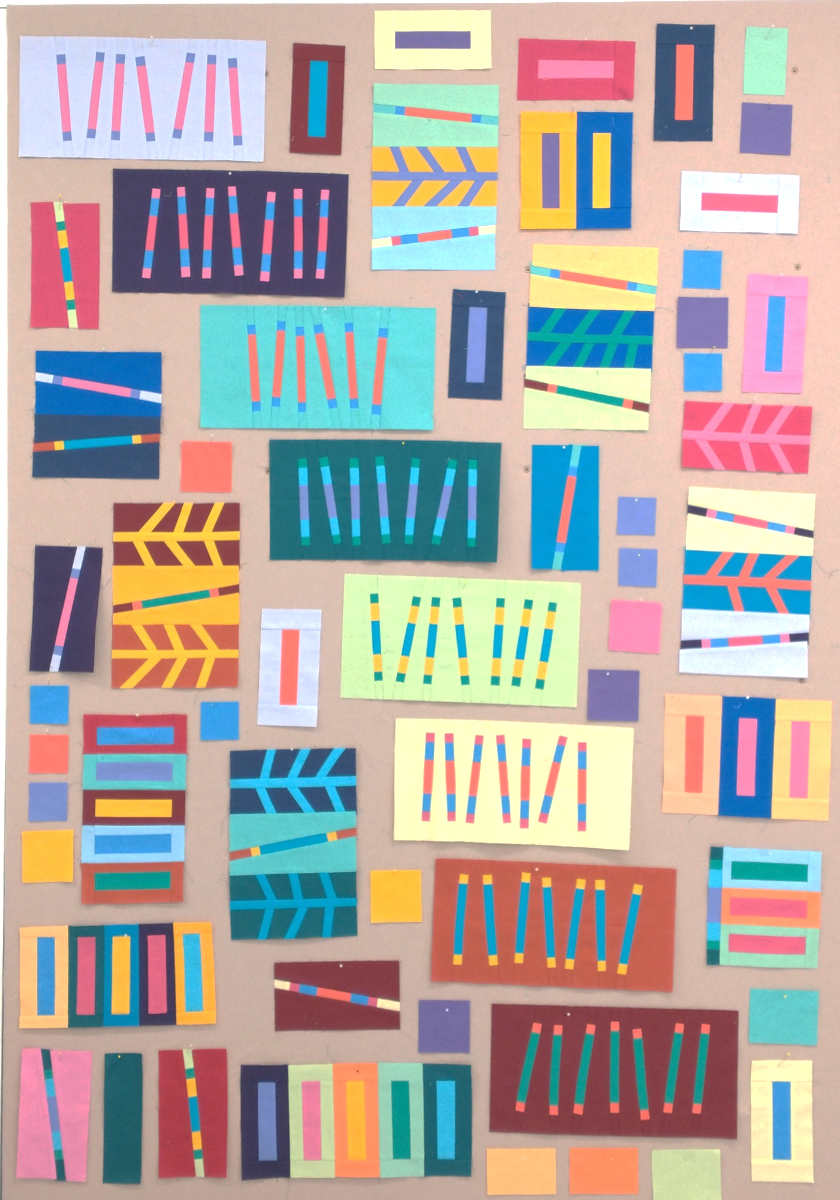
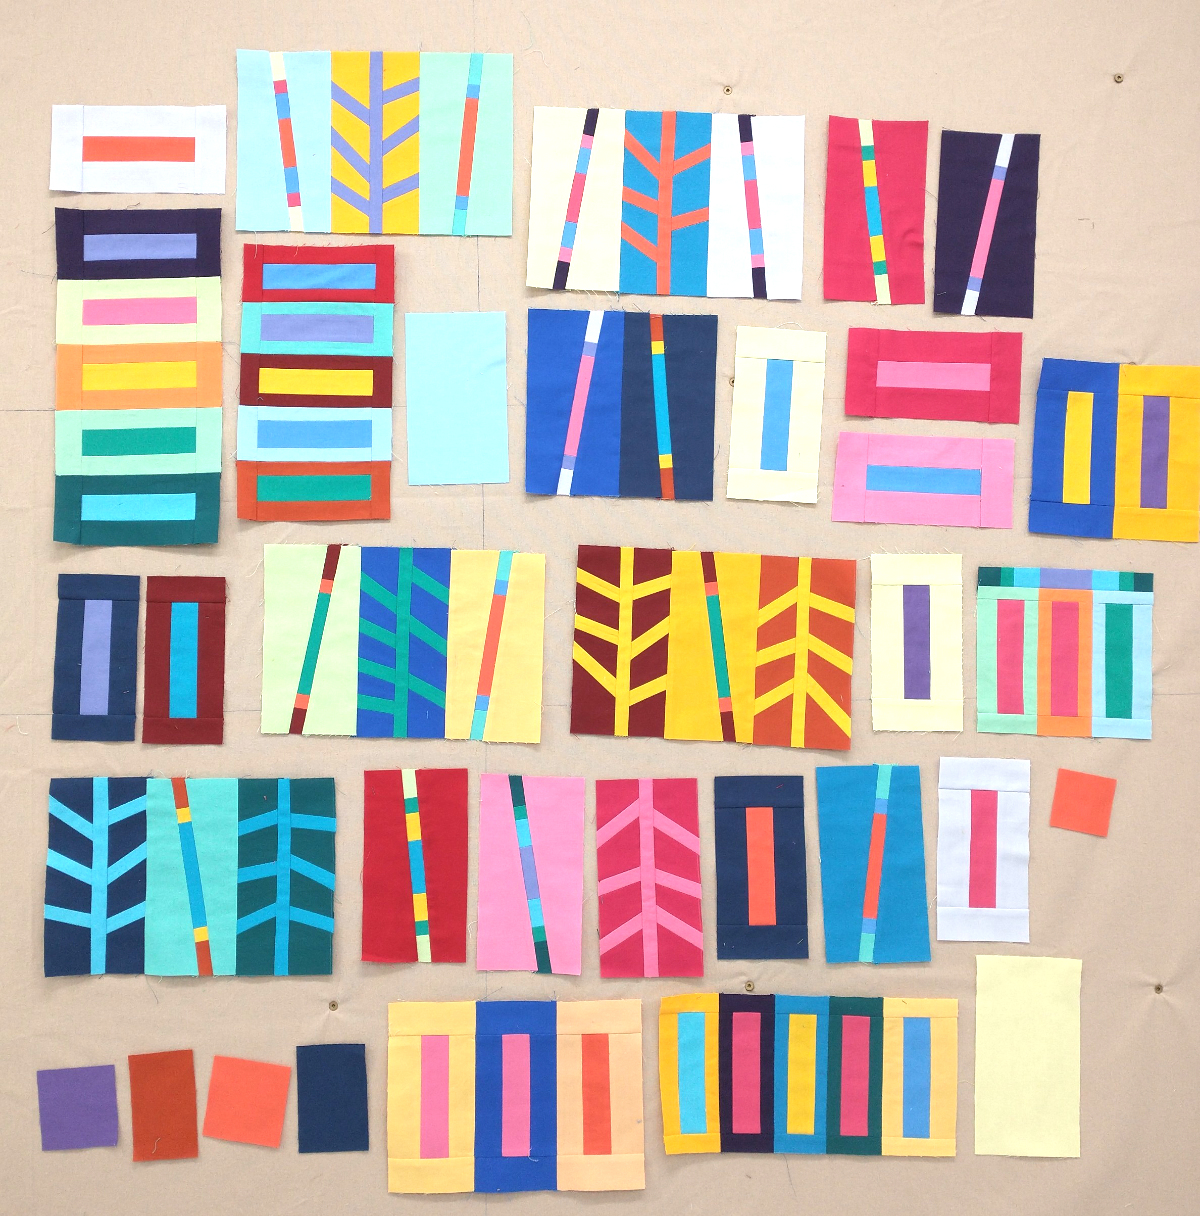
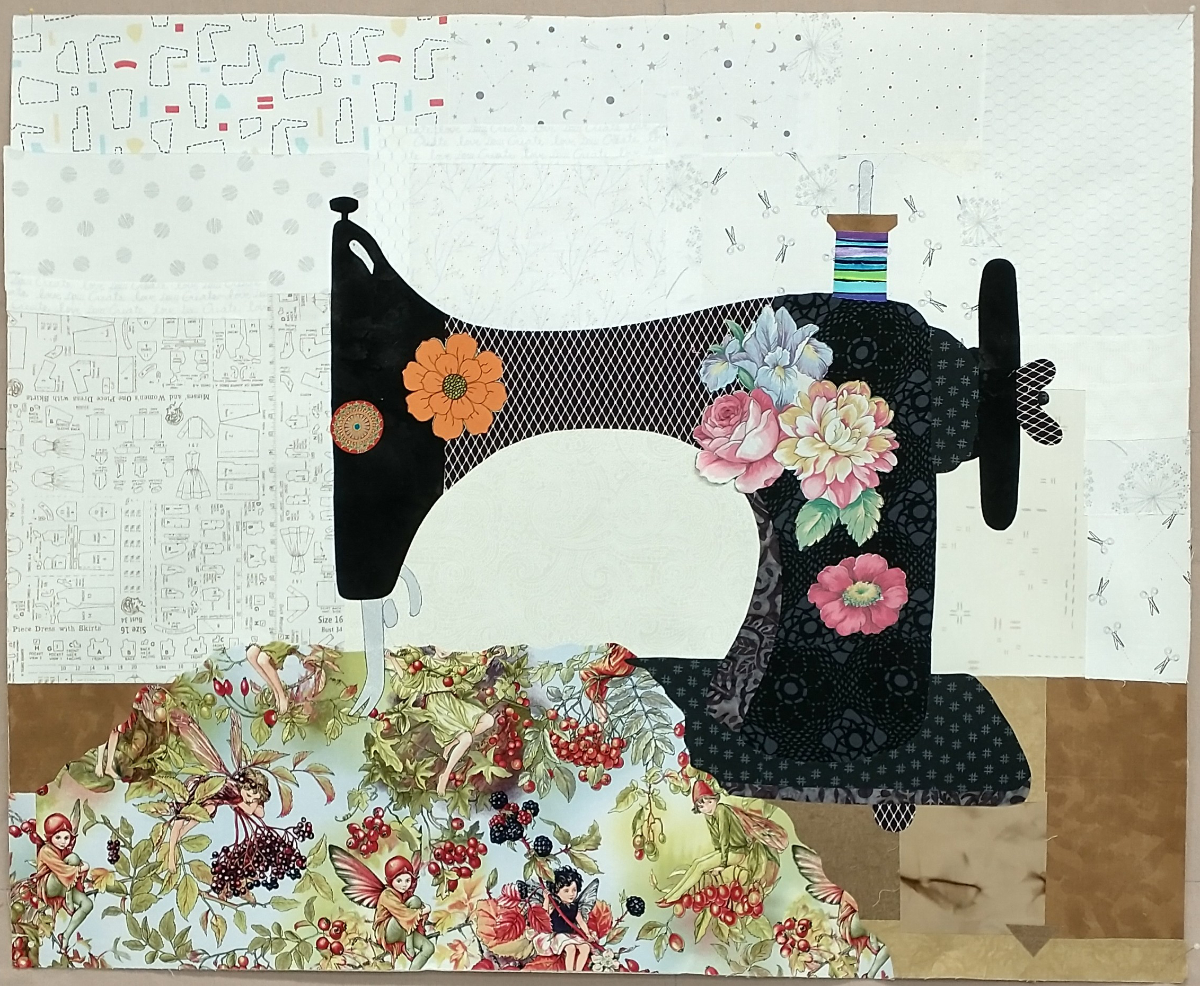
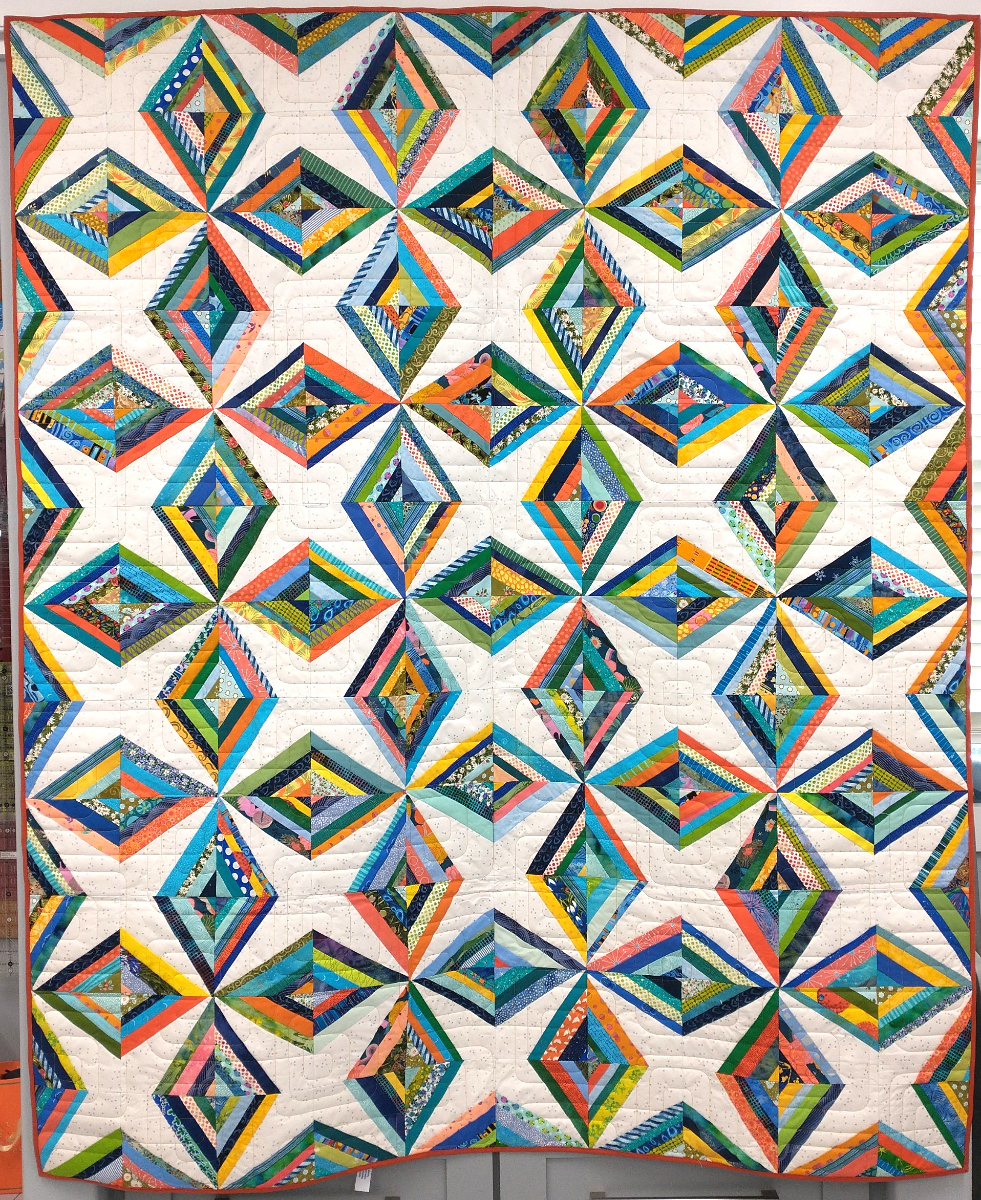
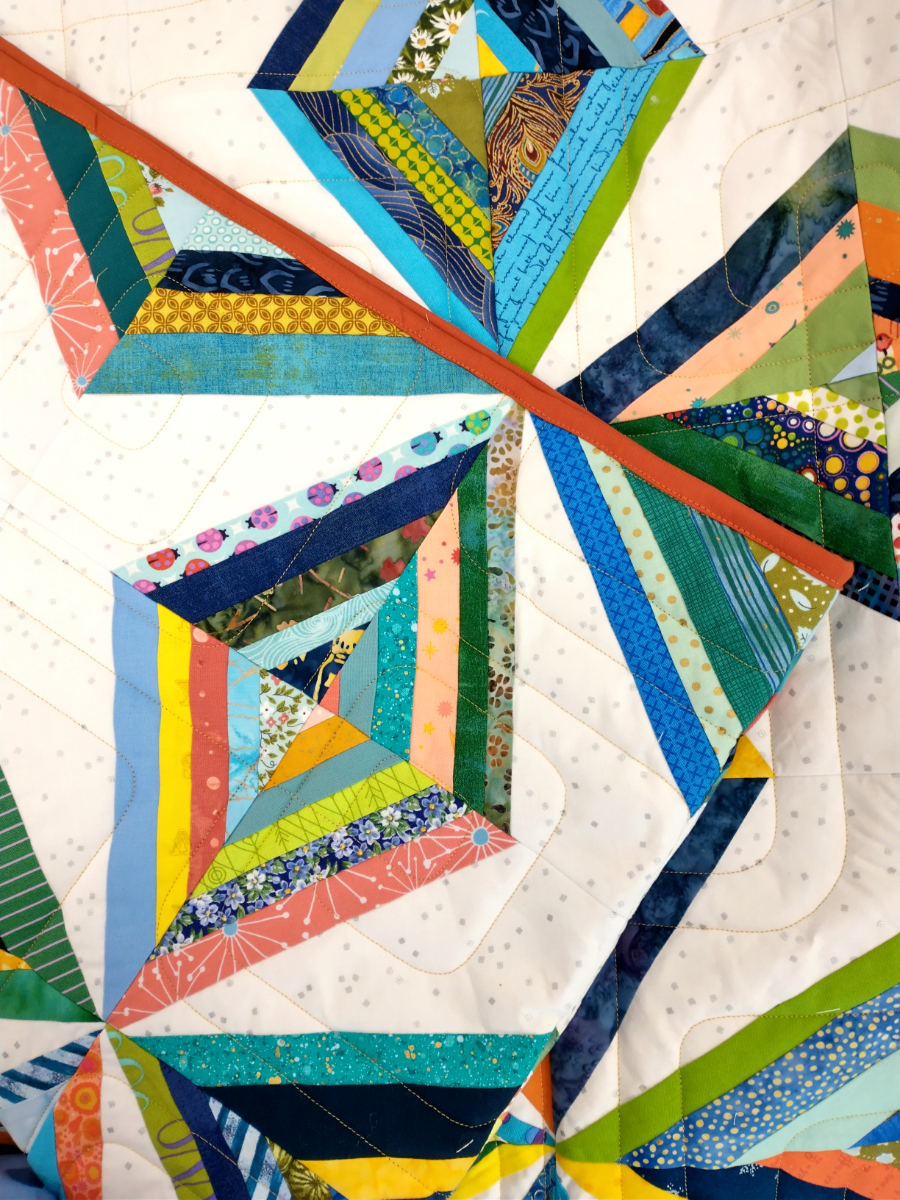
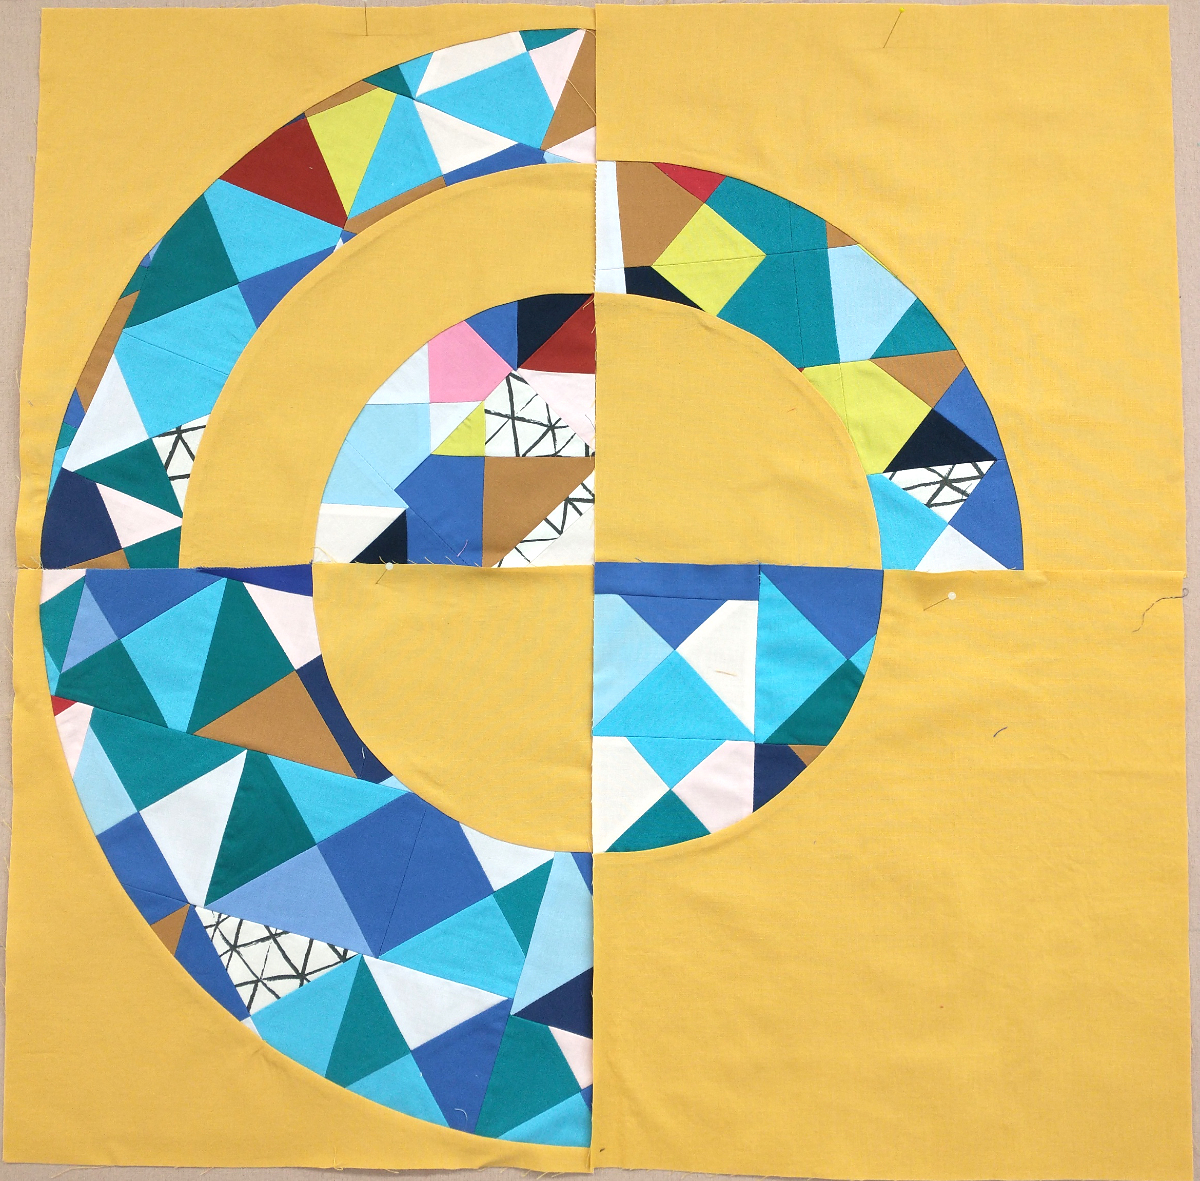
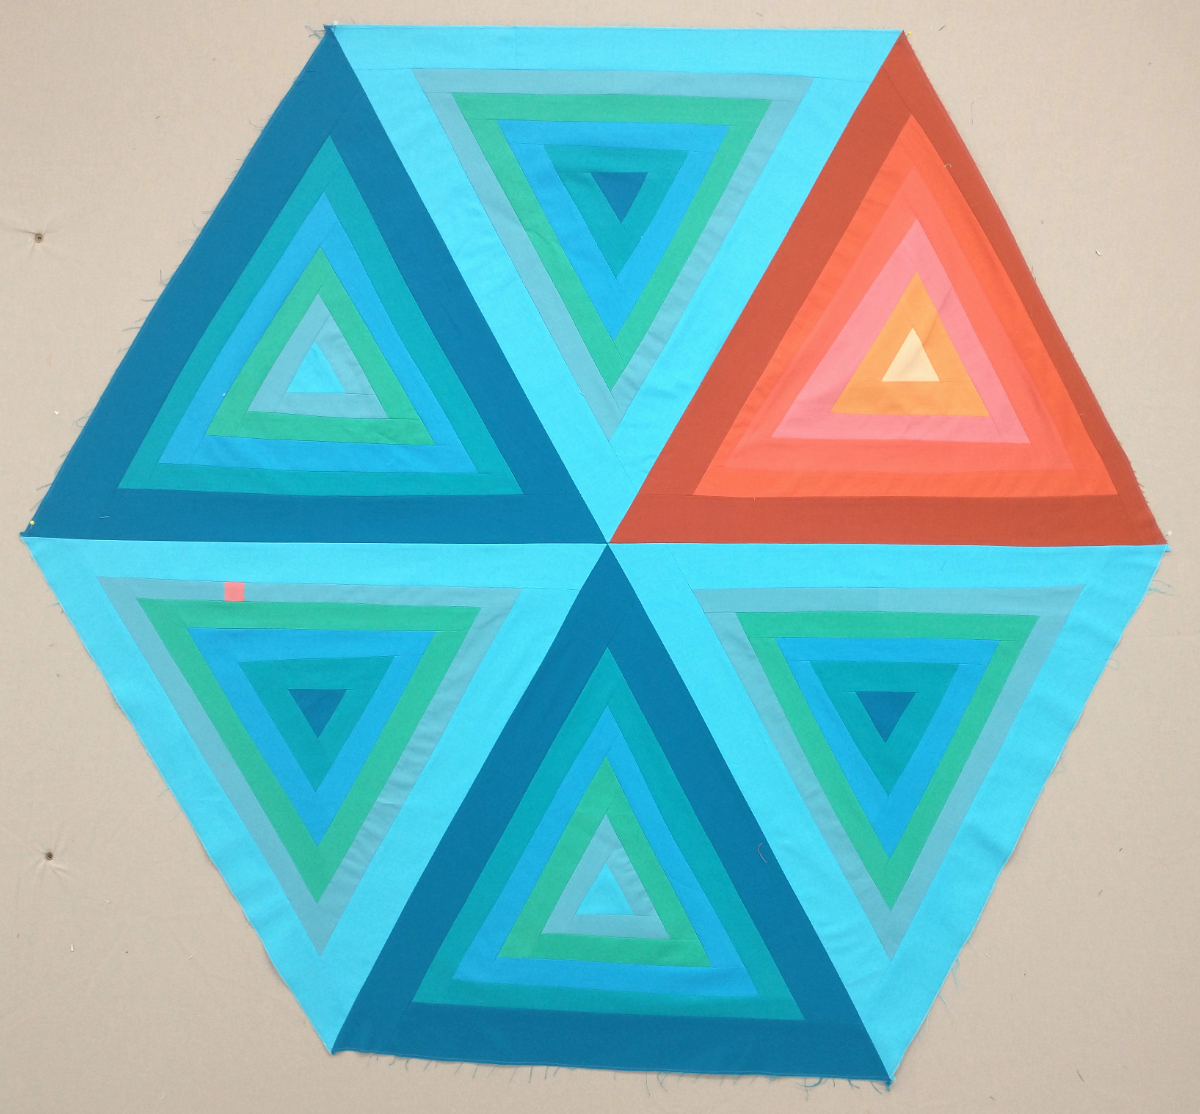
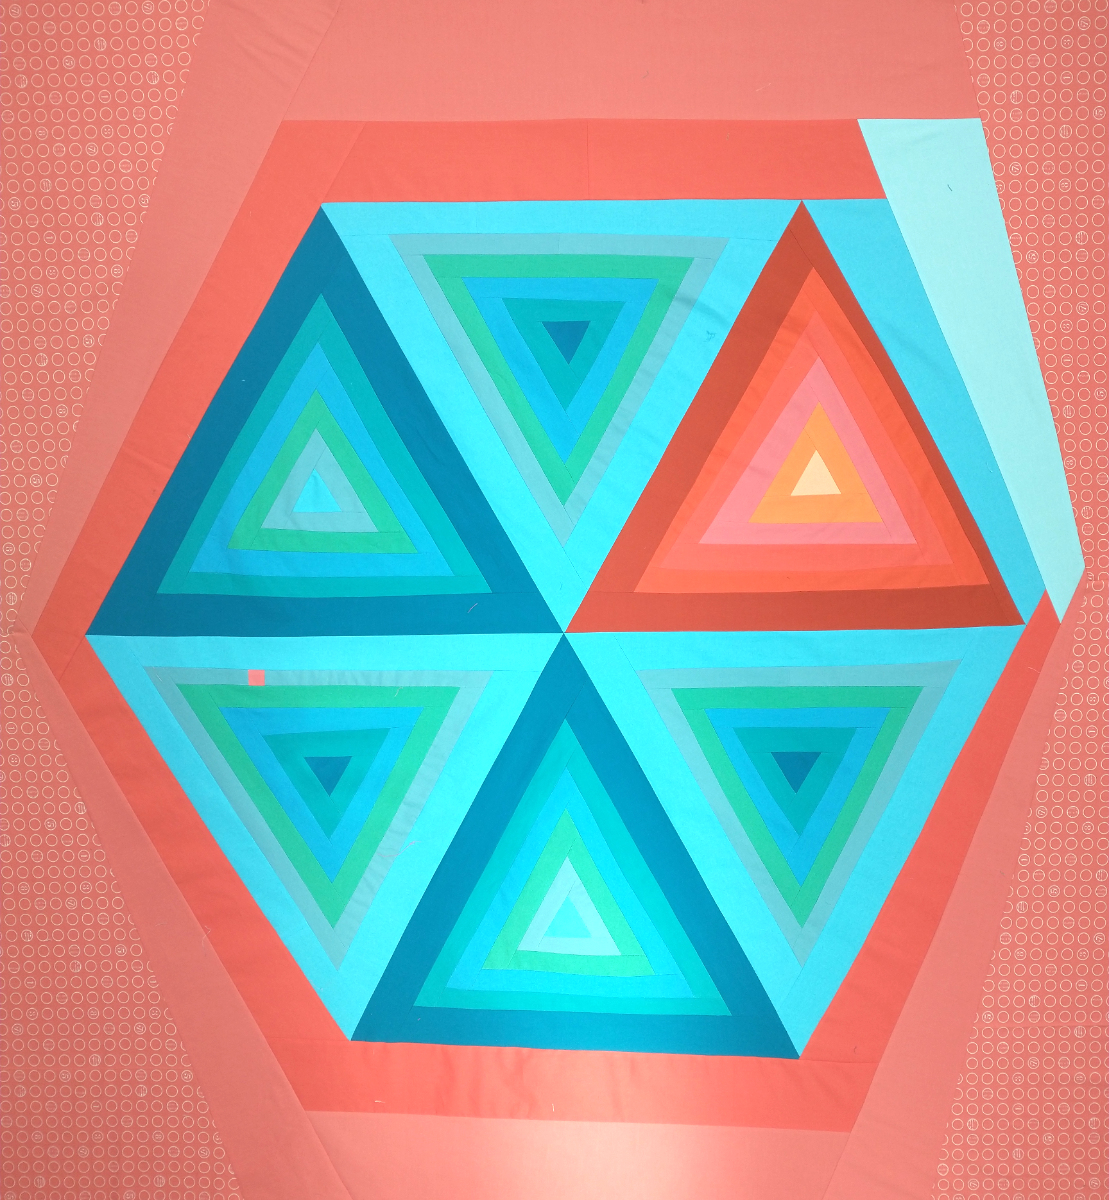
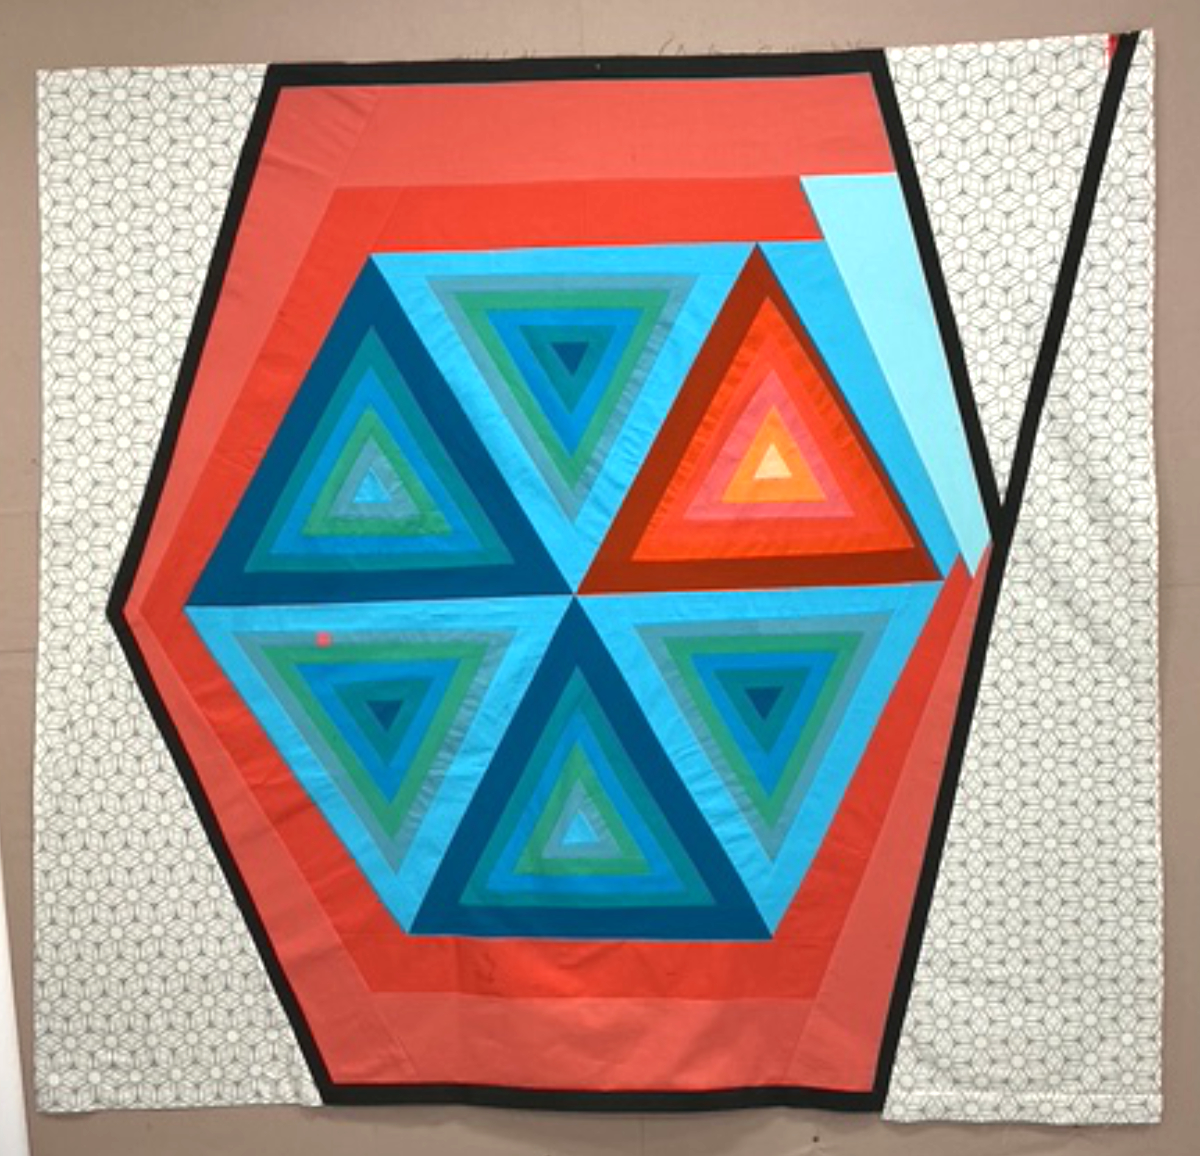
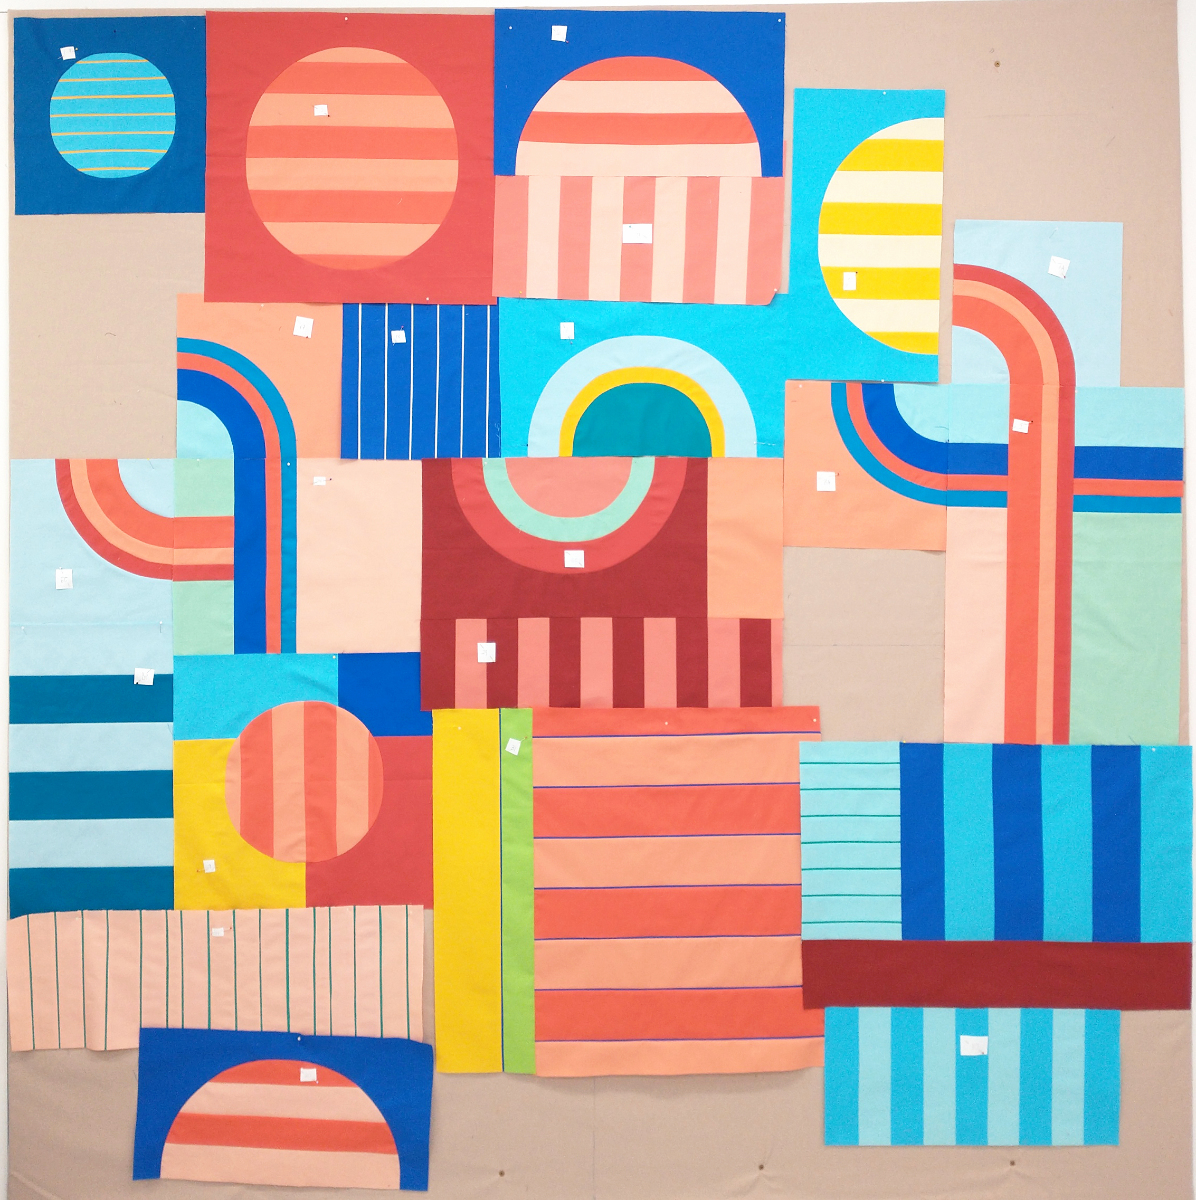
First, the really fun (but challenging) quilt: I’m making Cassandra Beaver’s 2026 Block of the Month (BOM). I don’t usually do BOMs because I prefer not to put things away every month, then get them all out again, etc. However, when she offered mid-year sign-ups I decided the design was just too good to pass up. You can see it here. Be sure to scroll down and see the picture of her whole quilt. It’s gorgeous. I emailed for permission to copy her picture here but haven’t heard back, so you’ll have to use the link to see it.
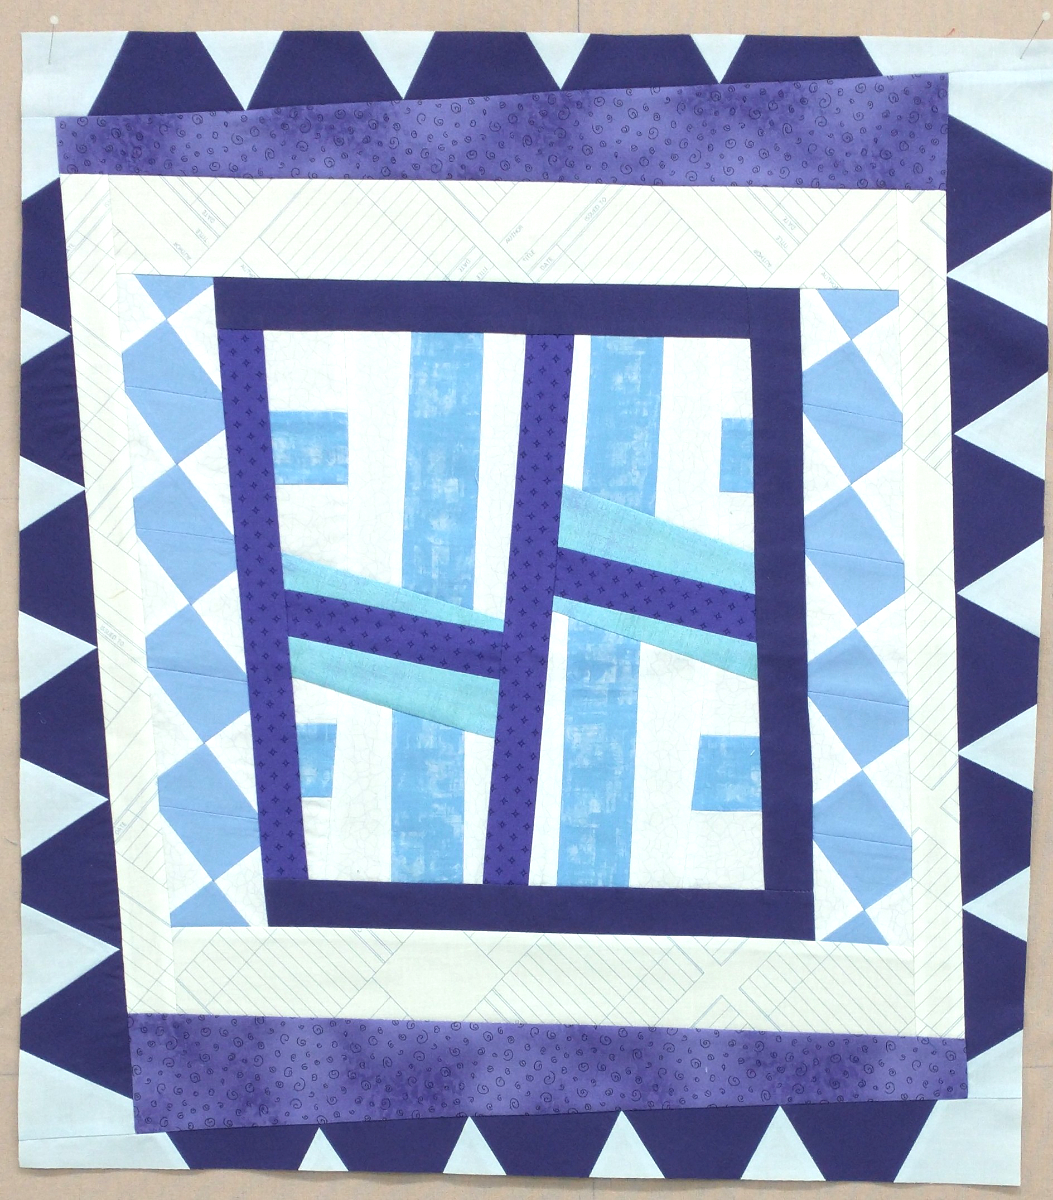
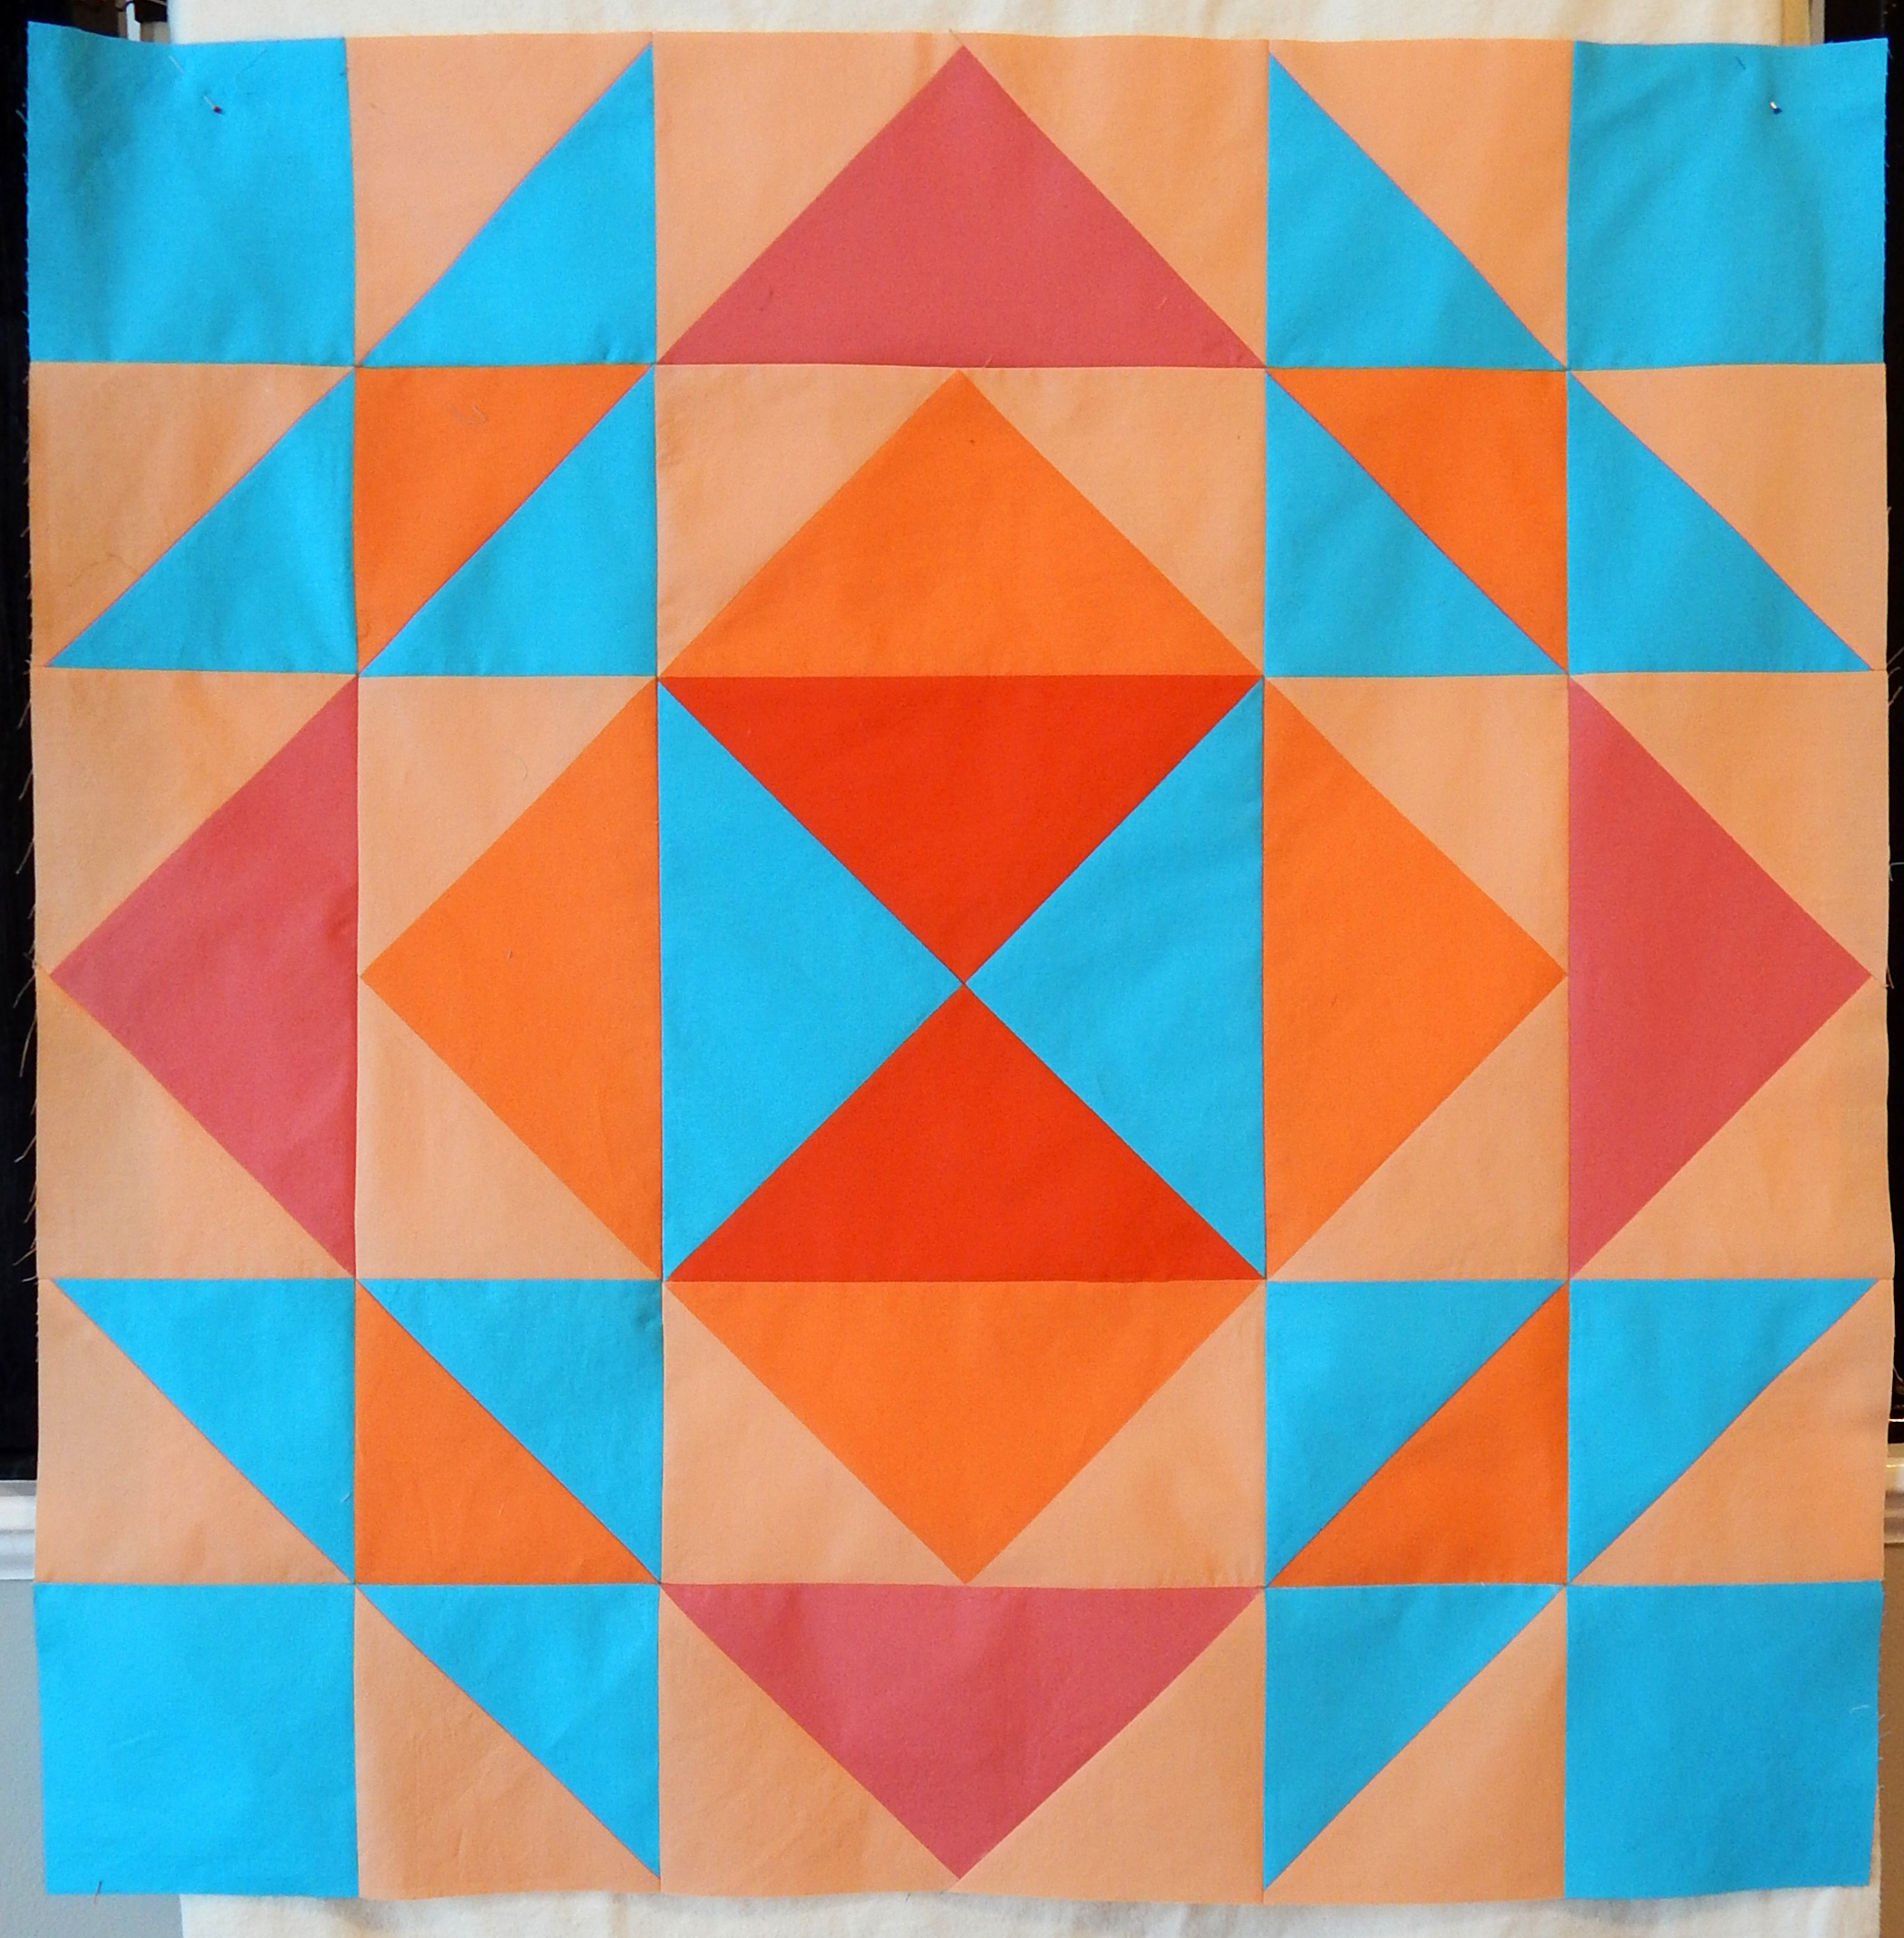
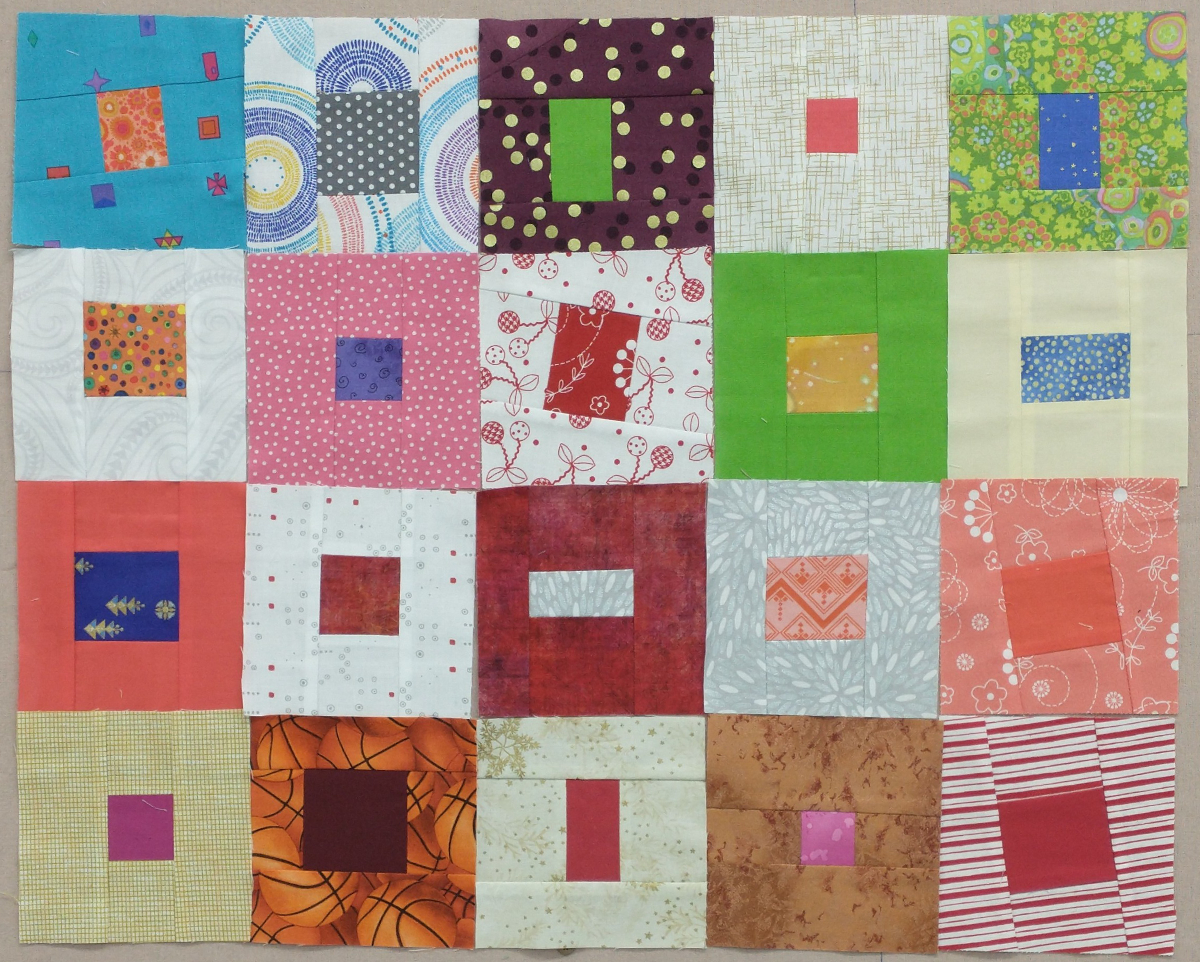
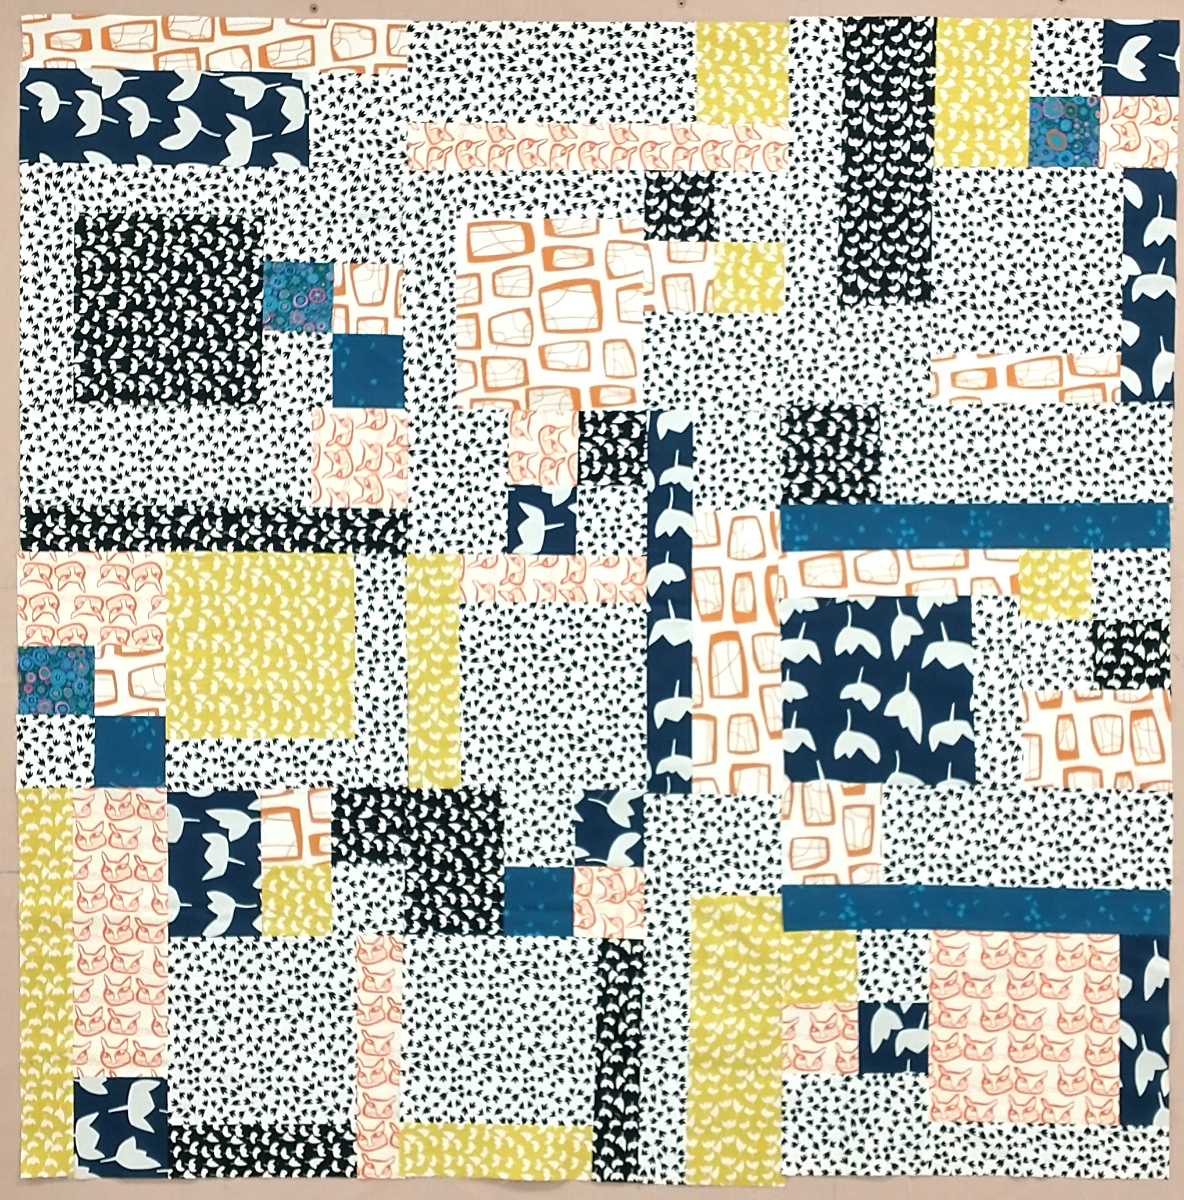
The advantage of signing up mid-year is that I got all of the first six months at once, so I didn’t have to fiddle with it so much. Her instructions are excellent. Here are my blocks for the first six months.
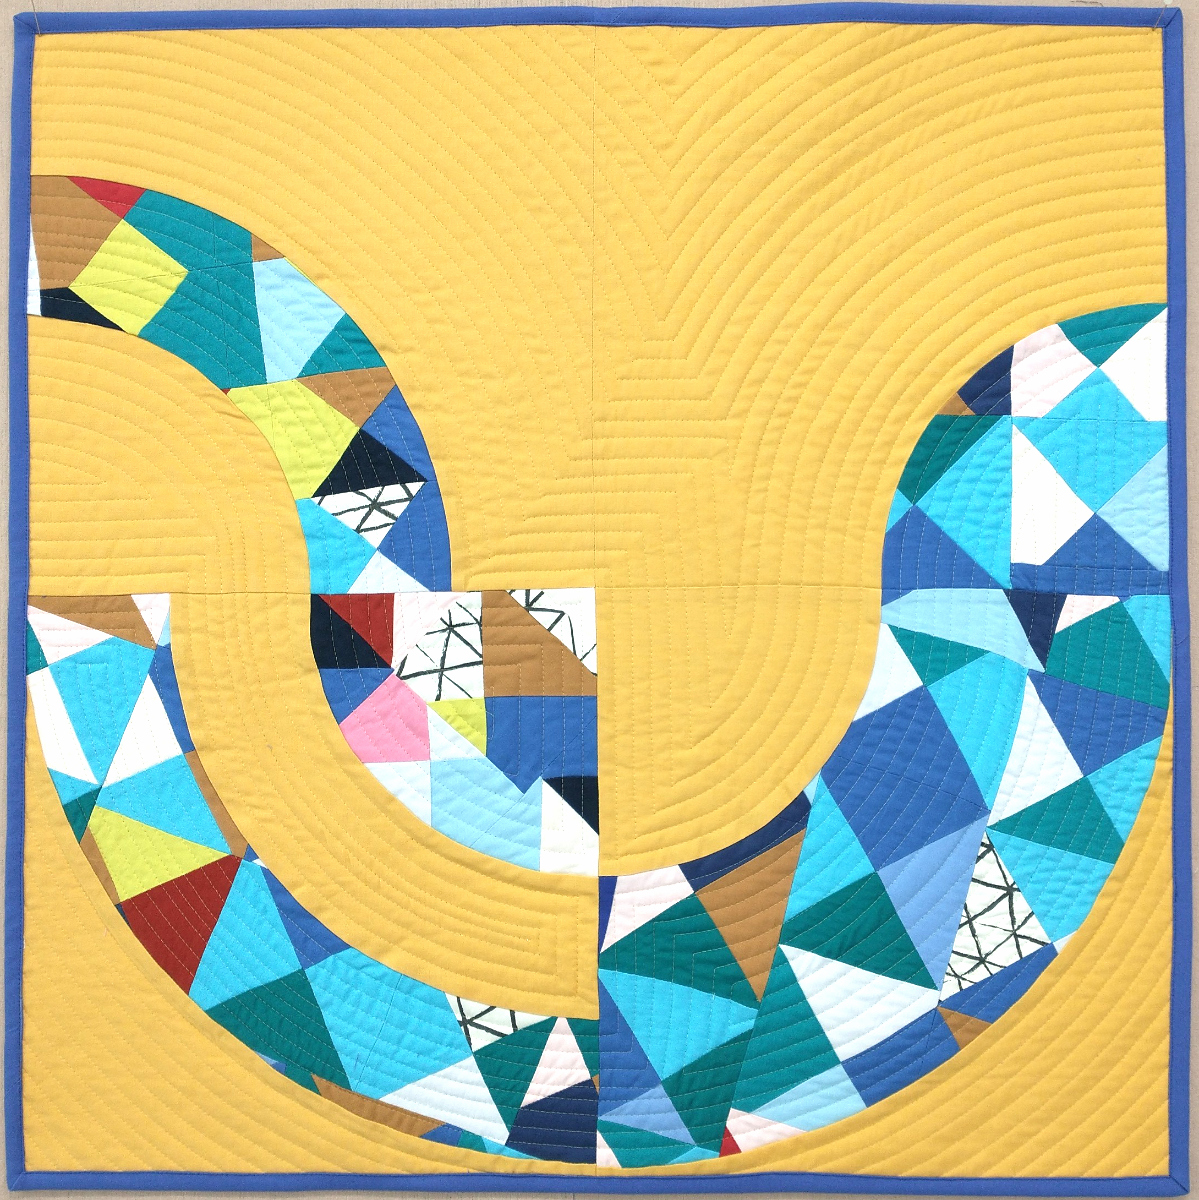
One pundit commented that “the little white squares” are a nice design element, but of course they’re the block numbers!
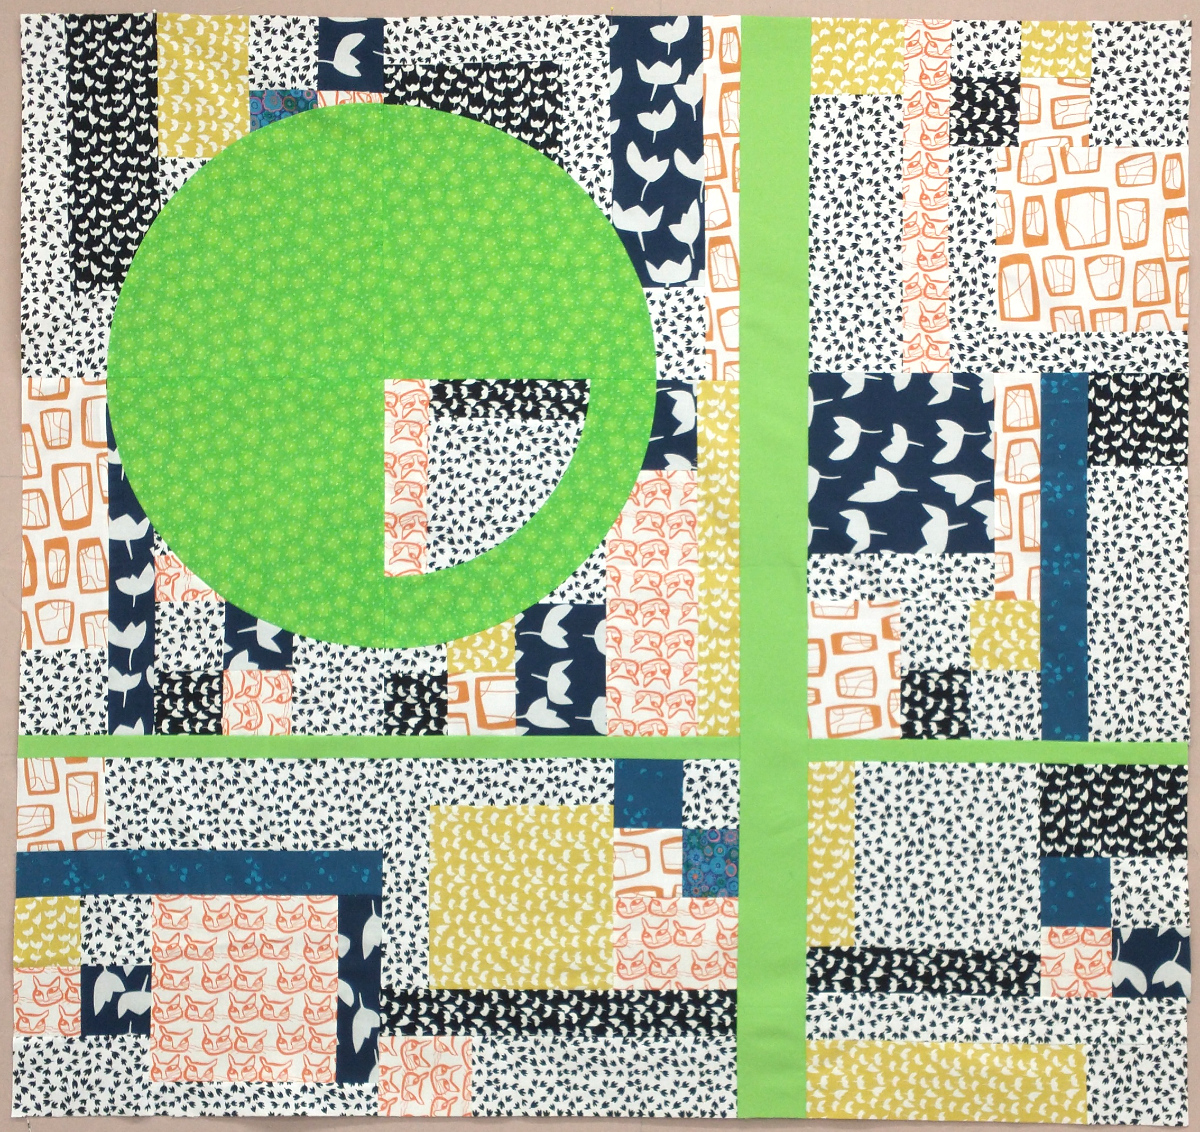
This is not the final arrangement. The quilt will be queen size, so I’ll have to put it on the design wall in sections when it comes to final assembly.
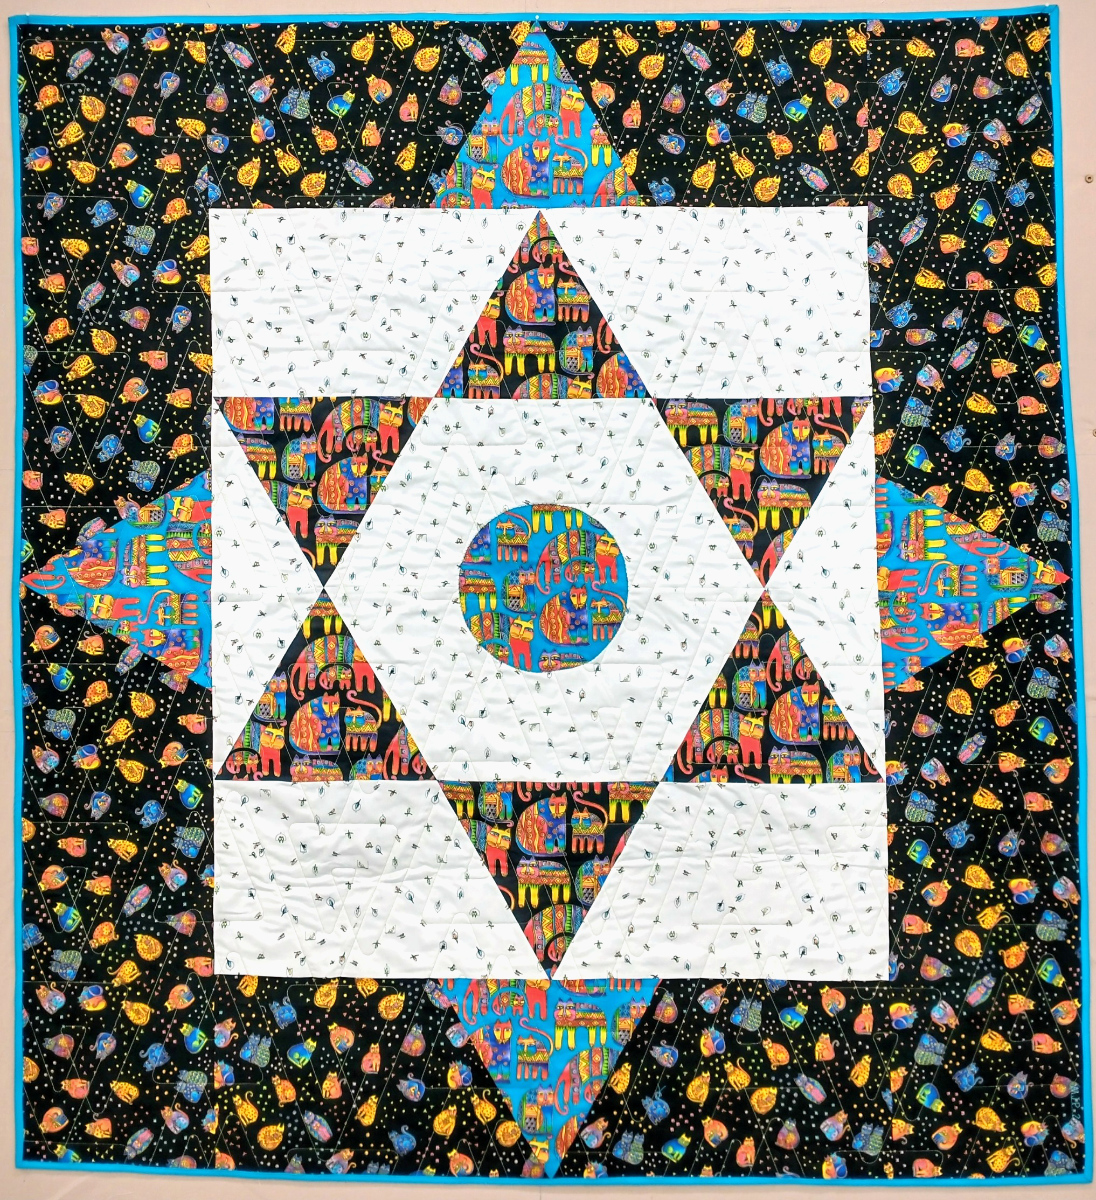
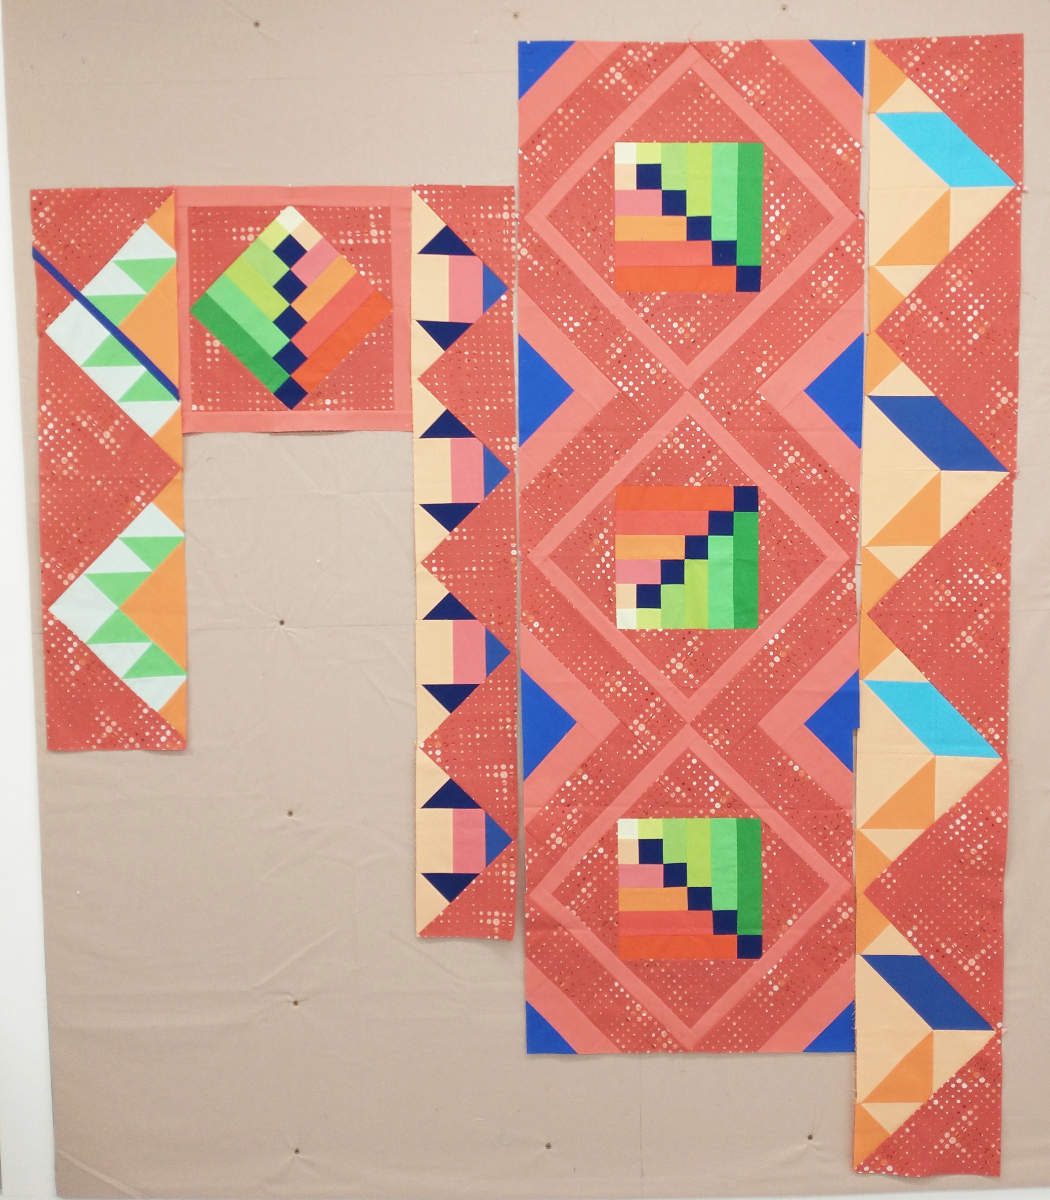
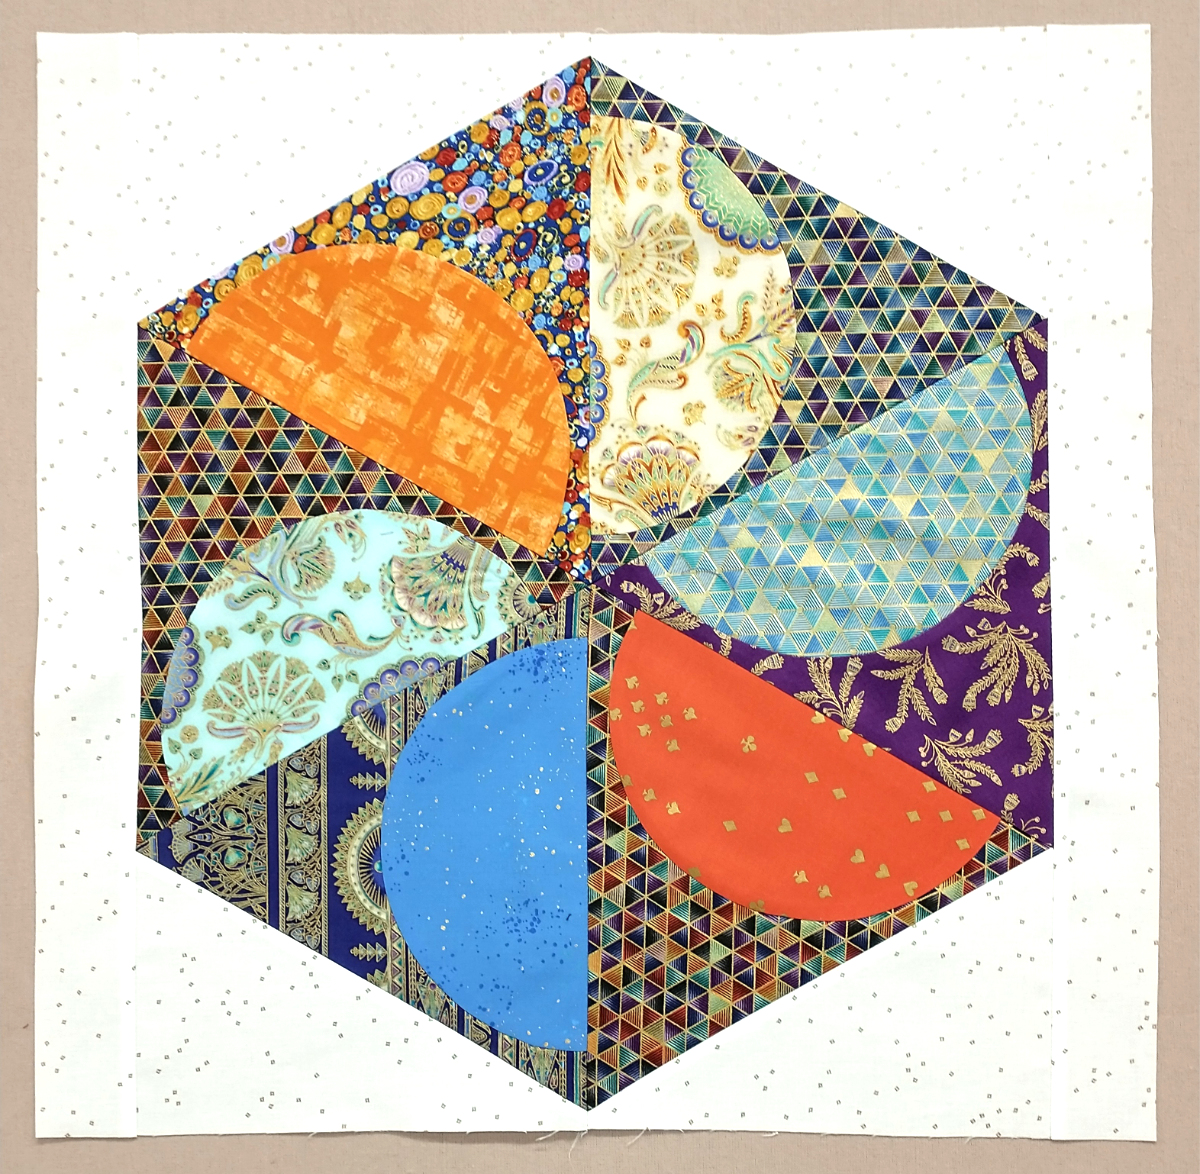
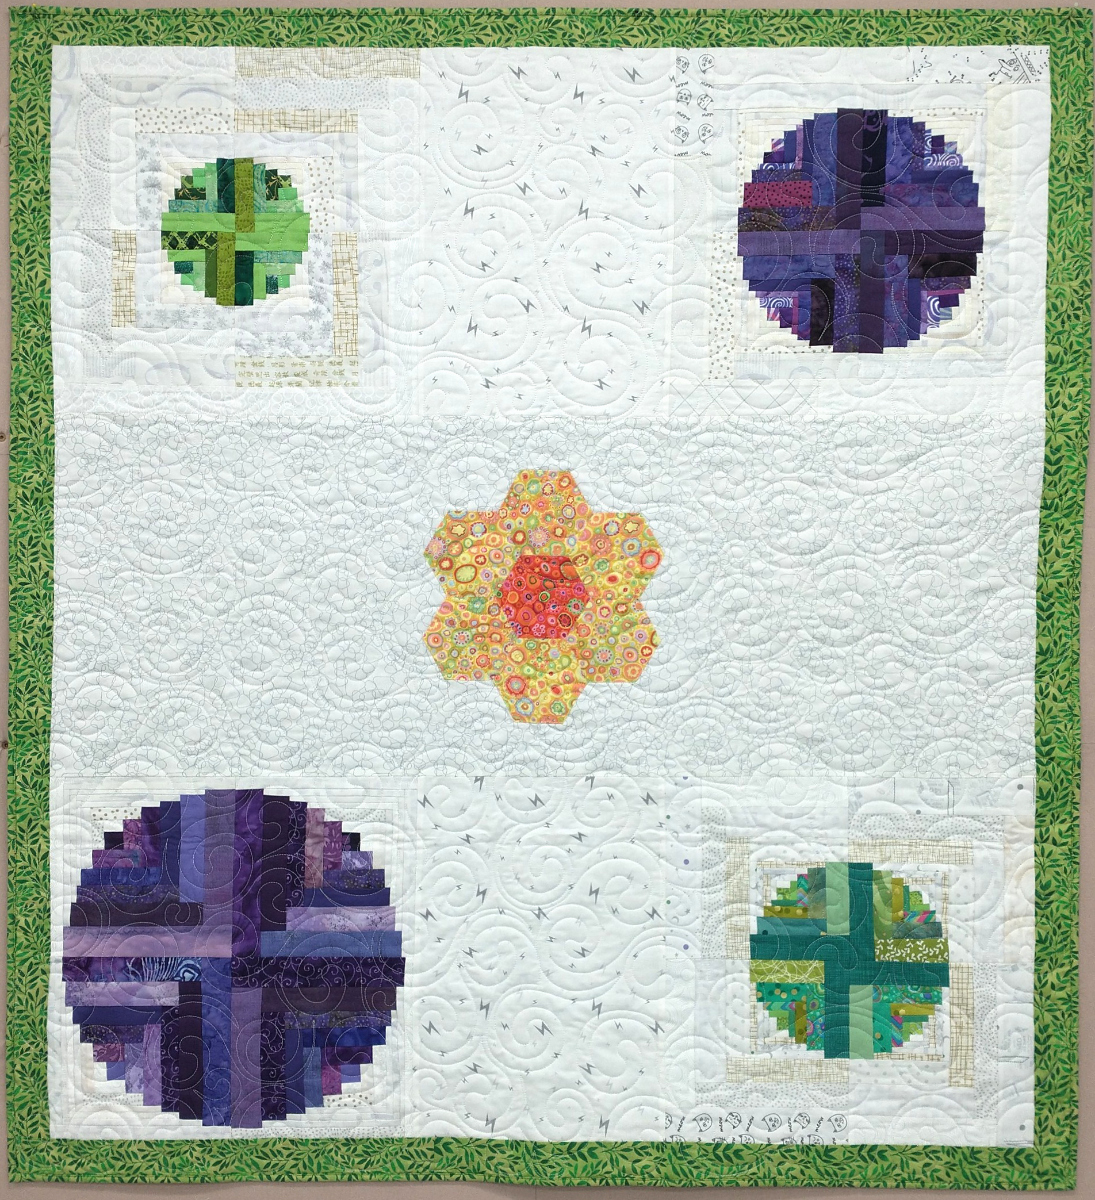
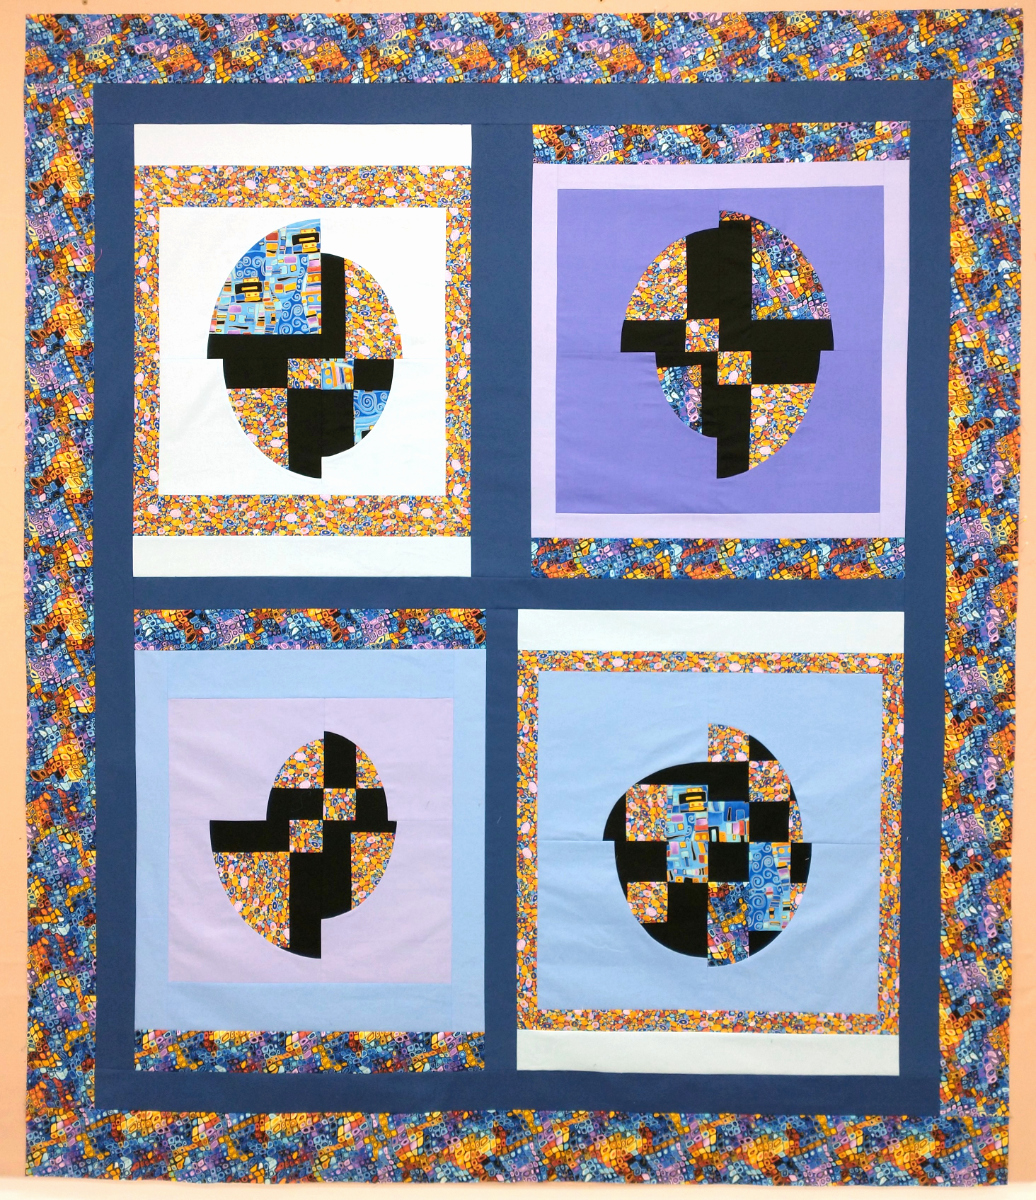
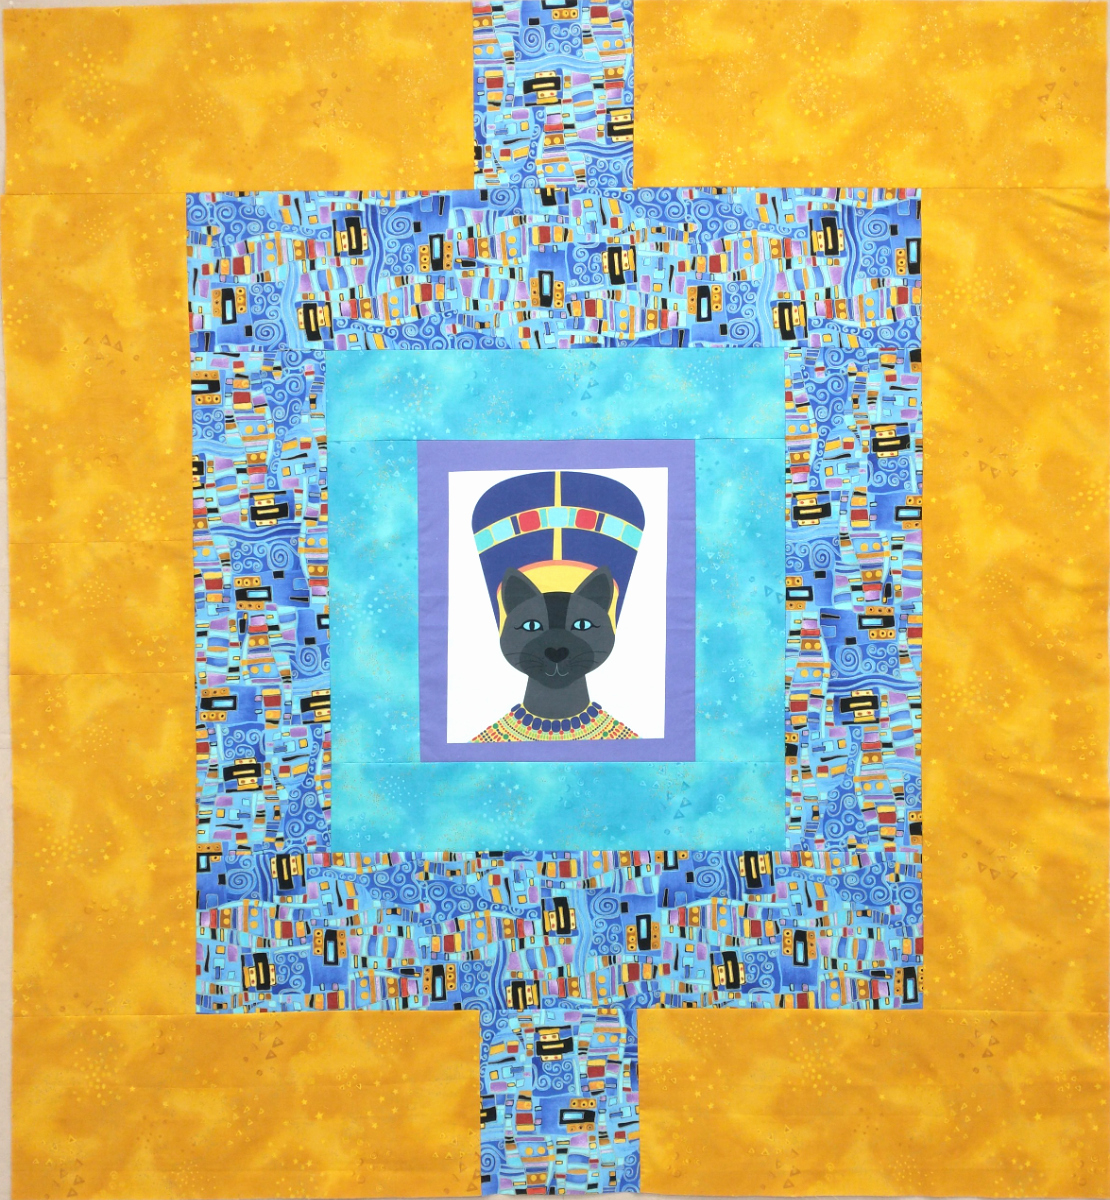
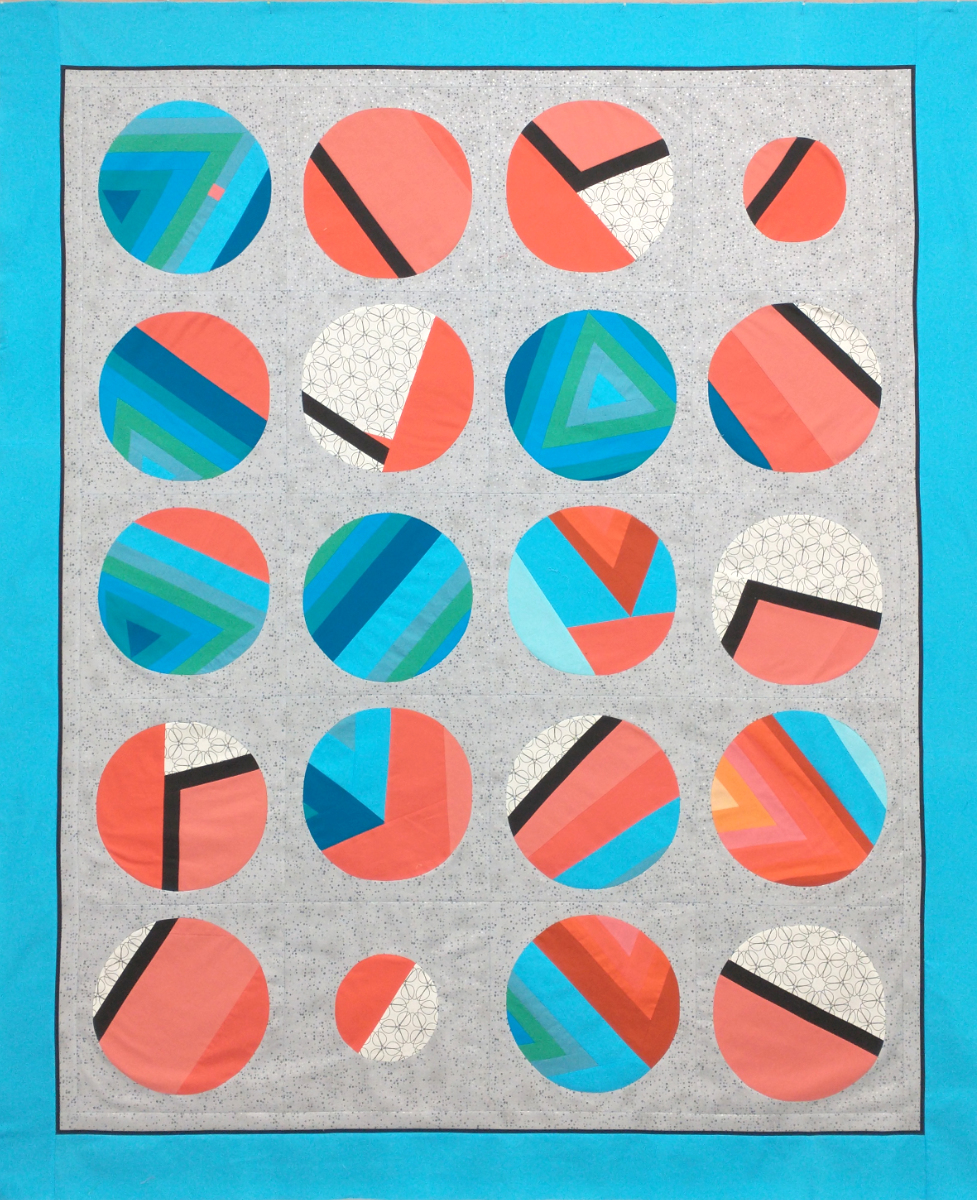
I absolutely loved doing those blocks, but they were challenging. So as a little easy project afterward, I made this quilt.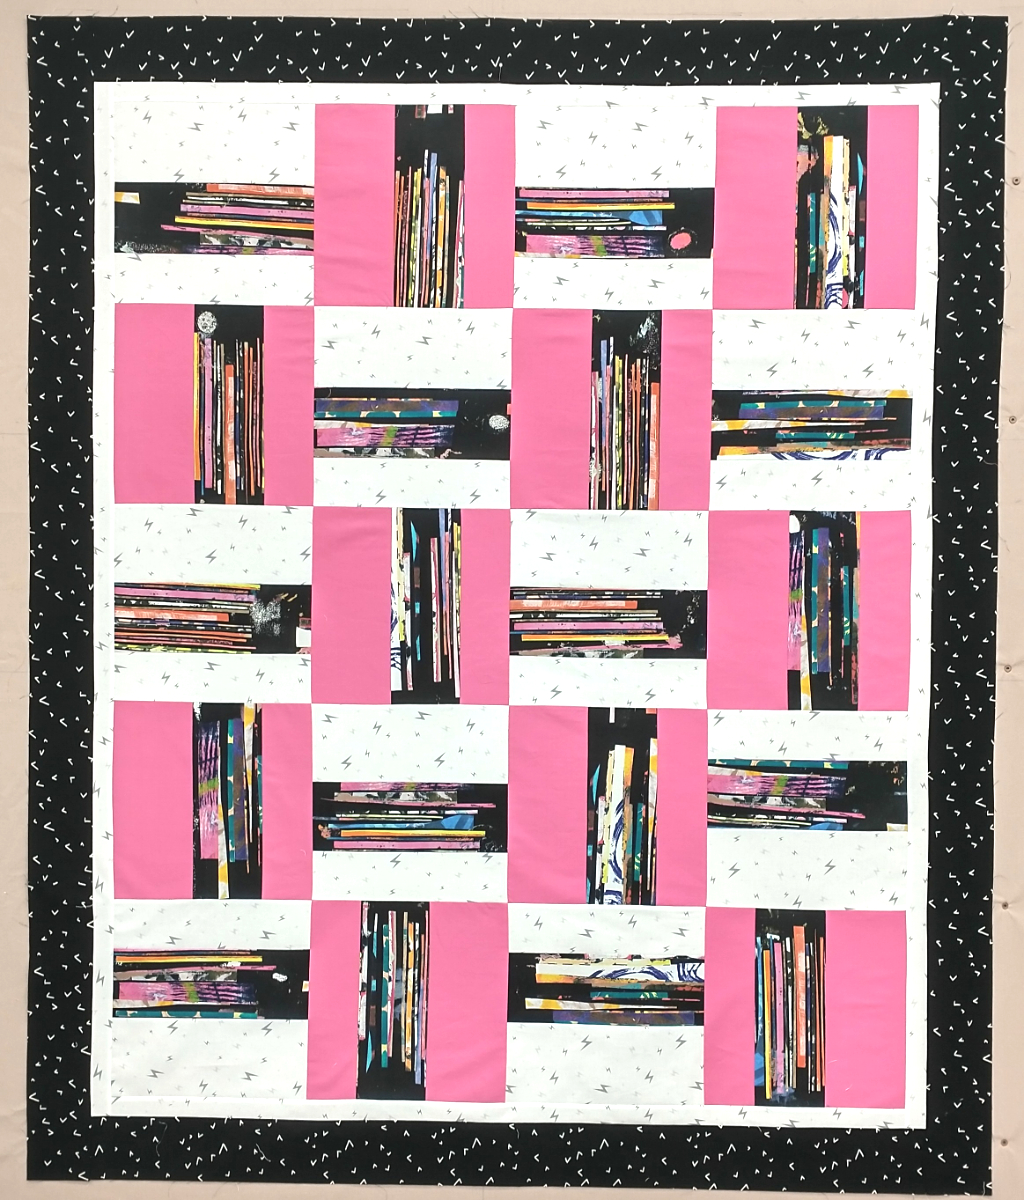
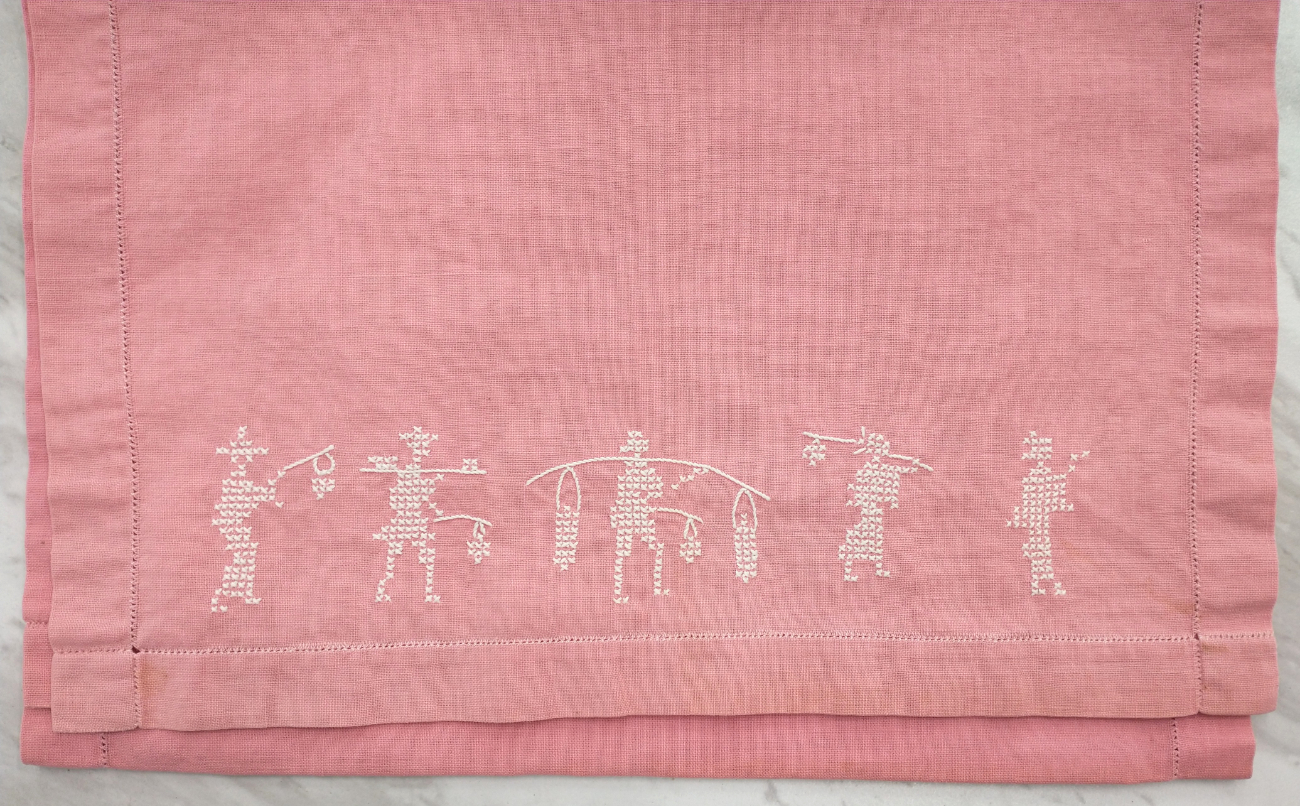
The feature fabric was one of those “must have” things discovered on a visit to distant shops and it’s been waiting for about 18 months for inspiration to strike. This picture shows only the quilt top. It will be passed on (with batting, backing, and binding all ready) to the friend who quilts our donations for Ronald McDonald House.
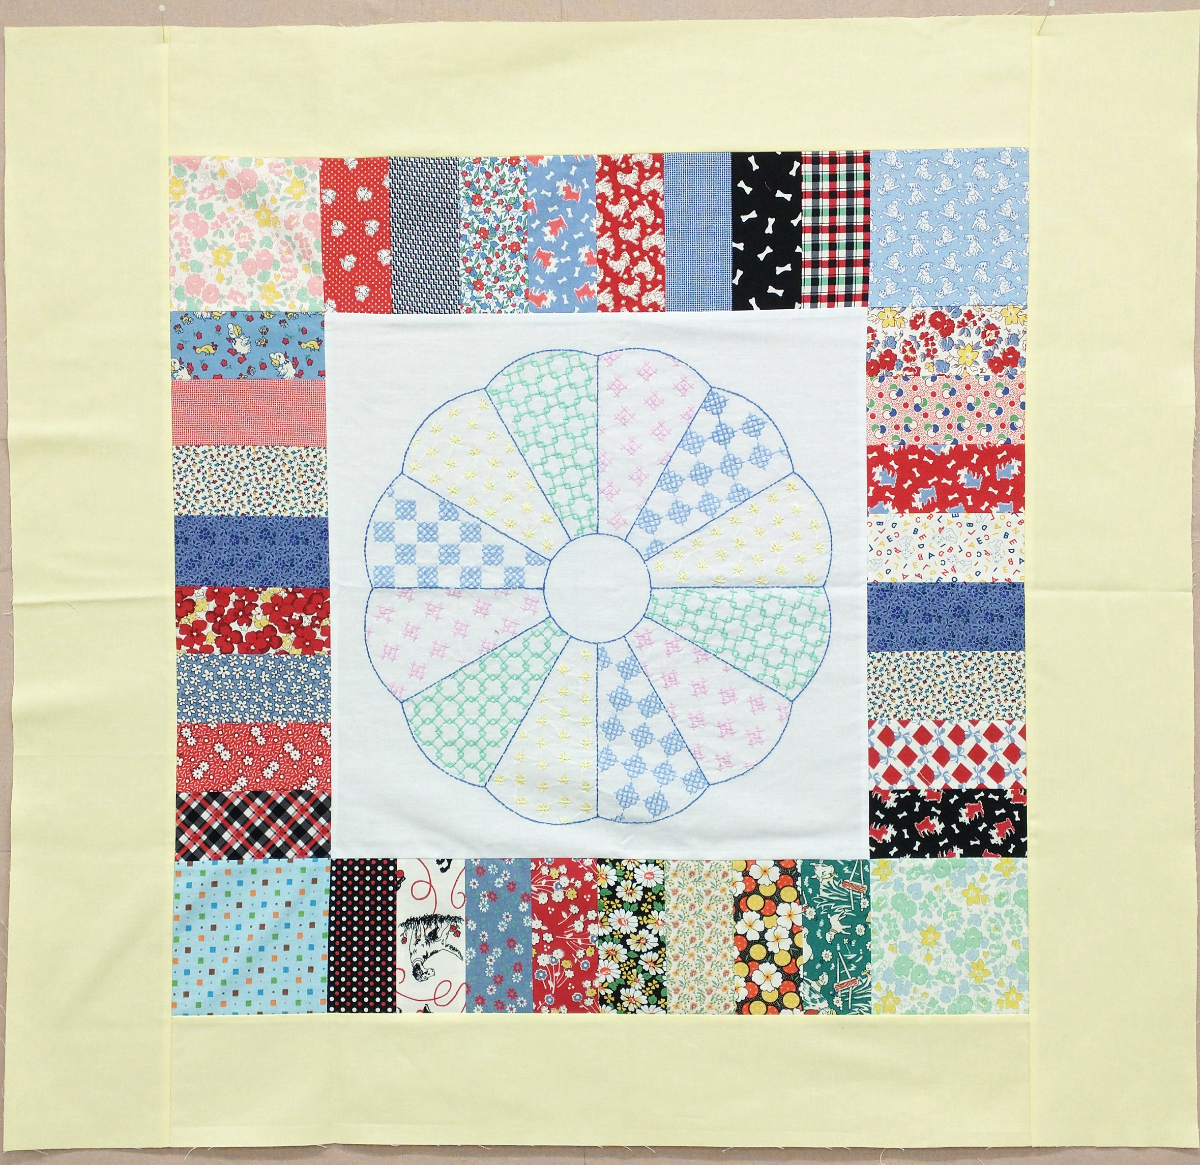
What’s your favorite quick-and-easy quilt design? I’m always looking for ideas.