The Ultimate Quilt Finishing Guide is not exaggerating in its name. I was not immediately enthusiastic because it isn’t a “modern” quilt book, but it really is “ultimate” in being very comprehensive. Pretty much everything you’ve ever learned or wanted to know about borders, batting, backing, and binding is in this book, whether you’re a modern or traditional quilter.

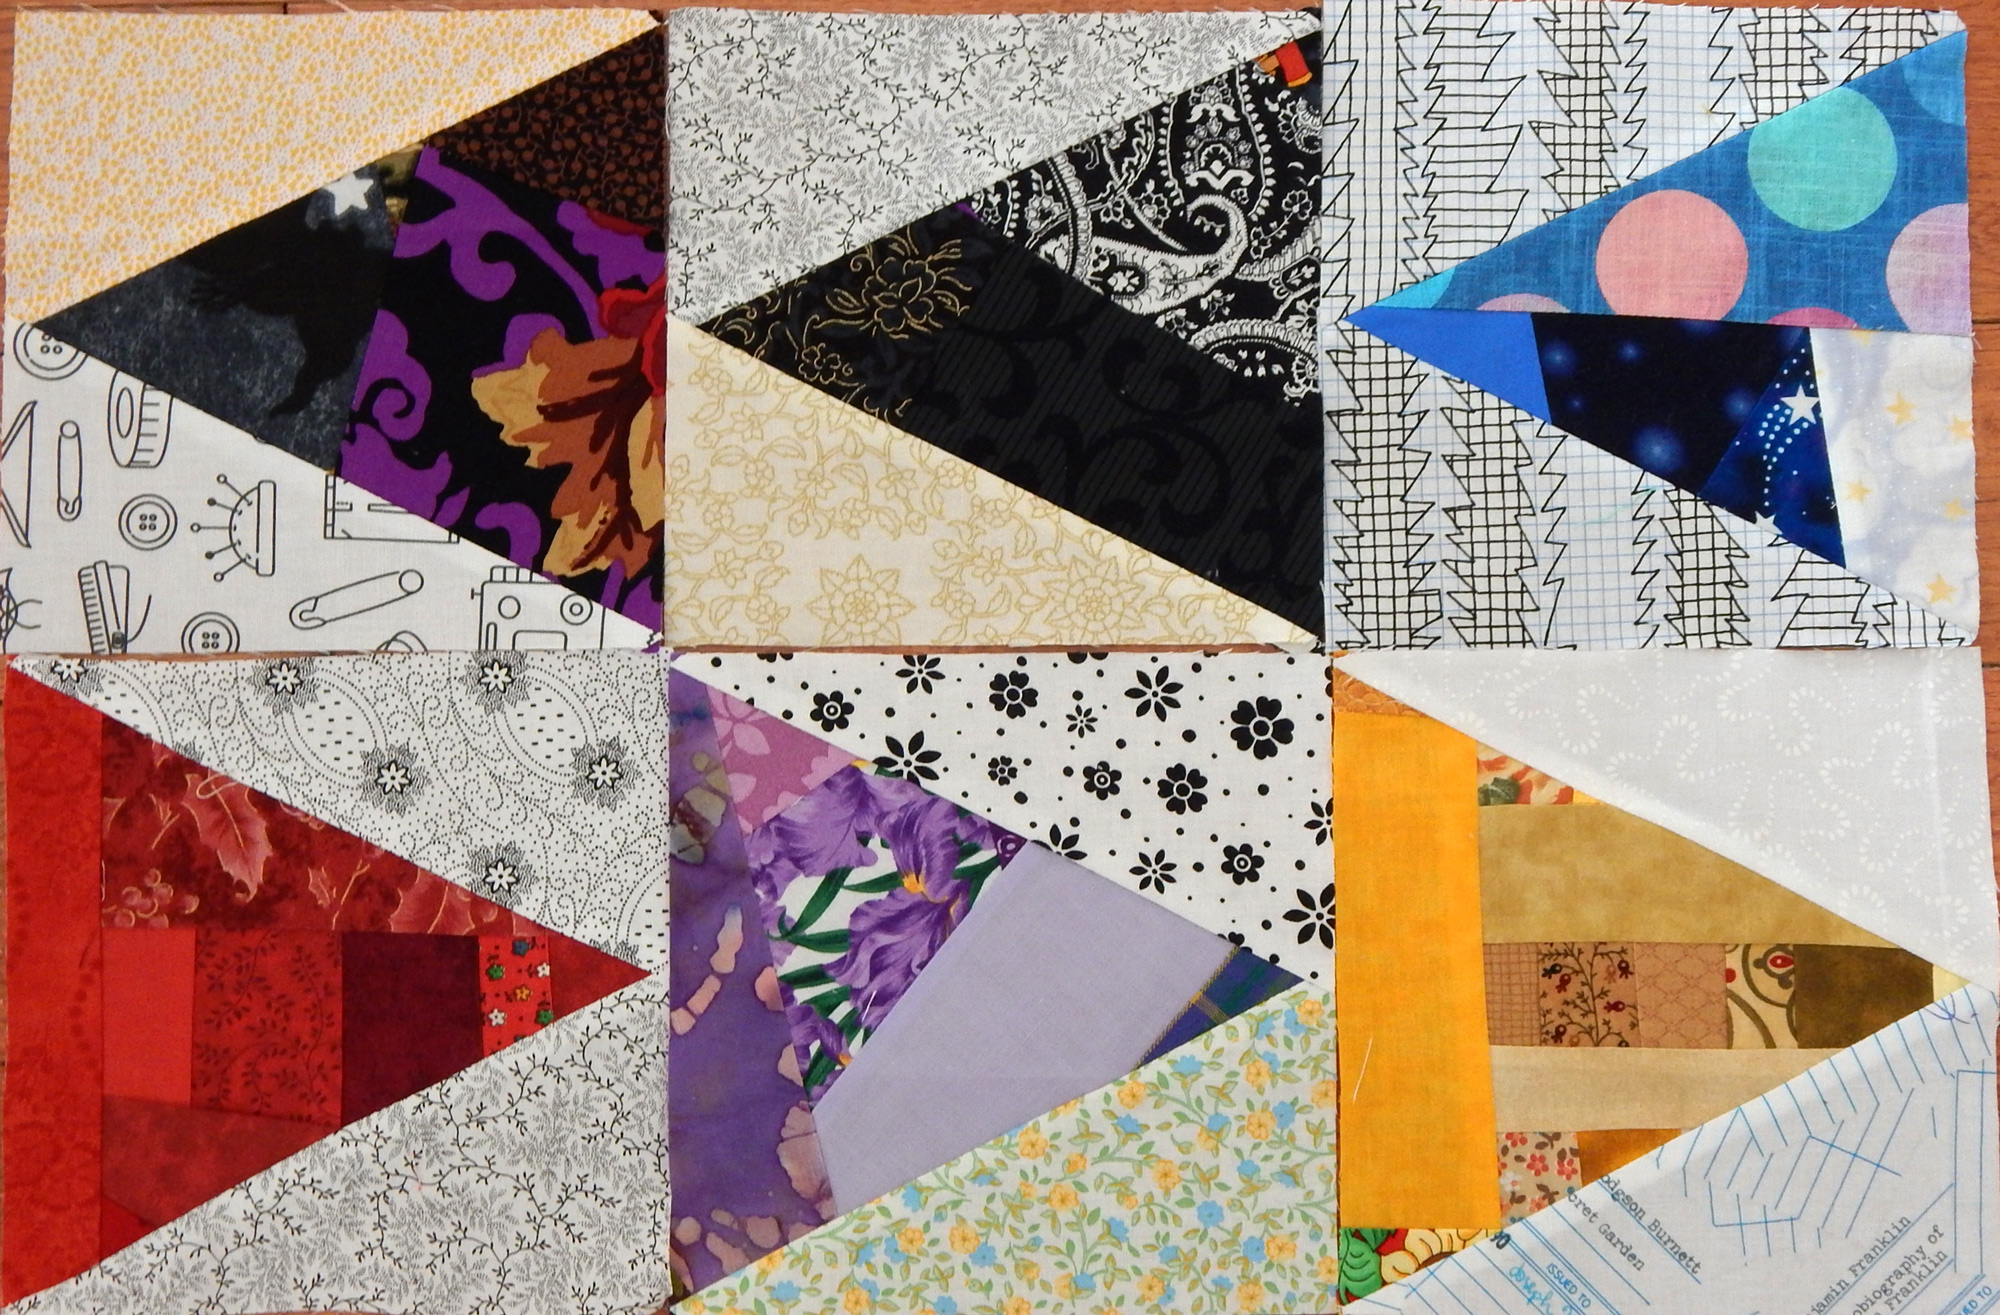
Photo courtesy of C&T
It’s a single resource for all the stuff I keep forgetting, like how to make bias binding from a square of fabric.
I also like the book because the authors often agree with me 😀 For example, they suggest choosing border fabric after completing the center of the quilt. This has been my method for years unless I have a specific reason for buying the border fabric at the same time as the fabrics for the center.
There is a section on squaring up the quilt top when it’s finished, and another section on squaring the quilt up after it has been quilted. This is a major hassle for many quilters, so it’s nice to have it all clearly explained and well illustrated.
There is a discussion of how to measure for borders and then attach them without distorting the edges of the quilt. I should have read that years ago, before I learned the hard way!
Other helpful topics include:
- Choosing batting
- Joining batting pieces
- Binding for both plain and fancy edges
The only thing I disagreed with in the entire book is the method for joining binding ends. I’m sure the way described in the book works just fine, but I love Susan Cleveland’s “Kiss, Twist, and Wiggle” method.
An extensive section covers just about every type of border imaginable, which I particularly like. I certainly could draft any of these using EQ (Electric Quilt design software), but here they are with an explanation of how to do the math to make them fit! That last is the most important, and there are practical work-arounds when needed. For example, when a border is one that makes turning corners difficult, the authors suggest using corner squares. I like it.
This is a comprehensive guide that I’m happy to add to my quilt library. Although most of the samples in the book are more traditional looking, the authors do include many borders that would work for modern quilts, especially as the modern quilt movement seems to be diversifying a bit.
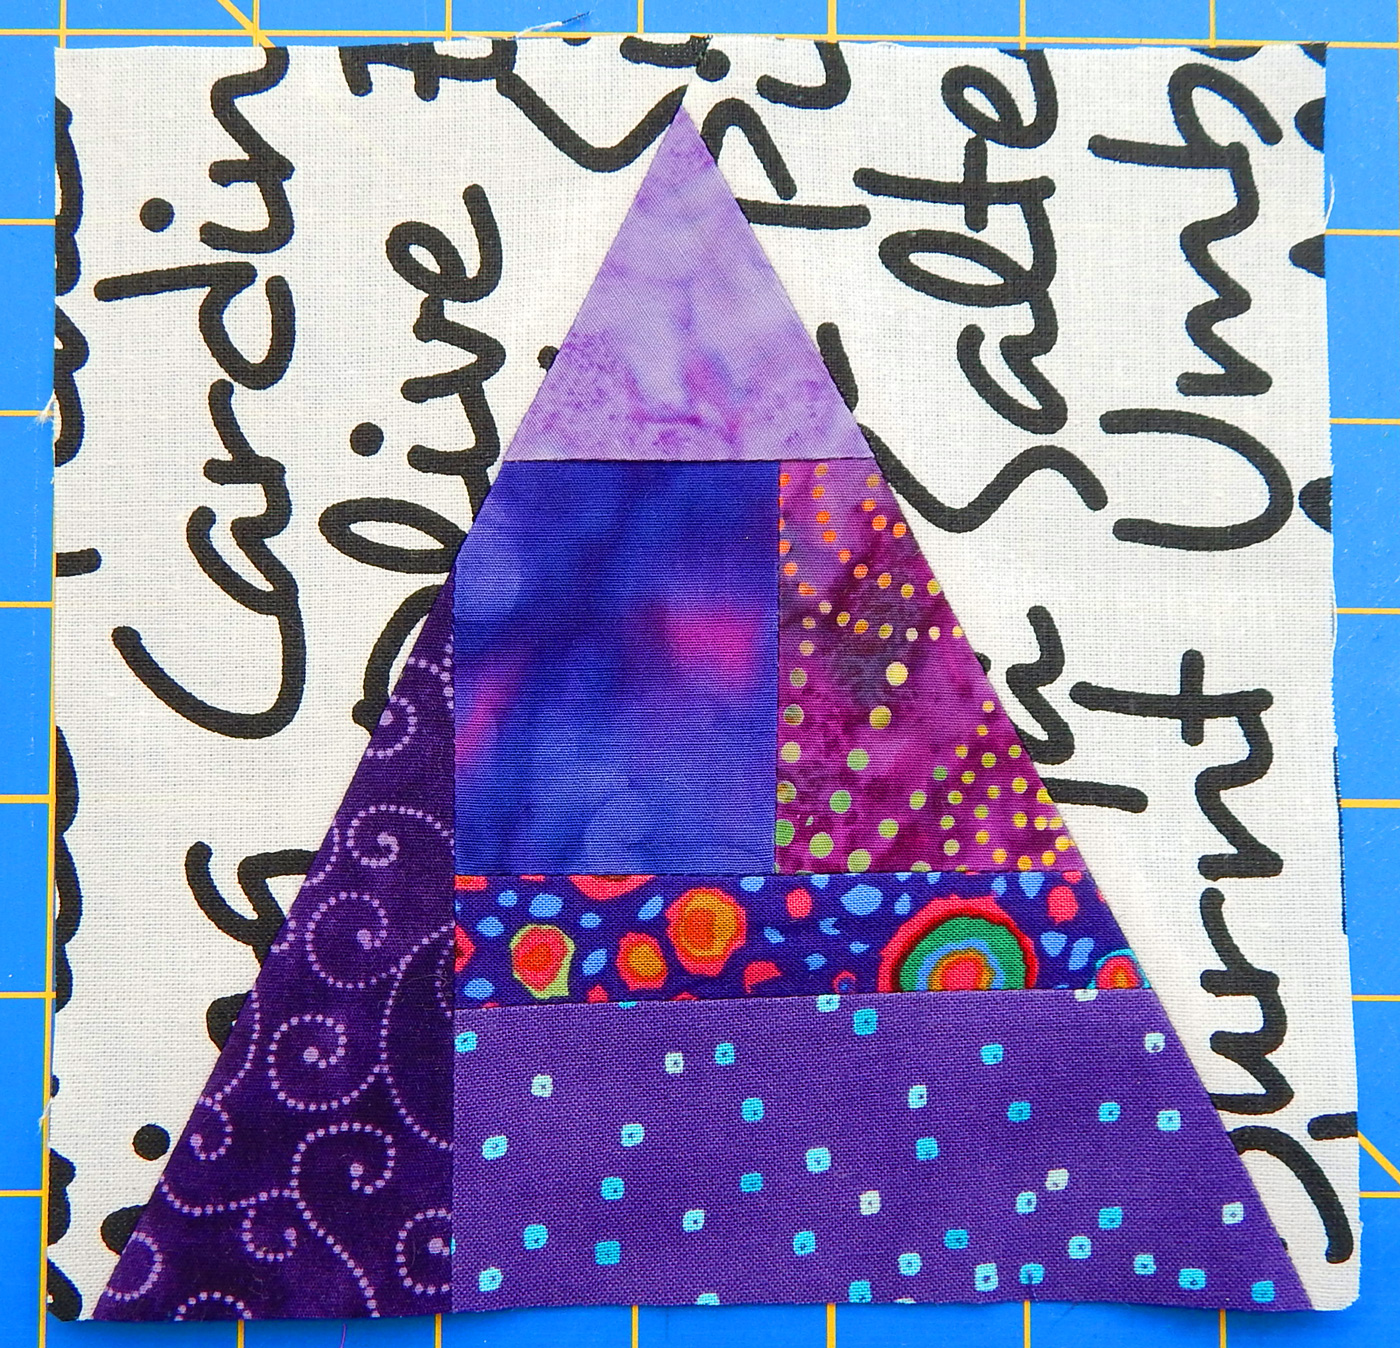
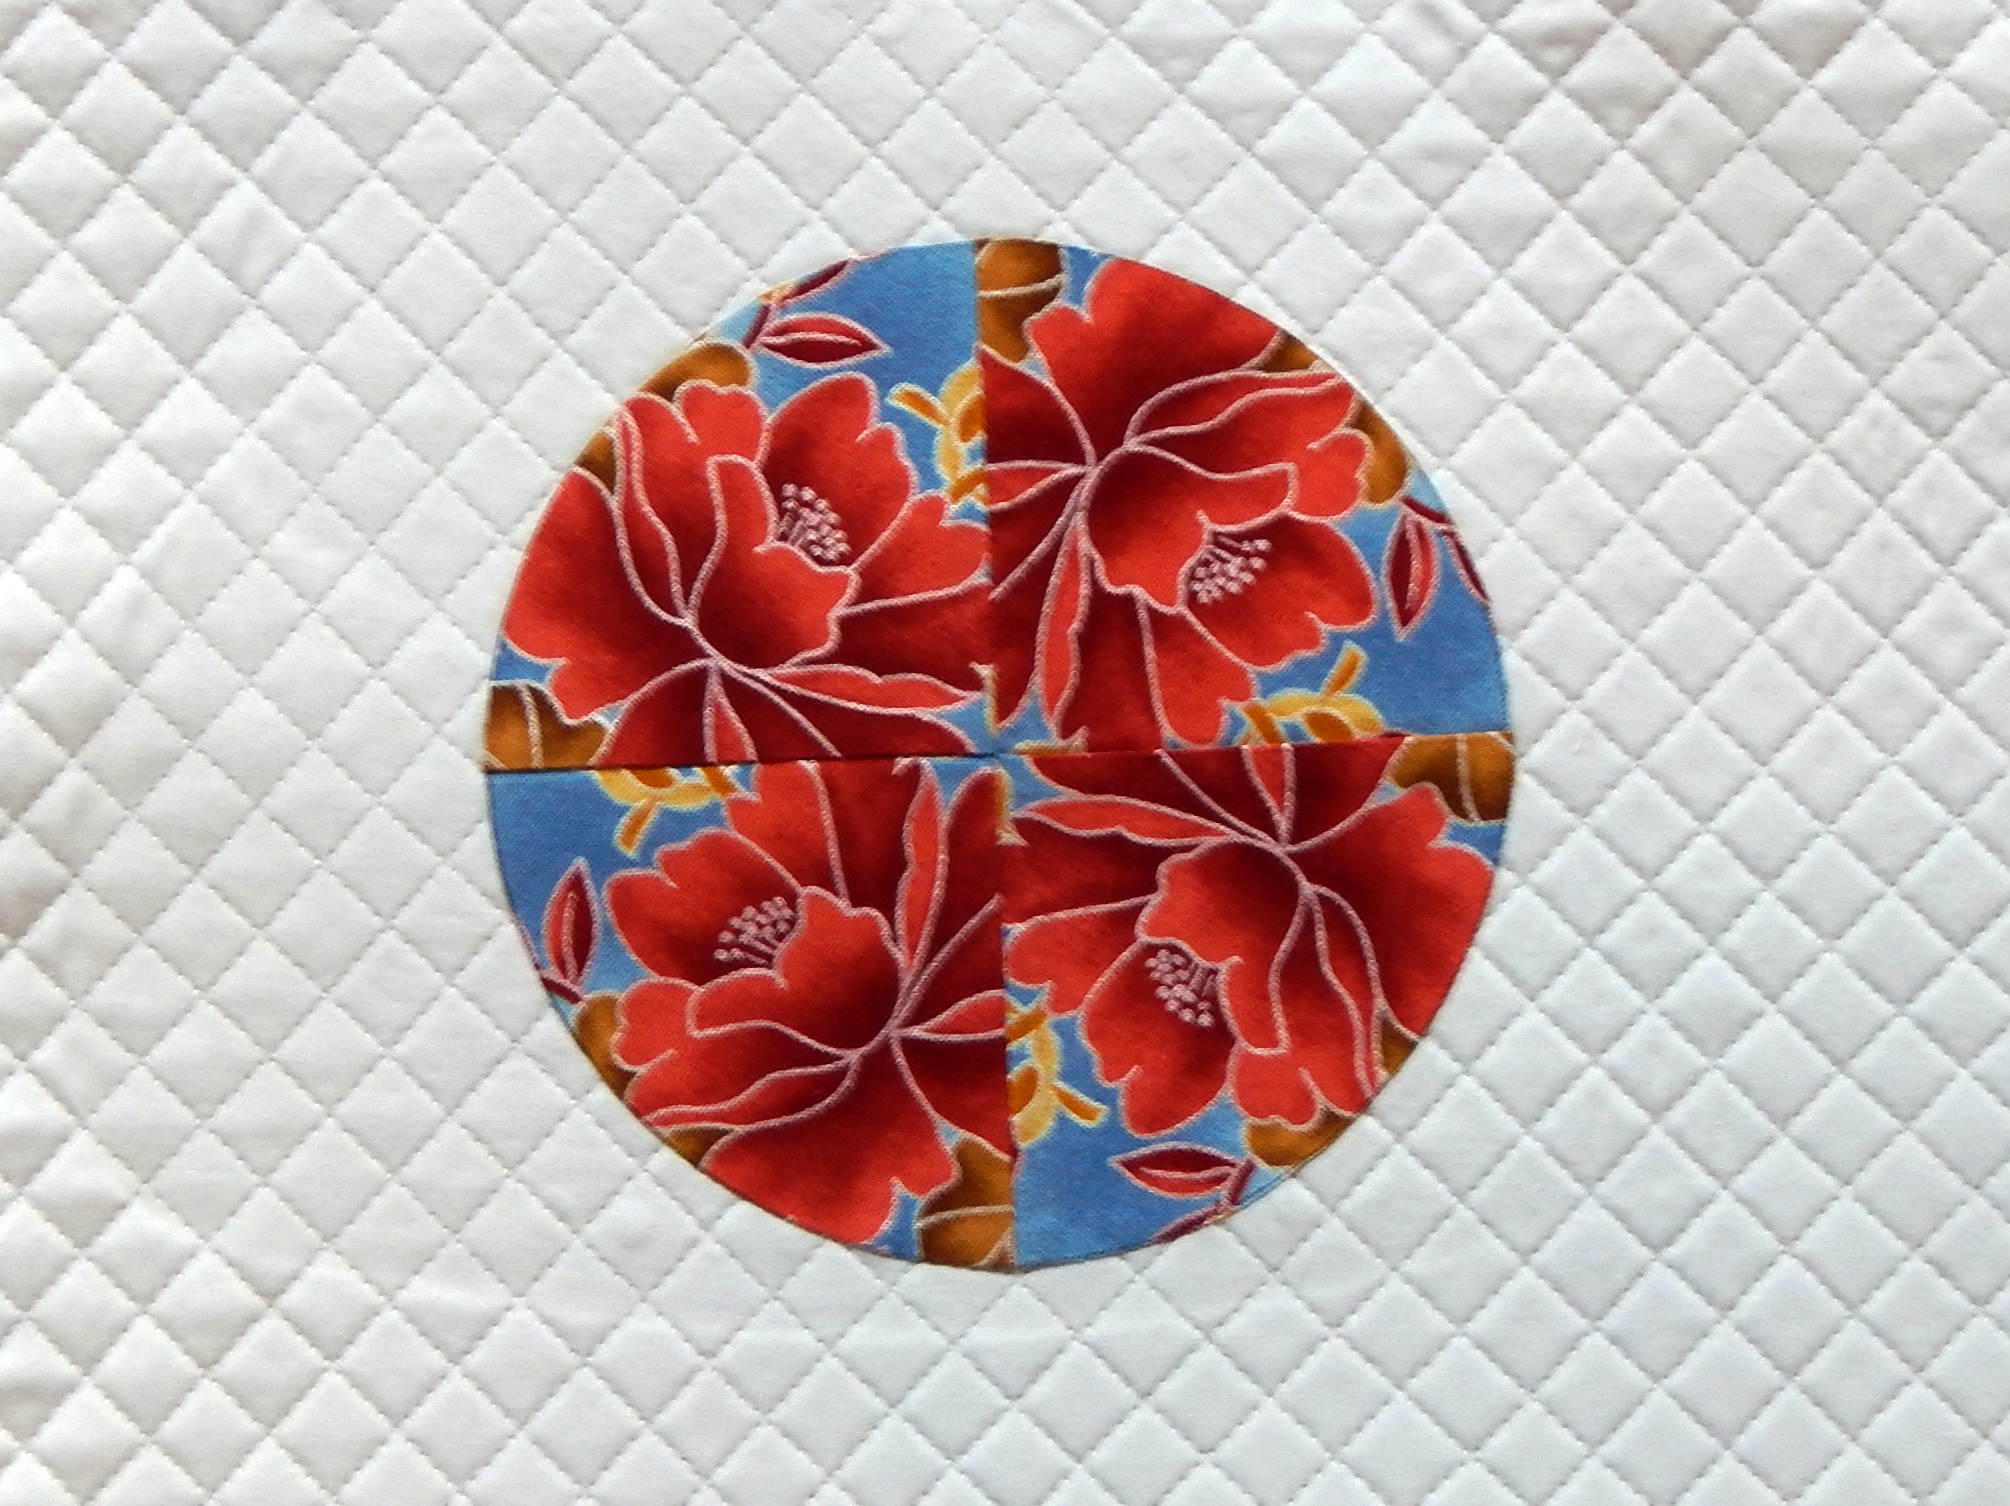
Here’s one last picture from the book:

Photo courtesy of C&T
If you’ve read this far, leave me a comment and I’ll draw a name to receive a free copy of this book. Sorry to say I can only ship to U.S. addresses. I’ll draw the winner on Sunday, July 4, a week after this post goes up. I think I can find your email if you’re a subscriber to these posts, but if you want to be sure please leave an email in your comment. And thanks for reading!
Please note: C&T provides books and products for me to review. I choose those that I like the very best to tell about in my blog.