Gallery Show!

applique art quilt

Leaf, made in class with Laura Wasilowski

The Asheville Modern Quilt Guild is lucky enough to meet in a nice conference room in the building occupied by both the Quilt Alliance and the Handmade in America organization.  Because of those connections (and the quality of our work) we will be having a show of our members’ work at the gallery maintained by Handmade in America.  This is an organization representing craft artists from Western North Carolina (that would be us!) The work they represent is very high quality, so we are thrilled to be invited to display our work in their gallery, located at 125 S. Lexington Avenue in Asheville.  (The entrance is on Hilliard Avenue between Church and S. Lexington.)

I’m including pictures in this post of the works I’m submitting, but I hope any of you whoshow announcement are in the area will come see the show.  It will run April 29 – August 19, with an opening reception 2-4 p.m. on Sunday, May 4.  We have several fine quilters in our group, and they really do make “all kinds of quilts”, as the title of the exhibit suggests.  Please come!

Handmade-3

Improv I, my original design

pieced quilt original design

Bubble Up, my oritinal design


Quilt Alliance Challenge

After thinking I would use Sunbonnet Sue as my inspiration,

Fabric scraps

Scraps!

I did a total about-face and chose a scrap quilt instead.  I LOVE scrap quilts, and since I certainly HAVE a lot of scraps, it all works out 🙂

Here’s the process for this year’s Quilt Alliance donation quilt.  I wanted to use tiny scraps and have one tiny star.  I used Electric Quilt (EQ7) to print a foundation pattern for a star that finishes about 3″ square.  The first one I made, using the brand of fabric we’ve all

depended on for solids, was just a little off.  Turns out the “beefy” thick texture of that fabric doesn’t lend itself well to tiny, tiny points (the center square here is 1/2″ x 1/2″).  So I re-generated the foundation pattern and, as often happens, decided on a little design change at the same time.  Then I made the star using Moda Bella black, which is a lighter weight cloth that folded more crisply in such a small space.

For the rest of the quilt I pulled out my zippy-colored Michael Miller cotton couture scraps and just sewed them together as I took them out of the box.  Eventually I had to cut a few more “scraps” to finish the top.  There were so very MANY seams that I was glad of the lighter weight of this cloth, almost like voile.  It took many days to do this, quite a bit longer than I had expected for a 16″ x 16″ quilt!  The smallest pieces finish about 1/4″ squares or triangles!

scrap quilt

Quilt Alliance Challenge 2014

So here it is!  I would love to count the pieces, but I don’t think I have the energy left to do it!  Besides, who wants to know a thing like that? 😉

Stash smash: 8 inch squares

I’m slowly working my way through my stash, and currently my focus is on “unfinished projects”.  There seem to be a lot of them 😉

8" squares

8″ Squares

I found this stack of 8″ squares that was made as the start of a quilt a while back.  I didn’t like the pattern once I got started on it, so here’s this stack with no purpose.  Not my favorite fabrics is part of the problem, I think.

Of course, SOMEBODY sure would like these fabrics, so I had options:

1.  Try to give them to friends.  But those friends probably would try to give me some of their stash in return!

2.  Put them in the donation pile.  Several problems with that idea; never mind!

3.  Make them into something.  Since I make a fair number of donation quilts for Ronald McDonald House, that seemed like the best bet.

So I paired lights with darks and cut each pair into 3 unequal strips.  I did the cuts at random intervals, but parallel to the sides to keep the blocks from getting too wonky.  Then I traded the center strips and sewed the strips back together to make a set of 2 blocks.

I stacked the sets again and cut them at irregular intervals, switched the middle strip again, and re-assembled them into irregular 9-patch blocks:

Now they are a donation quilt top for Ronald McDonald House, and this one will be suitable for an older child, since the fabrics aren’t juvenile novelty prints.  Success!  Another stack gone!  And another donation quilt done!

I’m taking part in “Aunt Marti’s” UFO challenge so to finish 12 UFOs in 2014.  It might help you get your UFOs done, too.  Click HERE for the link to the original post where she tells you how to do it.

nine patch quilt

Nine Patch Quilt

Hope you have a good week.  Maybe some of your leftovers would make good donation quilts, too!


Find Your Inner Designer – Part 1

Some of my readers have asked about how I design quilts, so I’ve decided to do a monthly series of posts to lead you to design your own original quilts. I know there are several courses and lectures out there on “principles” of modern quilt design, but this series is about a practical approach.  So here is Part 1: Start by tweaking a design you already like.

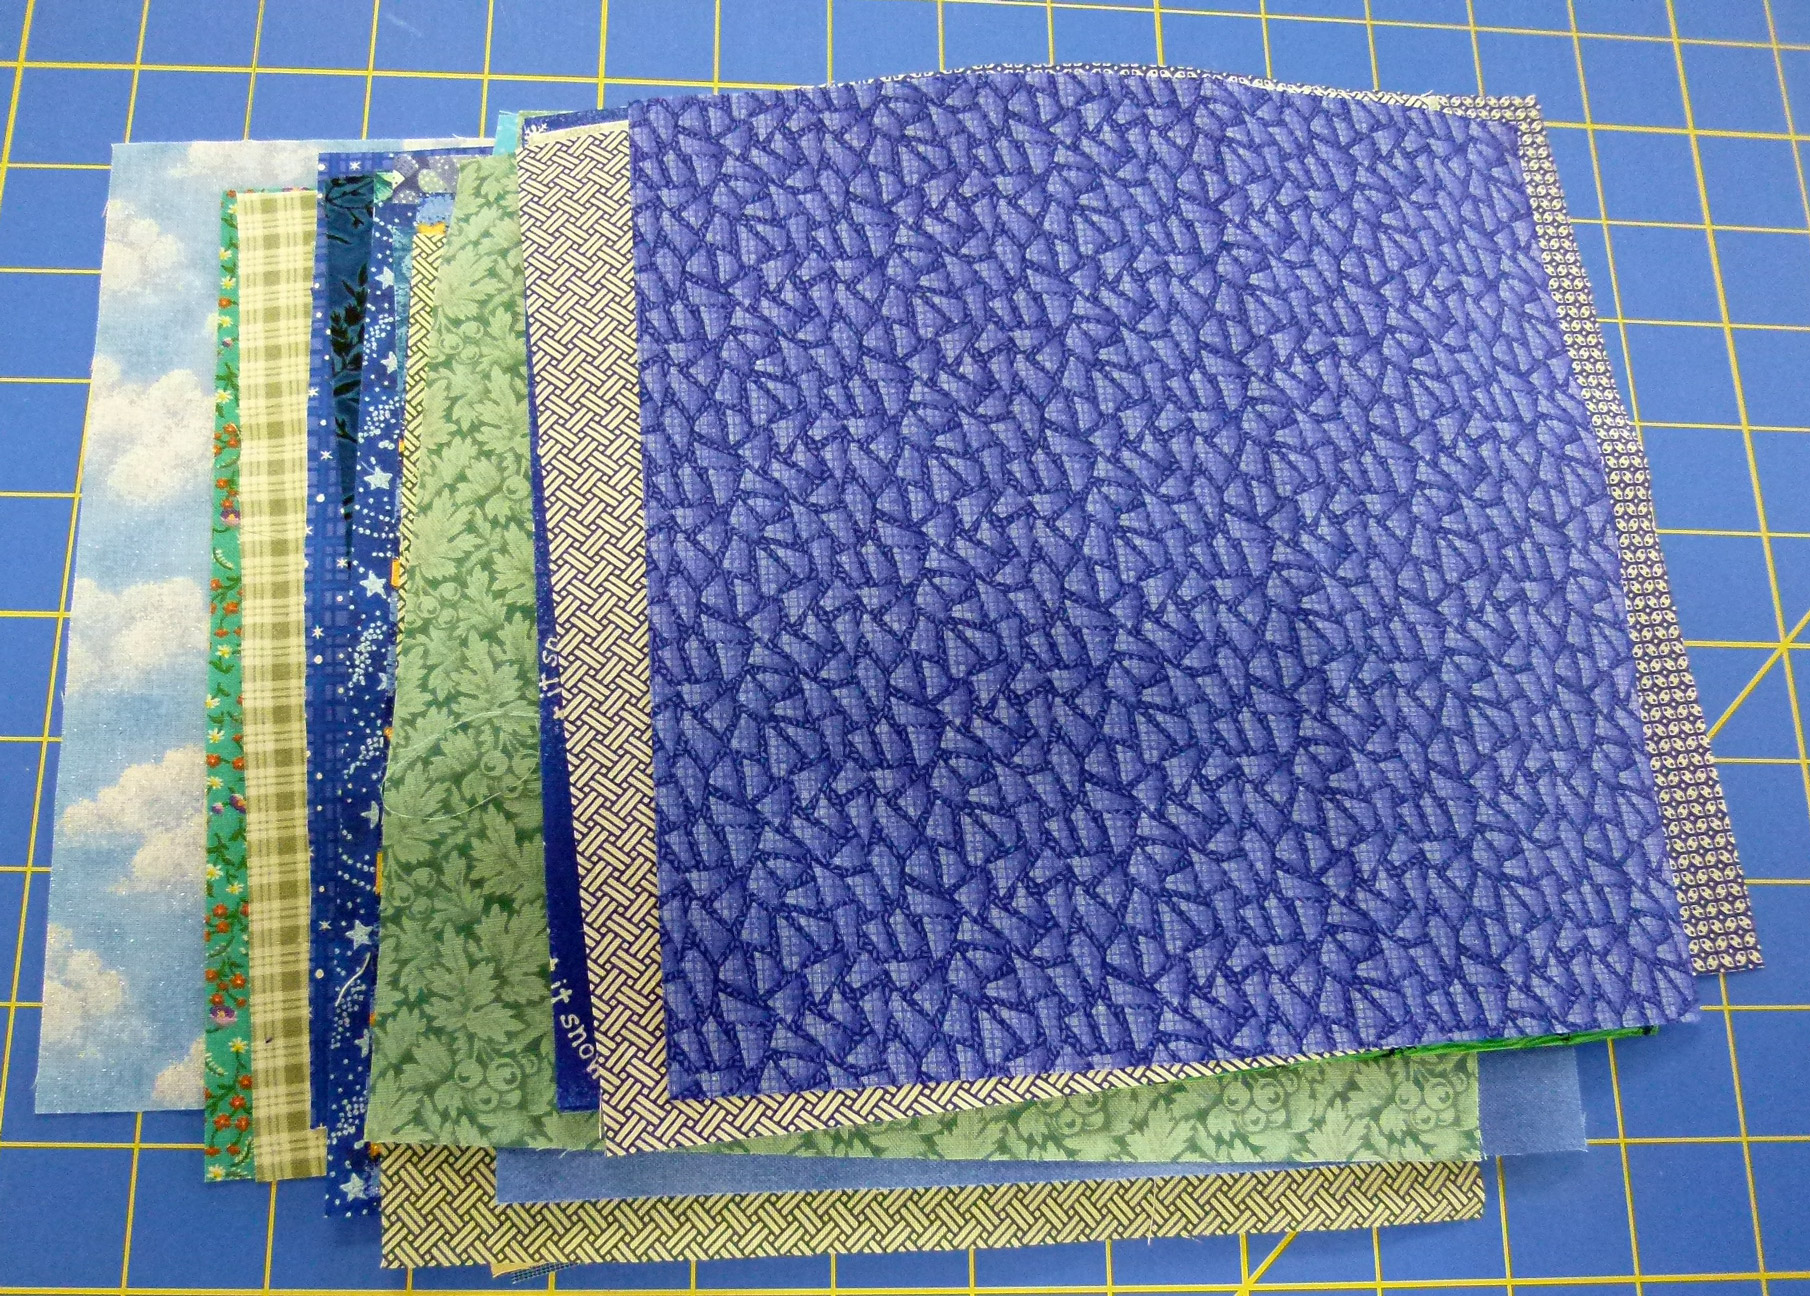
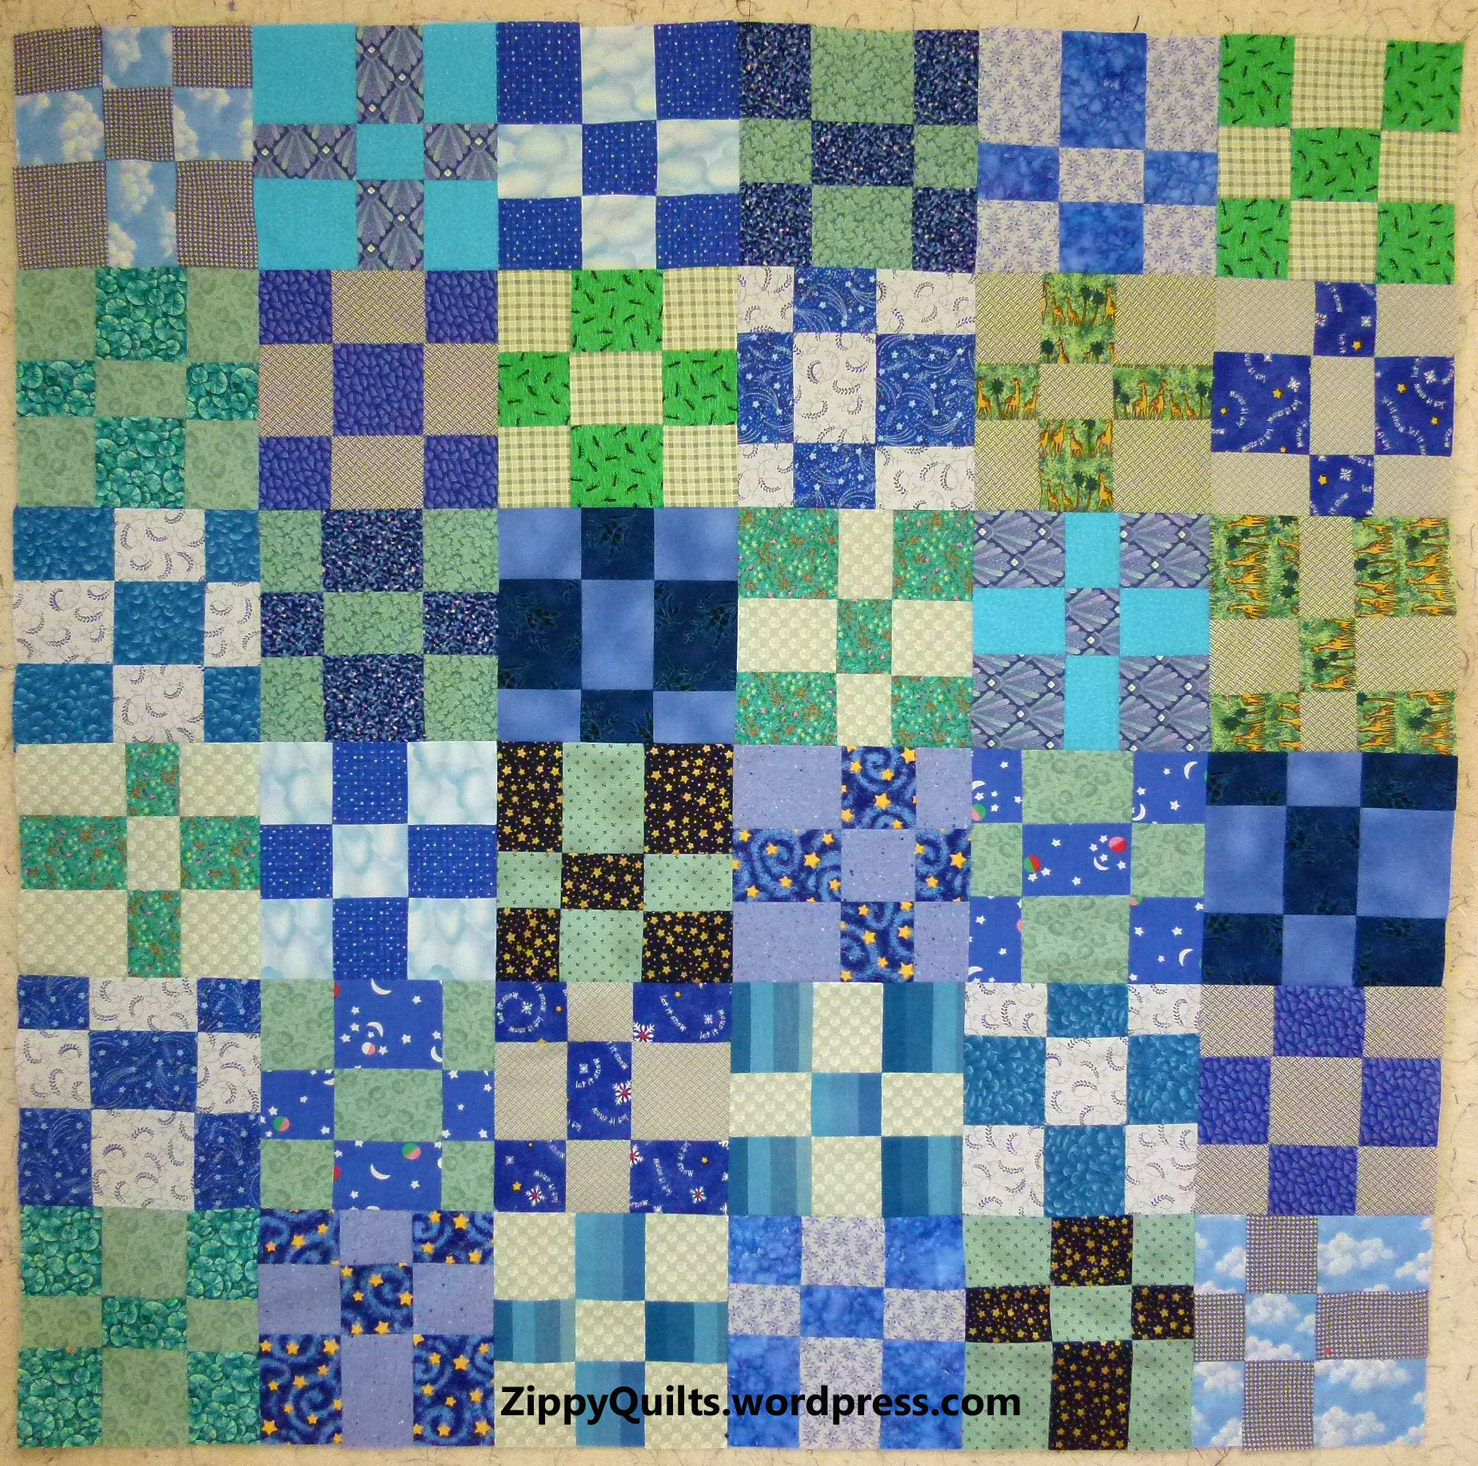
Start with a traditional-style pattern you want to make.  By traditional-style, I mean one with multiple similar blocks, probably arranged in a grid.  Here’s my example, which really is more of a modern design because the blocks are improvisationally cut, but it has the blocks in a grid

modern pieced quilt

I saw this quilt at the house where we have retreats

Now experiment, tweaking this pattern (or a similar one) 3 different ways:

1. Change the size of the blocks. A quilt made up of 20 blocks each 10″x 10″ will look quite different from a quilt of the same size made up of 80 blocks 5″ x 5″.

You can go up or down in size, but change the size of the blocks. If the math gives you trouble, either get help from a friend who LOVED algebra in high school, or use a computer program like Electric Quilt to re-draw the blocks in the size you want and give you instructions for cutting them. If you want to make the blocks very small, consider paper piecing: Just draw your paper base and you don’t need any math because the pieces you use to construct the block on the paper base aren’t cut exactly to size.

.
2. Change the size of just one (or a few) block(s):

modern quilt design

Substitute one large block for 4 of the small ones!

Either replace one block with 4 little blocks 1/4 the size of the usual, or replace 4 regular blocks with one big one. Either tweak makes the overall quilt design more interesting.

Pieced quilt

Substitute 4 little blocks for one large one–or for several large ones!

3. Add (or subtract) a little: Instead of making the usual grid of blocks, add a strip or a row of blocks to each row to make some of the grid offset. I like to put the insert at a different place in each row.

modern quilt design

Insets make the blocks move out of line in some places, adding interest

Another option is to remove the sashing and/or border(s) from a quilt, or to insert an extra border.

You don’t have to sew any of your designs unless you want to; just draw them out on graph paper (or your computer program), and color them if you like. The drawing counts as a design! And don’t worry that modifying somebody else’s design isn’t “original”. You have to start somewhere, just like the designer of your pattern did!

Now, go try some of this! I like to make baby quilts to try out new designs or techniques—not too much commitment in time and materials, but I learn a lot. And watch for the next post in this series; I’m going to do a design post the first Sunday of each month for a while.