Another One Bites the Dust

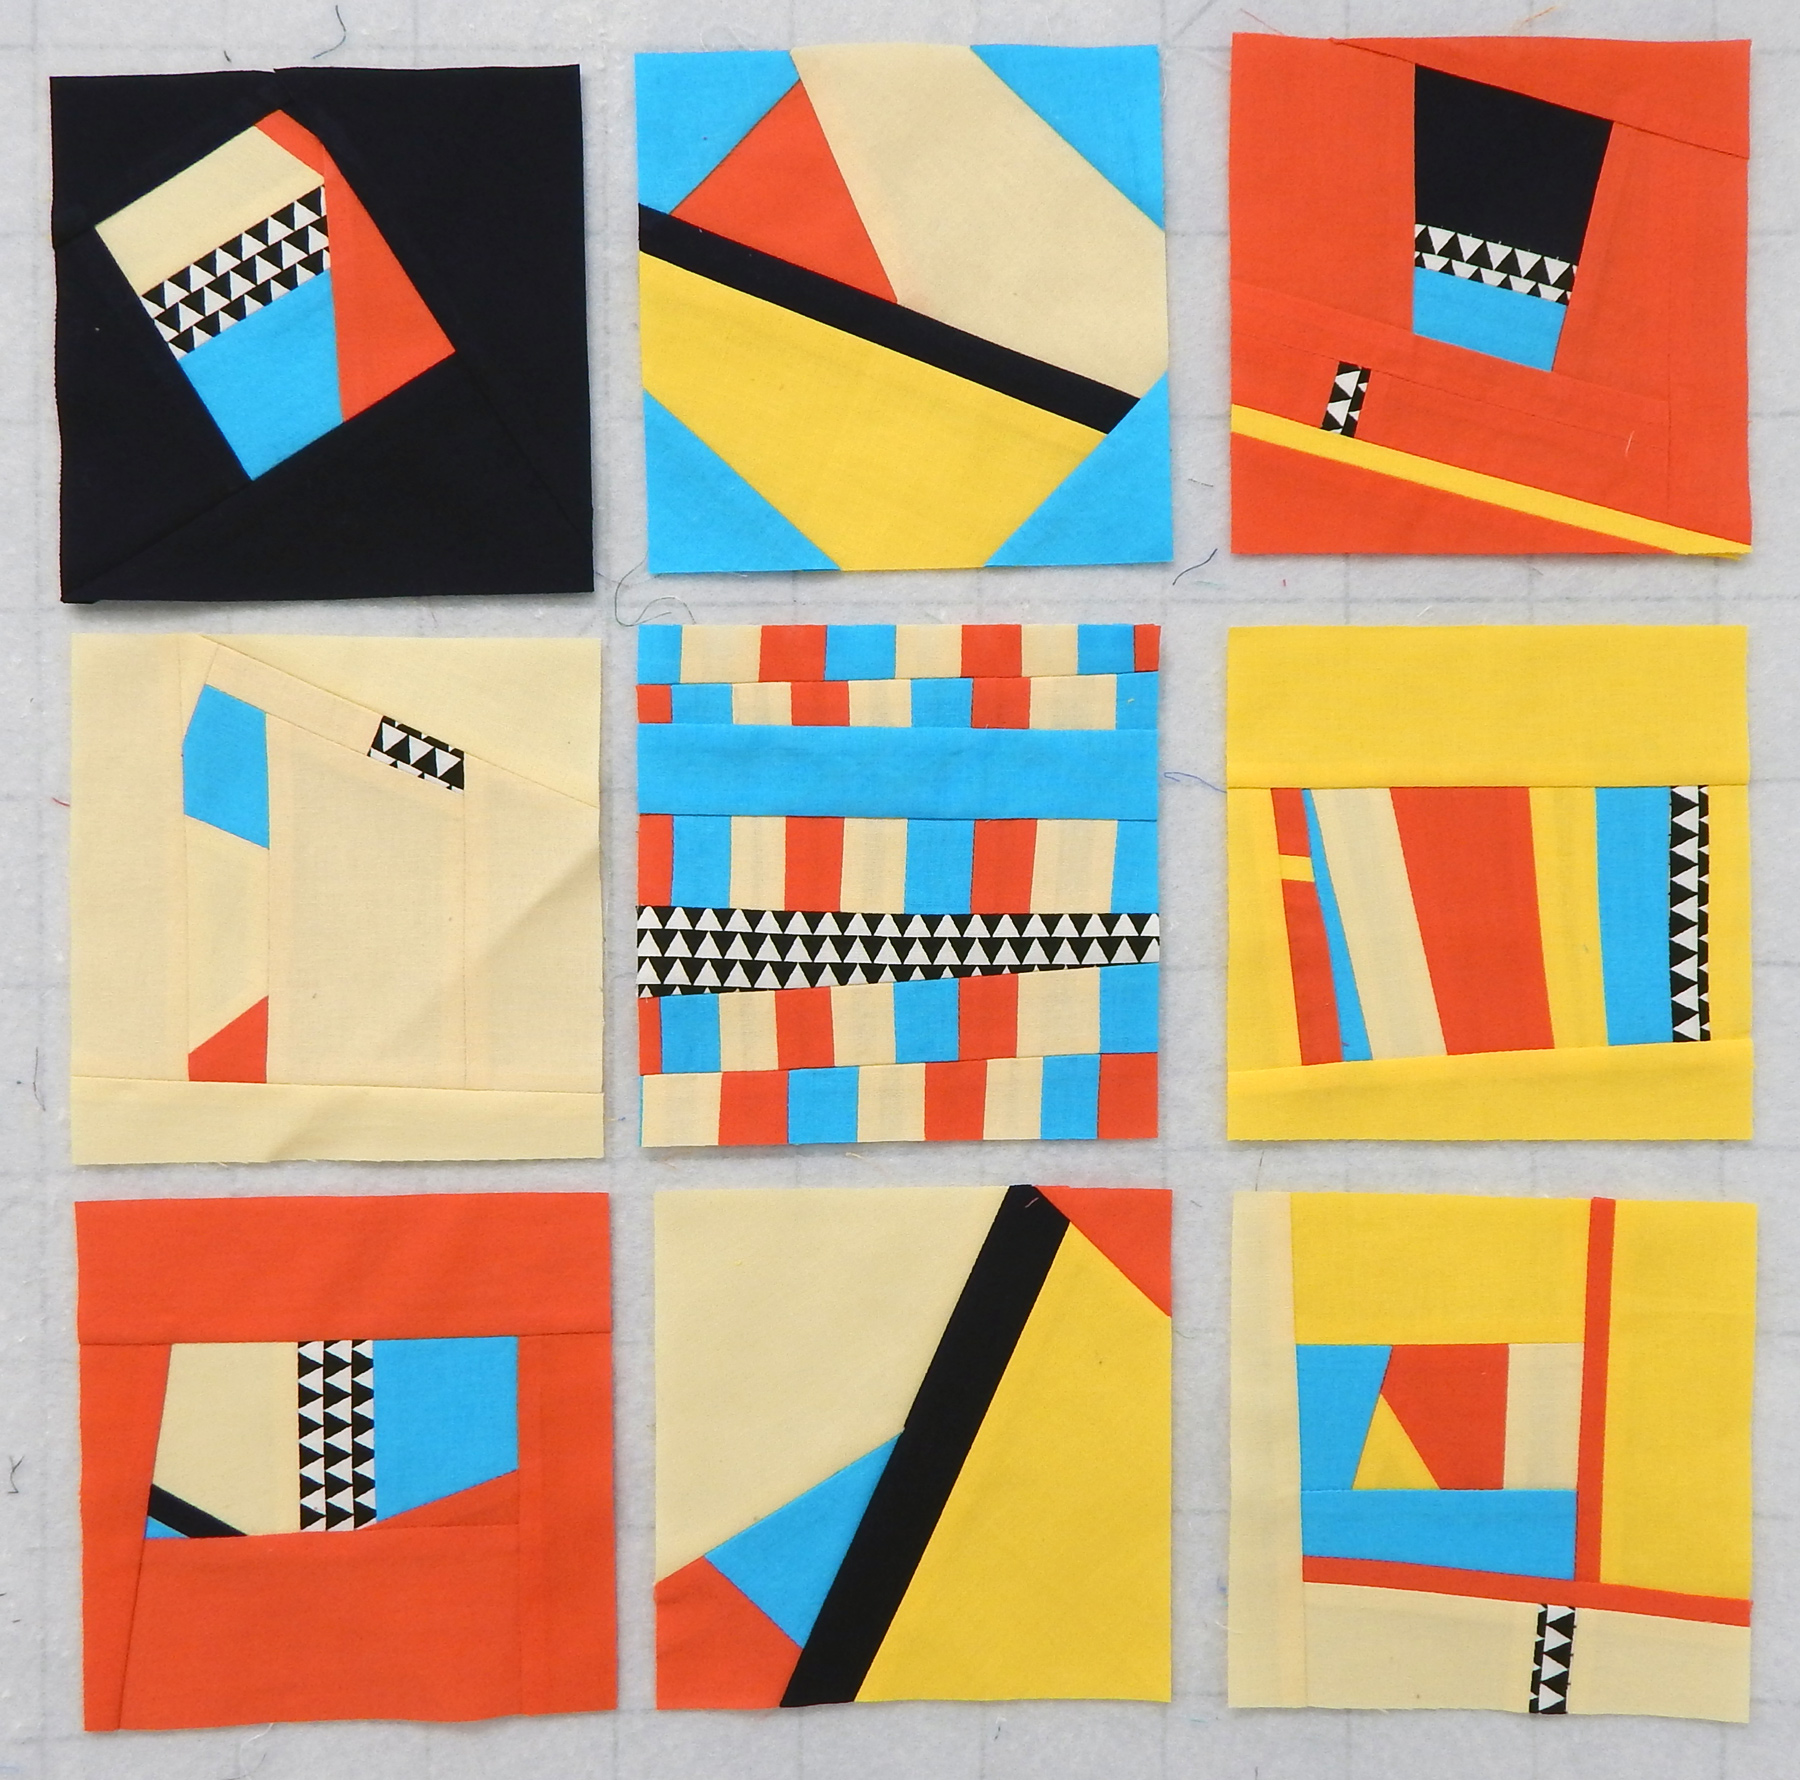
Like most quilters, I have more fabric than time, so I recently decided that I don’t need to finish everything! Much of what I do in my studio is experimental, and some of it “fails”. I put that in quotes because failure isn’t a bad thing, it’s just an indication that I’m trying new things. It’s natural that some experiments work out and some don’t.

I recently took a class in making map quilts (over here, at Creative Spark). My first attempt has gone out with the trash already, but the important thing is that I tried something and learned from it. The second attempt is going much better and I’ll eventually finish it and show you.

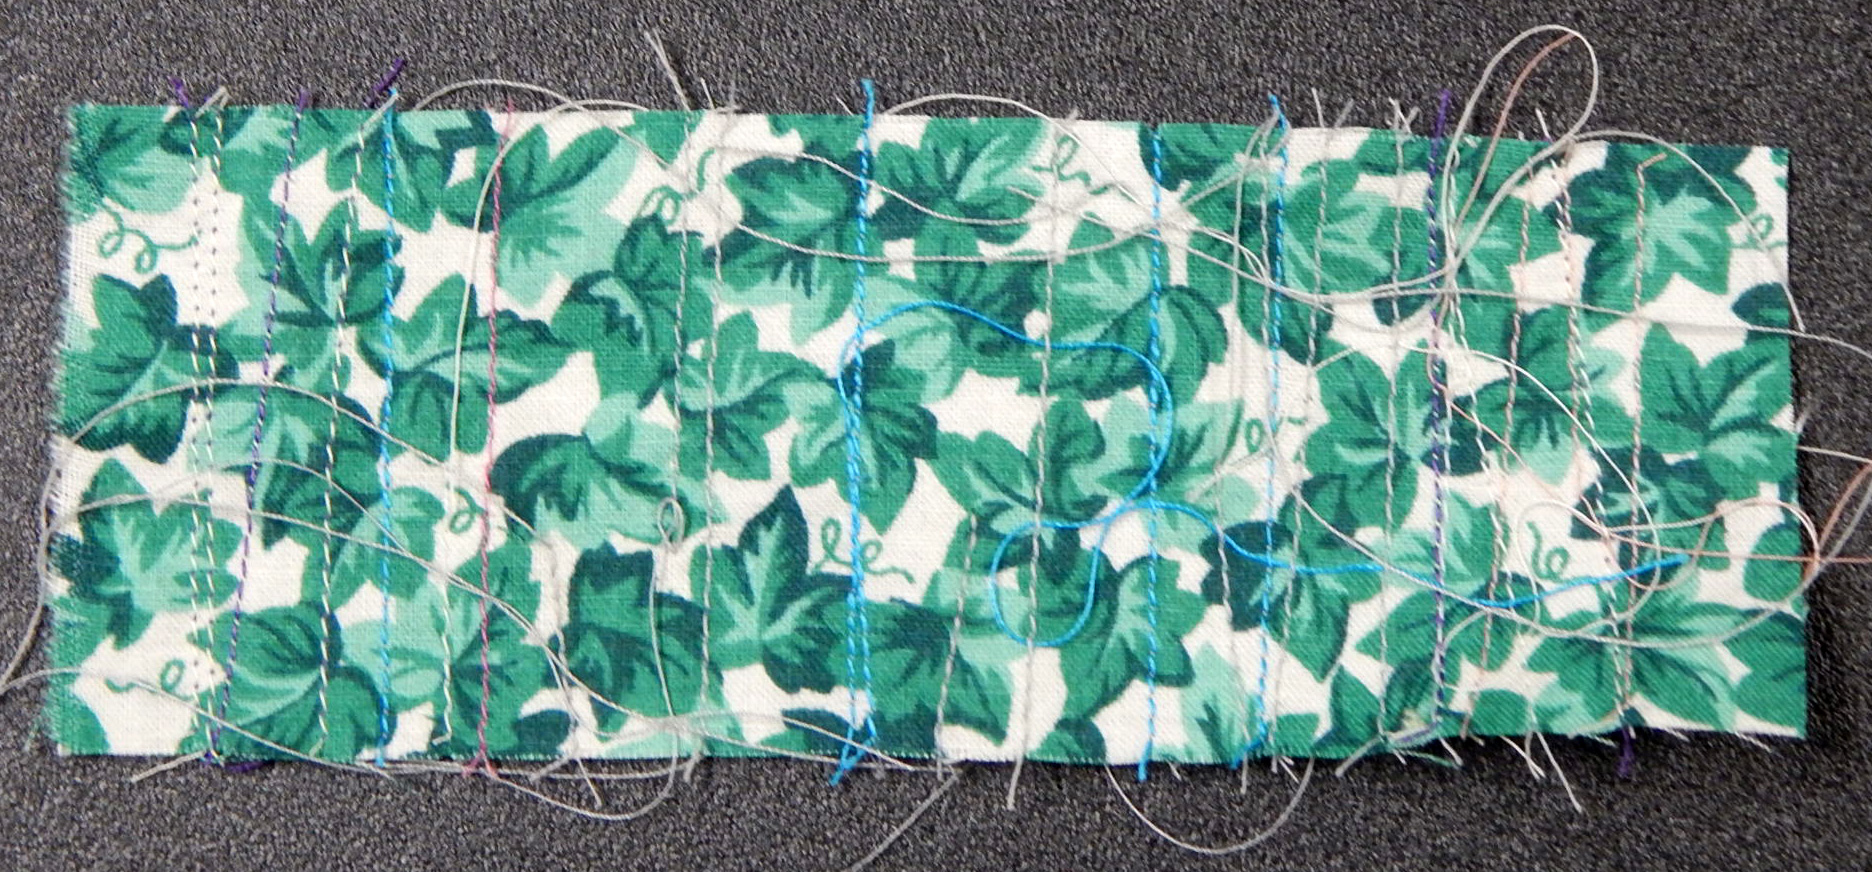
And here’s another experiment that’s working out pretty well. I pounded these leaves in a class years ago and finally dragged this out and quilted it both by machine and by hand. I’ll face it and show the finished product eventually…

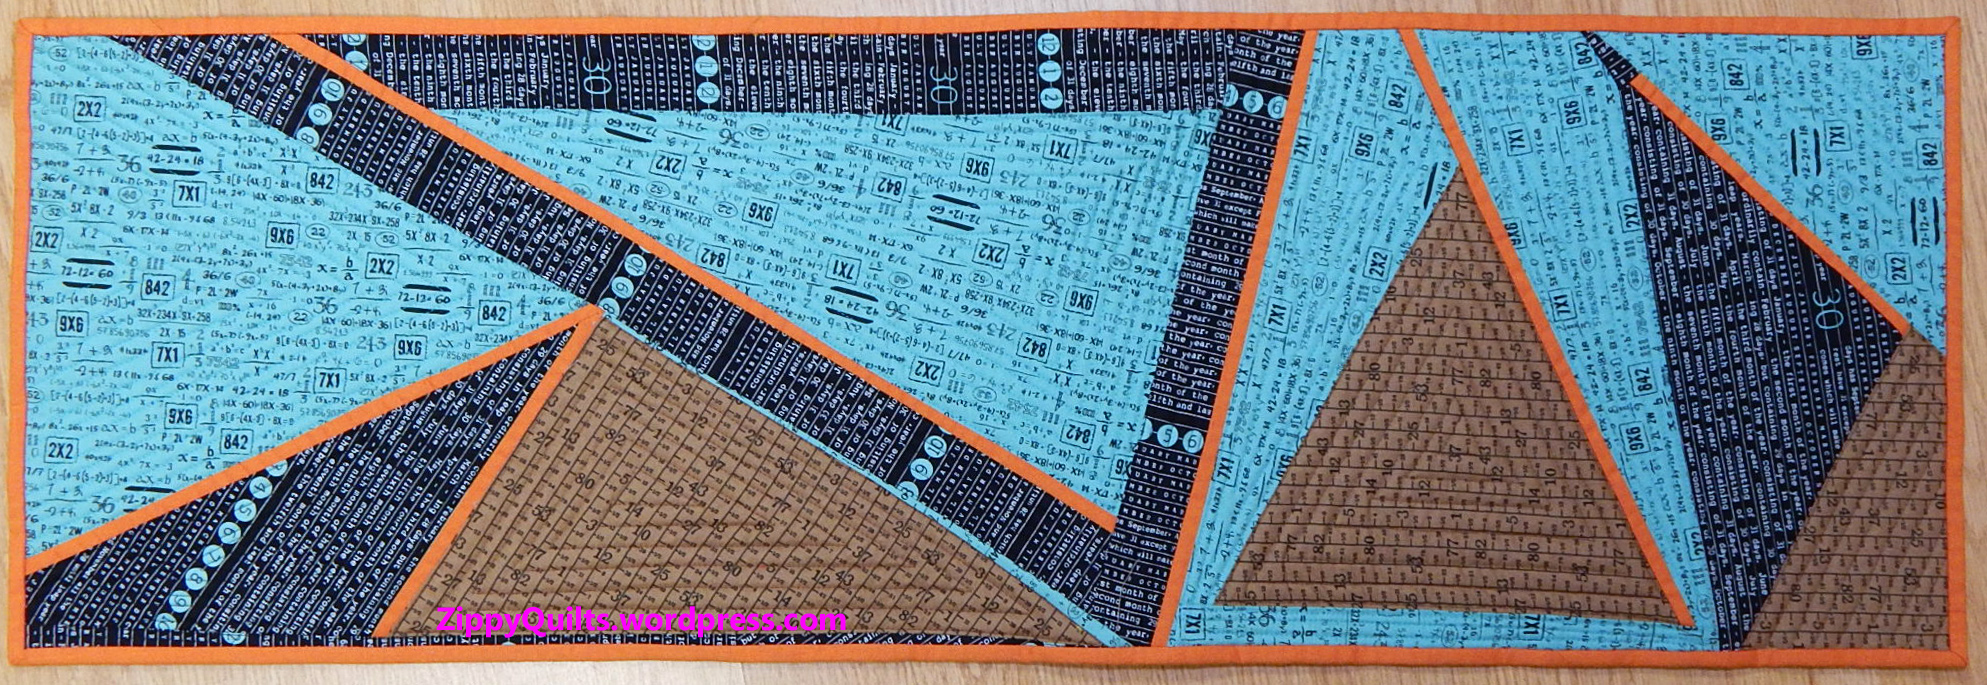
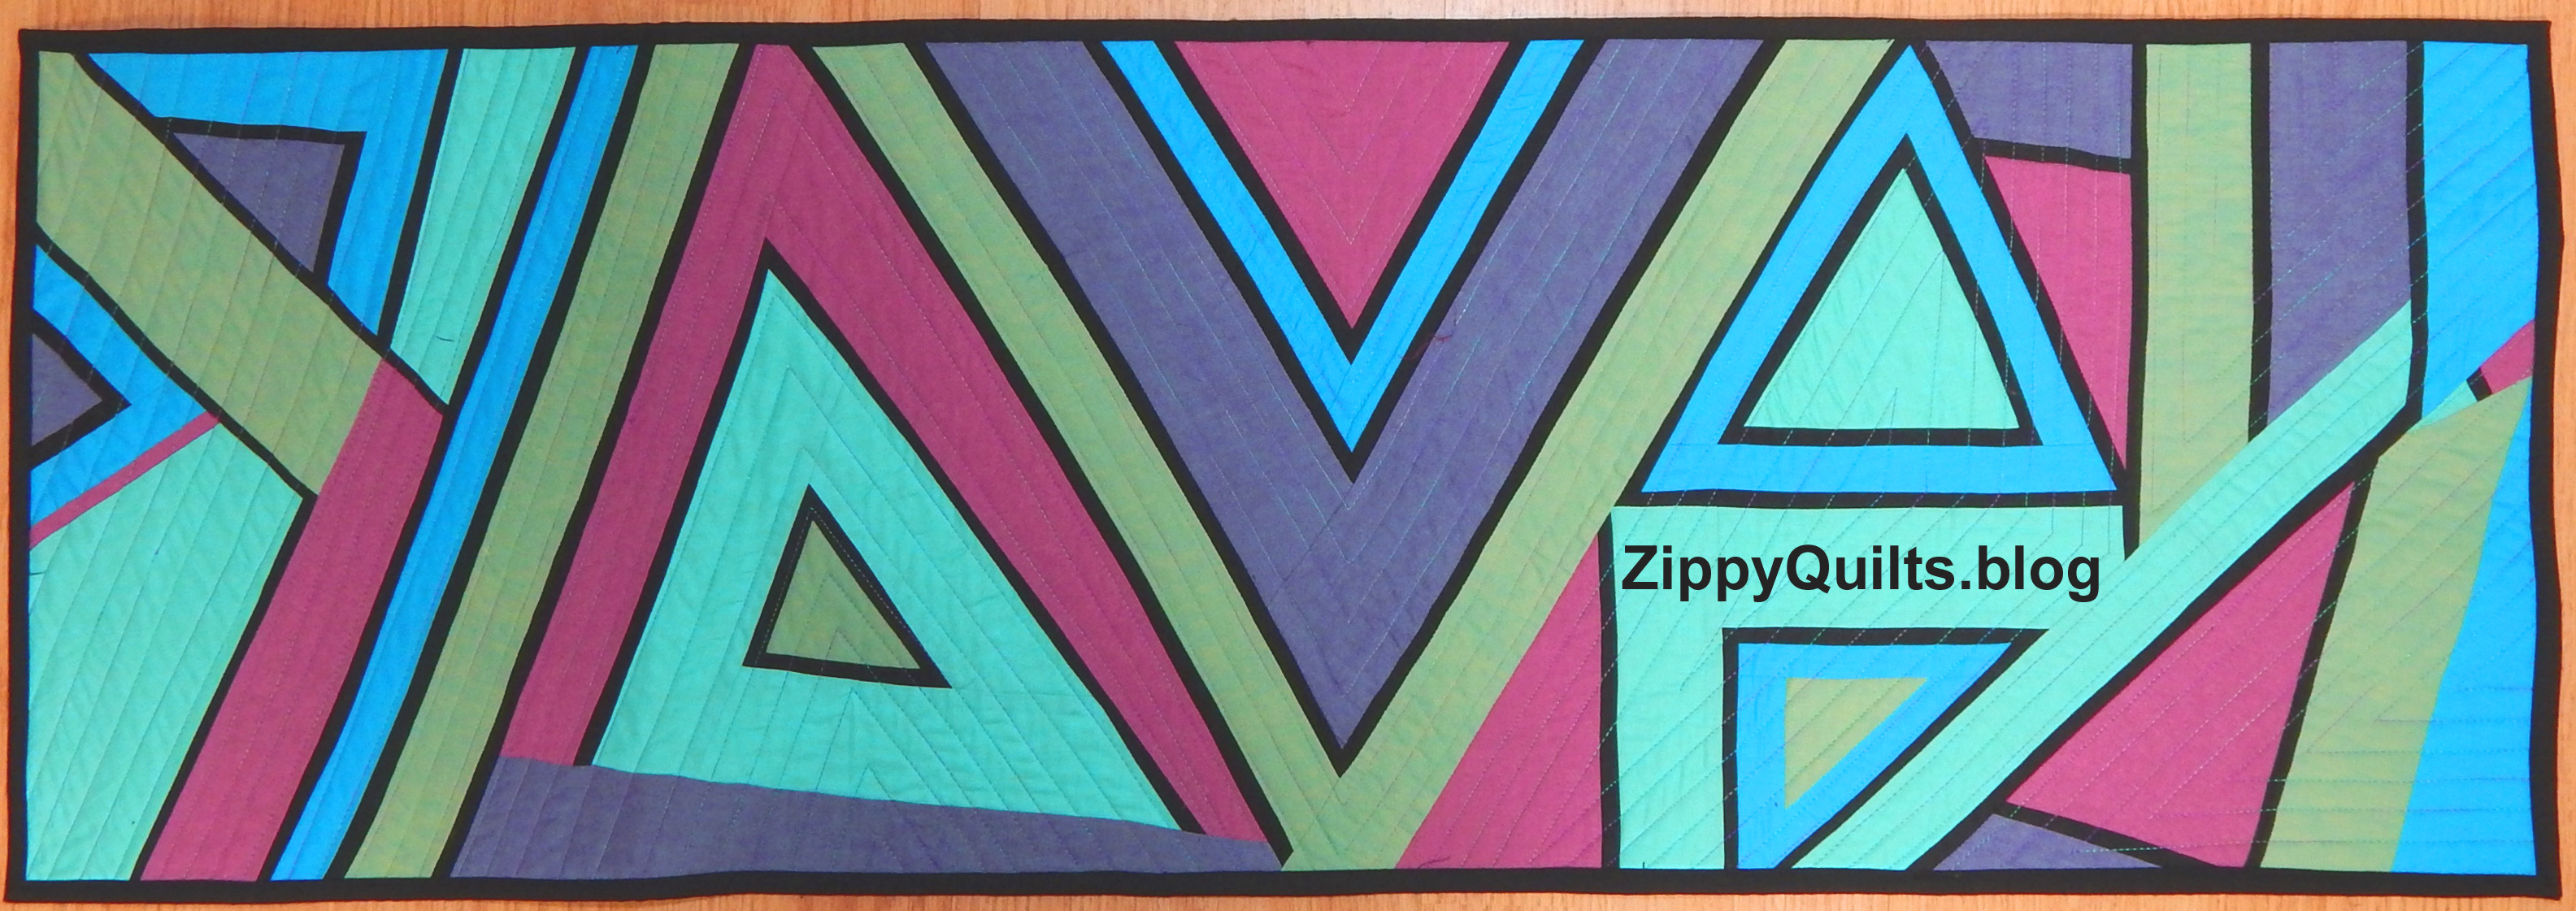
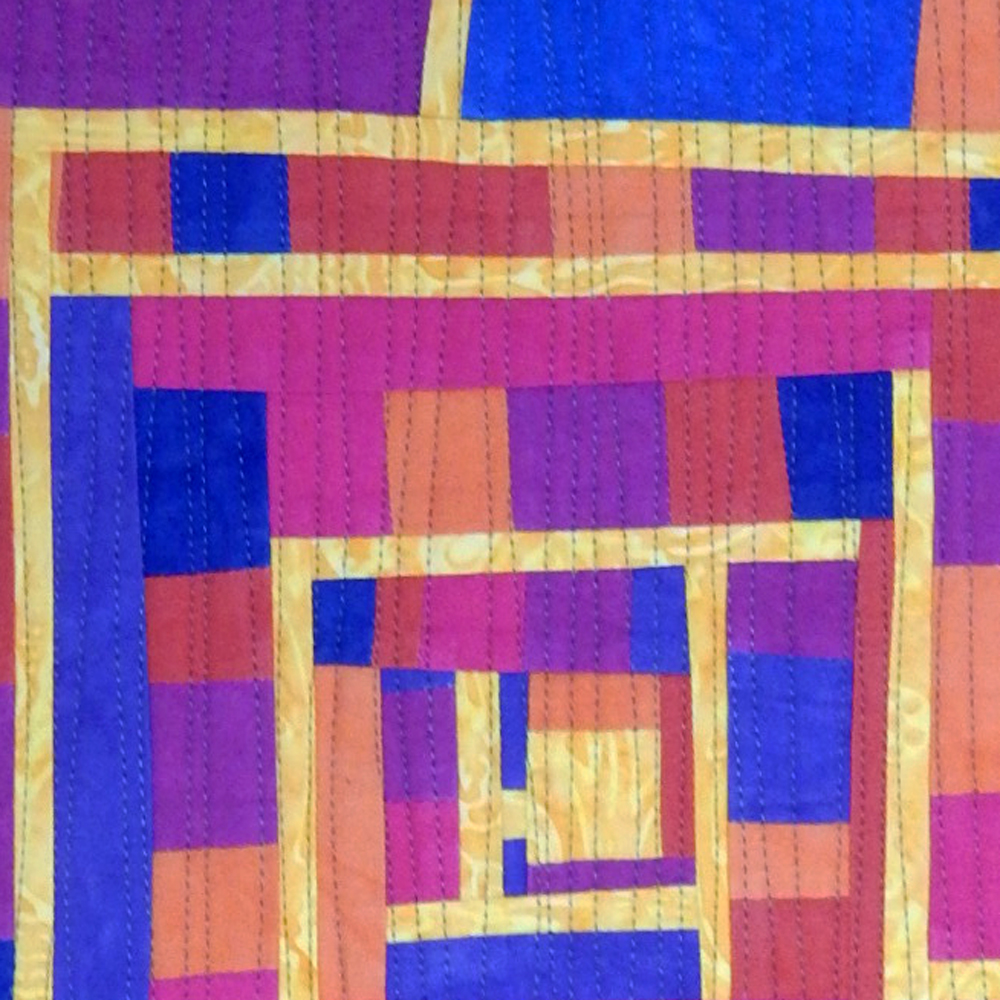
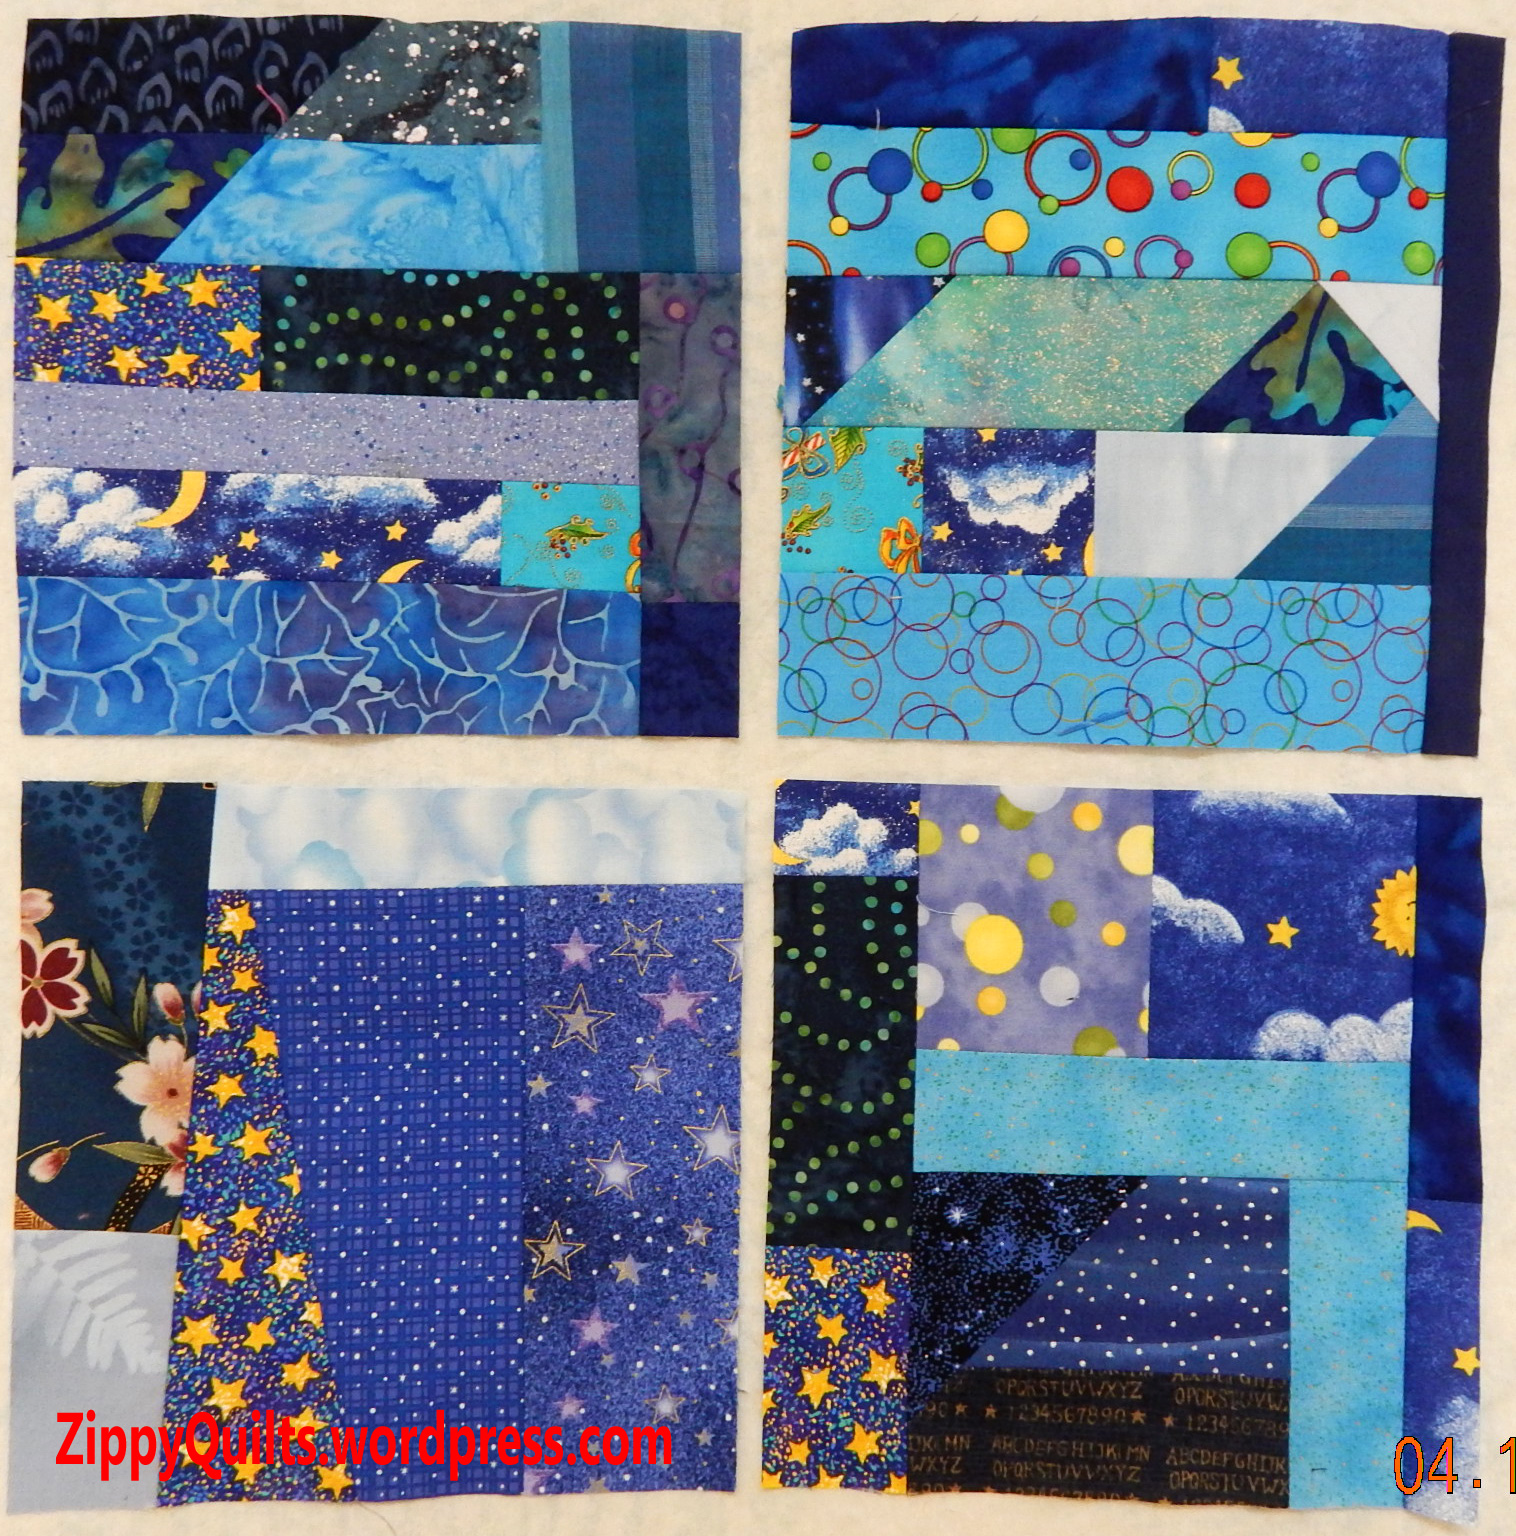
My next experiment is the one that’s biting the dust today. I was inspired by this quilt (in part because it’s entitled “From Hell to Breakfast” and I haven’t heard that expression in years).

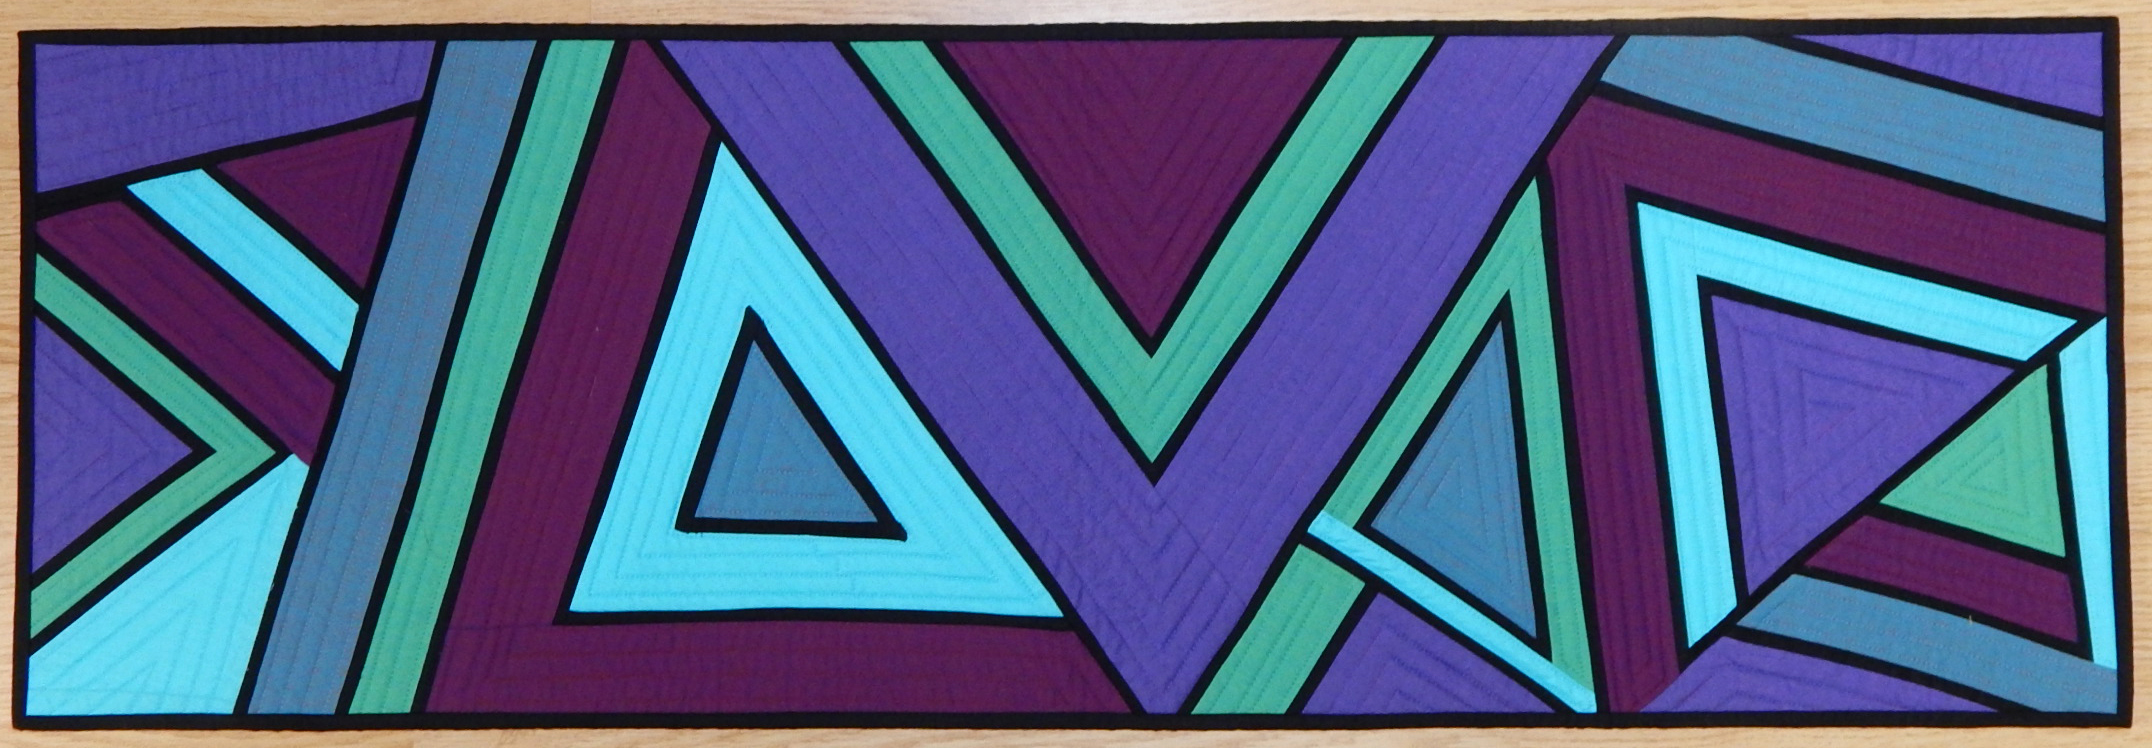
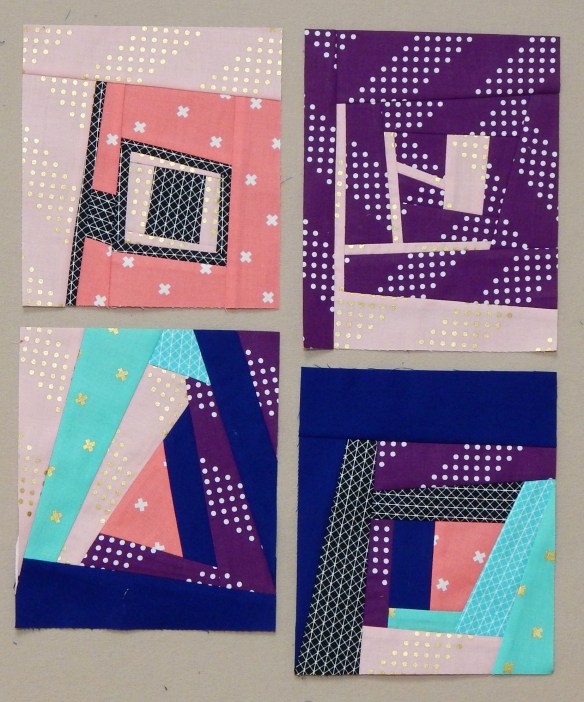
I started with orphan blocks and decided on a palette of turquoise, blue, and purple with lime accents. It started out pretty well, but after a couple of days it just looked entirely too random.

Choice: try to fix it or toss it. I left it overnight, then decided to toss it. Granted, it has some nice elements. However, I don’t think it will ever “gel” and I’m not one to throw more work into something that’s going sideways unless there’s a good reason. I made this to learn something, I enjoyed it, and I did try a few new things. Good enough. It has served its purpose and out it goes.

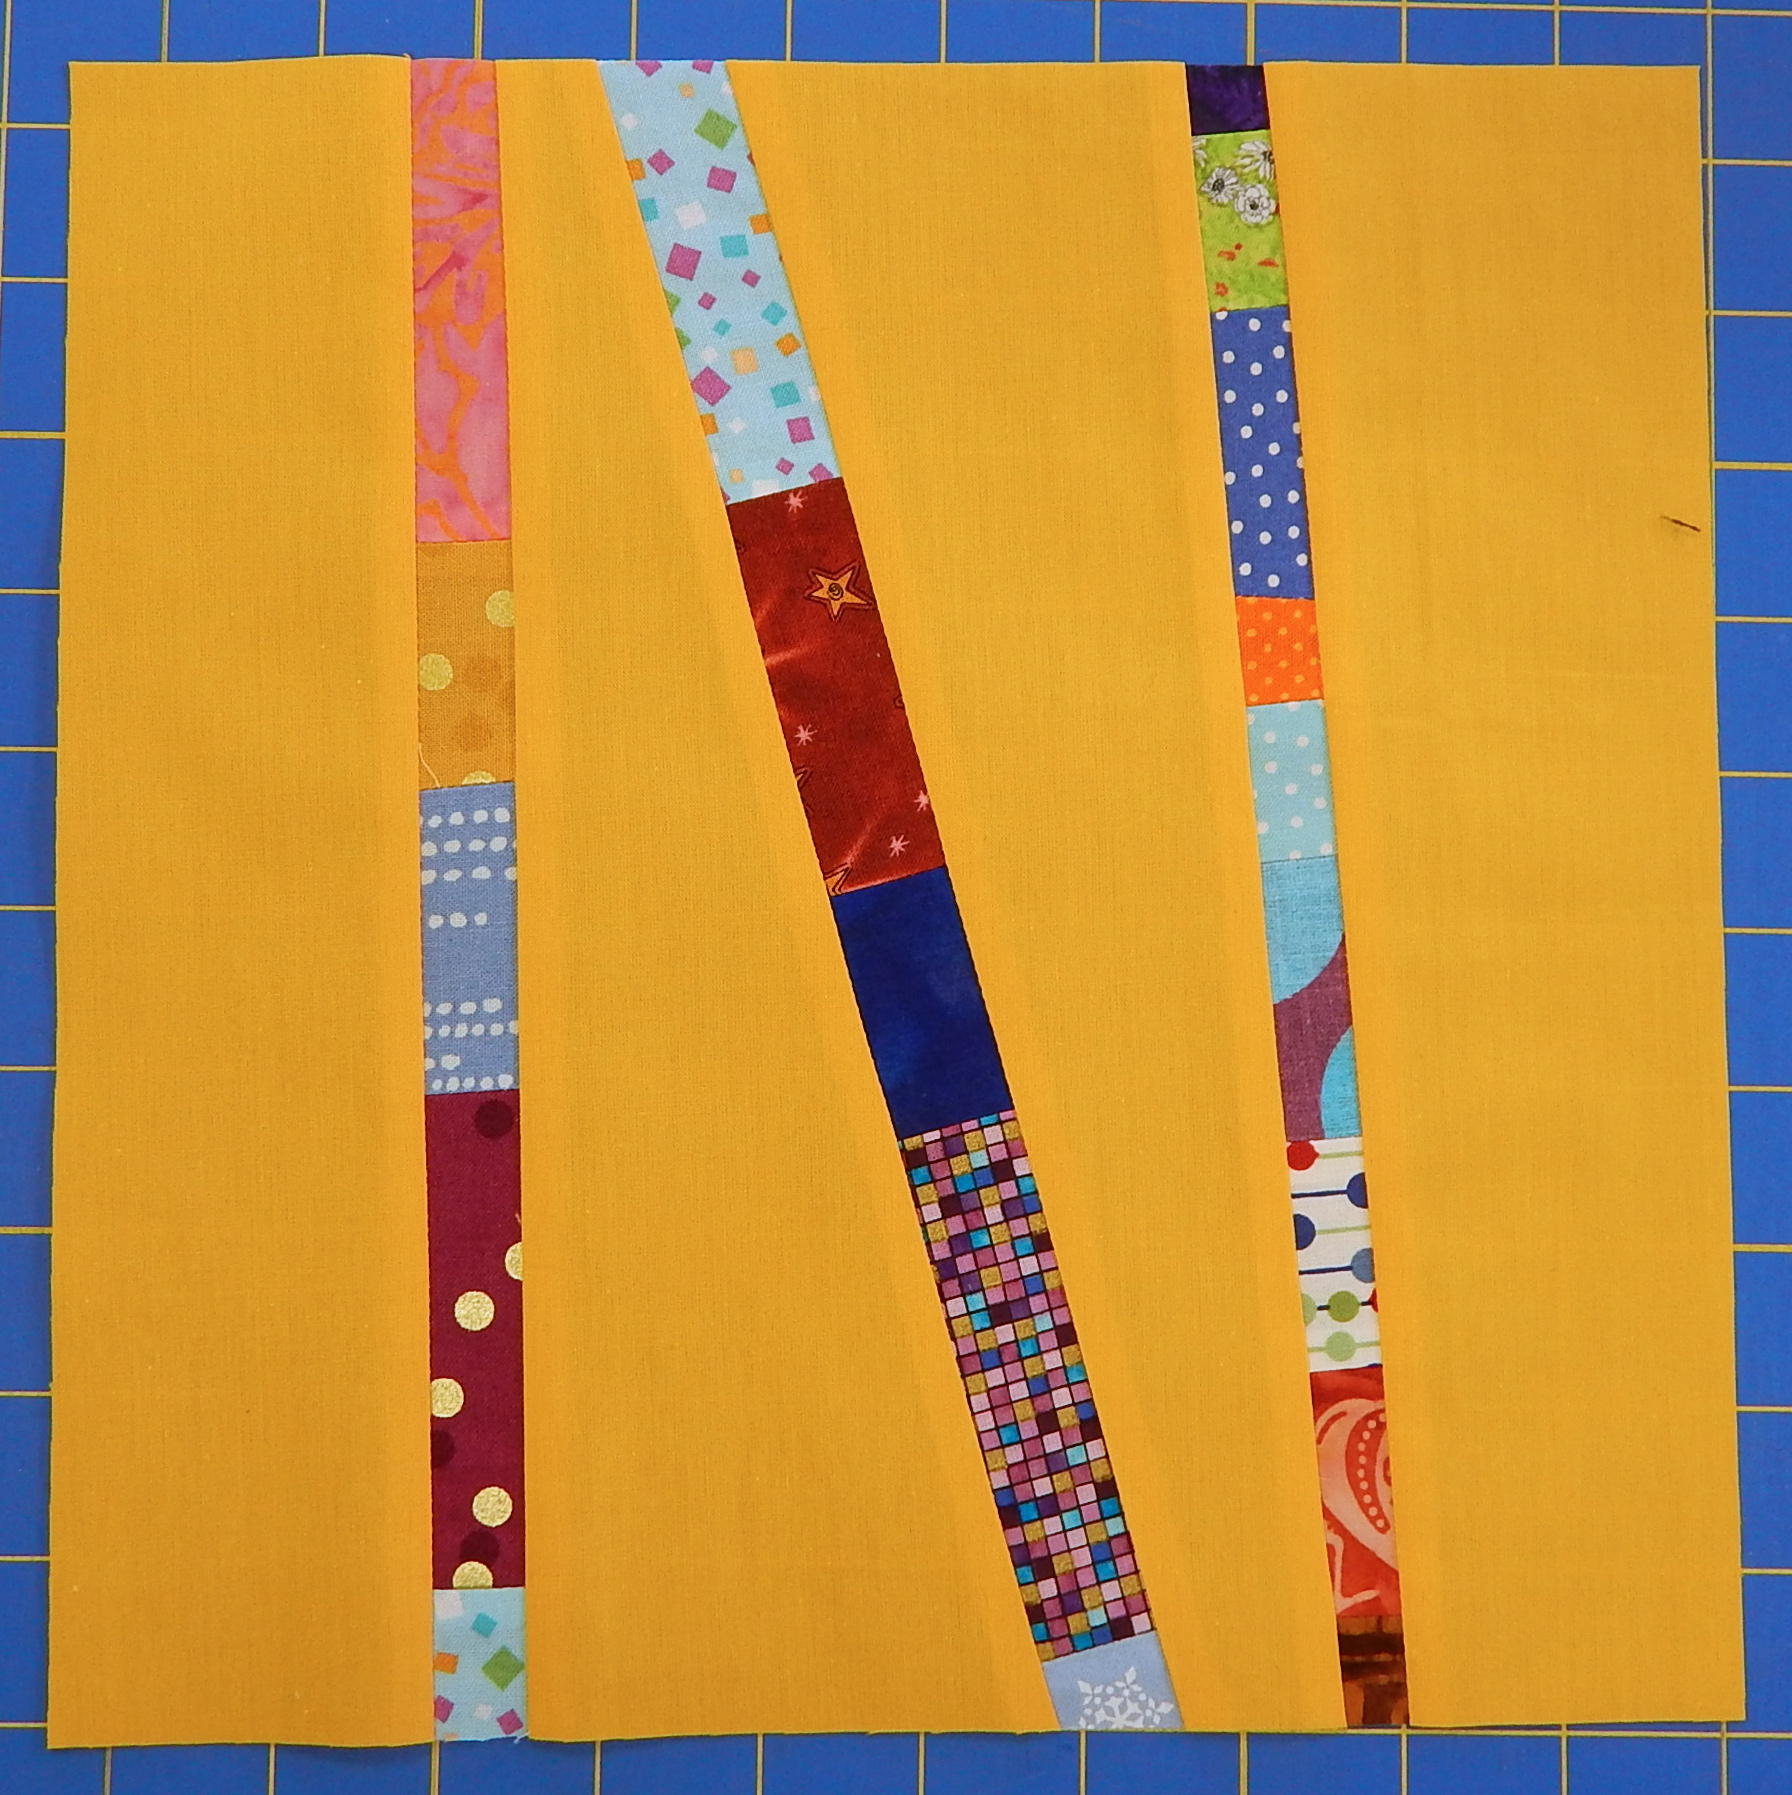
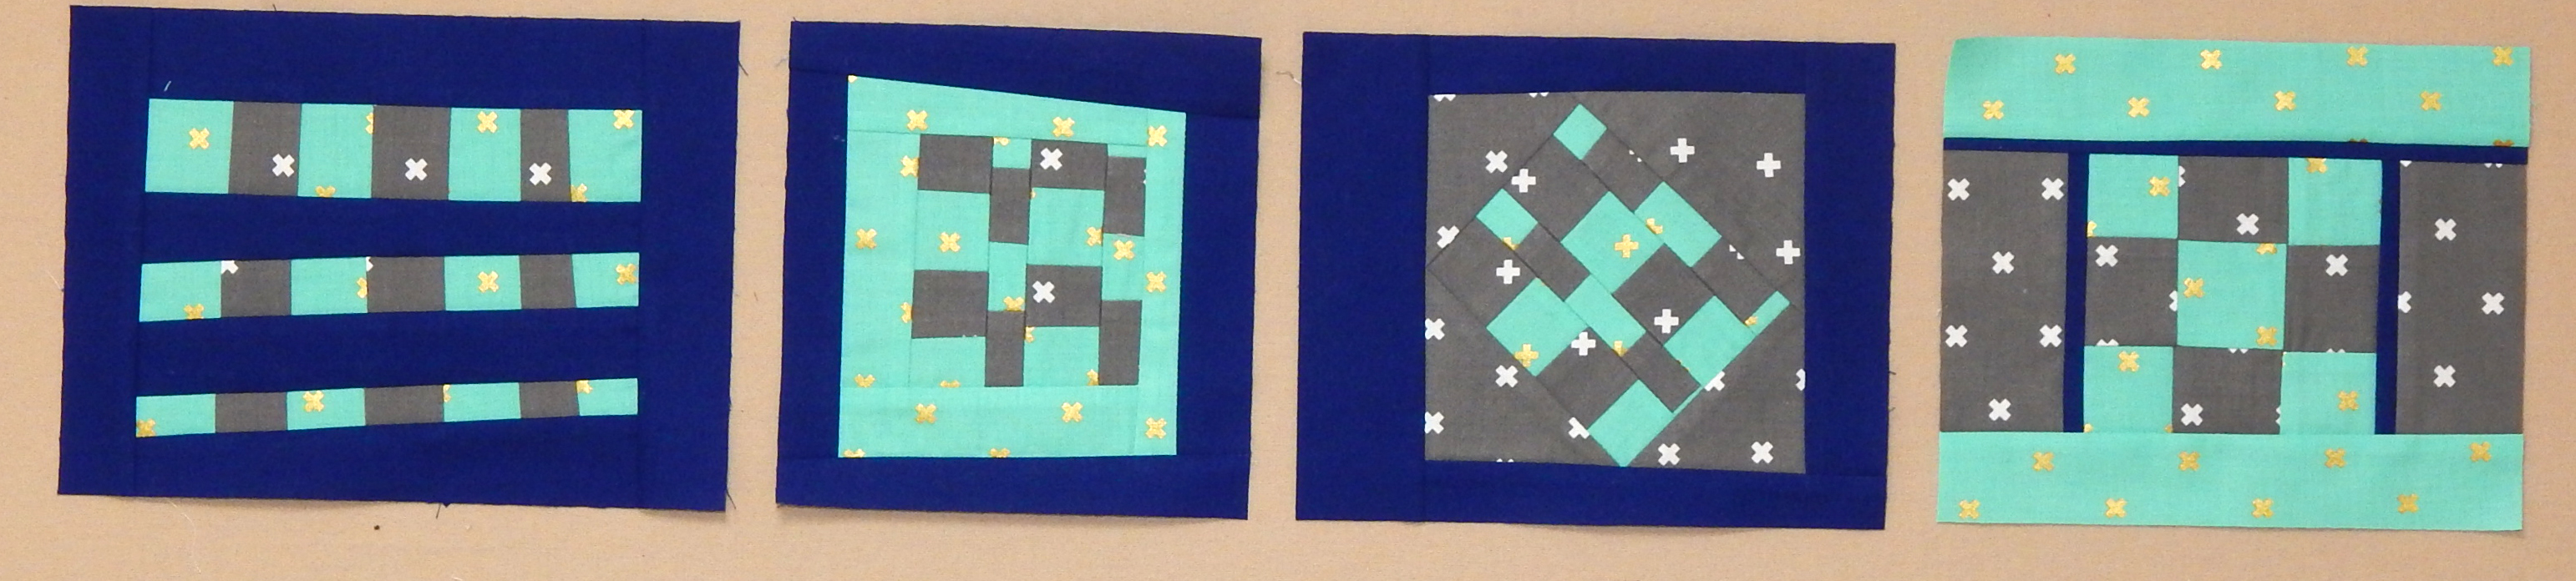
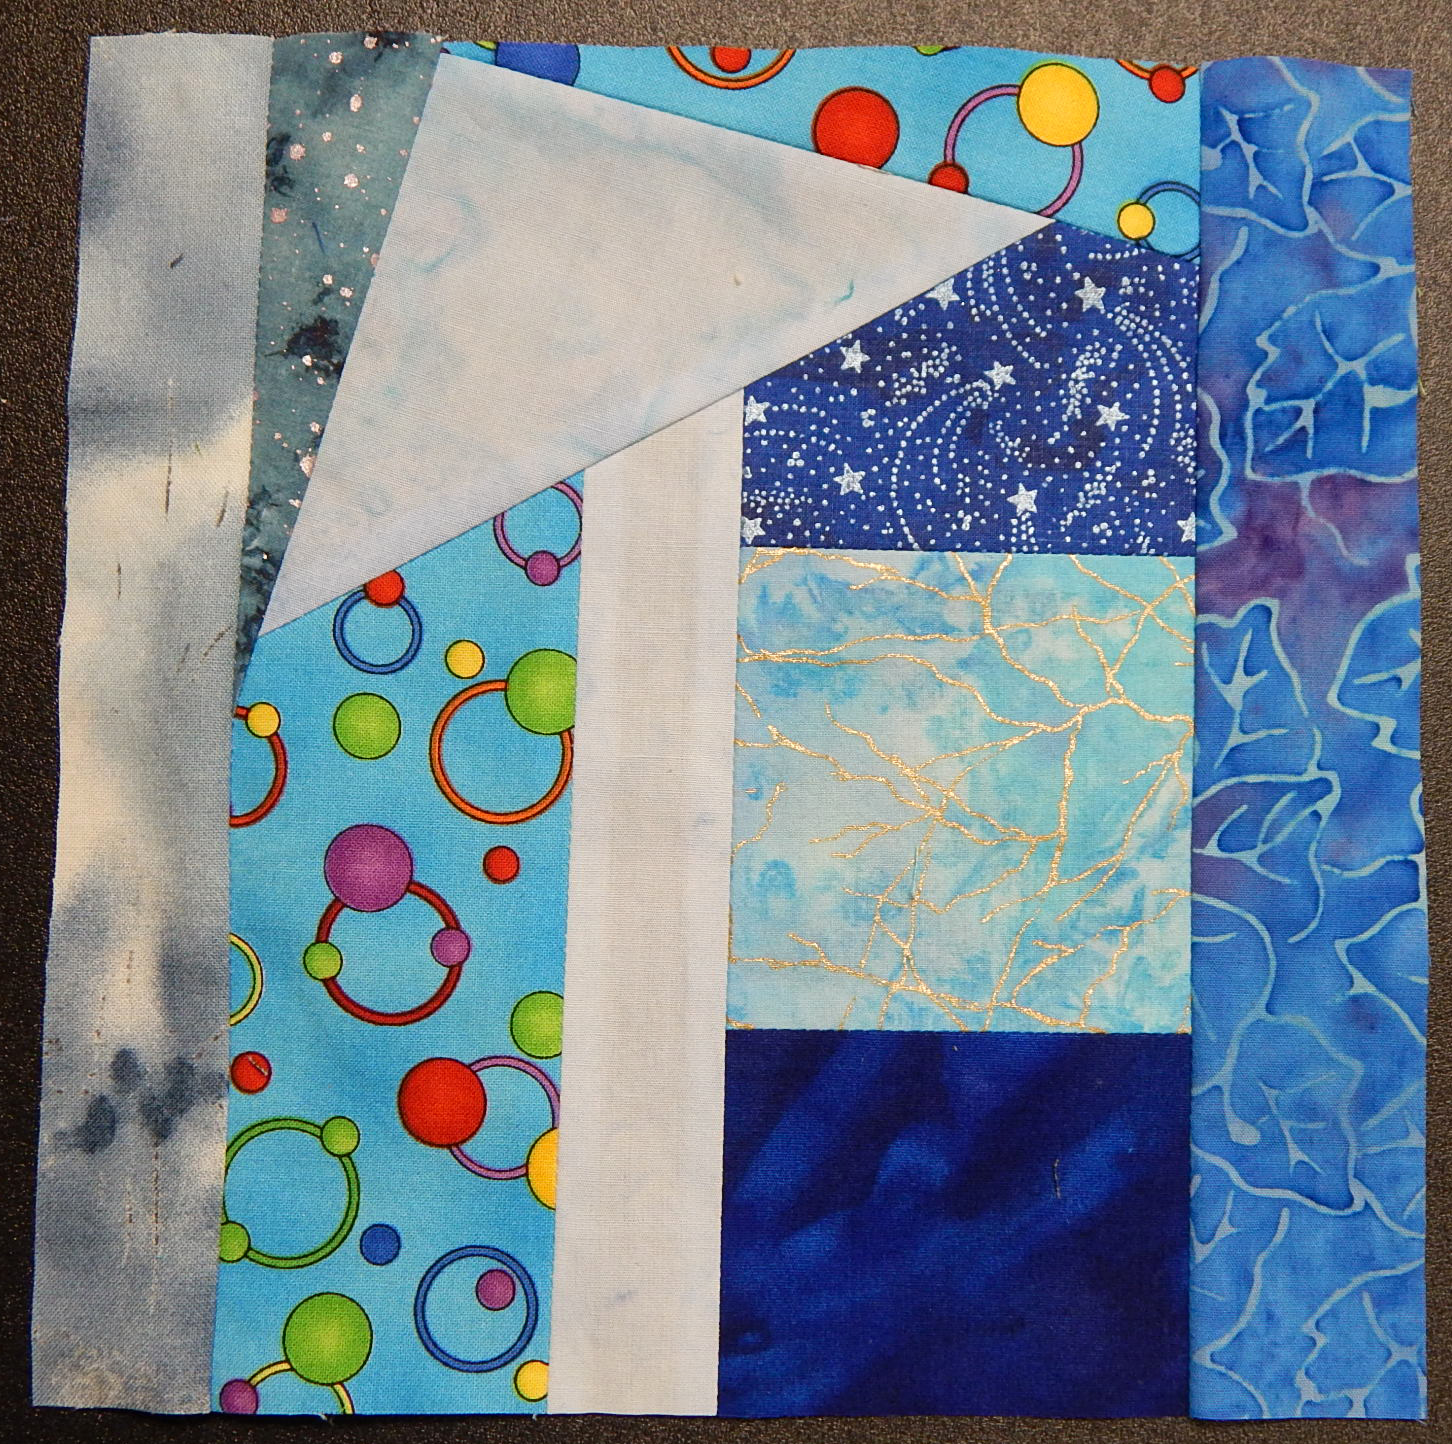
One of the things I learned was how to make this block, which was intended for use in this project but hadn’t made it in at the time the project was tossed. So you see, here is the start of another project! Ha!

And one little soap box moment, please: Some acquaintances say, “Just make it a donation quilt” when a design isn’t working out. I say, “If I don’t want it, why would I give it as a gift?”

What’s your opinion?


Improv Quilt-Along Continued

I’ve already posted about the first week of the quilt-along, which was focused on strips. Here are my blocks again.

The second week’s suggestion was polygons but not triangles. I found it difficult to like most of my attempts for this, though I did finally use EQ to design a block that I paper pieced. I thought that many of the others lack focus, so there was a lot of cutting up and re-designing. Still not my faves, but here they are:

The third week focused on triangles. I still did much of my cutting without a ruler, but I stuck to simpler designs and I’m much happier with this collection of blocks.

The quilt-along is called “30 Days of Improv” so we’re only about half way through. Here’s a link to the first post for the QAL if you want to join in. I’m looking forward to next week’s prompts.

Fiddlesticks!

I finished this quilt last month, but I’ve been doing a lot of quilting due to quarantine, so I’m behind on showing my work.  This is a scrap quilt, of course.  I’ve been seeing lots of quilts with little strips inserted on Pinterest, and finally got around to developing my own.

First, I got out all my solids, including the Grunge, and cut a 12″ square from each for background.  I planned to trim the blocks to 10.5″ after I finished inserting strips, since I have a 10.5″ square ruler 😀  No point making things difficult; let’s plan for easy!

Then I got out all my scraps and cut them into strips ranging from about 1″ to 2.5″ in width.  I made strip sets and cut them crosswise into strips for the quilt.   The inserted strips were cut in widths varying from 1″ to 2″, which of course means they finished 0.5″ to 1.5″ wide in the blocks.  I made more skinny ones than wide ones.

I just slashed the blocks at random angles.  I did slash and insert only one strip at a time. 

After I’d inserted enough strips to suit me, I trimmed each block to 10.5″ square.

Just look at the fun flower design my quilter used!

And yes, I left 3 blocks unpieced to add interest.

Quilt stats:  Fiddlesticks

Finished size: 49″ x 69″

Designed by me, based on multiple inspirations from Pinterest

Technique: Improvisation

Quilted by Julia Madison

Improvised Table Runners

Several years ago I made this table runner by my own improvisational method.

modern table runner

Then I made this one, same method, using a lovely group of crossweave fabric.It was accepted for publication in a magazine, and I wrote the instructions, but the magazine ceased publication just before the issue in which my runner was to appear!

While developing the article for Crossweave Runner 1, I made Crossweave Runner 2 so I could take some process photos.

So, while cleaning the studio recently, I found two partially finished runners, the one above and the one below.

I finished these last two runners, and that’s about enough of those for now! It’s good to get even a little project finished and out of the way, especially right before the holidays when I’m thinking about gifts for folks!

Current Series, Parts 4 and 5

I’ve been making a series of improvisational blocks from a bundle of fat eights and a single solid blue fabric, which is intended to tie them together visually.

Each set of 4 blocks has a theme, such as triangles from a strip set in this one

I trimmed each block to 6-1/2″ wide; the length is random

and random arrangement of free-cut squares in this one.

All blocks are 6-1/2″ in one dimension to give them some chance of fitting together eventually!
Set 4 had the theme “log cabin”, and I am fond of little lines in my designs, so it had some of those, too:

“Lines” was the theme for set 5:


Despite using a bundle of coordinating fat eighths and a unifying solid, I think these are getting to be too diverse to go together well. I’ll try to attack that problem in the next set. Please stay tuned, and share any suggestions you may have!


Current Series, Parts 2 and 3

In our “first exciting episode” about this series, I showed the fabrics and the first set of improvised blocks, which were based on triangles cut from a strip set…

For the second set of improvisational blocks, I set these rules:

  • Start with a strip set
  • Cut and recombine the strip set in random ways
  • Continue to do the final trim so that each block is 6.5″ wide; any length is OK

Here are the blocks:

I wasn’t crazy about these and decided to return to a more planned approach with the next set.  The rules for it were:

  • Start with a strip set
  • Recombine it into loose grids
  • Keep to 6.5″ in one dimension for each block.

I’m marginally more satisfied with these, but that 3rd block in this set makes me think that the next set will need some diagonal lines.  Stay tuned!  And thanks for visiting 🙂

With a little help from my friends…

One of the things I love about blogging is hearing from people who comment and share their ideas.  Here are a couple of ideas that I thought you might enjoy, too.

When I blogged about some household items that are useful for quilting, Peggy commented that she cuts up her old calendars and uses the numbers to label her blocks and rows.

It was the perfect time of year for that handy hint, so I promptly cut up an old calendar. The numbers worked great for labeling pieces for a complex project. I clipped them to groups of fabric for the various sections of the quilt using binder clips–an idea I got from Judy Niemeyer’s class years ago.

Another friend, Claire, responded to my post on making single-color slabs by asking what I do with fabric that is a mixture such that no one color predominates.  I had been cutting out sections based on the predominant color, and that seemed to work.  But…

When I came to this piece, I realized I had NO desire to cut out chunks small enough to be mainly one color.  Then I started looking and saw that I had a number of prints from which I would NEVER be able to cut single-color pieces of any size.quilt slab, slab block, quilt block, modern block

So I made a block of multi-color pieces.  It is pretty wild, but so were some of the fabrics that went into it.  I’ll see how it looks with the single-color blocks when I assemble a quilt.  What do you think?  Make more of these or give up on the truly multicolored fabrics for slabs?


Judge’s Choice! Woo!

My entry in this year’s Quilt Alliance contest was chosen by judge Linda Pumphrey for her Judge’s Choice Award! Here’s the quilt:

quilt alliance contest

For Quilt Alliance contest 2017, 16″ x 16″

And here’s Linda’s comment:

I love the graphic abstract and bold colors of this little quilt. The quilt is beautifully executed with strong visual impact.

Of course I am thrilled to be chosen!

All quilts entered in the contest will be displayed at QA’s “Quilters Take Manhattan” event as well as at International Quilt Festival in Houston. They will then be auctioned to raise money to support the Quilt Alliance’s many projects.

Here’s the link to the auction site, where you can see all quilts entered in the contest:

Quilt Alliance Auction 2017

Quilt Alliance Contest 2017

After 3 weeks and 3 quilts, here is the one I finally finished for the 2017 Quilt Alliance contest. The first two quilts were OK, but I like this one best, so off it goes.

quilt alliance contest

For Quilt Alliance contest 2017, 16″ x 16″

The contest theme this year is “voices”. As I made this little maze, I thought of college students in their world of endless possibilities, talking all night about the meaning of life. I thought the bright colors and the maze were a good representation of that.

Cherrywood Fabrics

Detail of the quilt for the 2017 Quilt Alliance contest

The fabric is Cherrywood hand dyes, except for the bright yellow, which is a batik.  I presume it is obvious that I cut everything with scissors and improvised the piecing as I went along.  I quilted it on my Bernina, using lightweight medium grey thread to lend texture without showing too much.

Next week: a quilt to use as a wedding guest book.  Thanks for visiting!

Leaders and Enders–Have You Heard?

One of the best things about the blogosphere is that I get tips all the time from other quilters.

I recently learned from Melissa at Happy Quilting how I can be piecing two projects at once!  What could be better?

I’ve always used scraps for starting and ending a series of chain piecing because that gives me all the pieces at once, still without having to cut off thread tails.

The scraps used to start and end sections of chain piecing end up looking like this--pretty ratty!

The scraps used to start and end sections of chain piecing end up looking like this–pretty ratty!

Here’s an explanation of chain piecing in case you aren’t familiar with it.

To piece a second top as “leaders and enders” instead of using scraps to chain piece, I figured it had to be a SIMPLE top or I’d end up confusing things for sure!  So when one of my quilt groups decided to exchange improvised blocks (sometimes called slabs if they’re all one color), it seemed like a perfect opportunity to make the slabs while working on something else.

Improvisational piecing

This is a pile of scraps..

I’m piecing slabs from scraps and they’re improvisational, so there ARE no mistakes, only opportunities for further improvisation!  Woo-hoo!

Improvised quilt block

And this is a block improvised from scraps and cut to size!

SO, while piecing the tops I wanted to consider for the Quilt Alliance challenge…

I also pieced several improvisational slabs for friends.

Improvised blocks

Blocks improvised from scraps

Win-win!  And most importantly, it was FUN 🙂