What To Do x 2?

Here are two projects I need to “fix”, and I’m open to suggestions.

improvised quilt

“Swim” is about 50′ x 50″

This first one, shown above, is an improvisation I did about 2 years ago.  I haven’t finished it because the lines between the layers are more distinct than I intended.  I joined the layers with curved seams cut freehand, and I changed the fabrics I used in each layer gradually, but the layers still aren’t blended as well as I’d like.

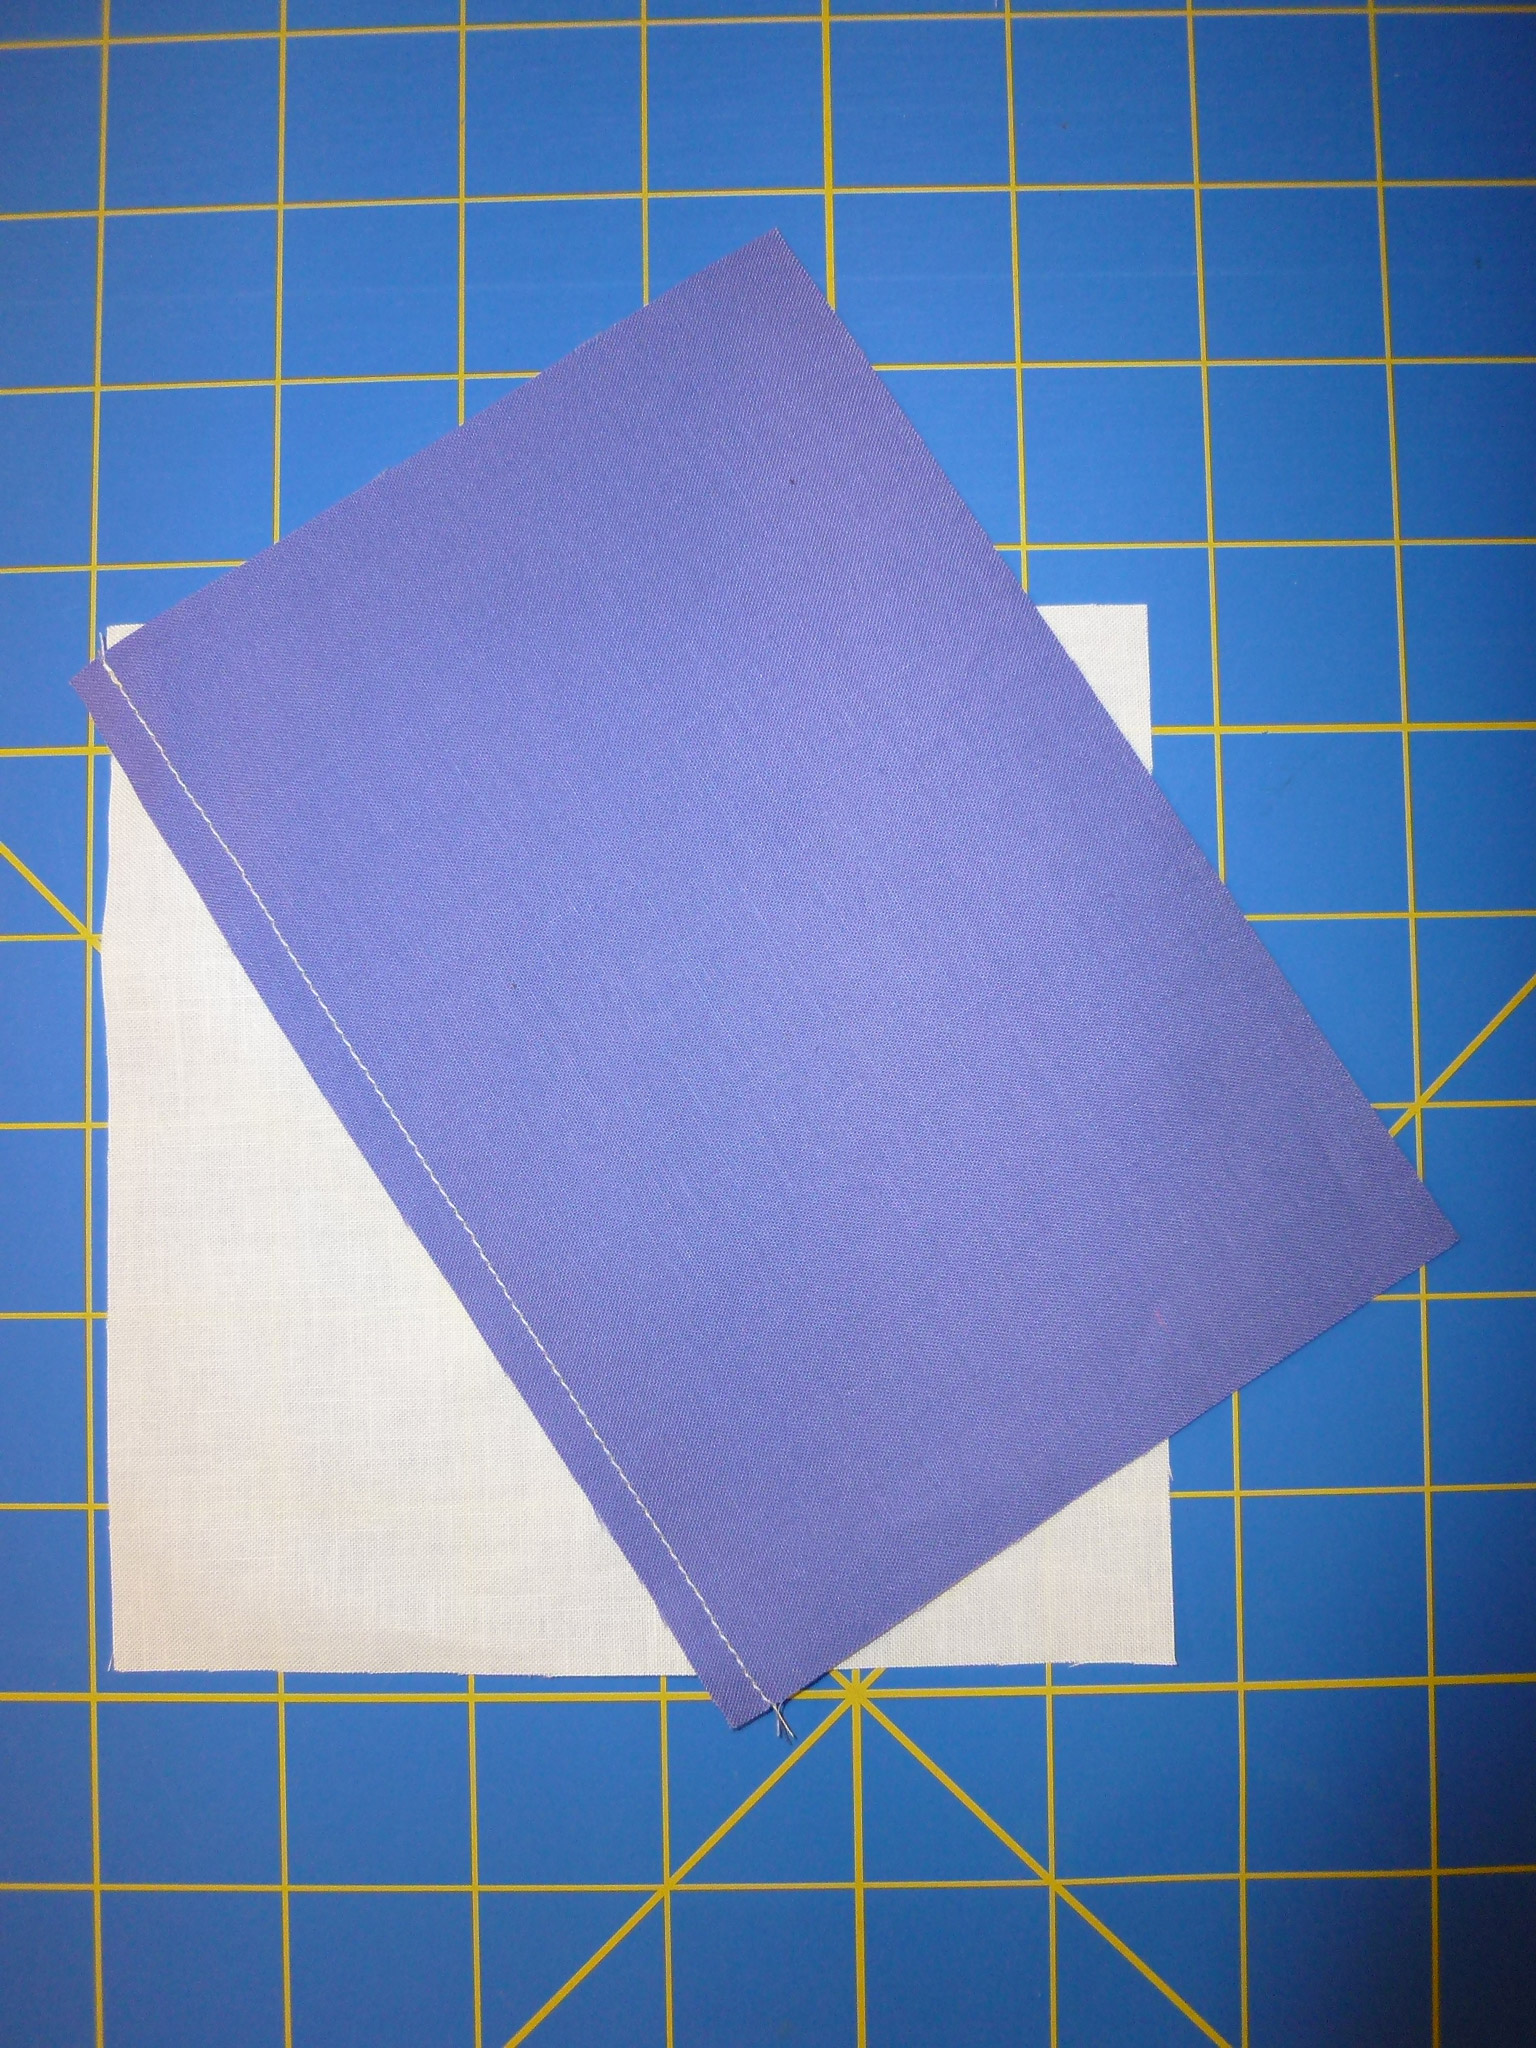
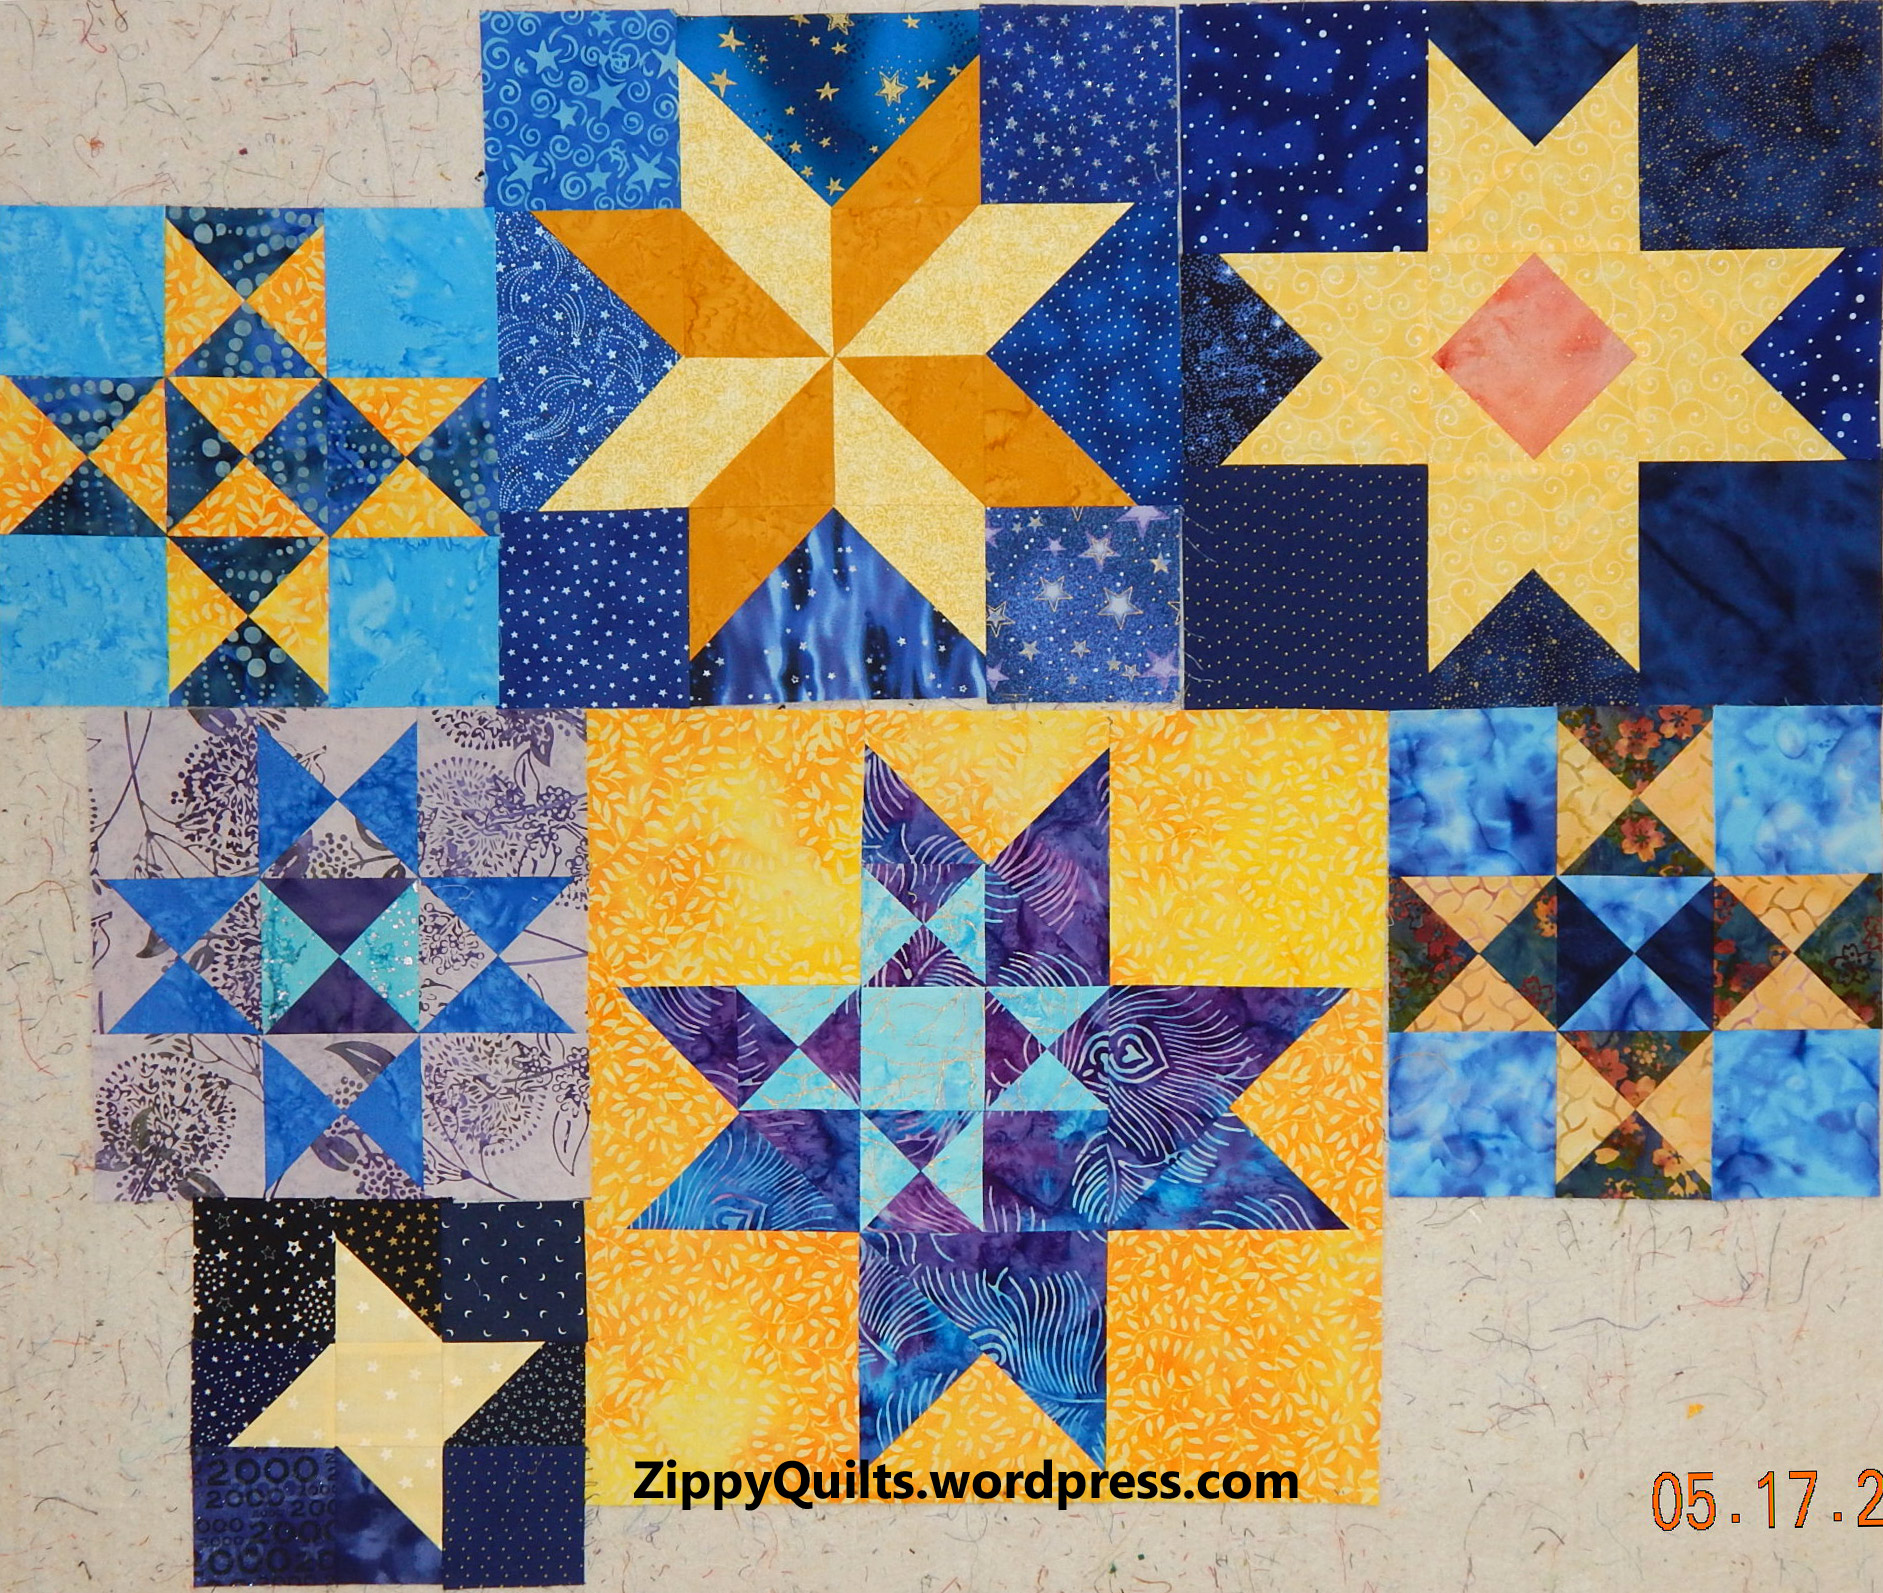
My “UFO finish” for June is to do SOMETHING with this top. (Mother used to say, “Do something, even if it’s wrong!” when we got stuck on a task.)

My current thought is to cut some freehand diamonds and applique them intermittently along the seams I want to blend.  Any other ideas?

And here’s the second one that needs “fixing”:

improvised quilt

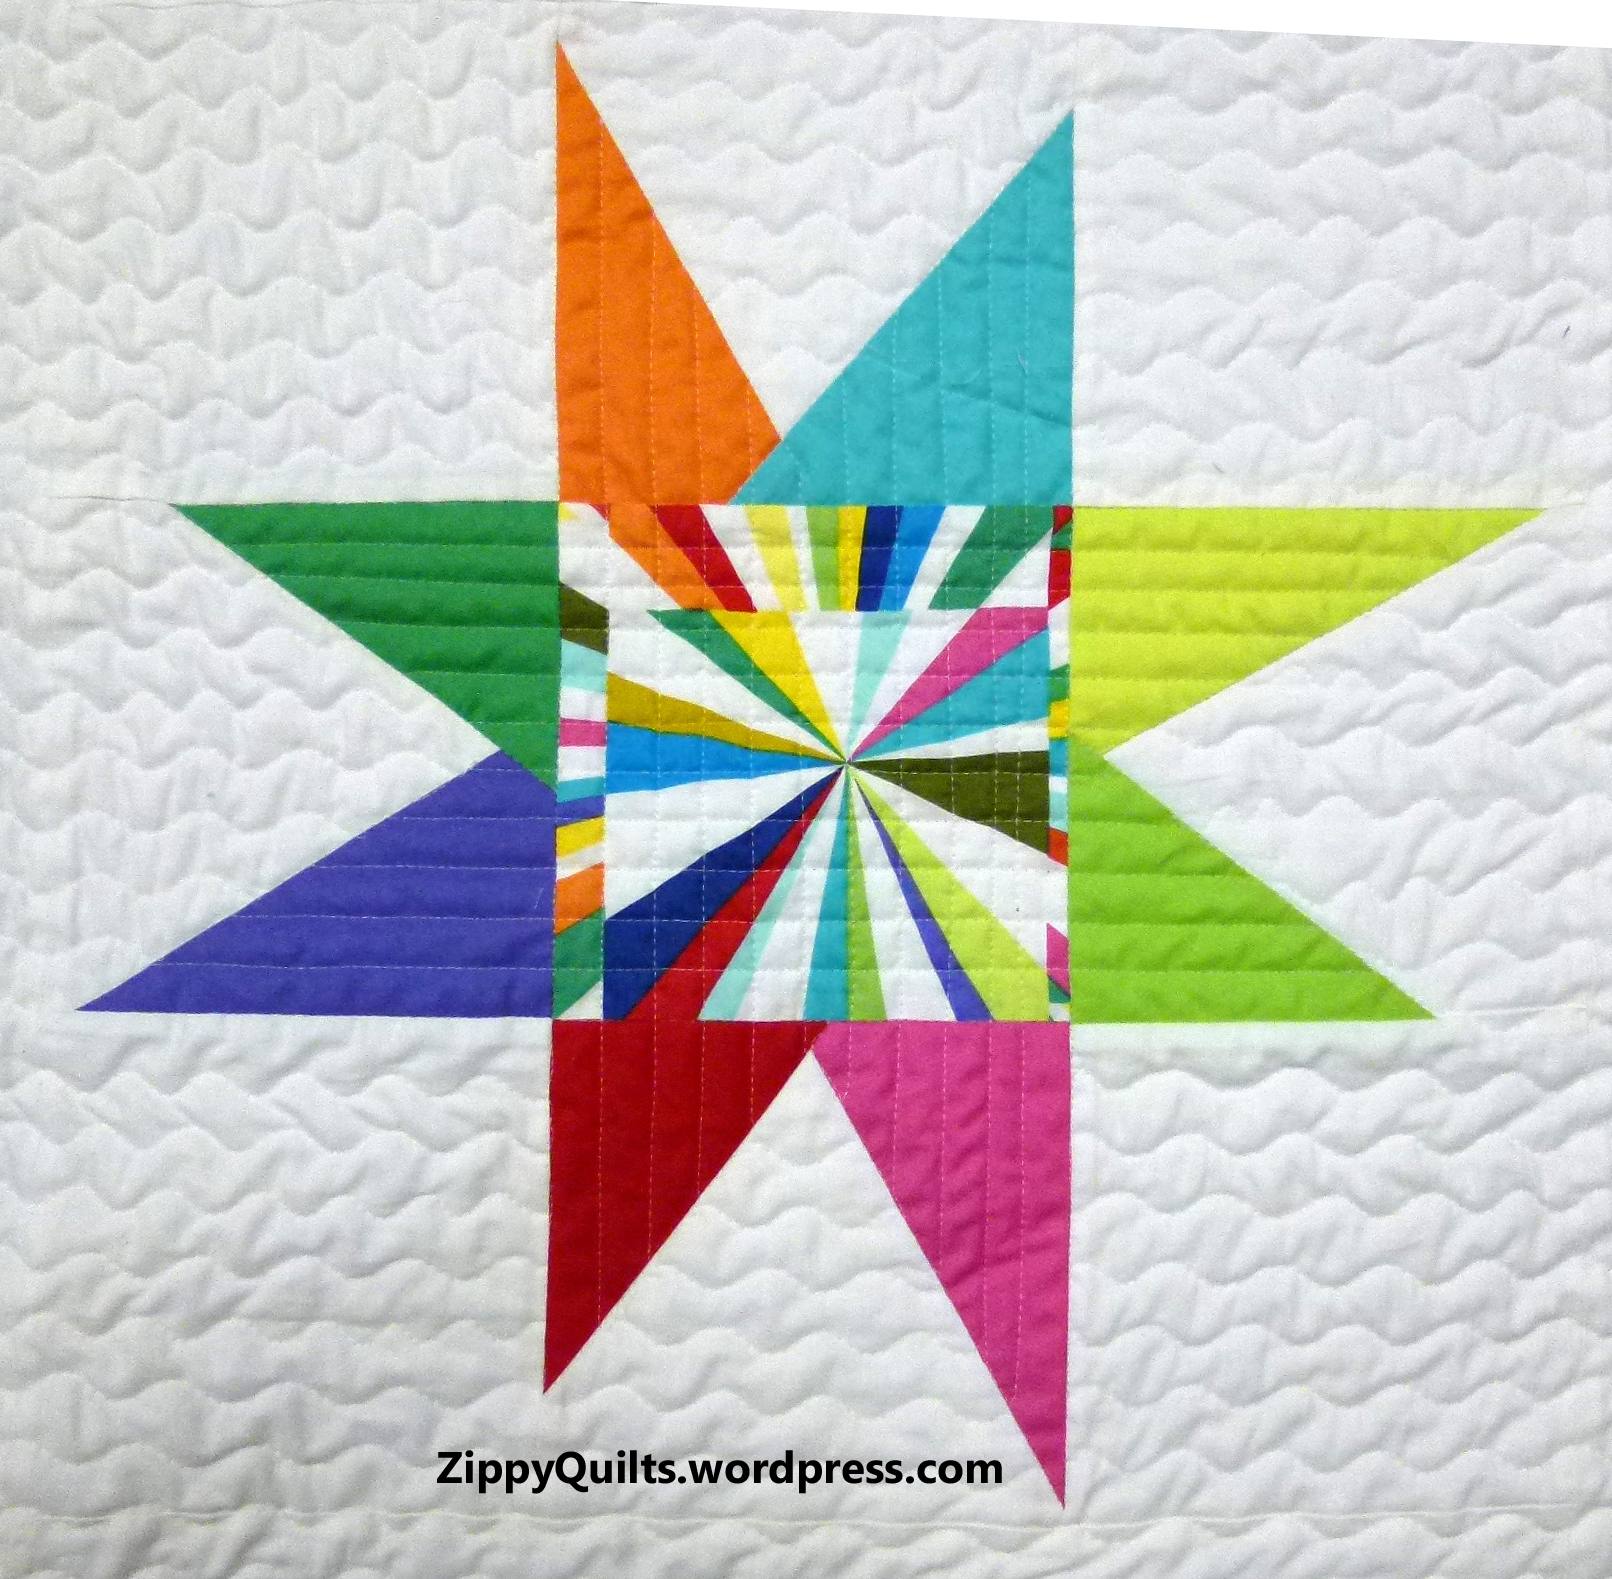
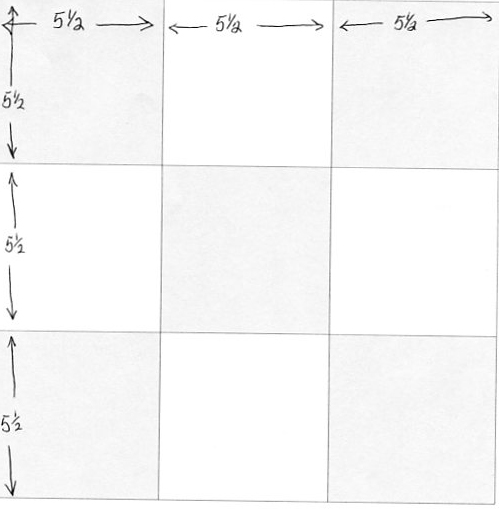
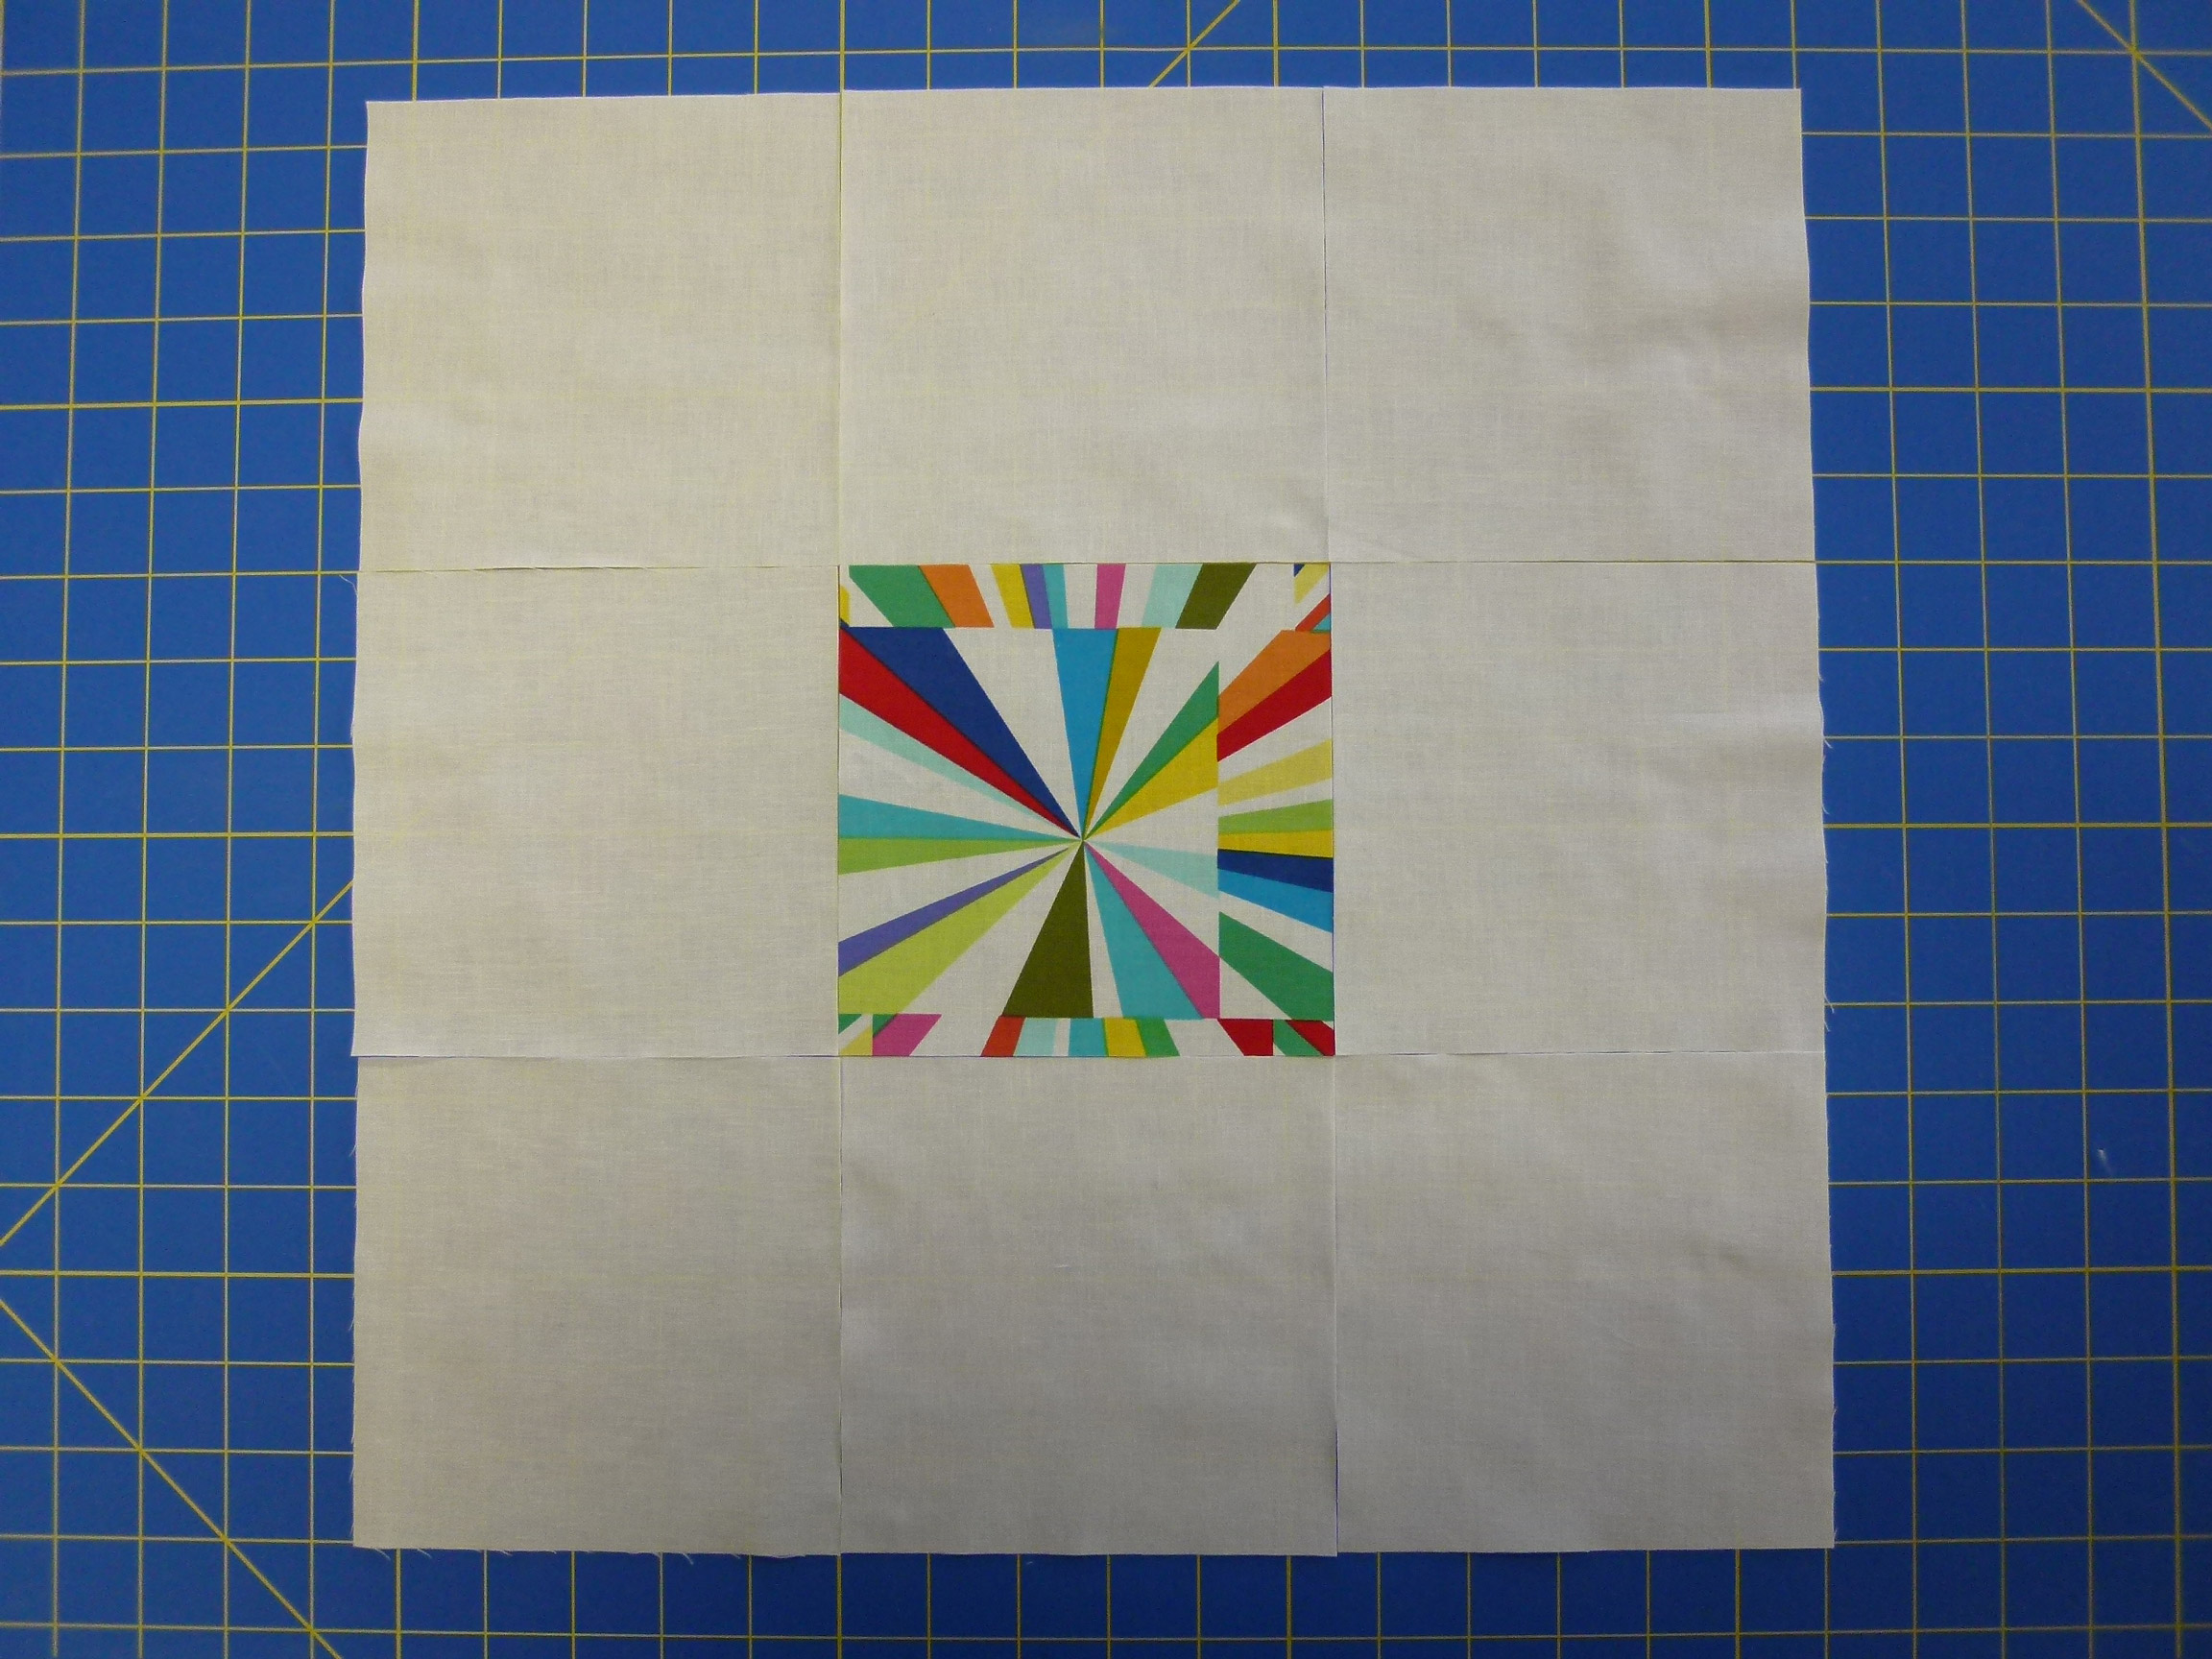
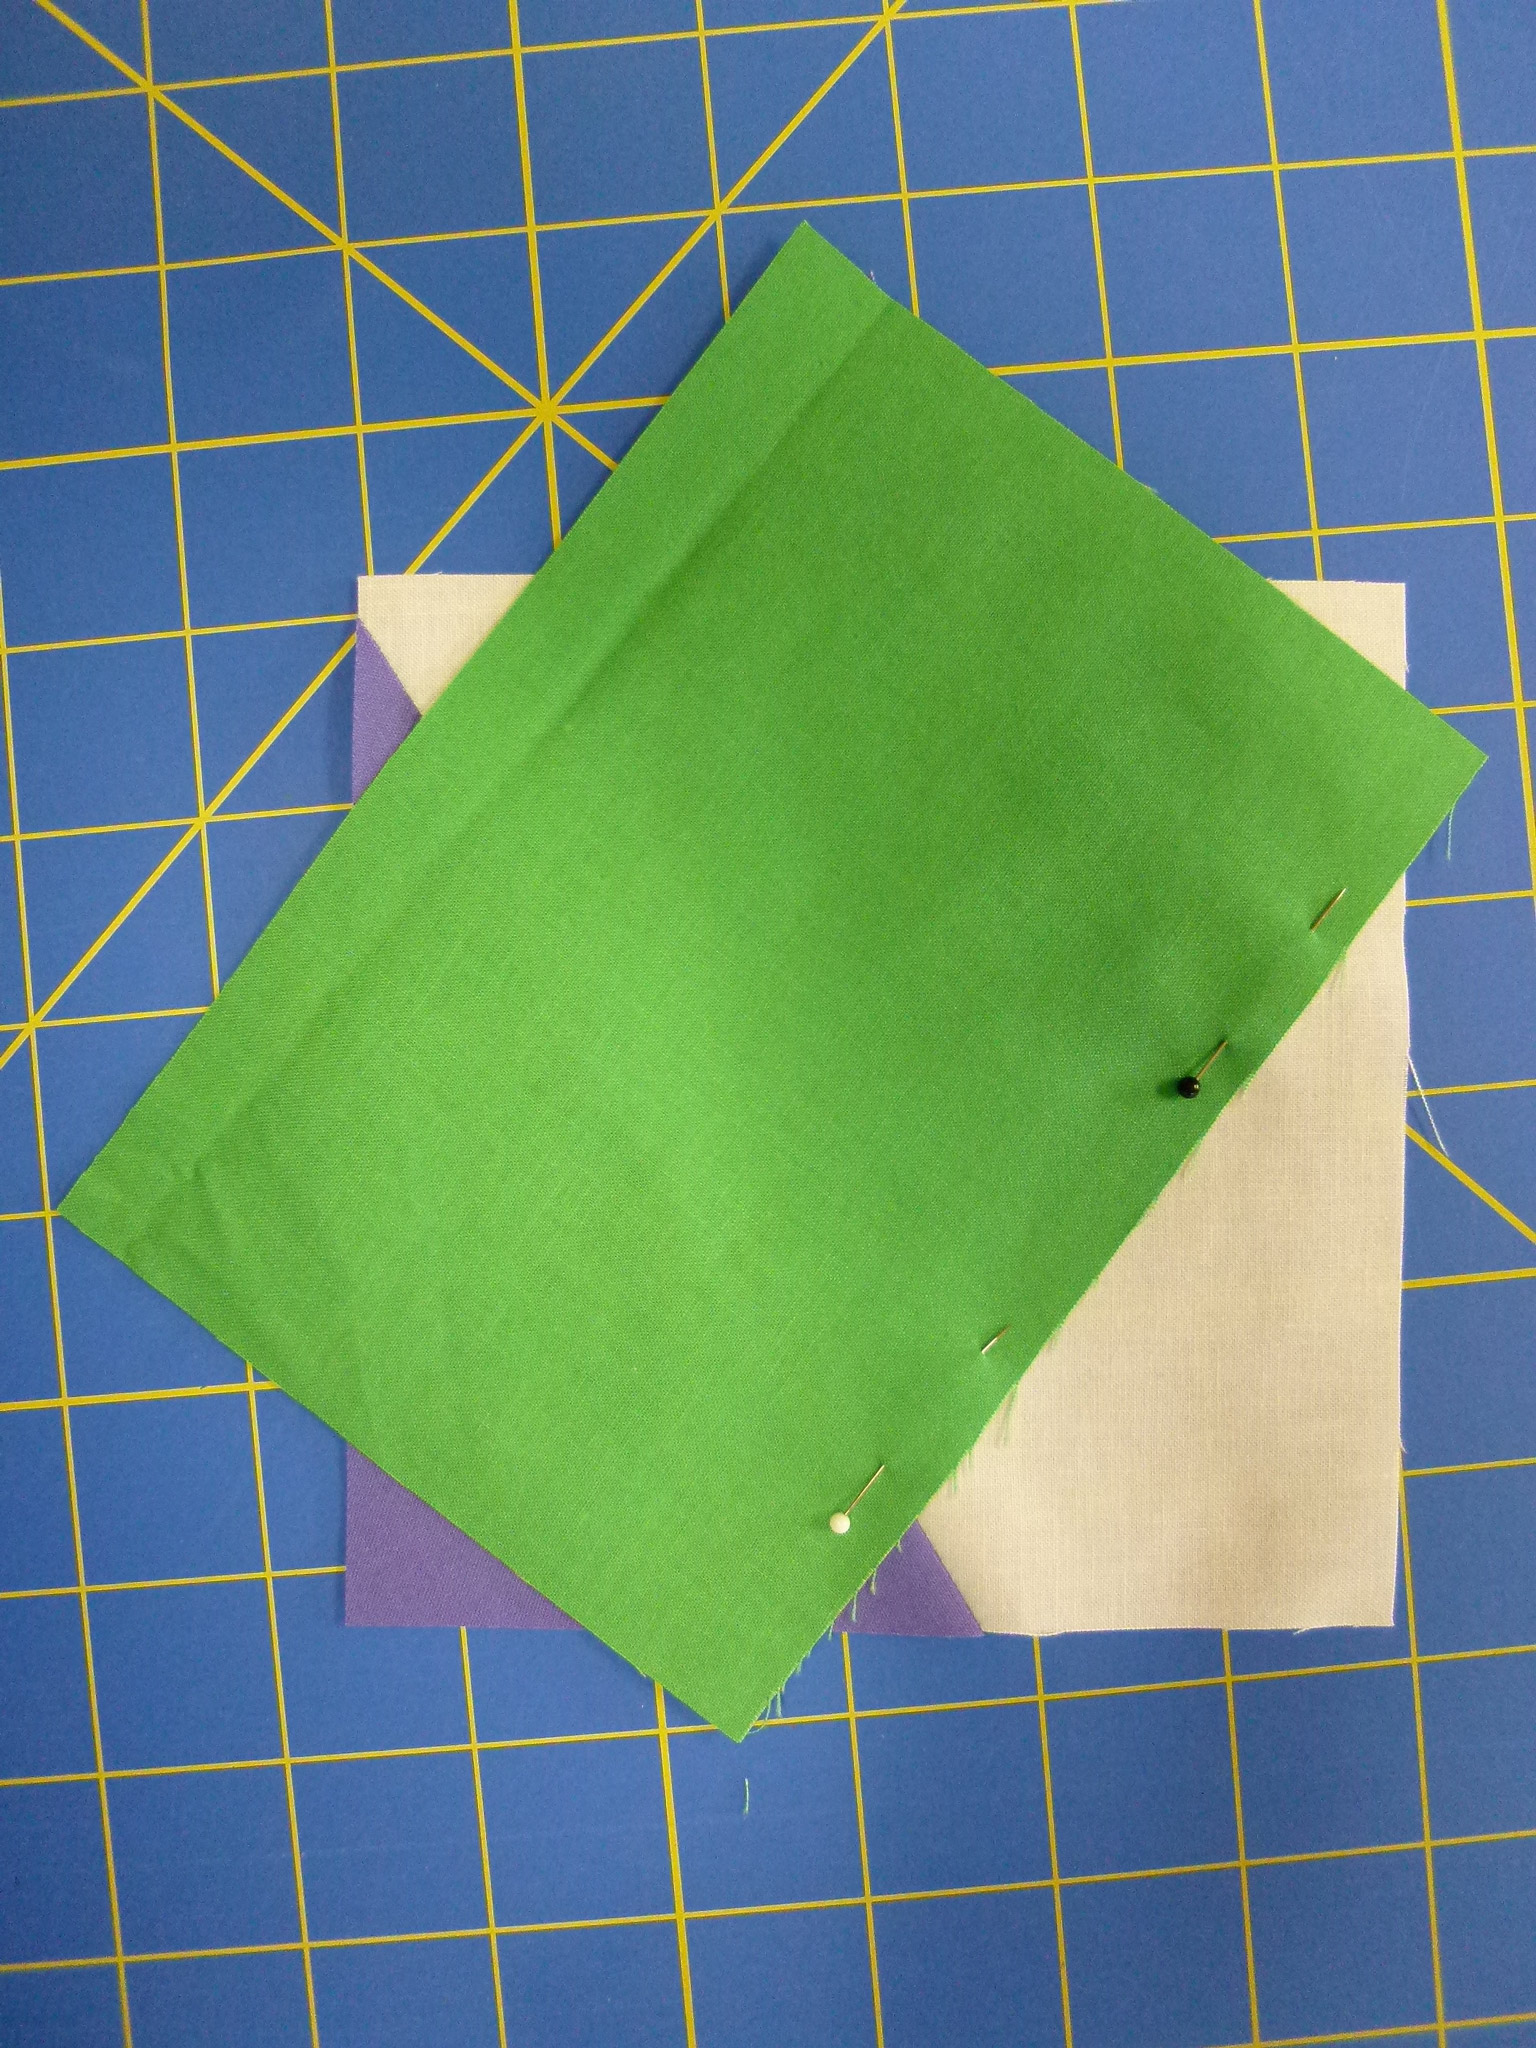
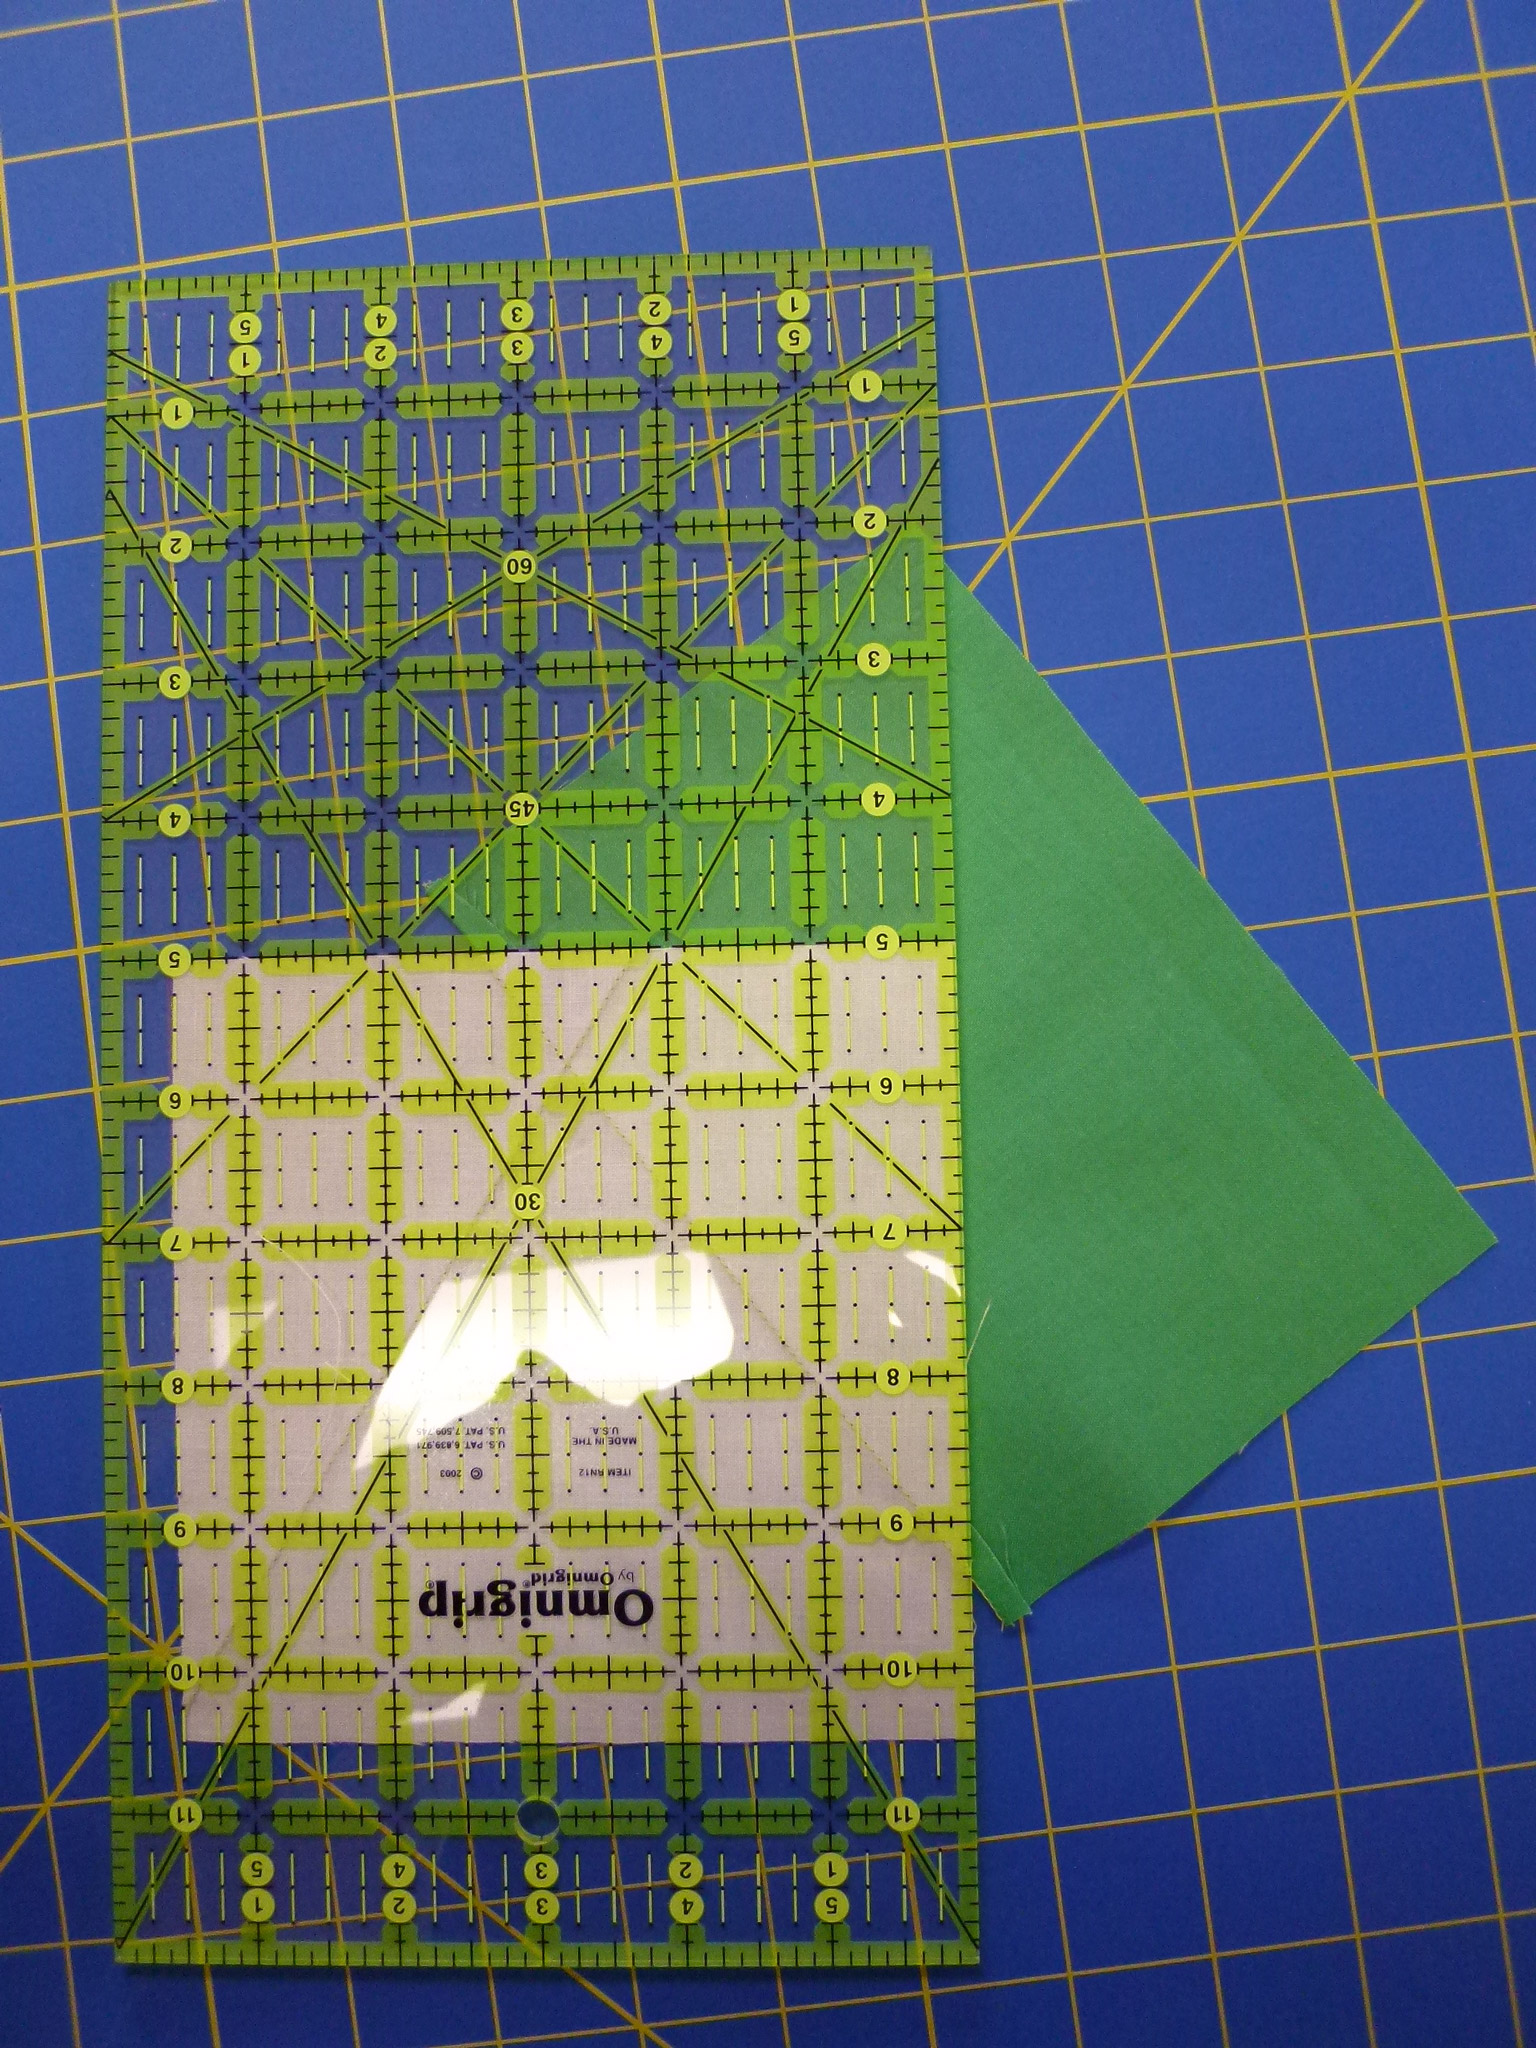
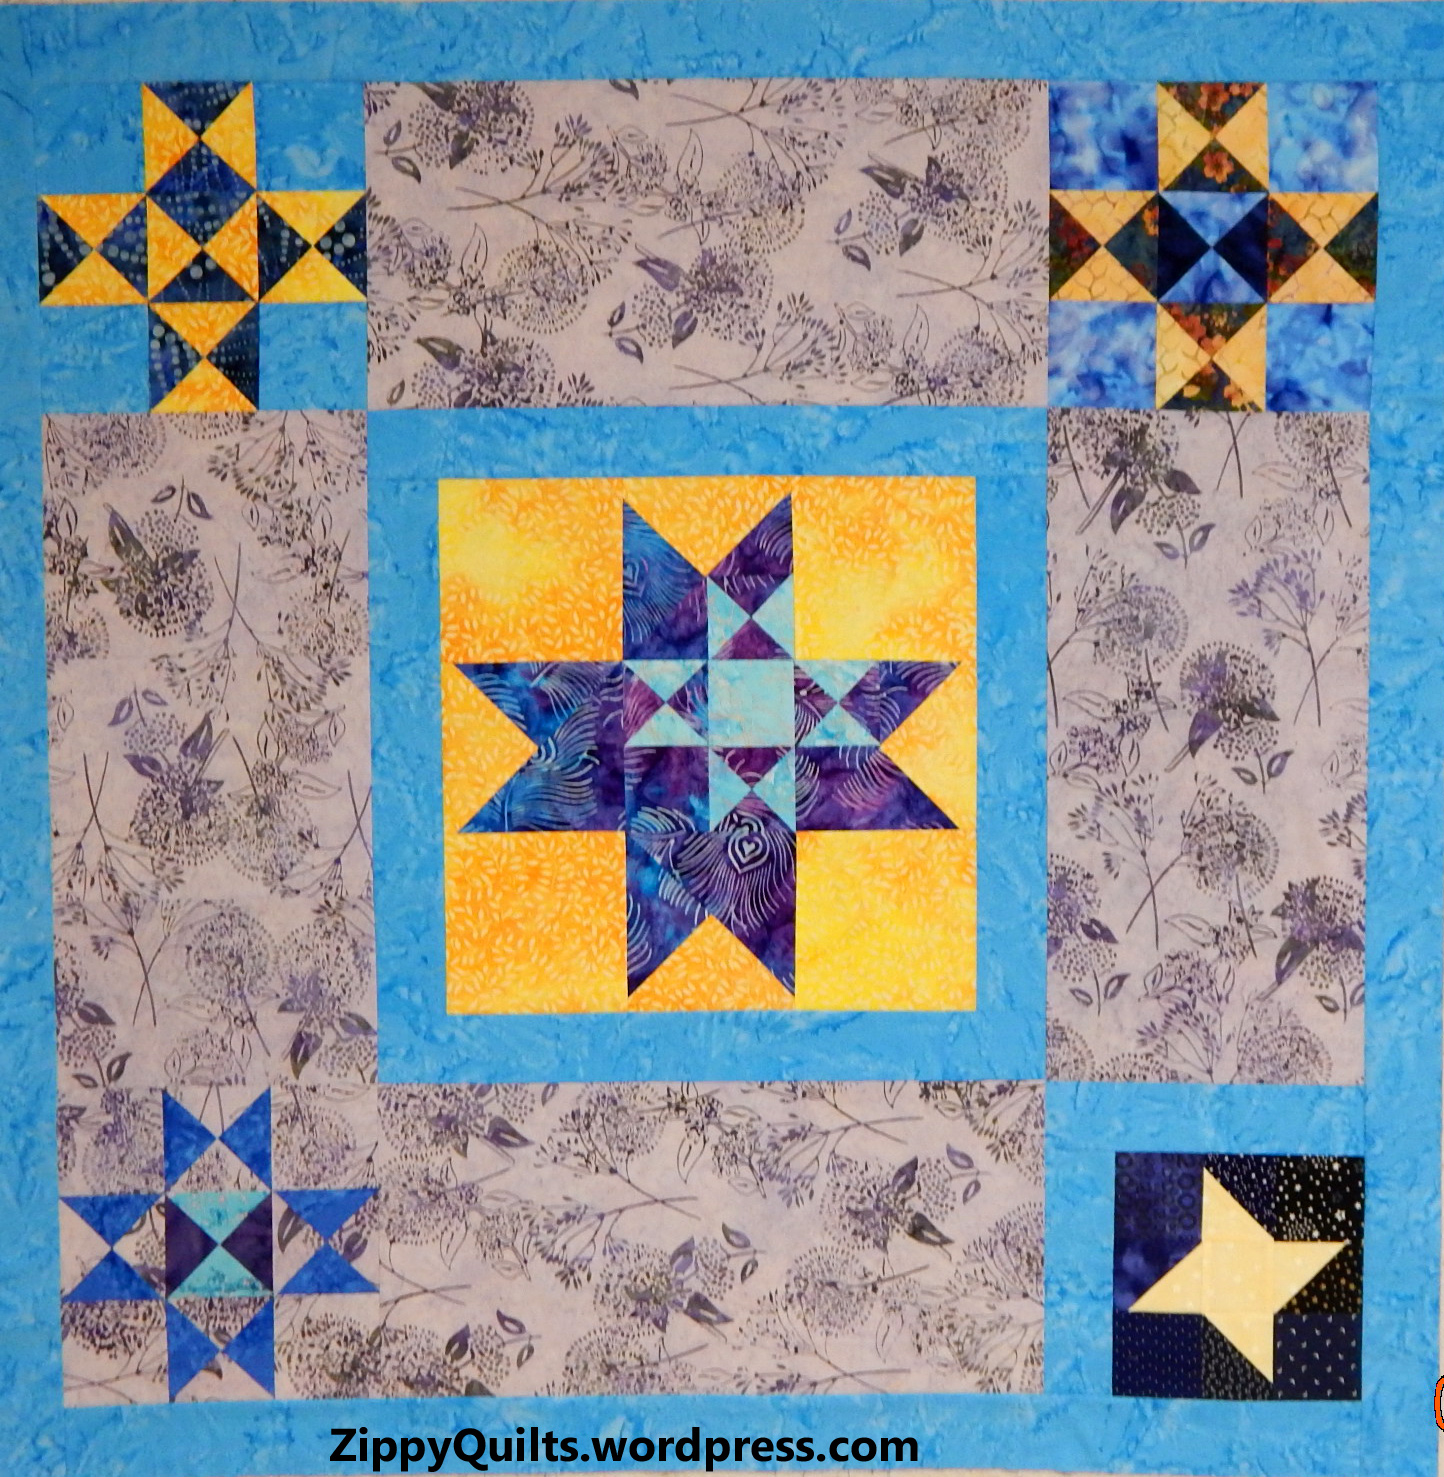
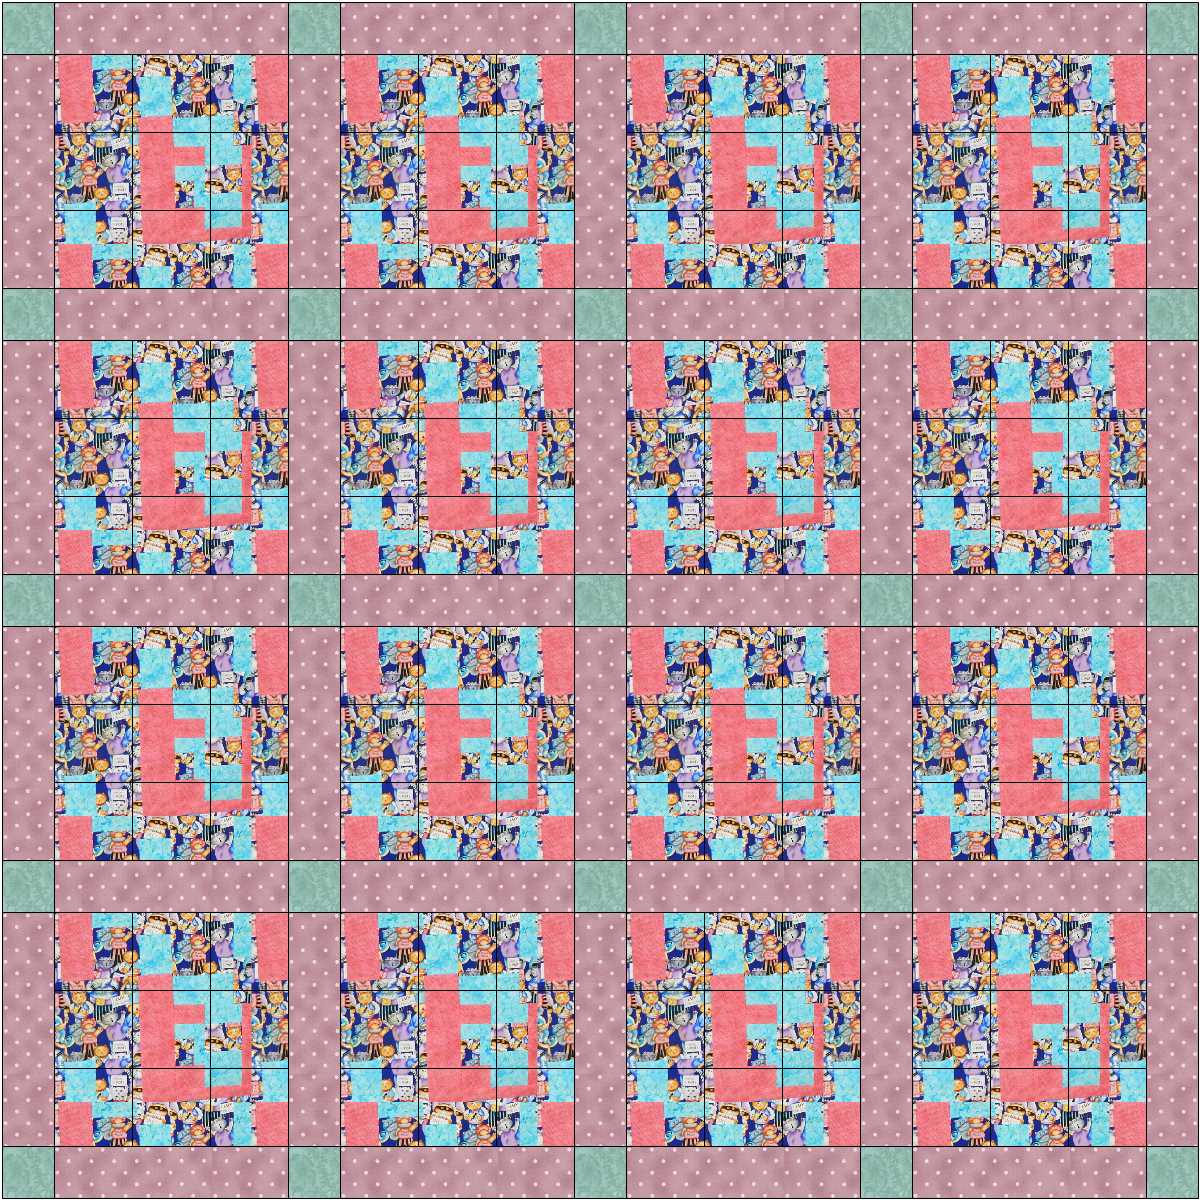
This is to be the June donation quilt, 40″ x 40″

This is my second attempt to follow a Sherri Lynn Wood “score”.  I followed her instructions more closely than last time, and I like it a lot less!

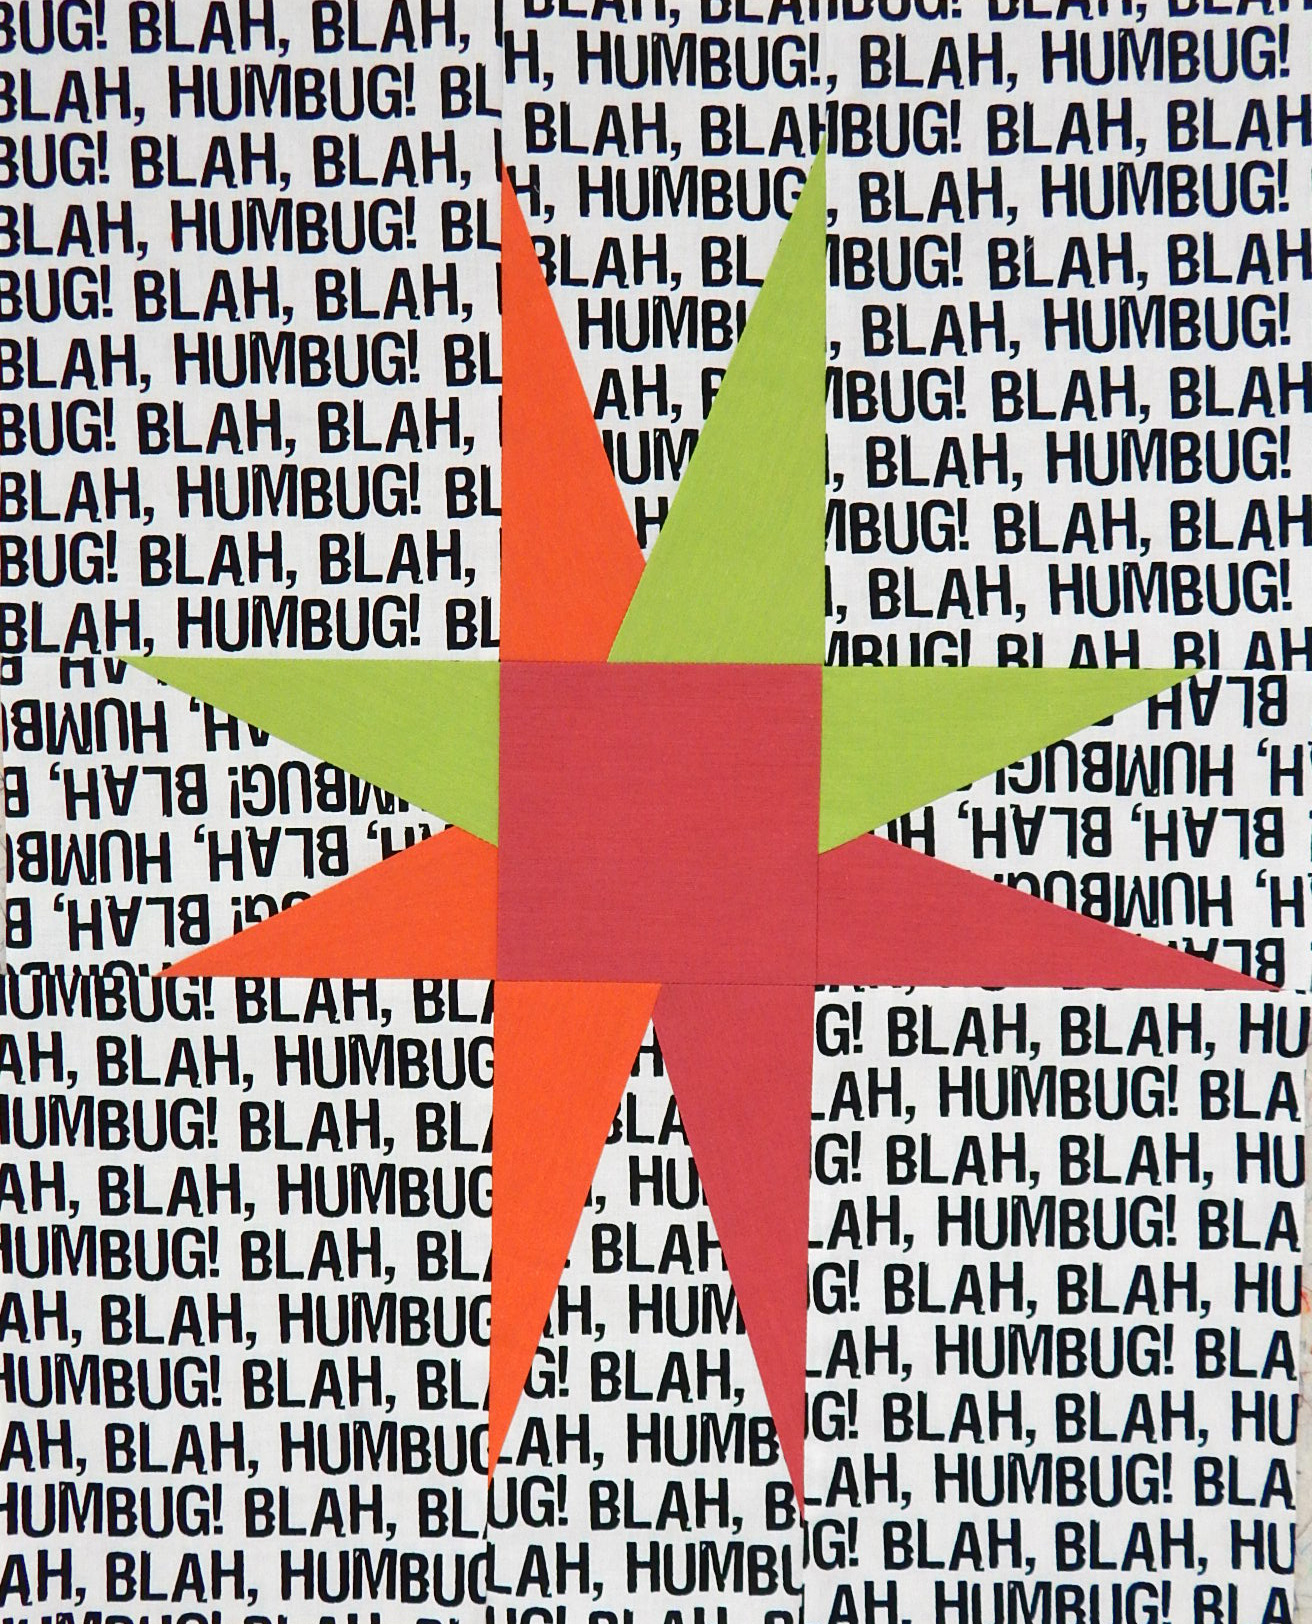
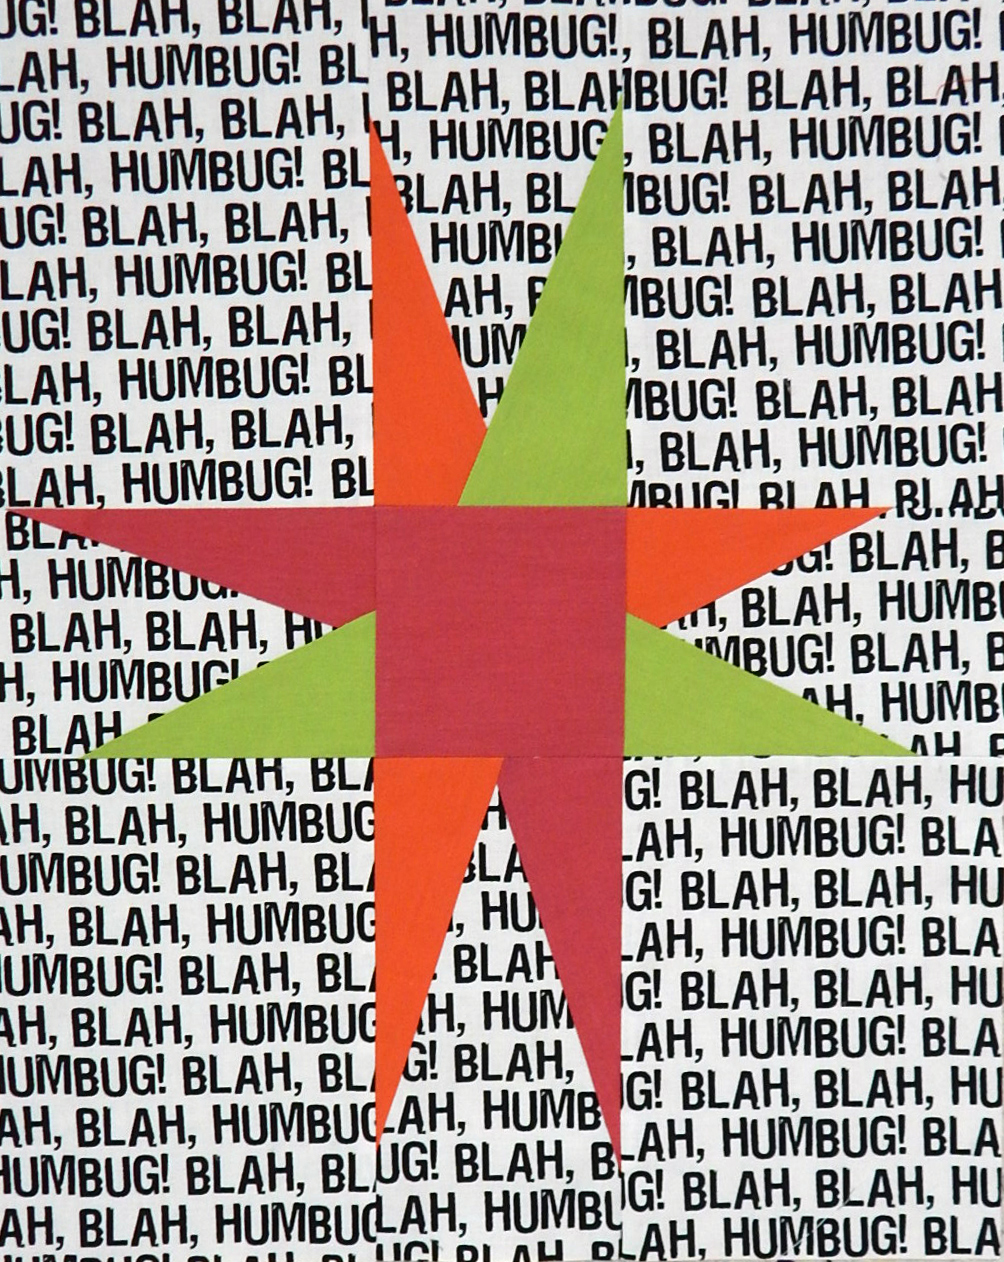
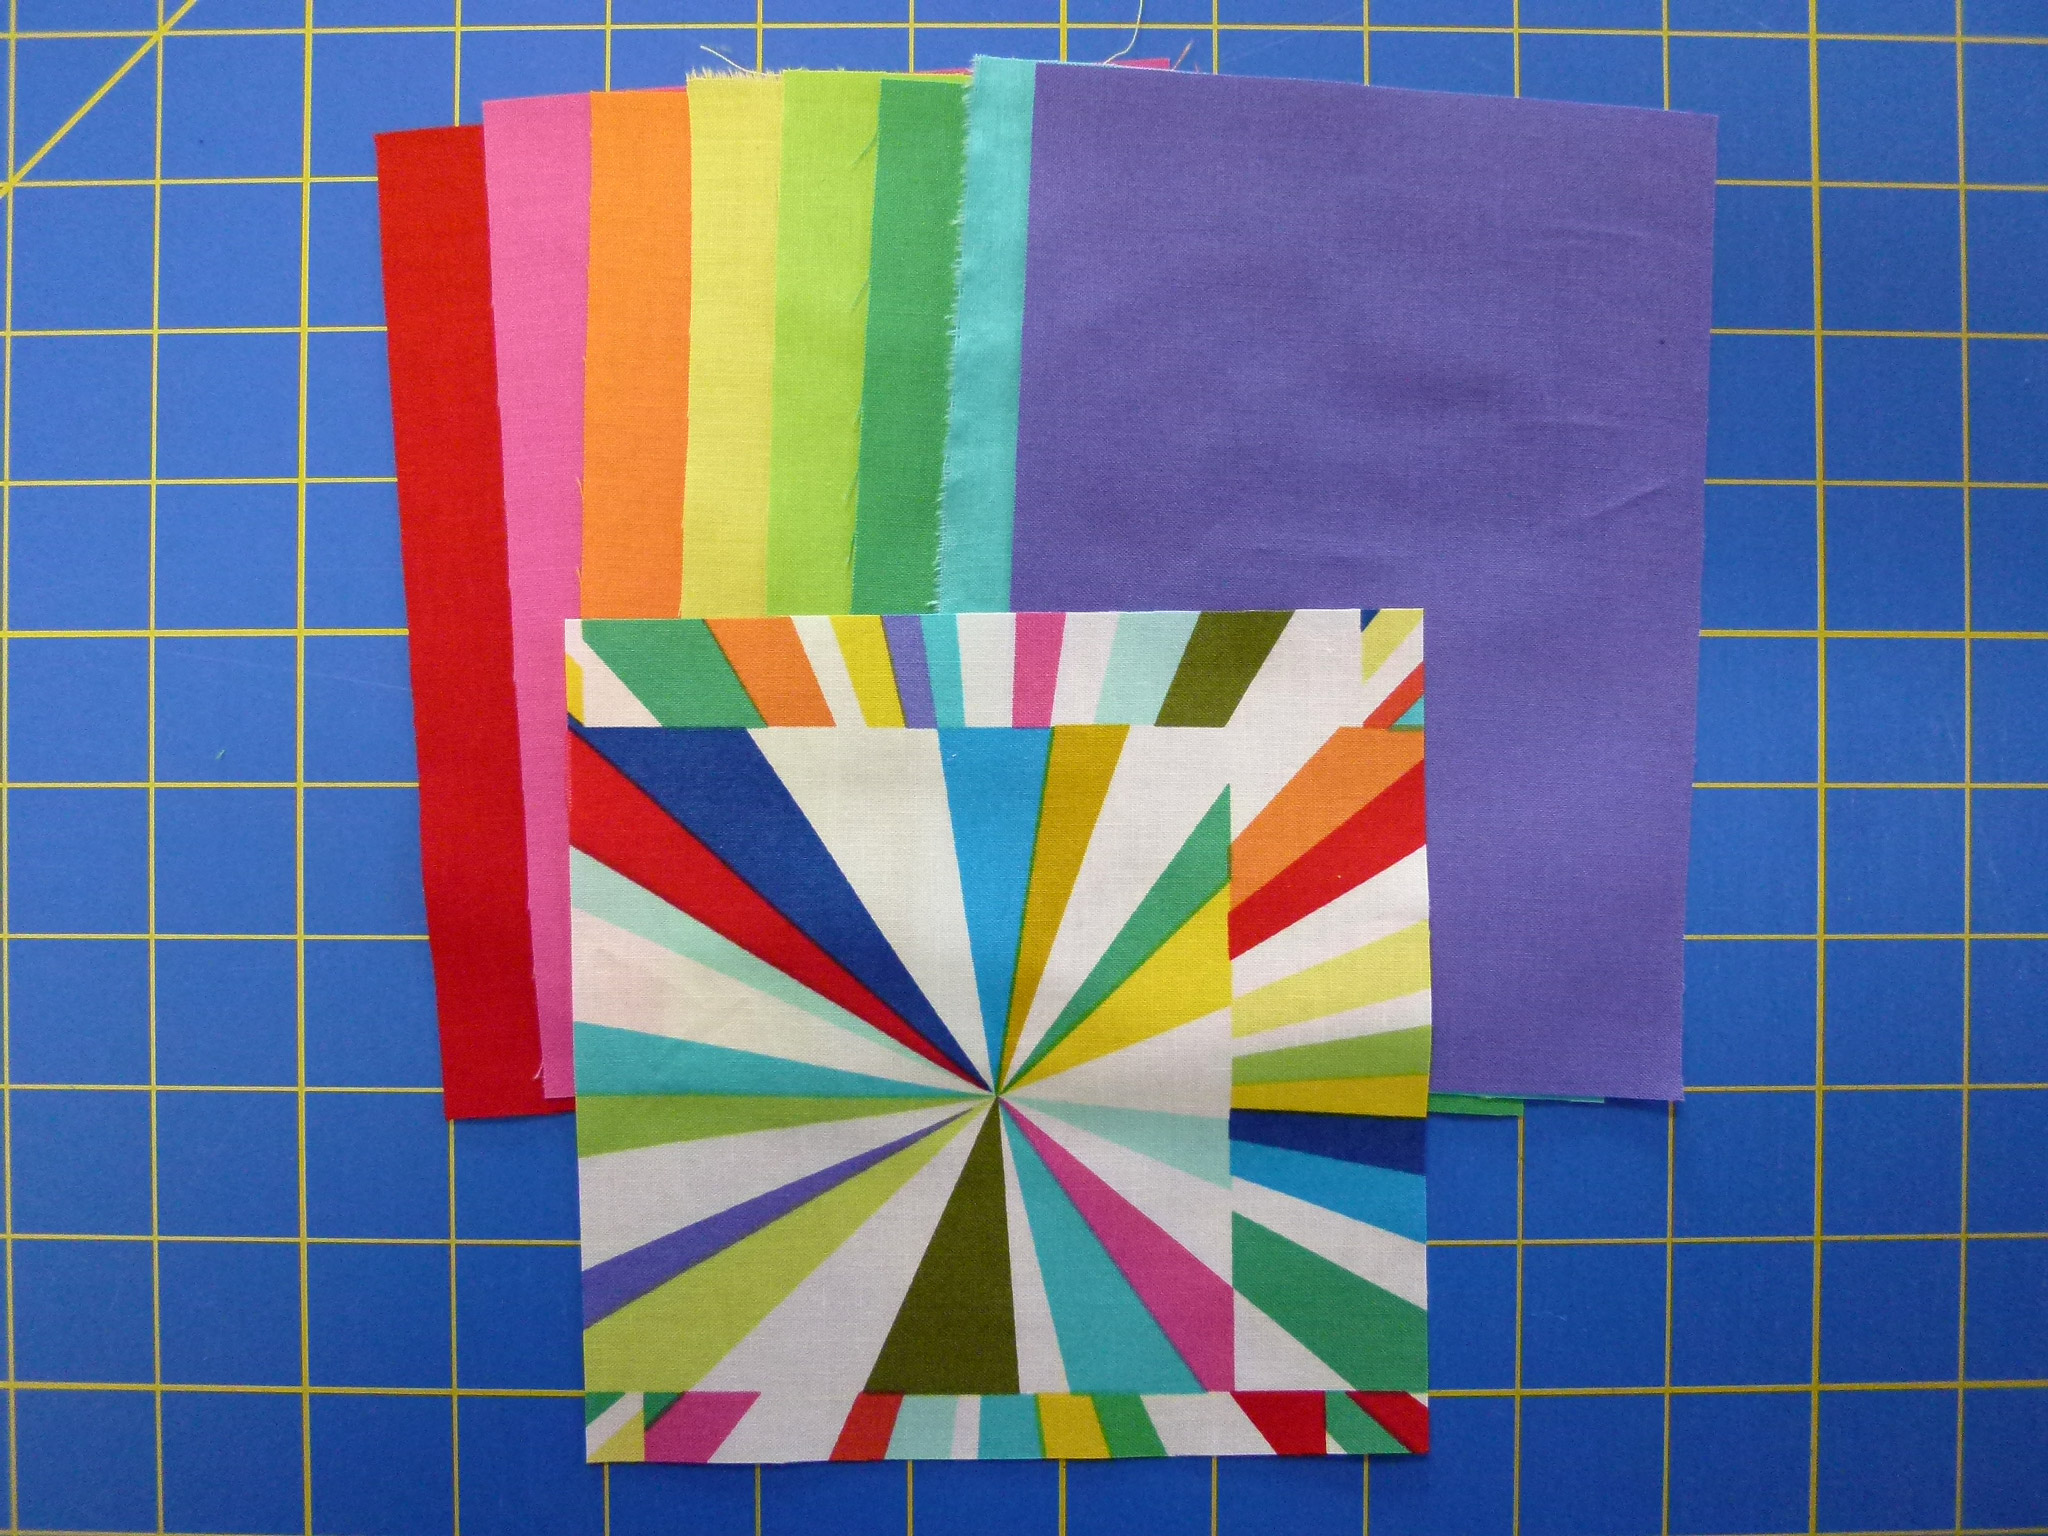
I chose a focus fabric from my novelties because this is a quilt for a child. I followed Sherri Lynn’s directions to make some “rules” and cut up 3 fabrics for the quilt, etc, etc. When I finished, I thought it needed something to “pull it together”, so I added a border of the focus fabric.

BUT, my friend who coordinates our donation quilts looked worried when she saw it. (PLEASE don’t tell me you think that’s a donation quilt?)

So help me out here! What should I do with this?

1. Leave it as it is and quilt it, already!

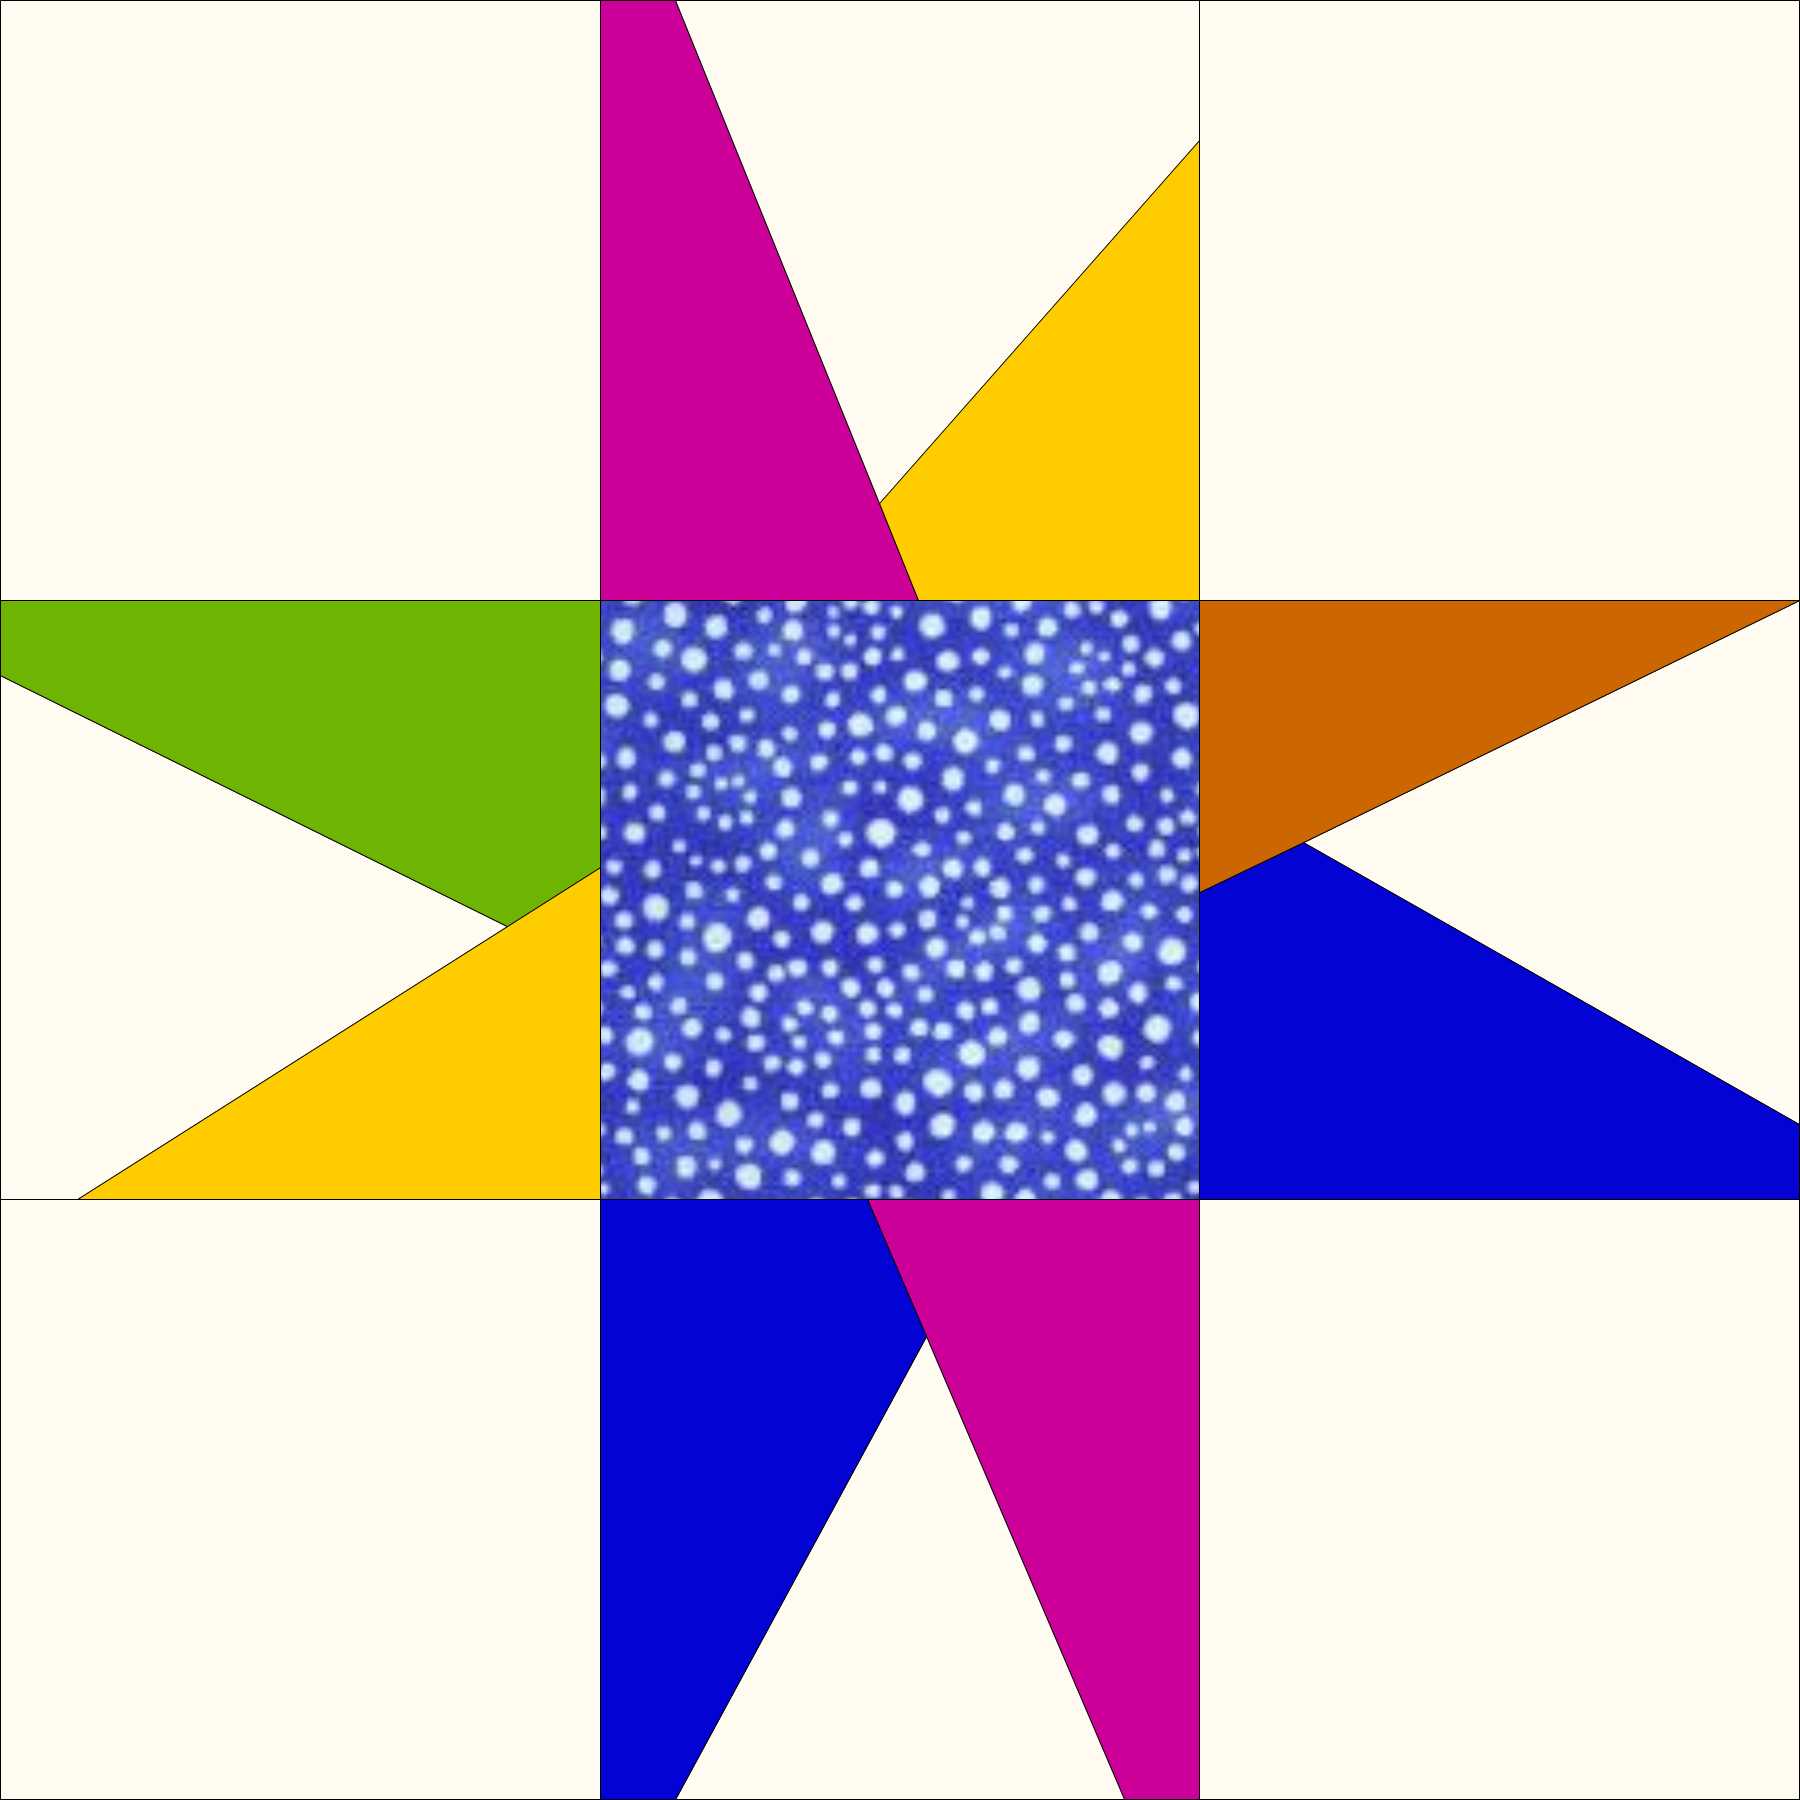
2. Cut it into blocks to be joined by solid color sashing to calm things down.

Option 1

Option 2

3. Dye it black and use it to back something else (kidding!)

4. Another idea?

Option 2

Option X

Hope you have a good week 🙂

My Modern Sampler: Humbug Star

I recently read one of Gwen Marston’s books, and she had directions for a sew-and-flip star.  Like most of modern quilting, this star has been published by multiple people in multiple places, so it’s not new.  However, if you’ve never done sew-and-flip, you can find my tutorial below.  It’s a very fun technique.

flip and sew star

There’s a major flaw here!

So, HUMBUG!  Can you see what I did wrong?  I didn’t see it until I took the picture!  I rarely rip out seams in my improvised blocks, but this was too much for the perfectionist who whispers in my ear much of the time.  So here’s the corrected block:

Sew and flip tutorial

Humbug Star

This block finishes 12″ X 15″.

Here are the links to my other modern sampler blocks so far.

My Own Modern Sampler–It May Take A Year!

The Modern Sampler Continues

Improv Block I


And here is the tutorial on the sew-and-flip star.

This project was originally developed for Modern Quilts Unlimited magazine.  You can read about it here.

Unfinished block size 15″ x 15″

modern star block

This block finishes 14-1/2 x 14 1/2 inches

Fabric Requirements

modern quilt fabric

Fabrics supplied by Michael Miller Fabrics

Background fabric 16 1/2″ x 16 1/2″

Star center fabric 5 1/2″ x 5 1/2″

Eight solid fabrics for star rays, each 6 1/2″ x 4 1/2″

Piecing Instructions

Note: all seam allowances are 1/4″.

  1. Cut the background fabric into a 9-patch of 5-1/2 inch squares as shownCutting Diagram
  2. Remove the center square and replace it with a 5-1/2 inch square of your center fabric

    Center square surrounded by background squares

    Center square surrounded by background squares

  3. For star rays, build 2 rays on each of 4 background squares as follows:
  • Lay the one 6 1/2″ x 4 1/2″ piece of solid fabric on a 5 1/2″ x 5 1/2″ square of the background as shown.   Place pins approximately where the 1/4″ seam will be along the long edge of the ray and turn along the pins to check placement.  Diagram-3-web Adjust if needed to make a star ray that suits you and to completely cover the foundation piece where the star ray will be.  Note that you will need to have your ray end at least 1/4″ from the edge if you want to see the point.  However, if you want blunt points there’s nothing wrong with that!  Here’s an example:Blunt point example
  • Reposition the pins and stitch 1/4″ from the edge of the ray as shown below:Diagram-5-web
  • Remove pins, turn the ray back into place, and press. Trim the side and bottom edges of the ray even with the foundation fabric.  Do not remove the foundation fabric under the ray, as it helps keep everything square and stable.Diagram-4-web
  • Place the fabric for the second ray, pin and test position, then stitch, press, and trim as for the first ray.Diagram-6-web Note that the rays need to overlap at least 1/4″ away from the raw edge where this section will join the star center. It’s fine to overlap more than that.

    Diagram-7-web

    Press the second ray and trim to match the background block.

  1. After building 4 sets of 2 star rays, re-assemble the 9-patch with the plain corners, printed center, and colored rays.

    modern star block

    This block finishes 14-1/2 x 14 1/2 inches

From Orphans to Donation

One of my UFO (UnFinished Object) goals for the year is to do something with some of my orphan blocks. (Those are miscellaneous blocks left from various projects; you can read about them here).  I’ve already turned a bunch of them into quilts, but I hauled them out again last month to give it another shot.

orphan blocks

These star blocks are orphans left over from several projects, so they are different sizes

These are left from various projects, but I just love star blocks so they probably won’t be the last of the breed 🙂  And you can probably see that one of them even has a piece turned wrong, which I did NOT see until just now 😀

After fooling around with various options for them, I selected 5 and made this quilt:

orphan blocks

Donation quilt made from orphan star blocks

It actually worked out just fine to simply add a partial border to the smallest one.  And the purple fabric is left from yet another project, so win-win!

What do you do with your orphan blocks?

Anniversary!

Zippy Quilts is now two years old! I’m still having fun, so I’m signing up for another two years.
Here are a few pictures of projects from the past two years and links to popular posts:

Rising star art quilt

Rising Star, made for the Quilt Alliance TWENTY contest in 2013

This is “Rising Star”, a quilt I made for the Quilt Alliance “Twenty” contest back in 2013.  It’s still one of my favorite quilts, which is why it’s still featured on the blog’s header.

Here is a quilt I made for Modern Quilts Unlimited, where they did especially beautiful photos of it.

quilt photo

Zippy Star Quilt and Pillow as shown in Modern Quilts Unlimited, Summer 2014

Readers seem especially to have enjoyed posts with pictures from various quilt shows, and I know I appreciate those posts when others do them for shows I can’t attend.  Here are links to a few of those:

Here’s a picture from the post on QuiltCon Fashionistas, which was popular:

QuiltCon Fashionista

Julia of the Houston MQG

And here’s one from the post on AQS Charlotte, where I found the talented Jean Larson and her tessellation quilts:

modern quilt AQS

This quilt by Jean Larson won the Original Design award at AQS-Charlotte

Finally, here’s one from the post on the Vermont Quilt Festival, one of my all-time favorite shows:

pieced quilt

Fill the Void by Cinzia Allocca–my FAVORITE!

In the coming year, I’m planning to update the blog, of course.  I’ll first revise my “About” page, then get to work on adding a gallery.  Please stay tuned!  I appreciate your comments.