Up Next: The 25 Year Quilt

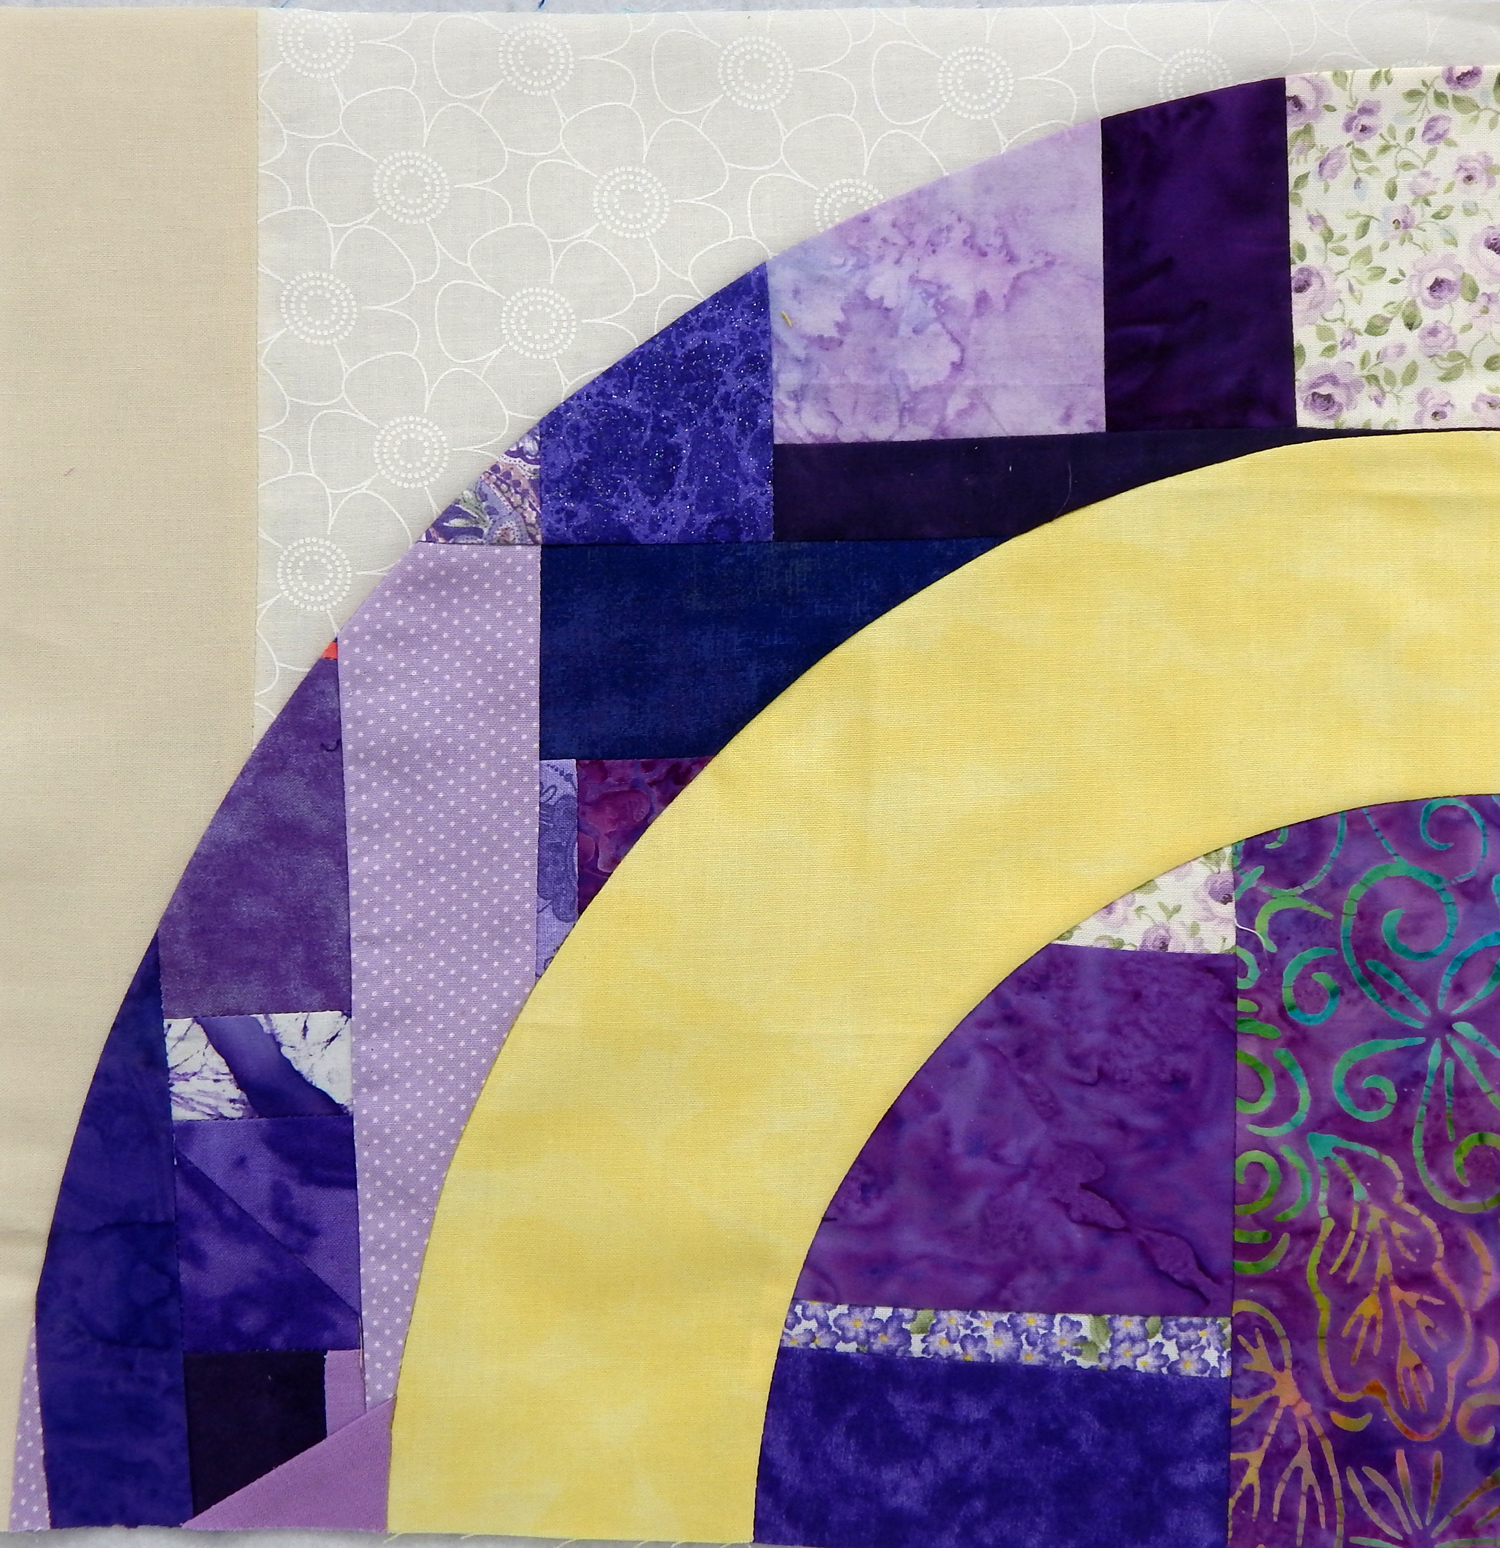
I recently decided to make the Postcard from Sweden quilt, which I’ve admired for some time.

The photo above is from the front of the pattern.

I had to search for the pattern, which has always been free courtesy of the designer, Kelly Liddle. I’d like to link you to her, but I can’t find her except on Instagram (@jeliquilts). Anyway, the pattern is now available free for download from Stash Fabrics, here.

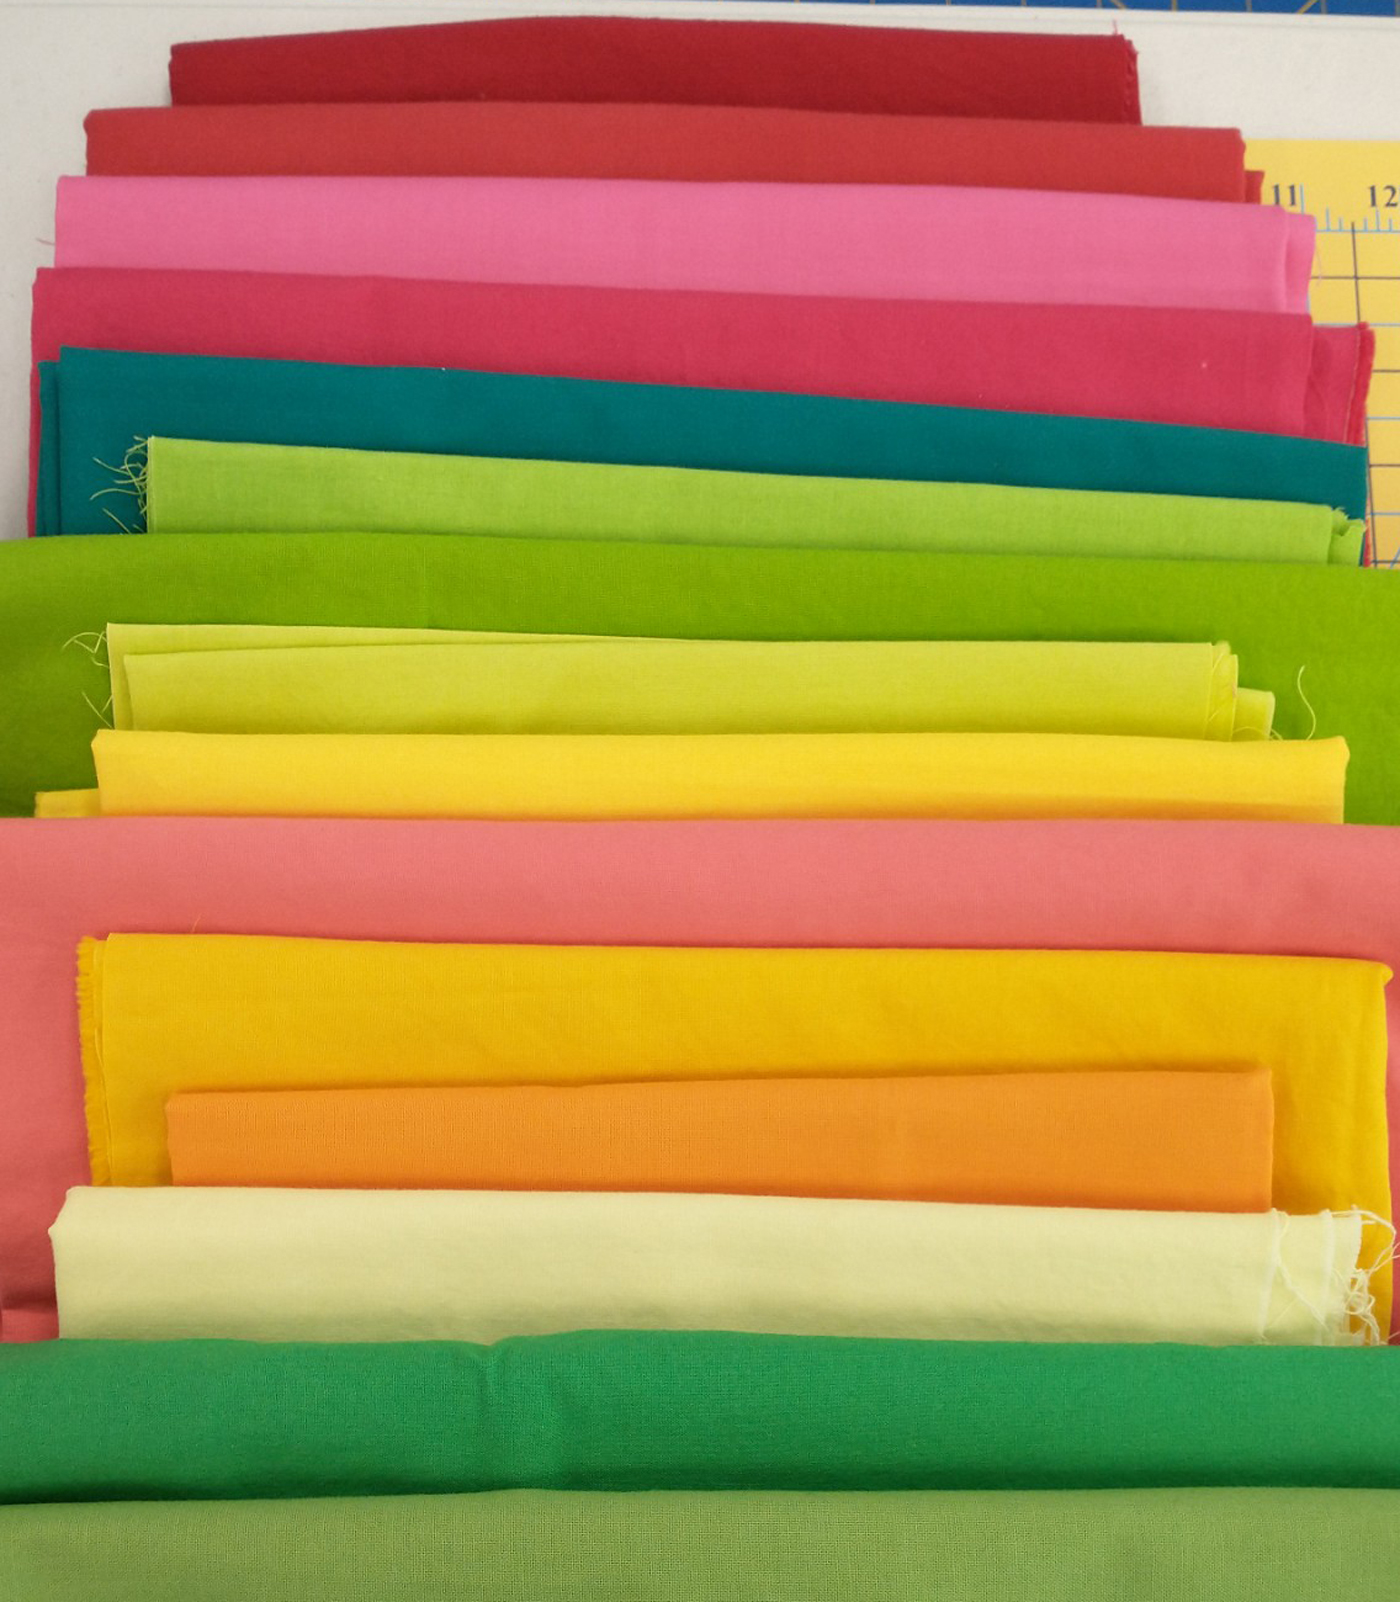
I have an extensive stash because, until recently, we lived in a rural area where the nearest “local” quilt shop was at least 45 minutes away. I gathered all 36 colors required for the top from stash!

This picture shows the first 15, so there was quite a stack by the time I had all 36 on the table! This is a 25 year quilt because that’s the period of time over which I’ve collected this stash.

For a few fabrics I had to substitute other choices that were not quite solid.

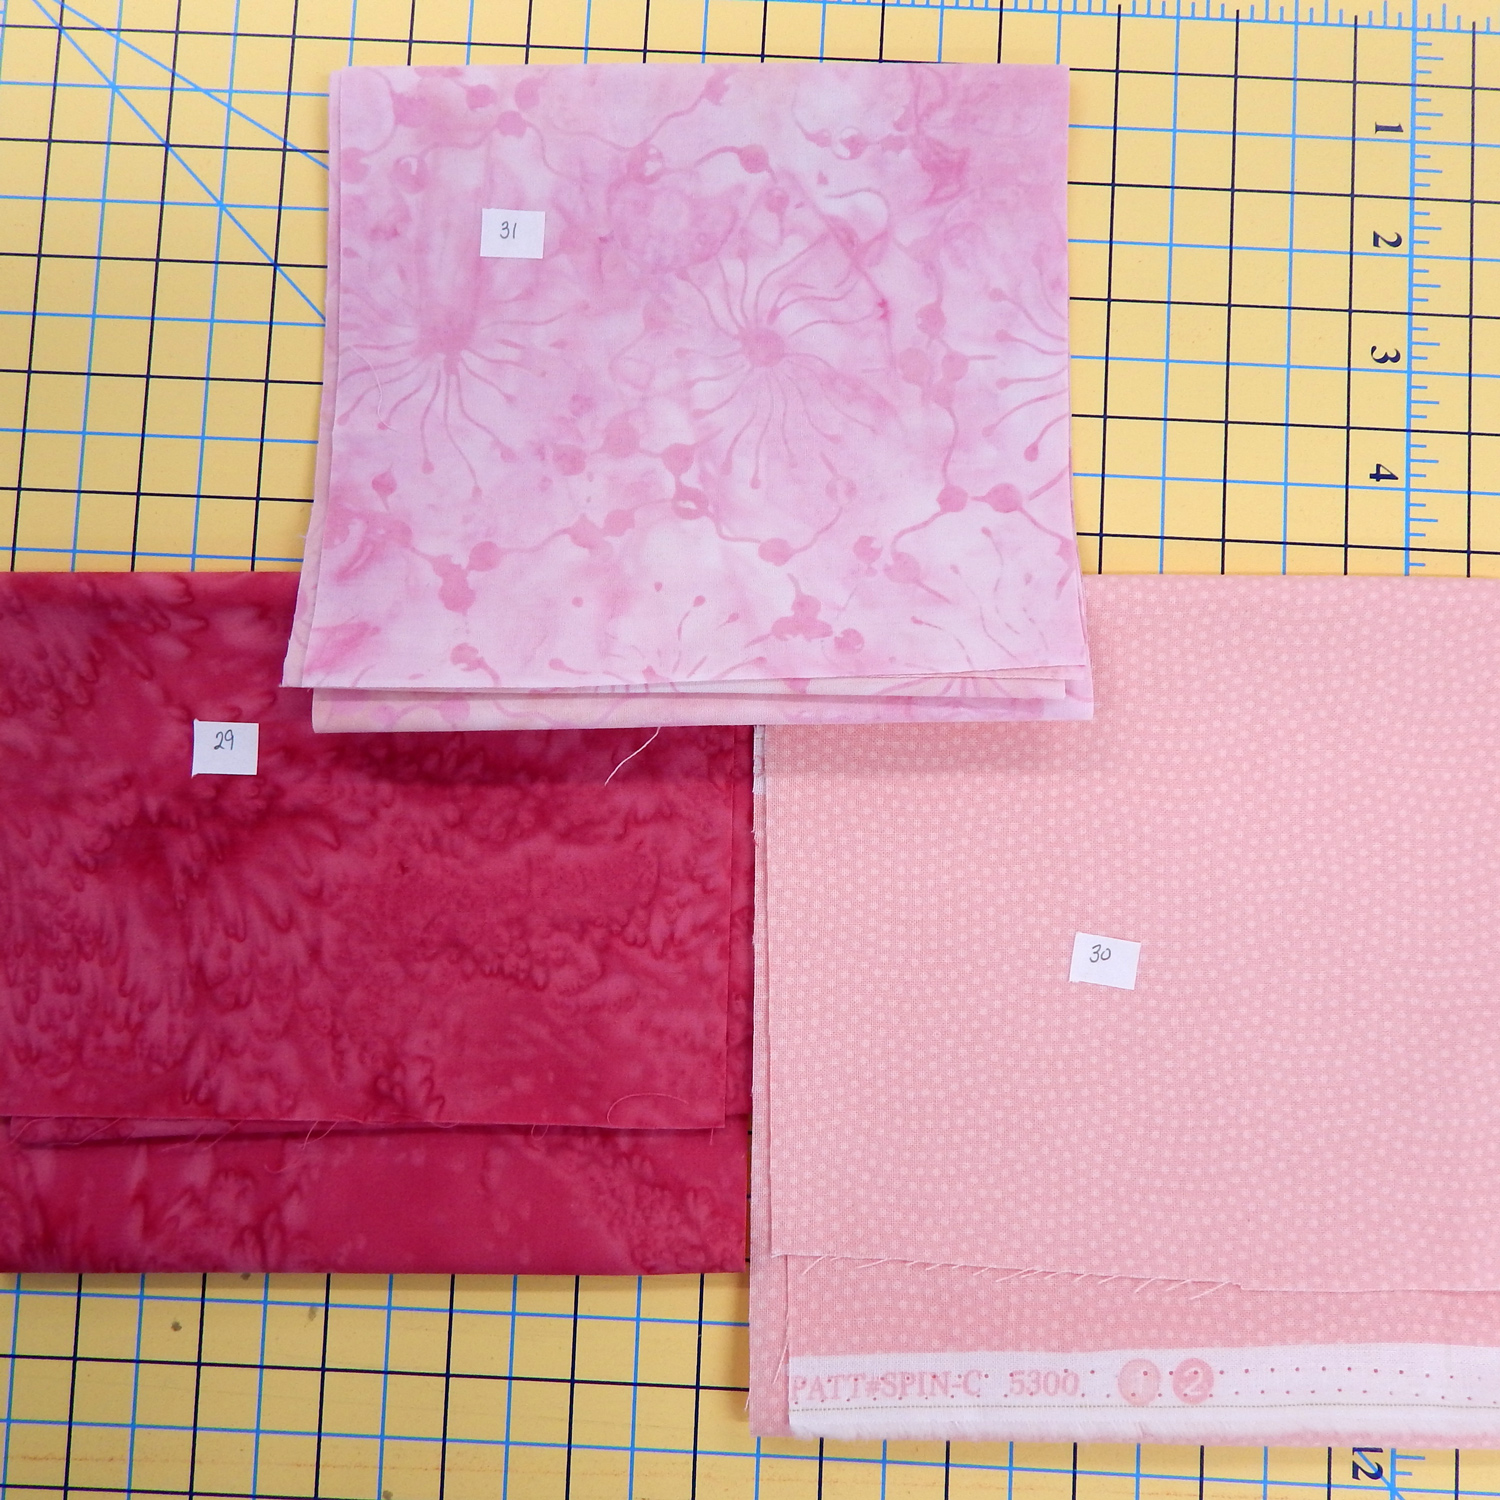
And even then it sometimes took more than one fabric to get all I needed of an unusual color.

And several of the fabrics had been cut long ago for unremembered projects!

But eventually, the huge stack of fabrics was reduced to a small stack of 6″ strips and the remaining fabrics were put back where they belong.

That was a full day of pressing, cutting, and folding.

I made a few fun discoveries along the way.

First, a couple of the fabrics seem to be poly-cotton blends. They are from before “modern” quilting came along, meaning that only the Amish and Gwen Marston were using a lot of solids, so I had trouble finding solids in the stores. Much of what I did find in fabric shops (which at the time had a lot of clothing fabric) was poly-cotton blend, and I took what I could get. So there’s some poly-cotton fabric in the stash and that will be used in the quilt.

Second, there were solids from several different fabric companies, now that everybody has their own line.

Finally, some fabrics were prewashed and some were not. There’s a whole story there, but I’ll spare you!

I’ve cut those strips into squares and paired them up ready to make HSTs, so progress has been made!

With regard to that stack, I didn’t completely follow the pattern (surprise!). There are excruciatingly precise instructions to enable the quilter to reproduce the original exactly, but I don’t intend to do that. I paired up some colors the way the pattern suggested and did what I wanted with the rest. We’ll see how that works out.

Gathering the fabrics was a fun review of the past 25 years of collecting, and now we can all look forward to the Postcard from Sweden quilt in the future.


Oodalolly: A Finish

I’ve been running across pictures of Rachel Hauser’s Oodalolly quilt for years at various places on the internet. I’ve always admired it and though it would be fun to make, but there was no pattern that I could find. Finally I wrote to Rachel to ask about about it and learned that the pattern is in an E-book she wrote to accompany her color course. She acknowledged that I probably didn’t need to take the course but kindly agreed to sell me just the pages of the book that contain the pattern! So here it is, my very own version of Rachel Hauser’s Oodalolly!

No, there isn’t a funny lower right corner, but that corner swung toward me, creating the illusion!

The pattern was just as much fun as it looks like. I learned some things and enjoyed making it, so it’s a win-win. The only “odd” thing about this quilt is that it is NOT made from scraps (OMG!). I bought a fat quarter bundle of Alison Glass fabrics at a sale a while back, and used it for this quilt. I did leave out some of the less vibrant colors, but there was plenty of fabric without them.

The back is made up from a large piece of lightweight upholstery fabric I was given and a few strips of a sheet.

Quilt Stats

Name: Oodalolly

Finished size: 57″ x 73″

Designed by: Rachel Hauser, website here

Made by: me

Quilted by: Linda Nichols

Studio Tour

To my surprise, several people have asked to see my studio, so here goes.

The floor is easy-to-clean vinyl tile and the lighting is industrial shop lights.

First, the story of how I got this big space. When we planned the house, the garage had to be moved to fit everything on the lot. Once the garage was attached to the house, it didn’t cost that much more to build rooms over it. So my studio is over a double garage, making it roughly the size of the entire house in which I grew up. Times change, occasionally for the better.

Yes, that space inside the crudely drawn yellow square is my studio! And just so you know, my husband is holding a quilt out the window from the landing on the stairs for this photo 😀  The studio has windows on 3 sides, which is wonderful for the light but does lead to some issues with heating and cooling.

I have two cutting tables in the middle of the room. Sometimes both are on risers, sometimes just one. Sometimes the second table is used for other crafts.

This is the office nook where I write my blog and edit photos as well as doing other officey-things.

And this is a big storage cabinet I’ve had for many years. My husband put it together from a kit and it has served me well.

My bookcase (which I built myself in a long-ago woodworking class). When the book collection outgrows this space, some books have to go. The items on the top are from my grandparents’ pottery collection and my mother’s basket collection.

Most of my stash is stored in chests like this. I lined the drawers so the fabric doesn’t stay in contact with wood. The chests came from various second hand stores, though I did get one from a family member for 5 cents!

This is the visitor corner. There’s an extra sewing table in close proximity to one of the cutting tables so I can have a friend over to sew together. And that’s my backup sewing machine, a Bernette, that some of my visitors use so they don’t have to drag a machine up the steps.

Another view of the visitor corner showing the reading rocker for visits from my husband and my great-great grandmother’s travel trunk. There’s also a cute vintage sewing box I was recently given. It will be refinished and repaired some day soon.

The studio has multiple nooks built in to make it seem not so cavernous. They will hold built-in cabinets eventually, but the woodworker has a loooong list so for now they hold temporary storage.

And finally, here’s my main sewing area. Putting the SewEzi perpendicular to a large table makes it easier to apply binding to large quilts, among other things.

CAVEAT: The woodworker has a much larger shop in its own building behind the house. I didn’t include pictures of that because I don’t want to give the woodworker in your house any ideas!


A Chair Is A Chair

This is coming to you a day early because part of this post is an entry in Kim Lapacek’s Project QUILTING. The current challenge is Sew Not A Square.

But first a little background. On Monday of this past week, I was happy to attend a workshop with Daisy Aschehoug, who calls her business Warm Folk. I didn’t realize until I got to the workshop that I had reviewed a book she wrote with Heather Black a few years ago.

Photo courtesy of C&T

Anyway, Daisy was presenting her Giant Nested Curves workshop and it was within easy driving distance, so a friend and I went for the day!

When Daisy says “giant” curves, she isn’t kidding! Her templates for this project make a circle that finishes 24″ in diameter!  Here are some pictures I took of her class samples; keep in mind that these are 24″ circles.

And here’s the quarter circle I got made during class.

Which leads me to the project for the Project QUILTING challenge: The assignment this time was to make a finished quilt with NO SQUARES! Since I had just been making circles, I started with the smallest template, which makes a quarter circle finishing 2″.

Making a curve that small was a “challenge”, as we like to call it 😀

So I made a second curve, on the end of a rectangle, and combined the two blocks into a chair. I thought it looked like a mid-mod chair, or maybe a Bauhaus chair, so I decided it could be a chair for Gertrude Stein. Which is why the quilting says over and over, “A CHAIR IS A CHAIR IS A CHAIR”. And taking a cue from a friend who recently sent me a quilted postcard, I zigzagged the edges rather than binding–much more practical for a postcard sized quilt.

Quilt Stats

Name: A Chair for Gertrude

Finished size: 3.5″ x 6″

Designed, made, and quilted by: me

Fabrics: cotton, front and back

Batting: Felt

Thread: Superior So Fine

Quarter circle template from Daisy Aschehoug