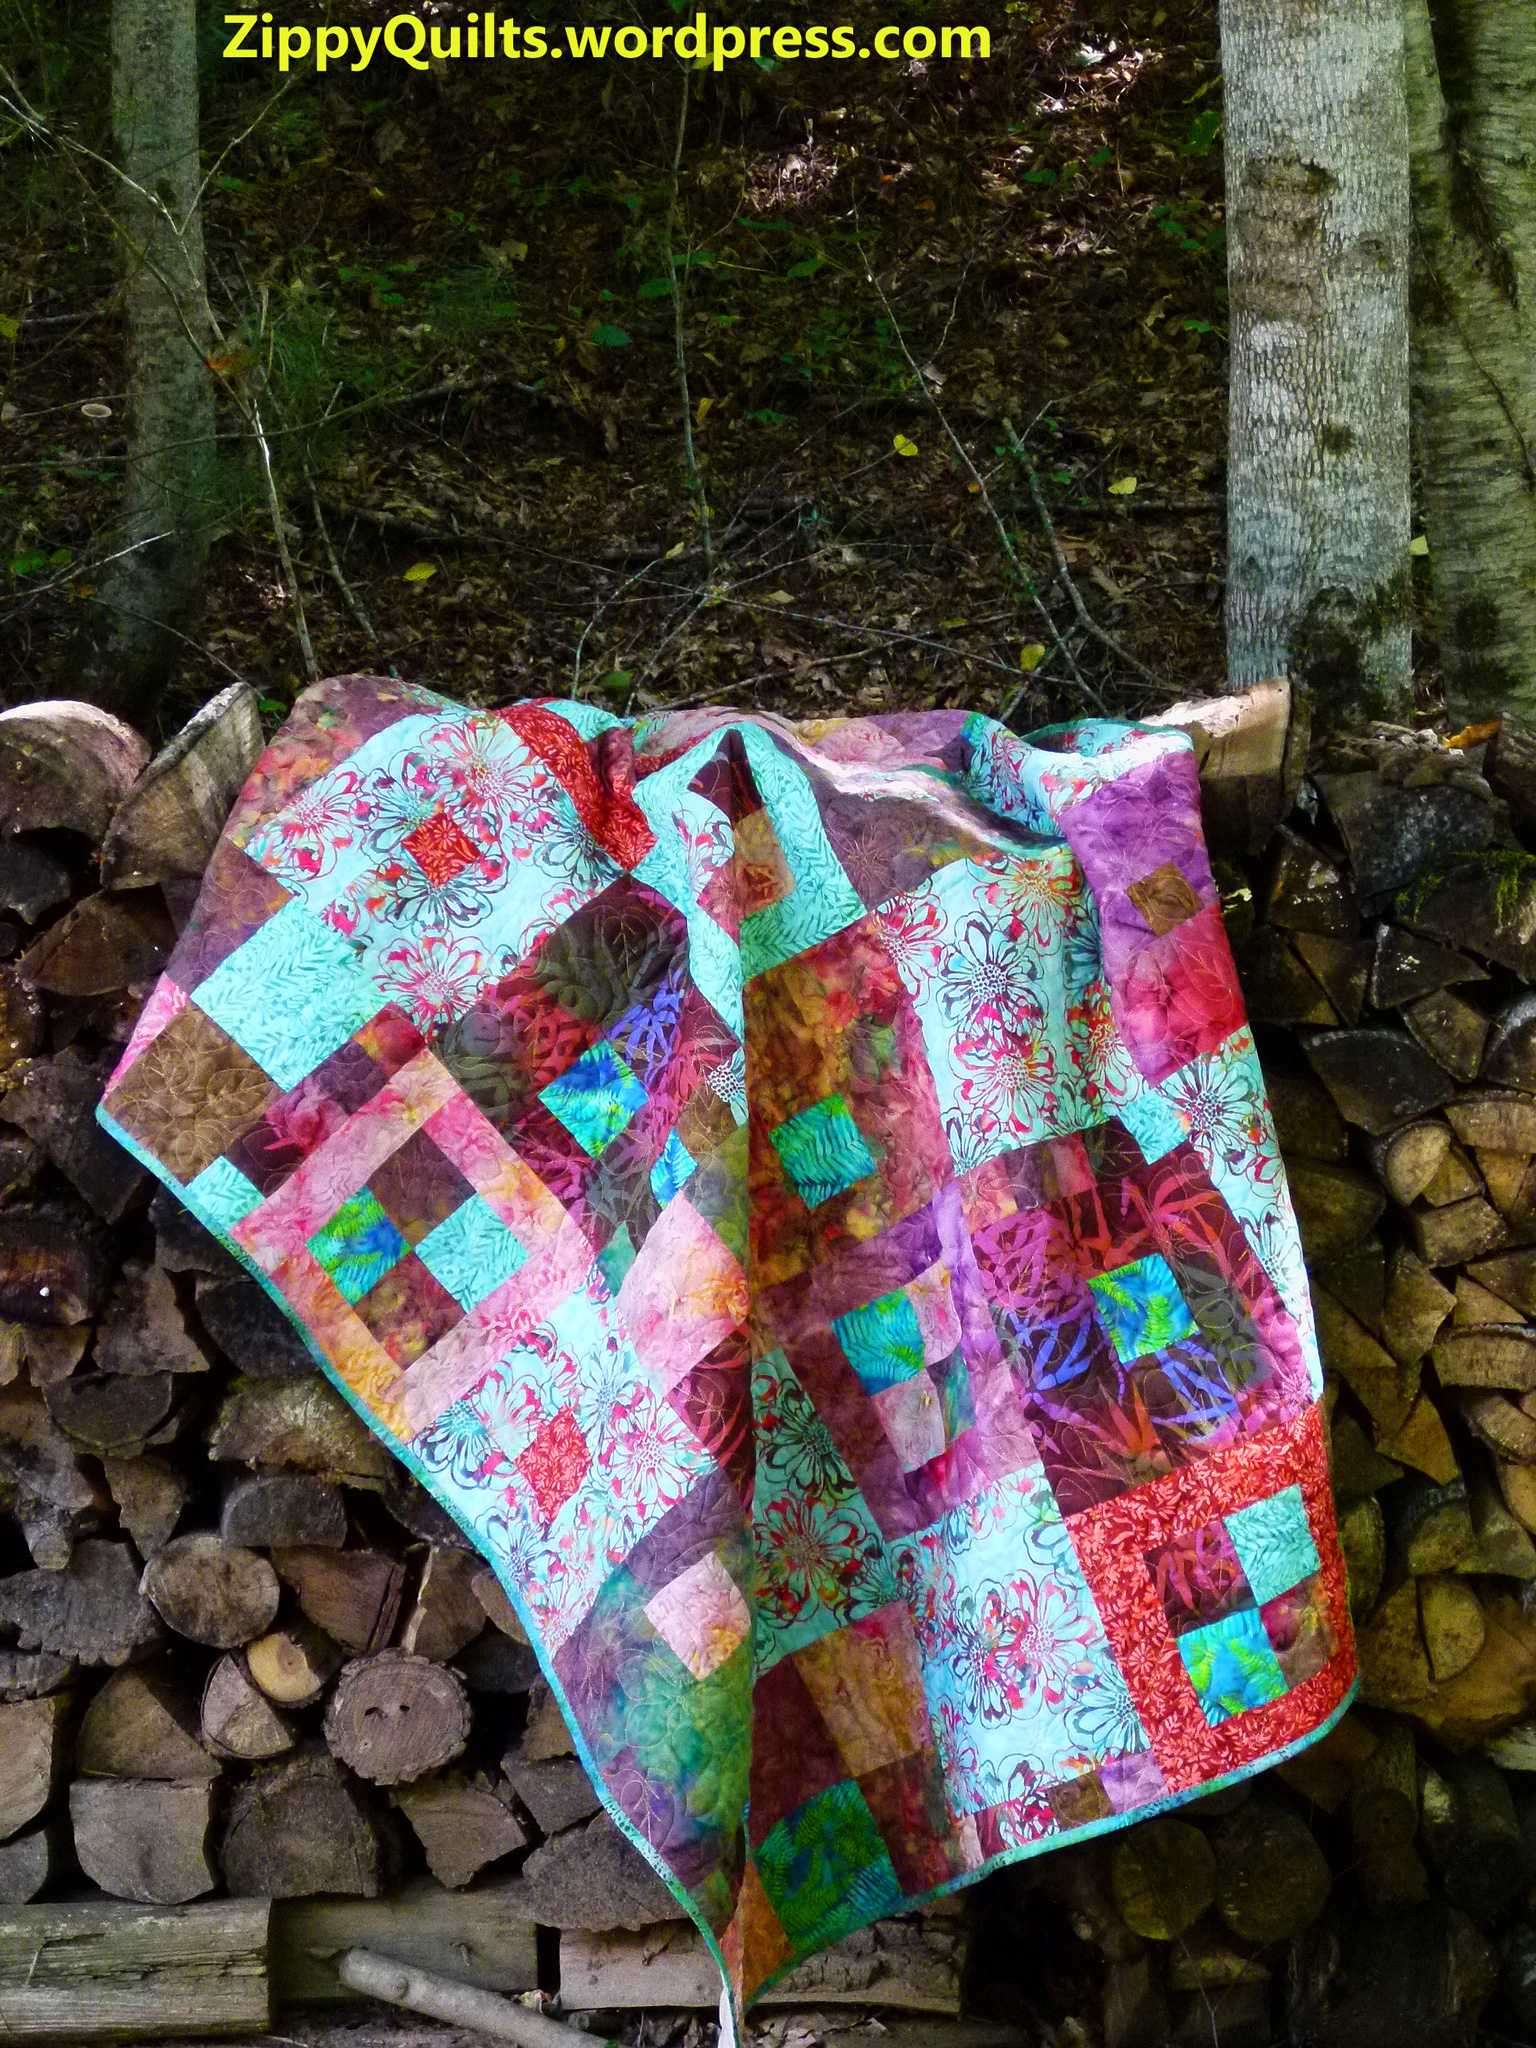
A straight-on picture of a quilt is great if you need to see the whole design, but I’m aiming for quilt photos with personality. Here are a few first attempts.

#1 This is made with bright batiks and templates from Elisa’s Backporch Design
I live in a beautiful part of the country (I’ve said that about every place I’ve lived) so there should be lots of photo ops for my quilts. I also live in the woods, which limits opportunities at my house.
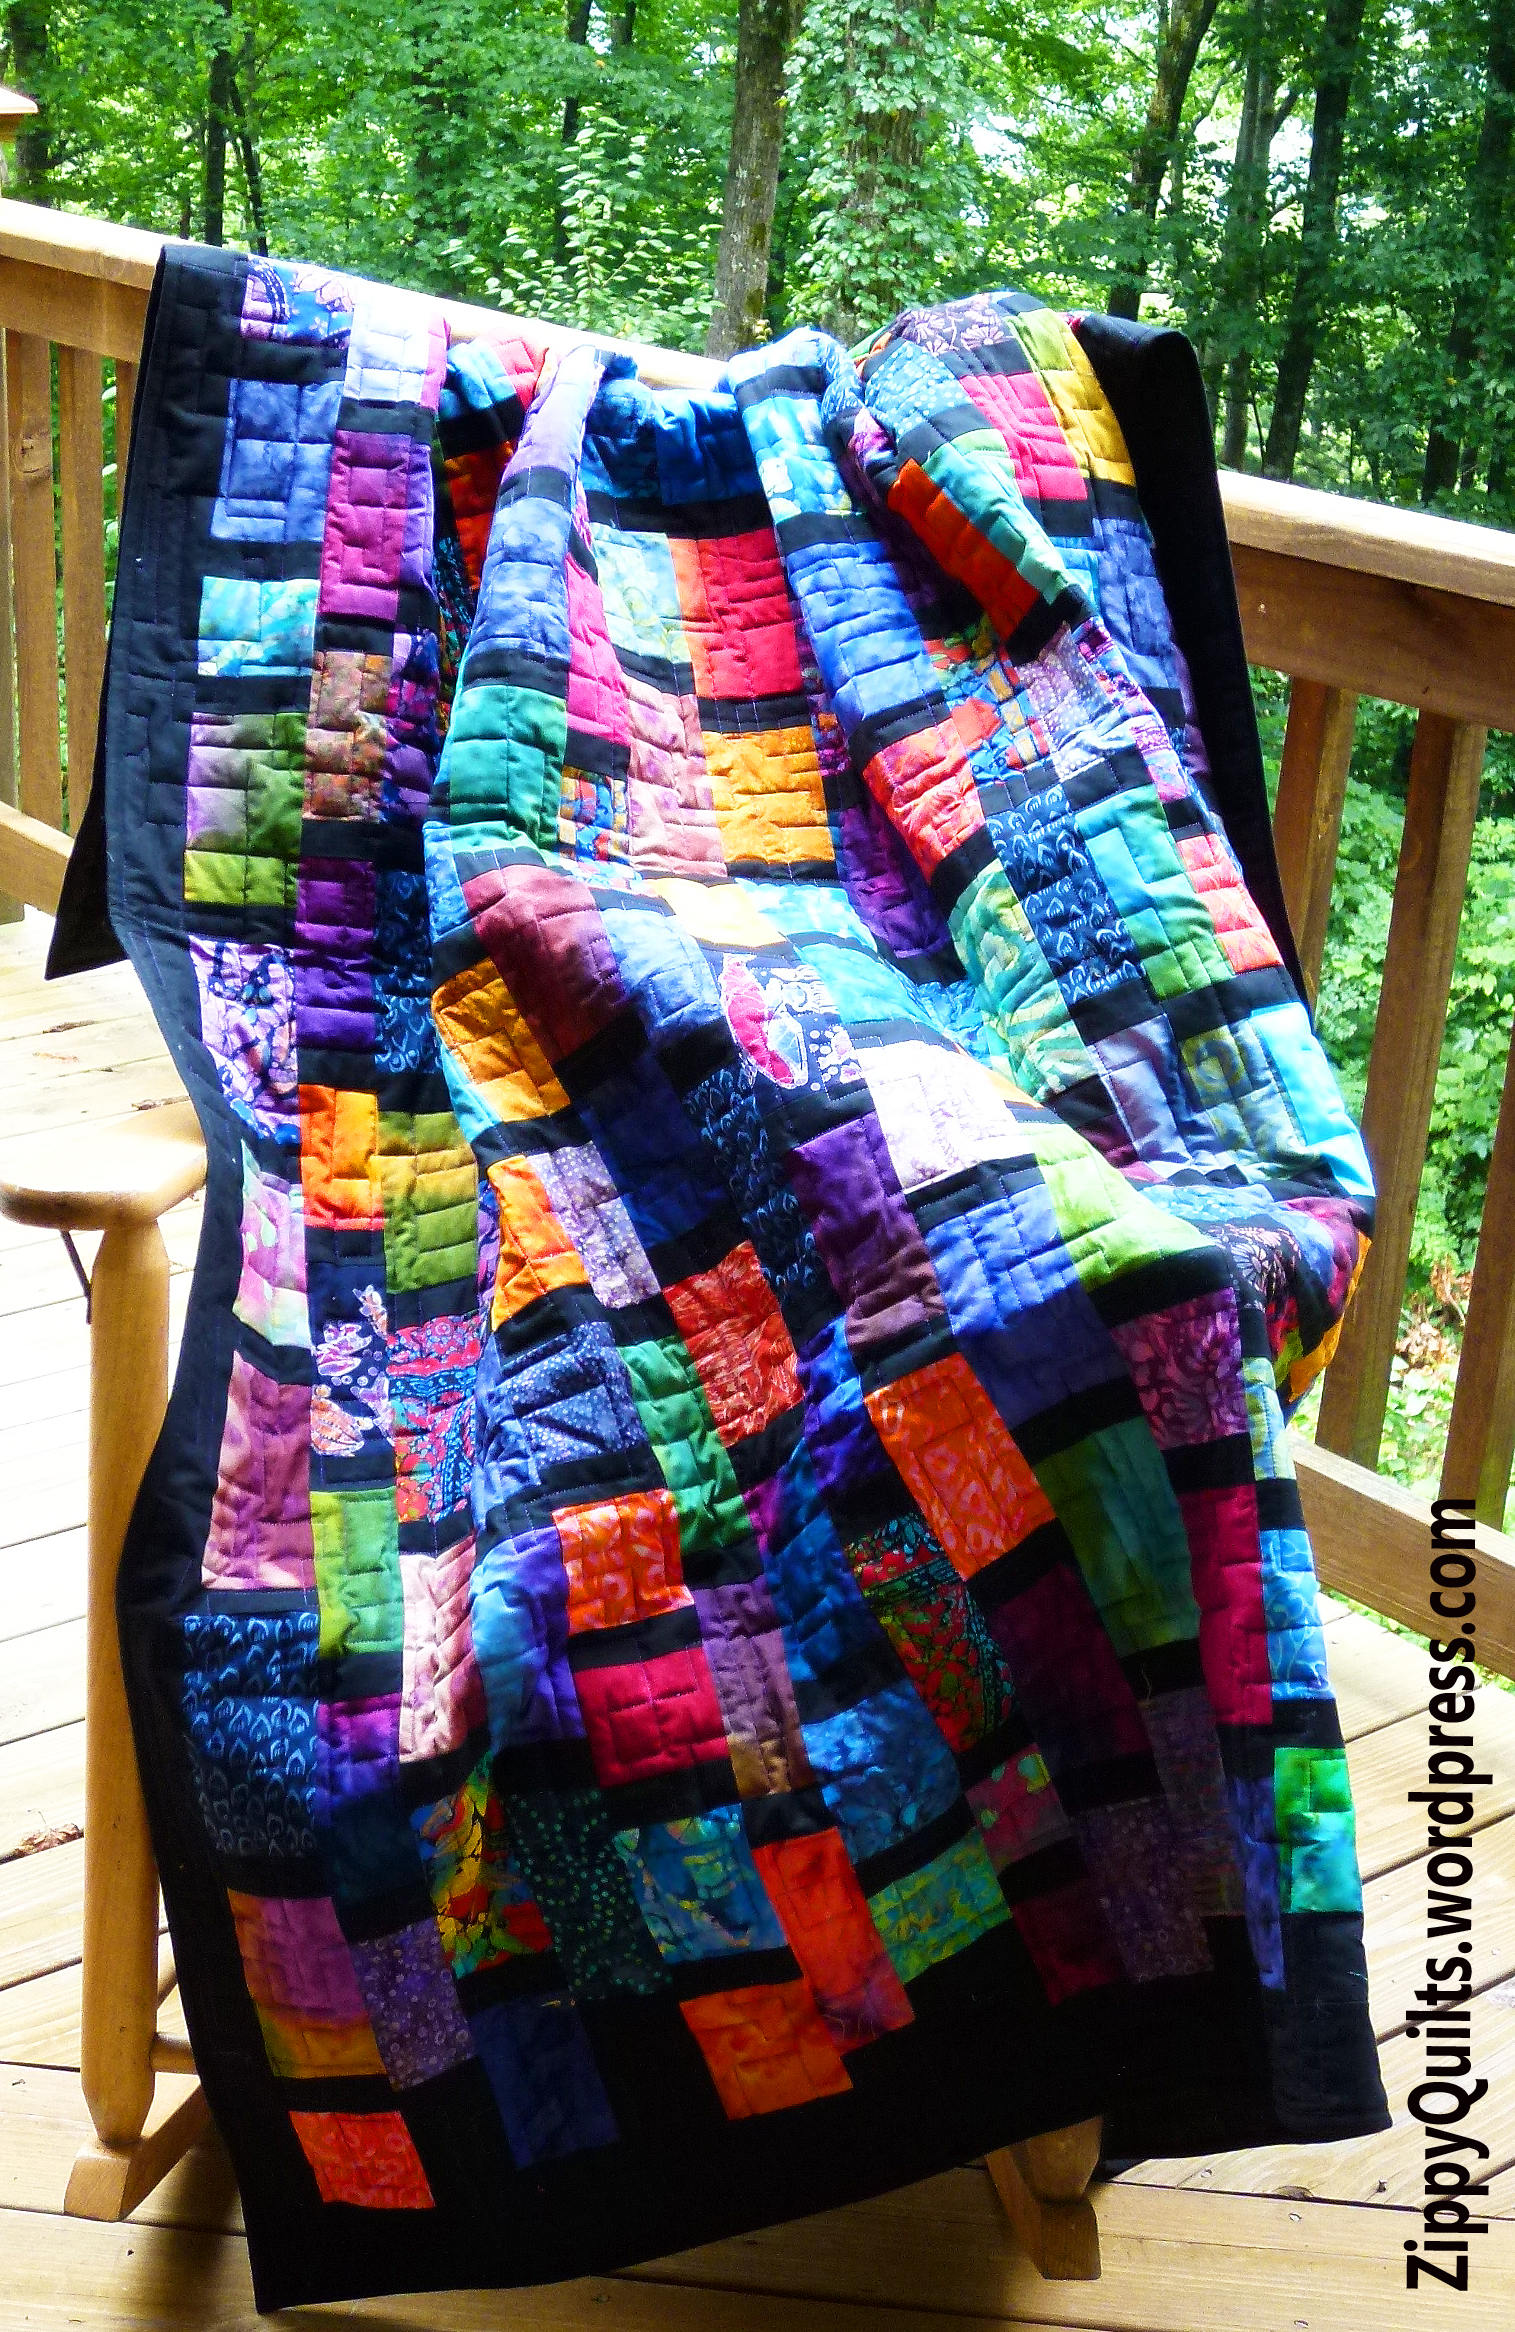
#2: Improvisational piecing using a bundle of Bold Over Batiks
Luckily, some friendly neighbors let me borrow their setting for a few of these shots. One thing I found out right away is that full sun washes out the colors in a photo.
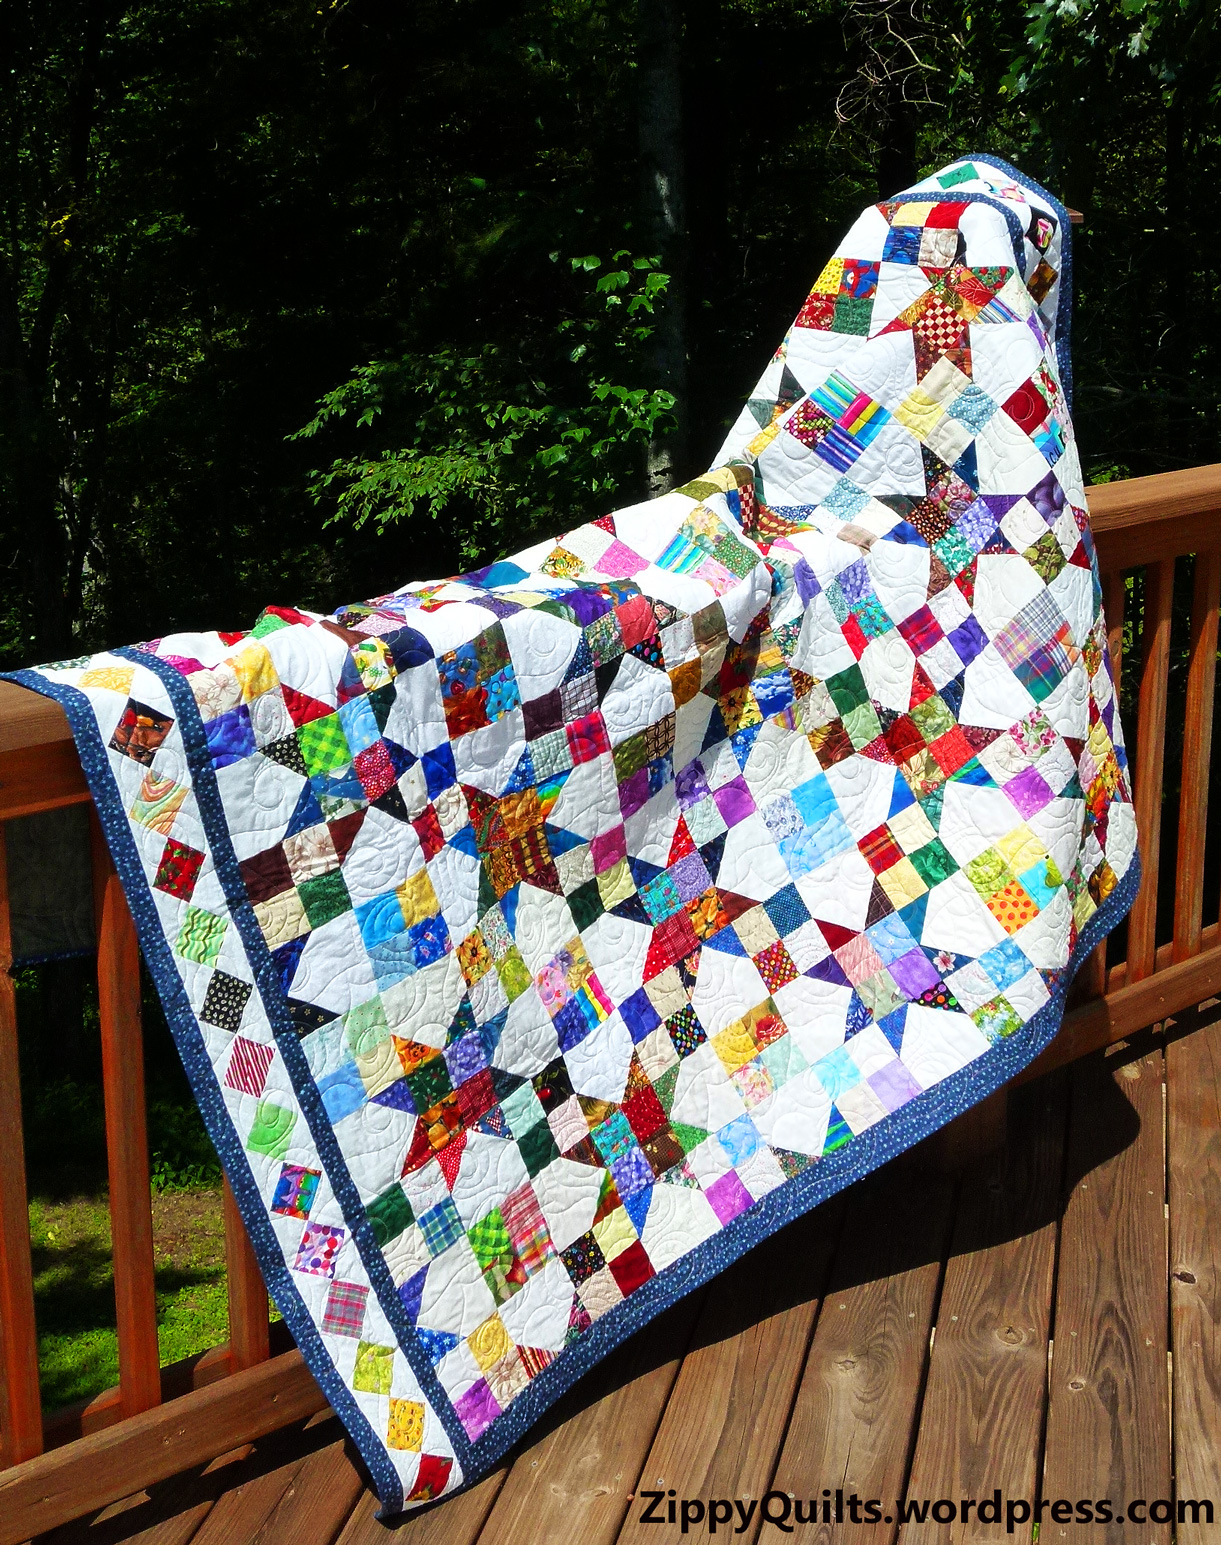
#3: This is a traditional design taught by Augusta Cole; I added a border to make it a little longer
I need your help! Which of these quilt portraits sets the best mood for the quilt? Which makes you say, “I MUST have that quilt!” so you would be tempted to make it, buy the pattern, buy the quilt, ask me to give you the quilt for your birthday (I KNOW who you are)? And why? Please comment!

#4: Twinkle, a pattern by Swirly Girl Designs, was made because I had some fabulous leftover fabric
If you’ve never commented on a blog post, here’s how: Folks who get the post by e-mail need to click on the title of the post and that will take you to the blog online. Online, you’ll see a dialog bubble next to the title, like the bubble that appears over the head of a cartoon character. Click on that and you’ll be taken to a screen where you can type your comment. Thanks for your help!
#5: I love concentric squares! This is similar to the Hip To Be Square pattern.


