Holiday Crafts Coming Soon!

Now that Halloween is over, I will be teaching three Christmas crafts.

But first, C&T reached out to offer a discount to my readers who want to take the Handmade Holiday Bazaar class online. It caught my interest because one of the presenters is Laura Wasilowski, and I’ve very much enjoyed her classes in the past. Also, I recently took another class on C&T’s Creative Spark platform and was pleased with it.

So I accepted the discount code for you, but declined the commission for me since I don’t want to “monetize” my blog. Here’s a link to the info on the class, which will also apply your discount: Handmade Holiday Bazaar.

NOTE: When you click on the link, you will see the regular price, but the coupon is at the top of the page, and when you click through to buy the class the discount will be shown before checkout.

And now on to the classes I’m teaching locally!  You can get the schedule for these and other classes on the Studio Stitch website, here.

Christmas Cactus Block

I made a pillow from a single block, but if you don’t need any more pillows you could make multiple blocks for a quilt–I think it would be beautiful! The class will be held November 10.

Pincushion

This is a quick-and-easy (and inexpensive) class for something that would make a great gift for quilty friends.

Pincushion made in a vintage cup with saucer

This class will be on December 1.

Christmas Tree Napkins

This is another fun (and inexpensive) class. We use these napkins every Christmas, and they would make a great hostess gift as well.

The class is December 8.

Let the crafting and sewing fun begin for whatever holidays you celebrate!


Sidetracked Again

Every once in a while I come to the surface after being inundated by quilts, scraps, binding, etc. Most recently I took a class at Studio Stitch to make this little clutch.

Of course I’ve made lots of bags, pouches, etc, etc, but I’d never used a frame closure, so I wanted somebody to show me how it’s done. Hint: It was a lot easier than it looks!

Also recently I dug up the pattern for the Celeste Dress, bought close to a year ago.

Celeste Dress, courtesy of Itch to Stitch

I figured the pattern had waited long enough so I made the dress. I studied the size charts carefully, and the fit is perfect (well on me, maybe not on the hanger)!

Pockets! That’s what sold me on this pattern!

I recommend the pattern for those who have some garment construction experience.  It’s a nice pattern and turned out well. I bought the pattern through PatternReview.com for two reasons: first, I could read about how it worked for other people before deciding, and second, I was able to order it already printed on full-size paper so I didn’t have to print at home and the tape the pattern together! (Been there, done that.)

Caveat: rayon probably wasn’t the easiest fabric to make it from.

Now back to the quilting…


2021 In My Studio

Good morning! I hope everyone enjoyed the holiday, whether religious or secular in nature. Here are most of the projects I’ve done this year:

Magic Kaleidoscope, 30″ x 30″

Practice for Charm Weave, 40″ x 40″

Mill Wheels, 51″ x 51″

Super Simple Squares, 52″ x 52″

Oriana, 47″ x 48″

Rumble In The Jungle, 54″ x 54″

Splendid Stars, 51″ x 53″

Sunrise, 75″ x 50″

HST Stars, 78″ x 53″

Fossil Fern Stars, 59″ x 44″

COVID swap block quilt, 55″ x 72″

Hayden and the bag he made

Fabric bowl, from the Modern Fabric Bowls book

Christmas napkins

And the Japanese Maple in the fall!

Two Lovely Beginner Books

I am charmed by a couple of new little books for beginners in sewing or quilting.

Jump Into Patchwork and Quilting is an approachable introduction to quilting. It is not completely basic, as it assumes you have a sewing machine and know how to use it. However, it covers basic information about quilting, including fabric selection, batting, basting, and so forth.

I found the level of detail exactly right. For example, there is a well-illustrated explanation of how to use a rotary cutter safely, without getting into the eternal debate about whether it’s OK to use the lines on your mat for measuring.

The book begins with easy projects and proceeds to a final sampler quilt. This seems to me an encouraging way to teach a beginner to quilt, as these earlier projects can be completed fairly quickly. Here’s part of the Table of Contents showing some of the projects:

Photo courtesy of C&T

The final project is a typical beginner sampler quilt. It is done in cheerful colors and has a modern look while using some traditional prints. I like the combination, which should allow those drawn to both traditional and modern type quilts to enjoy the project.

Phot courtesy of C&T

The one additional thing I would have liked to see in this book is encouragement to allow for mistakes. There is the usual explanation of the importance of a consistent 1/4″ seam, but it would be nice to see acknowledgment that even “imperfect” blocks can be beautiful.

This would be a great book for a series of classes, or for teaching a friend to make quilts. It is available here.

Jump Into Sewing is bright and cheerful without being childish. There are many useful illustrations.  It starts with “Anatomy of a Sewing Machine”, which will be especially useful for those who may have inherited a sewing machine without knowing anything about it. There is a section of clear explanations on troubleshooting common machine sewing problems such as thread snarled on the top or bottom of the fabric.

Photo courtesy of C&T

The first project is an easy pillow. It gave me the idea of helping my 5-year-old make a pillow. He enjoyed decorating a tote bag and the pillow would be a fast project.

Photo courtesy of C&T

More advanced projects include making a buttonhole and putting in a zipper. The final project is a substantial-looking tote bag, which, like the other projects in the book, could be gender neutral.

Photo Courtesy of C&T

Jump Into Sewing is available here.

The book does not offer any information about garment construction, though of course the techniques would transfer. I hope this new series will progress to “Jump Into Garment Sewing” in the future.

These are fun books that make me think of the non-sewers on my holiday list 😉

P.S.: The links above are for your convenience; they are not affiliate links from which I make money.

The Rest of the Story

True confession: The reason I made that shirt a couple of weeks ago was to work out the kinks in the pattern so I could make THIS shirt:

I found this fabric at Studio Stitch a couple of months ago and knew I just HAD to make a summer shirt from it! But of course I didn’t want to risk ruining it, so the first one was a practice piece made from inexpensive fabric. (A sewing teacher a number of years ago encouraged me to make my fitting “muslin” from fabric I could wear so the work wouldn’t be wasted.)

I love this fabric because it reminds me of Japanese summer yukata. I’m pretty sure the sharks are quirky American humor, though.

I wanted little red buttons in the shape of blood drops, but of course there were none to be found. Perhaps it’s just as well. The pin, a vintage James Avery sand dollar, surely is more socially appropriate 😀

Side Trip Into Clothing Construction

I made my own clothes for years before I started quilting, as did many women my age. Once I had a steady income and a family, it became much more efficient to buy clothing than to make it, but I still get the itch to make something to wear from time to time.

I recently found this interesting fabric on a sale table and the bug bit.

I have had this pattern for years but haven’t made anything from it, so I decided it was time.

And here’s the shirt.

It fits fine and is comfortable. This is an easy pattern, so it took only 4 hours to make. If my time is worth even as much as federal minimum wage, I would have been ahead to buy something ready made.

That probably won’t keep me from making clothing, though.

A Fun Fabric Bowl

Recently C&T sent the book shown below for my review, and included a package of Fast2Fuse in the same shipment. What’s a girl to do? I made a bowl!

Photo courtesy of C&T

Here’s how it went, in case you’d like to do the same.

The first thing I did was read the book, and this was important because the organization of the chapters is unique.  Each step in the process of bowl making has its own chapter; e.g., one chapter tells how to make the outer shell, another chapter gives instruction for the inside of the bowl.  There are multiple options for several types of bowls, which adds another layer of complexity and many more options.  

The instructions are clear, but it’s important to have a handle on where the various types of instructions are before starting.  Of course, with any project it’s important to read the instructions through first, so this is nothing new.

The author discusses options for various materials to stiffen the bowl.  She discusses different fabric options as well, including special instructions so you can use directional fabric successfully. 

I thought I’d better do the first one with non-directional fabric!  Fast2Fuse worked great as the base for the fabrics.  I hadn’t tried it before, and it made a significant improvement on my previous bowl making attempts.

The whole thing went together without difficulty in about half a day.  This is the 9″ size, but the book has options for multiple sizes including an 18 inch bowl!

I enjoyed this project and, as noted above, it was easier to get right than my previous bowl-making attempts.  

Here are links to information on the book and on Fast2Fuse:

Modern Fabric Art Bowls

Fast2Fuse heavy double-sided fusible.  This comes in several sizes and in light, medium, or heavy weight.  I used the heavy weight and it worked well for this project. I would choose it for structured bags in the future.

Note: The links in this post do not provide income for me; they are for your convenience only.  C&T provides books and products for me to review, and I choose the ones I like best to present here.


10 Fun Items (that aren’t quilt books)

You probably know that I have loved getting to review quilt books for C&T this past year. What you may not know is that C&T has so much more than quilt books. Here are 10 of my favorites:

10. Diamond Star Quilts by Barbara H. Cline. It may look like a quilt book, but it’s actually a whole method for making those extremely elaborate-looking star quilts that most of us drool over. If you’ve been wanting to make one of those, this may be the tool for you.

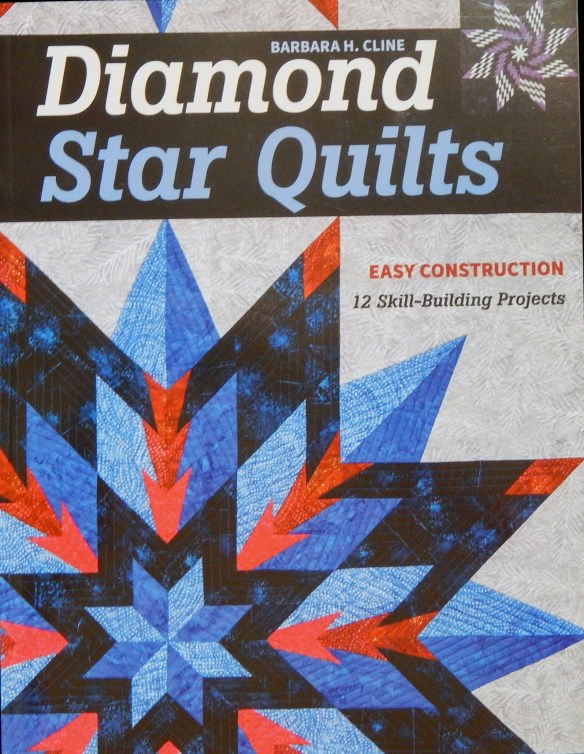
9. Zakka Wool Applique by Minki Kim is full of very cute projects including baskets, bags, and home dec.  If you want to craft with “woolies” as my friends call them, this book has a number of cute and useful projects.

8. Kim Schaefer’s Calendar Candle Mats is a packet with full-size patterns for cute little mats made with fusible applique and embroidery.  She calls them candle mats, but I think they would be good mug rugs, too.  Presents for school teachers come to mind, and teachers certainly deserve gifts this year!

7. Who knew there was a puzzle book for quilters?!?  Yep, More Happy Quilter Variety Puzzles, Volume 3, is just such a book.  There are crosswords, logic puzzles, and more.

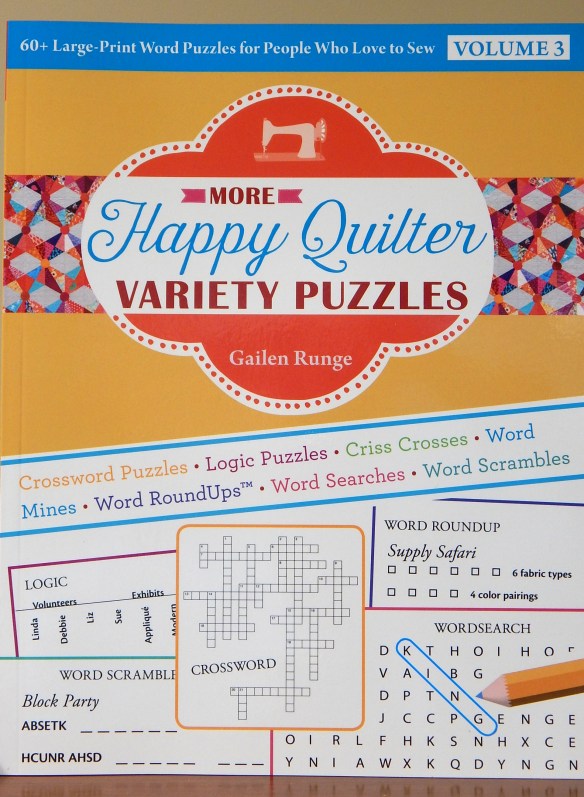
6. Everyday Embroidery for Modern Stitchers makes me want to take up embroidery again.  The book has iron-on transfer patterns included (I remember those from back in the day!).  The designs are intended to appeal to young people, but some of us “older” folks like them, too!

5.Botanical Embroidery, by Brian Haggard, is a packet with instructions and iron-on transfers for more traditional motifs.  The designs are gorgeous and would go especially well with heirloom projects. 

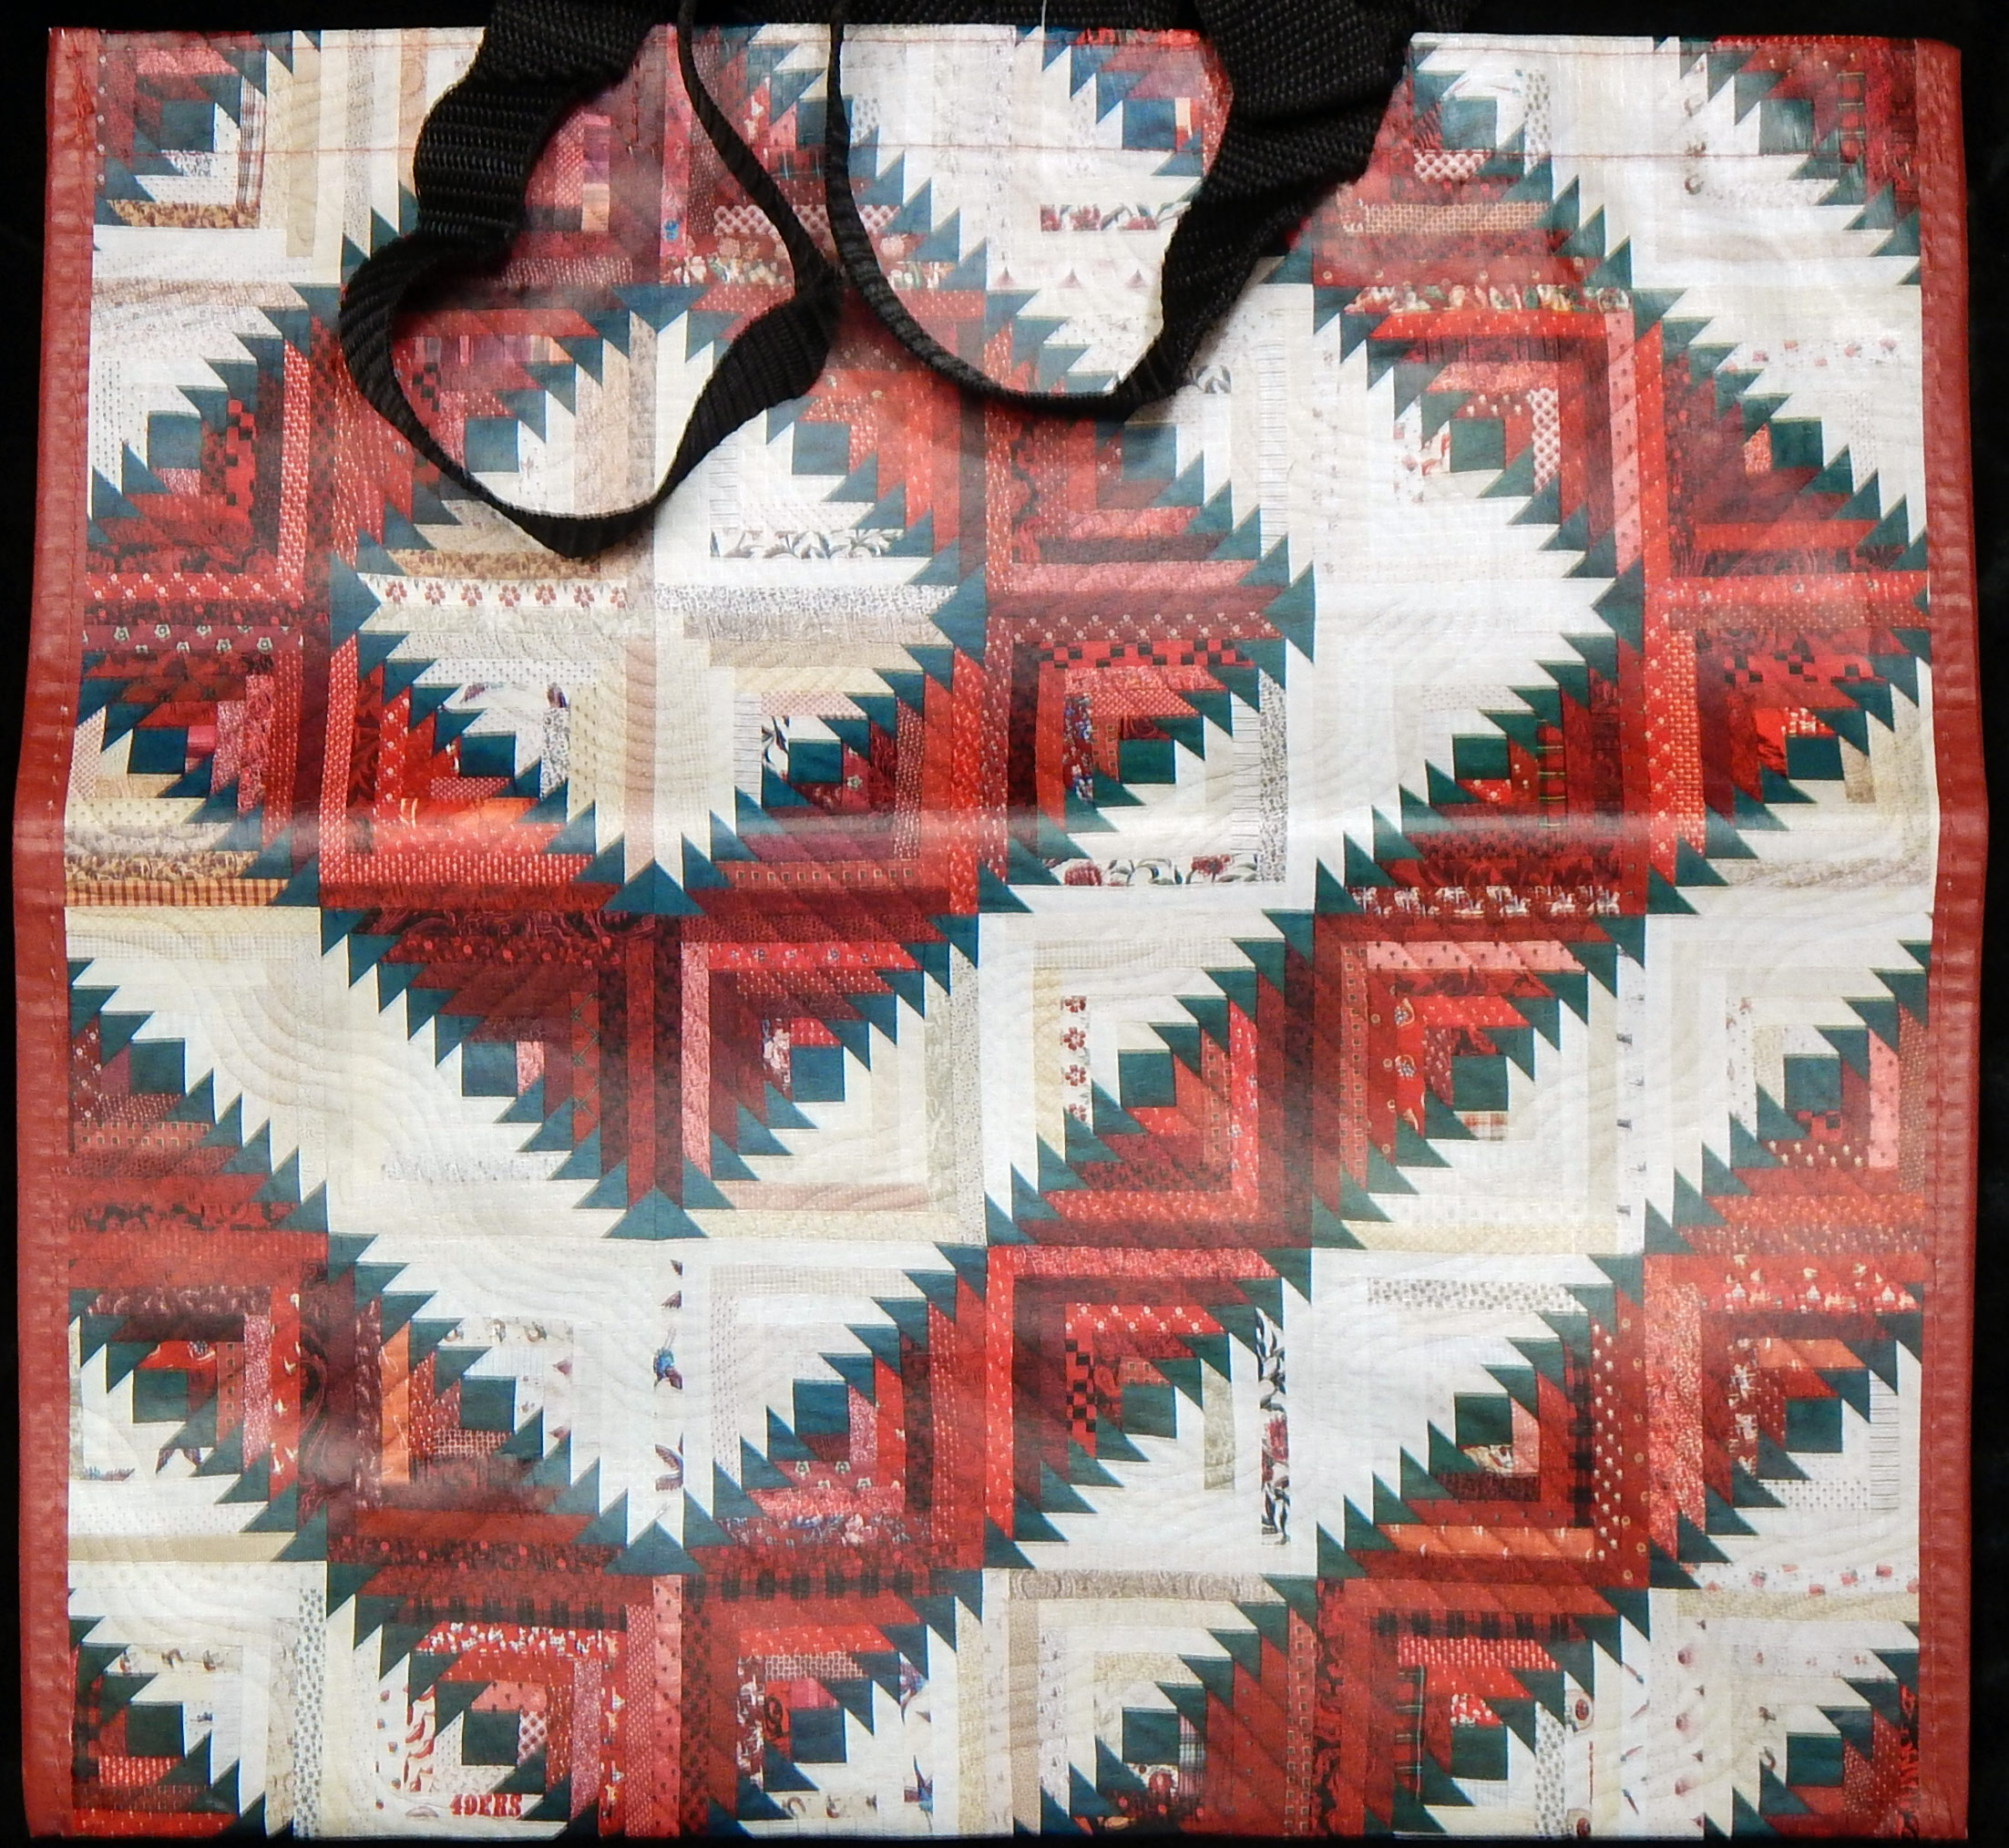
4. Bags!  C&T makes bags!  There’s everything from pouches to this large tote, all made from recycled water bottles.  They are water resistant and suitable for carrying things like pens and knitting needles that might poke through other bags.  Here’s the large holiday tote:

3.  The perfect hand applique paper, at last!  Oh, yes, it has every feature I want!  It is fusible on one side and, best of all, it is water soluble!  Yes!  Just iron it on, applique as usual, and the paper goes away when you wash your item.  This is some of the best news of the year for those of us who don’t like picking paper out of projects! 

2. The Foolproof Color Workbook is mostly a coloring book for adults with beautiful mandala-like designs to use for experimenting with color combinations.  It’s nice, but my very favorite color tool is the #1 item on this list.

And my #1: The Foolproof Color Wheel Set created by Katie Fowler is the best single tool I’ve seen for working with color.  There are 10 disks demonstrating the various ways in which colors can be combined (analogous, complementary, etc).  I like this because it simply cuts through all the color-related vocabulary that bogs people down (tints, shades, color triad, blah, blah) and provides concrete, visible examples. It is my favorite tool of the year.  If you struggle with choosing colors, I recommend it.

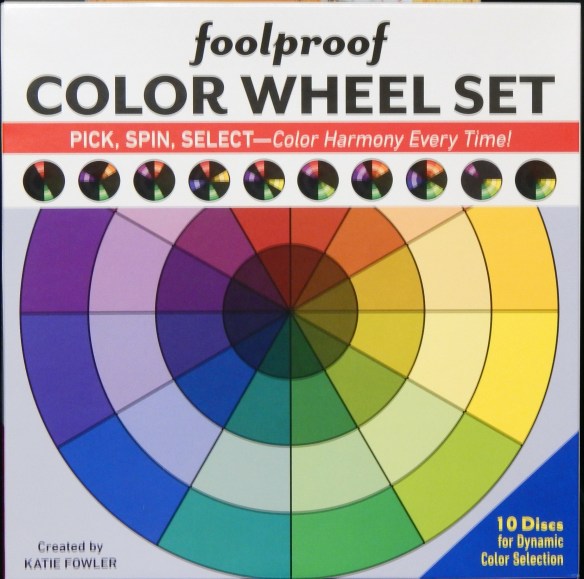
What is your favorite tool of the year?

Before and After

First, just to say I’m making masks like everybody else. I did verify where they are actually needed locally before I started. Enough said.
Now, back BEFORE everything was turned on its ear, we had this fun “Easier Than It Looks” class at Studio Stitch. It was fun to see the fabric choices!

And best of all, Betti sent me a picture of her finished top!  I think it’s spectacular!

One of these days the pandemic will be contained and we’ll have classes again.  See you then!  I will continue to post about quilts weekly; you can just take it on faith that I’m washing my hands and leaving home only to deliver the masks I’ve made 🙂  Take care!

Kraft-Tex Christmas

One of our Christmas traditions is re-usable gift wrap.  I’ve made a number of fabric bags for the purpose over the years, and we have lots of hemmed lengths of holiday fabric that we use for Furoshiki style gift wrap.  (Here’s a link if you want to see an expert doing a Furoshiki style wrap.)

Enter the red Kraft-Tex recently sent by C&T for me to experiment with.  From the time I saw it, I wanted to make a flower to decorate a holiday package.  It took a good bit of experimentation, but here’s what i came up with;

This is the Crimson color of hand-dyed, prewashed Kraft-Tex

I started by cutting pointed ovals about 2″ long and then sewing a little dart in one end to make them 3-dimensional.  I did tie a knot a the point of the dart, but there was no problem with back-stitching at the other end.

I glued the petals to a button with a concave surface to give them some support, then glued a piece of discarded costume jewelry in the middle.  I’m going to glue an alligator clip on the back for attaching the flower to the package.

You may wonder how this flower will do being stored with the wraps between holidays.  The answer is: just fine!  Read on for why.

This color is “Sapphire”

I recently made this little pyramid bag from Kraft-Tex (free pattern here, if you’re interested).  There was no need for batting between layers because the Kraft-Tex has enough body to hold the bag up.

It took some DOING to get this little bag turned right side out after construction because it’s so tiny.  The material actually looked better after all that squishing and twisting than it did before!  There were no permanent creases in it, and it looks much more like leather now that it’s been manipulated a lot.  So, as I’ve said before: was the Kraft-Tex, crumple it in your hands, etc, etc.  It just improves the appearance.Please note:  C&T provides Kraft-Tex for me to play with, but the links in this post are for your convenience.  I do not make money when you buy from them.