Best Bag Handles

I can’t seem to quit making tote bags, and I’m especially happy to have discovered foam batting, which makes them nice and stiff and doesn’t need to be quilted unless you just want to.

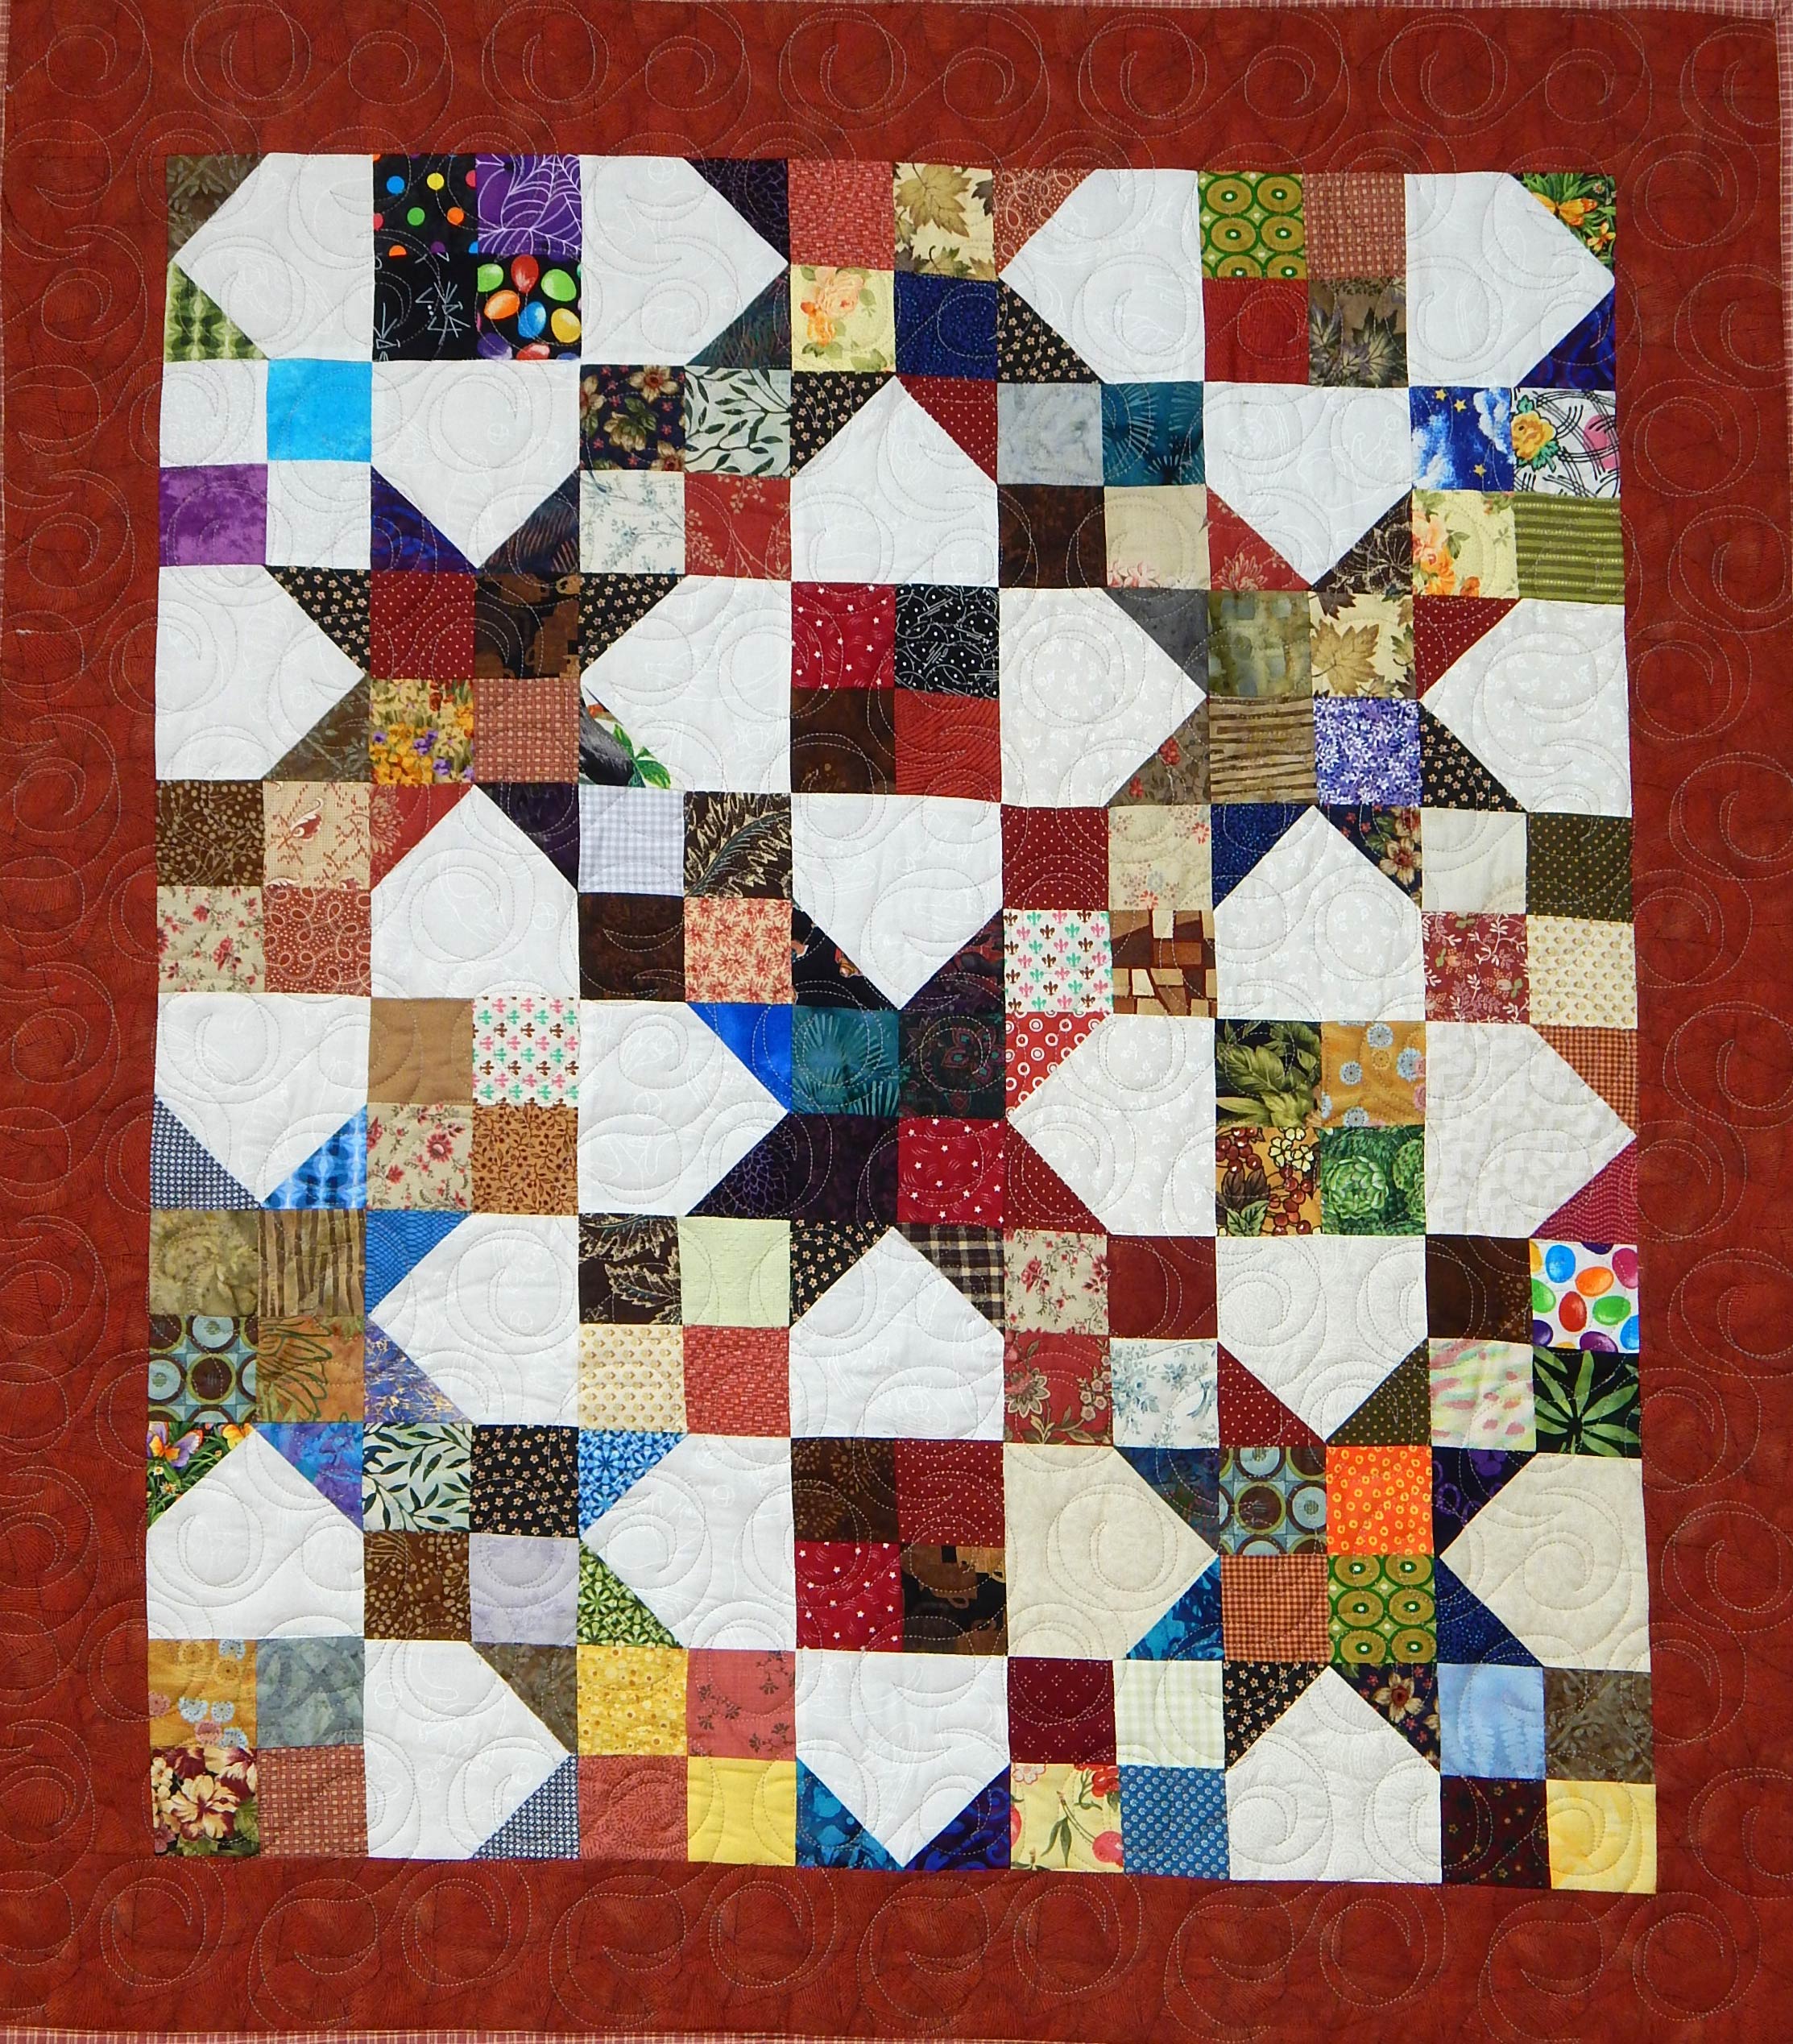
This is one I made several years ago

As a bonus, I’ve discovered that foam batting makes terrific handles for large totes.  I just wrap fabric around it and sew it down, avoiding the awful task of turning a fabric tube inside out to make a handle.  The resulting handle is quick to make and comfortable to carry. Here’s how:

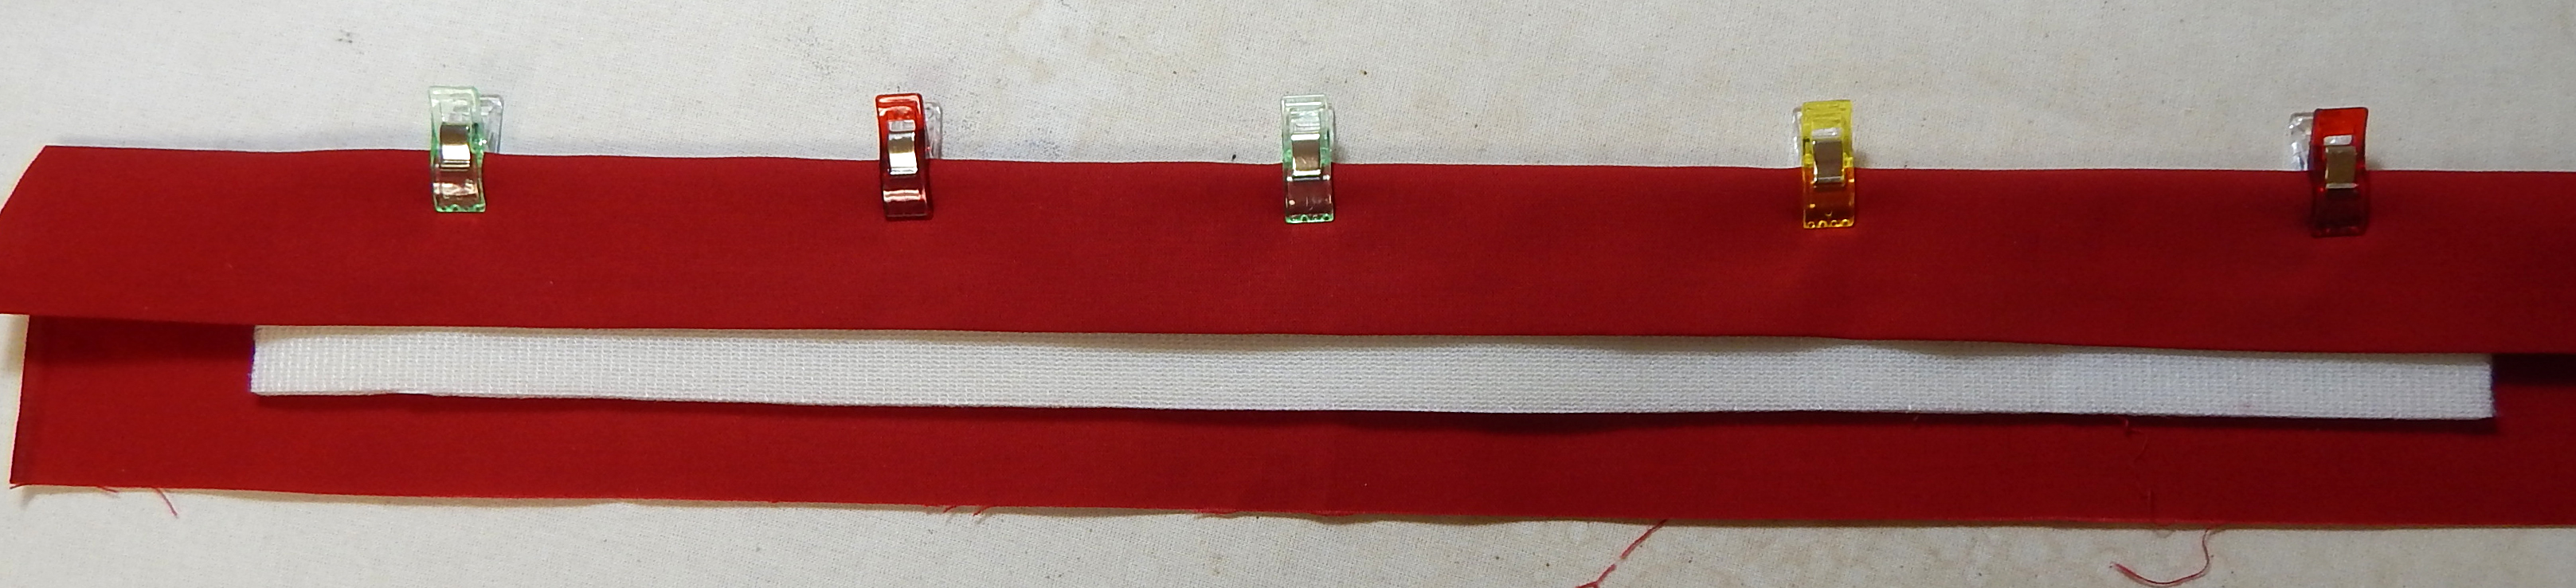
Cut 2 pieces of foam batting about 1-1/2″ wide and about 1″ longer than you want the finished handles to be.  Cut fabric for handles about 4-1/2″ wide and about 3″ longer than the finished handles will be.

Use a heat-resistant straight edge to turn under a crisp 1/2″ on one long edge of each handle.  (I’m using a metal tool made by Dritz for turning up hems.)

Now turn the same long edge under an additional 1-1/4″ and press well.

Tuck the batting into the handle, centering it between the ends, so that one long edge of the batting is firmly inside the handle.

I like to use clips to hold everything in place

Now turn the remaining long edge of the handle fabric snugly around the exposed long edge of the batting and tuck this raw edge under the folded 1/2″ edge.  The ends of the handle will have raw edges, but the long edges will all appear finished now.

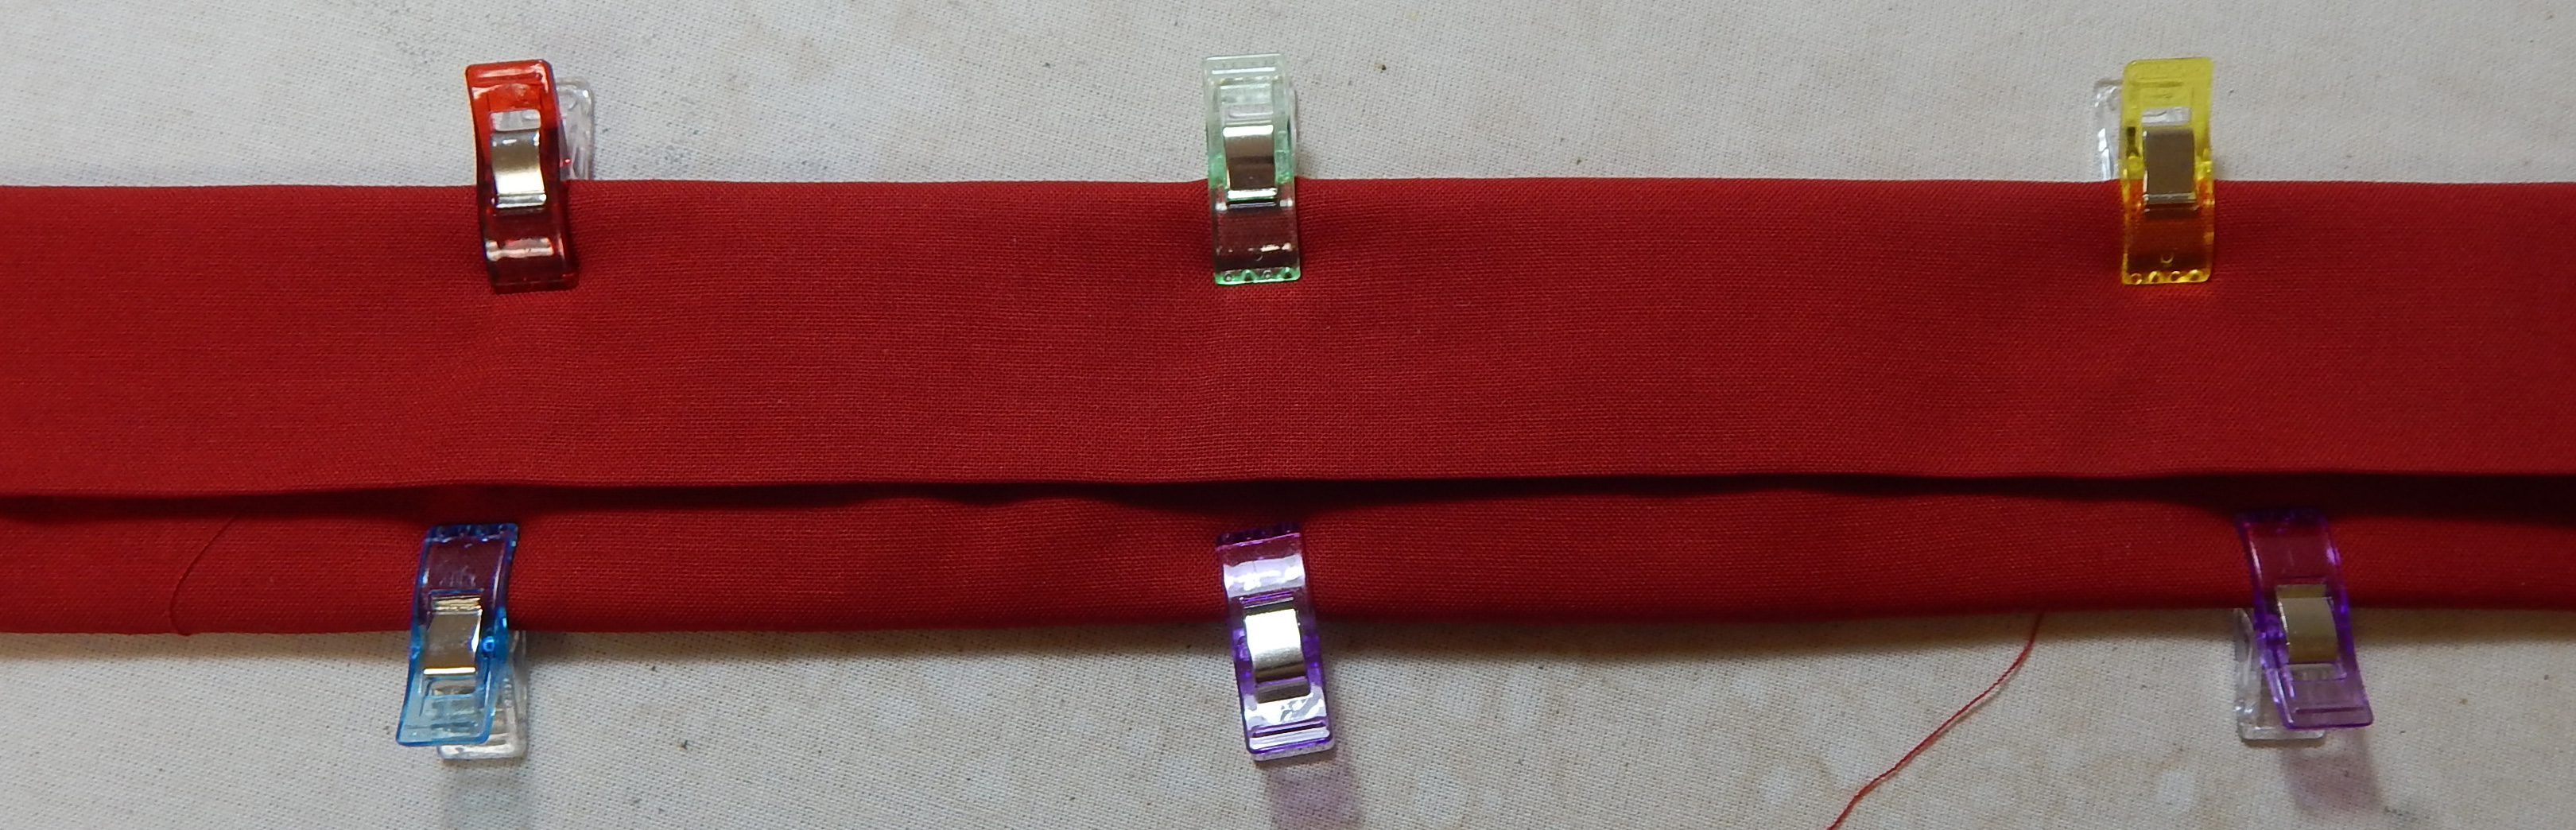
Topstitch close to the folded edge.  Place a second line of stitching near the other long edge of the handle so that you have a nice professional-looking handle.

Attach handles as usual, allowing about 1/2″ of the batting at each end to be sewn down to the bag.  The rest of each end, without batting inside, will go smoothly into the side of the bag so you won’t have much of a bulge where the handles are attached.  Sew that down, too.

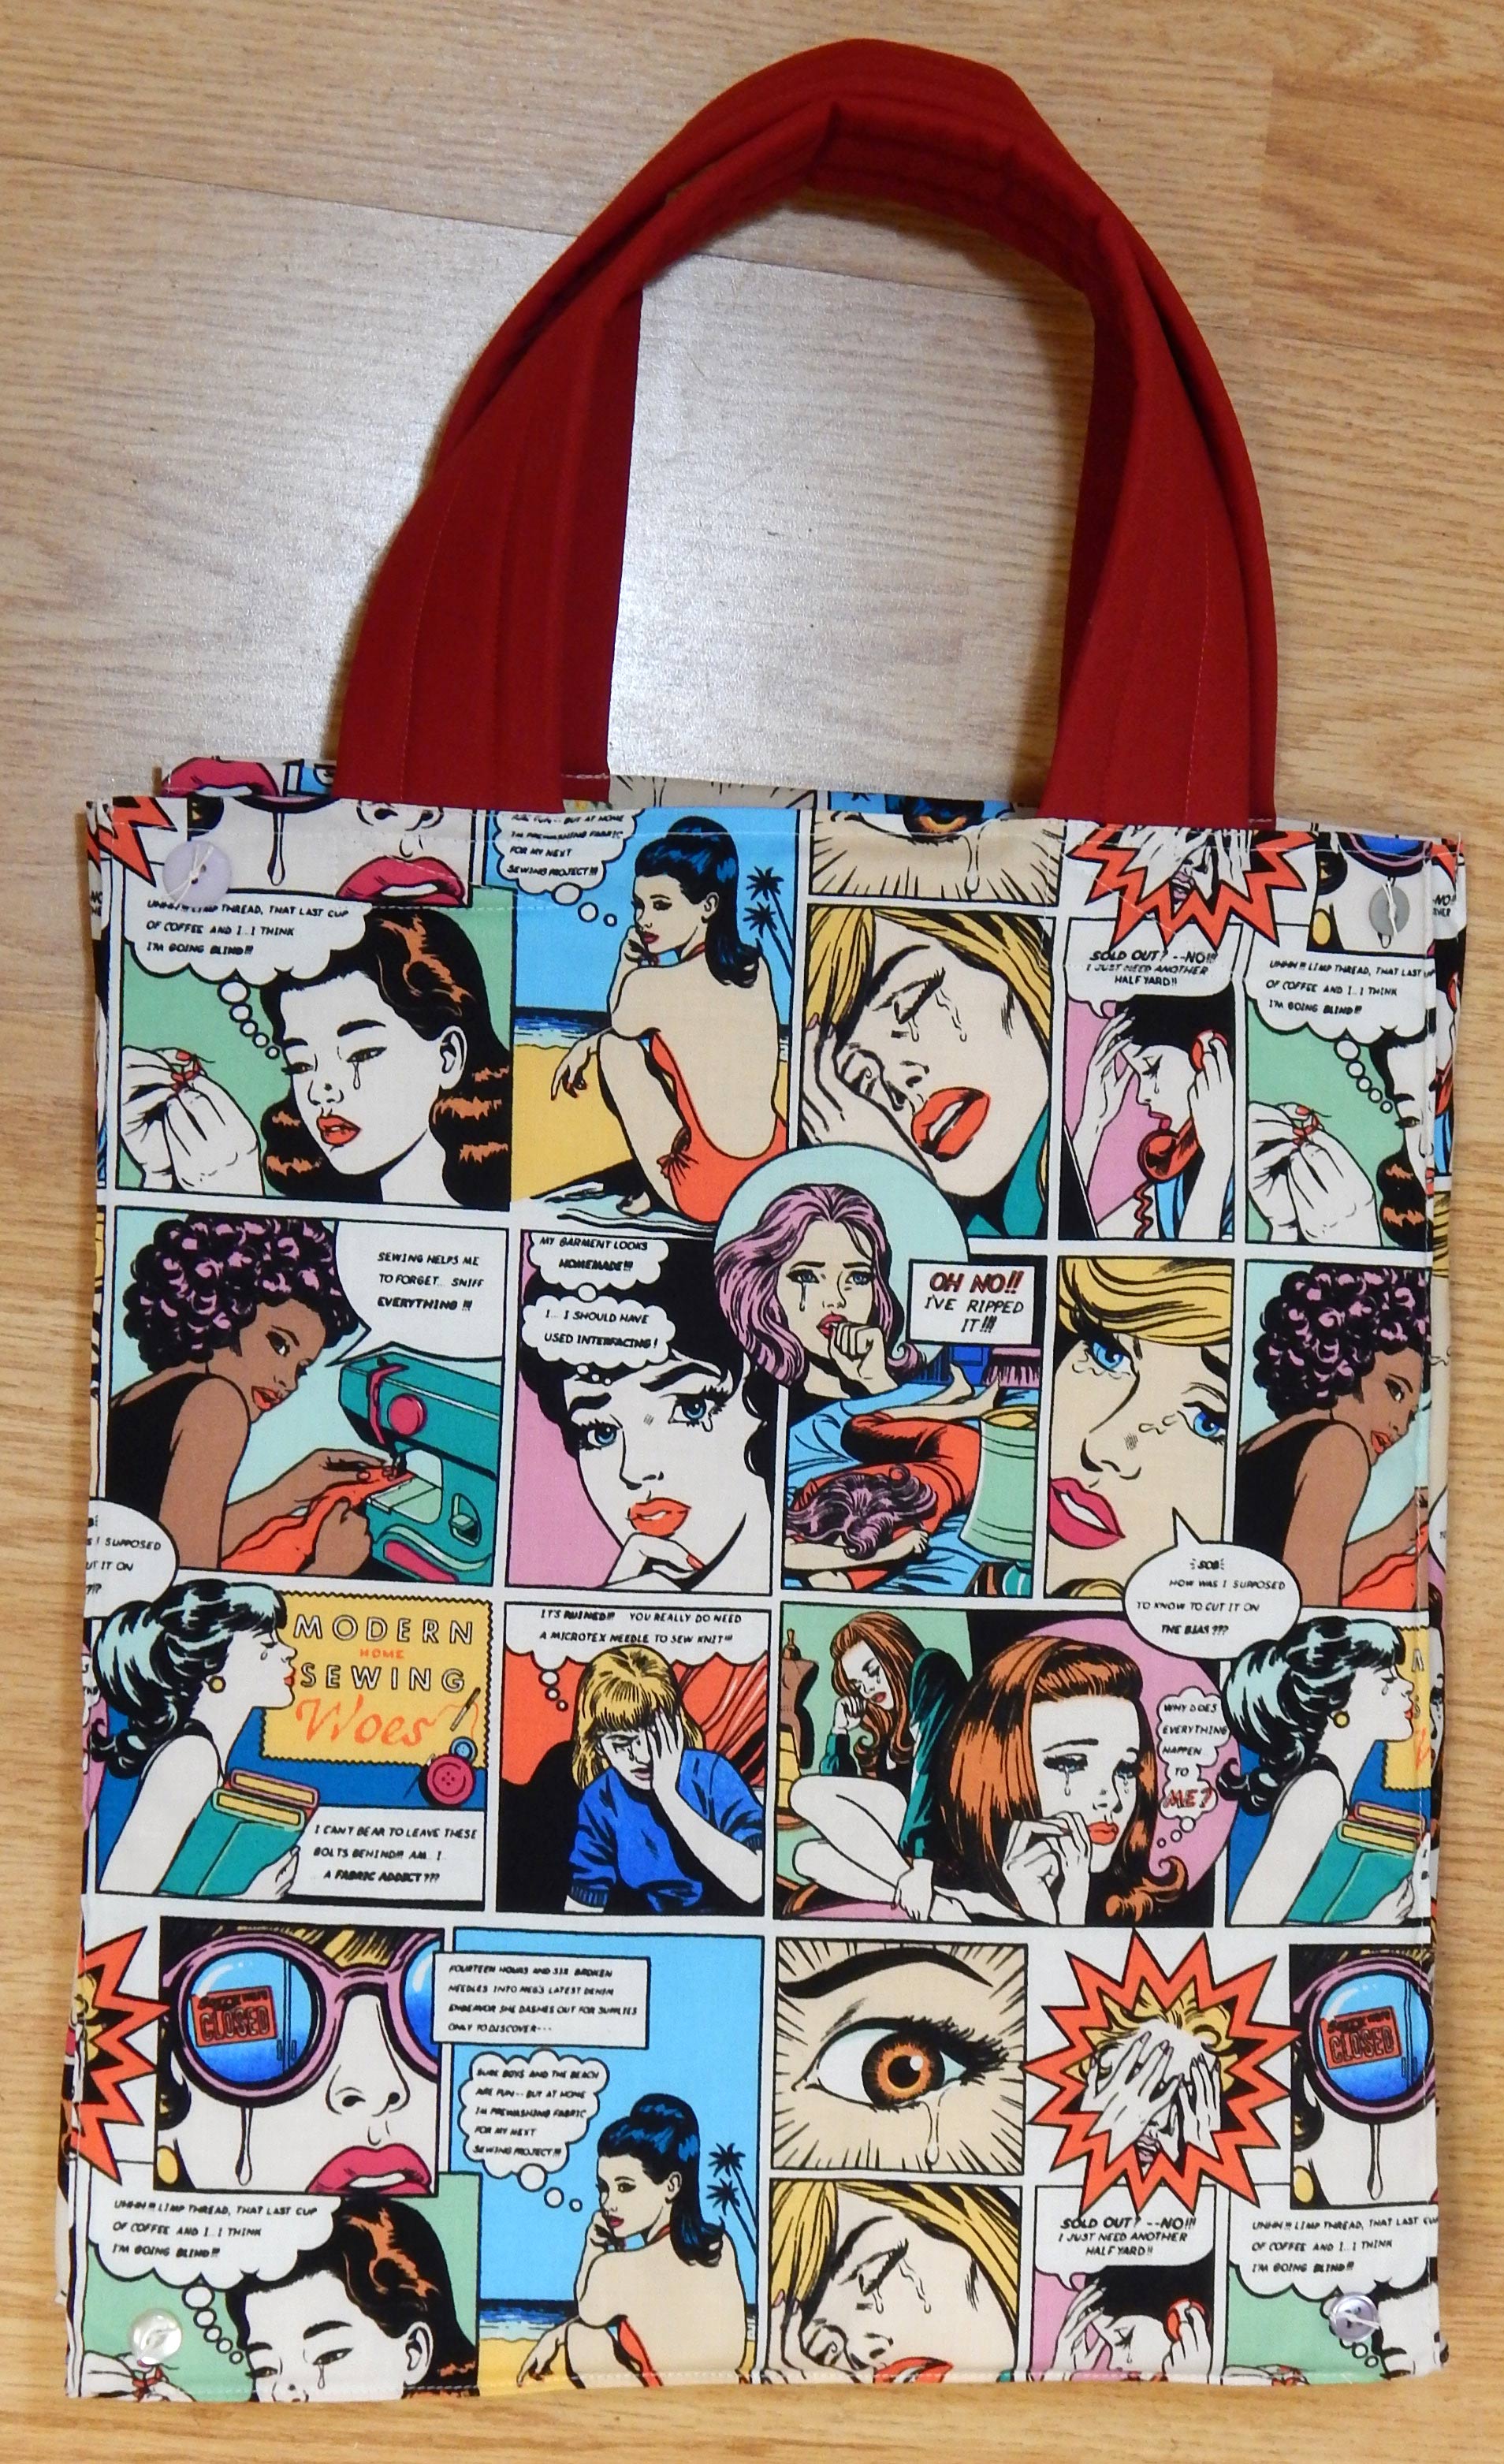
And you’re good to go!


Donation Quilt Catch-Up

I now belong to THREE groups that make donation quilts, and it may be a bit much.  I’ve decided to focus on the group I’ve been working with the longest, both because it was the original and because we donate the quilts locally.  (I fear there’s some truth to Garrison Keillor’s quip that most donation quilts sent to other countries go to hot climates where their best use is as compost.)

I see from my notes that I fell behind on donation quilts over a year ago due to being over-committed.  Duh.  Anyway, here are my recent attempts to catch up.

I found this panel in the SCRAP BIN at a shop where I teach, so I got it for $1 an ounce! The finished quilt is 34″ x 44″.

This top was started over a year ago when I wanted to experiment with half-rectangle triangles. The finished quilt is 40″ x 48″

This was made from slabs swapped in one of my groups. I spy some orphan blocks incorporated into slabs!

This one was done for leaders and enders, and is going to have to be entitled “Nobody’s Perfect”! Finished size is 34″ x 39″

I made this after starting the blocks as a class demonstration last time I taught “Twinkle”. Finished size is 40″ x 40″

I can just hear somebody saying, “Well!  That certainly is a variety!”  It would be more efficient to make the same pattern multiple times, but I just can’t do it.

What are your favorite donation quilt patterns?


Making a Strip Set

I was excited to get Maria Shell’s book Improv Patchwork a while back, because I’m an admirer of her quilts.  (This picture of the book is from her website, where you can order an autographed copy of the book.)

I first encountered her work when I saw this quilt:

Maria Shell

No Borders Treasure Map, by Maria Shell, from her blog

The quilt above appeals to me because I am OVER all the plus quilts that have been everywhere for years now, and Maria’s quilt is a fun allusion to the plus sign without being the same-old-same-old.

I read Maria’s book as soon as it arrived,  She has lots of suggestions, including making strip sets and cutting without rulers.  Just for starters I made a strip set.

I based the arrangement of strip sizes on the first few bars in the bar code for the word “quilt”.  Yes, I’ve done something similar in the past when I used a QR code from Planned Parenthood of the Greater Northwest’s condom campaign to make this quilt.  This time, with the bar code, I didn’t even try to get the whole code in, or to make it scan.

I like it!  What I don’t know is what I’m going to do with it!  It seems to need to incubate for a while.  Any suggestions?

To be continued…

A Travel Sewing Machine

As I was carrying my sewing machine up the steps a few weeks ago, it occurred that the price of repair for my shoulder (if I hurt it, which I haven’t yet) would be a lot more than the price of a lighter sewing machine for travel. Of course, I have a wonderful rolling travel case for the heavy machine, but that case doesn’t do stairs.

I considered for quite a while, since it seems to me that my home already contains enough “things”. I decided that, since I’m planning more sewing travel in the coming year, a lighter machine was worth the investment.  (A little more self-justification: I was the only serious sewist I know who owned only one machine!)

After some research, I settled on a Bernette 33, which is made by Bernina and sold by my Bernina dealer.  It is just what I was looking for:  smaller, lighter, with no computer parts to worry about.

Bernette 33, my new travel companion!

So far it performs just fine.  I’ve mainly used it for piecing, since that is most of what I do when I go to sewing gatherings or teach.  It certainly doesn’t feel as sturdy or sew as smoothly as my Bernina, but I think it is “just right” for travel.  And the price was right, too.

Of course I made it a cover to match the bag that carries its accessories:

This fun fabric came in prints of two sizes, so I had one of each to use

How many sewing machines do you own?


Twinkles All Around

Twinkle is an attractive and easy quilt by Swirly Girls Design, and I taught it recently at Studio Stitch in Greensboro. We used the Tucker Trimmer for the half square triangles (HSTs) and everyone seemed to have a good time.

First, here’s my shop sample in a glamour shot:

Twinkle, a pattern by Swirly Girls Design, was made because I had some fabulous leftover fabric

Then, here are some of the wonderful blocks made by the people in class.  I’m sure I took more pictures, but apparently my camera quit part way through!

This one was two-color instead of scrappy and it worked quite well

BJ got several blocks made. Look closely and you can see the astronaut near the upper right corner

Arranging the stars on a design wall before sewing them together was very helpful–I don’t think anybody made a mistake!

And a few more for good measure!

Isn’t it fun to see everyone’s individual choices!

My next class at Studio Stitch is basic binding on March 14.