Quilt-as-you-go (QAYG) has been around at least since the 1970s, and I have tried it in several forms. Back when I wanted to use high loft batting, I made this quilt in sections and joined them using Georgia Bonesteel’s method. The backing seams were sewn by hand. It worked out fine, but that was a lot of hand stitching.

Jewel Box, queen size, made in 2003
More recently I read about using thin batting so pieces can be joined with batting in the seam. Unfortunately, this method suggests quilting the front pieces WITHOUT backing, then tacking on a back after assembling the front. That means most of the quilting is hidden from the back; the only thing that shows is the stitching used to attach the back over the actual quilting!
I’ve also seen QAYG done by using batting rather than batiste as a base for string piecing. This means no quilting shows on the front!
The more I read about QAYG methods, the more I didn’t care for any of the options. I decided to re-visit it anyway because students had asked for a QAYG class. I chose the string piecing on batting option, but made the blocks with the backing included so the quilting would show on the back.

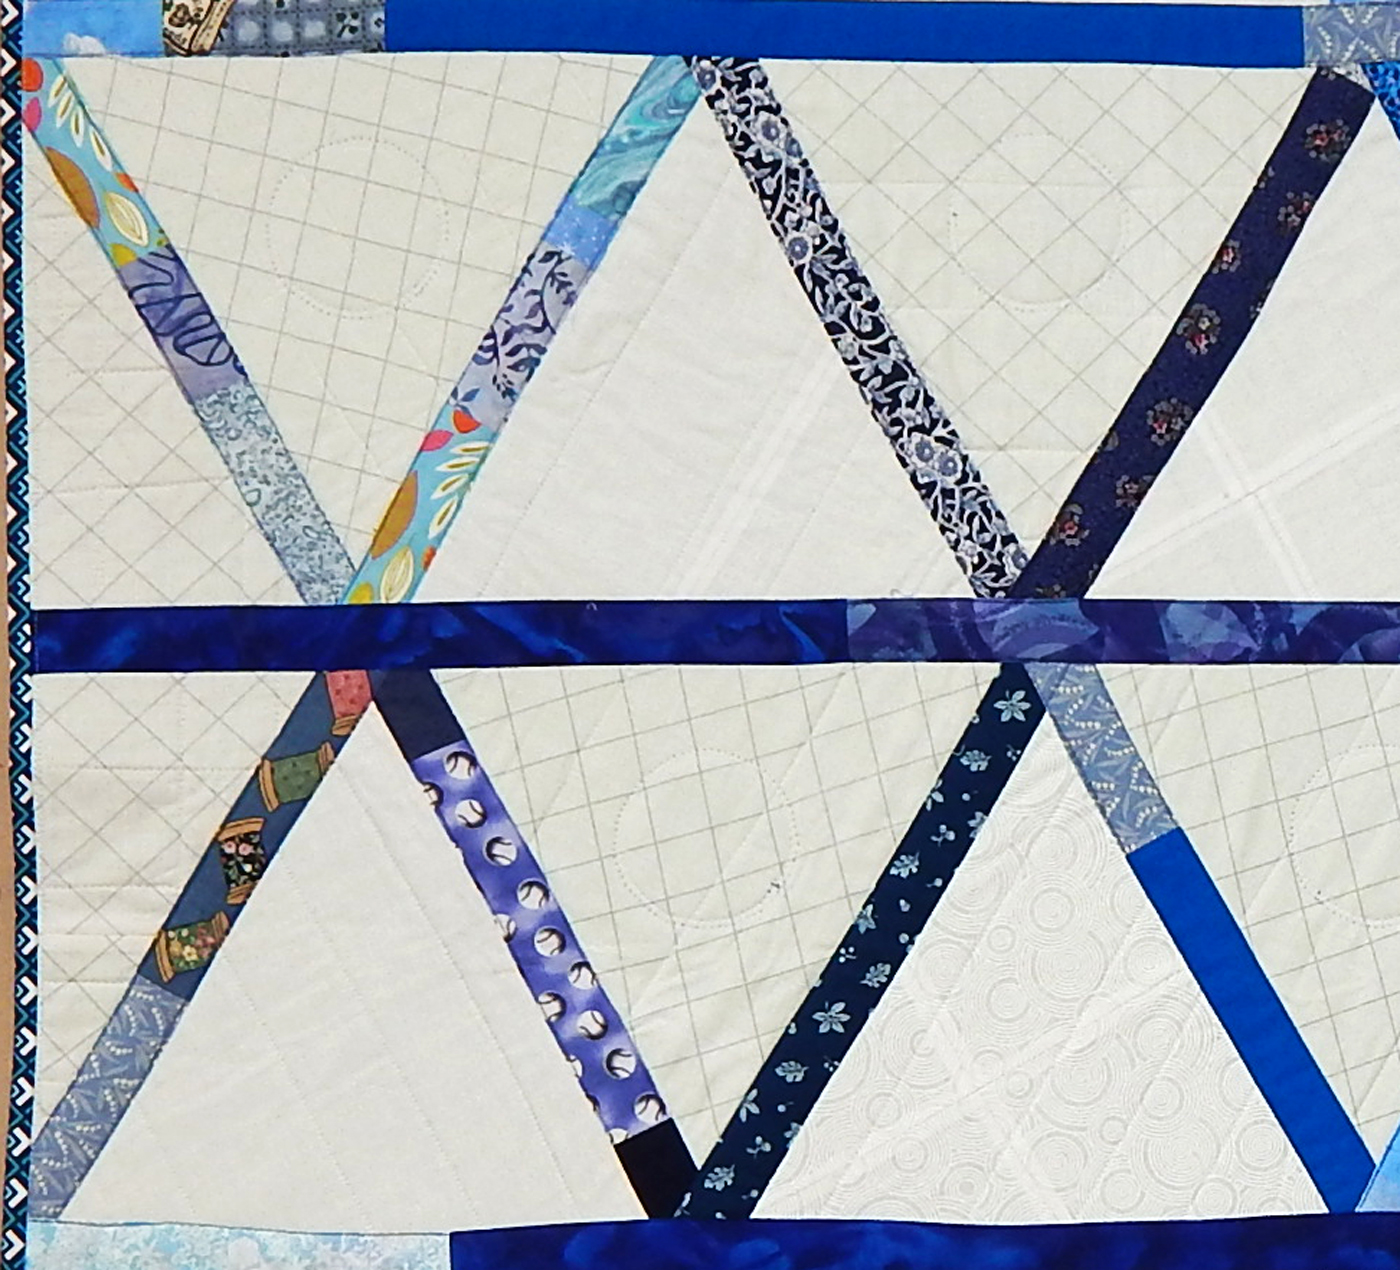
The quilting is meant to show on the back, though white thread on white fabric doesn’t show much!
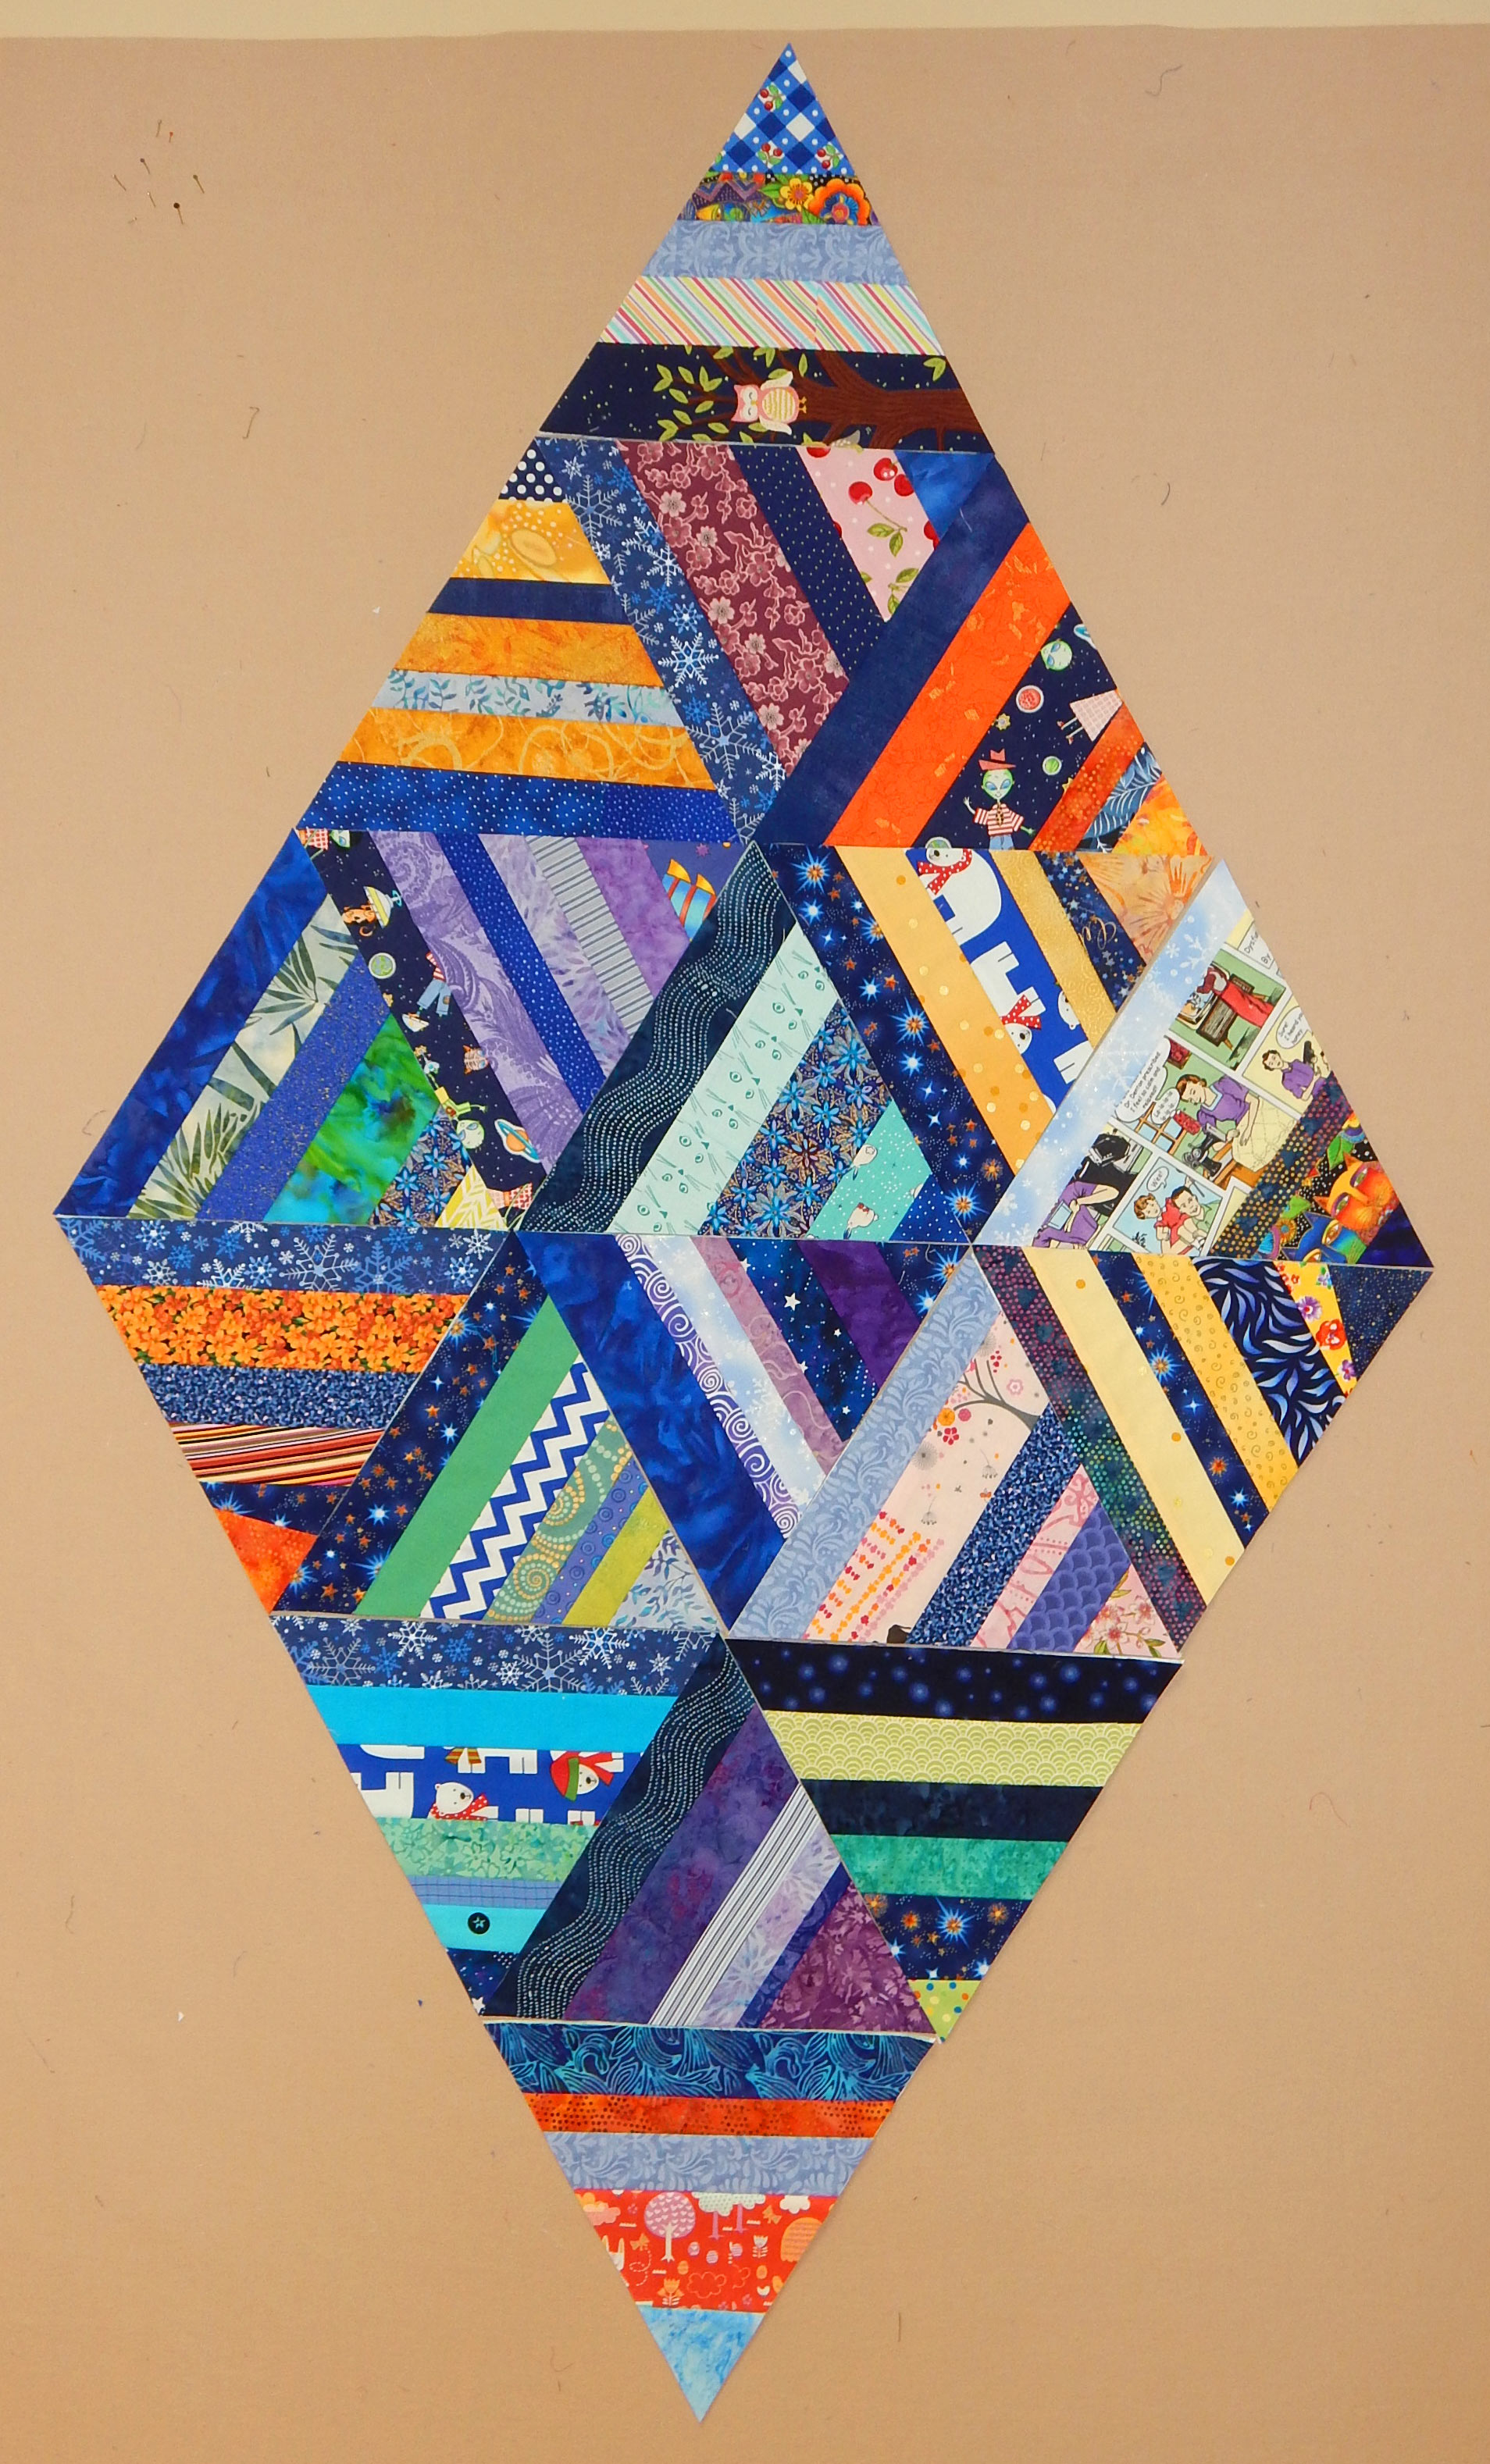
I kind of liked the triangles arranged like this on the design wall, but decided to save this option for when I can make the whole thing look 3-D by careful placement of color.
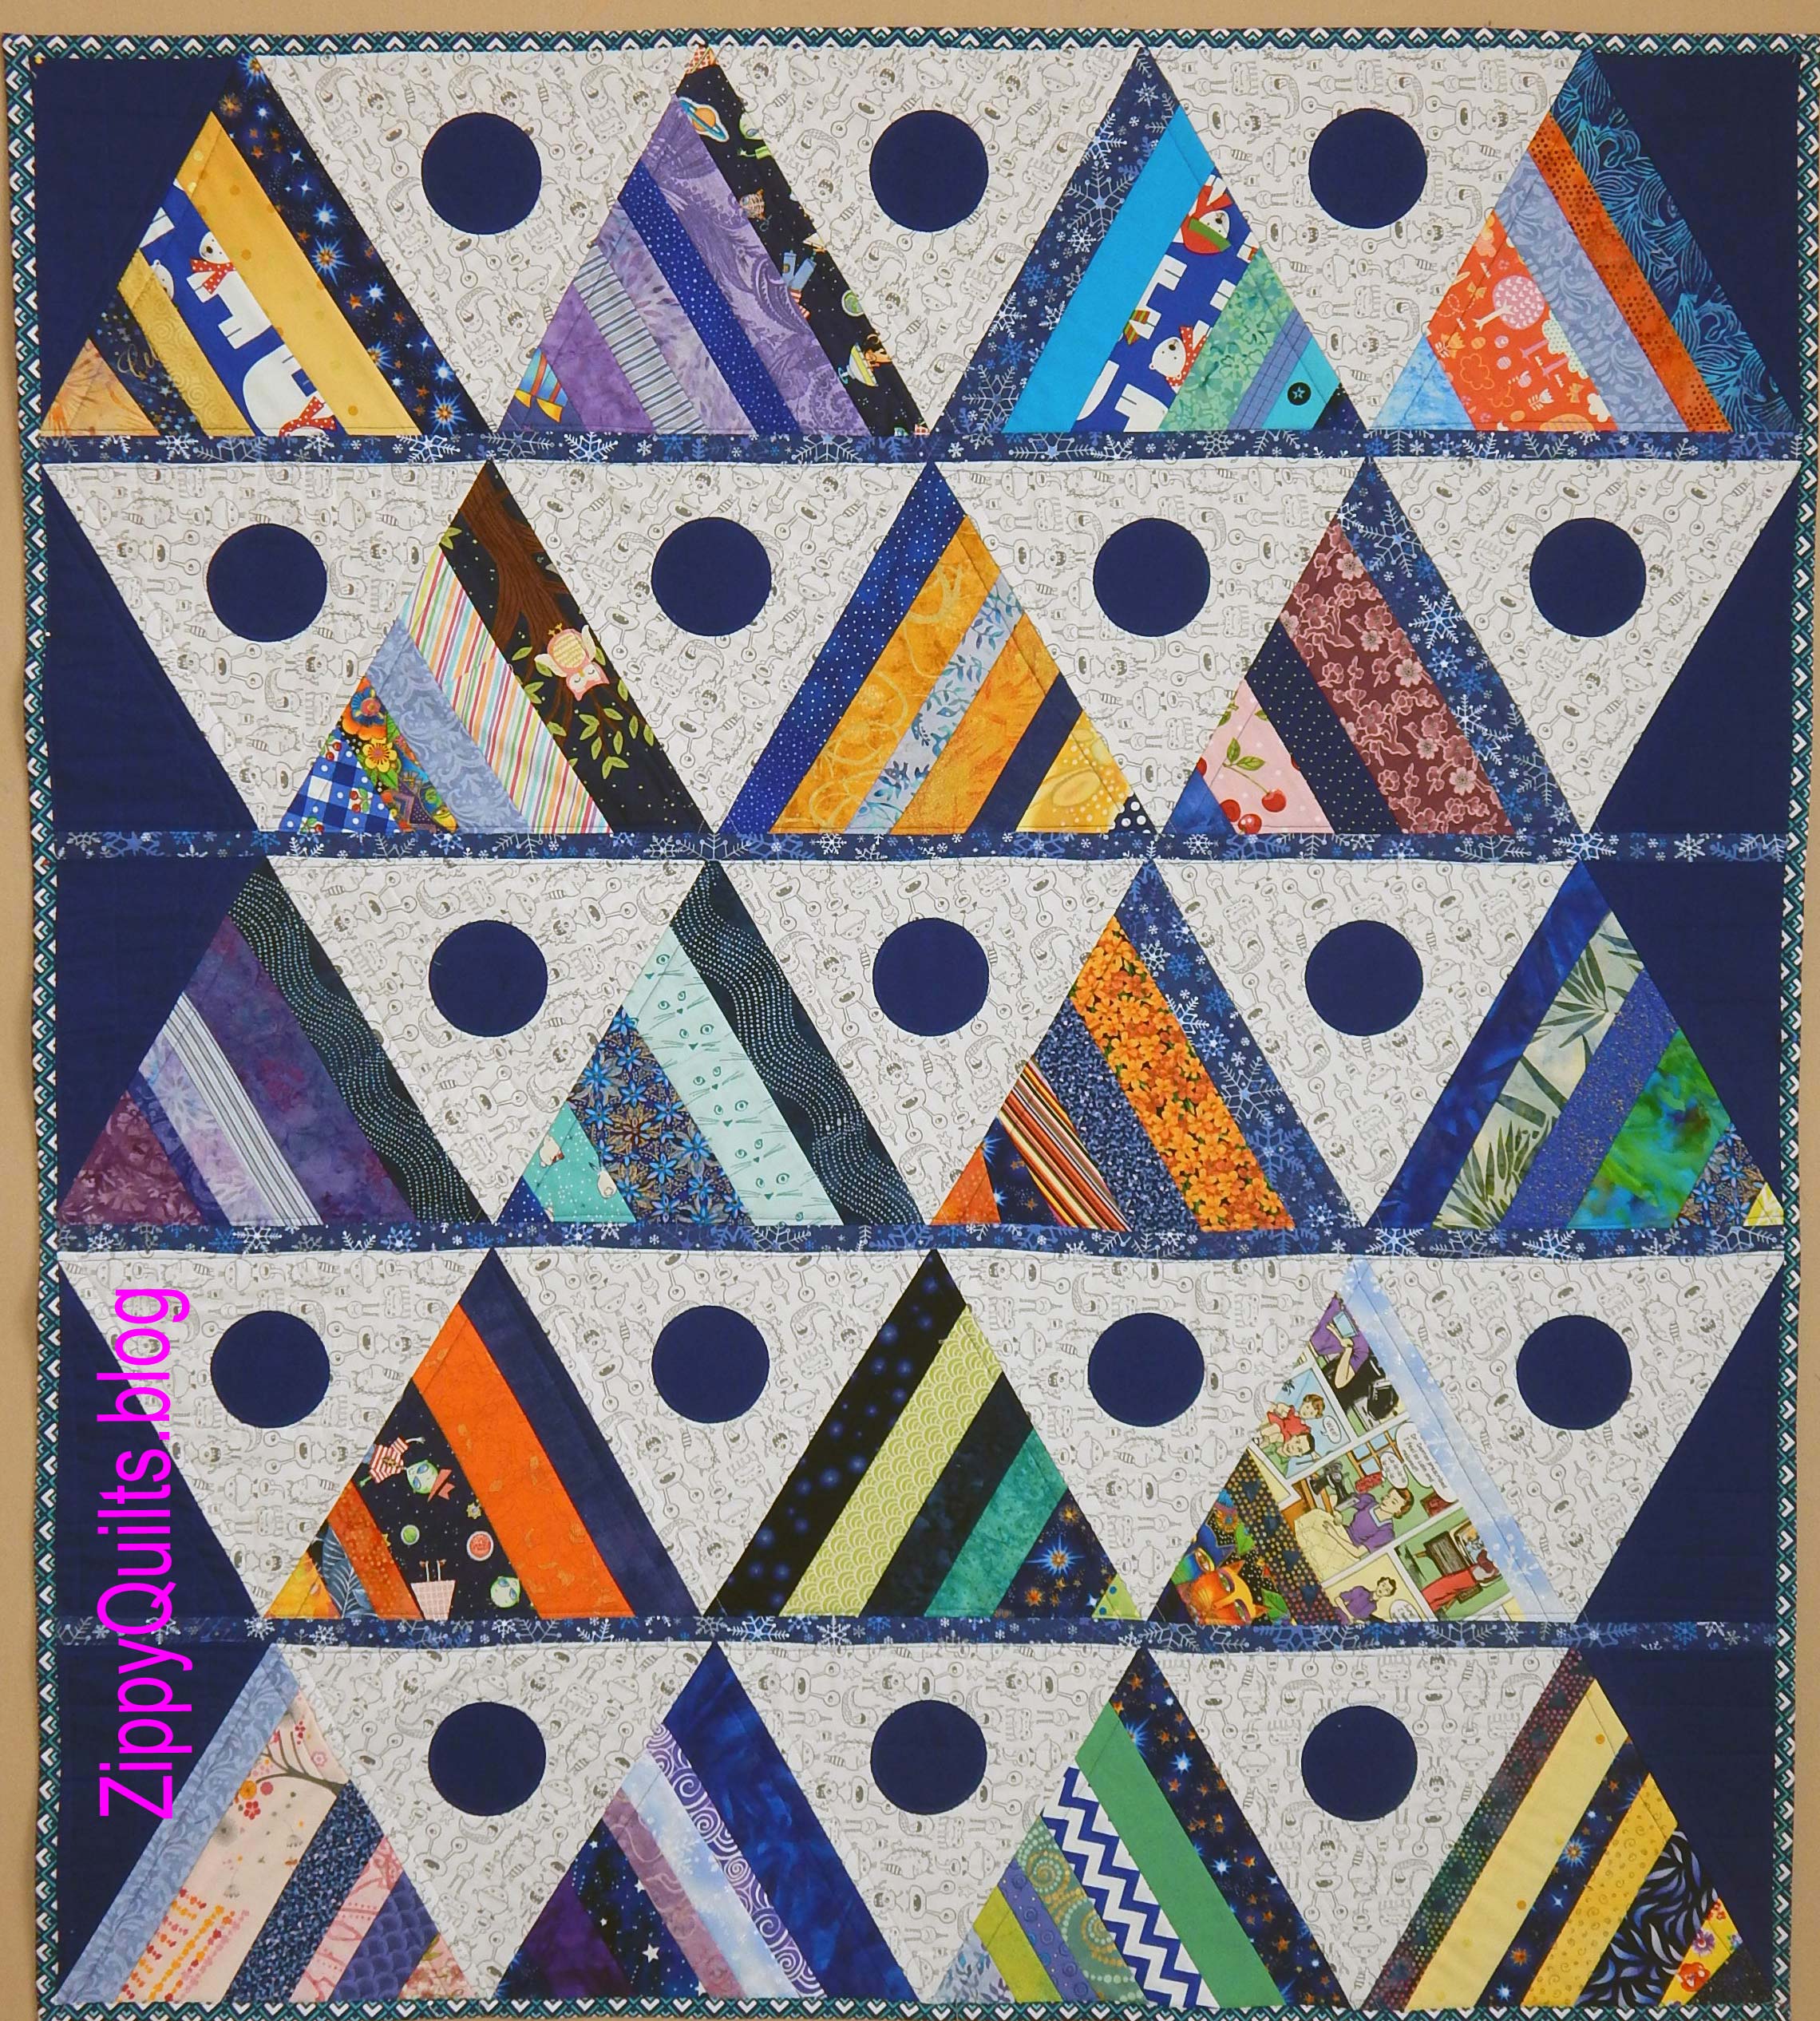
Here is the front of the finished quilt:
After joining the triangles with seams that included front, batting, and back, I covered the seams in back with fabric strips.
The result was awfully bulky. Next time I may just settle for the “new” method that doesn’t show much quilting on the back.
Well, another lesson 😀 The next attempt will be closer to perfection!