I’m putting this up because I will be teaching a class soon in which students will be doing some spray basting before class, and I’m hoping to make it easier for those who have never tried it.
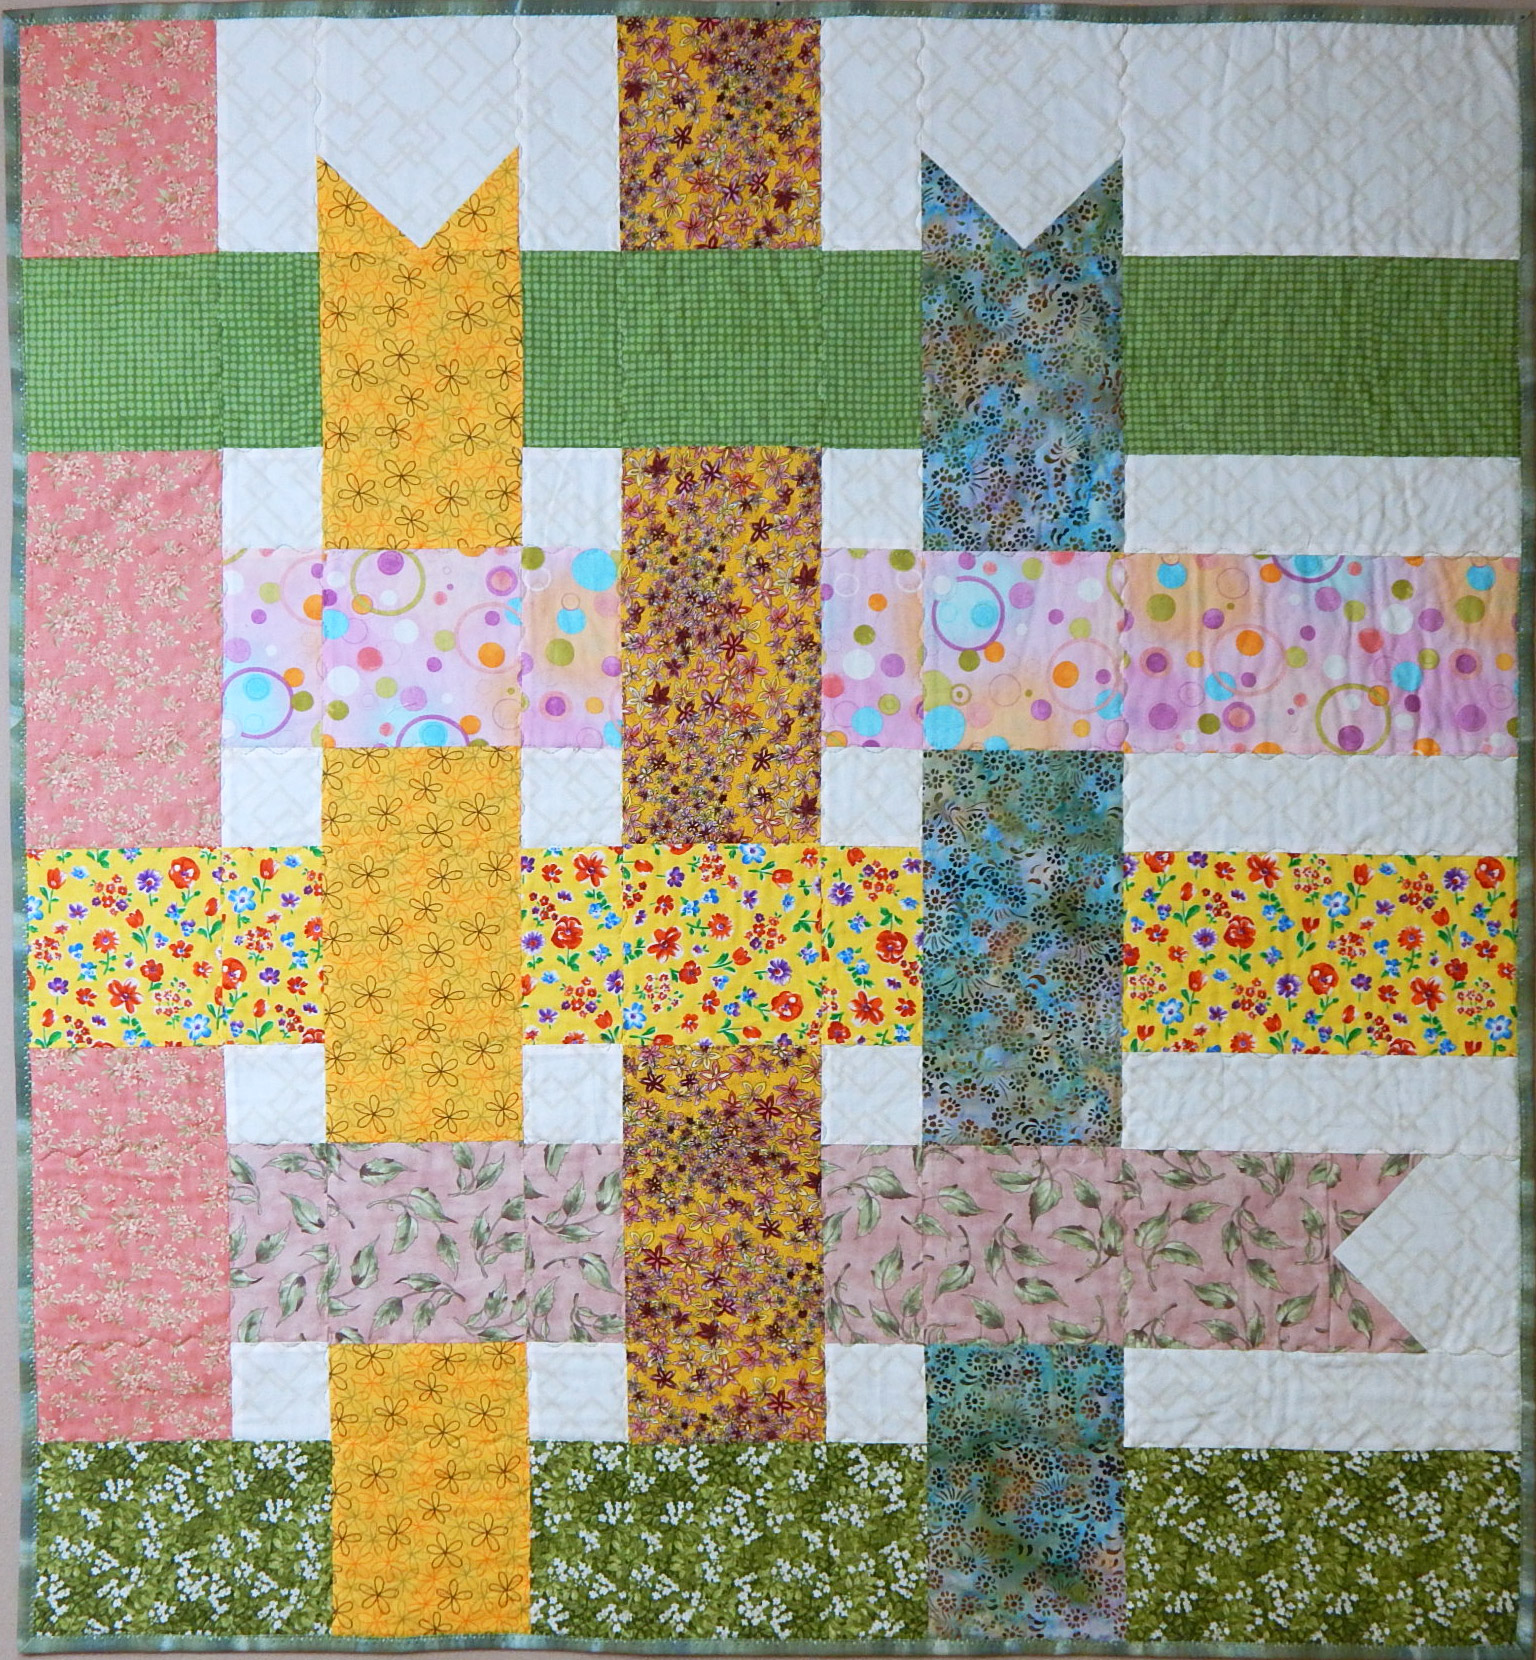
This quilt is derived from the Ribbon Box Quilt pattern available on the Cloud 9 website
The quilt shown here is about 40″ x 40″, an easy size to spray baste. I have a variation for spray basting larger quilts, but I won’t cover that here.
Start by taping the quilt back to the floor, right side down. Pull enough to get rid of wrinkles, but do not stretch the fabric.
Backing
Next, sweep the porch 😉 If all you have is a deck, that will do, but sometimes the spaces between the boards are a bother.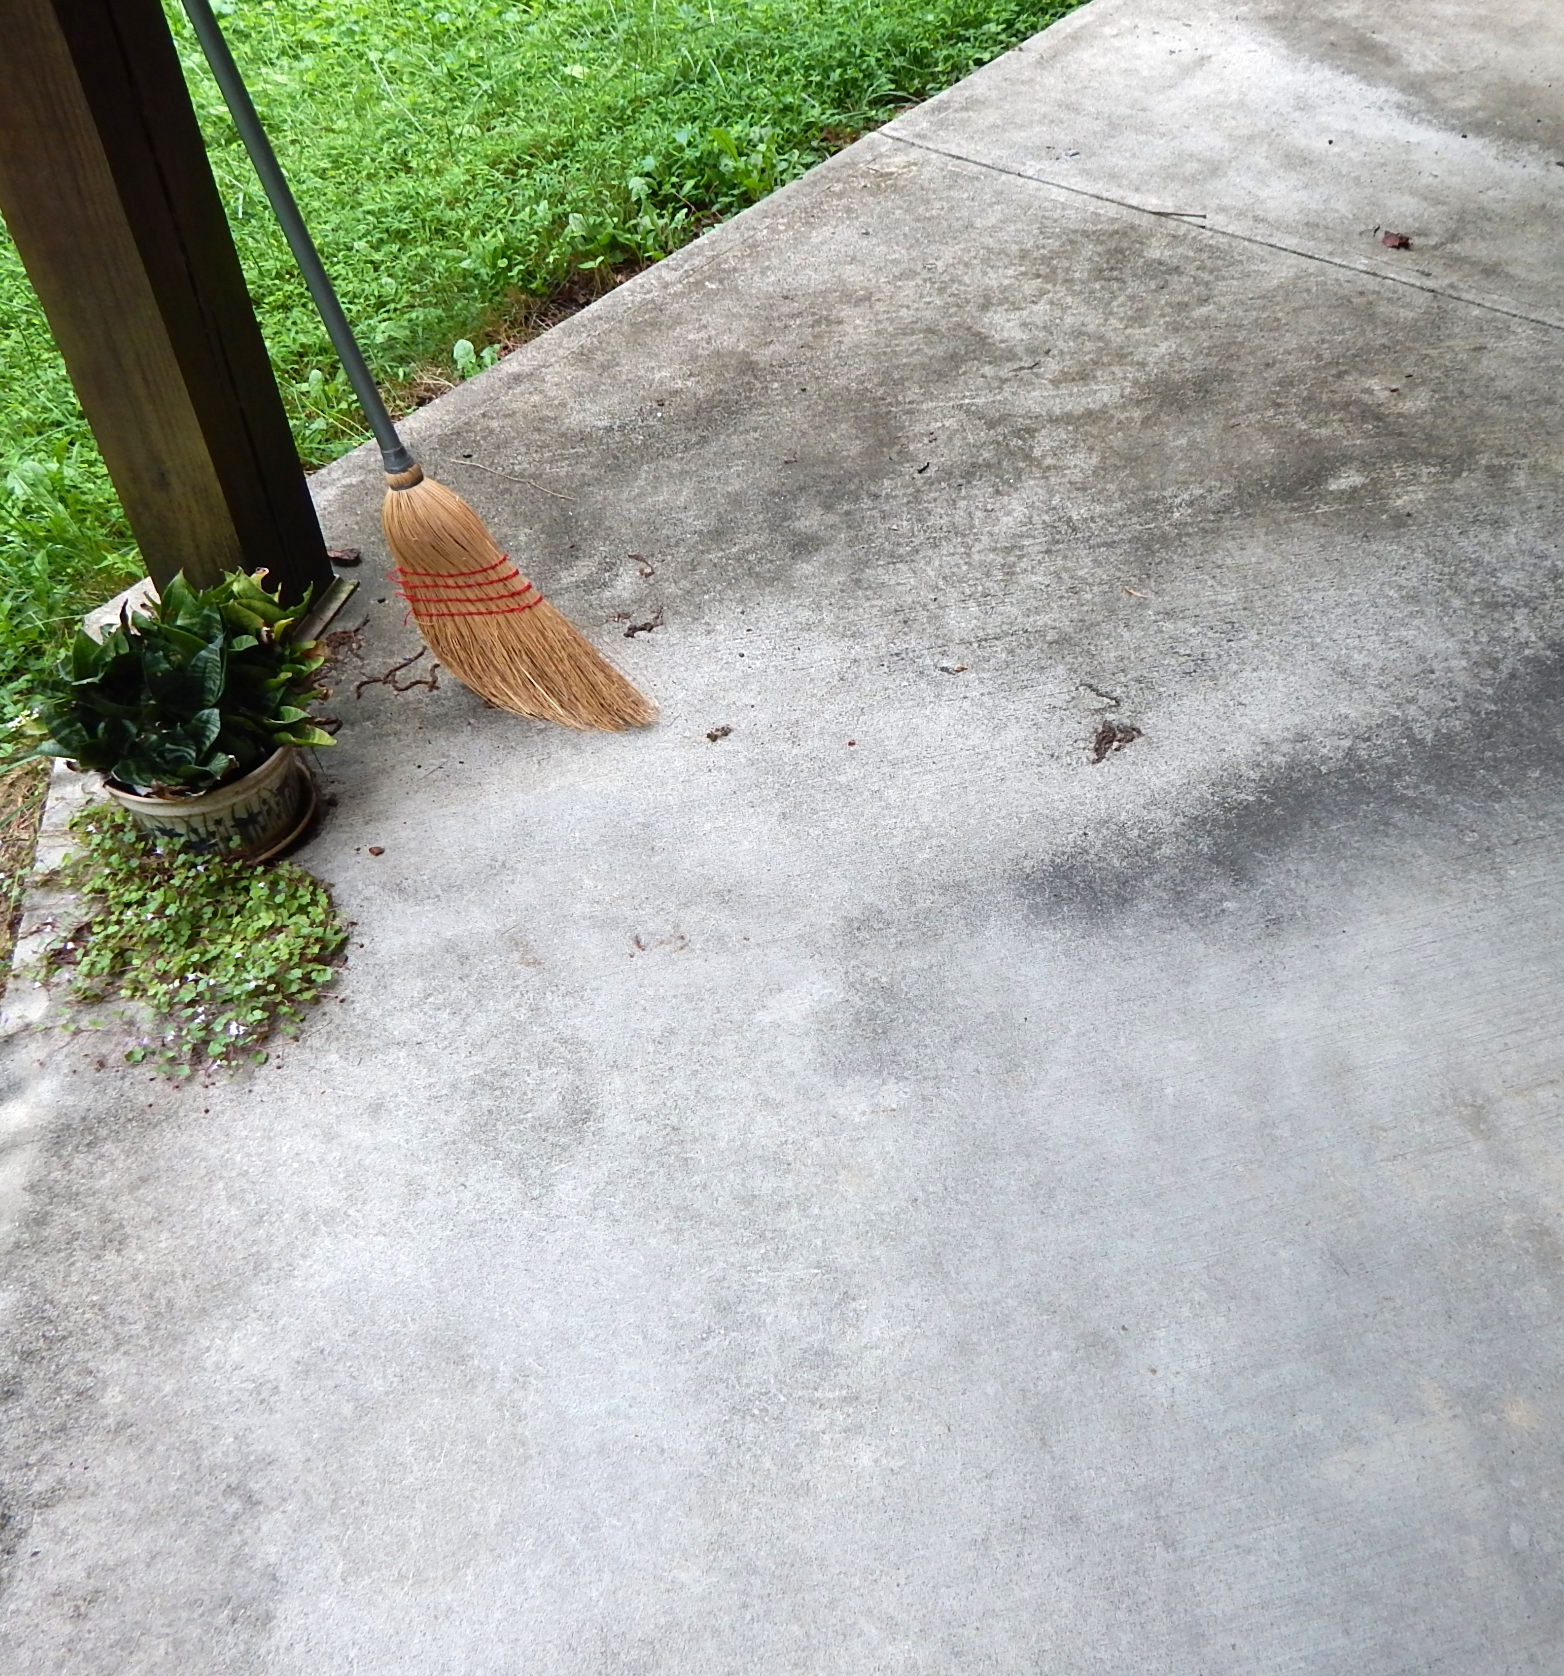 Lay a large clean piece of discarded fabric on the porch floor. This is a sheet from a long-ago pre-teen room.
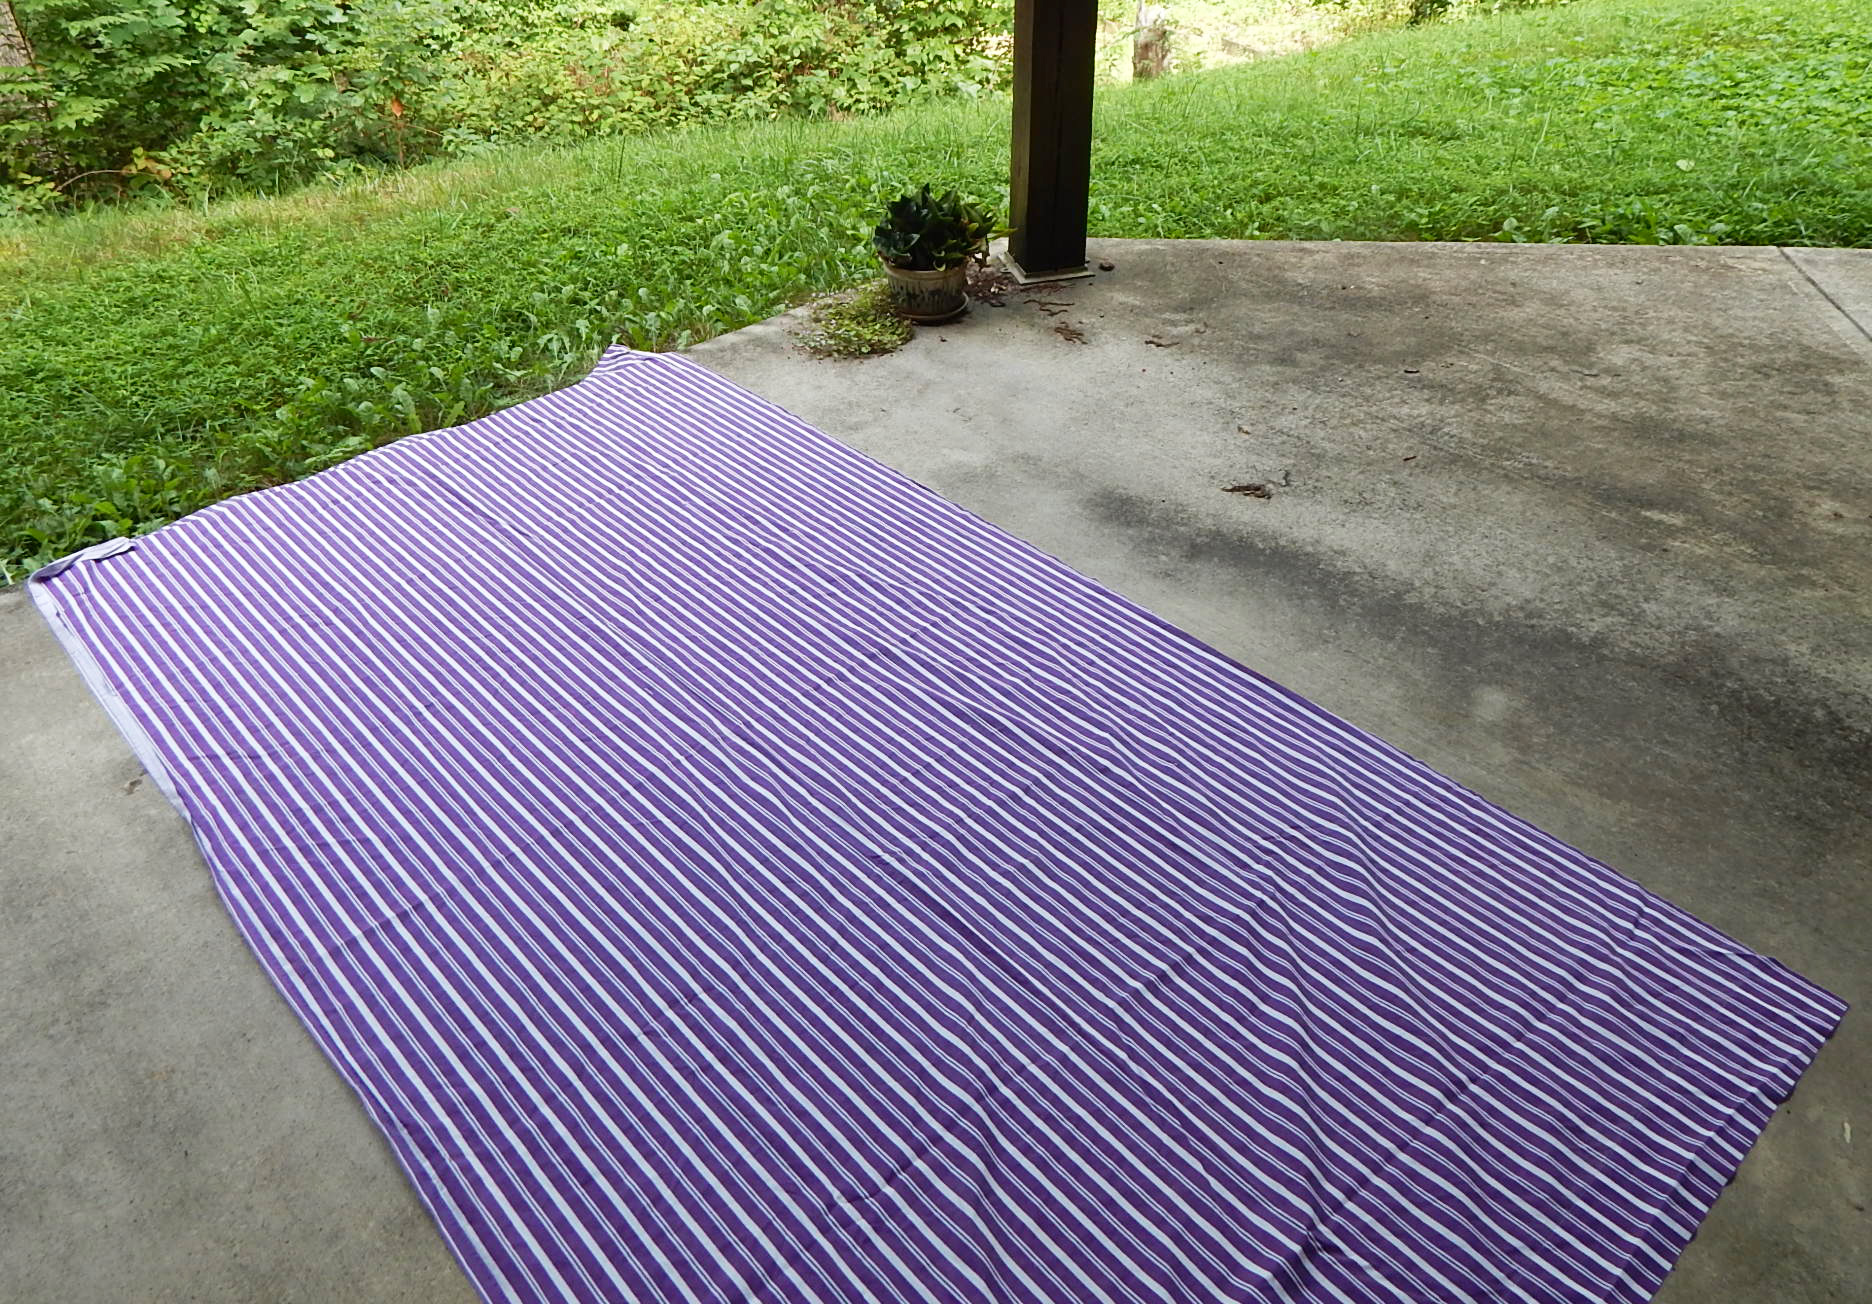
Lay the batting on the clean cloth and spray baste it evenly according to the directions on your can. It’s best to do this outdoors to avoid inhaling the spray.
The batting here is Quilter’s Dream Green. It’s made out of recycled plastic bottles. It works great, and as you will see it doesn’t look green even through this cream colored backing.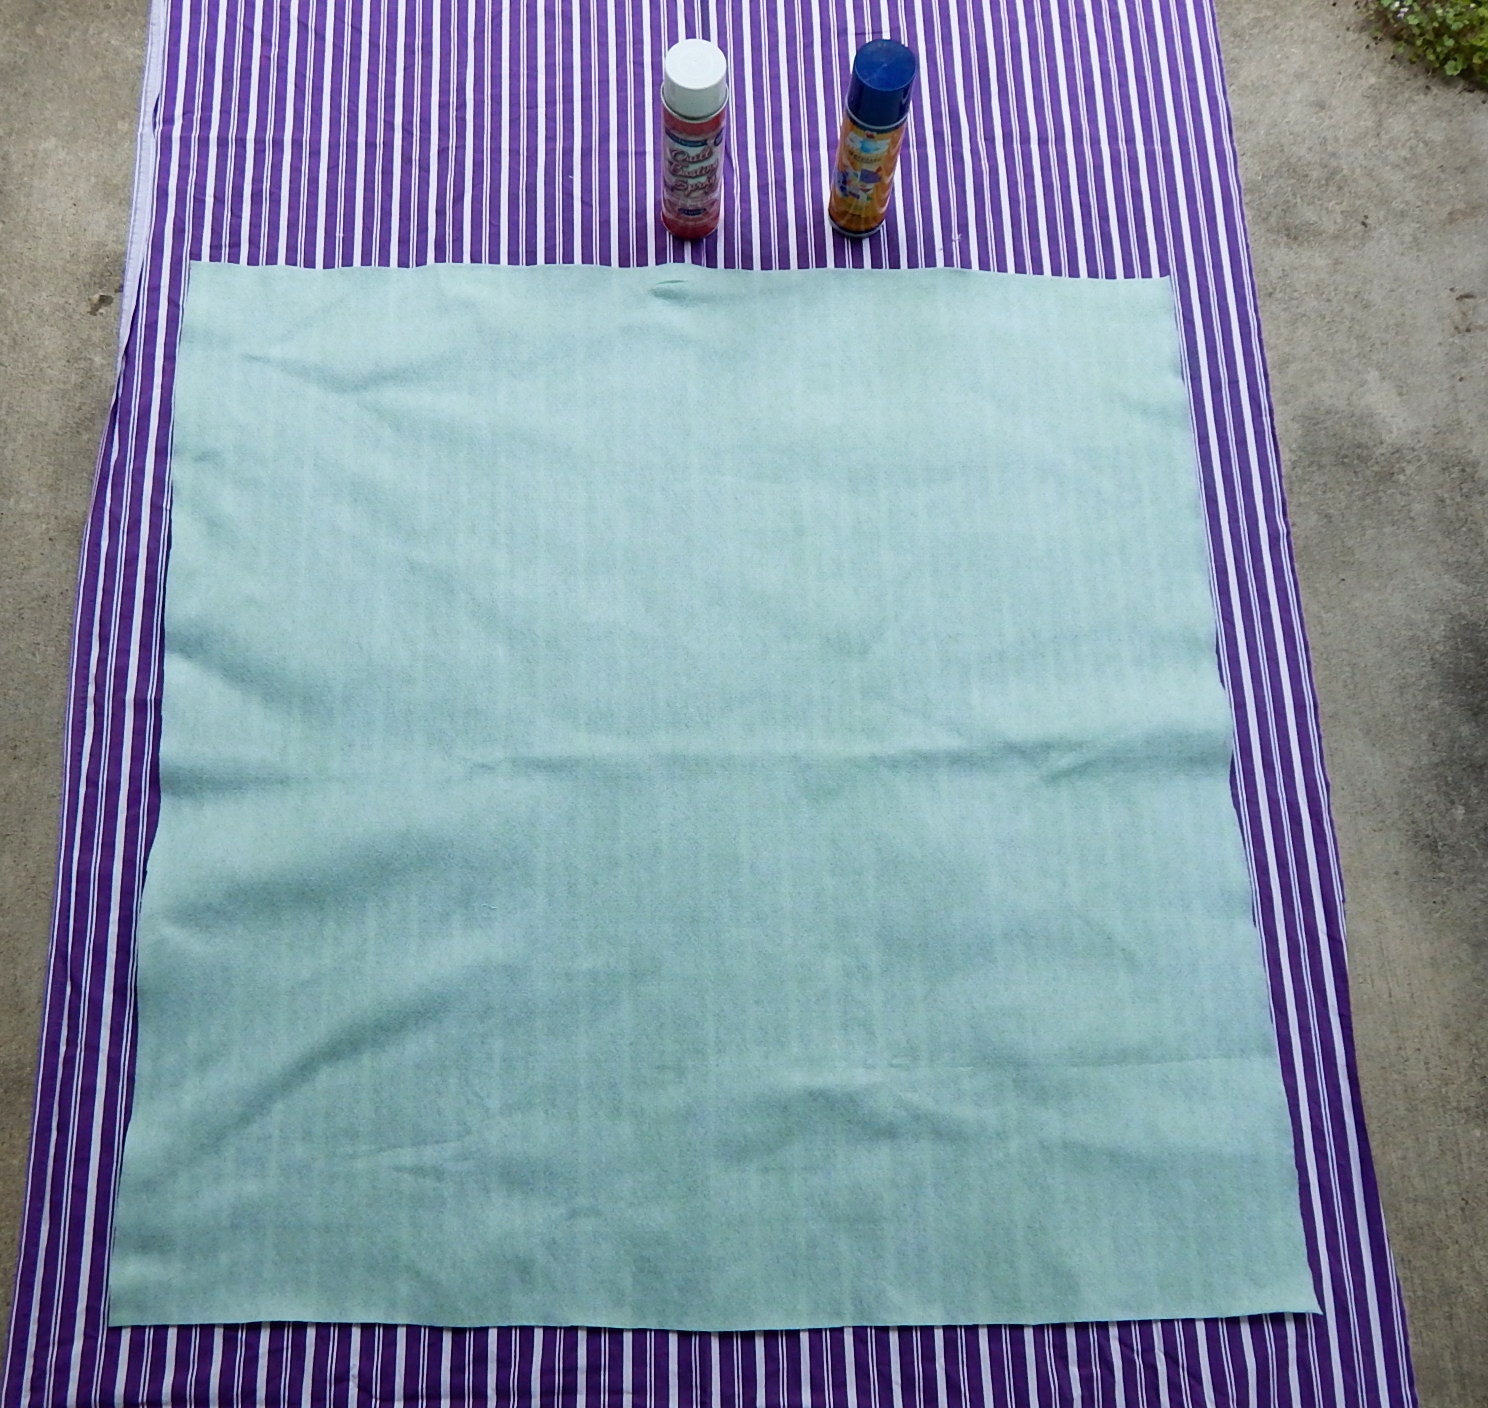
I generally use either 505 or Sullivan’s basting spray. The only one I avoid is the one that breaks down with heat. I follow Michele Scott’s method of ironing each section of the quilt just before I quilt it, and that obviously won’t work if ironing destroys my spray basting!
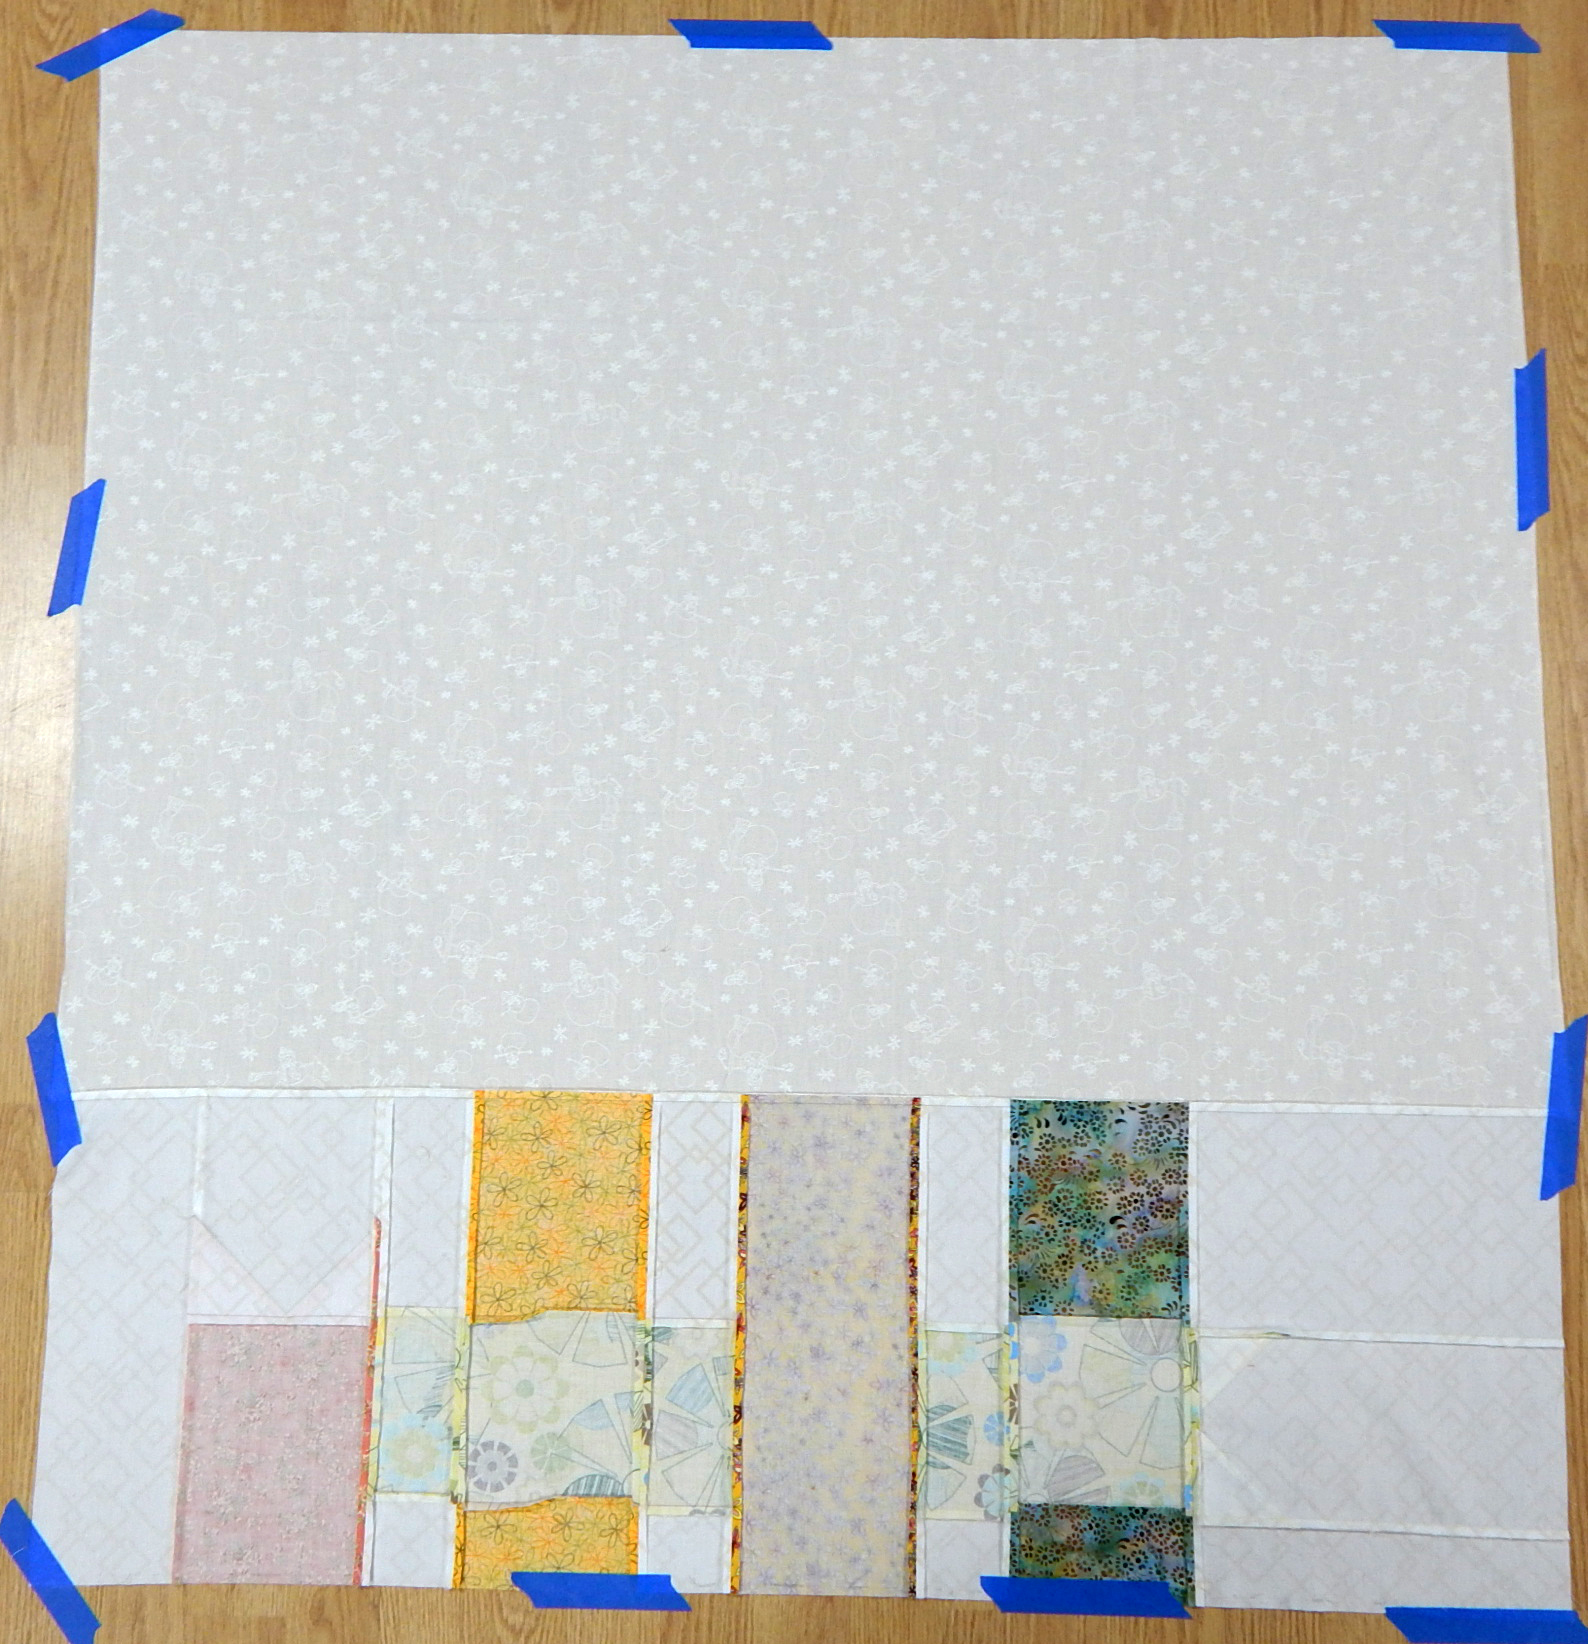
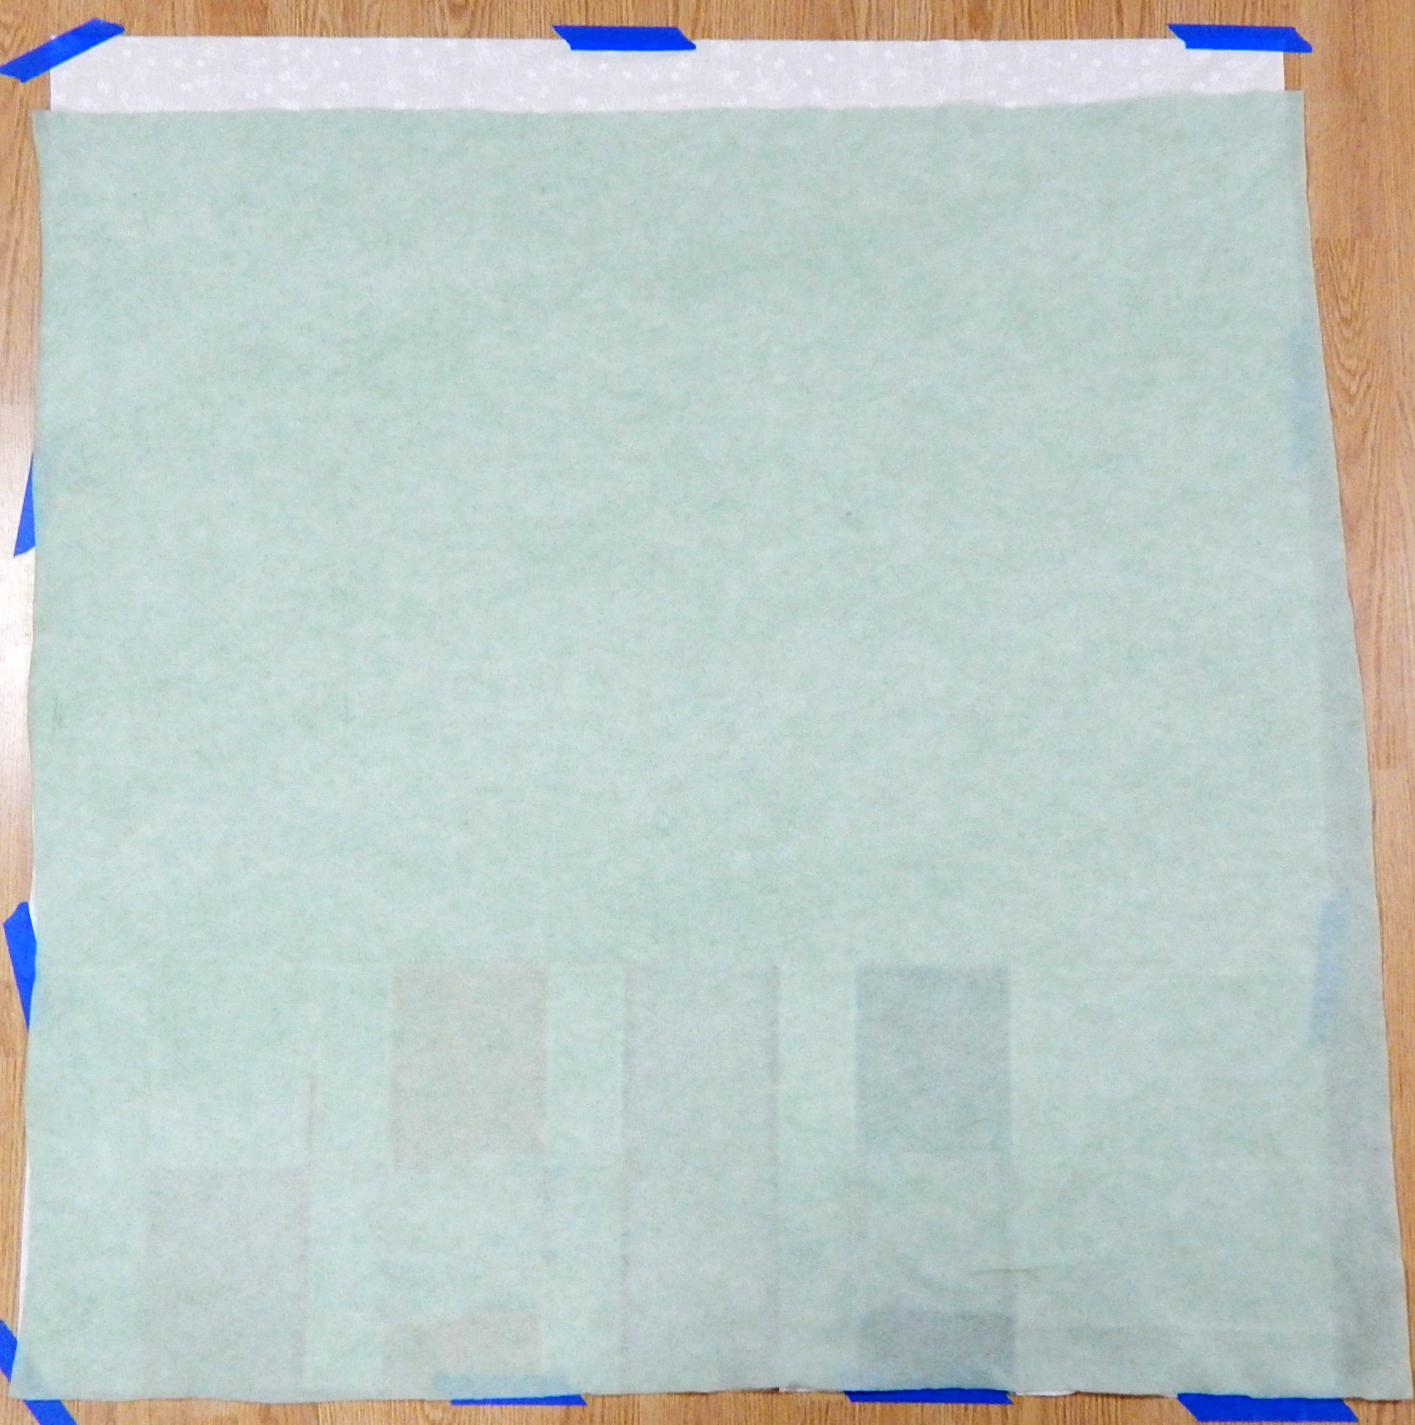 Lift the batting carefully and transfer it to the backing, sticky side down. Usually I center the backing on the batting, but this quilt is an exception because the design on the front is meant to kind of “wrap around” to the backing. Keep reading and you’ll see it.
Next, put the quilt top on the clean cloth right side down. Spray it with basting spray.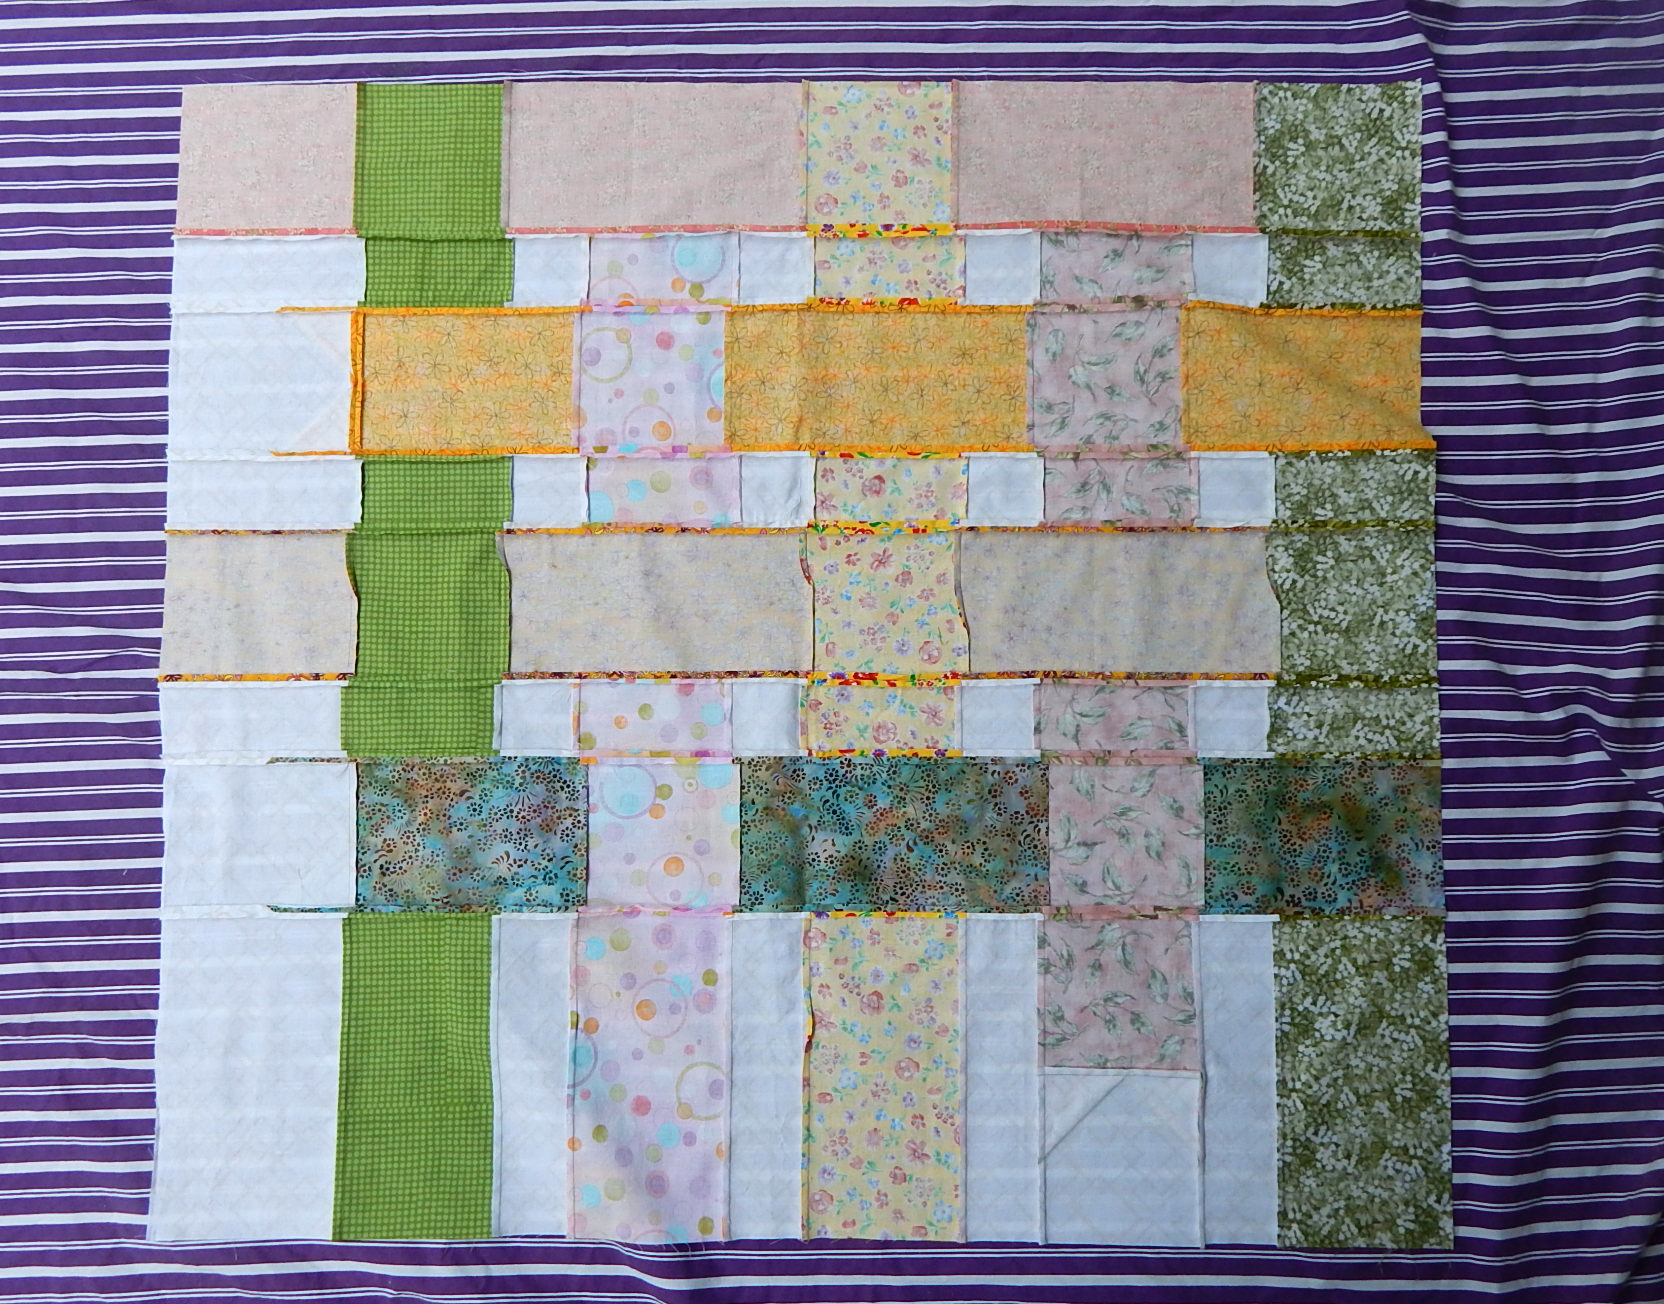
Transfer the quilt top to the batting, sticky side down. I do this by grasping the top on opposite sides, about at the midpoint, and letting it fold in half (non-sticky sides together) as I lift it. Then I place the first half on the batting and gently fold out the second half to cover the batting.


Smooth it all out and you’re done! Remove the tape, quilt and bind. Here are the front and back:


Questions? Better ideas? I’m all ears 😀


That quilt is lovely! I have never tried spray basting, I have a gob of safety pins which is rather back braking. I wonder if I hung it on the clothes line to spray it and then brought that in if it would work? You have given me the courage to try, thank you!
Hanging it on the clothesline should work great as long as it isn’t a windy day! Good luck, and thanks for visiting.
Thank You!
I’ve done a little spray basting, but I find it a mess. I tend to take my bigger quilts up to my church and put 3 or 4 big tables together and pin baste. I met Michelle in June when she taught a class at our guild in Delaware. She is a lot of fun.
Spray basting is less messy on smaller quilts, but most important is to spray the smaller piece and place it on the larger at each step, so that no spray is left exposed to foul things up. But yes, the big tables at the cup hutch are used by many of us 😊
This is fantastic. I love the concept of spray basting but I always feel so spastic and messy when doing it (yup I have had spray basting stuck on fingers and it went downhill from there!) I like the idea of going outside and working in a nice large safe area with the spray baste. Thanks!
The order of sticking the pieces together is important, but I forgot to mention it! If the back is large, batting medium, and top small, this method will leave no exposed sticky surfaces when you’re ready to quilt 😀