Two Threads for Machine Quilting

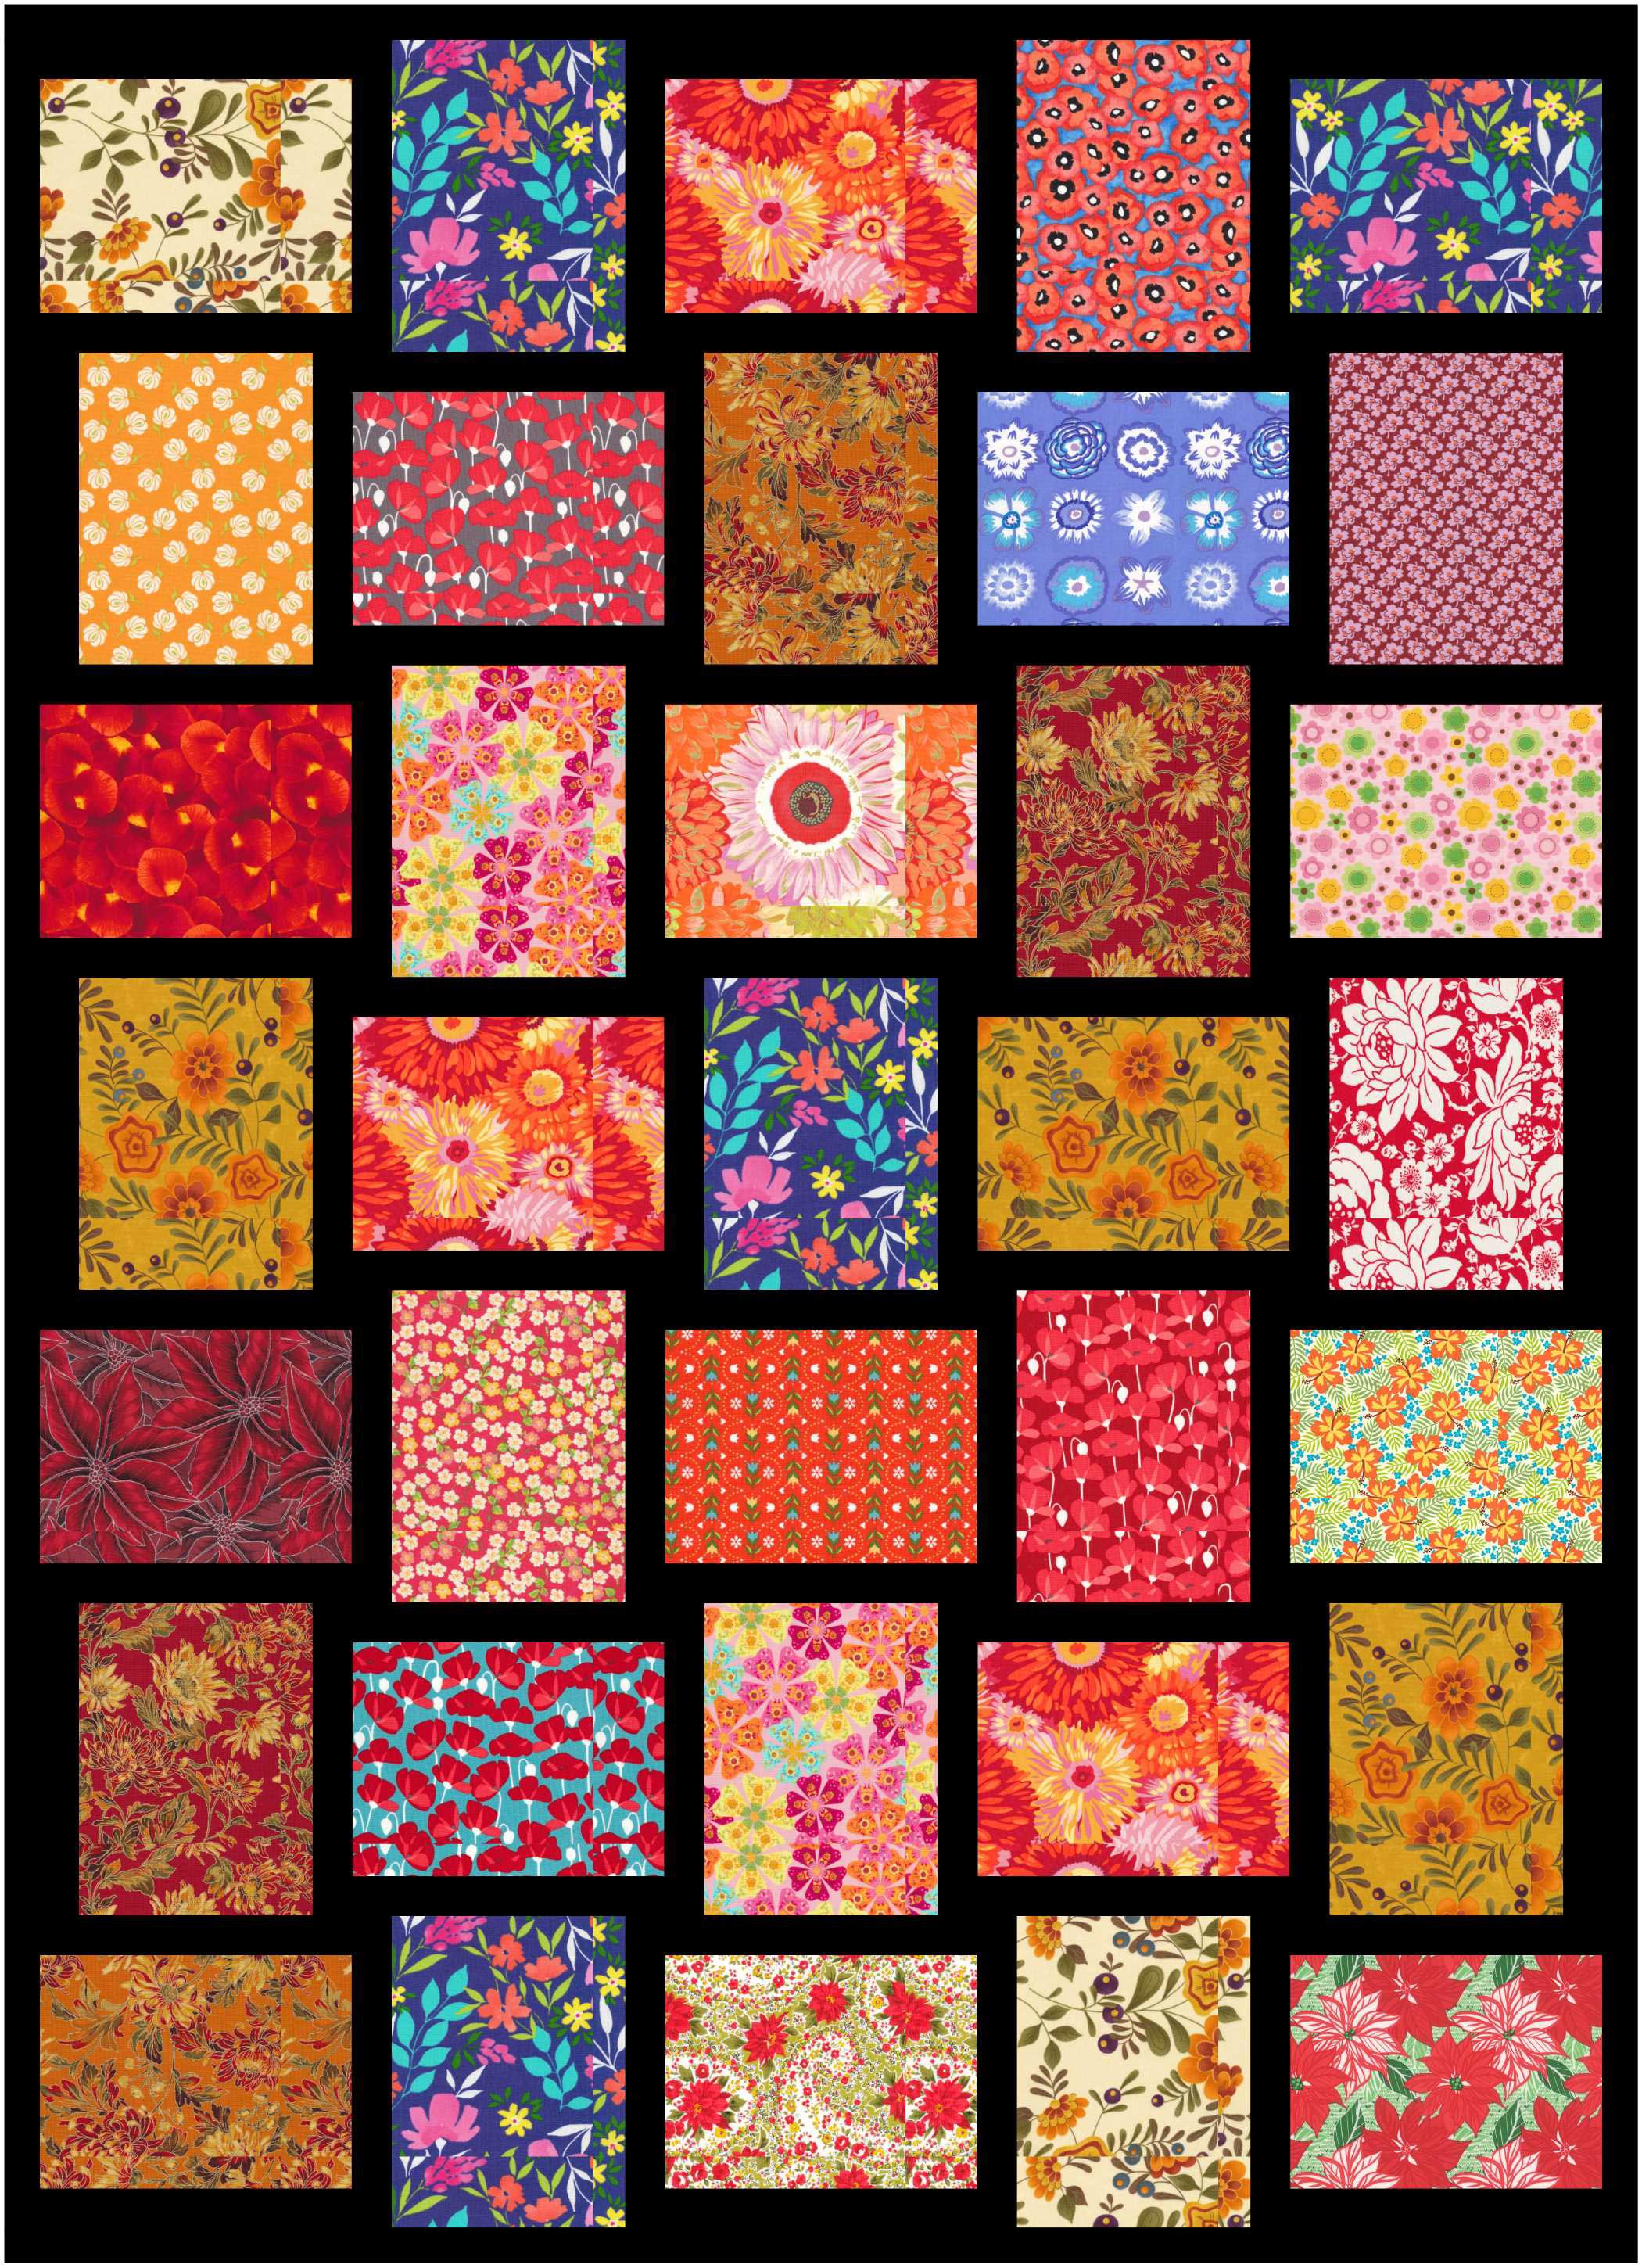
Quite a while ago one of my blogging friends (was it you, Clare?) commented that gold quilting thread blends well on most any quilt top, so I tried it. Here’s one quilted for me by Julia Madison. It has gold in it, of course, but I thought the gold thread worked out quite well. It shows up on the solid fabric but blends with the prints.

Same here:

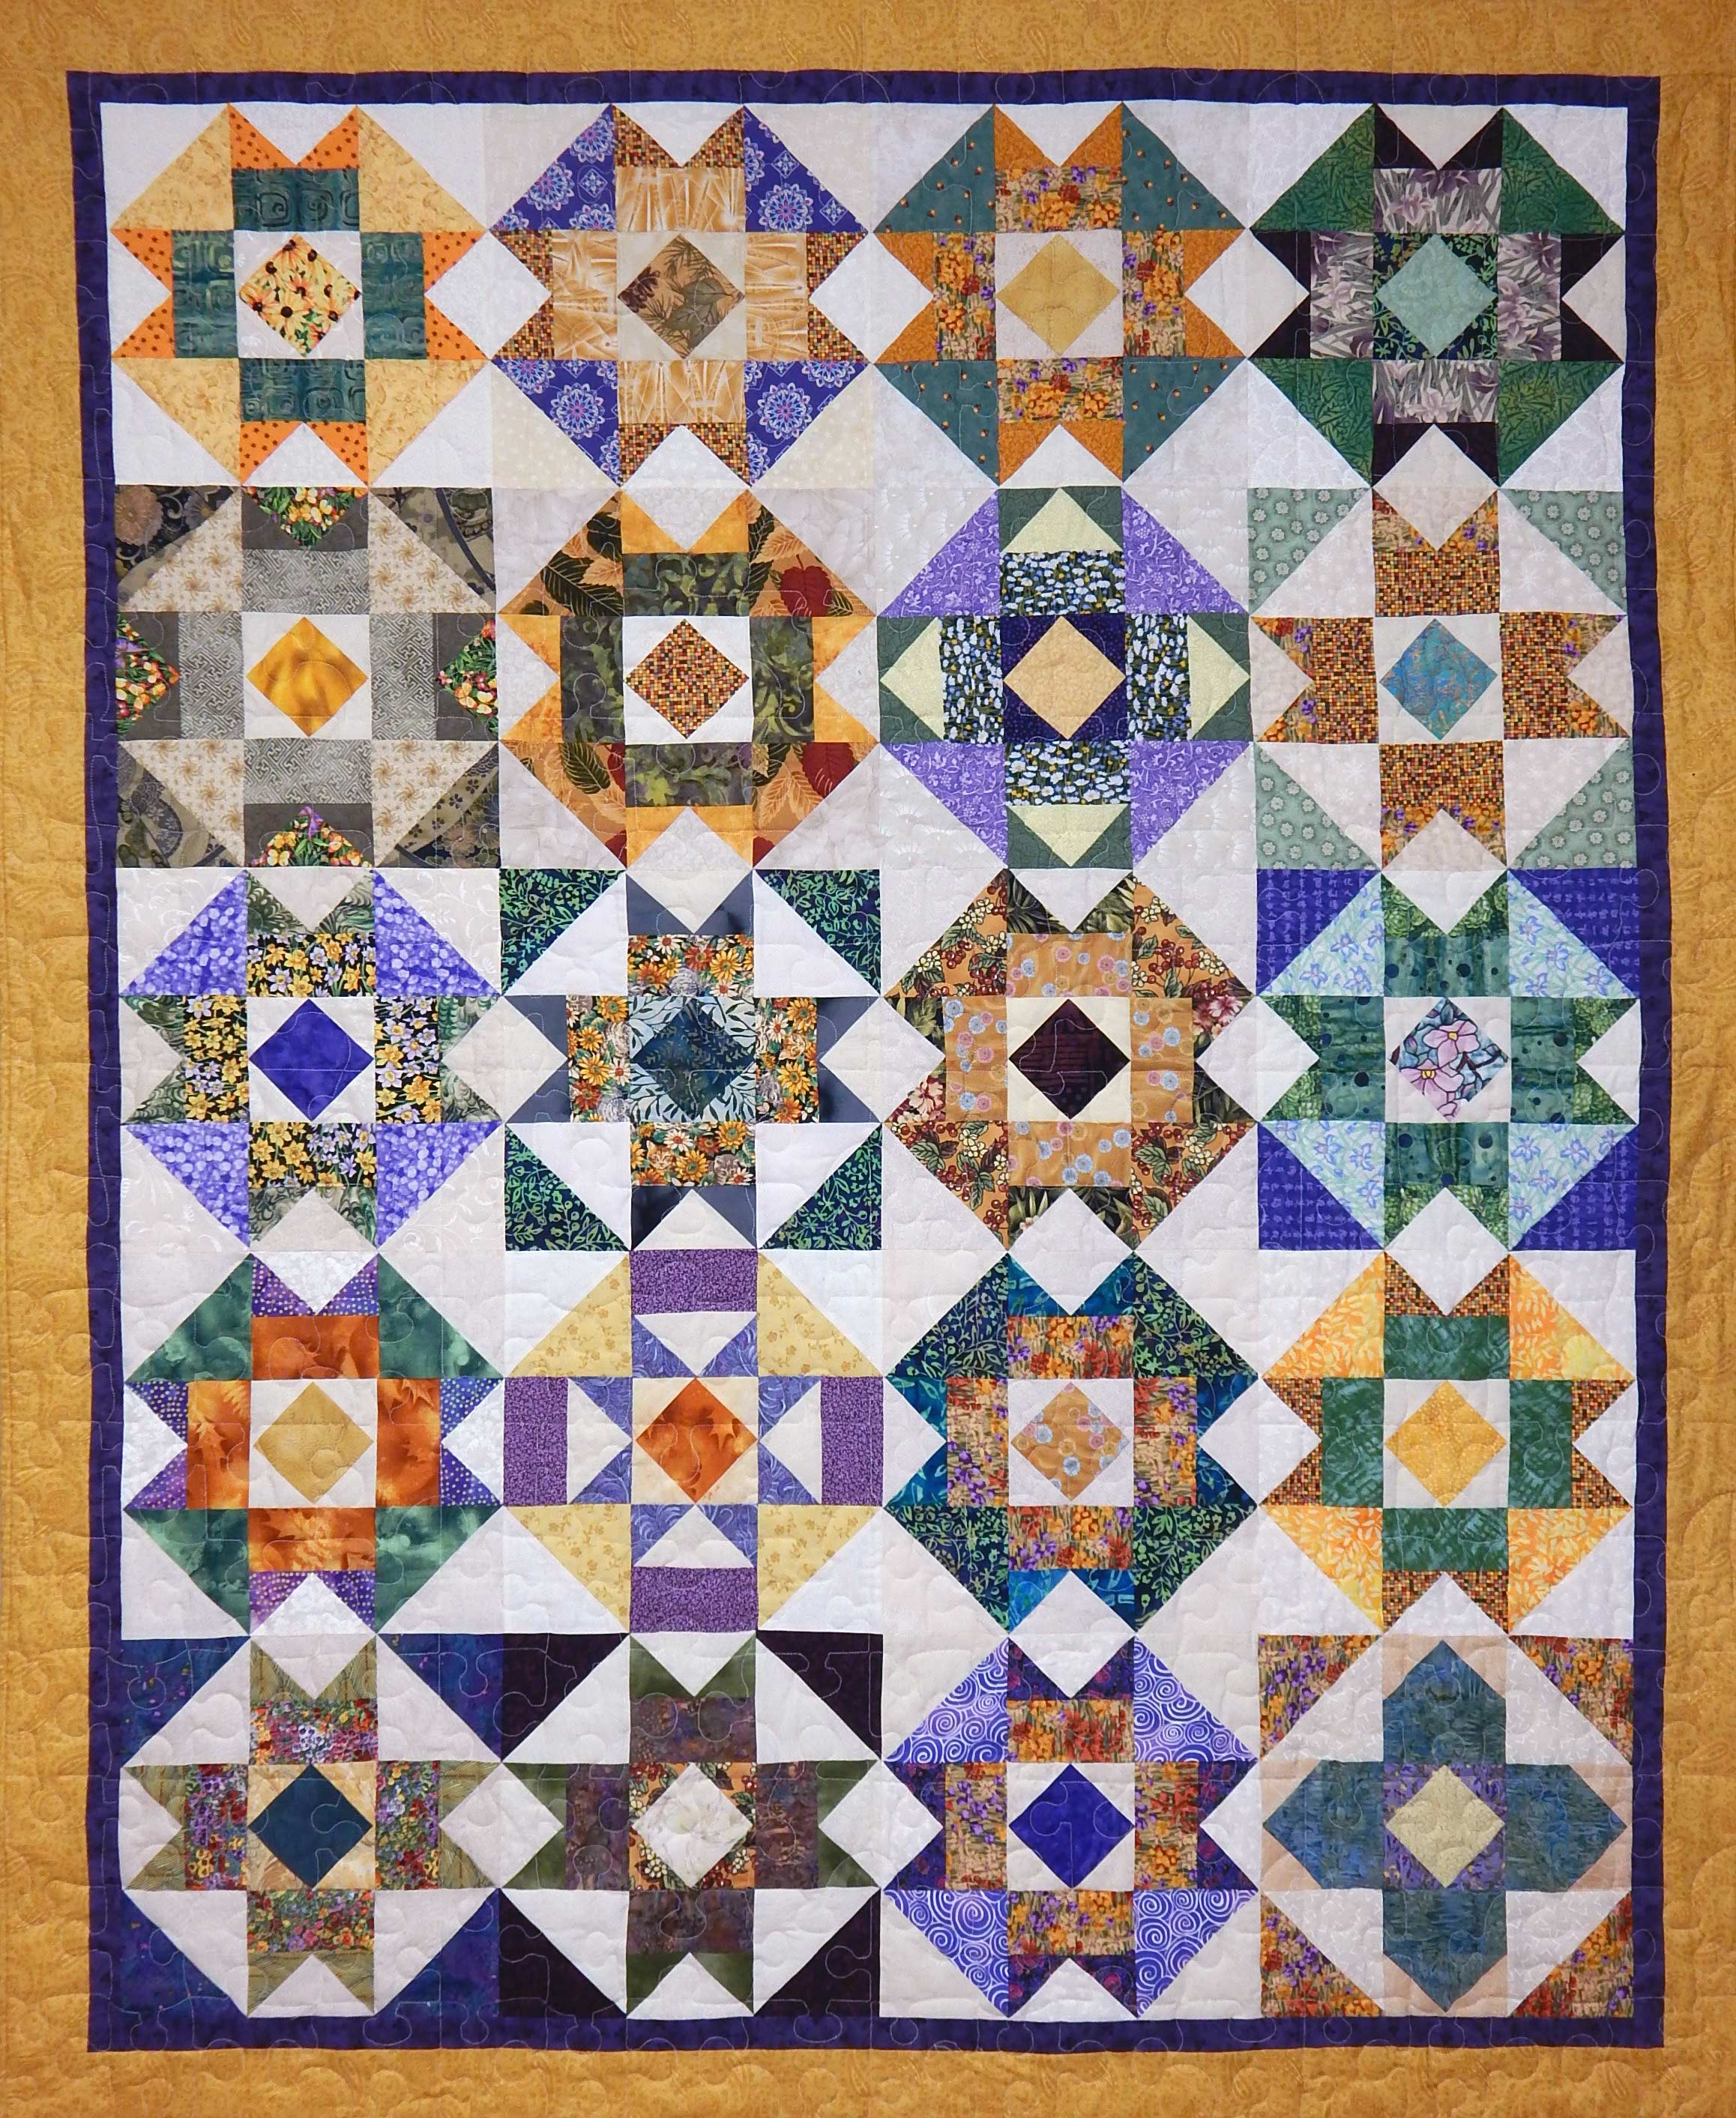
I didn’t realize I used gold in my quilts so often!

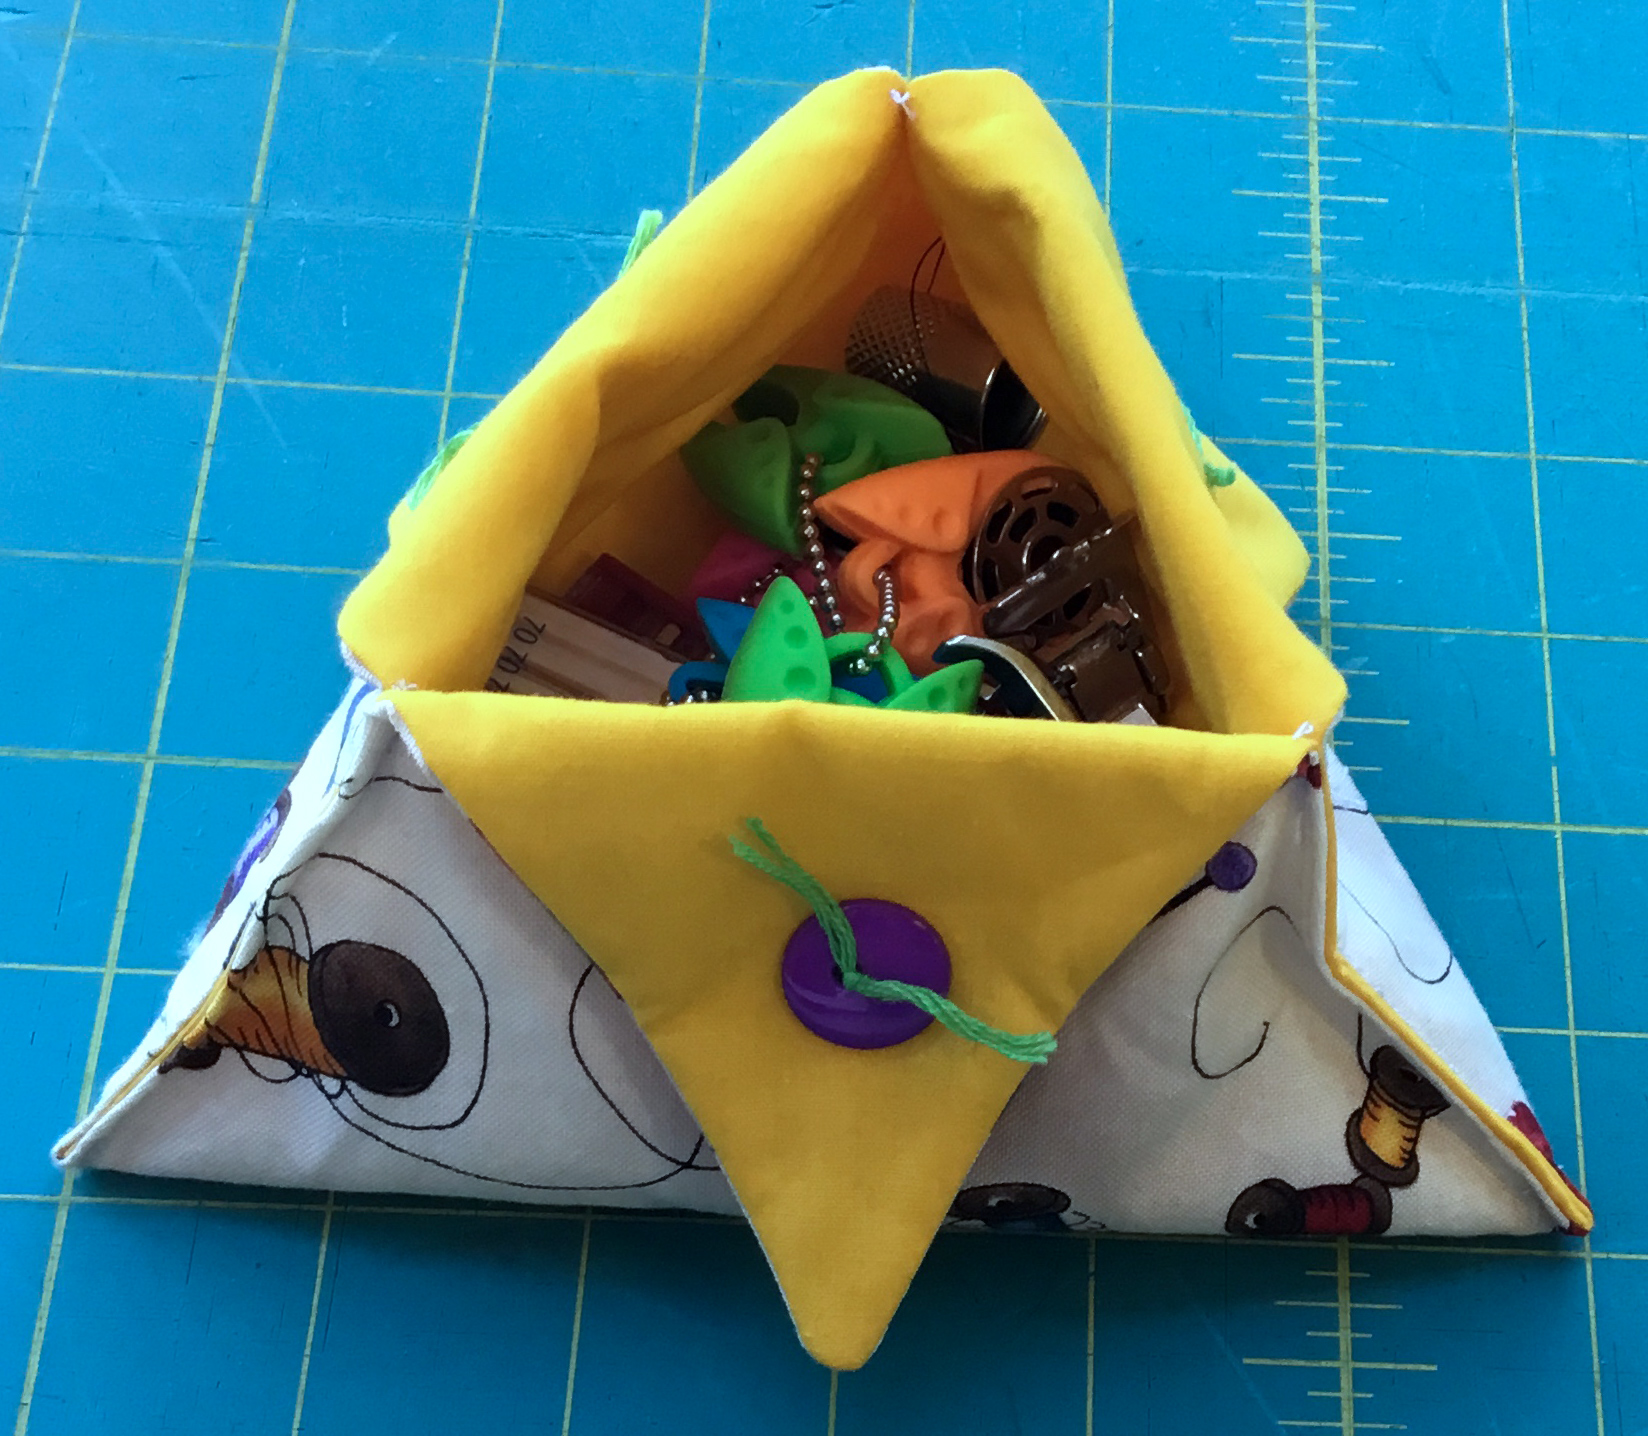
On this more recent quilt, I asked Julia to use a thread recommended by another blogging friend, Elizabeth.  It is 40 weight polyester but looks metallic.  If you’ve ever tried quilting with metallic thread, you know what a find this is!  Julia said she had no trouble quilting with it.  Here’s what it looks like on the quilt:

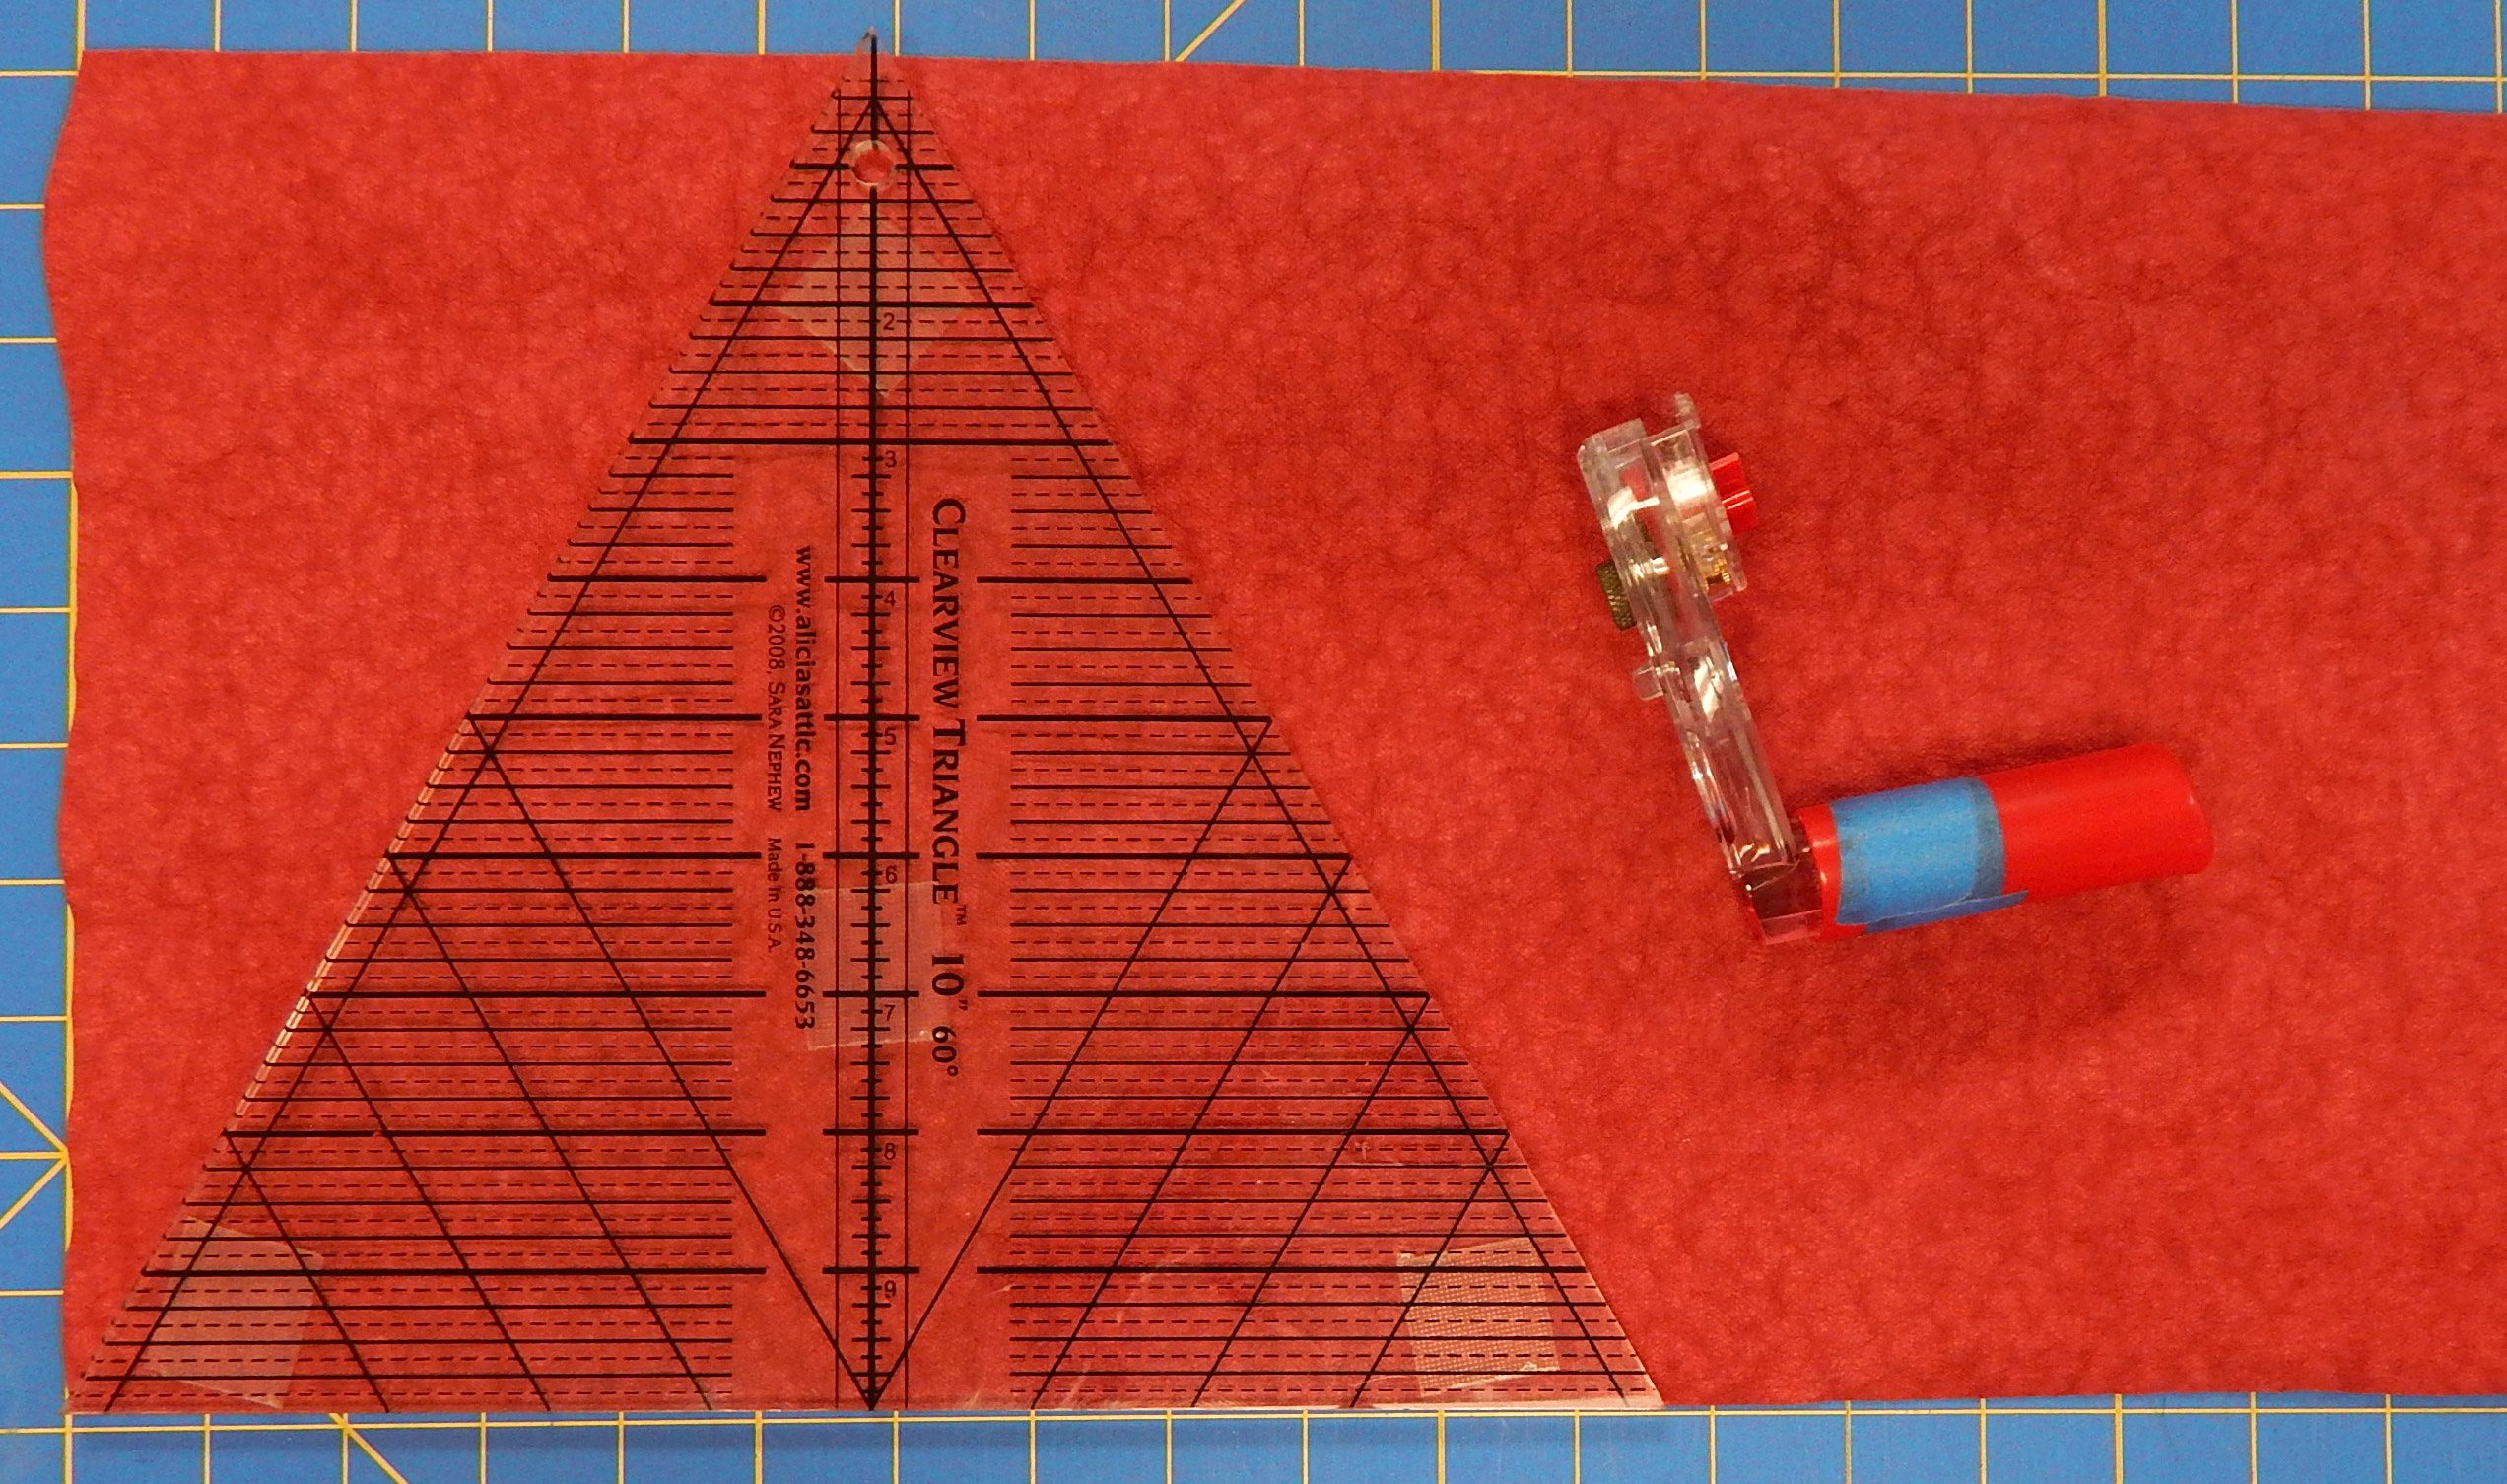
Meanwhile, I made a Christmas table runner for a class I’m going to teach.  I quilted it myself using another recent find, InvisaFil thread. This thread is very thin, intended to show the quilting but not necessarily the stitches.  I did some stitch in the ditch with it and found it much better for that purpose than regular thread I have used in the past.  I also did some quilting that was meant to show, and that worked out equally well.

I will continue to use many other threads for quilting, but I’m pleased with these two new ones.  What thread do you quilt with?

Lattice Quilt

This design has been around forever and I’ve seen many versions of it, some even published as patterns.Anyway, I decided to teach it as a design-your-own quilt class, since I think the size of the center squares really should depend on the size of the prints you are using.  I made a handout to help each person design his/her own blocks, so I’m sharing the details with you.  All these drawings were made using Electric Quilt 8, which allows for easy export of the picture.

Here is the basic block:

The only trick is to make the block square.  The center is a rectangle, and the size of the side strips has to make the block square.  So, for example, if you cut a center rectangle 3.5″ x 5.5″ (to finish 3″ x 5″), your side strips need to be cut 5.5″ x 1.5″ each so the block (unfinished) will measure 5.5″ x 5.5″ and the finished block will be 5″ square.  Whew!

Actually, it’s easy.  We all drew our blocks (finished size) out on graph paper and remembered to add 0.5″ seam allowance in each direction before cutting each piece!

When the blocks are made, lay them out in a row, alternating directions. This forms the lattice. Two rows look like this:

And when a border is added, all the blocks are “closed” and you have a complete lattice.

And yes, the outer edge will vary in width after the addition of the border.  That’s all part of the fun. The blocks appear to float as they alternate directions.

You can vary the look of the quilt considerably by changing the proportions of the lattice and the central rectangles:

I think this design works especially well with a collection of related fabrics, and one woman brought Christmas fabrics to class:

Another brought fabrics with a camping theme:

This is an easy quilt.  It can be chain pieced easily and the blocks can be trimmed before joining if necessary.

Now, go make one and send me a picture of it!

A Triangular Kraft-Tex Box

Some time ago I saw a little triangular container that someone was using to hold notions, and I made a mental note that it would be fun to make one.

Only problem was that it obviously involved sewing 2 fabrics right sides together, leaving an opening, turning them, etc, etc.  I do not enjoy that process.

The idea stayed in my head, though, and a short while ago it occurred to me that I could make a similar box out of Kraft-Tex without the problem of having right and wrong sides to the material!  So I got out the Marsala color Kraft-Tex the folks at C&T sent me a while ago to give it a try.

I started with cutting a 10.5″ equilateral triangle because that’s the ruler I had!

I put a dot on the Kraft-Tex where each of the arrows points here

There was an embedded central triangle marked on the ruler, so I just put a little dot at each of the points of that to determine where my fold lines would be (see above).

I used my iron and handy metal straight edge to make good creases for the initial folds.

I clipped the edges together (no pins in Kraft-Tex)

and sewed about half way up each side using the blanket stitch on my machine.  It was necessary to squish the box a little to get this done, but it was easy to get it right back into shape.  The buttonhole stitch worked just fine, somewhat wider than the default setting.

I then folded the final “flaps” over the side and stuck them down with a little glue.  Another time I think I might roll these final edges down rather than folding them to give the box more dimension.

I considered sewing on the decorative buttons, but decided to use glue instead.  The type that is made for attaching “jewels” to fabric worked well and dried clear.

I think I may use the box for those little clips that have become indispensable for quilting! 

If you want to try this, it’s very easy.  If you don’t have an equilateral triangle ruler, borrow one from a friend or make a template from cardboard (mark dots at the center of each side).  And please send me a picture if you make one!


Two Finishes

I’m going to resurrect Terry Atkinson’s Lucky Stars quilt pattern as a Christmas or baby quilt class for October at Studio Stitch in Greensboro, so I’ve just made two new shop samples.  This is a great pattern because it is quick and easy to make and almost any mistake made during construction can be fixed without much difficulty.  Therefore, I thought people might enjoy making it as a gift quilt or Christmas quilt.

This is an older pattern, and I can’t tell you how many times I’ve made it for various recipients.  Here are my latest versions::

Quilt Name: Baby Stars

Size: 48” x 48”

Fabrics: assorted batiks left from other projects

Made by: me

Quilted by: me

Pattern: Lucky Stars by Atkinson Designs

Quilt Name: Christmas Stars

Size: 64″ x 81″

Fabrics:  Assorted Christmas yardage bought because I liked it

Made by: me

Quilted by: Julia Madison

Have you made a Christmas quilt yet this year?  It’s not too soon to start 😉


Scraps Happen, Part III

There is no shortage of patterns for scrap quilts, and often I start with a pattern I’ve found somewhere and modify it to suit me.  I have notebooks full of pictures from magazines and photos I’ve taken of vintage or show quilts, so I use those for inspiration.  Here is a quilt I made by modifying a pattern from a magazine I’d been saving for a long time:

You can find the original pattern for this quilt by going to AllPeopleQuilt.com and searching for the “trail mix” pattern

The above quilt was made from my husband’s old shirts–whether that counts as scraps or yardage is a matter of opinion 🙂

I have some favorite scrap patterns I’ve used repeatedly over the years.  This one, which I learned from Barbara Lenox many years ago, is intended to be made at the end of the year using scraps from all the projects you made that year.  I love that idea and have made several of these.  You can see my post explaining the basic block here.

Another favorite quilt pattern is Junk to Jems, by Linda J. Hahn.  Here is my version which has been modified a fair amount from the pattern.

One thing I love about this pattern is that it is possible to make the elements of each block then re-arrange them so that there are several different variations on the same block.  So yes, my version is not quite like hers.

Augusta Cole is another teacher whose scrap quilts I admire, and I have made several from her Snappy Scrappy Stars pattern.  This makes a great leaders-and-enders project for me and I often use the blocks in donation quilts.

This is a leaders-and-enders project from Augusta Cole’s Scrappy Snappy Stars pattern

Of course, often a quilt starts as a pattern and then veers off course (surprise!).  The quilt below started as a way to use both a linen background and a group of fabrics I had in small amounts.  The original pattern is one of Karla Alexander’s stack and shuffle designs, and you probably can see that if you know the pattern.  This is my variation.Alison Glass fabrics quilt

And finally, even when I buy fabric for a quilt, I often buy fat quarters, which pretty much guarantees a scrappy look.  And I don’t really like making the same block twice, so often I make a variety of blocks for a single quilt.  Here is one last example of a quilt made from a fat quarter bundle, though it appears scrappy.

The pattern is Bermuda Sunset, another one by Linda Hahn.

A friend who is a writer mentioned the other day that her stories sometimes take on a life of their own and lead where she didn’t expect to go.  She asked if my quilts do that, too.  Absolutely!  Start out headed for A, end up at Q!

It’s all good. 🙂