What I’ll Be Teaching

In the first quarter of 2023, I’m teaching a scrap quilt, a beginning quilting class, a special binding class, and Quilt As You Go. All classes are through Studio Stitch, and you can get sign-up information here if interested. Meanwhile, here are my notes on each class.

Superfans!

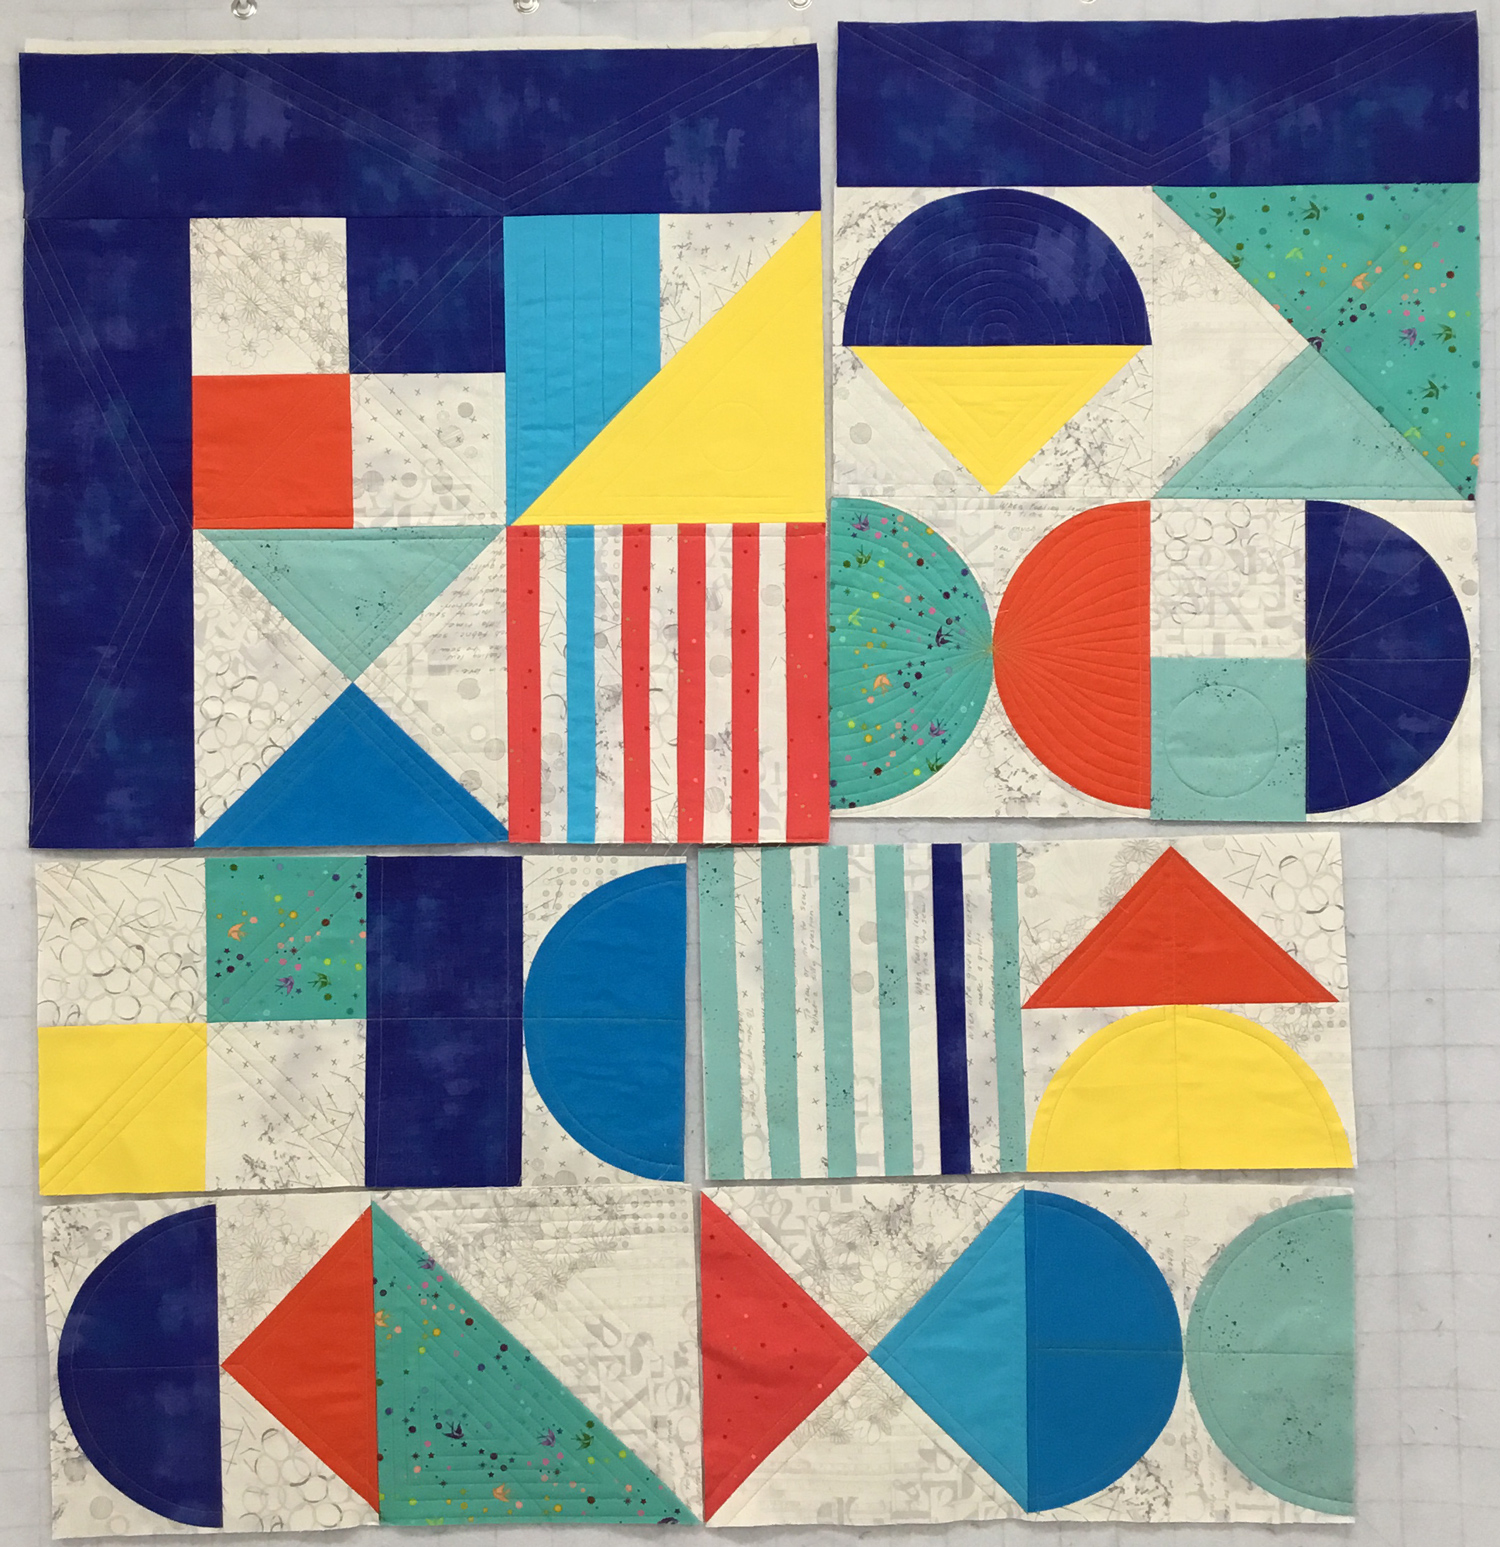
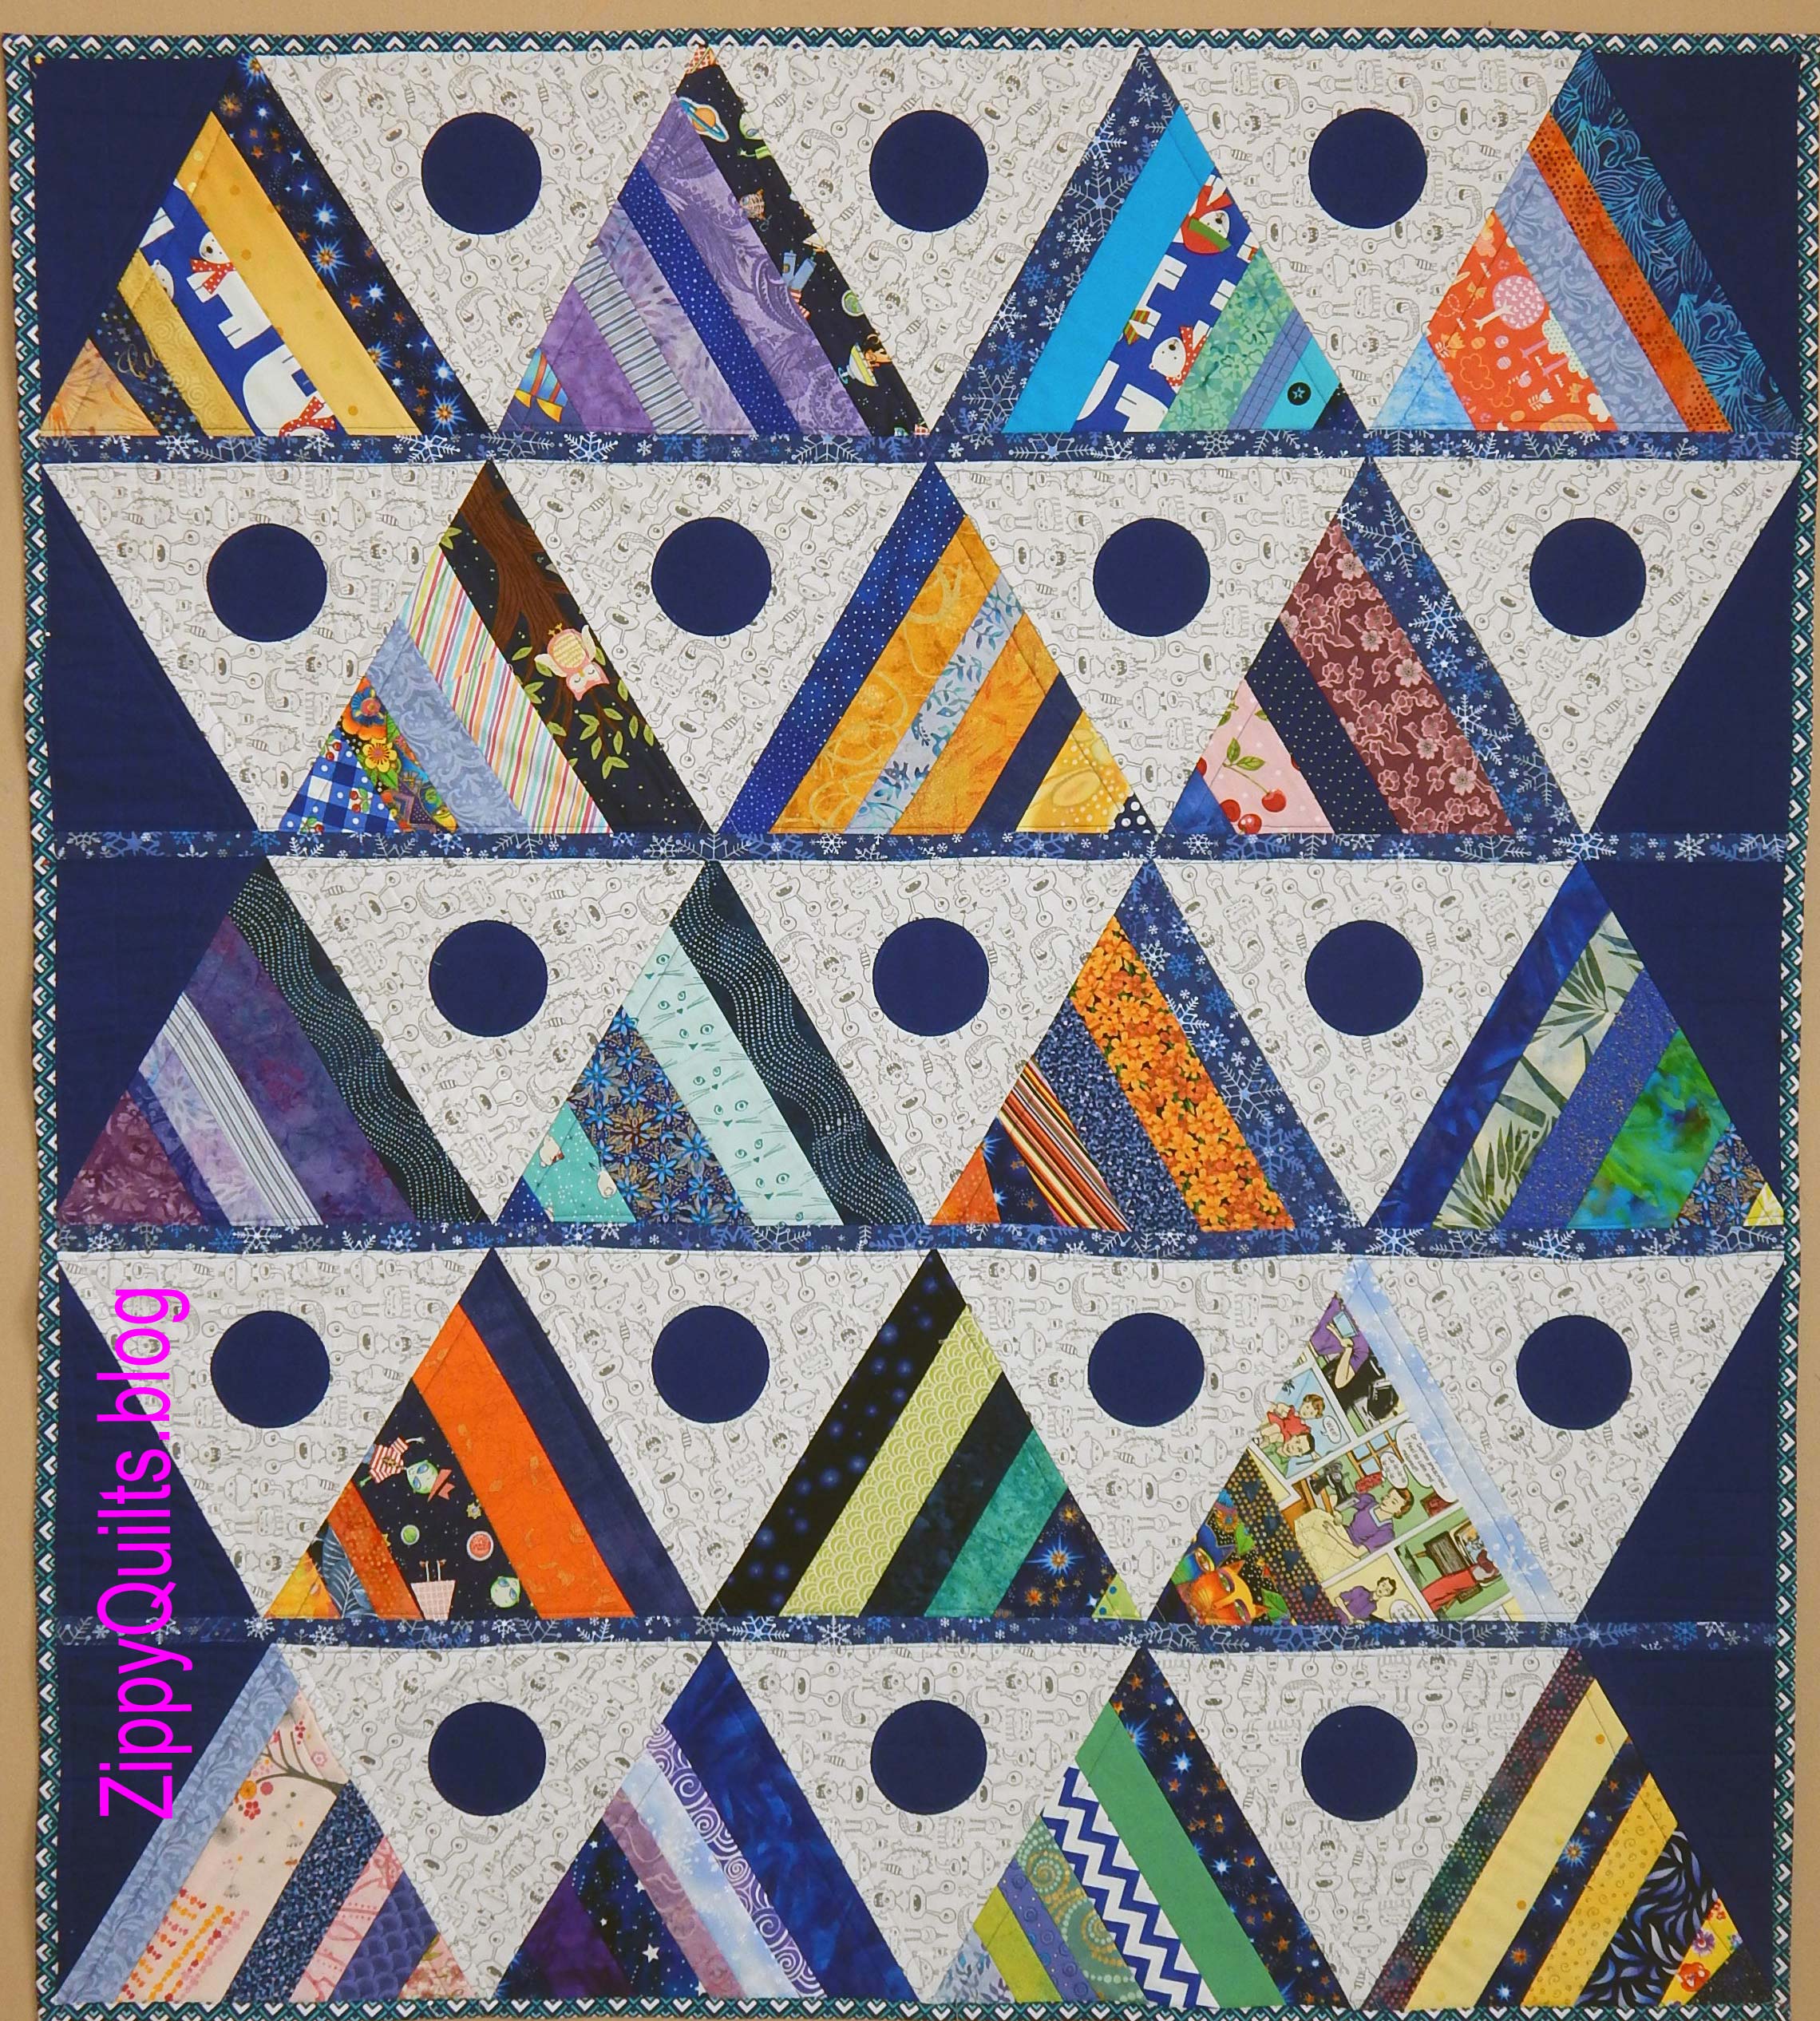
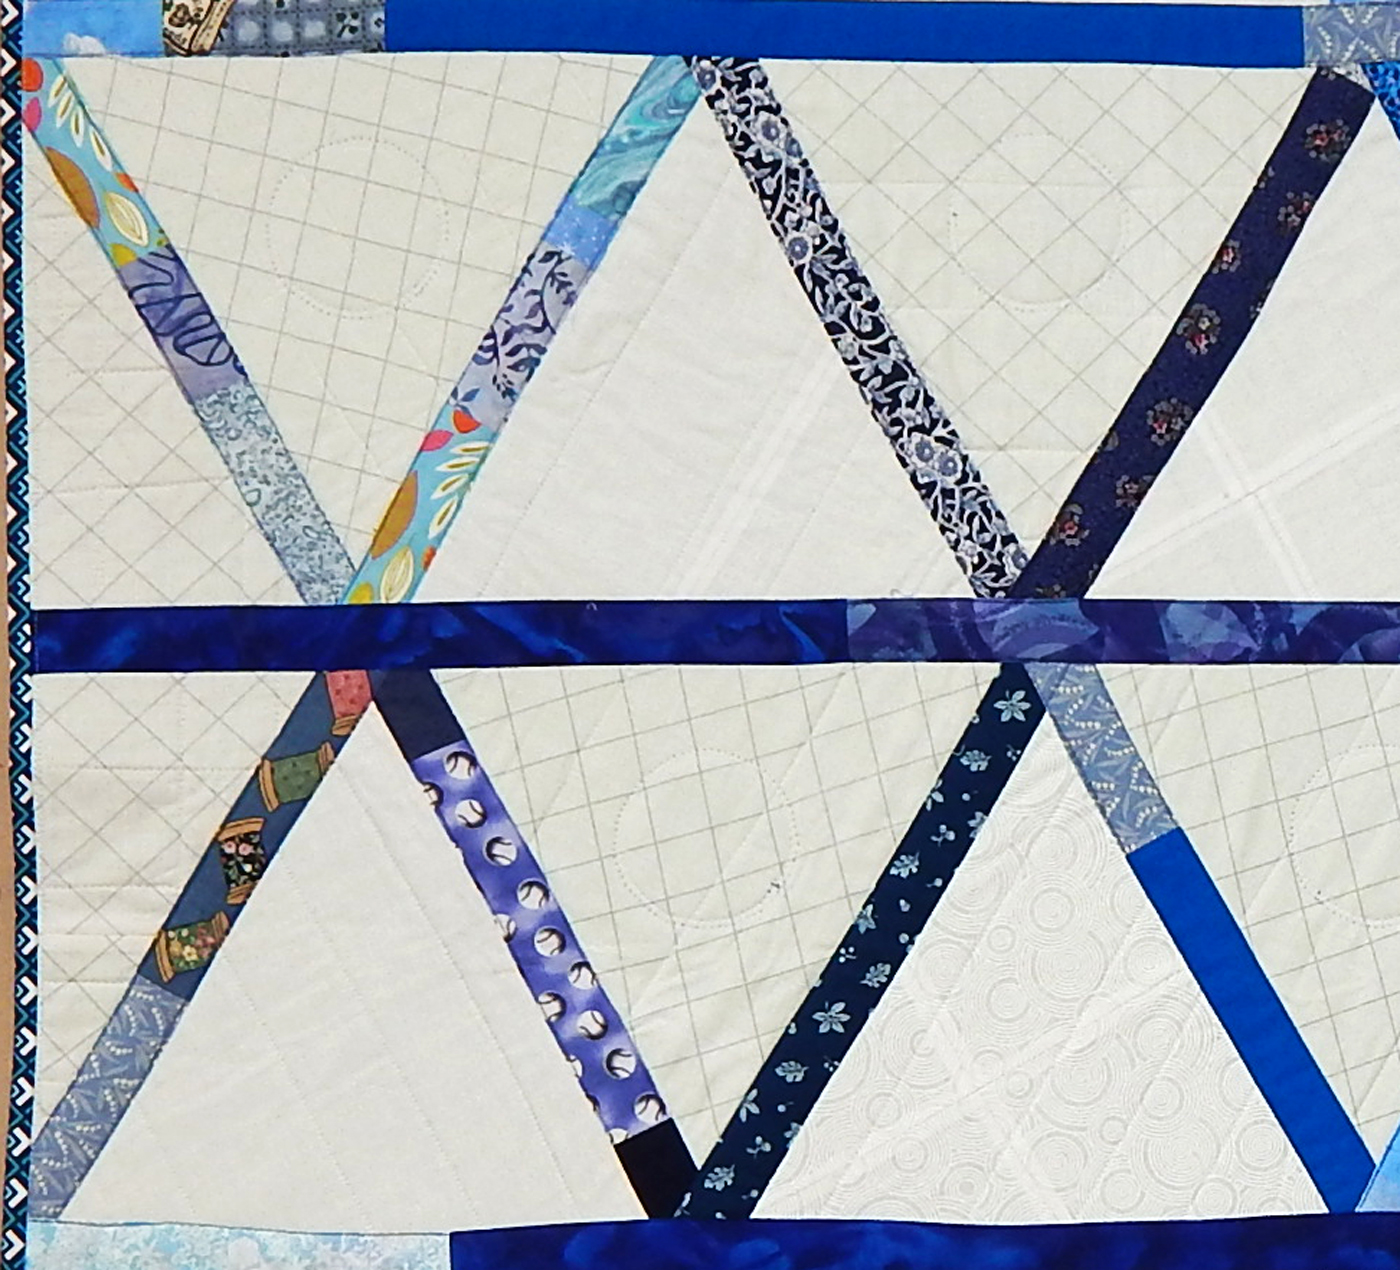
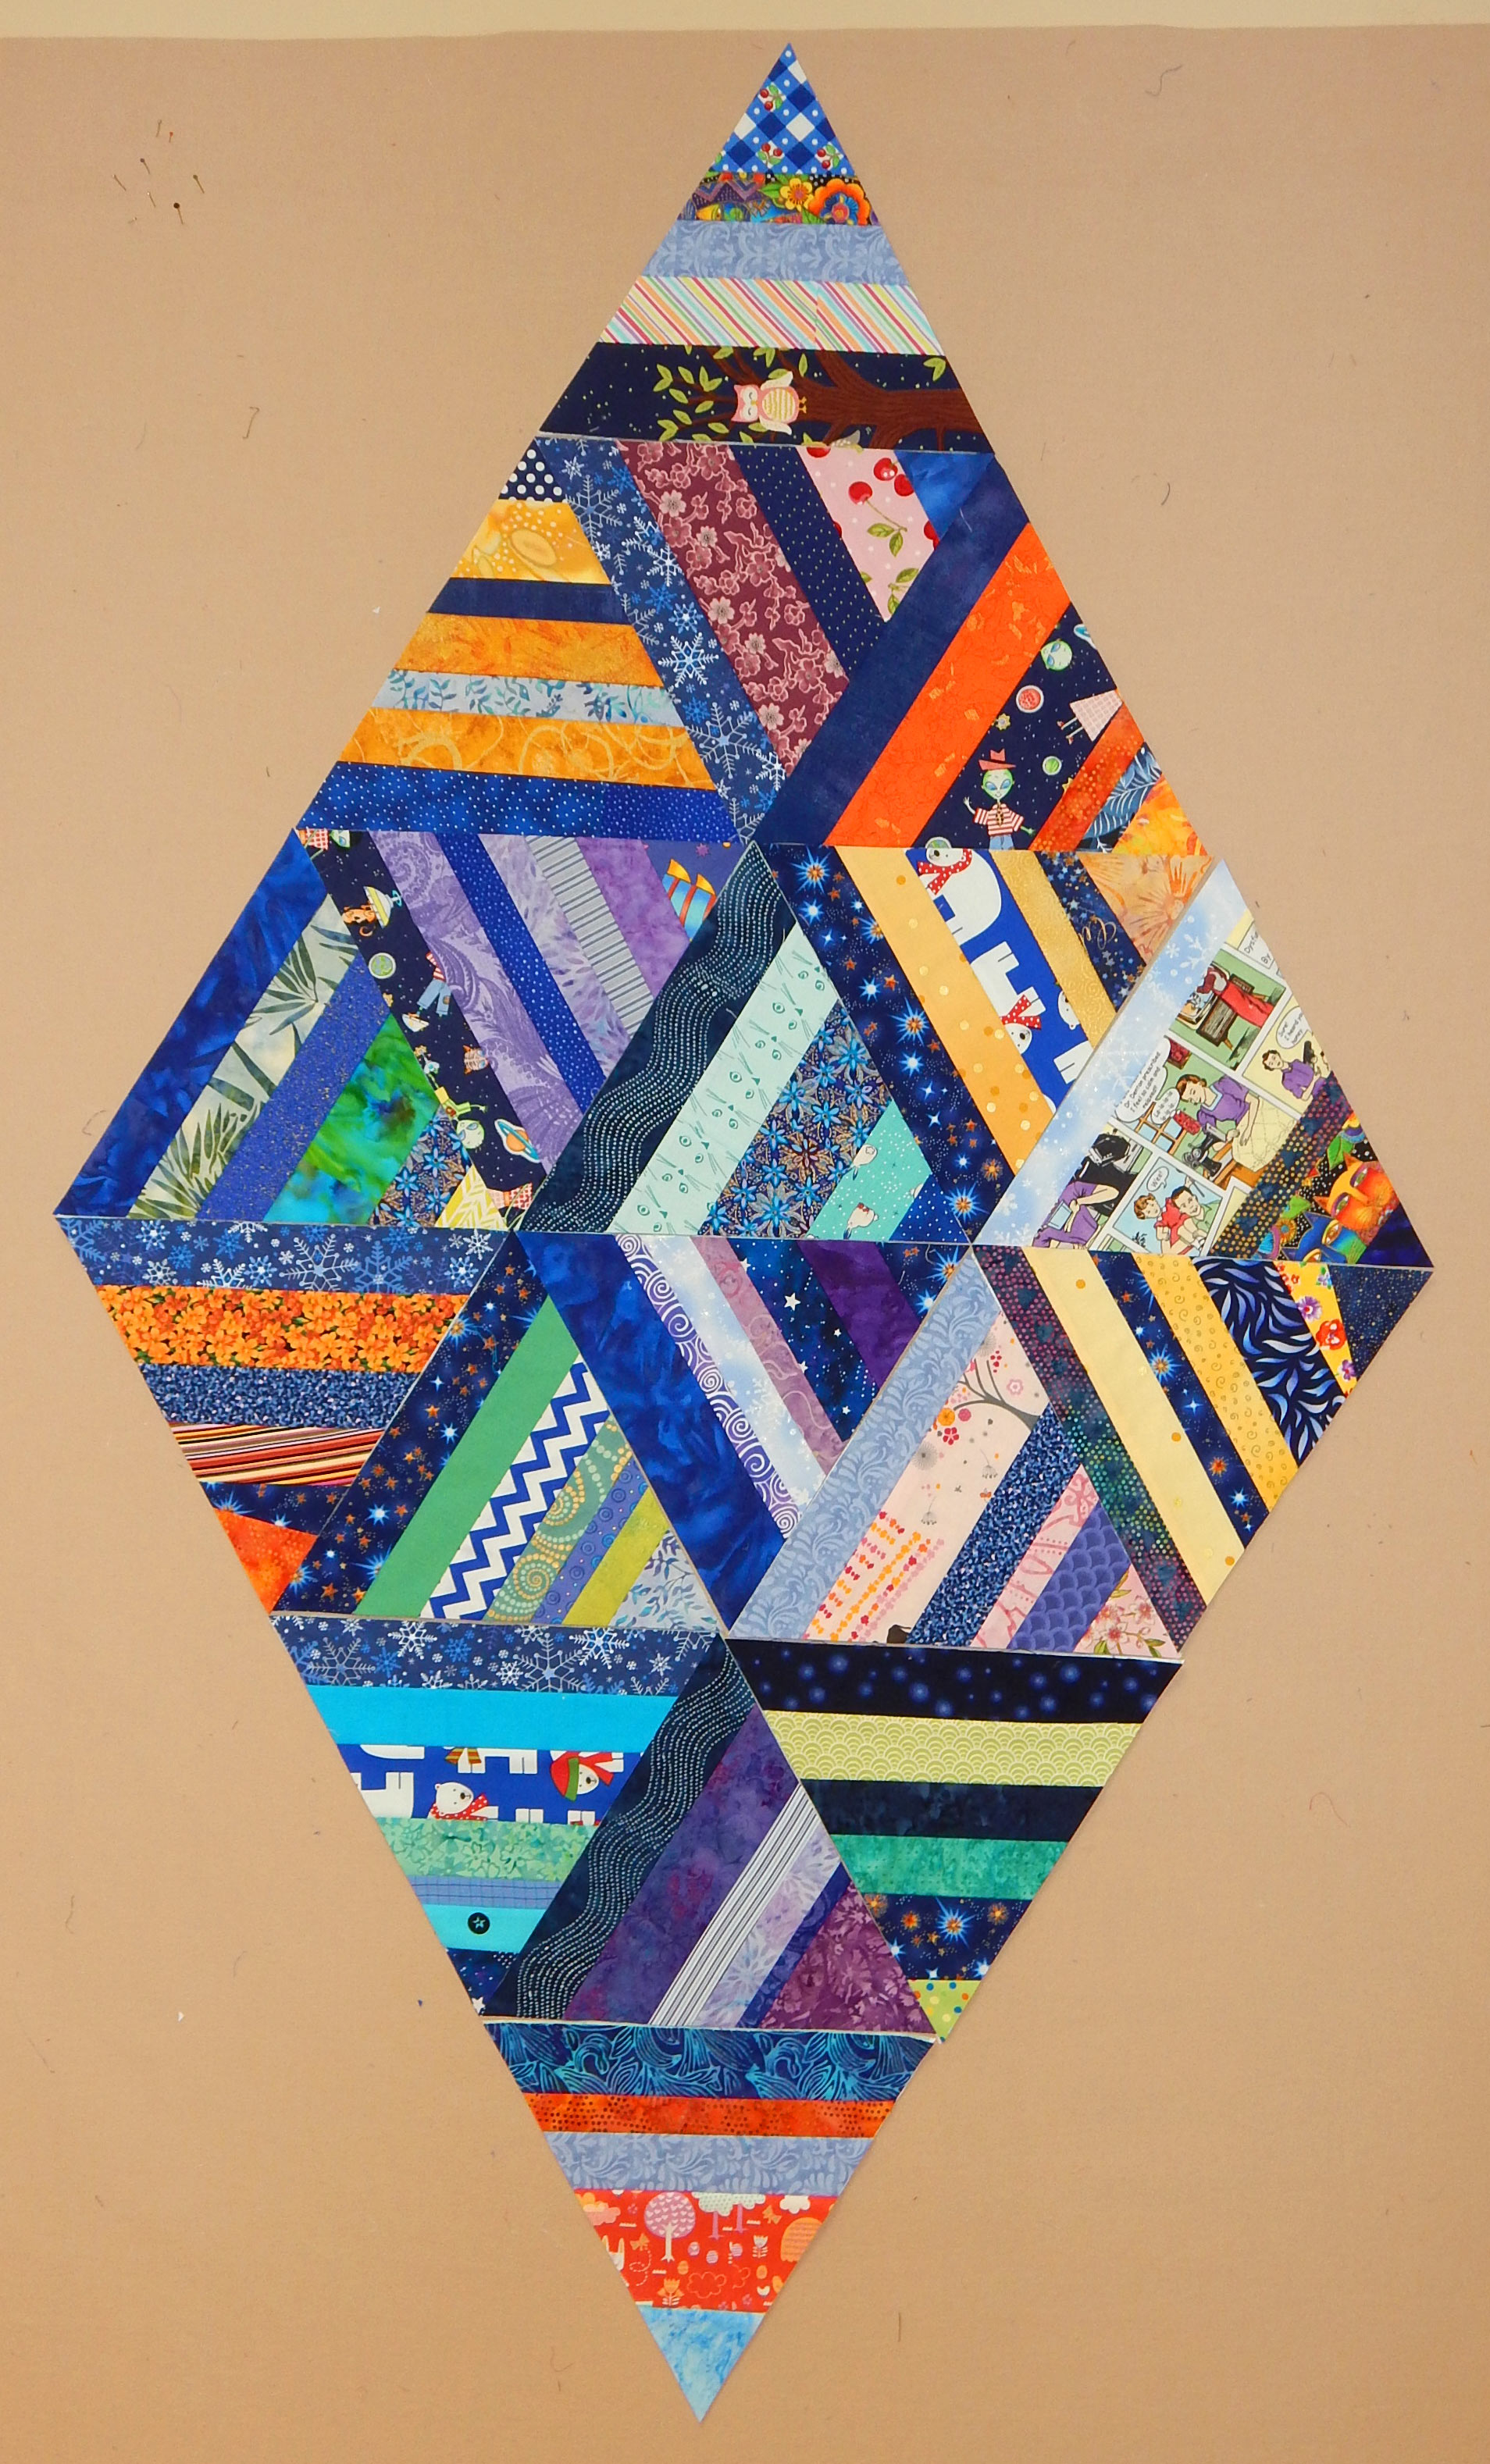
Yes, I’ve shown this quilt recently, and I’m teaching it in a two-part class on January 27 and 28. That’s a Friday afternoon and a Saturday morning. This means everyone can leave a sewing machine set up between classes but have a night of rest half way through.

Beginning Quilting

Probably not directly relevant to anybody reading this, but it will start February 11 and run for 6 Saturdays. For the first time we have a book to be used with the class so folks will have a reference at home.

Improve Your Binding

In this class we will explore several ways to improve binding techniques as well as some nice (easy) embellishments for binding. One of my friends calls this a “game changer” for binding.

Quilt As You Go (QAYG)

It seems that most quilters want to at least try QAYG. There are a number of ways to do it. I will teach the way I think is most effective and show some of the other techniques as well. As a bonus, we’ll be making the Bauhaus pattern by Zen Chic as we learn the techniques for QAYG.

I liked this pattern by Brigitte Heitland of Zen Chic so much that I made it twice

I’m sure most of my readers are nowhere near Greensboro (North Carolina, U.S.A.), so won’t be taking these classes. However, if you have related questions I’ll try to answer them. If you do live near Greensboro, join us and have fun! Further information is on the Studio Stitch site, here.


Oh Boy, NOW What?

So, I loved the Bauhaus quilt pattern by Bridgette Heitland.  Here is my top finished, waiting to be quilted.

I changed a few blocks just for fun, and re-arranged them, but it’s basically still Brigitte’s design

It looked to me like a perfect quilt to do Quilt-As-You-Go (QAYG), so I pulled more fabric and got started.

I really didn’t like these fabrics as well as the brighter colors I used for the previous version, but it was fun to quilt the blocks individually.

After I got all the blocks quilted separately, I arranged them on the design wall.

But when I started joining blocks and adding borders, things went sideways!

Now what? I could remove the quilting and the borders, but I’m thinking I’ll just “redesign” the block arrangement! I know for sure those two striped blocks can’t be left next to each other like that!!!

A friend reported she had a shot of whiskey when she finally finished one of her projects. I’m pretty sure I’ll need one somewhere along in here!

Any ideas for this “slight error” (other than alcohol)?


Teaching Quilt As You Go

I recently had the privilege of teaching Quilt-As-You-Go (QAYG) techniques to a nice bunch of quilters at Studio Stitch in Greensboro.  Here’s the summary:

Georgia Bonesteel’s QAYG method is the first one I learned, many years ago.  I brought along a queen-sized quilt I made using the method to show.  I demonstrated QAYG this way, and we all agreed to go on to something easier!

I made this Jewel Box quilt many years ago using Georgia Bonesteel’s QAYG method

Marti Michell’s method for quilting 1/3 of a large quilt at a time seems much easier and I demonstrated it.  You can find out more about it from her book Machine Quilting in Sections or from her demos on YouTube.

The class sample used another common QAYG method, constructing the blocks and quilting them at the same time.

The class was structured so that students could make the class sample if they wanted, or could bring any pattern they chose.  Three people brought other patterns and we worked out how to use those with the QAYG method.  Everyone made a lot of progress on a quilt during class!

Two quilters brought fairly complex patterns and got a good start on their blocks:

One quilter wanted to learn QAYG so she could do something with a group of blocks she inherited:

A couple of quilters brought scraps from dresses they had made for their children back when they were little:

And one quilter brought a jelly roll and coordinating fabric, enabling her to make rapid progress toward her own version of the class sample quilt:

If you want more information about the class sample shown above, the post about it is here.

I Dislike Quilt-As-You-Go

Quilt-as-you-go (QAYG) has been around at least since the 1970s, and I have tried it in several forms.  Back when I wanted to use high loft batting, I made this quilt in sections and joined them using Georgia Bonesteel’s method.  The backing seams were sewn by hand.  It worked out fine, but that was a lot of hand stitching.

Queen size quilt made by qultl-as-you-go method

Jewel Box, queen size, made in 2003

More recently I read about using thin batting so pieces can be joined with batting in the seam.  Unfortunately, this method suggests quilting the front pieces WITHOUT backing, then tacking on a back after assembling the front.  That means most of the quilting is hidden from the back; the only thing that shows is the stitching used to attach the back over the actual quilting!

I’ve also seen QAYG done by using batting rather than batiste as a base for string piecing.  This means no quilting shows on the front!

The more I read about QAYG methods, the more I didn’t care for any of the options.  I decided to re-visit it anyway because students had asked for a QAYG class.  I chose the string piecing on batting option, but made the blocks with the backing included so the quilting would show on the back.

Back of quilt, showing quilting lines

The quilting is meant to show on the back, though white thread on white fabric doesn’t show much!

I kind of liked the triangles arranged like this on the design wall, but decided to save this option for when I can make the whole thing look 3-D by careful placement of color.

Here is the front of the finished quilt:

After joining the triangles with seams that included front, batting, and back, I covered the seams in back with fabric strips.

The result was awfully bulky.  Next time I may just settle for the “new” method that doesn’t show much quilting on the back.

Well, another lesson 😀  The next attempt will be closer to perfection!