Did Someone Say Scrap Quilt?

I modified this from multiple quilts I have seen because I liked the idea of turning squares into those elongated hexagons as well as the idea of pointing everything toward the center.

Not incidentally, it also used some more of my (many, many) 5″ squares.

It’s sometimes important for Elvis to make an appearance 🙂

I wasn’t sure about this binding, but I think it worked out OK. That’s not my usual type of backing, but it was available on short notice!

Quilt Stats

Name: Really? Another Scrap Quilt?

Finished size: 65″ x 65″

Designed and made by: me, with inspiration from multiple other quilts I’ve seen

Quilted by: Linda Nichols

Scraps Galore

For a couple of years I made scrap blocks whenever I was between projects. The method was to combine any bright scraps of whatever size/shape, then trim the block to 6.5″ unfinished. When I had 88 blocks I decided it was time to quit playing around and make them into a quilt, so here it is.

Quilt Stats

Name: 616 Scraps

Designed and made by: me

Finished size; 48″ x 66″

Quilted by: Linda Nichols

Of course the scrap pile has only grown larger, so I’m off to start another round of scrap blocks.

Scrap HSTs

HSTs (half square triangles) are the basis of lots of dynamic quilt designs, so of course they’re even better if they’re scrappy. For those who may not know, here’s a half-square triangle block. Each half of the square is a triangle, and of course it helps that they contrast.

Block drawn in EQ8

So after I had made a whole bunch of scrappy squares, I decided to cut them in half diagonally to make scrappy HSTs. I had the perfect white fabric with metallic gold oriental writing to use as contrast.

Of course I tried numerous layouts for the blocks and consulted friends about which to use.

This arrangement was voted out

Eventually I chose the arrangement below because I like the “double twist” effect you get in the center if you look from a distance.

The finished quilt

Quilt Stats

Name: Ziggy Scraps

Designed and made by me

Finished size: 58″ x 78″

Quilted by: Linda

I’m developing a talk about making successful scrap quilts. If you have any ideas I should include, let me know!

Tossed 9 Patch

The other day I considered what to do with my large stash of 5″ squares.

Bin of 5″ squares from a variety of sources

It occurred to me that I might be the only quilter in the world who hadn’t yet made a tossed 9 patch quilt.

Just on the off chance you haven’t made one yet, here’s the drill.

The 9-patch block was 15.5″ with raw edges. Drawing done with Electric Quilt 8.

Start by making a 9 patch (duh). I cut a bunch of light colored 5″ patches and enough red 5″ patches for 22 nine-patch blocks, then used various 5″ squares from my bin for the four corners.  (Yes, that only got rid of 88 5″ squares. Still…)

I included some old favorites from the 5″ bin:

Blueberry fabric bought in Maine, one of the Moda wildflower fabrics, the fruit ladies from Elizabeth’s Studio, and some of my favorite metallic dot fabric.

After assembling the 9 patch blocks, I cut them in quarters, resulting in 88 blocks like this:

This is one quarter of the original 9-patch block. Drawing done with Electric Quilt 8.

When all my 88 blocks were made, I played with layouts until I had one I liked. There are a lot of different ways to cut the 9 patch block, and even more ways to lay out the resulting blocks, so it took a while.

After it was quilted, I decided on a blue and white striped border, which I cut on the bias.

And here’s the finish:

Quilt Stats:

Name: Tossed 9-patch

Designed and made by: me, though of course there is nothing new under the sun, This idea has been around forever.

Finished size: 51″ x 71″

Quilted by: Linda

Super Fans Tutorial

When I showed this quilt last week, I promised a tutorial on how to make the blocks. So here goes!

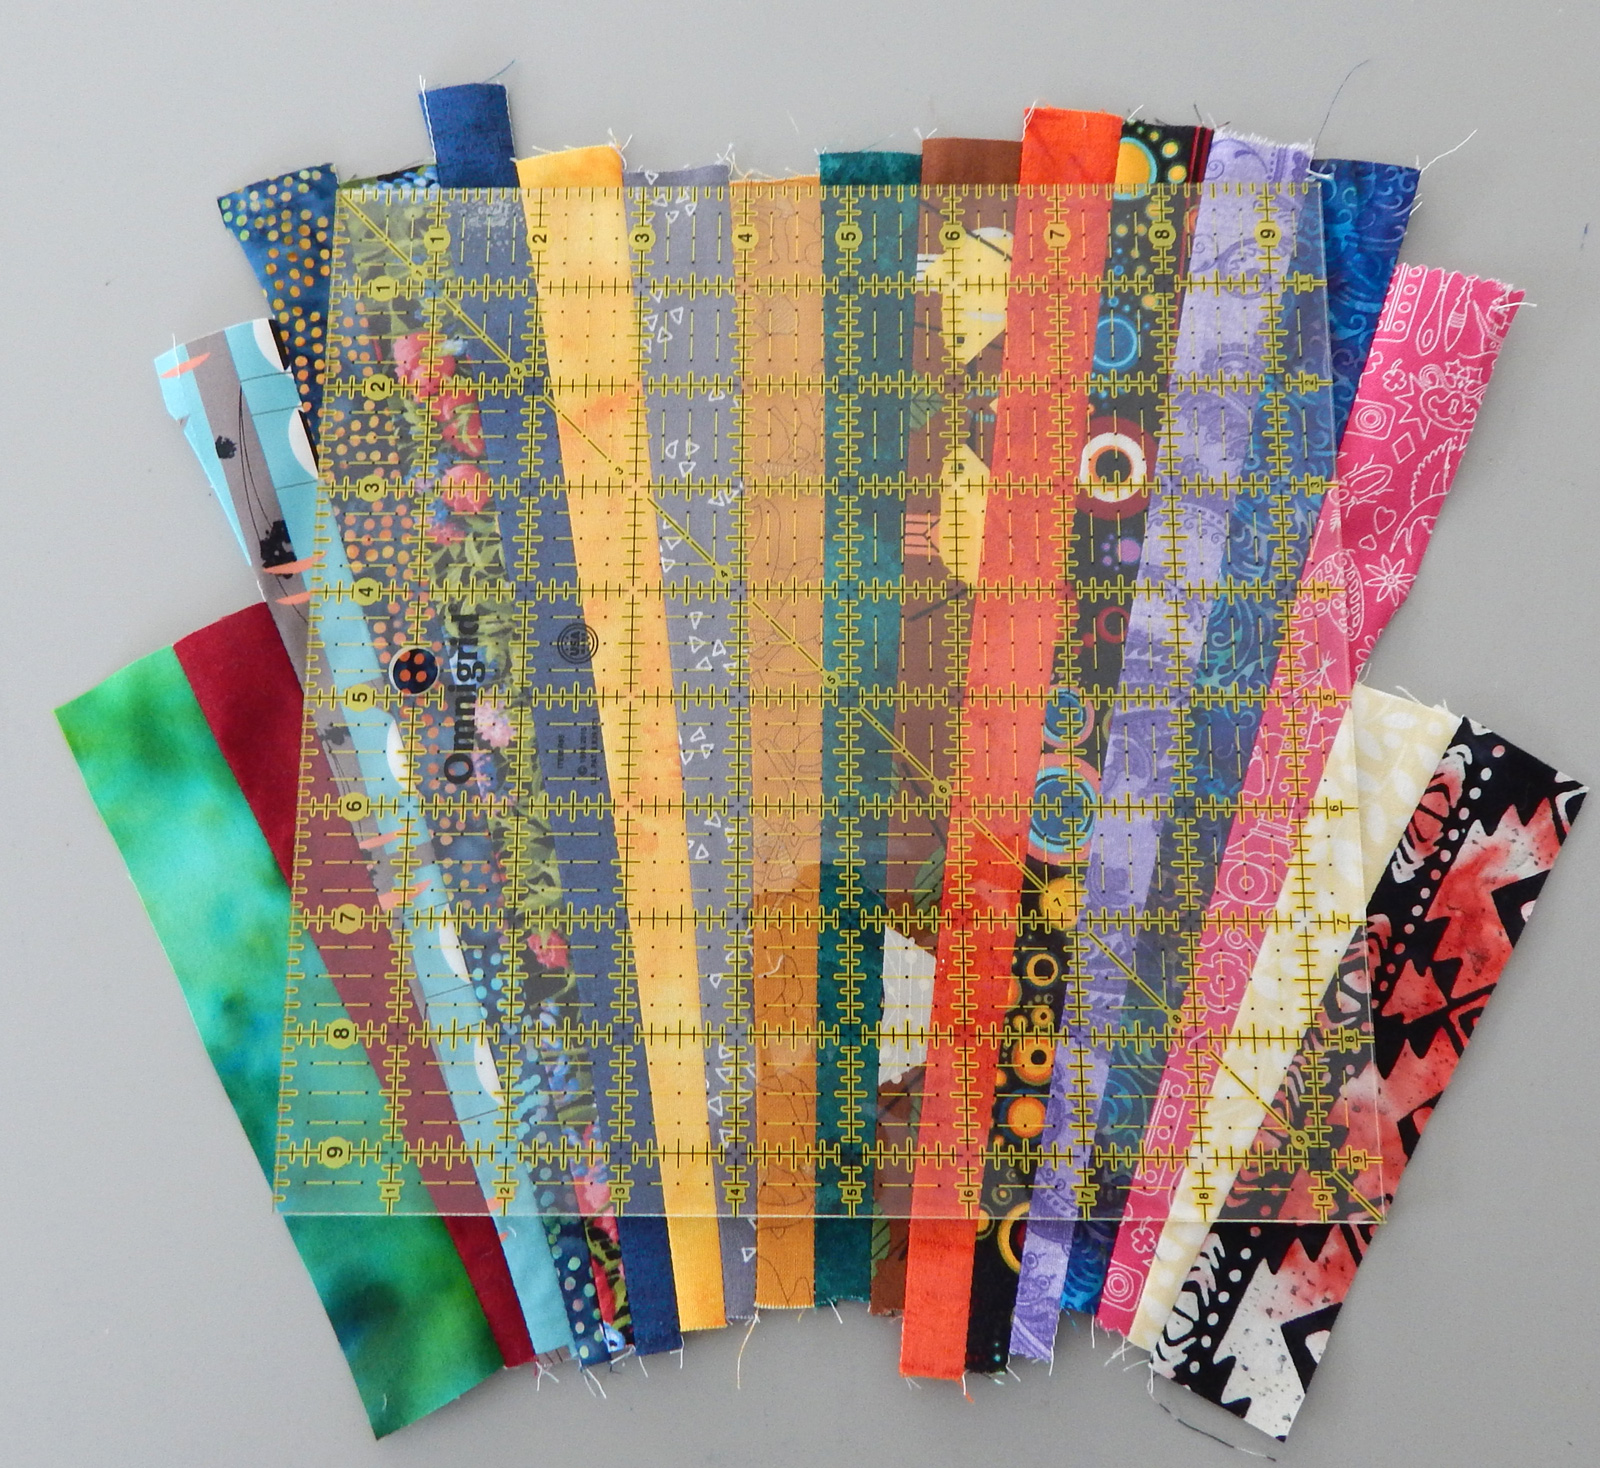
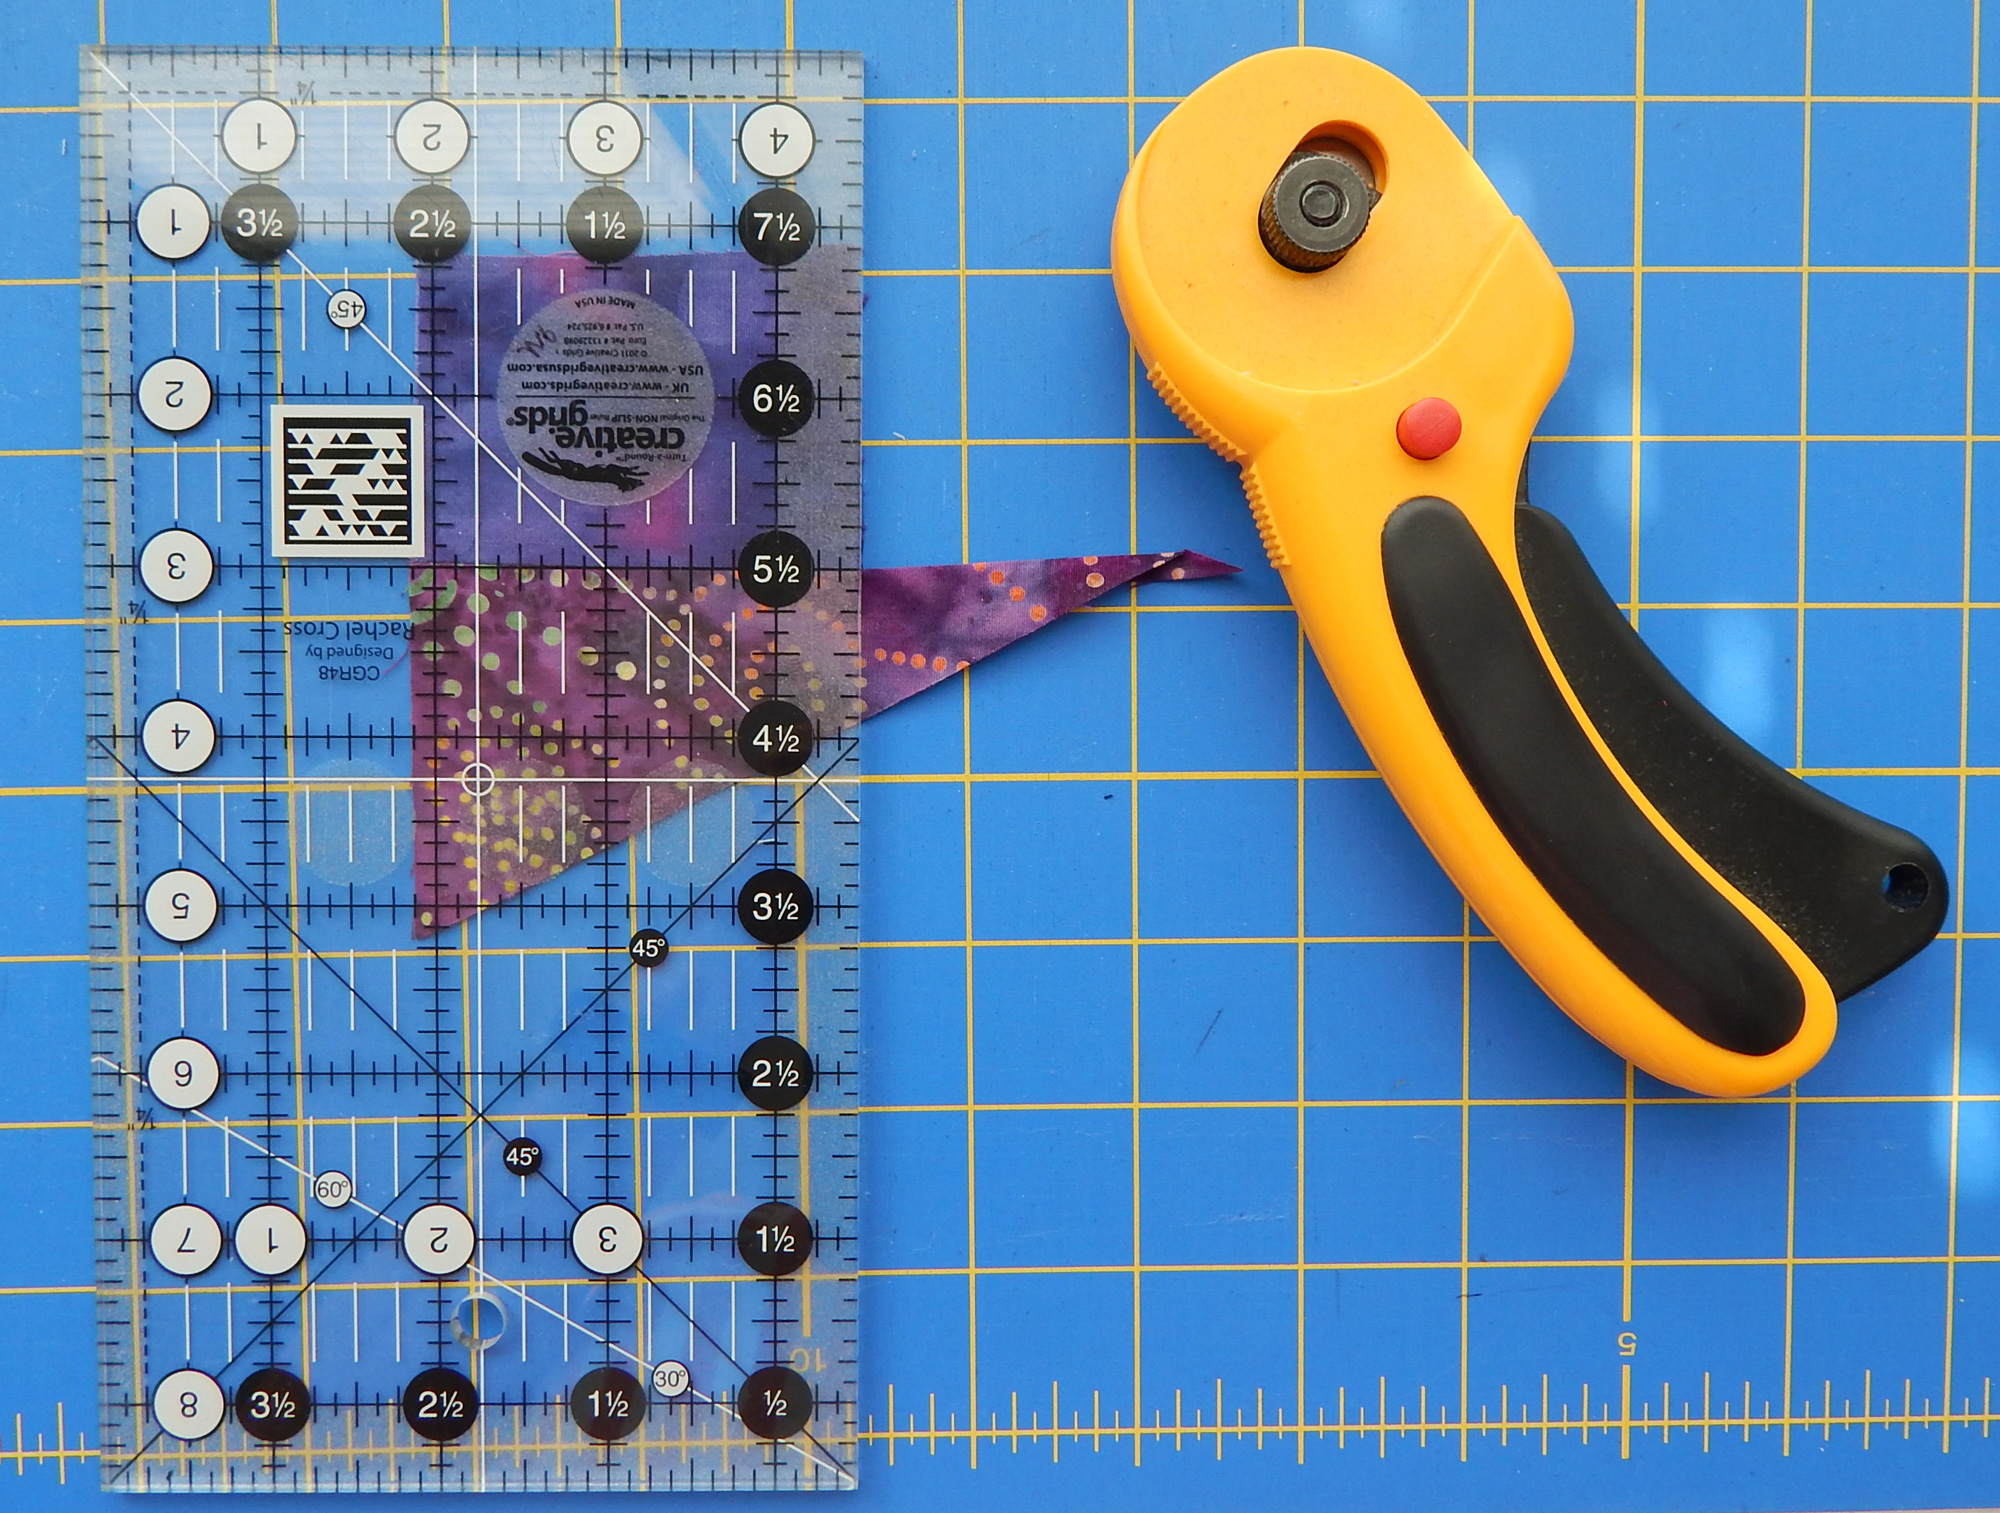
The first (most important?) step is to choose a block size for which you have a square-up ruler in your collection. This makes the whole process easier, as you’ll see.

No my ruler isn’t a trapezoid, but I had to take the picture at an angle to avoid reflections!

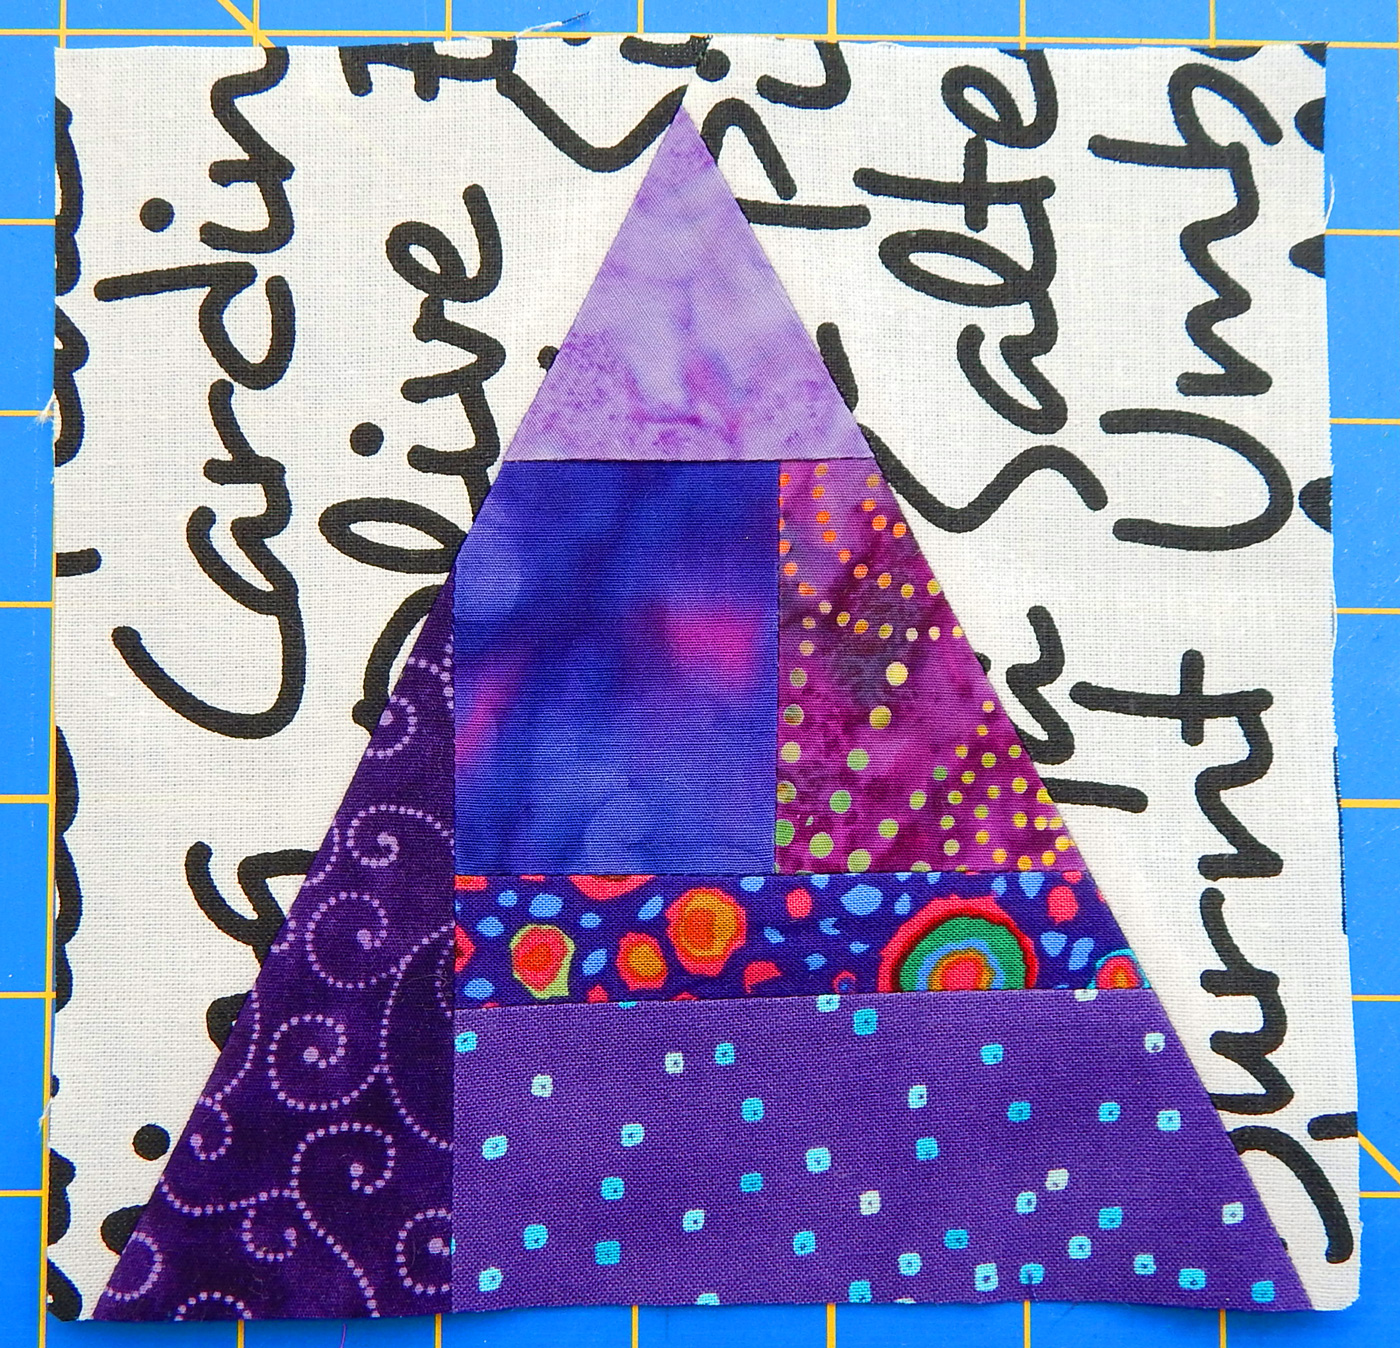
Then choose a couple of strips that are about 2″ longer than the square-up ruler. My ruler trims to 9.5″ (for a finished 9″ block), so I chose strips about 11.5″ long. You can either cut wedges for your strips, or join the strips and then trim the edges to make them wedge-shaped. I had a bunch of 1.5″ strips, so I did the sew-and-trim way.

Continue to add strips to each side, alternating sides. Alternating sides makes it easier to keep the block symmetrical. It isn’t necessary to use 1.5″ strips–you can use any width from about 1″ on up.

Press all seams open to decrease bulk. And when you trim seams to make a wedge, leave at least 1/2″ of width at the narrow end to avoid extra bulk when adding the next strip.

The seam that is circled at the bottom just meets because the strip was narrowed to 1/2″ at that end

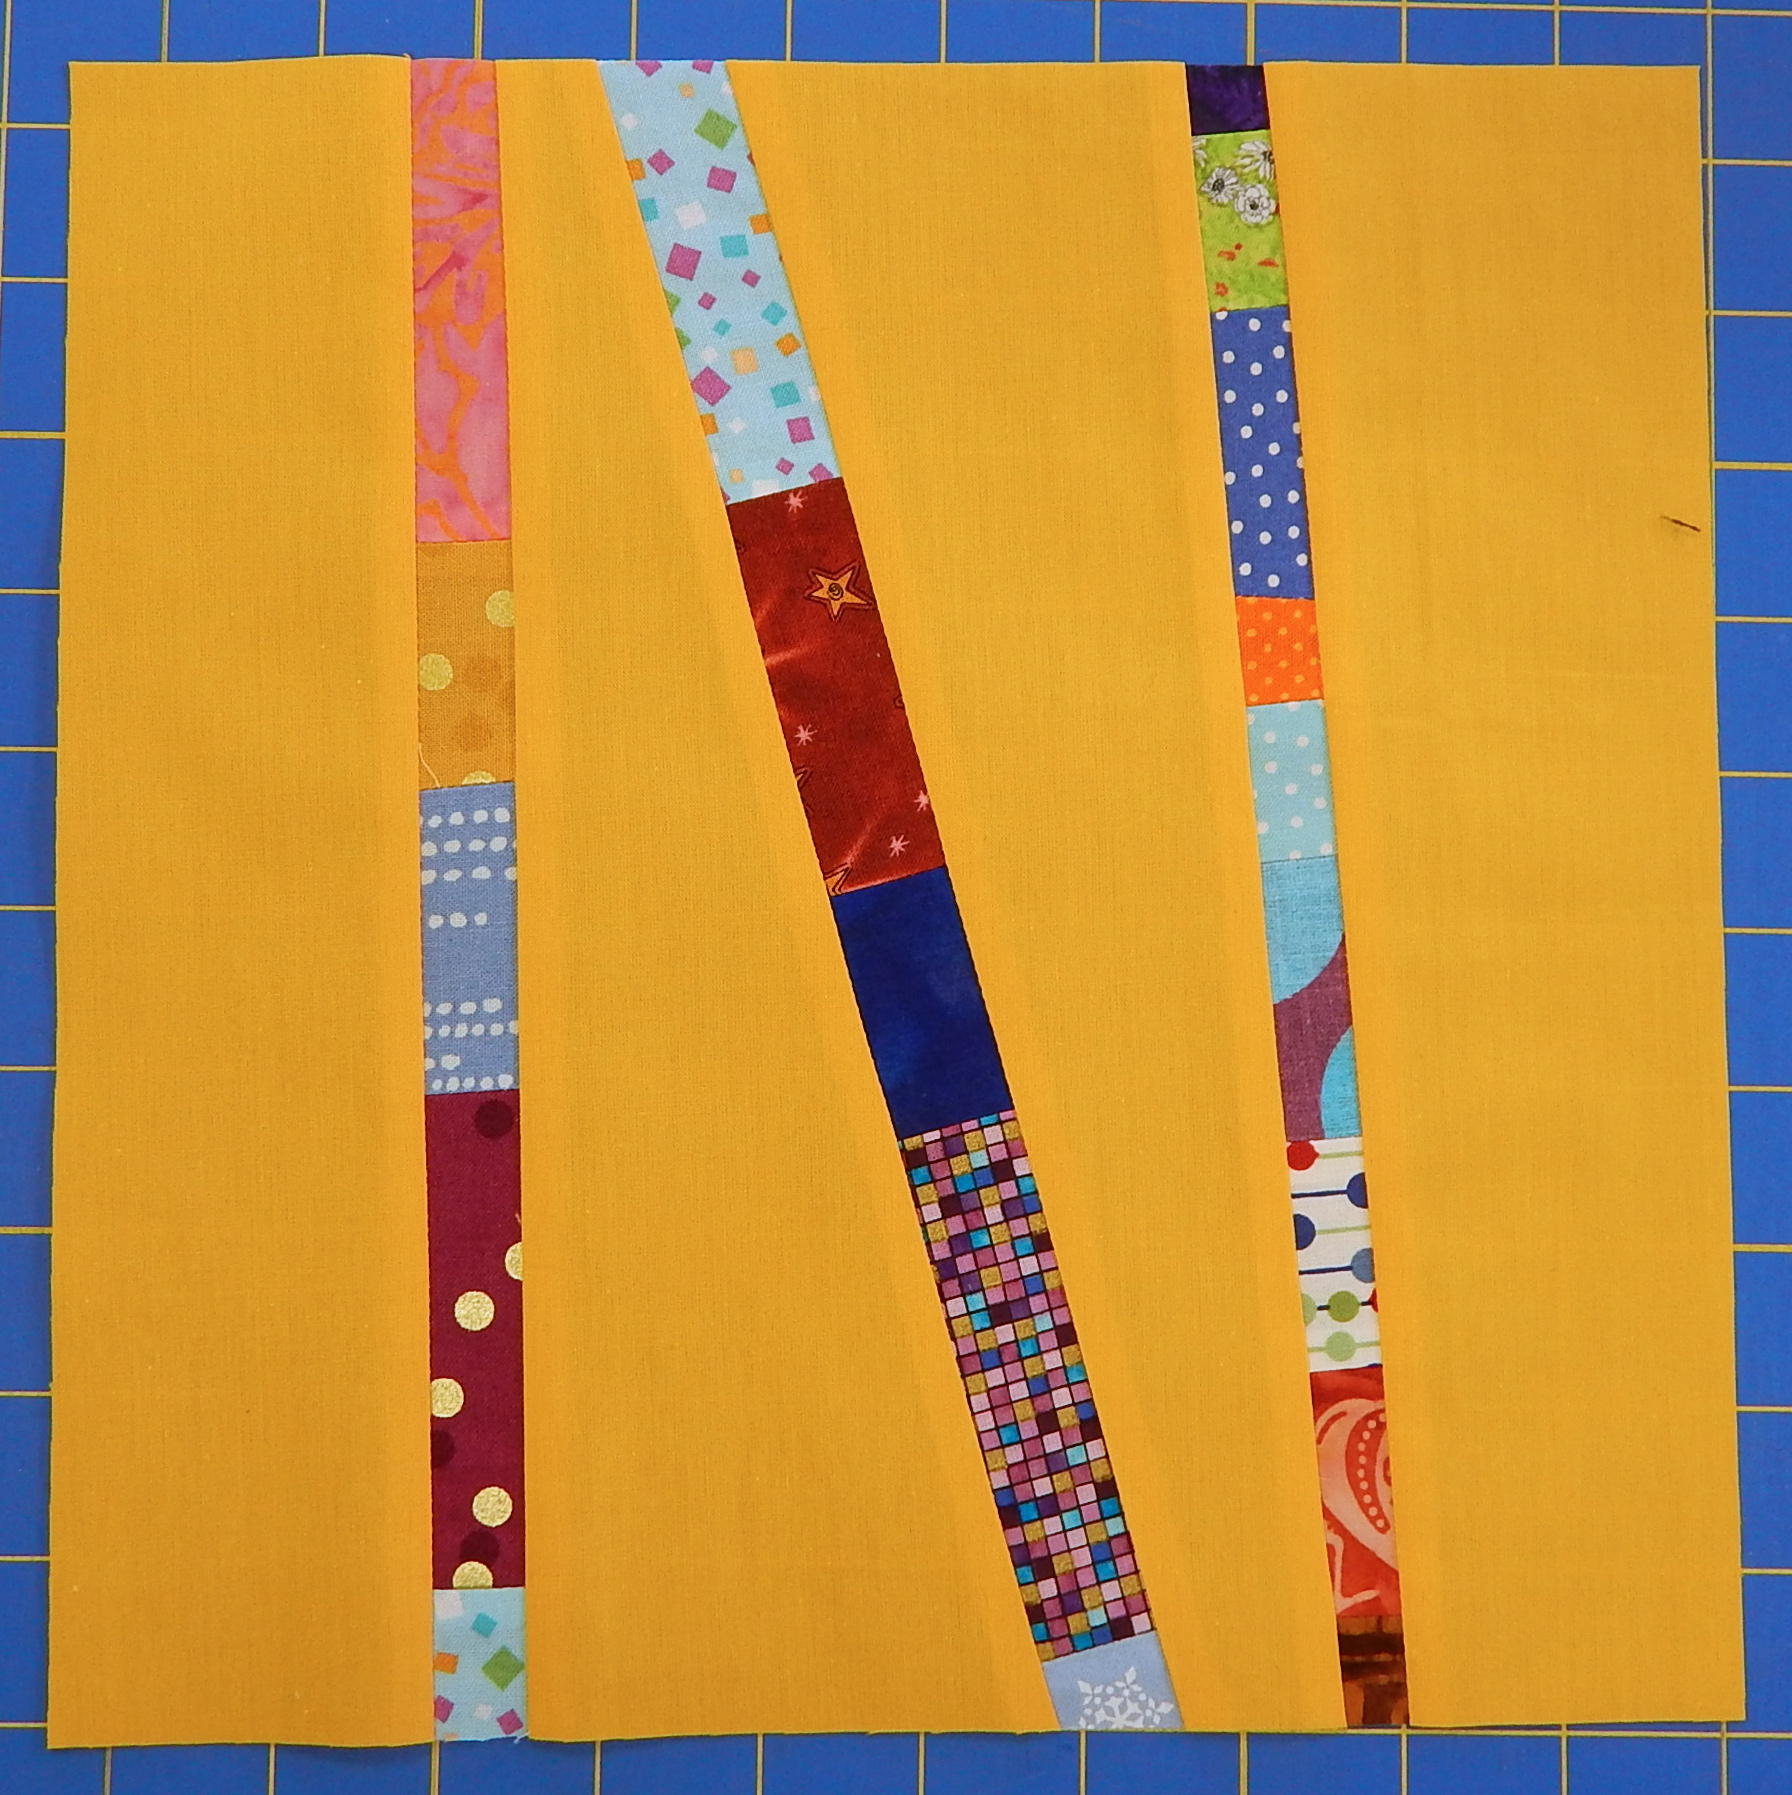
The piece will, of course, tend to curve. To counteract that tendency, I sometimes add longer strips to correct for the way the edges want to angle down at both ends.

Here’s a longer strip I added to be sure the edges weren’t curving too much.

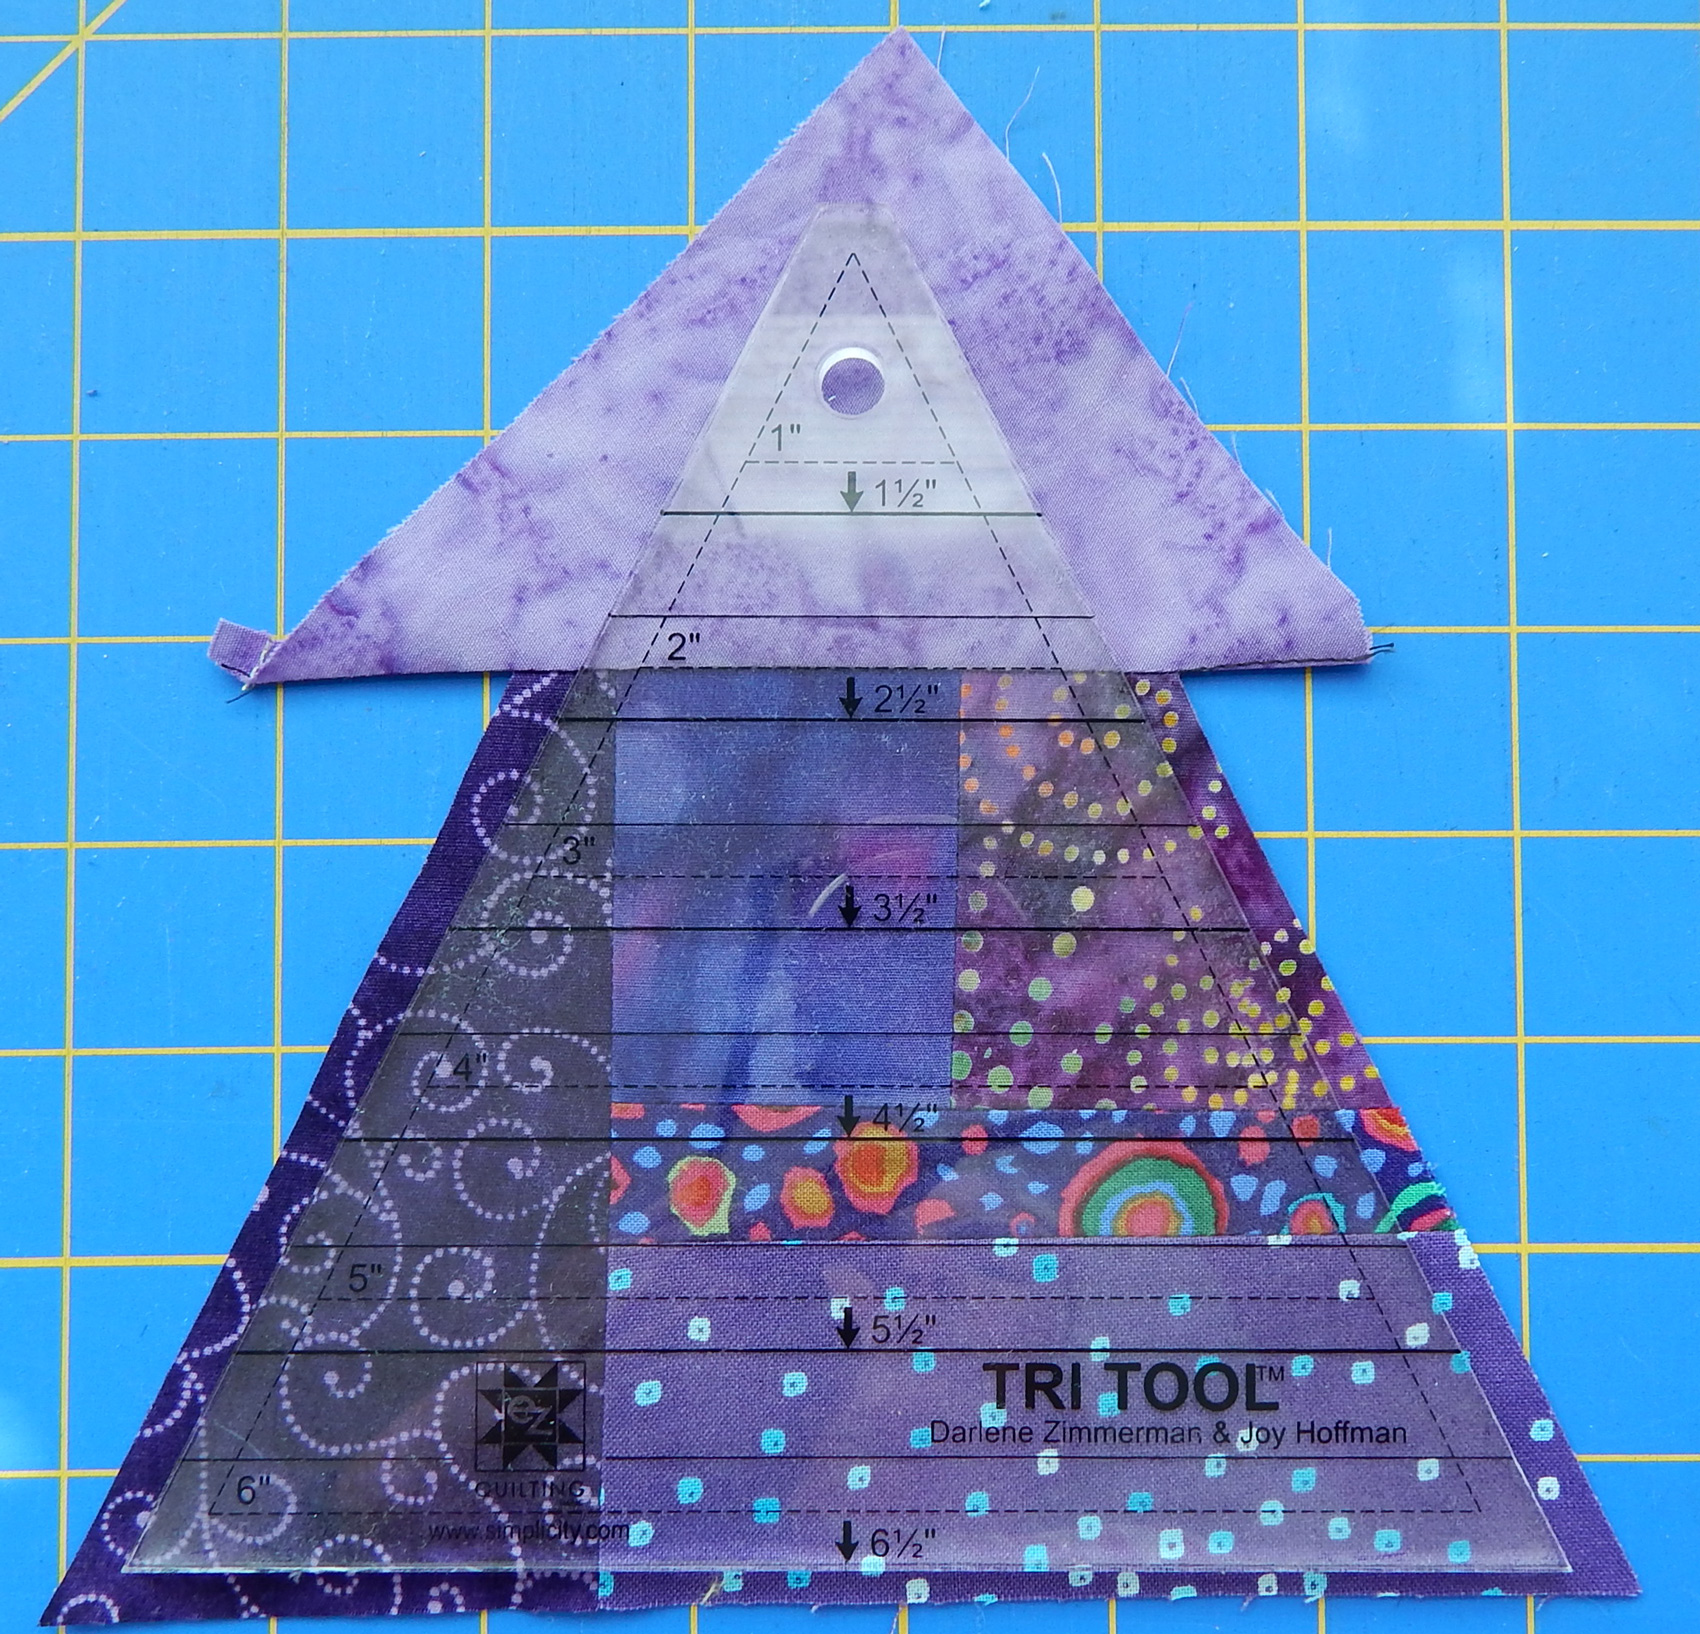
Keep checking to be sure the block is outside the edges of the ruler at both the top and bottom of each strip.

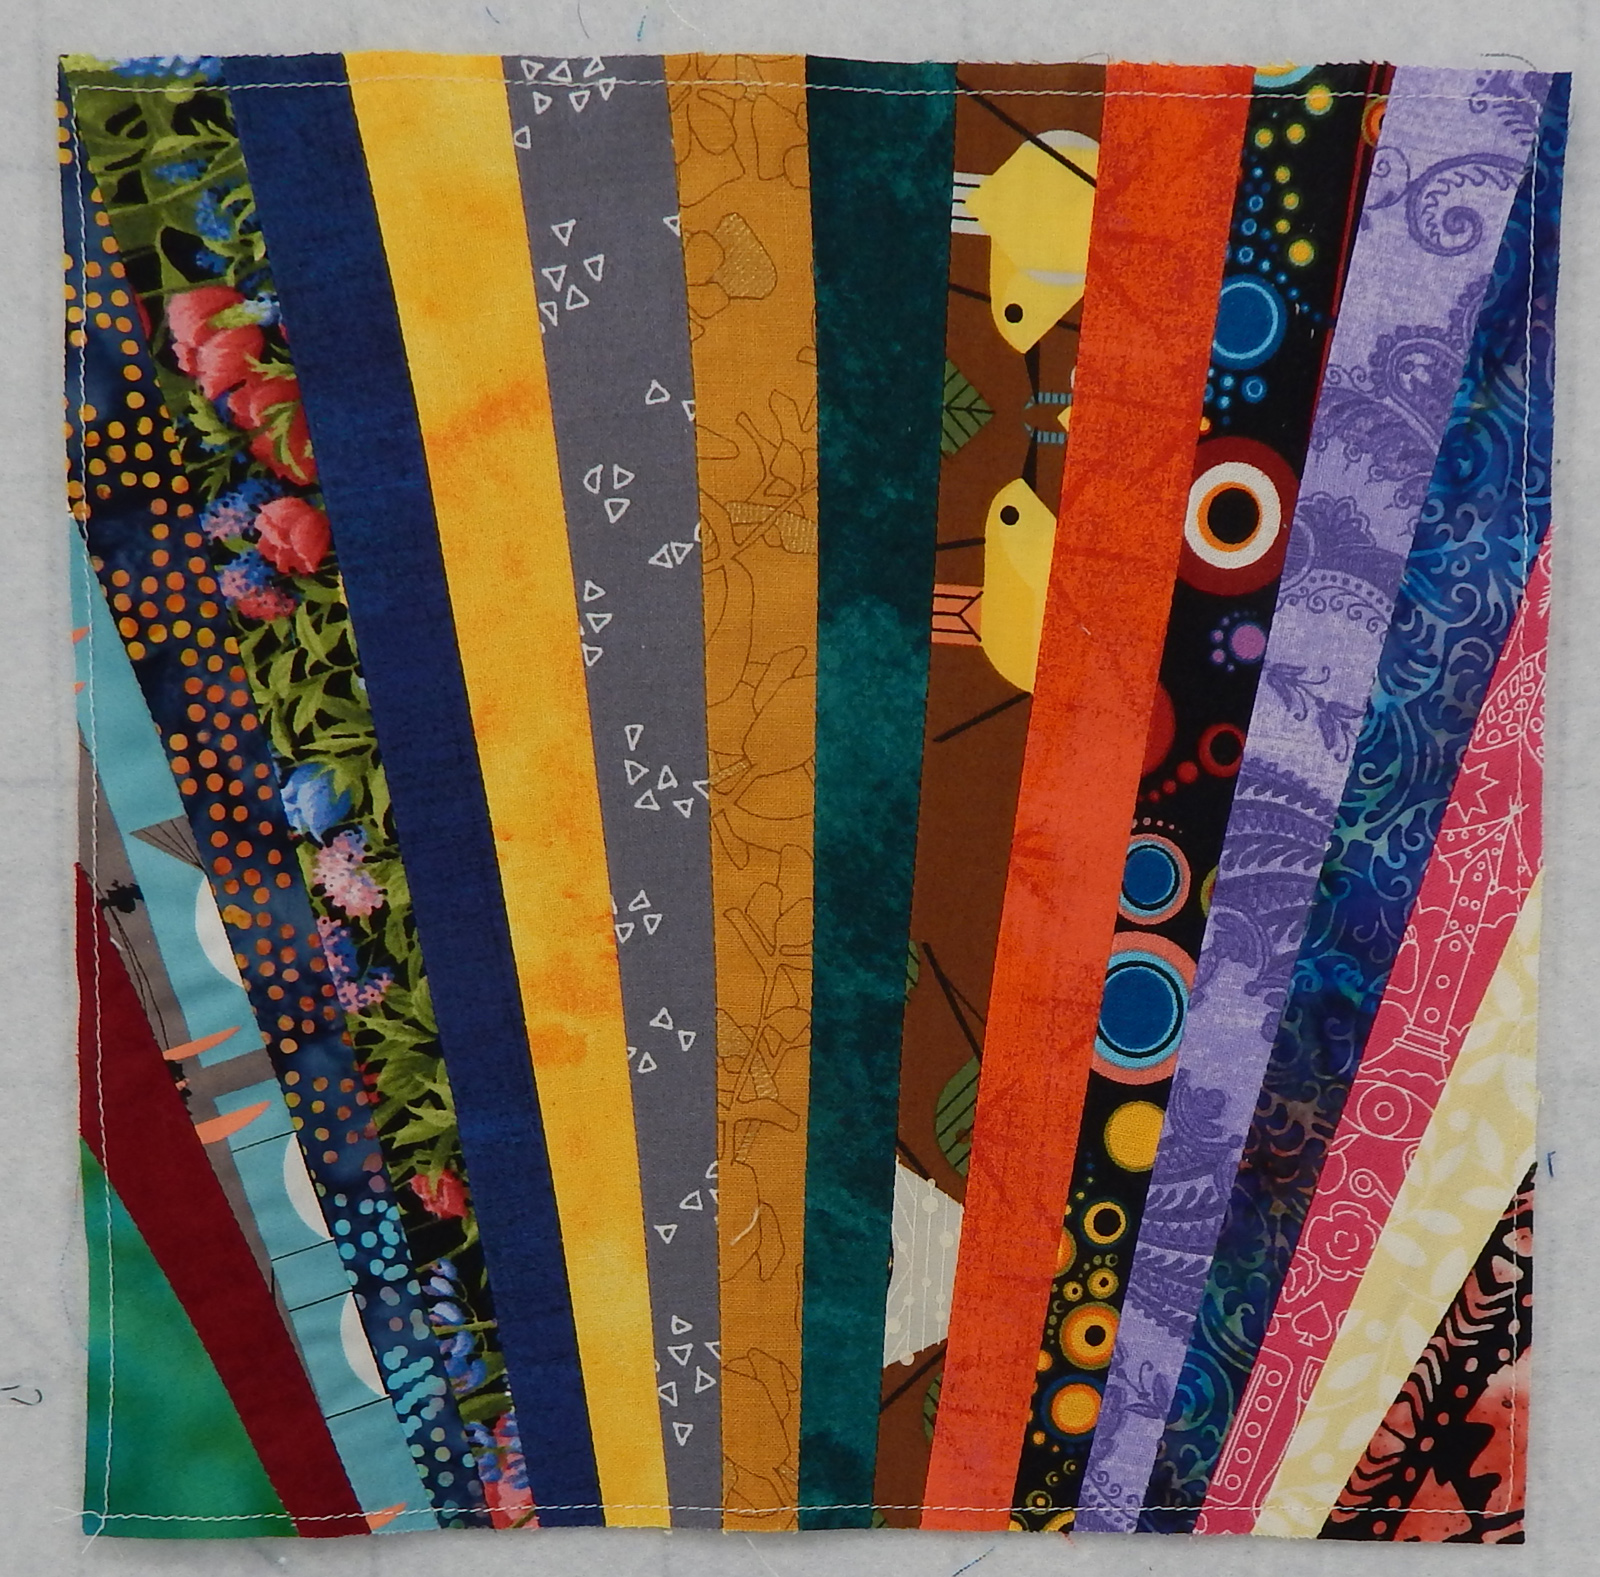
And finally comes the happy day when the block is as wide as it needs to be at the top!

From here on you can add shorter strips. Align them at the bottom of the block to start sewing. Keep checking, and when the piece is wide enough, trim all edges with your square-up ruler.

When trimming, I pick a line near the middle of the ruler and lay it along a seam near the center of the block to get everything as even as possible.

I stitched about 1/8″ from the edges

Stay stitch all edges! This is important because you really, really don’t want those seams to start coming undone, and because there are many bias edges.

DONE!

You may notice that the last strips (bottom corners) are a bit wider than the others. That is done to avoid the possibility of having a seam in the block come at a corner when joining to other blocks.
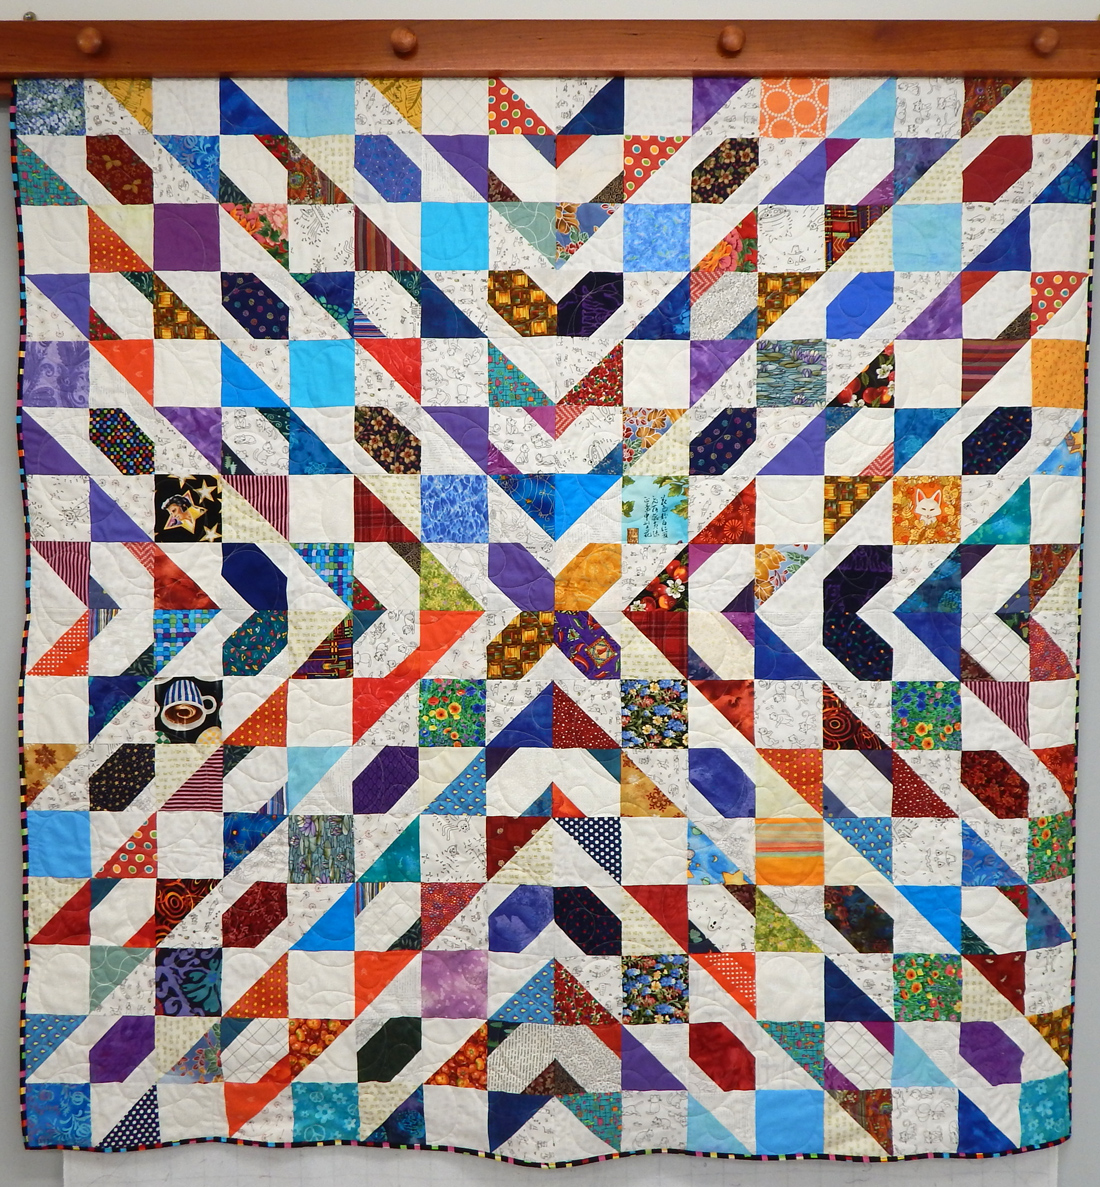
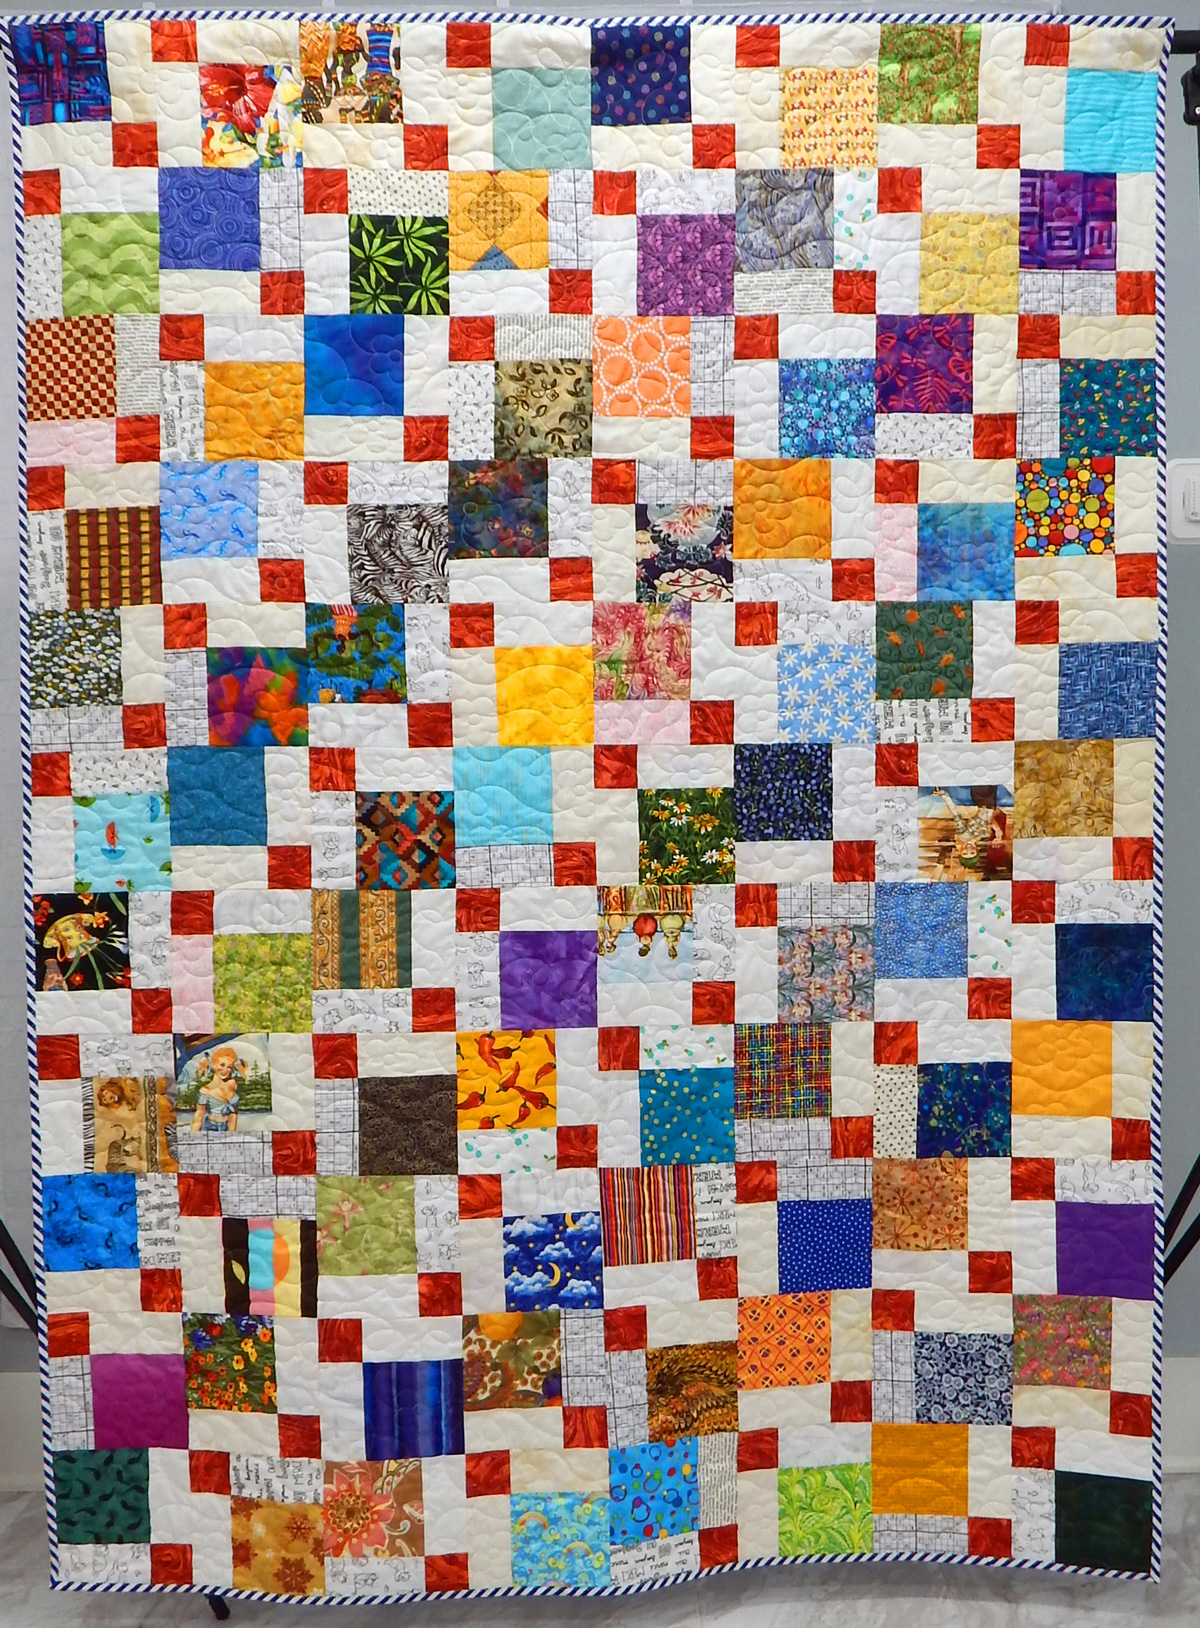
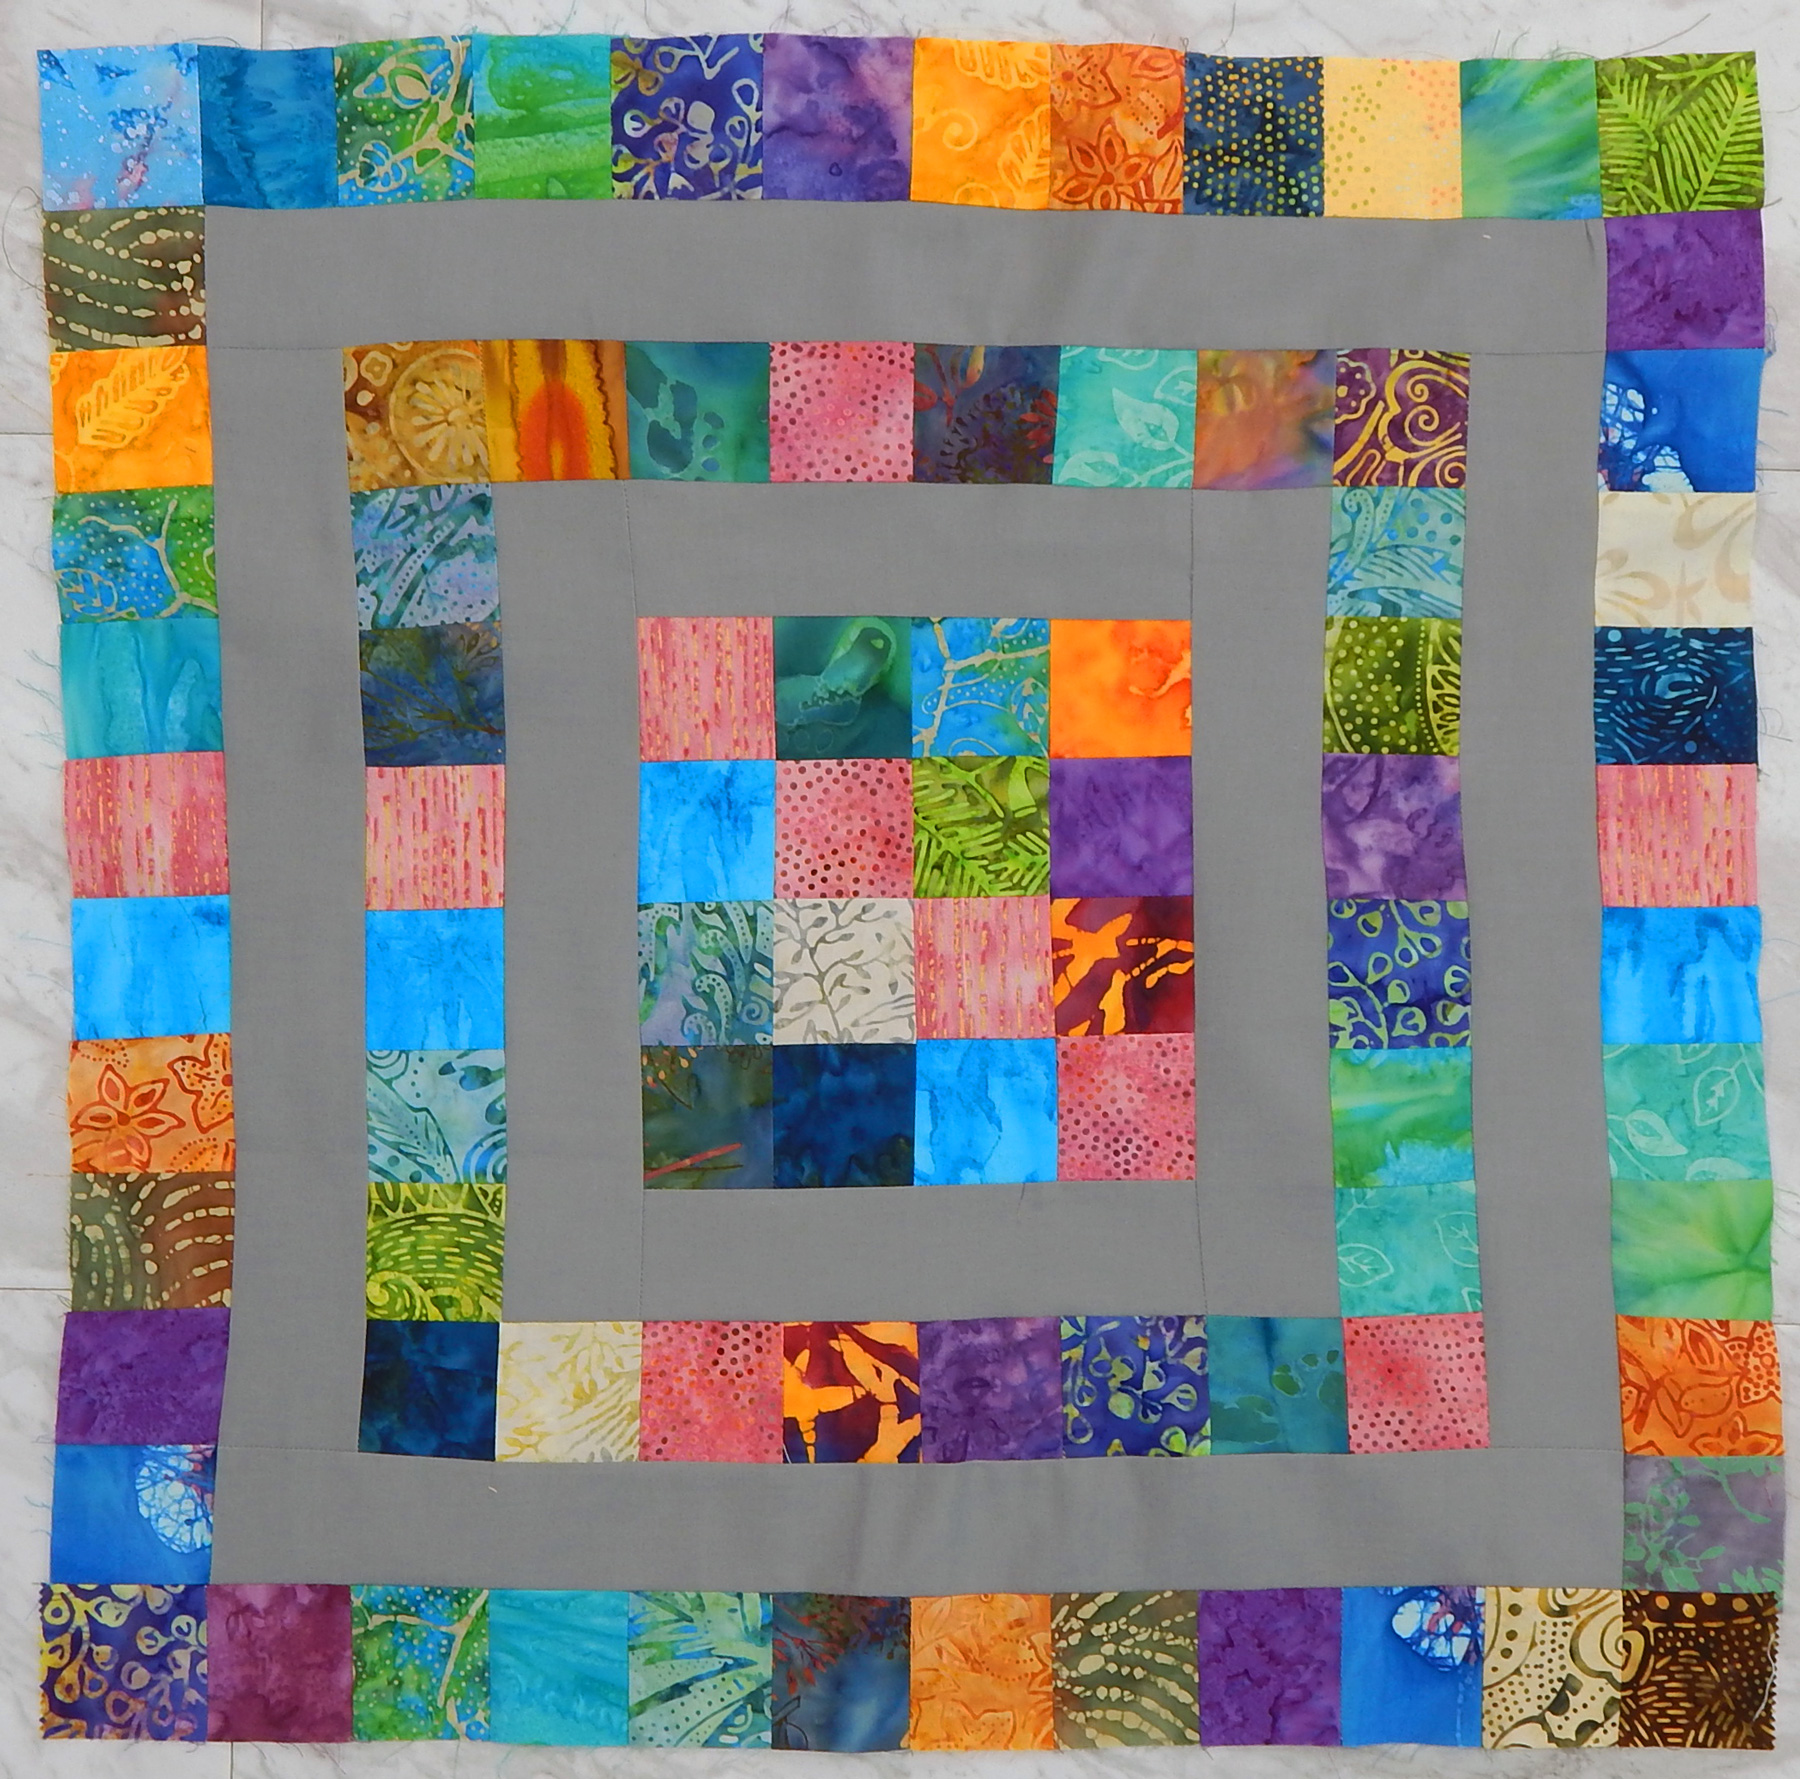
Quilt Stats

Name: Super Fans

Designed and made by me, with inspiration from Pinterest

Finished size: 47″ x 65″ (5 x 9 blocks, 9″ each, with 1″ border on all sides)

Quilted by: Linda

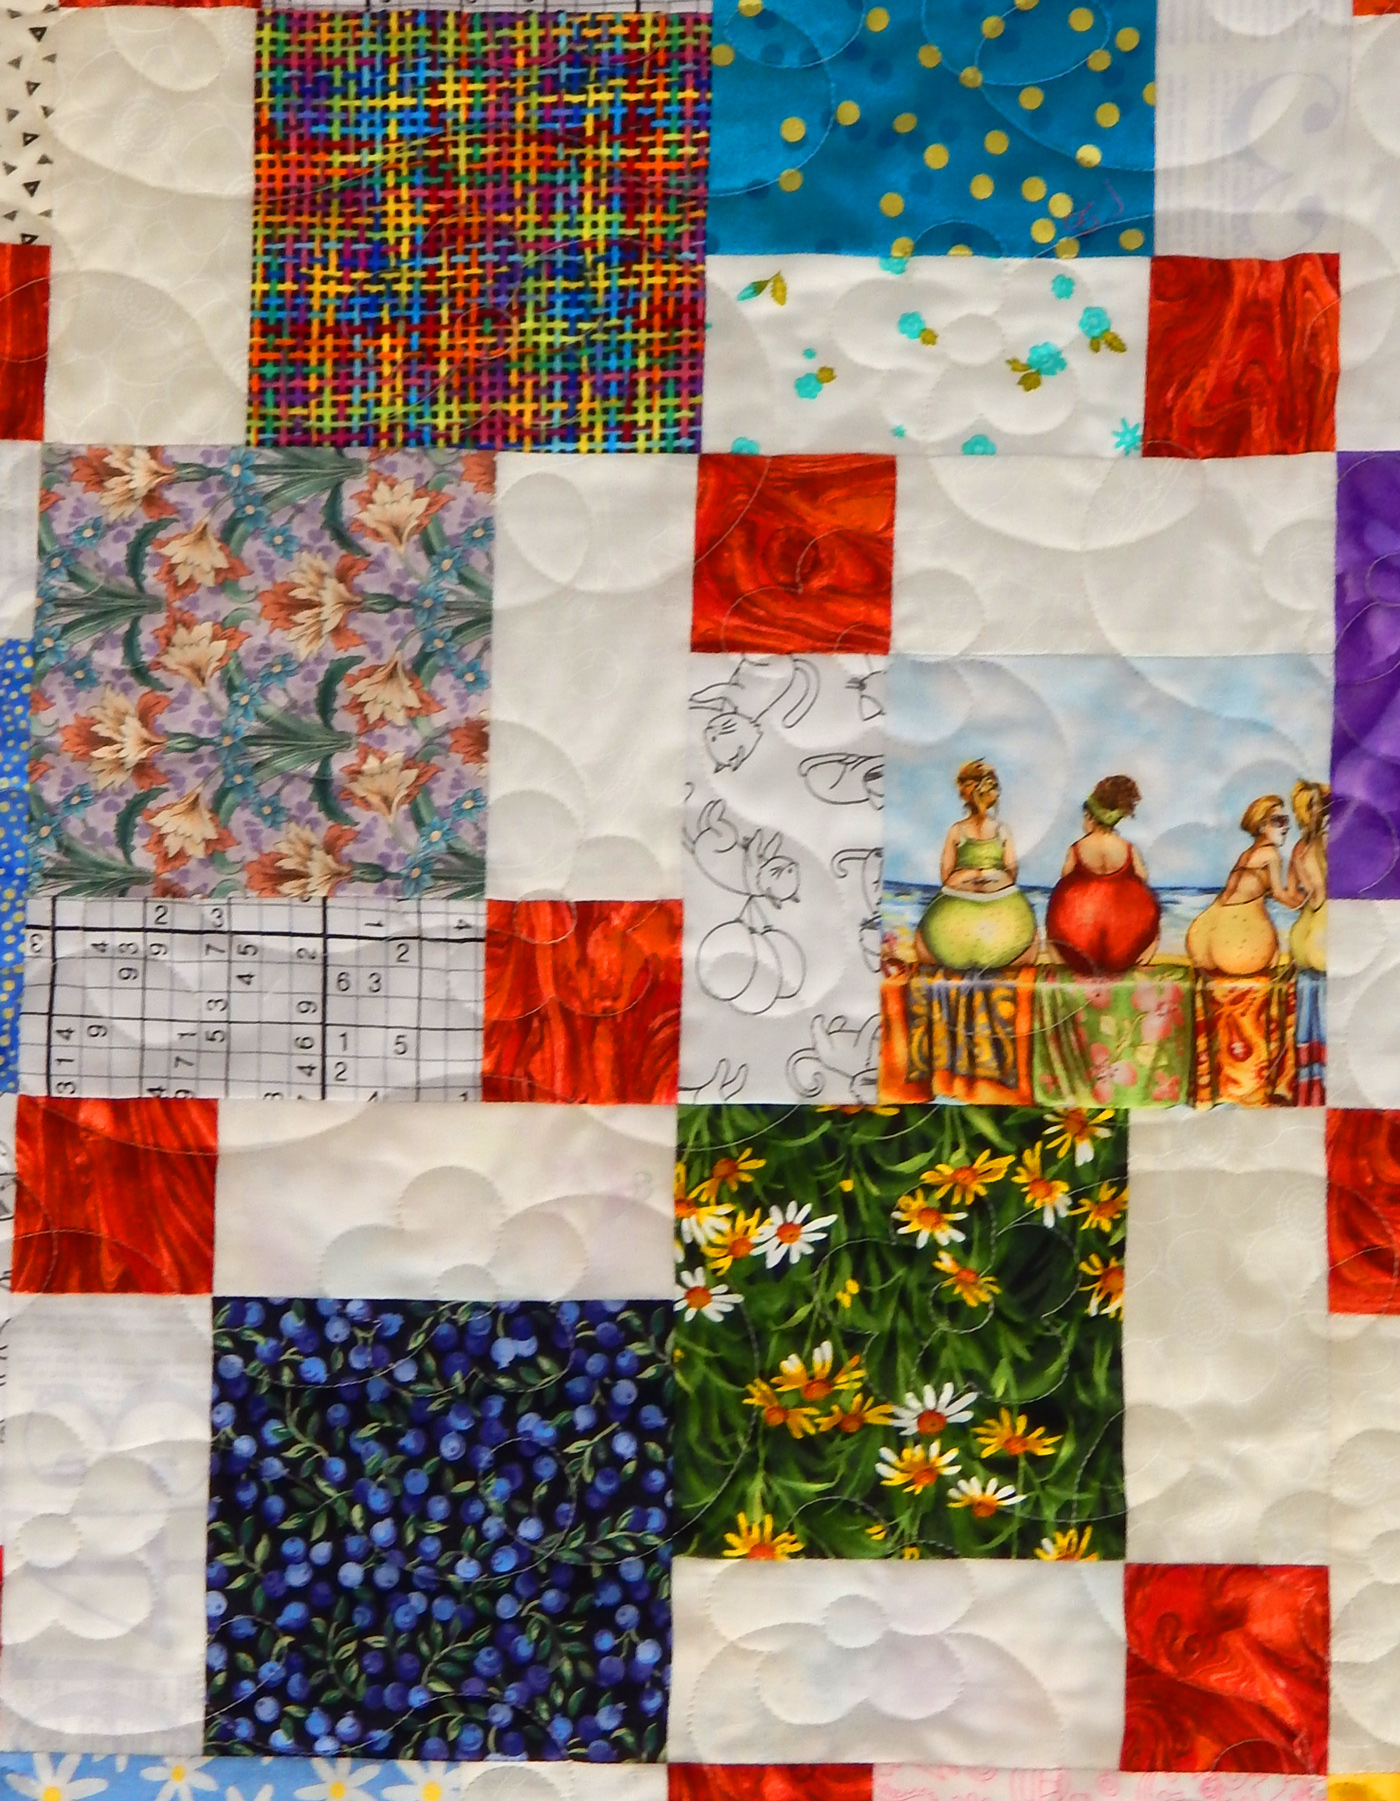
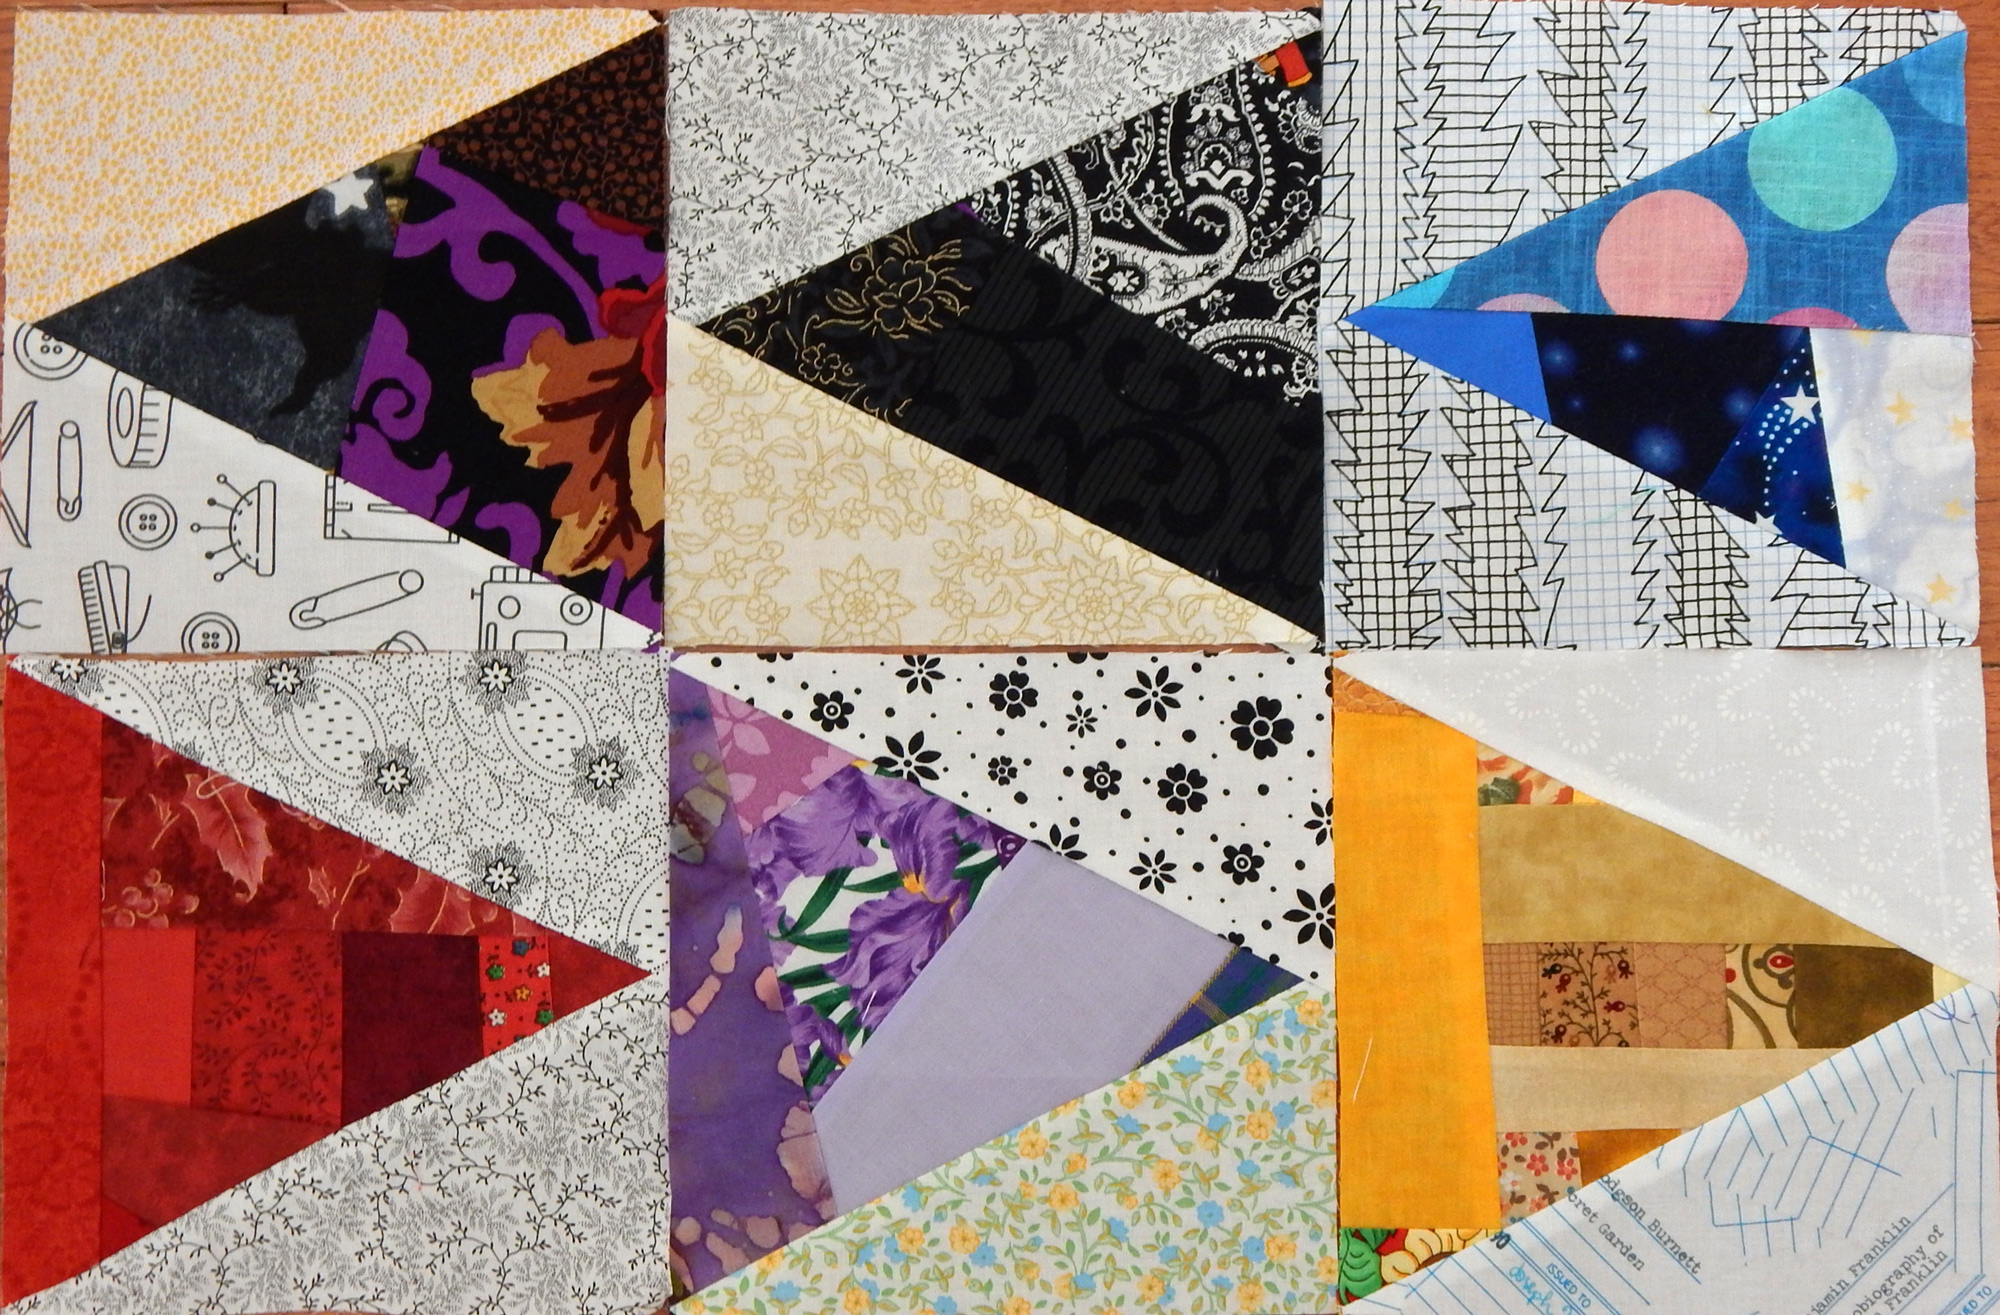
There are 18 pieces in the sample block above. That means the finished quilt has approximately 810 strips. Thank goodness I didn’t calculate that until now!!!


Super Fans!

I haunt Pinterest in my “spare time”  looking at pretty quilts. OK, maybe it’s “procrastinating time” rather than actual “spare time”, but you get the picture 😀

After seeing a number of lovely string quilts, I was forced to make lots of string blocks and assemble them into this “super fan” quilt.

There are many similar examples on the internet. I did not use a fabric foundation, as many string quilters do.

I made no attempt to use the same number of strips in each block, and my husband points out that the blocks do vary quite a bit. All good, I say.

I used strips from my scrap bins.

Those scrap bins are filled by cutting all leftovers into uniform strips, which vary in width from 1.5″ to 4.5″. These strips are useful for many things, from tying up packages to adding just the right bit of color to some projects. They do often overflow, though.

Here are a few of the other projects made from the strip bins:

And WOO! Paducah quilt week is only a week away!!! If you’ll be there I’d love to meet you!

Meanwhile, I’ll have a tutorial next week on how I did this fan block.

Wonky

I’m currently on a program of finishing 2 UFOs (unfinished objects) before starting each new project. I caught up quite a bit last year, but there are a few things still to be done.

Most recently I pulled out these swap blocks from a long time ago. They should finish 24″ square. Of course, since they are medallion style blocks, there’s plenty of opportunity for the size and shape to get “off” with each additional border.

There was one in the group that surely was not perfectly square. I put 4 of them together anyway, figuring this could be a picnic quilt and “fixing” the wonky block was way too fiddly.

This worried me a little, even in a picnic quilt. (OK, like most quilters, I’m more than a little O.C.)

Then my daughter came along and said, “It’s not wonky, it’s organic in design!” Ha! So there! Art-speak is frequently useful!

Scrappy Triangle Swap Blocks

I’ve belonged to a block swap group for a long time, but we have done extra during COVID. Here’s the latest, a scrappy triangle block. In case you want to know, it’s made with the tri-recs tool, available several places–just ask Ms. Google.

What we haven’t done is put any of these into a quilt! Here are some ideas on layout:

And in case you’ve never made improvised scrap blocks, here are directions. We’ve been using single-color scraps, but there’s no reason the color scheme can’t be scrappy.

Start by choosing 2 scraps you like and sew them together any way you care to. If one has a curved side, you can choose to sew the curve or cut it off straight.

Trim up an edge so you can add something else.

Keep adding pieces, checking occasionally to see if your template is going to fit on the scraps.

It’s fine to add BIG pieces too in order to move things along.

Press all the seams open. Too much bulk otherwise with all those seams.

Finally, cut around your template and assemble the block.

What templates do you like to use?

Fiddlesticks!

I finished this quilt last month, but I’ve been doing a lot of quilting due to quarantine, so I’m behind on showing my work.  This is a scrap quilt, of course.  I’ve been seeing lots of quilts with little strips inserted on Pinterest, and finally got around to developing my own.

First, I got out all my solids, including the Grunge, and cut a 12″ square from each for background.  I planned to trim the blocks to 10.5″ after I finished inserting strips, since I have a 10.5″ square ruler 😀  No point making things difficult; let’s plan for easy!

Then I got out all my scraps and cut them into strips ranging from about 1″ to 2.5″ in width.  I made strip sets and cut them crosswise into strips for the quilt.   The inserted strips were cut in widths varying from 1″ to 2″, which of course means they finished 0.5″ to 1.5″ wide in the blocks.  I made more skinny ones than wide ones.

I just slashed the blocks at random angles.  I did slash and insert only one strip at a time. 

After I’d inserted enough strips to suit me, I trimmed each block to 10.5″ square.

Just look at the fun flower design my quilter used!

And yes, I left 3 blocks unpieced to add interest.

Quilt stats:  Fiddlesticks

Finished size: 49″ x 69″

Designed by me, based on multiple inspirations from Pinterest

Technique: Improvisation

Quilted by Julia Madison

Color Gets the Credit, Value Does the Work

I don’t recall where I first heard the statement that titles this post but, when I ask Ms. Google, I find it a common saying on art teaching sites. It is certainly true in quilting.

The class I taught most recently was about learning to use color in quilts. We used Linda Hahn’s pattern Junk to Jems. I gave each student a handout with numerous ways to vary the blocks. Everyone brought scraps and we all worked on different ways to combine them. It was fun and we got some very interesting color combinations.

Here are some of the blocks made in the class:

And here are a couple of variations I made as class samples:

As with all Linda’s patterns, Junk to Jems was clearly written.  I’ll probably use it again because so many variations can be made with this block.

And yes, I am using both cream and white backgrounds in the same quilt 🙂