Kraft-Tex Appliqué ! Woo!

Appliqué and I have a love-hate relationship.  I love the look of appliqué sometimes, and I’ve tried several methods, from needle turn to fusible and most things in between.  No method is perfect.

And just to show that I really have tried, here are some samples:

Machine appliqué of these circles was done after the quilting, so the backing and batting acted as stabilizer

The petals were fused on with Heat’n’Bond, and then I buttonhole stitched around them after doing the rest of the quilting, again eliminating the need for stabilizer

The snowmen and noses were a combination of fusible appliqué and Eleanor Burns’s appliqué with fusible interfacing.  I have washed this and it held up fine.

Sunbonnet Sue

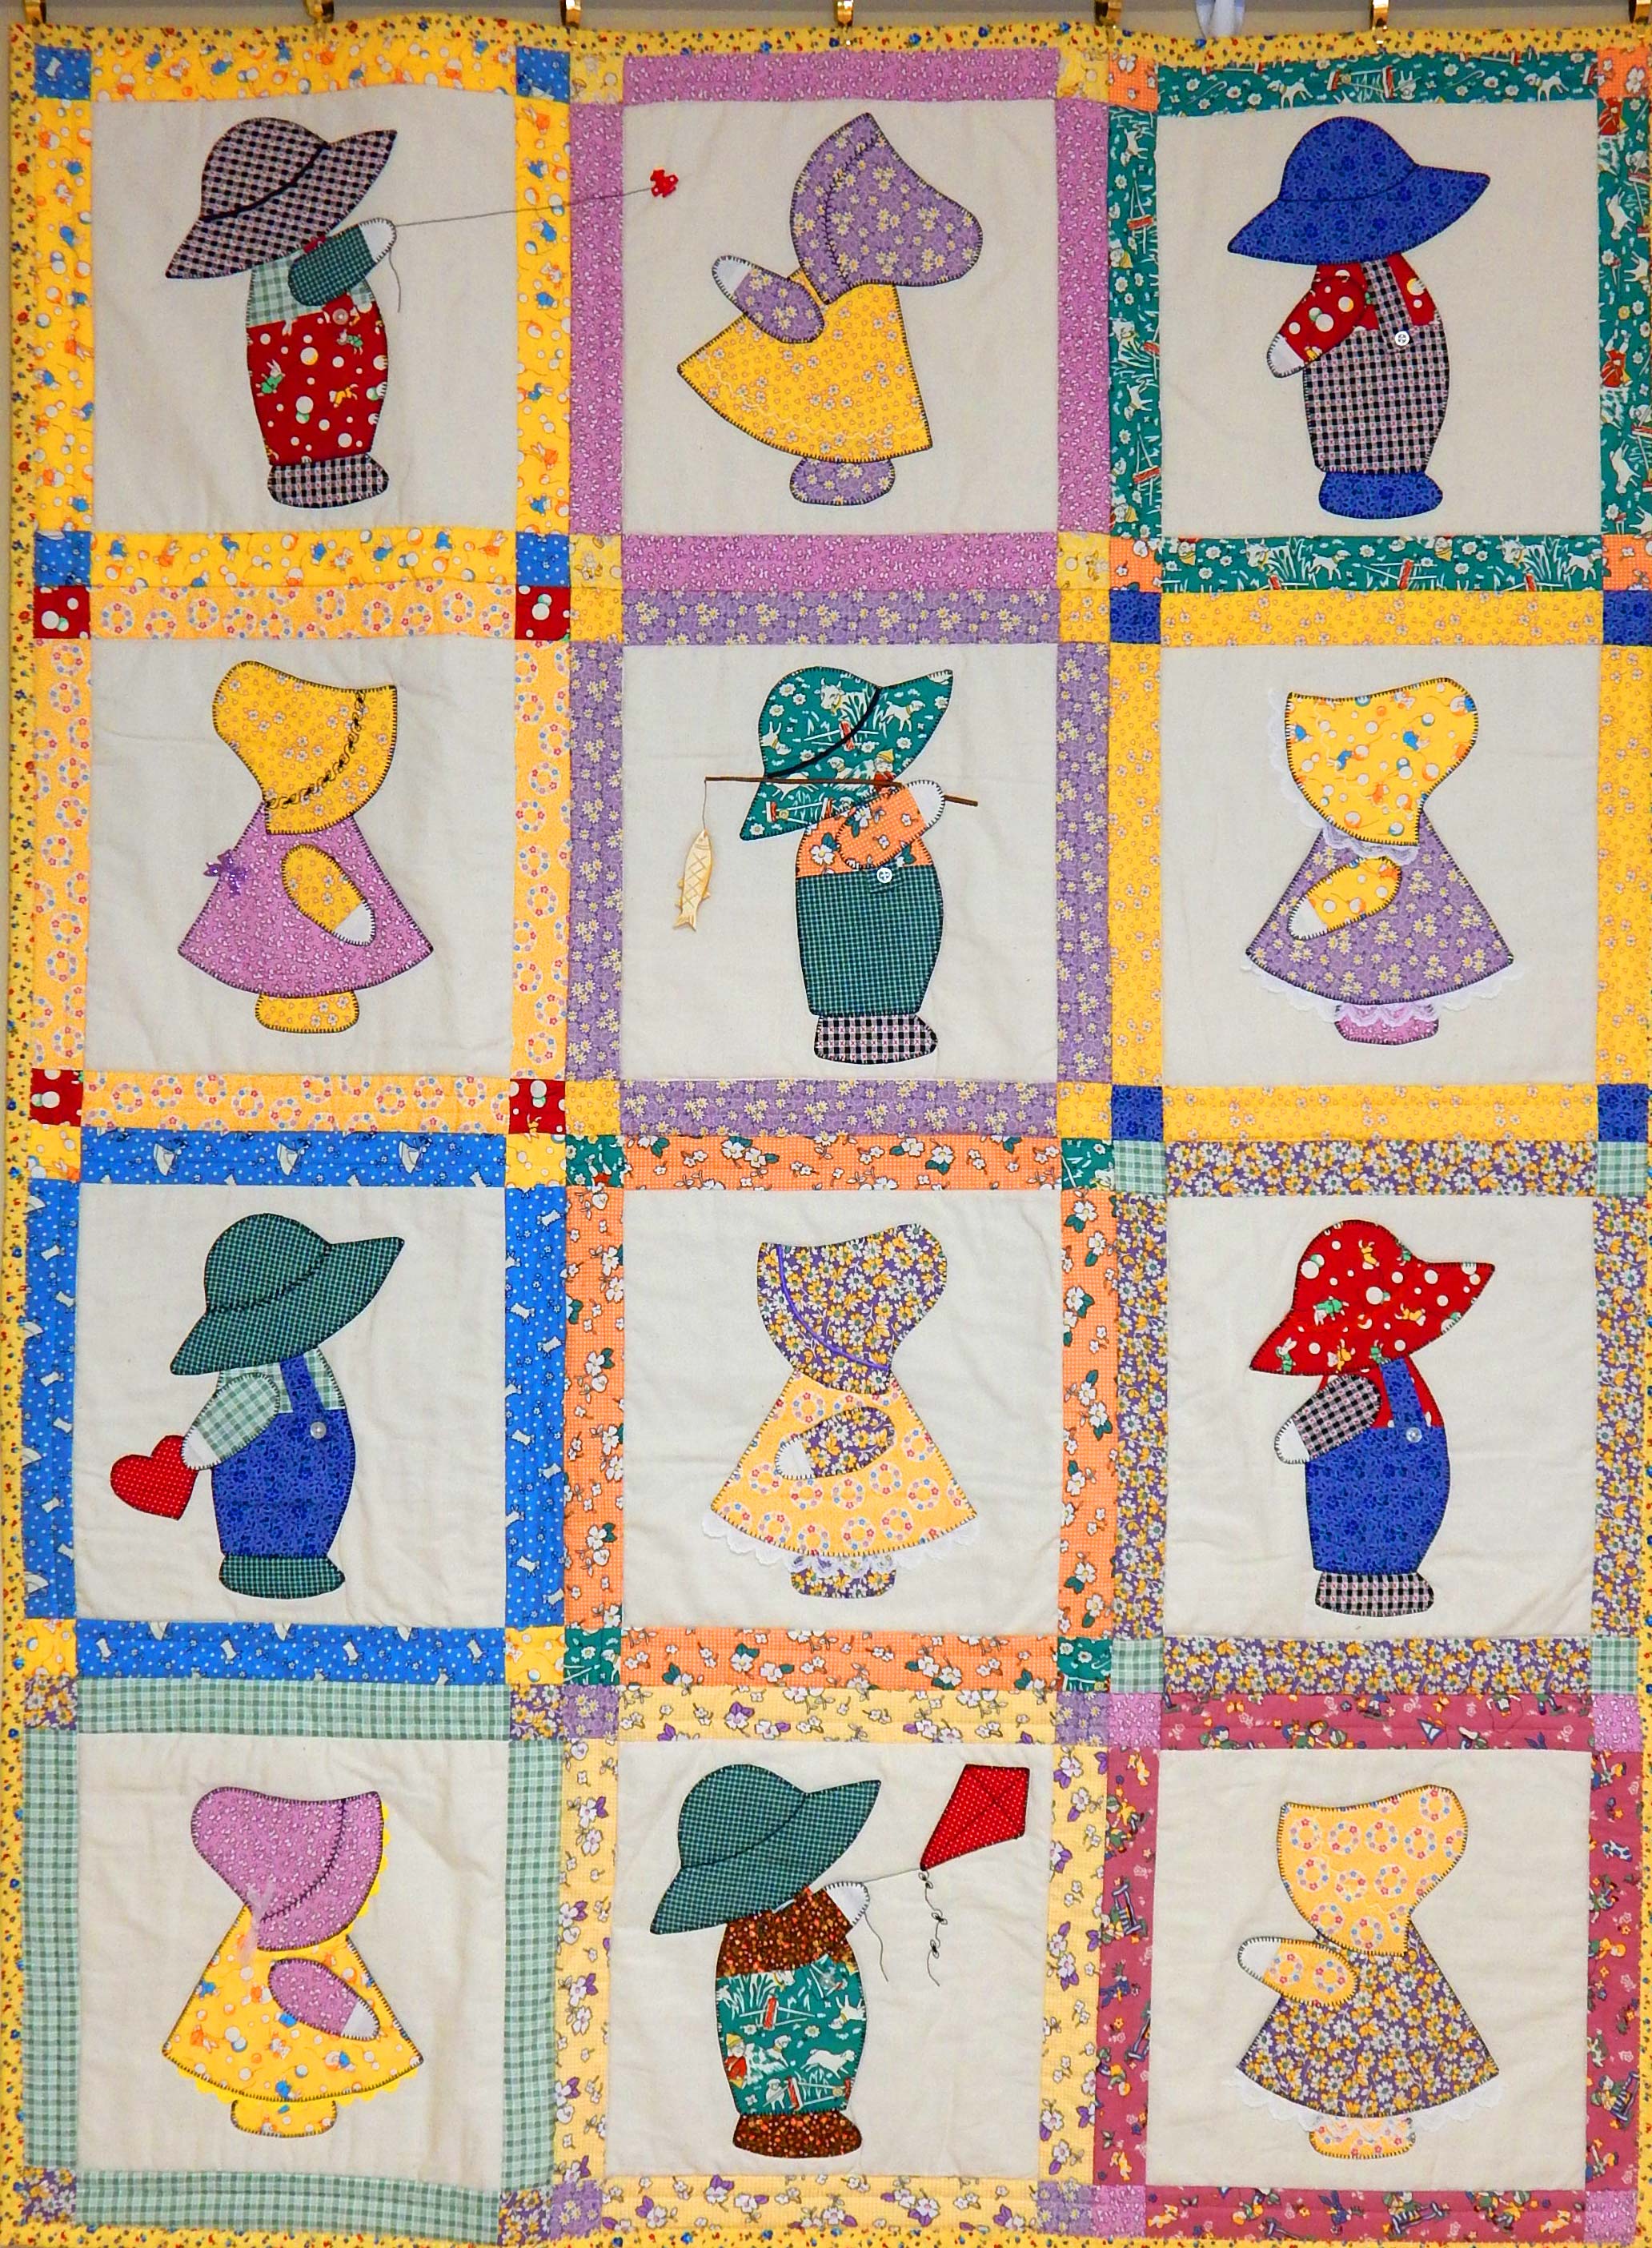
Sunbonnet Sue Visits Quilt in a Day was done with Eleanor Burns’s method using fusible interfacing to produce turned edges

So, when I wanted a space alien to go on a quilt recently, I gave the appliqué process some serious thought.  This fabric is part of the background for a wonky star quilt I’m making, and I wanted one block to be a space alien to go with the theme.

Unfortunately, I have not saved the selvage from this fabric, so I don’t know who made it

Then I had an idea (drum roll, please).  The folks at C&T recently asked me to be an ambassador for Kraft-Tex, and since I was already a Kraft-Tex user and had blogged about it 3 times, I agreed.  They sent me some free Kraft-Tex!

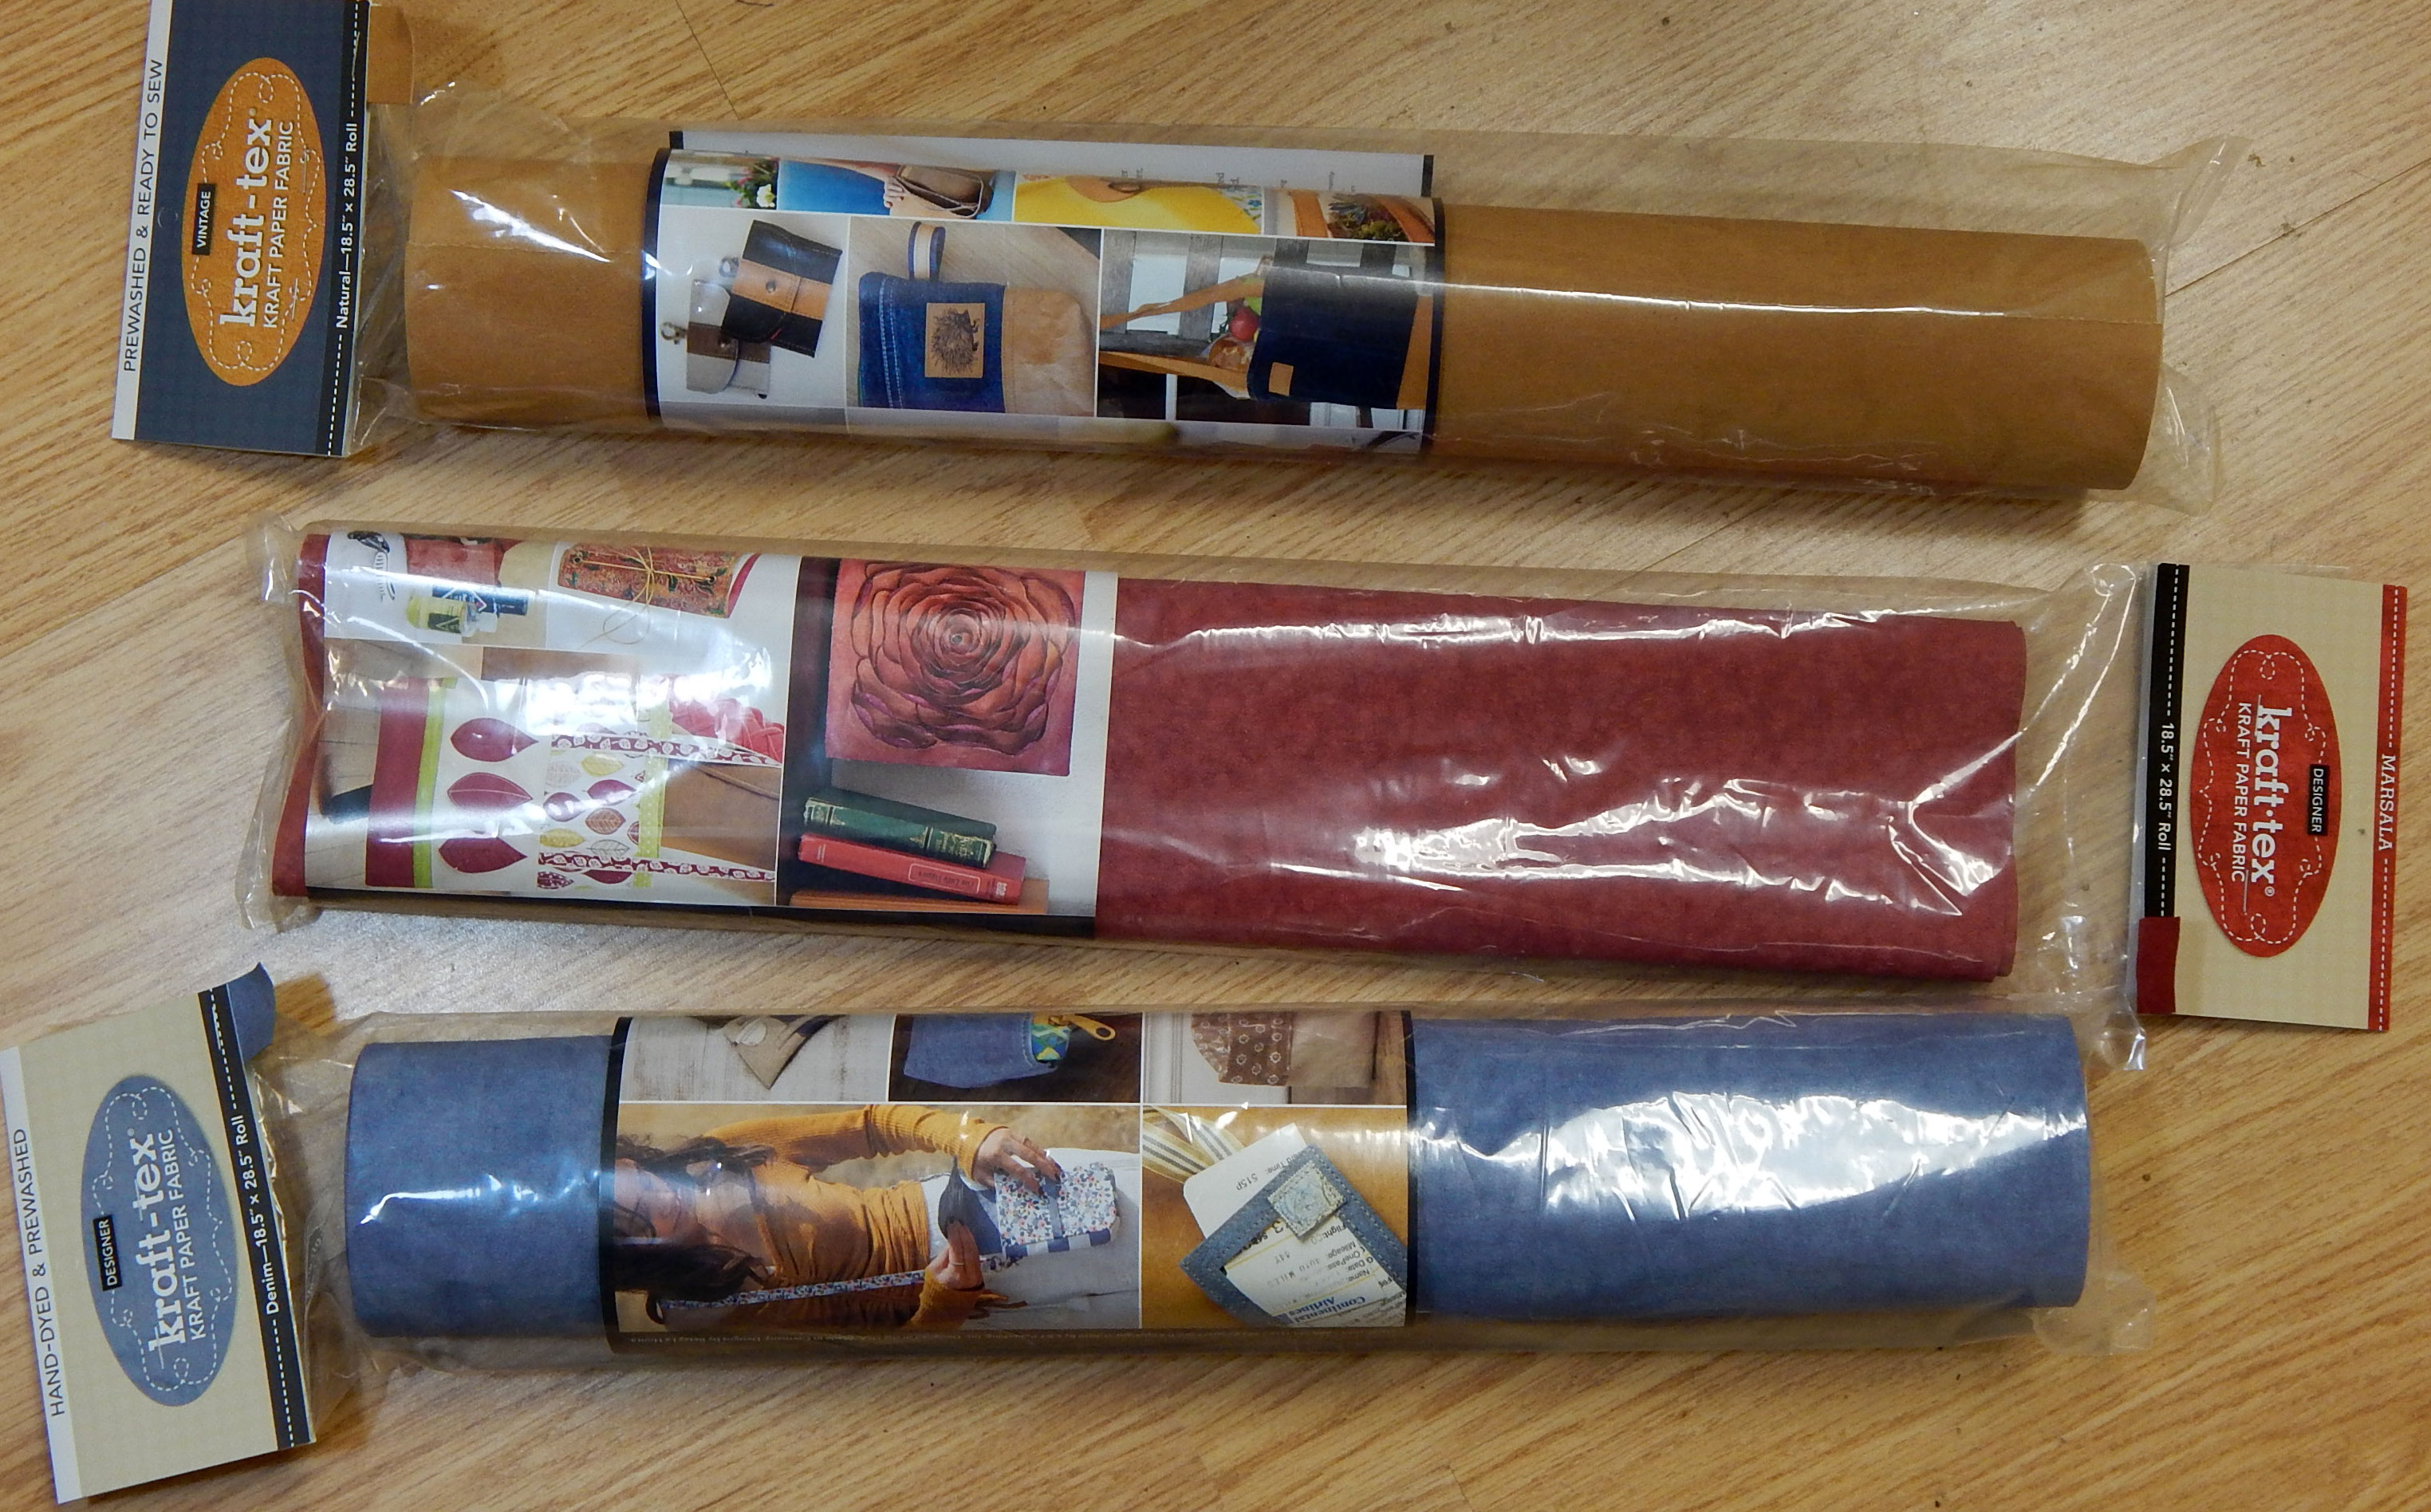
I chose Marsala, Denim (hand dyed and prewashed), and natural prewashed for my free Kraft-Tex

Actually, I had already bought this black Kraft-Tex for another project, but I just want you to know that, for the first time ever, I have accepted a donated product for use in my blog.

I’ll have a tutorial on this whole quilt when it’s finished, but here’s an overview of how I used Kraft-Tex to avoid traditional appliqué .  I cut out the alien’s head using one of my circle cutters and attached it to the block with washable glue stick. Then I cut the outline from black Kraft-Tex and put it over the raw edge, with the raw edge kind of centered underneath.

Here is the alien on my design wall

The eye stalks and eyes were cut from Kraft-Tex and all the Kraft-Tex was glued down with the same washable glue.  That all worked well.  I then machine-stitched near the edges of the Kraft-Tex using a size 70 needle and matching thread.  Voila!  I didn’t have to fool with fusibles, bias strips, or much of anything at all.

Kraft-Tex is washable, and I’ll be interested to see how it does in this quilt.  It is stiffer than fabric, but I think that will be OK given the small amount I used on this twin-size quilt.

I can especially see using Kraft-Tex this way in art quilts very soon!

I’ll let you know how this all turns out!

Meet Cheryl Brickey of Meadow Mist Designs

You already know that I took an excellent class with Cheryl Brickey at the North Carolina Quilt Symposium recently.  She kindly agreed to an interview, as well.

Cheryl and me with the partially completed quilt I designed and made in class

Cheryl has written a book and numerous patterns; all are available on her website.    She is an engineer and works 3 days a week writing patent applications for high-tech textiles used in things like tires and military applications.  On top of all that, she has two children and a very busy life, so I asked for her top time management tip.  Her answer: “Don’t have any [time].”  She explained that, because her time is so limited, she knows exactly what she needs to do when she enters her studio and gets right to it.

Cheryl’s book, which she wrote with her friend Paige Alexander

Cheryl started quilting when her children were small.  She had always been involved in crafts, but started making quilts because it was something that “stayed done”, unlike the dishes, the laundry, etc.  I think we can all understand that!  She says she read somewhere that a woman should do something every day that can’t be undone.  Both she and I have searched extensively for that quotation without finding it, so I think we’ll just attribute it to Cheryl!  Anyway, quilting meets that need for her.

Cheryl identifies “modern traditional” as her style of quilting, and you can see what she means from the pictures below of some of her designs.

Samples for Cheryl’s class on minimalism in design

She blogs at Meadow Mist Designs, where she has just announced her next free mystery quilt.

Click here to be taken to Cheryl’s blog, where you can read about her mystery quilt

This mystery quilt will start in July of this year and run through April of 2020.  She will post a new set of directions the first Thursday of each month.

Cheryl says there is a non-mystery option, and about 25% of those who sign up for the mystery quilt elect to get a picture of the finished product from the outset!  (This meets her “engineer need”, she says.)  The only caveat is that those who elect to see the design from the beginning have to keep the secret so as not to ruin it for others.

Cheryl was a delight to meet and interview.  Her workshop and lecture were very well organized and presented.

Here are two of my favorite patterns from Cheryl, because who can resist pretty pictures?

You can check her out here.

North Carolina Quilt Symposium

I recently spent 2 weeks mostly doing quilty things rather than cooking, doing laundry, hanging on the internet, etc. The time ended with the North Carolina Quilt Symposium at Lake Junaluska, NC.

View from the hotel at Lake Junaluska

This was one of the best events I have ever attended in terms of the quality of instruction. The friends who went with me agree, so it wasn’t just me in my little bubble 🙂

I took a class with Cheryl Brickey (see her website here), who was a wonderful instructor and showed us her personal method of designing modern-traditional quilts using EQ8 (Electric Quilt).  I have used EQ for ages (OK, since EQ5, and they are now up to EQ8) but she showed me some cool new tools I had never discovered.

Cheryl and me with the partially completed quilt I designed and made in class

My second class was with Lyric Kinard.  (Her website is here.)  I learned a lot about creating portraits in fabric.  Here is one that was done for practice at the beginning of the class.  It’s supposed to be the woman who was sitting across from me, but I did not take a photo of her for comparison 😀

This was just a quick practice piece; I promise the woman didn’t really have blue skin!

Lyric went on to teach a much more elaborate and realistic way to do a portrait in fabric, but mine isn’t even far enough along to show.  The whole class was useful and Lyric is an encouraging instructor.

The details of next year’s NC Quilt Symposium are not finalized, but if you want to know more about the symposium and what was available this year, visit the website at NCQSI.org.  I hope to see you there next year, especially, because I have agreed to help recruit teachers!  Come join the fun!

I was able to interview 3 of the teachers at NCQS, so look for posts about them coming up in the next few weeks.

One Mistake Makes Two Quilts!

A while ago one of my blogging friends posted a picture of her “red rails” quilt.  She makes these quilts to use up 1.5″ x 3.5″ scraps, so it seemed perfect for me.  I cut my scraps into strips varying from 1.5″ to 4.5″ in width and store them in drawers, sorted by size in 0.5″ increments.  Here are some of those (stuffed) drawers:

Since I had a lot of 1.5″ strips and wanted to make another donation quilt, I got started.  Her quilt is “red rails” because the center strip of every block is red.  I have a lot of blues, so mine became “blue rails”.  I drew it with EQ8 to start with, to be sure I knew what I was doing:

Blue Rails, drawn in EQ8 based on a quilt by Nann at withstringsattached.blogspot.com

I got busy sewing 1.5″ strips together in sets of 3 and cutting the sets into 3.5″ squares.  Then I started making the blocks.  Before I knew it, the 1.5″ bin was almost empty and I had a lot of little 3.5″ blocks.

I joined them in groups of 4, and that’s where I went wrong.  It turns out there is a right way and a left way for the blocks to twirl in sets of 4, but I didn’t realize that at first!

Trust me, no matter how you rotate these two blocks (drawn with EQ8), they do not match up!

So, I will have TWO blue rails quilts, one rotating in each direction.  Here’s the first one, which I am donating this month.  Another doggone learning experience 😀

Blue Rails donation quilt, about 40″ square

What have you learned lately?