I just found a couple of interesting things online that I thought I’d pass on.
First, Rebecca Bryan published another blog on how to choose colors for a quilt. Mind you, it’s about only one of many possible color “recipes” but I thought her explanation was unusually well done. I personally choose my colors intuitively, but I know many people agonize over fabric choice, so I thought some of you might want to see her article. The link is here, and she has additional articles on choosing colors if you’re interested.
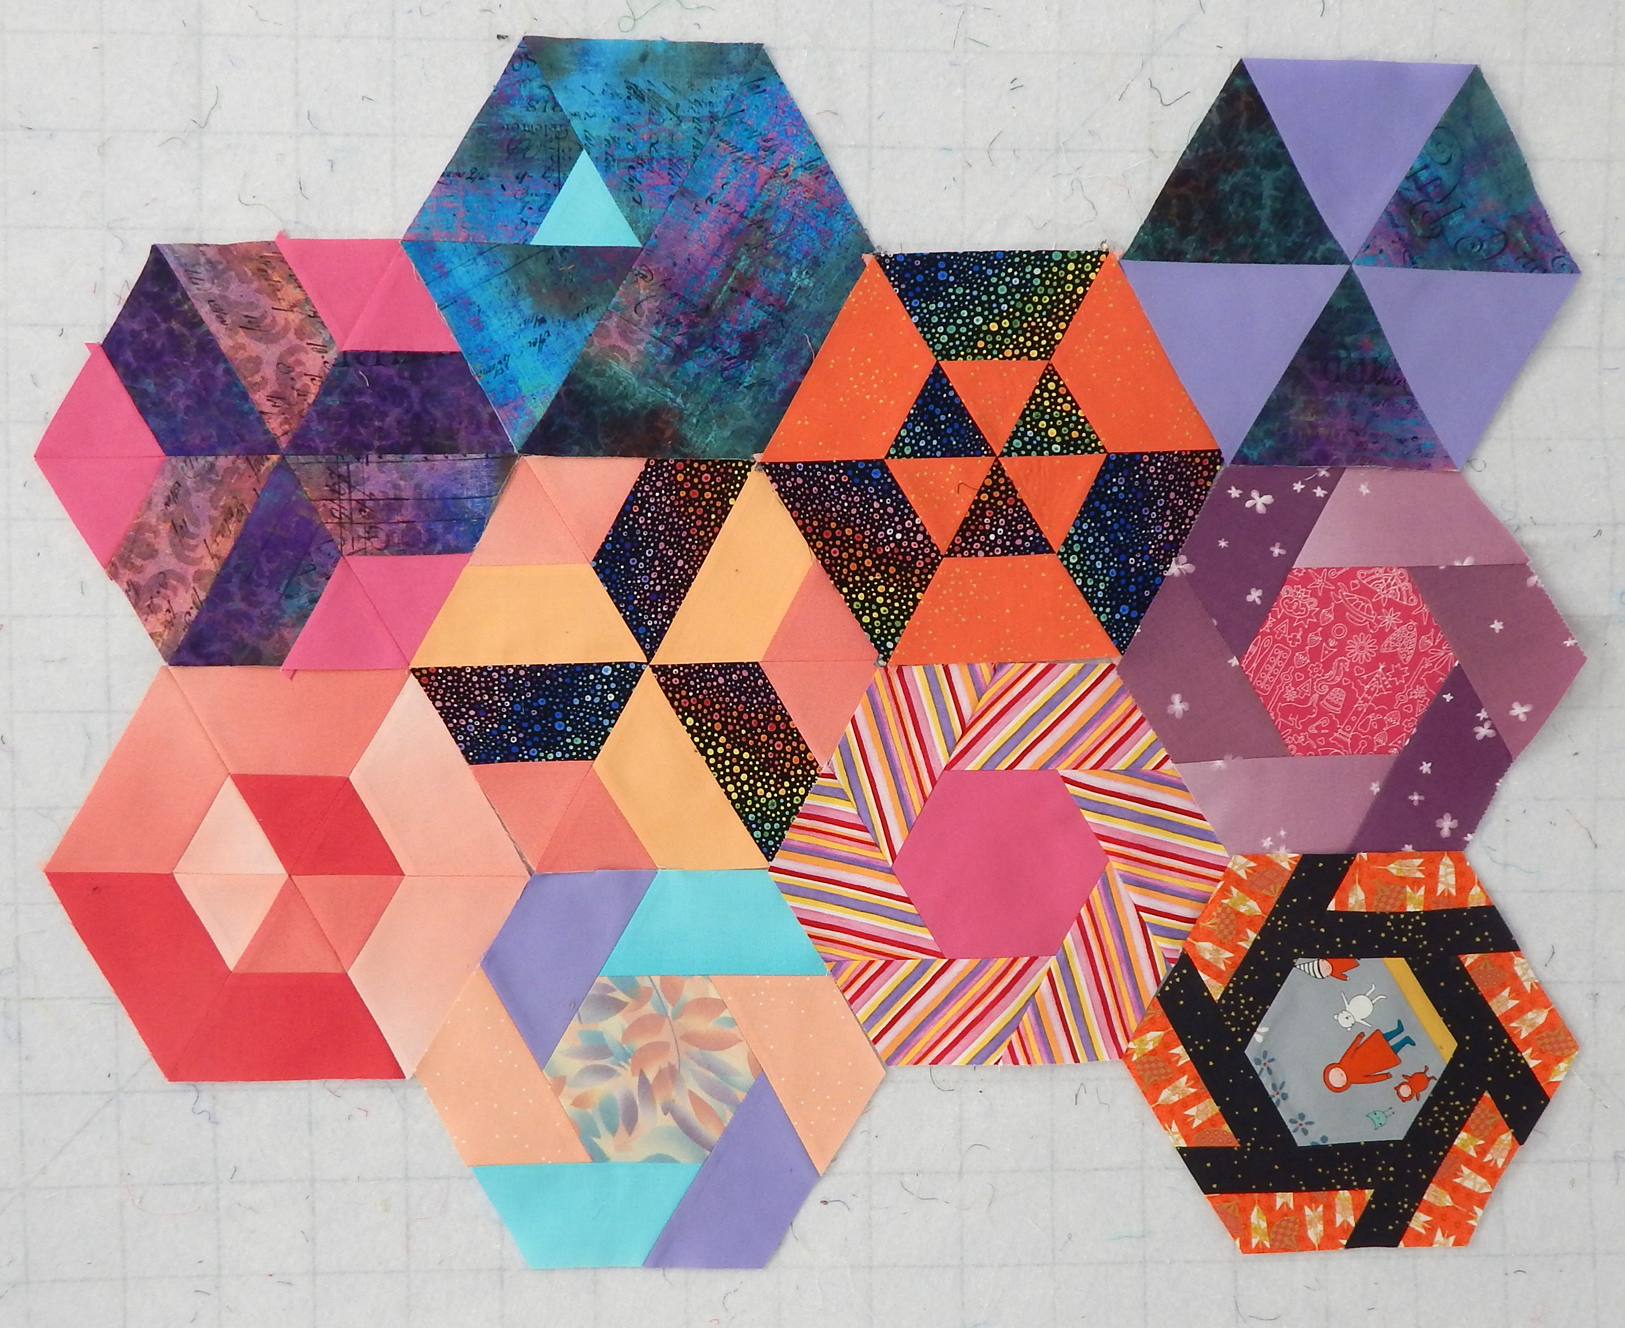
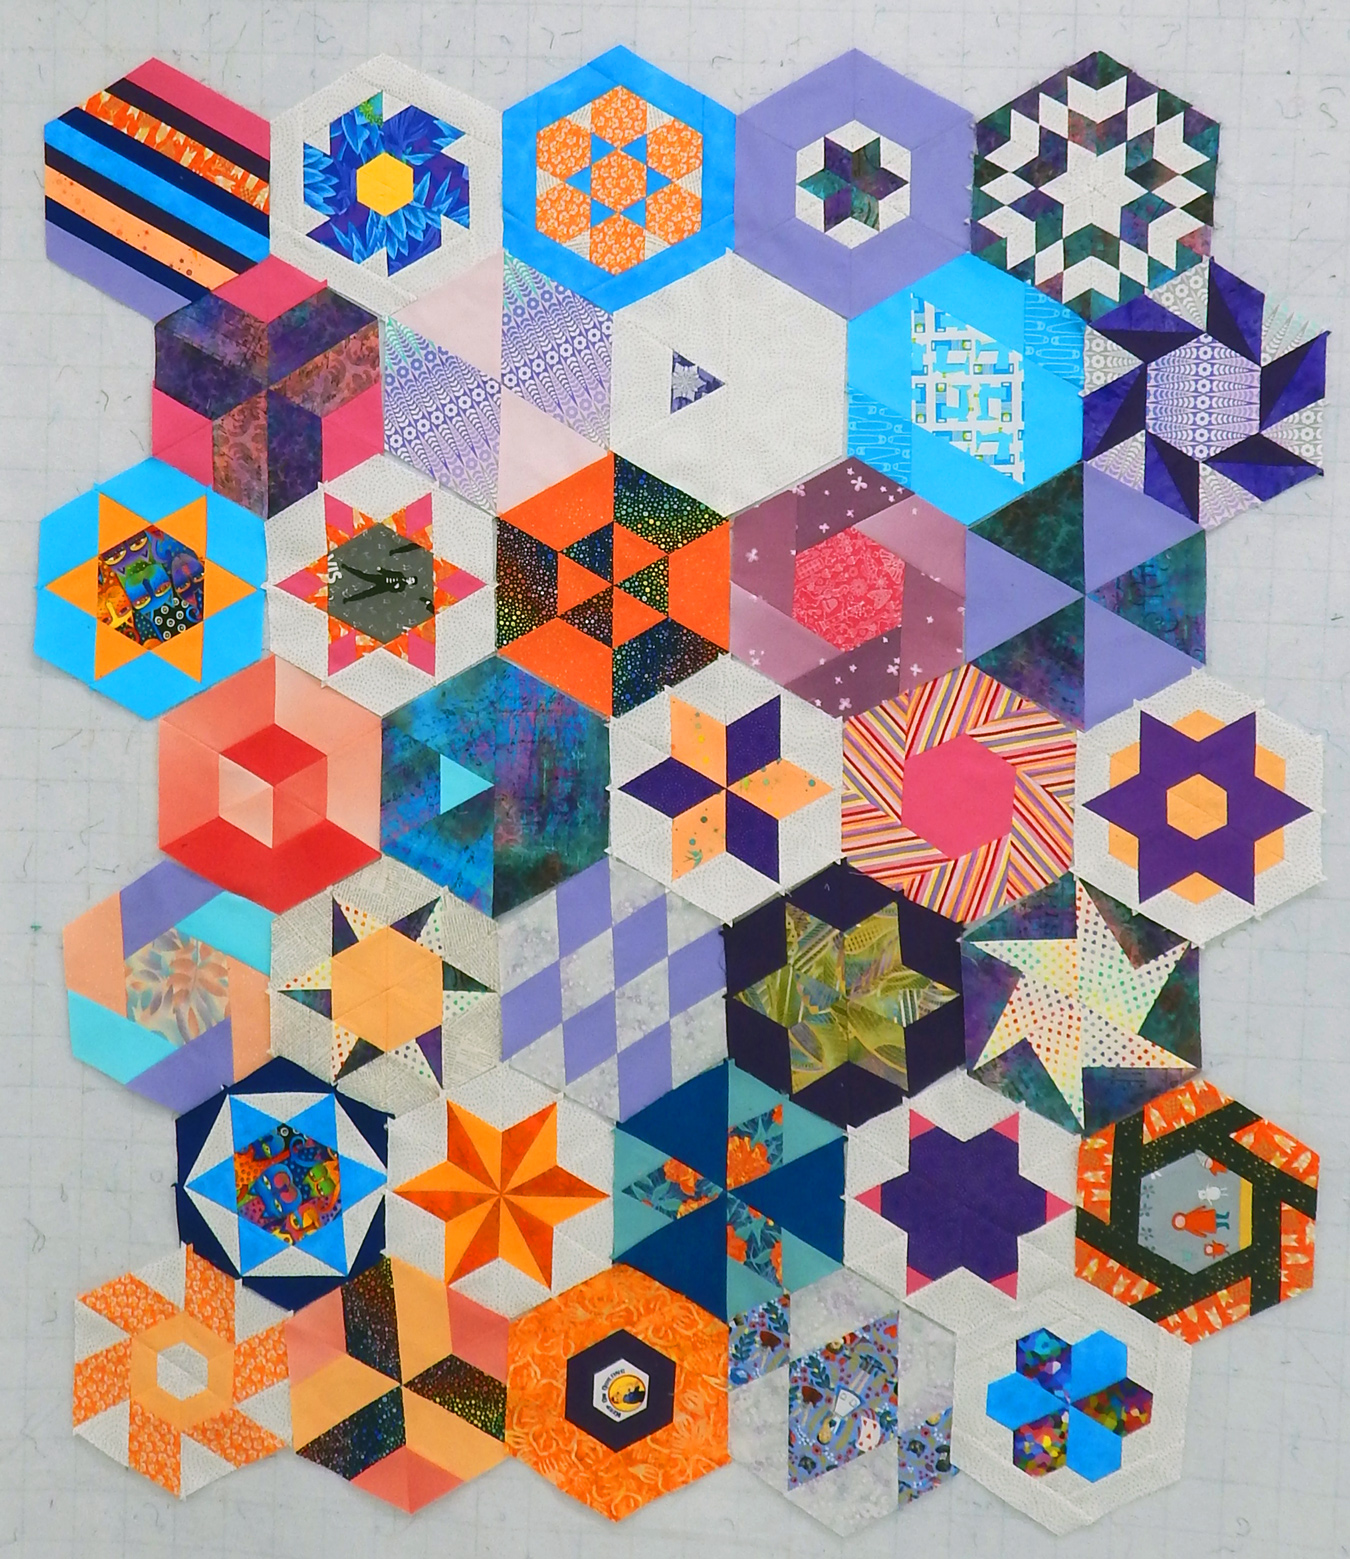
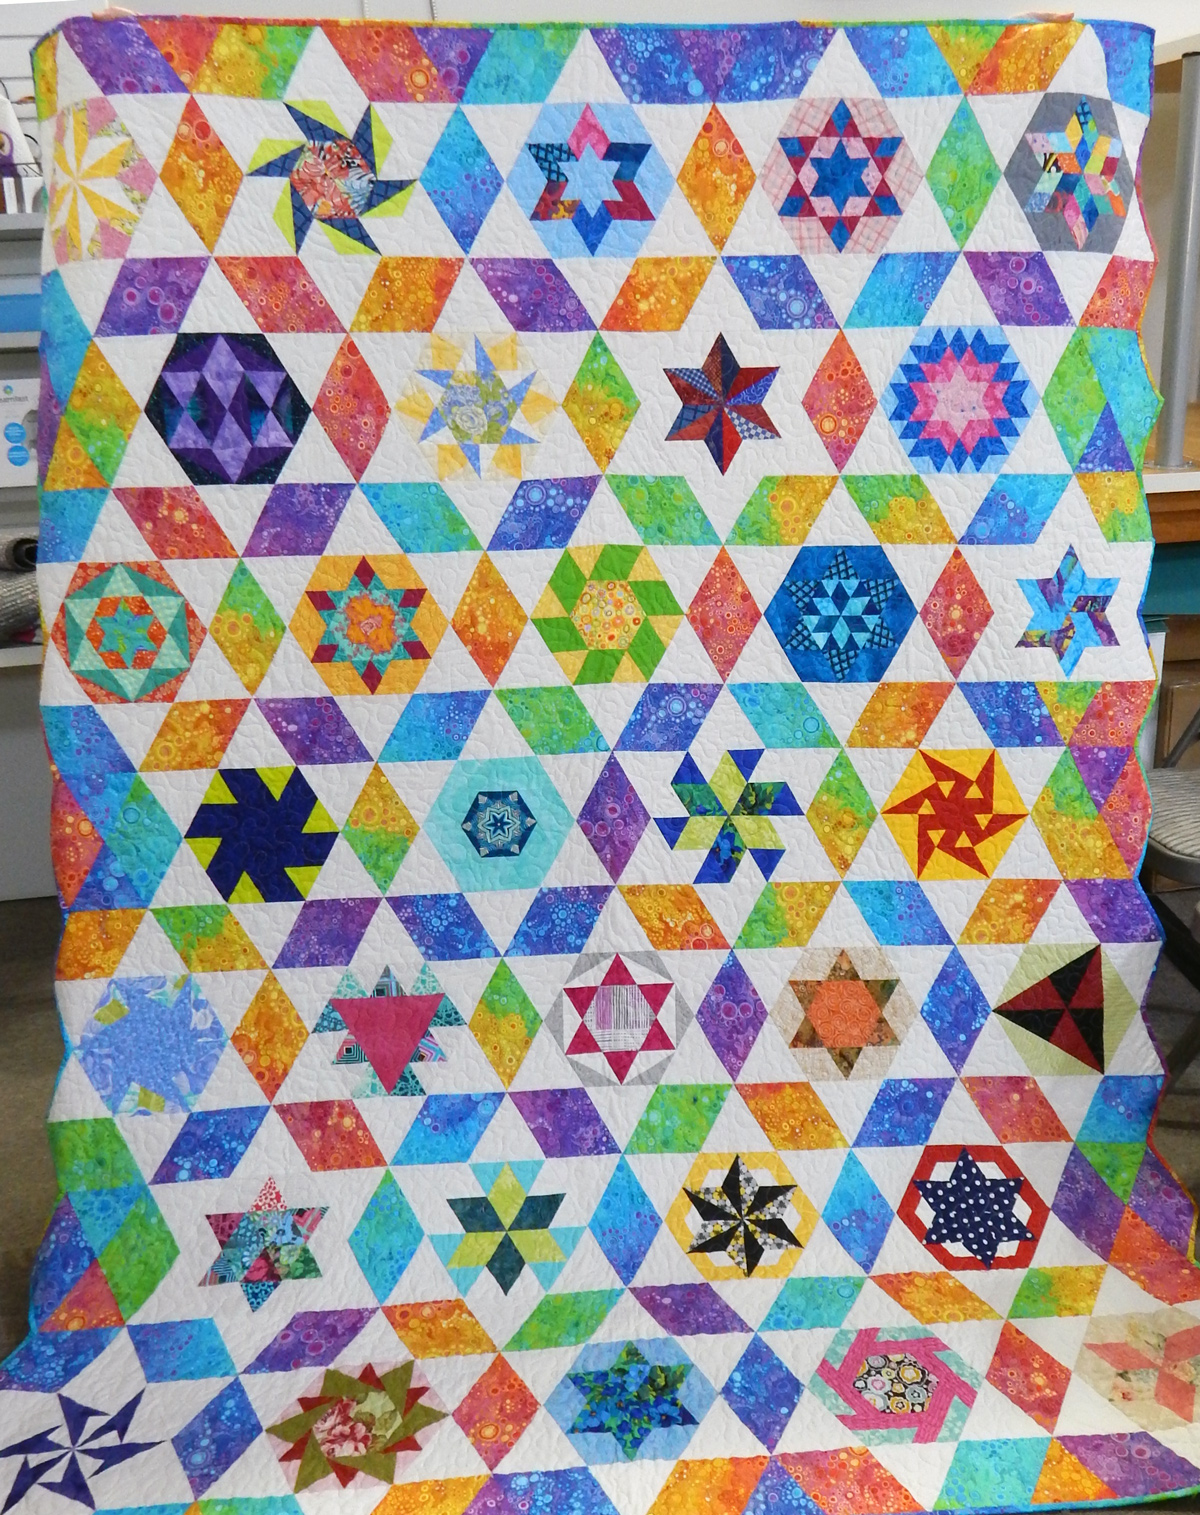
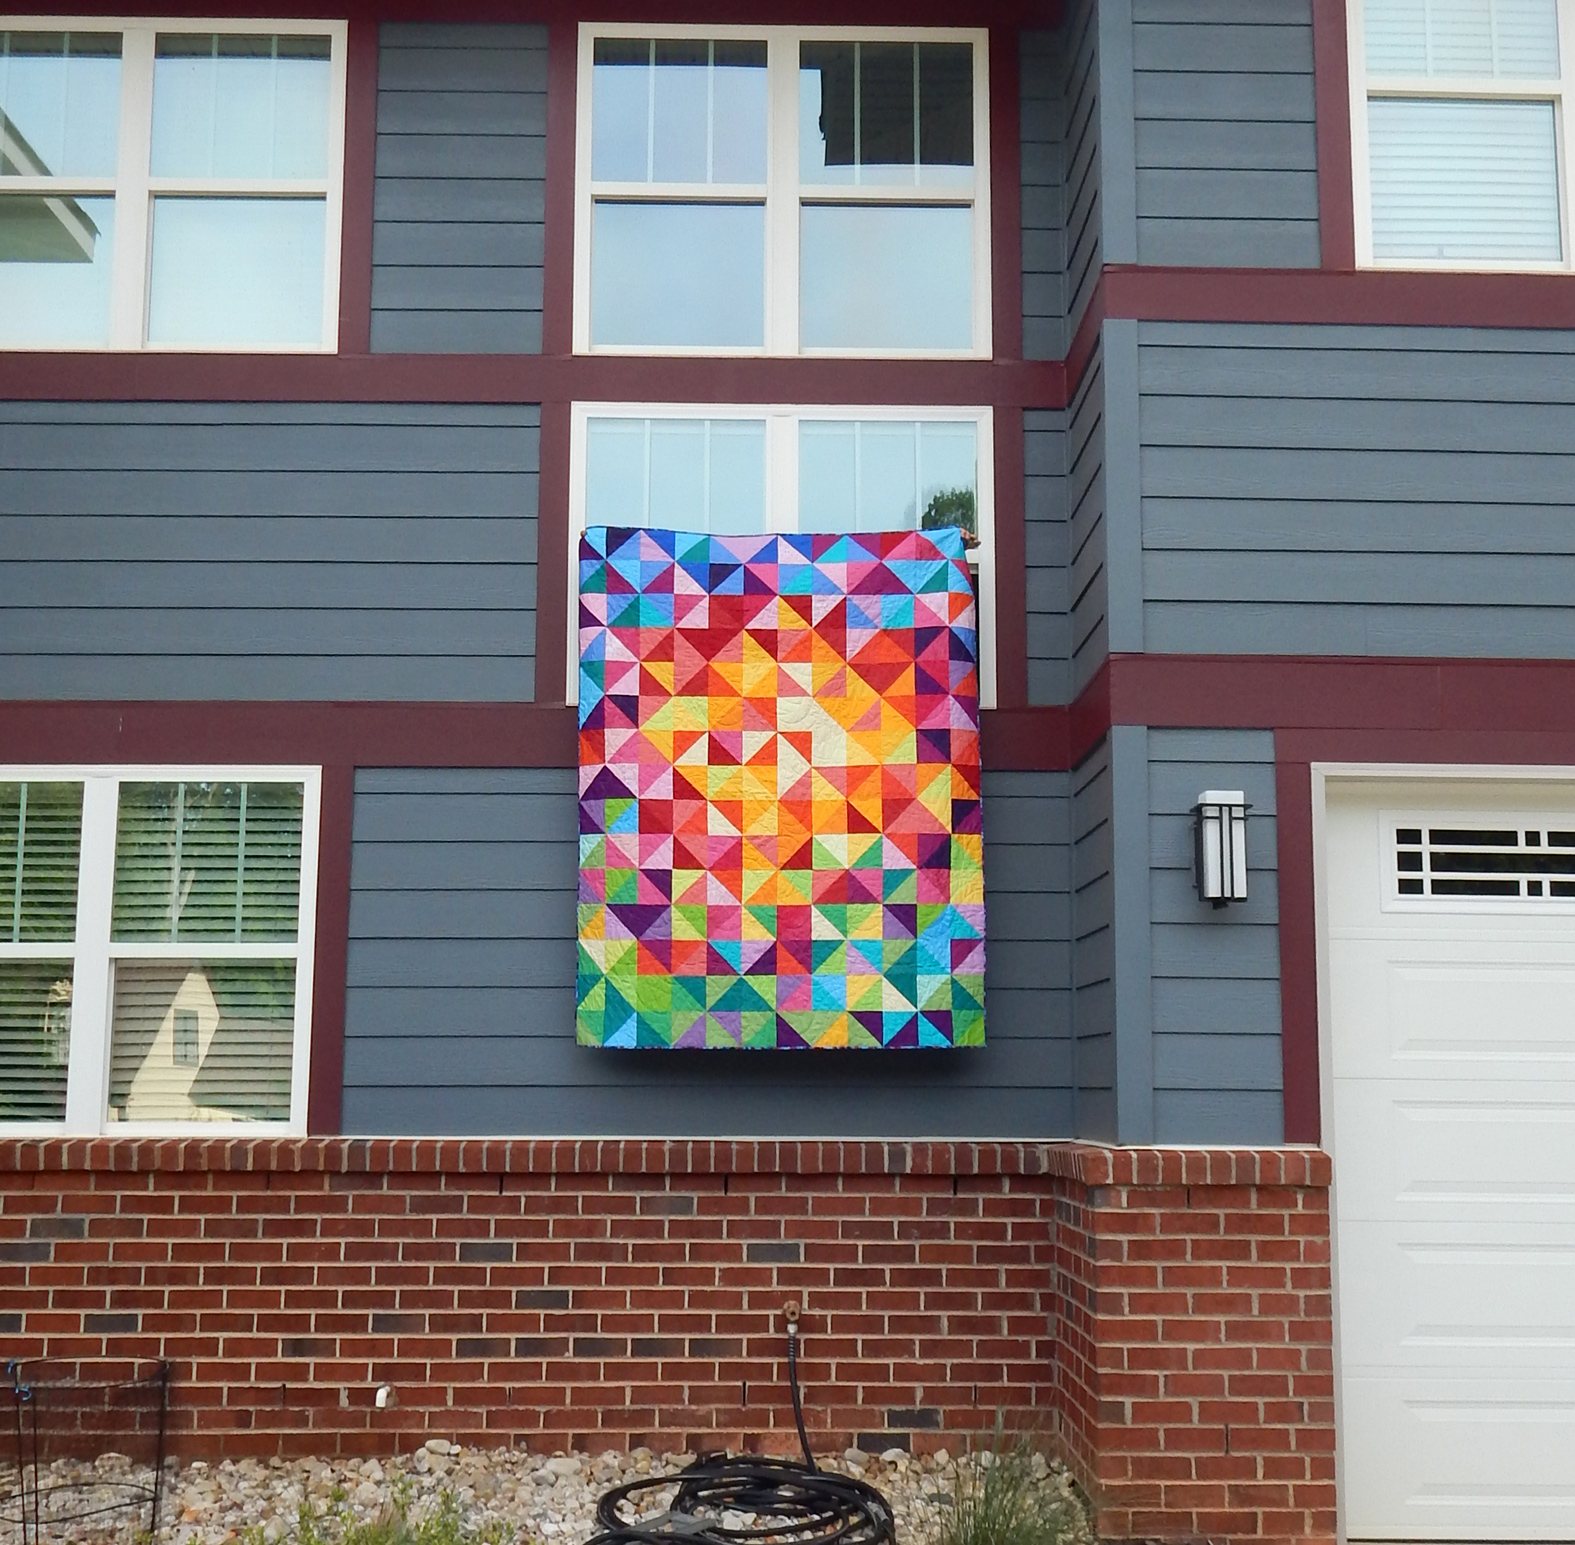
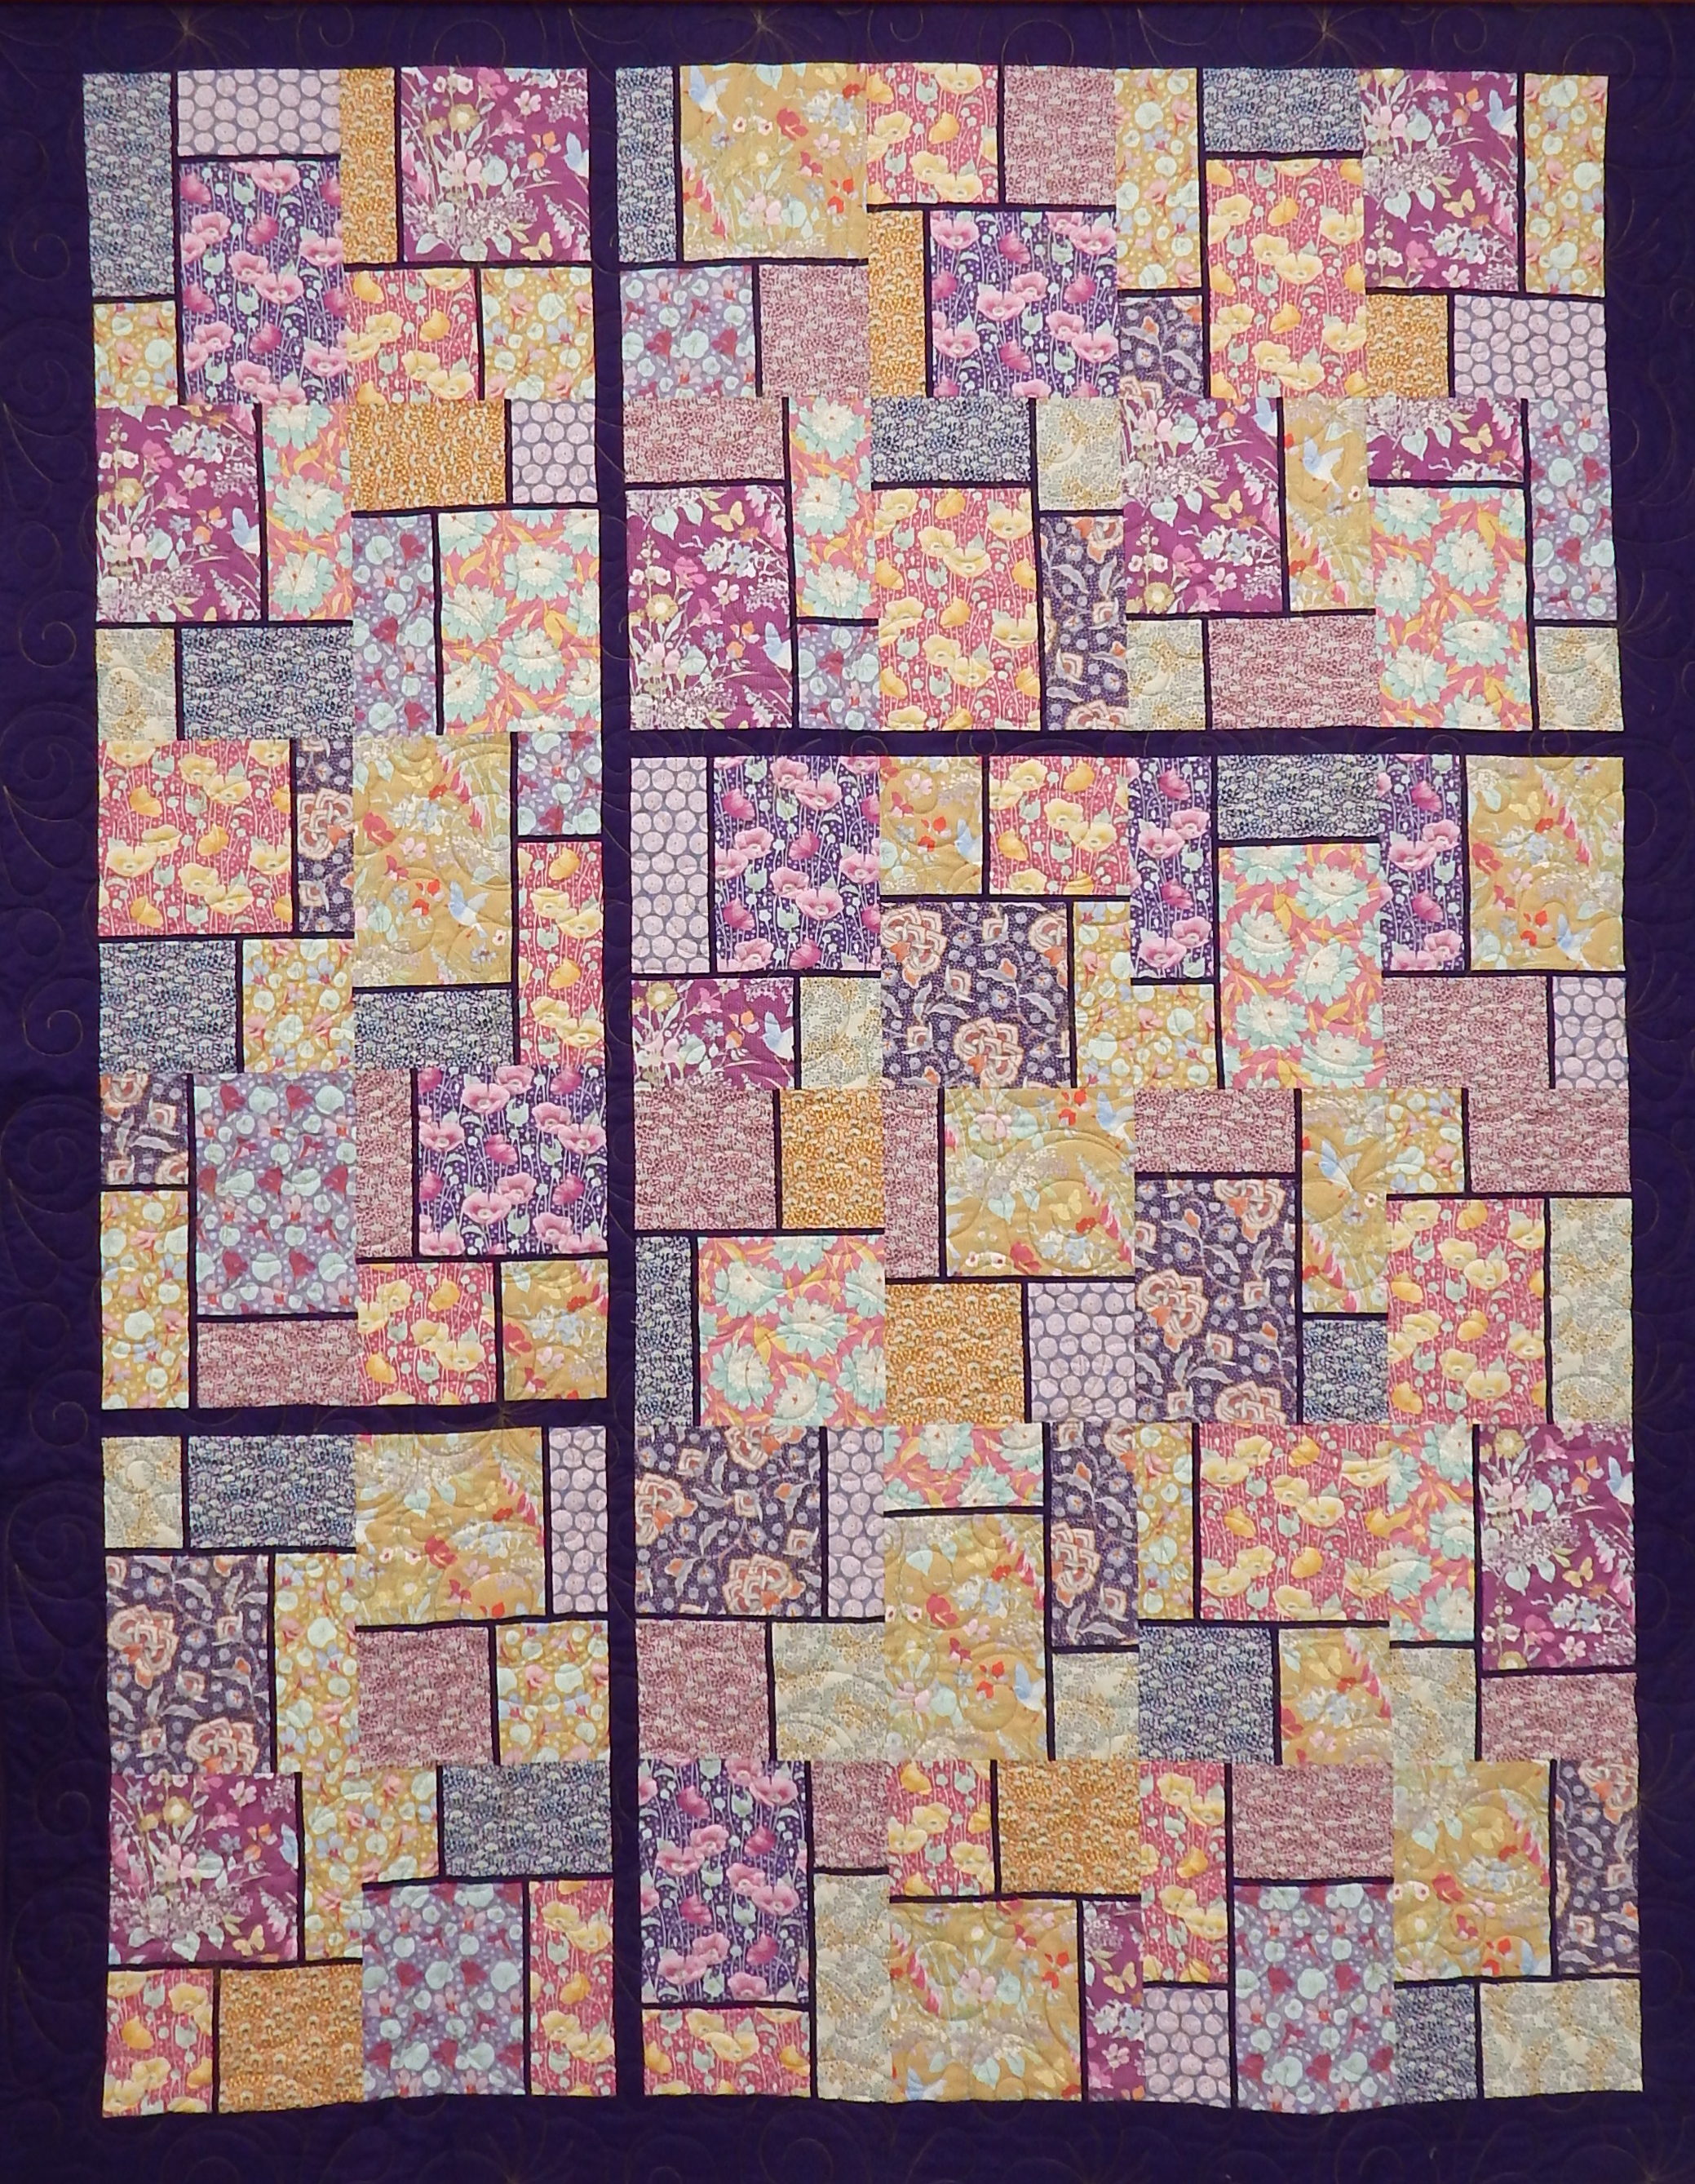
Rebecca designs wonderful quilts, too. Here’s one I made years ago from her book Modern Triangle Quilts. The color choices are mine, and I added a few blocks that weren’t in the book, but the pattern is basically hers. (Modern Triangle Quilts was published in 2017, so you probably can get it for less now through AbeBooks. And no, this is not an affiliate link.)

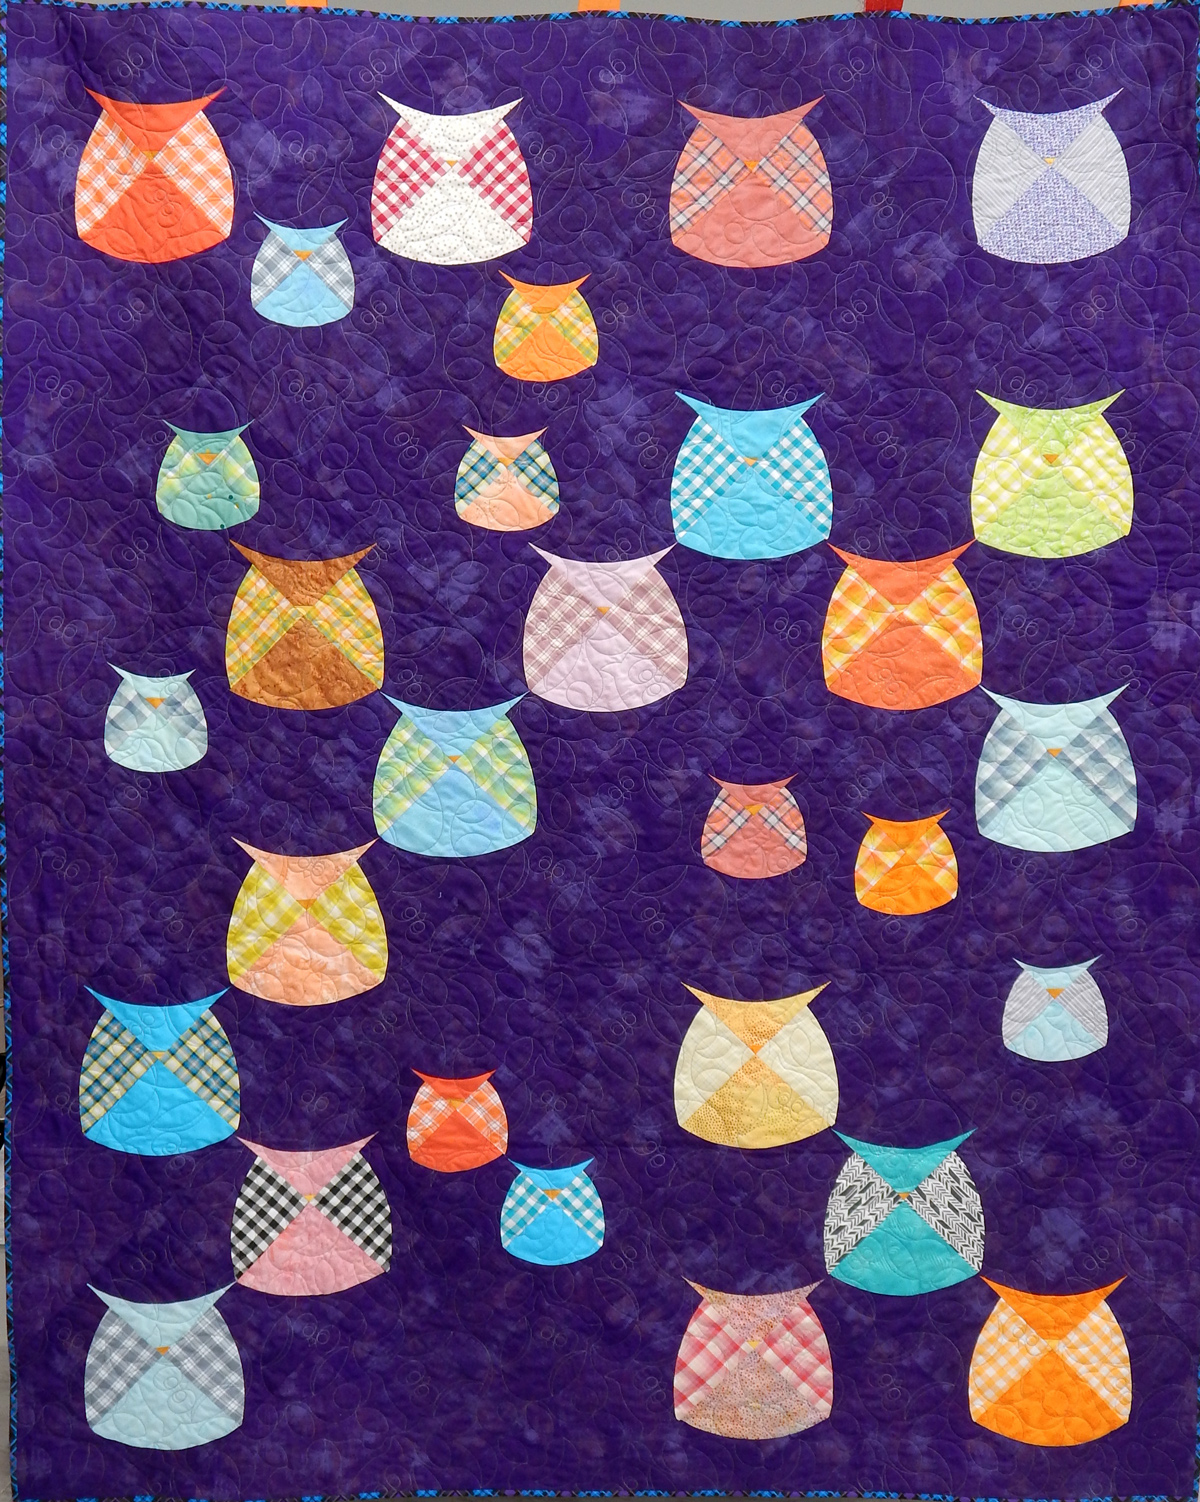
“Triangle Variations” did not get to go to a quilt show due to COVID

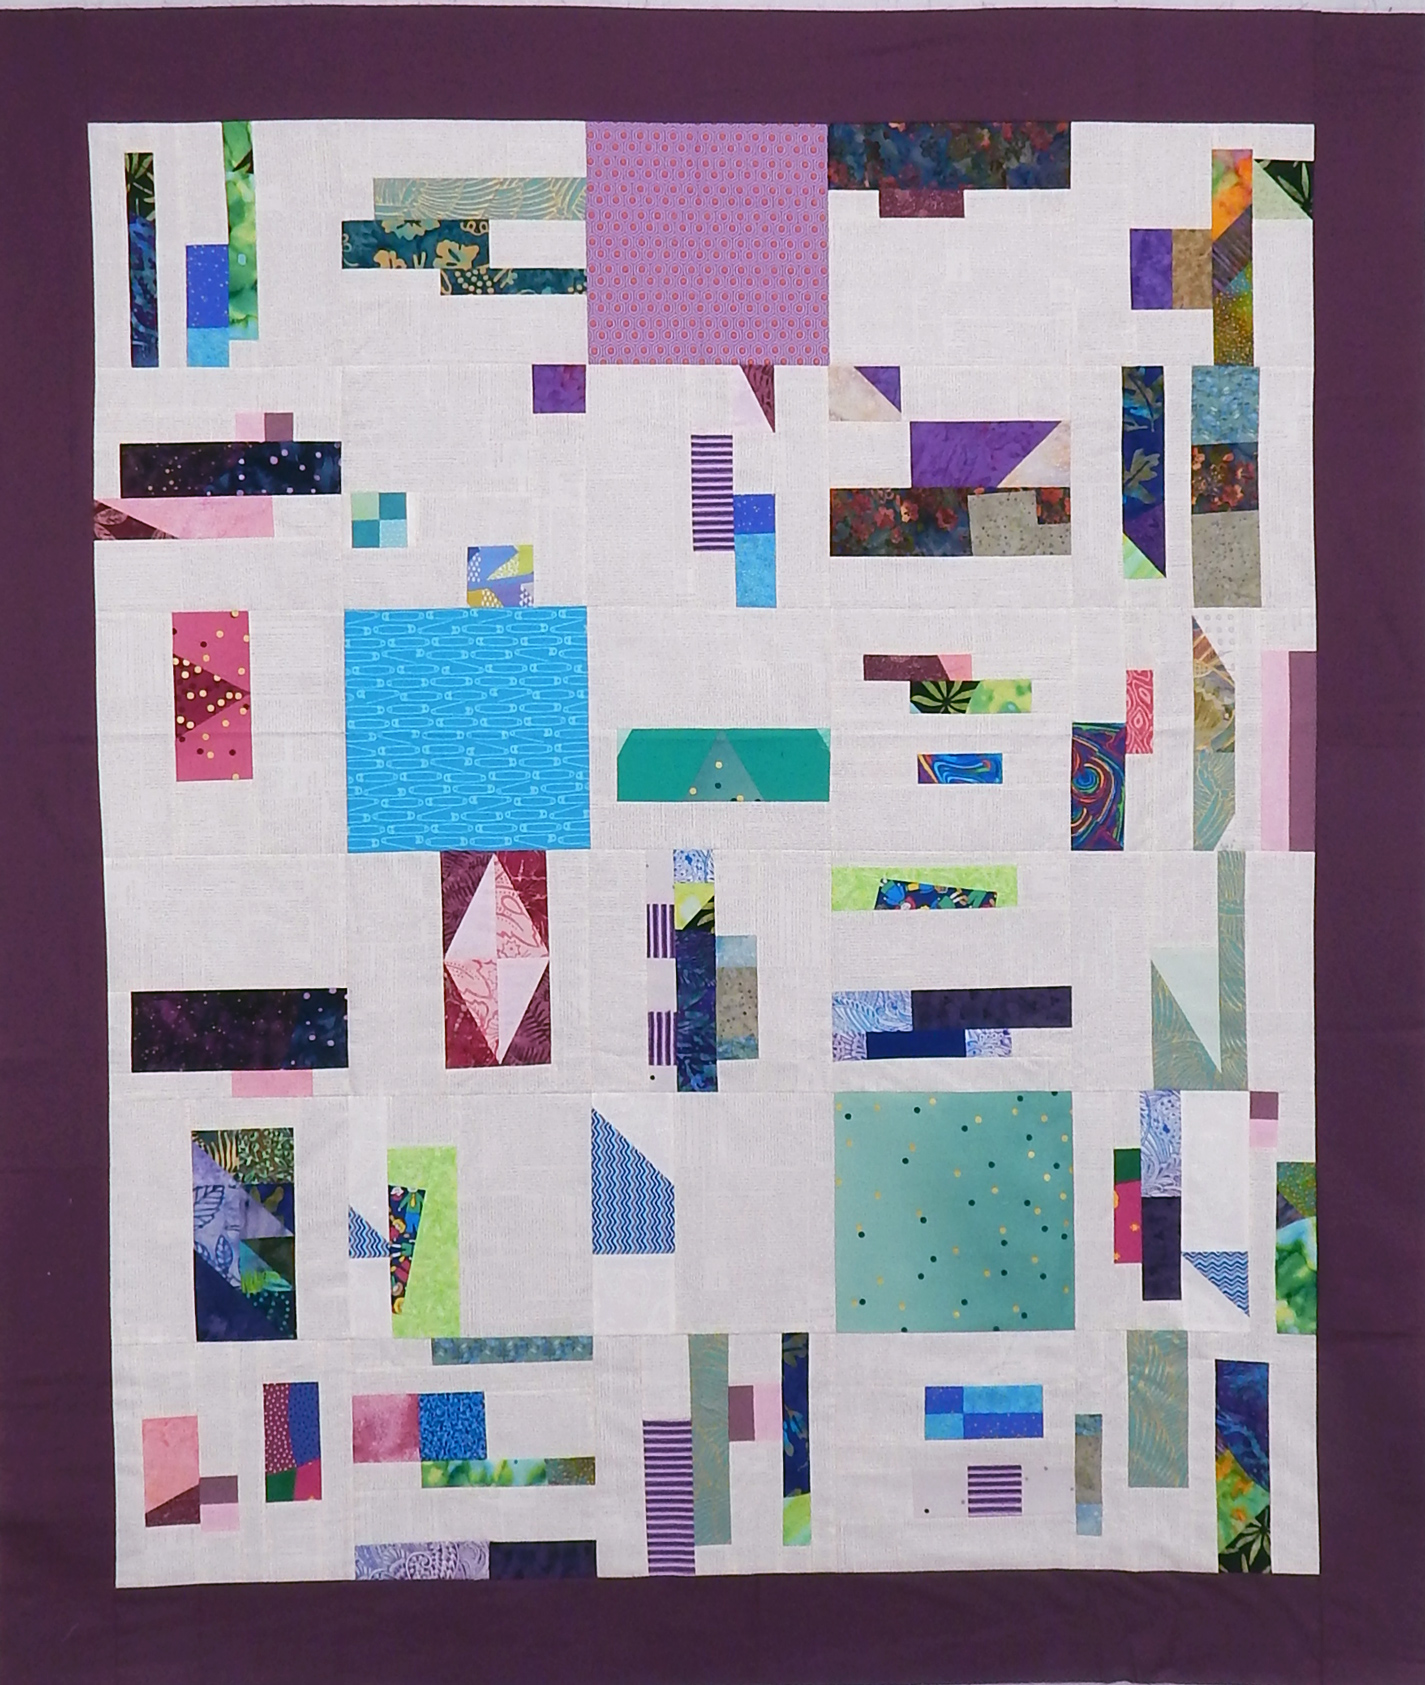
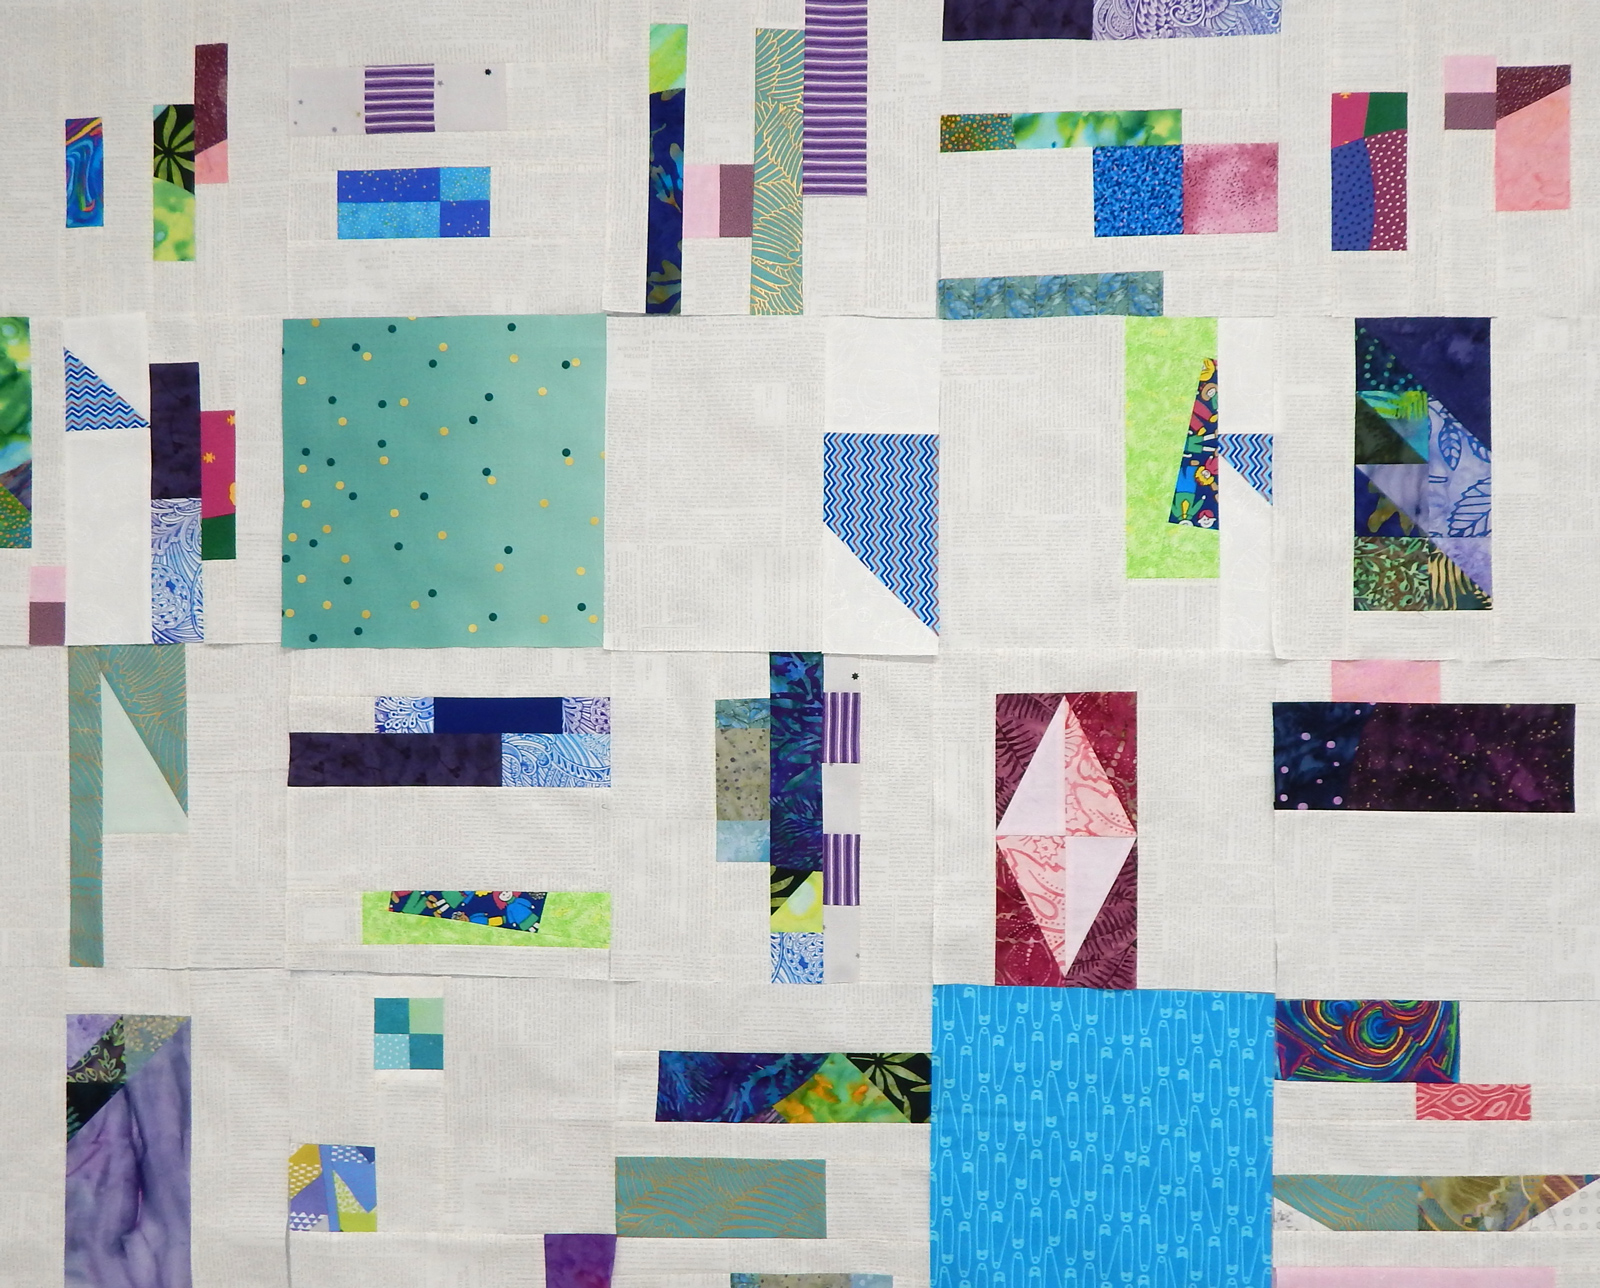
Back of “Triangle Variations”
The other thing that caught my eye is a class, via Creative Spark, on using African fabrics in “quilts, crafts, and more”. I recently bought some African wax cloth, thinking it would liven up some of the solids I often use, so I’ll probably take this class. 
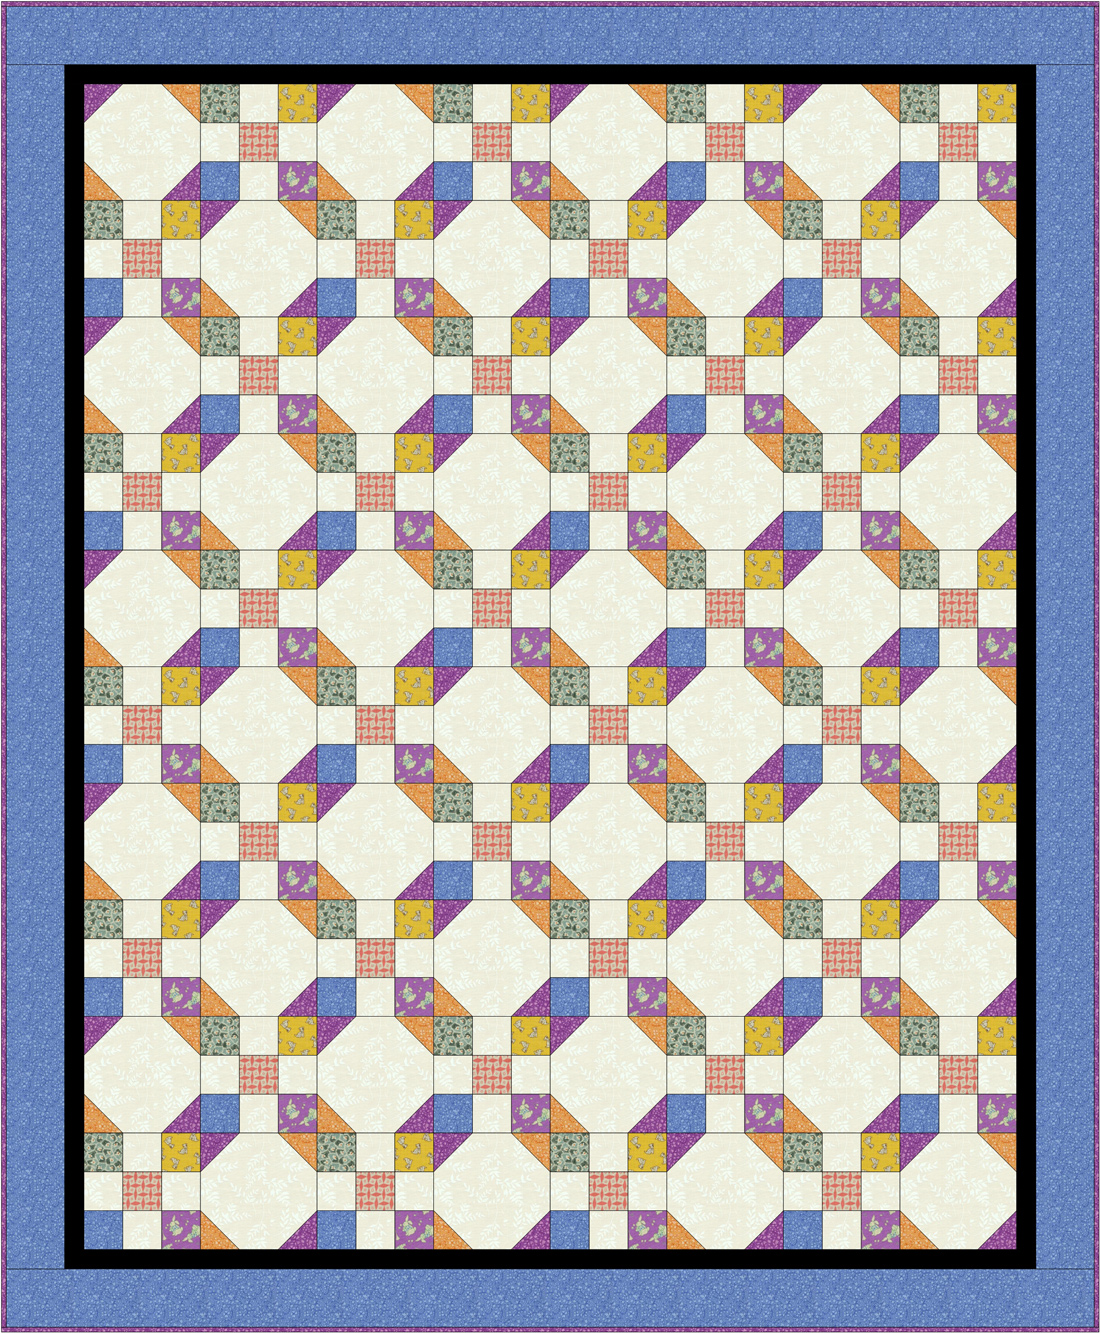
The same ideas probably would apply to use of these aboriginal designs.
The presenters for this class, Carole Lyles Shaw and Lisa Shepard Stewart, discuss the distinction between appreciation and appropriation. (I’ve been interested in THAT topic since a prominent designer was accused of cultural appropriation a few years ago.)
I’ll let you know if I take the class. It will be a minute because I have a couple of other class-related projects to finish at the moment (I’m a sucker for anywhere I might learn something).
Have you used ethnic designs in your work? Any thoughts?