I recently read one of Gwen Marston’s books, and she had directions for a sew-and-flip star. Like most of modern quilting, this star has been published by multiple people in multiple places, so it’s not new. However, if you’ve never done sew-and-flip, you can find my tutorial below. It’s a very fun technique.

There’s a major flaw here!
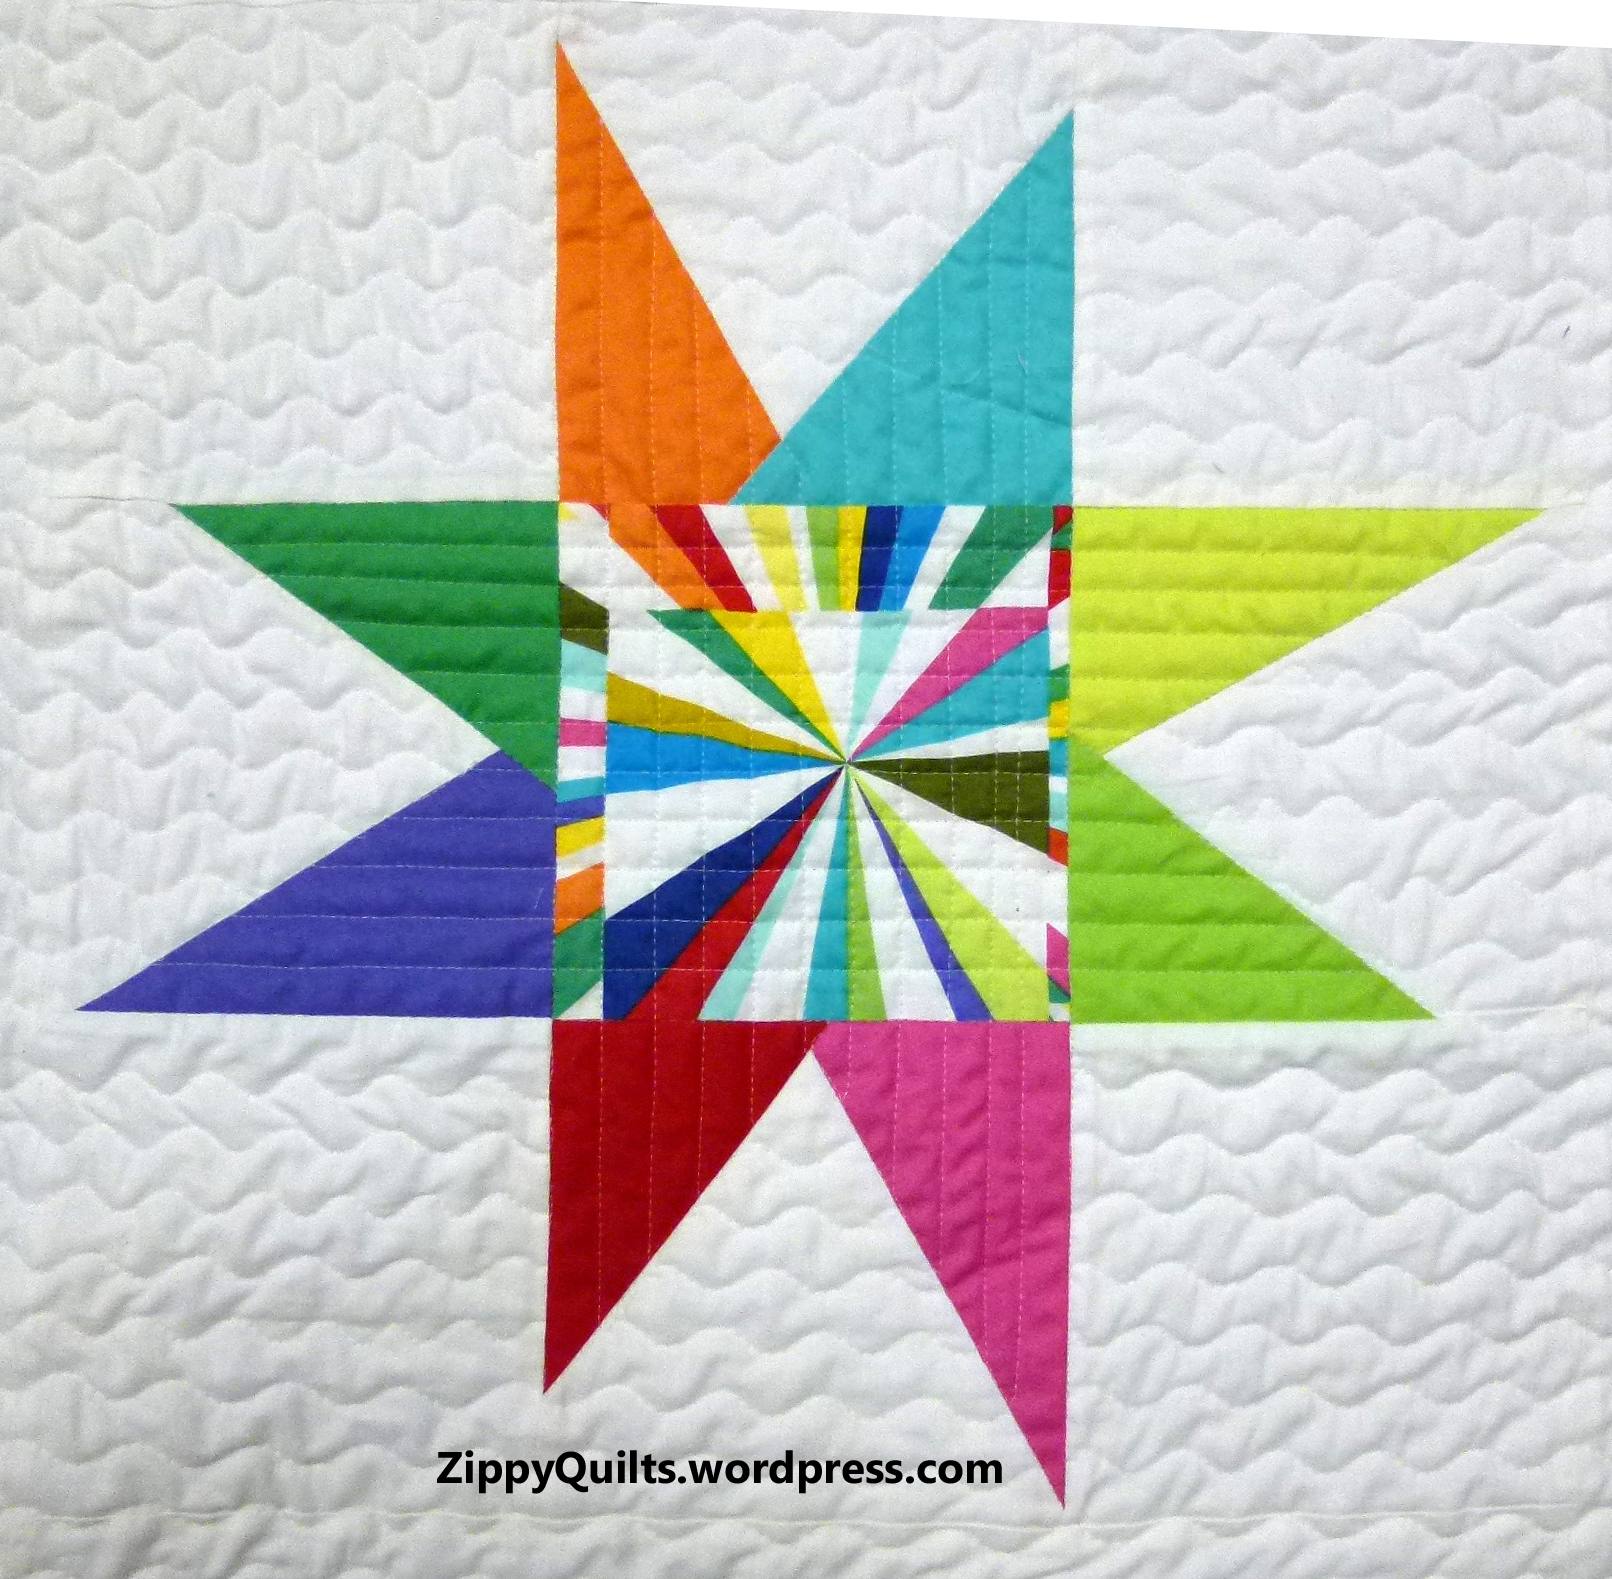
So, HUMBUG! Can you see what I did wrong? I didn’t see it until I took the picture! I rarely rip out seams in my improvised blocks, but this was too much for the perfectionist who whispers in my ear much of the time. So here’s the corrected block:

Humbug Star
This block finishes 12″ X 15″.
Here are the links to my other modern sampler blocks so far.
My Own Modern Sampler–It May Take A Year!
And here is the tutorial on the sew-and-flip star.
This project was originally developed for Modern Quilts Unlimited magazine. You can read about it here.
Unfinished block size 15″ x 15″
This block finishes 14-1/2 x 14 1/2 inches
Fabric Requirements
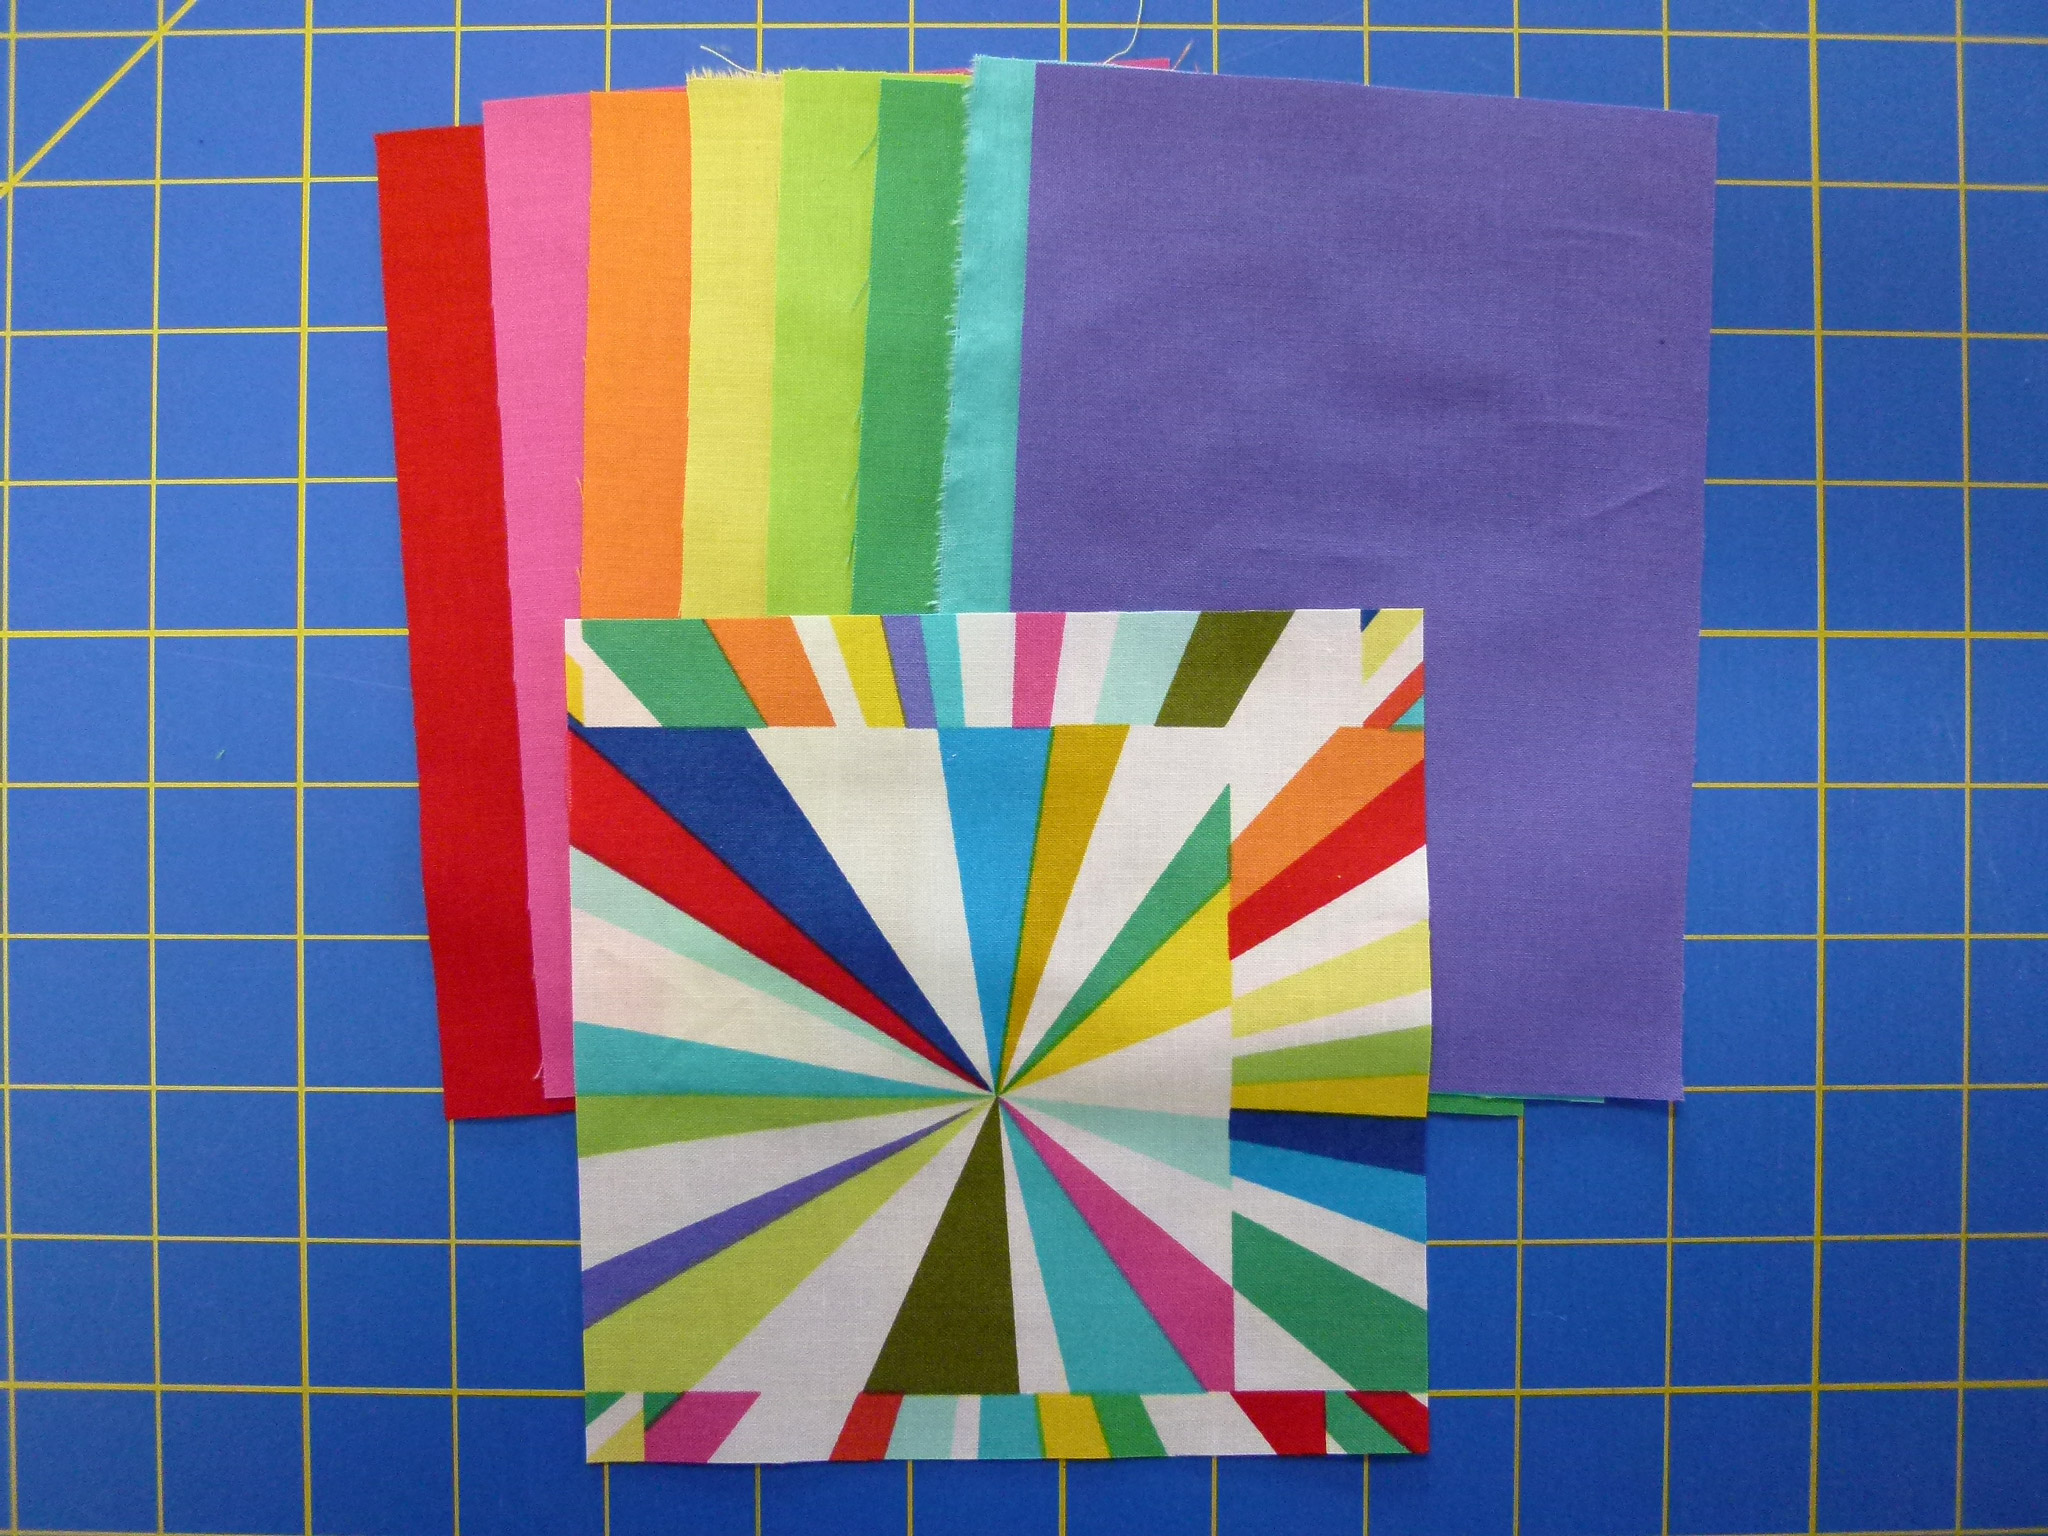
Fabrics supplied by Michael Miller Fabrics
Background fabric 16 1/2″ x 16 1/2″
Star center fabric 5 1/2″ x 5 1/2″
Eight solid fabrics for star rays, each 6 1/2″ x 4 1/2″
Piecing Instructions
Note: all seam allowances are 1/4″.
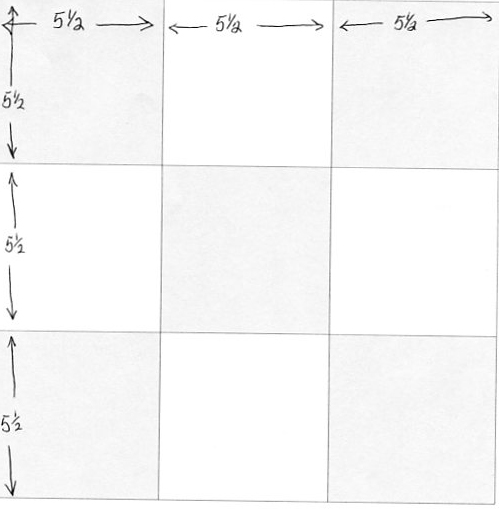
- Cut the background fabric into a 9-patch of 5-1/2 inch squares as shown

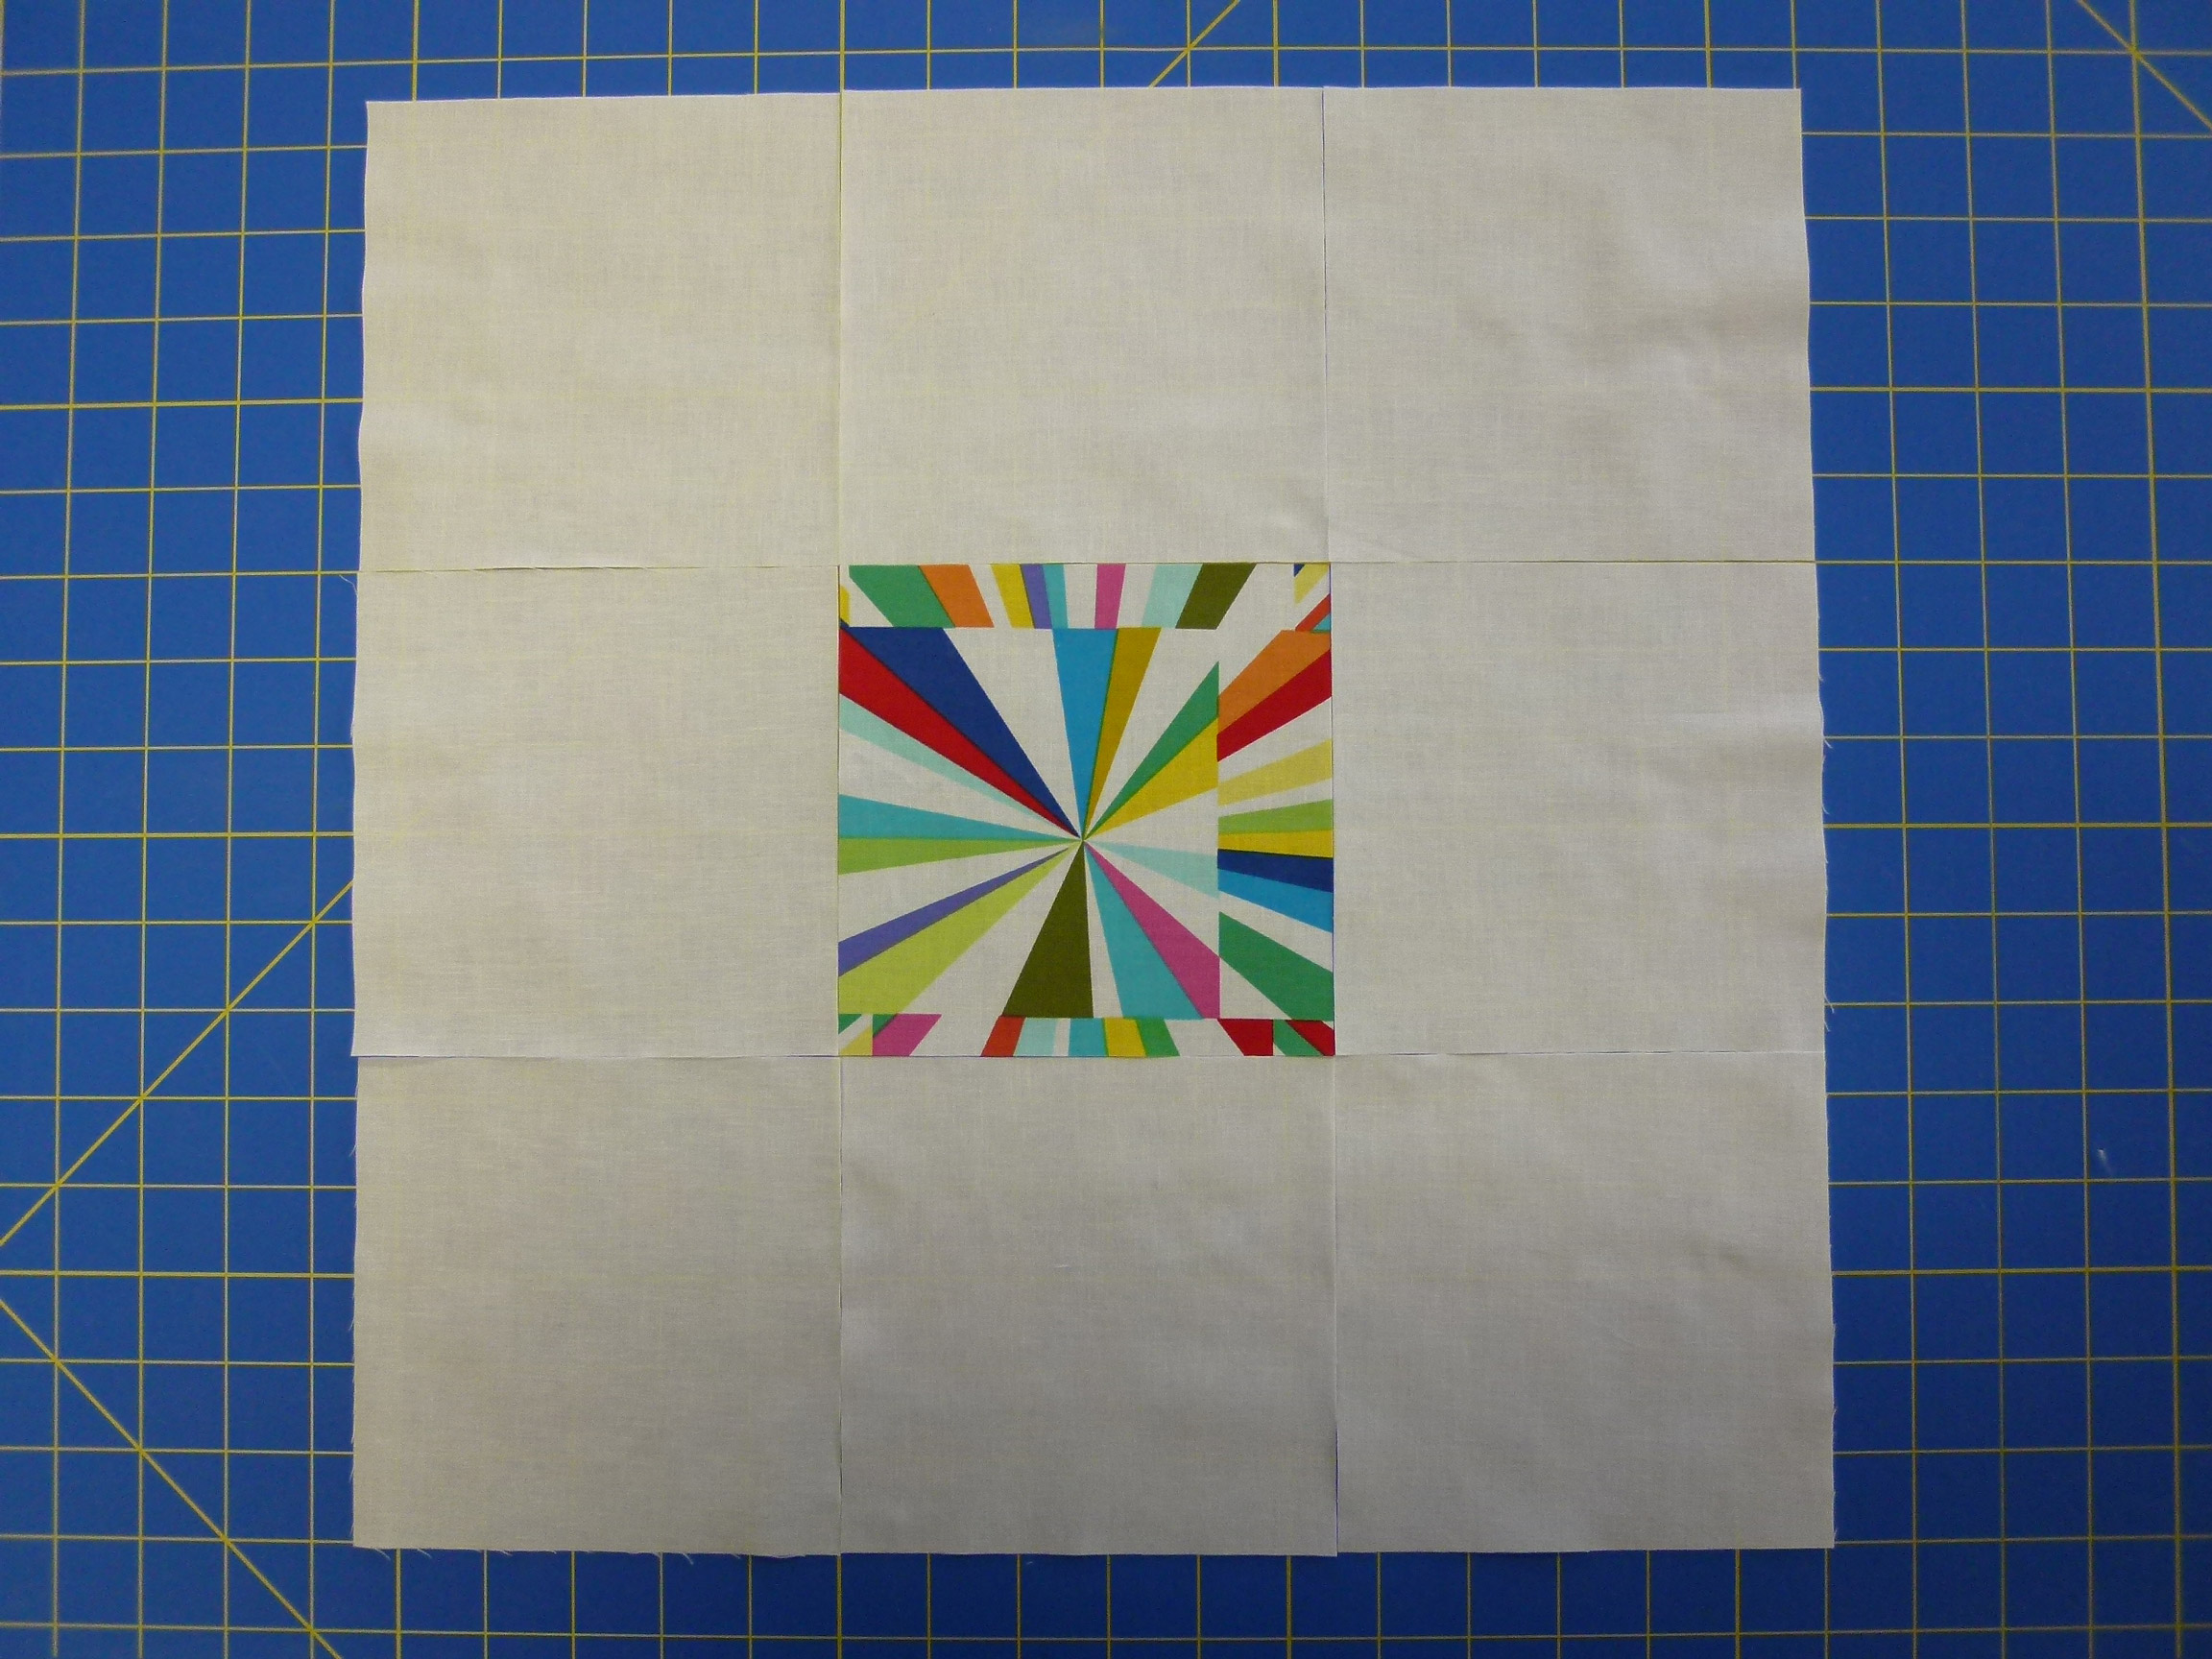
- Remove the center square and replace it with a 5-1/2 inch square of your center fabric

Center square surrounded by background squares
- For star rays, build 2 rays on each of 4 background squares as follows:
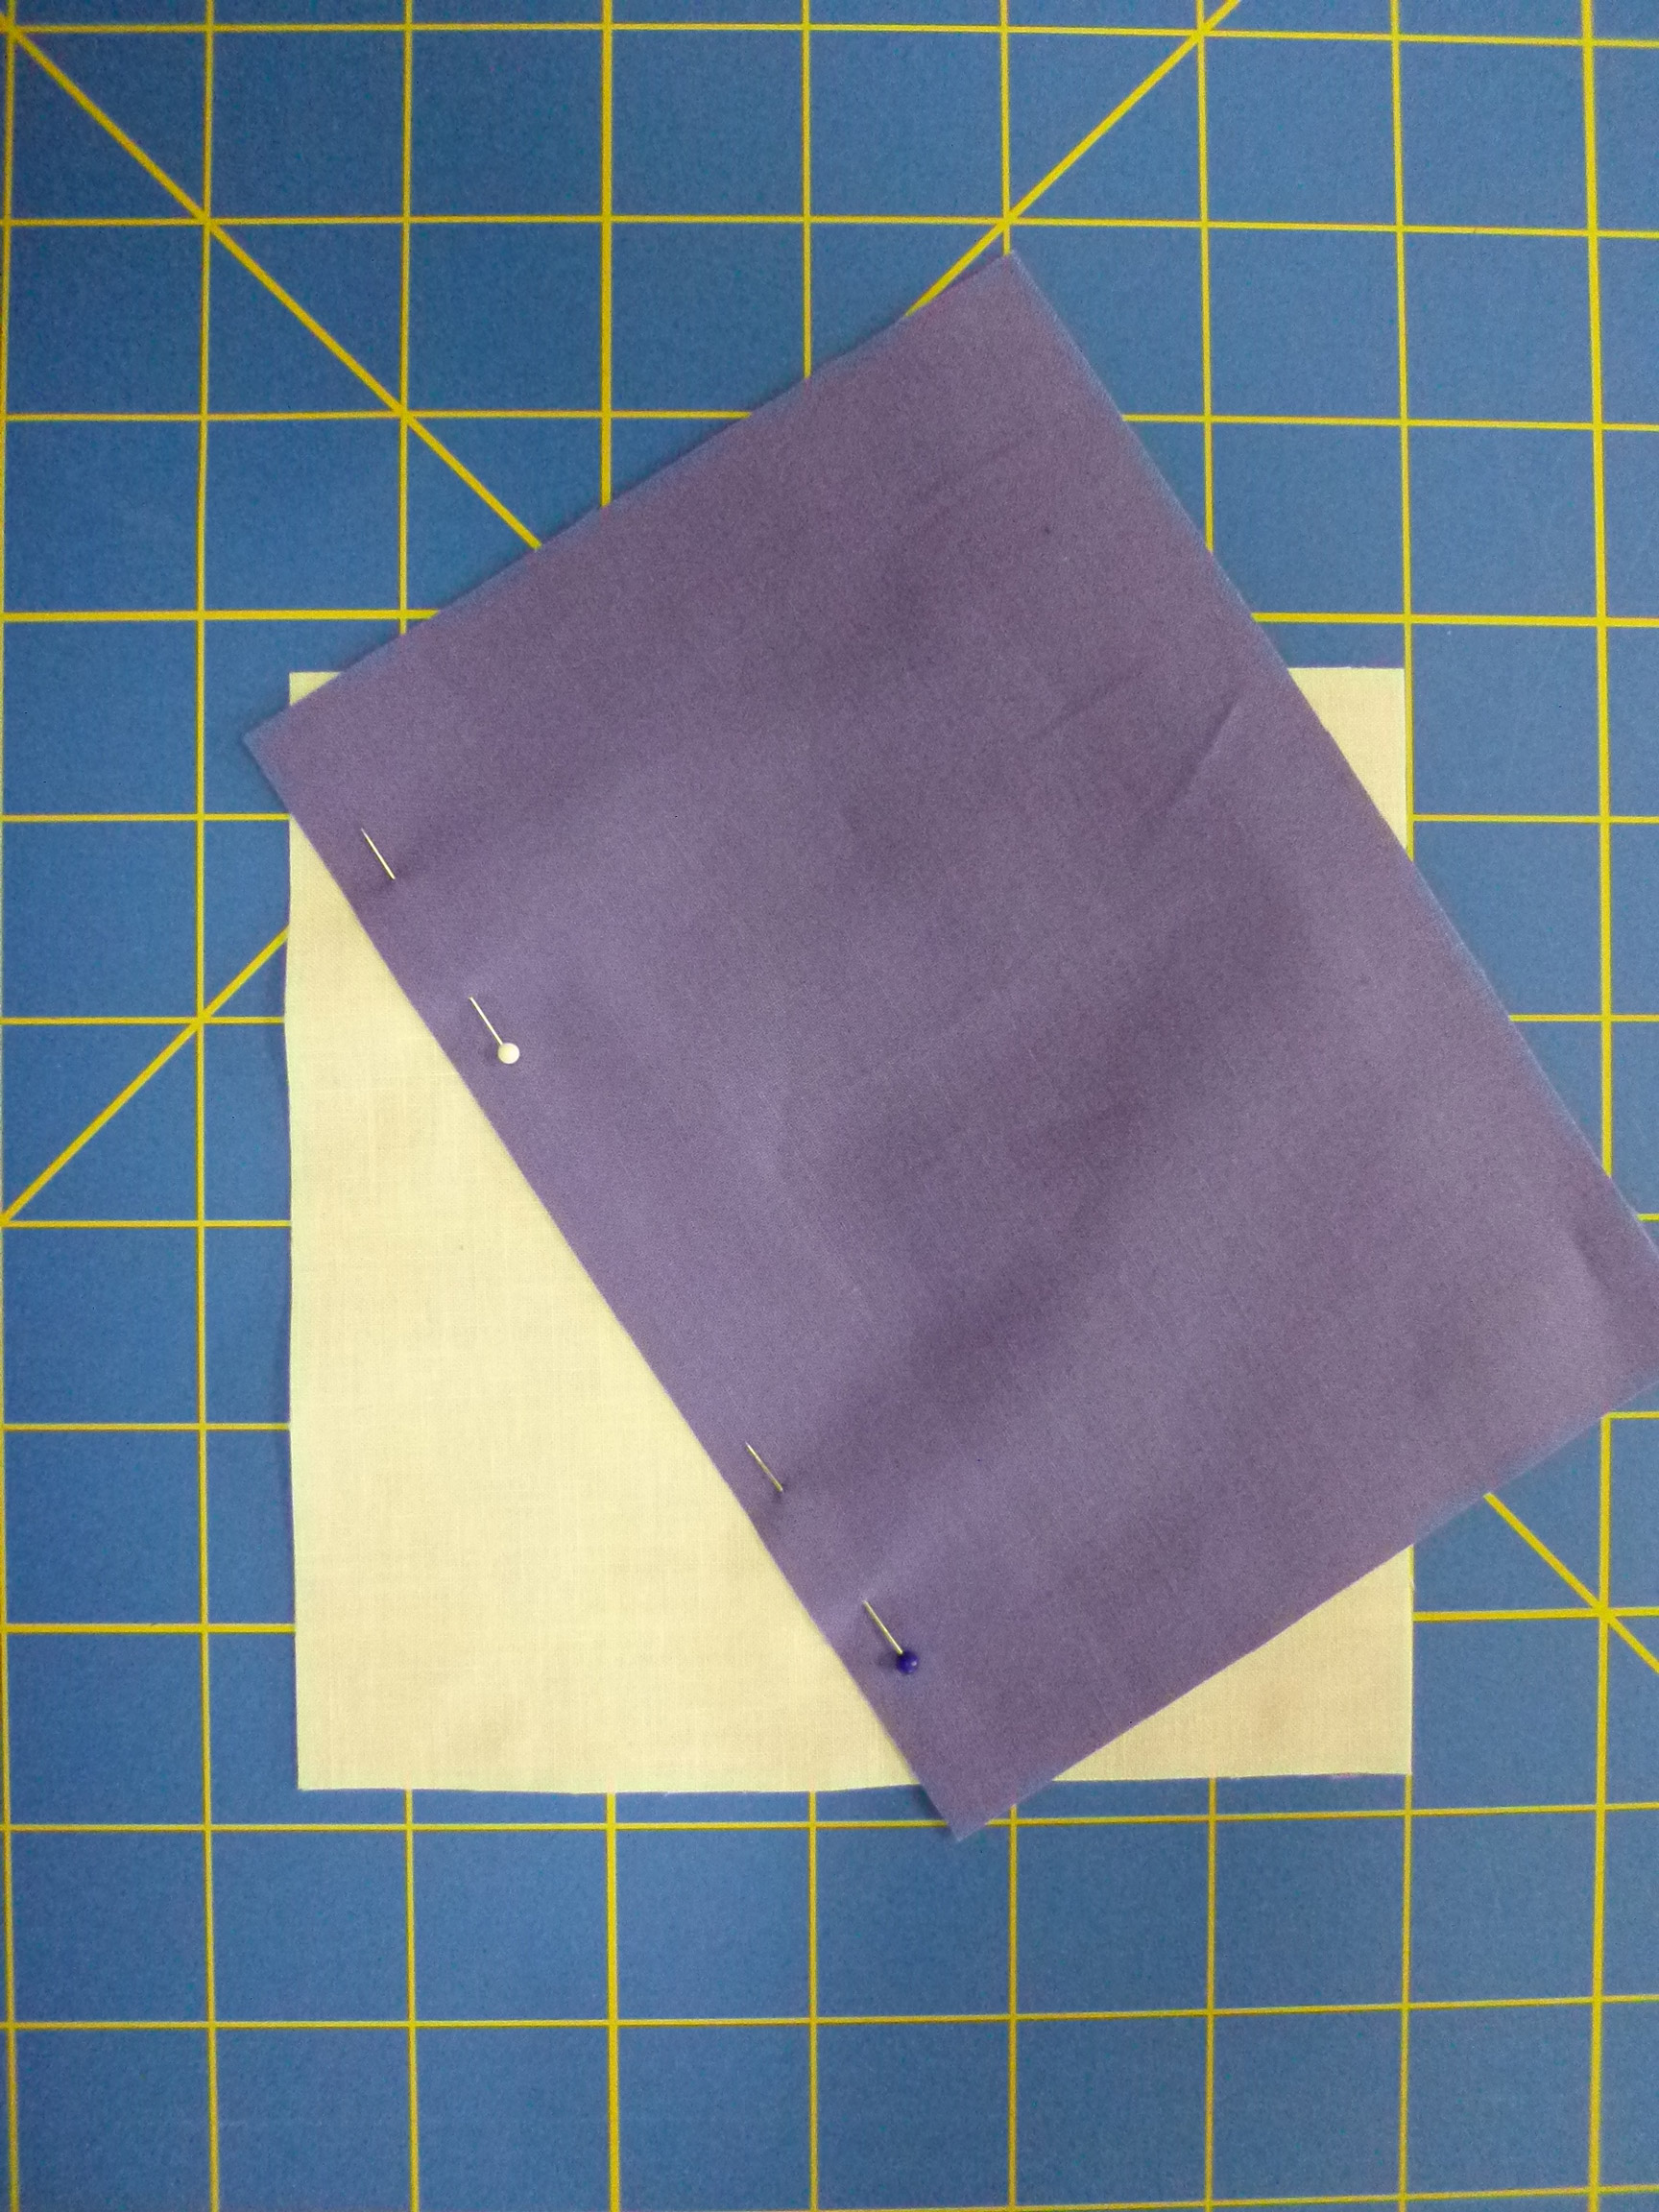
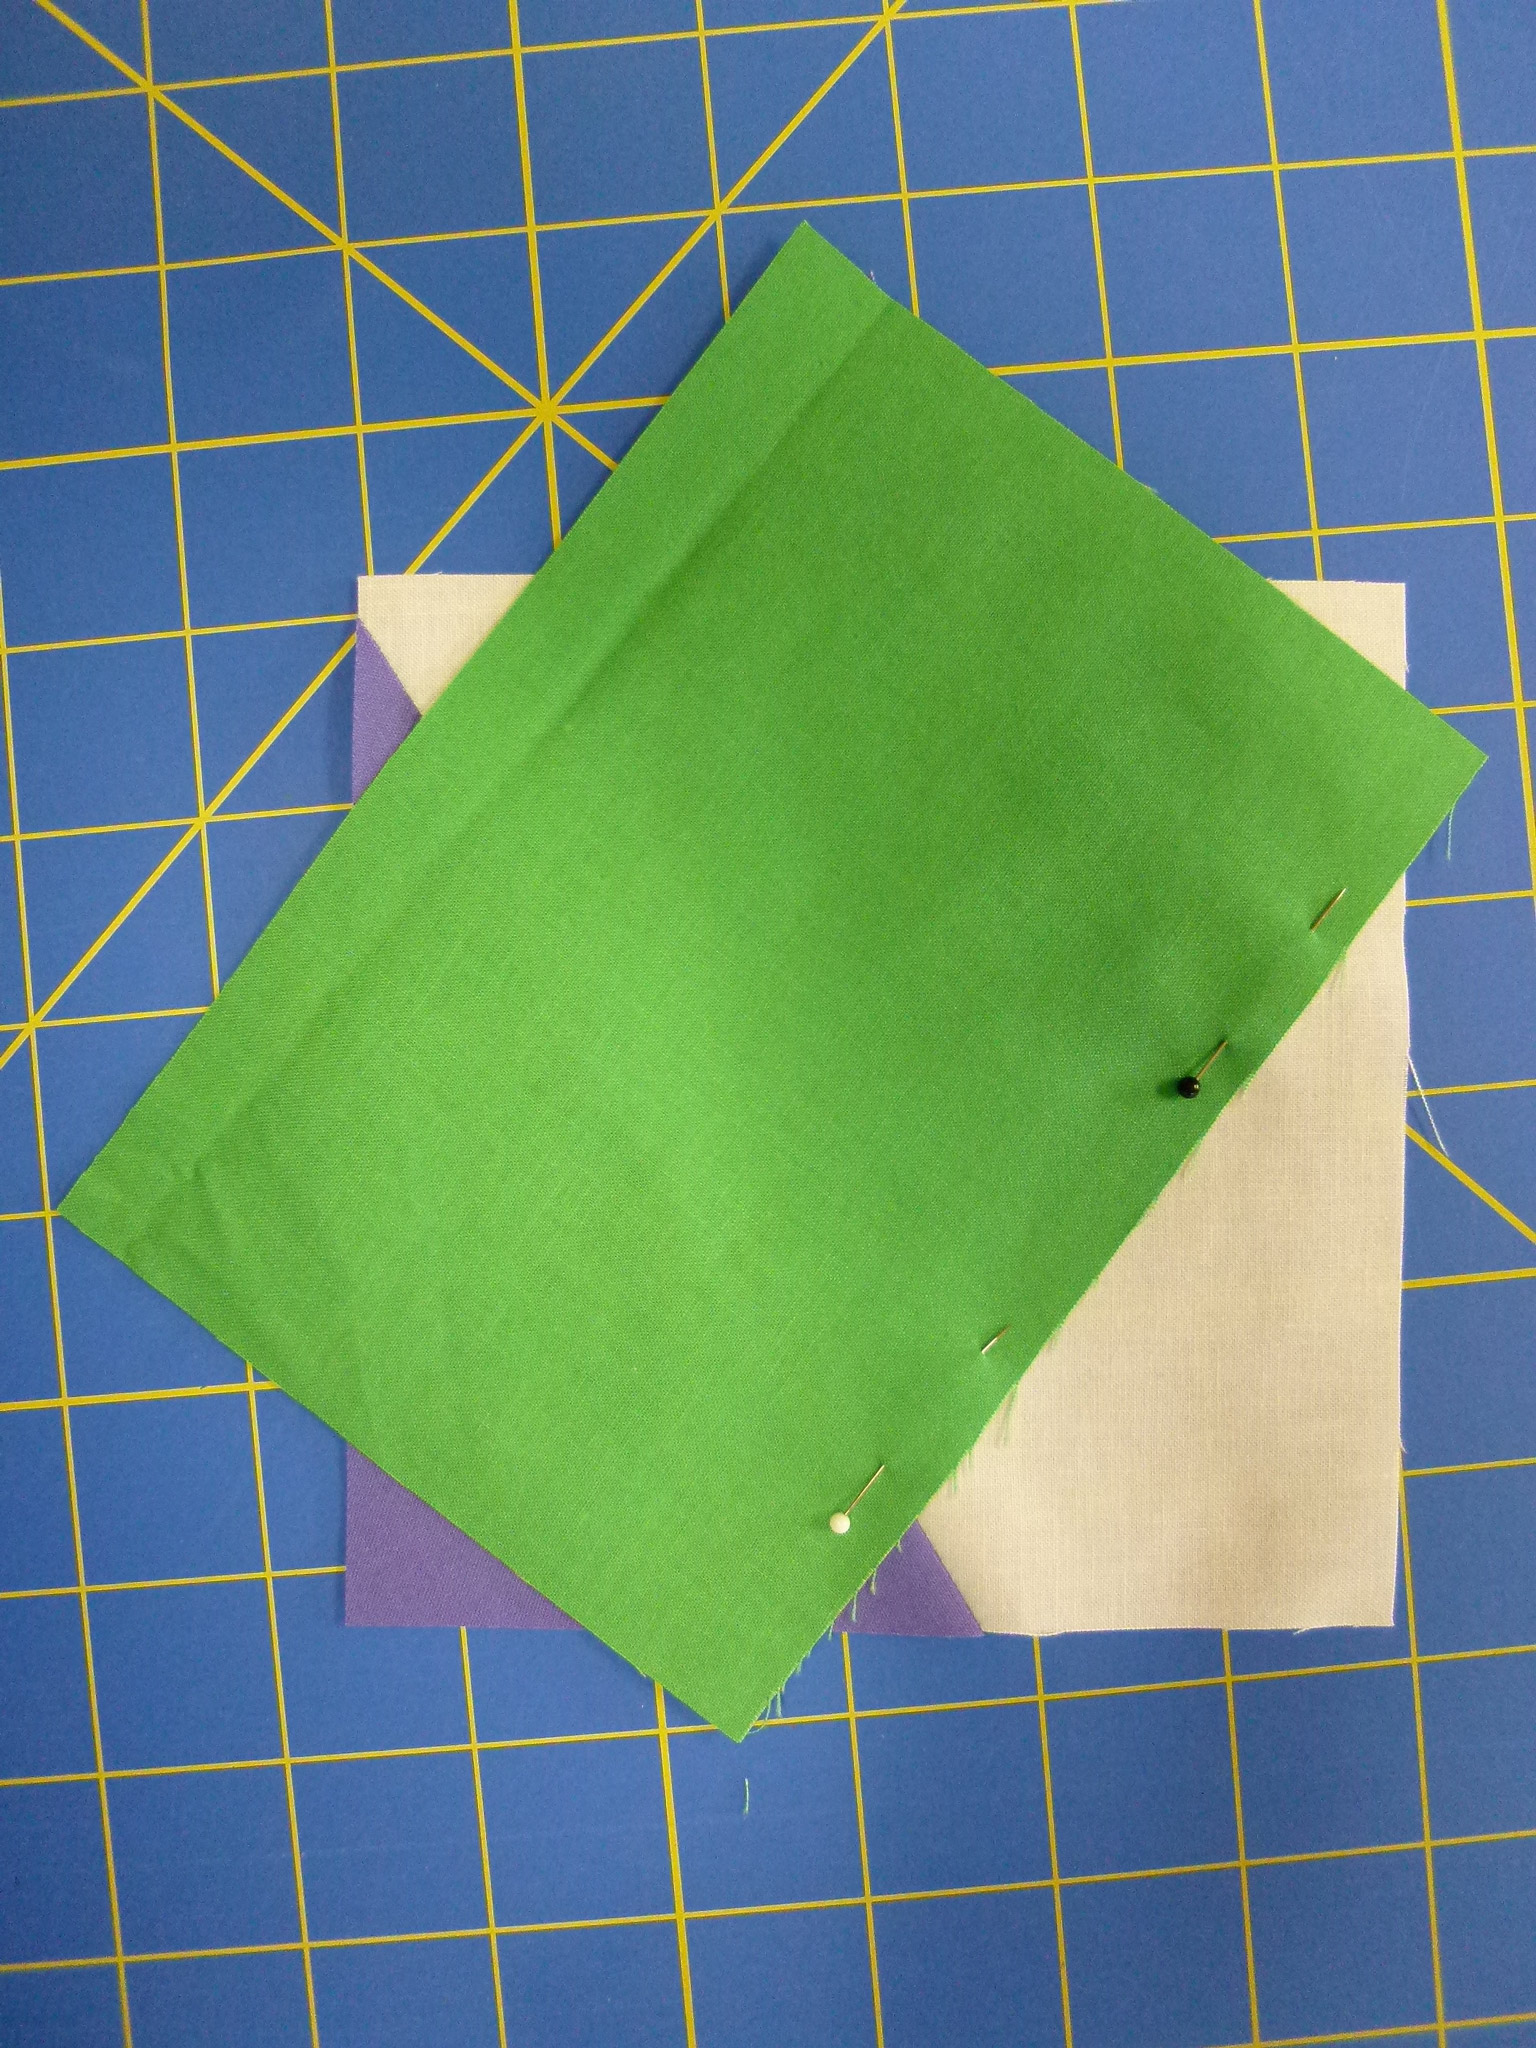
- Lay the one 6 1/2″ x 4 1/2″ piece of solid fabric on a 5 1/2″ x 5 1/2″ square of the background as shown. Place pins approximately where the 1/4″ seam will be along the long edge of the ray and turn along the pins to check placement.
 Adjust if needed to make a star ray that suits you and to completely cover the foundation piece where the star ray will be. Note that you will need to have your ray end at least 1/4″ from the edge if you want to see the point. However, if you want blunt points there’s nothing wrong with that! Here’s an example:
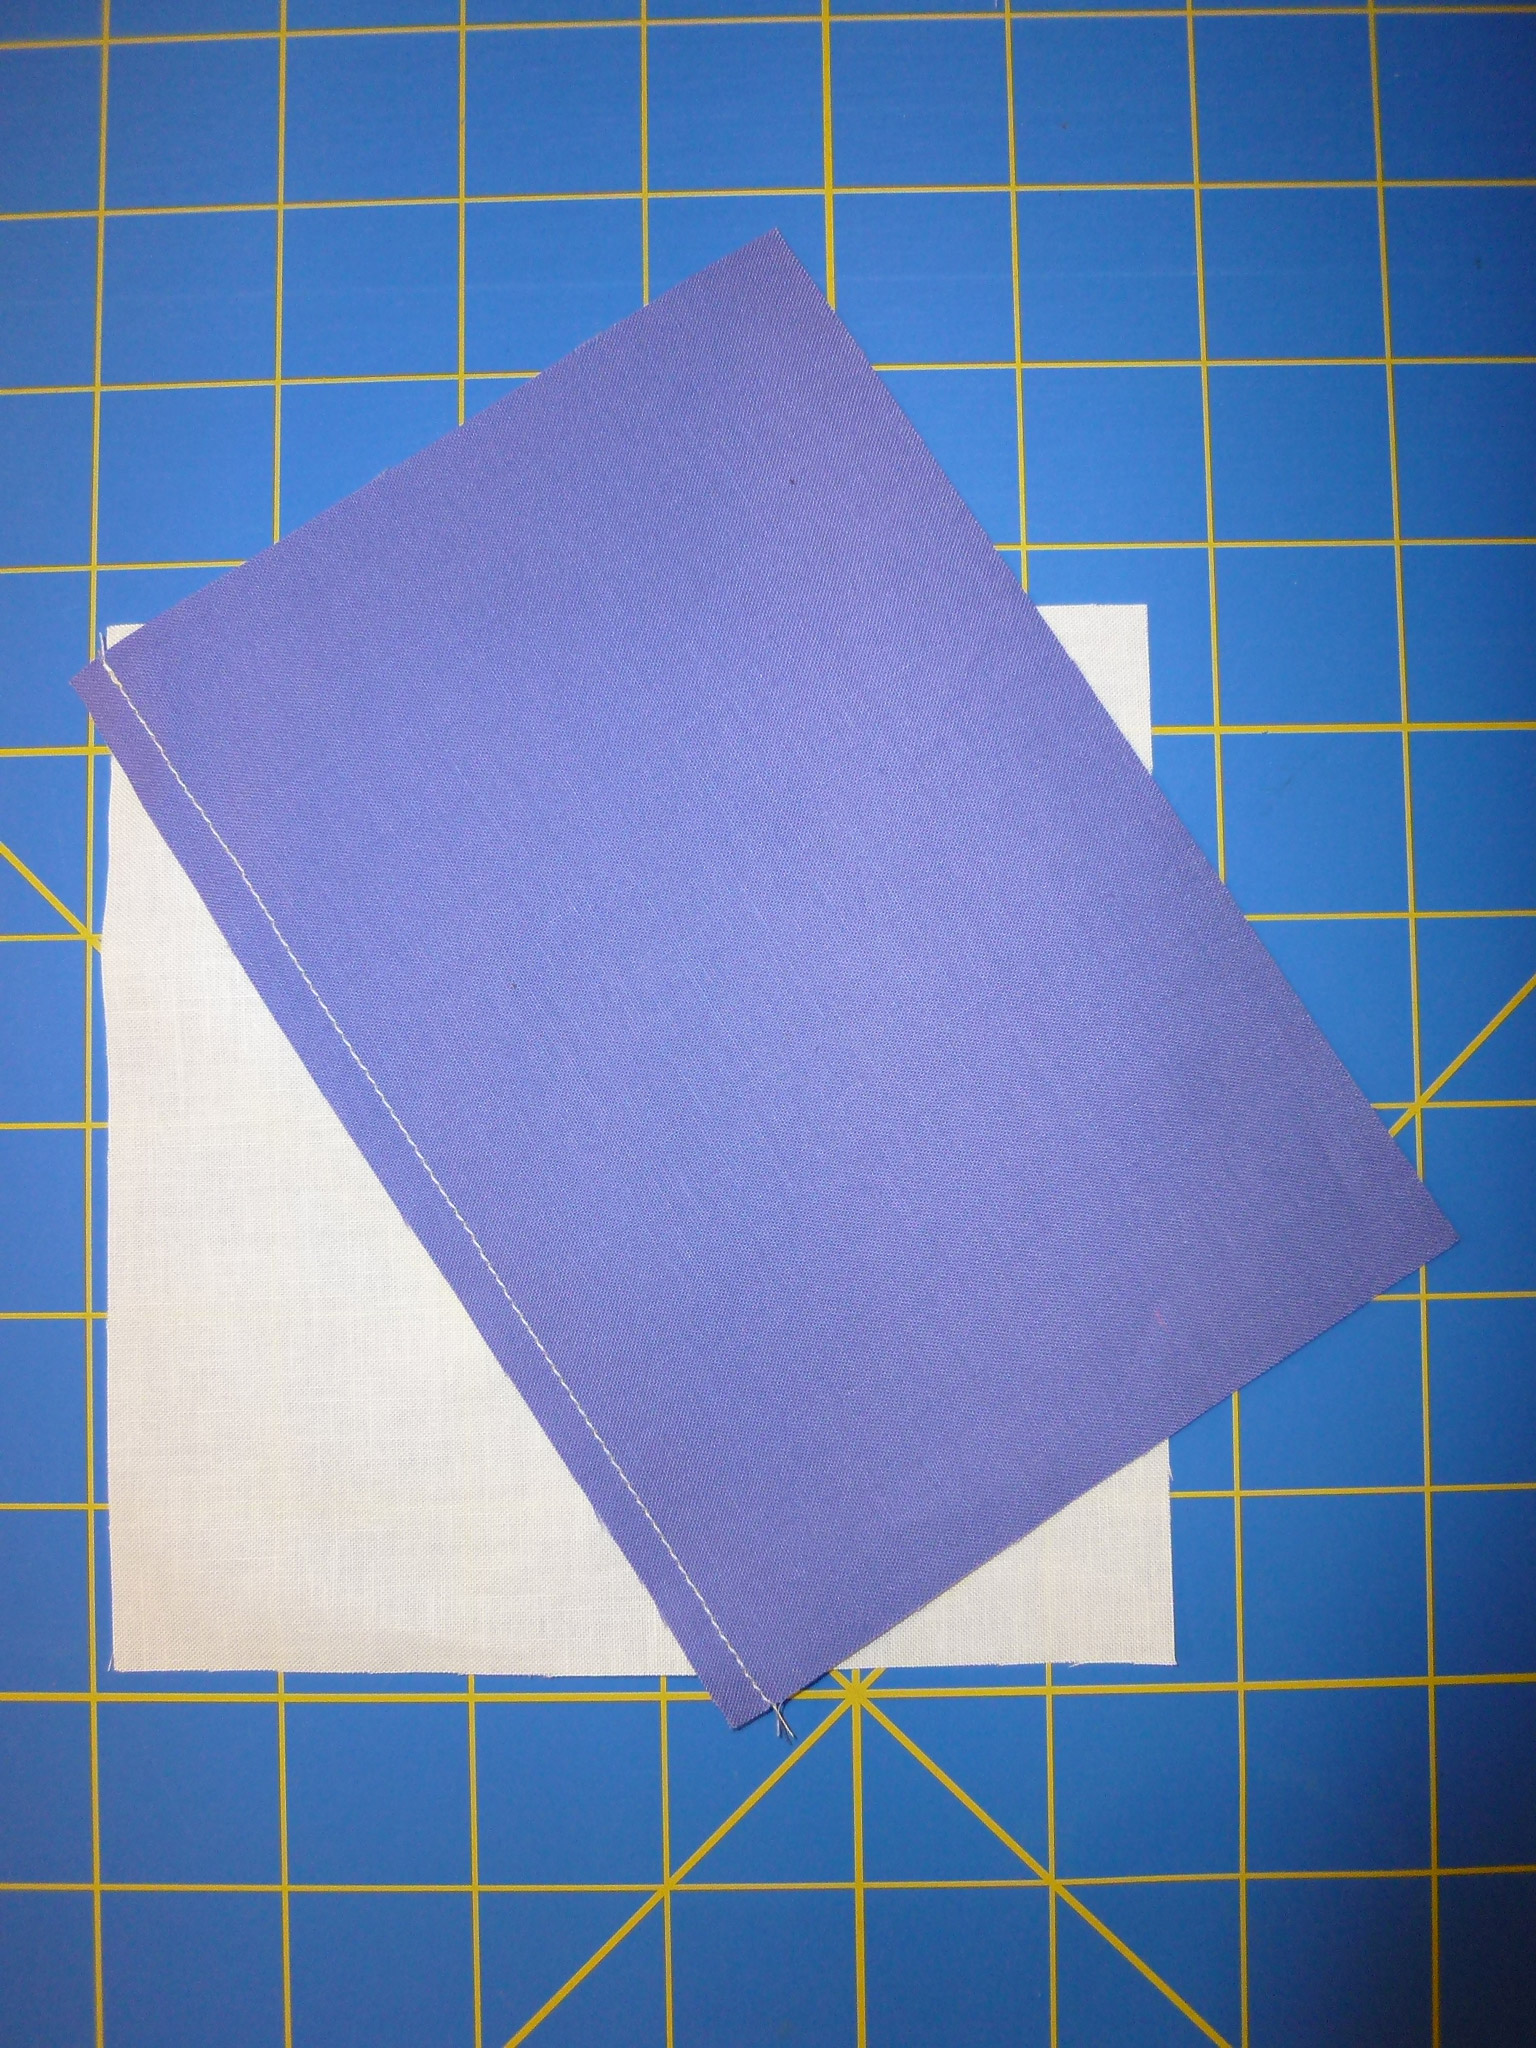
- Reposition the pins and stitch 1/4″ from the edge of the ray as shown below:

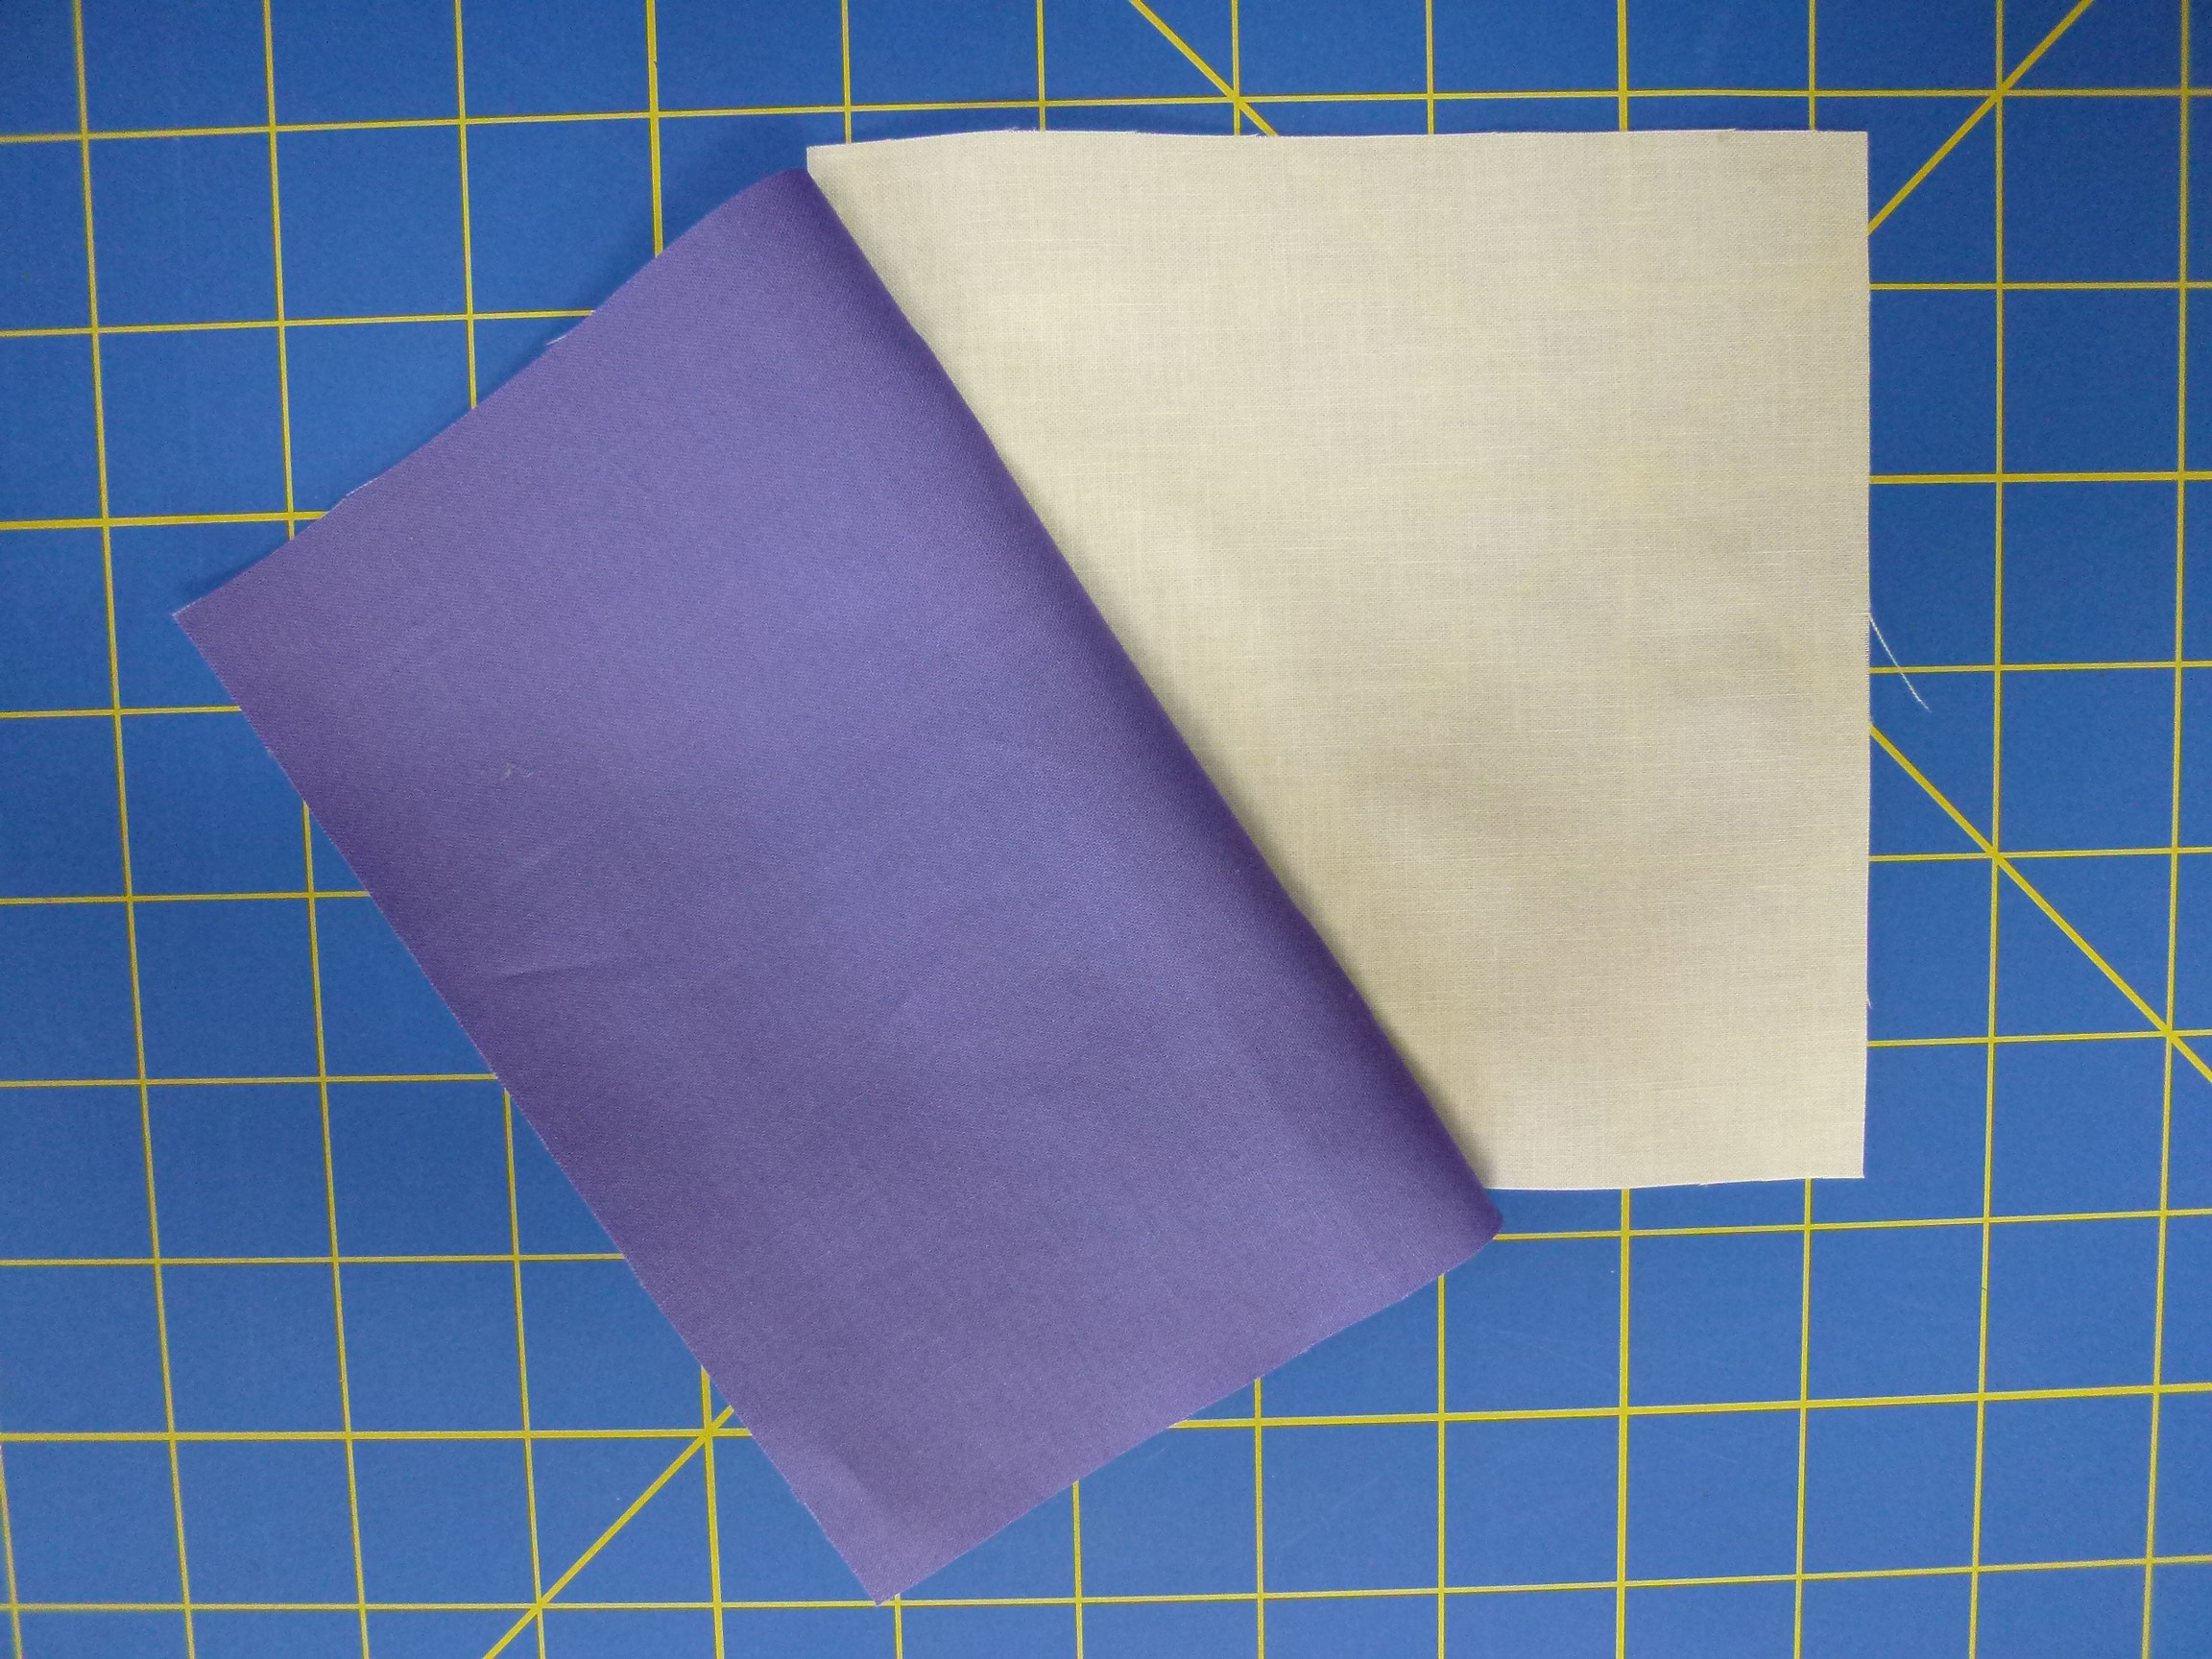
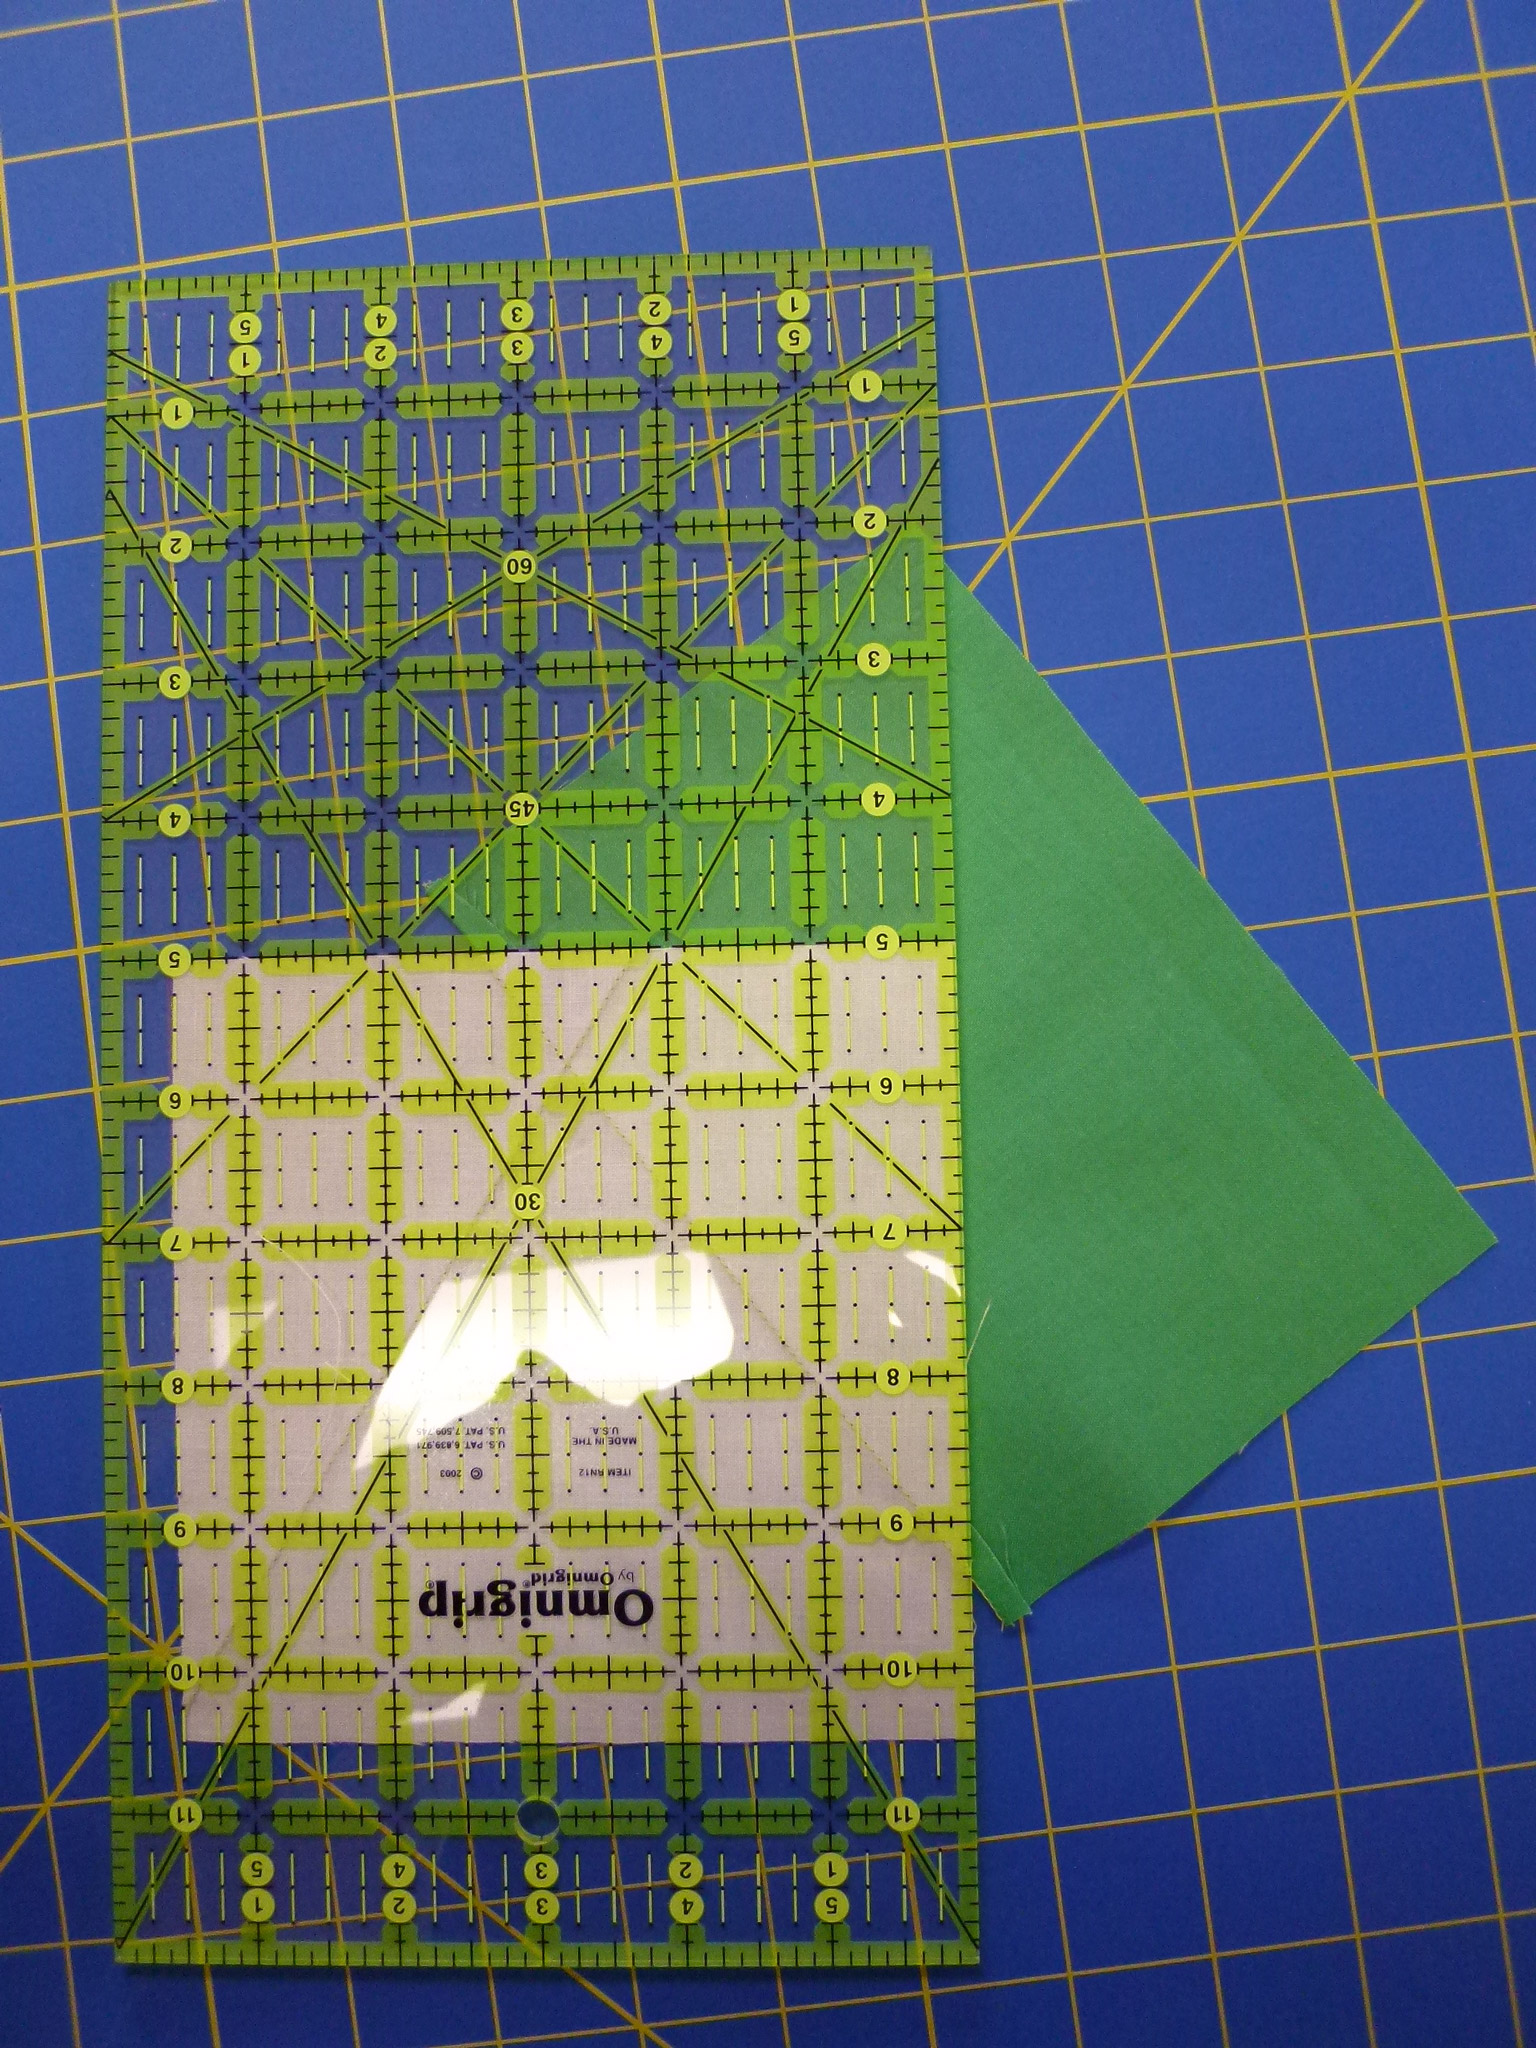
- Remove pins, turn the ray back into place, and press. Trim the side and bottom edges of the ray even with the foundation fabric. Do not remove the foundation fabric under the ray, as it helps keep everything square and stable.

- Place the fabric for the second ray, pin and test position, then stitch, press, and trim as for the first ray.
 Note that the rays need to overlap at least 1/4″ away from the raw edge where this section will join the star center. It’s fine to overlap more than that.

Press the second ray and trim to match the background block.
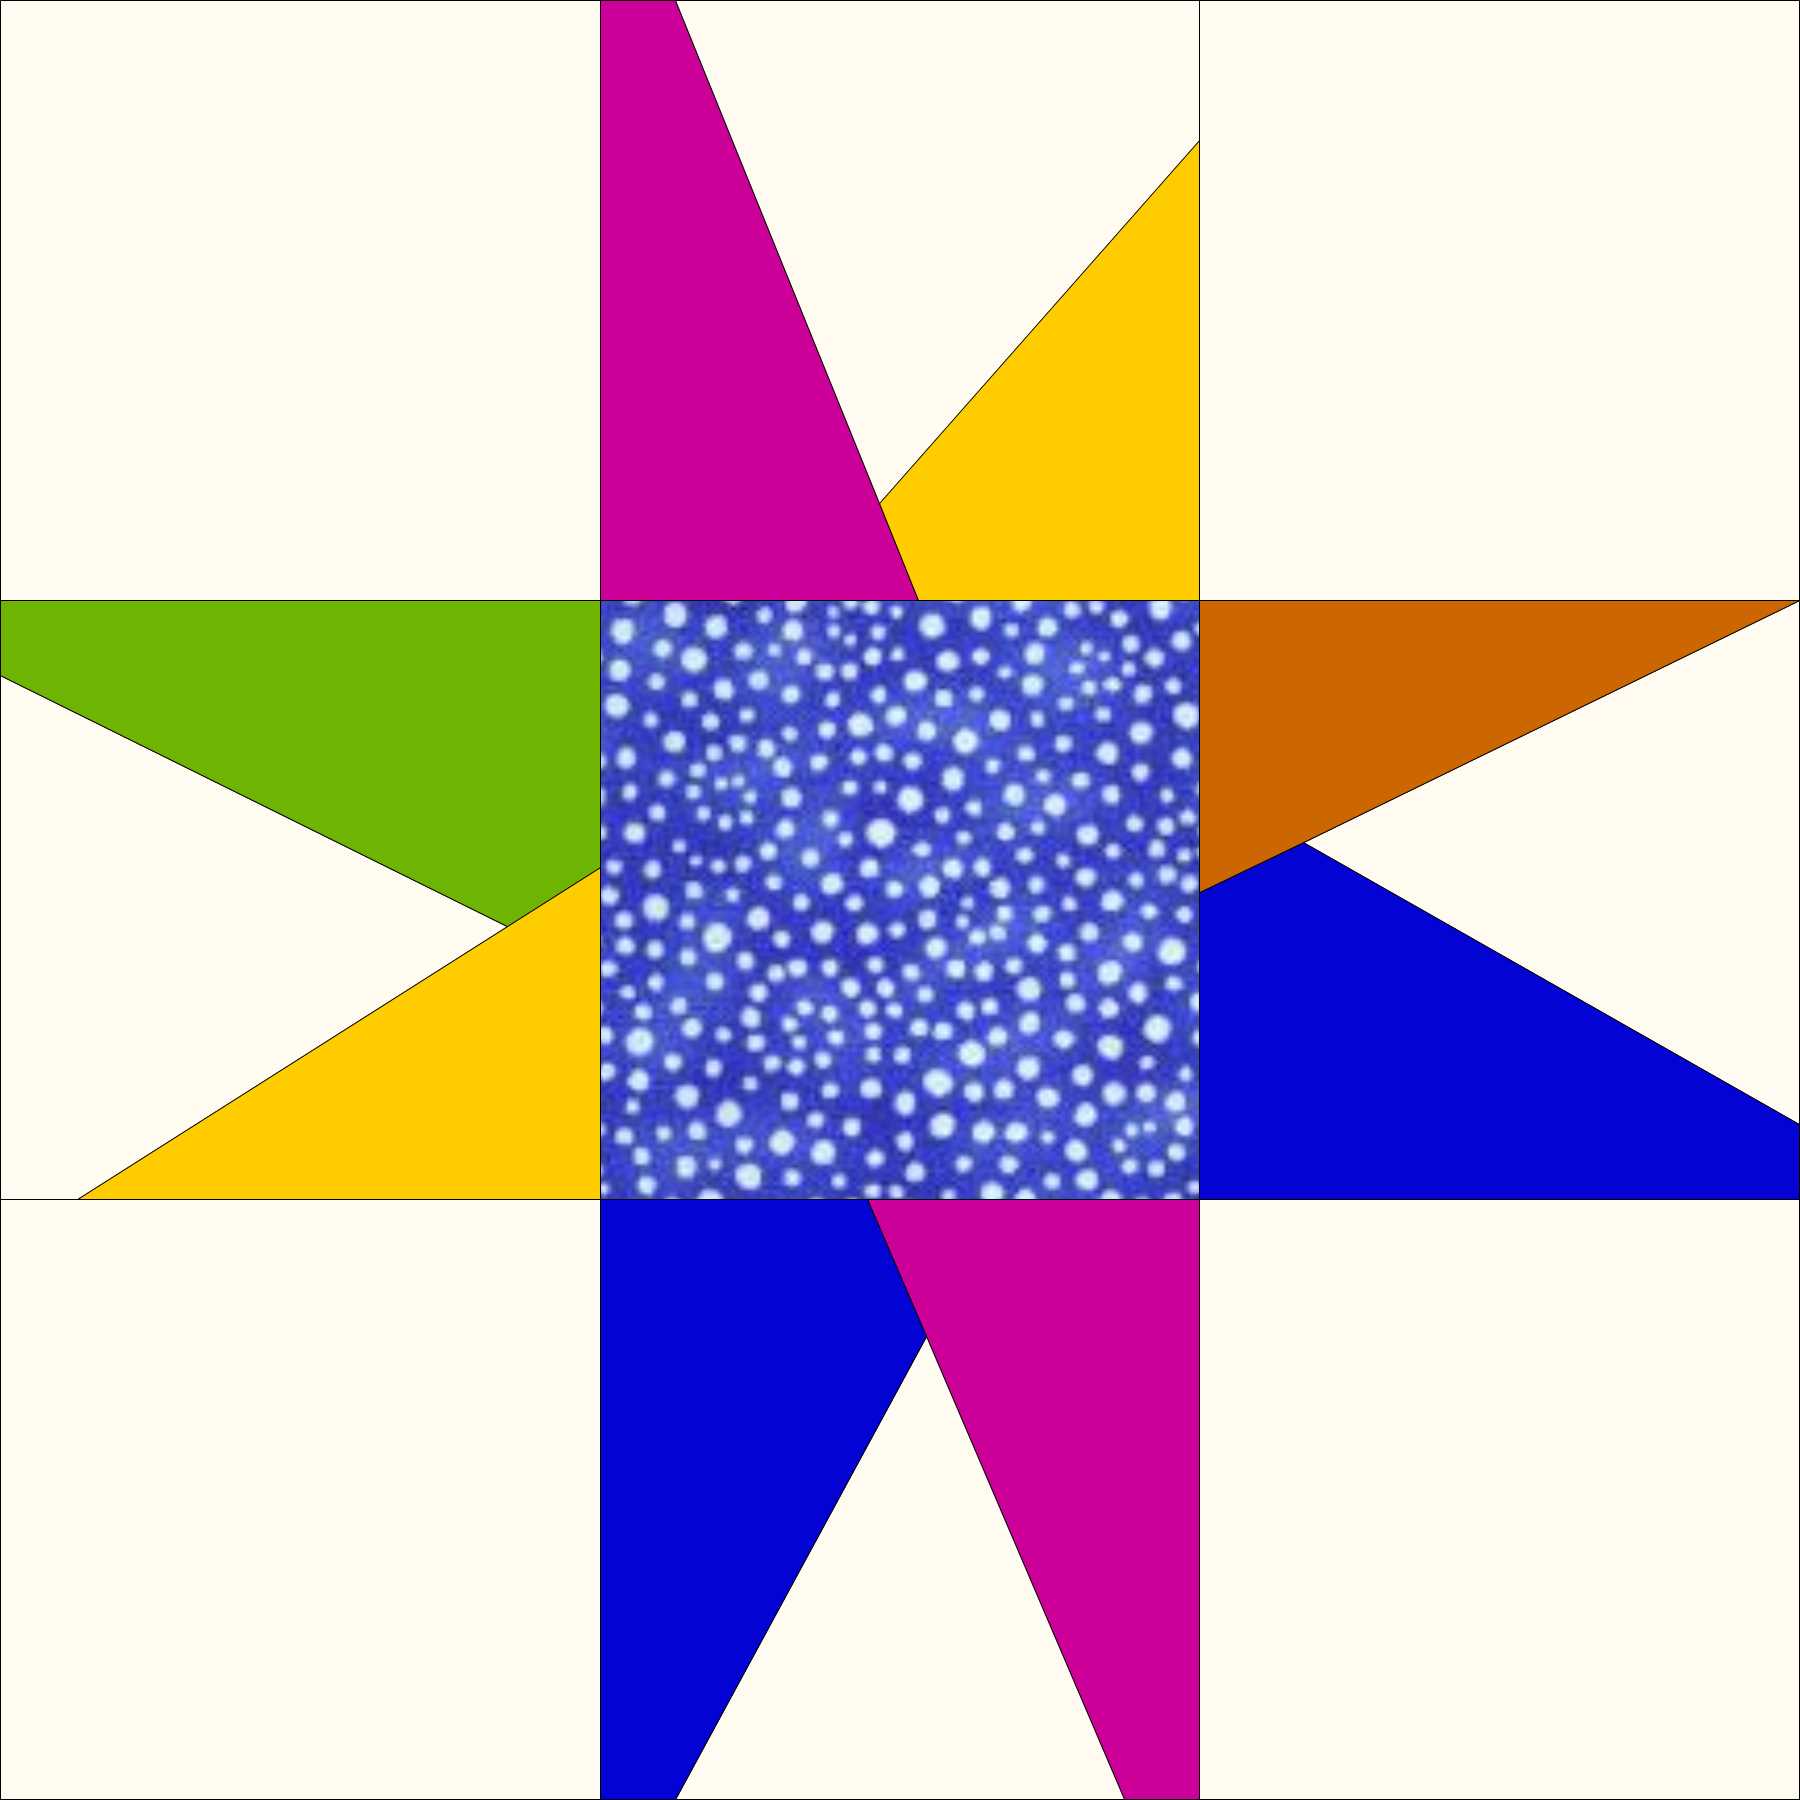
- After building 4 sets of 2 star rays, re-assemble the 9-patch with the plain corners, printed center, and colored rays.

This block finishes 14-1/2 x 14 1/2 inches


Very pretty. As for me, I would have left your “major flaw”! I think it added to the charm of the piece. 🙂
Well, good point. Maybe I tried too hard.
It’s hard to find the right balance some times, isn’t it. Hugs… 🙂
I totally love the star, thanks for the tutorial ❤
Glad you liked it 🙂
Pingback: Modern Sampler: Painter’s Tape Block | Zippy Quilts
Pingback: My Modern Sampler, Block 8 | Zippy Quilts
Pingback: My Modern Sampler, Blocks 9 and 10 | Zippy Quilts
Pingback: Little Green Man Quilt | Zippy Quilts