This design has been around forever and I’ve seen many versions of it, some even published as patterns.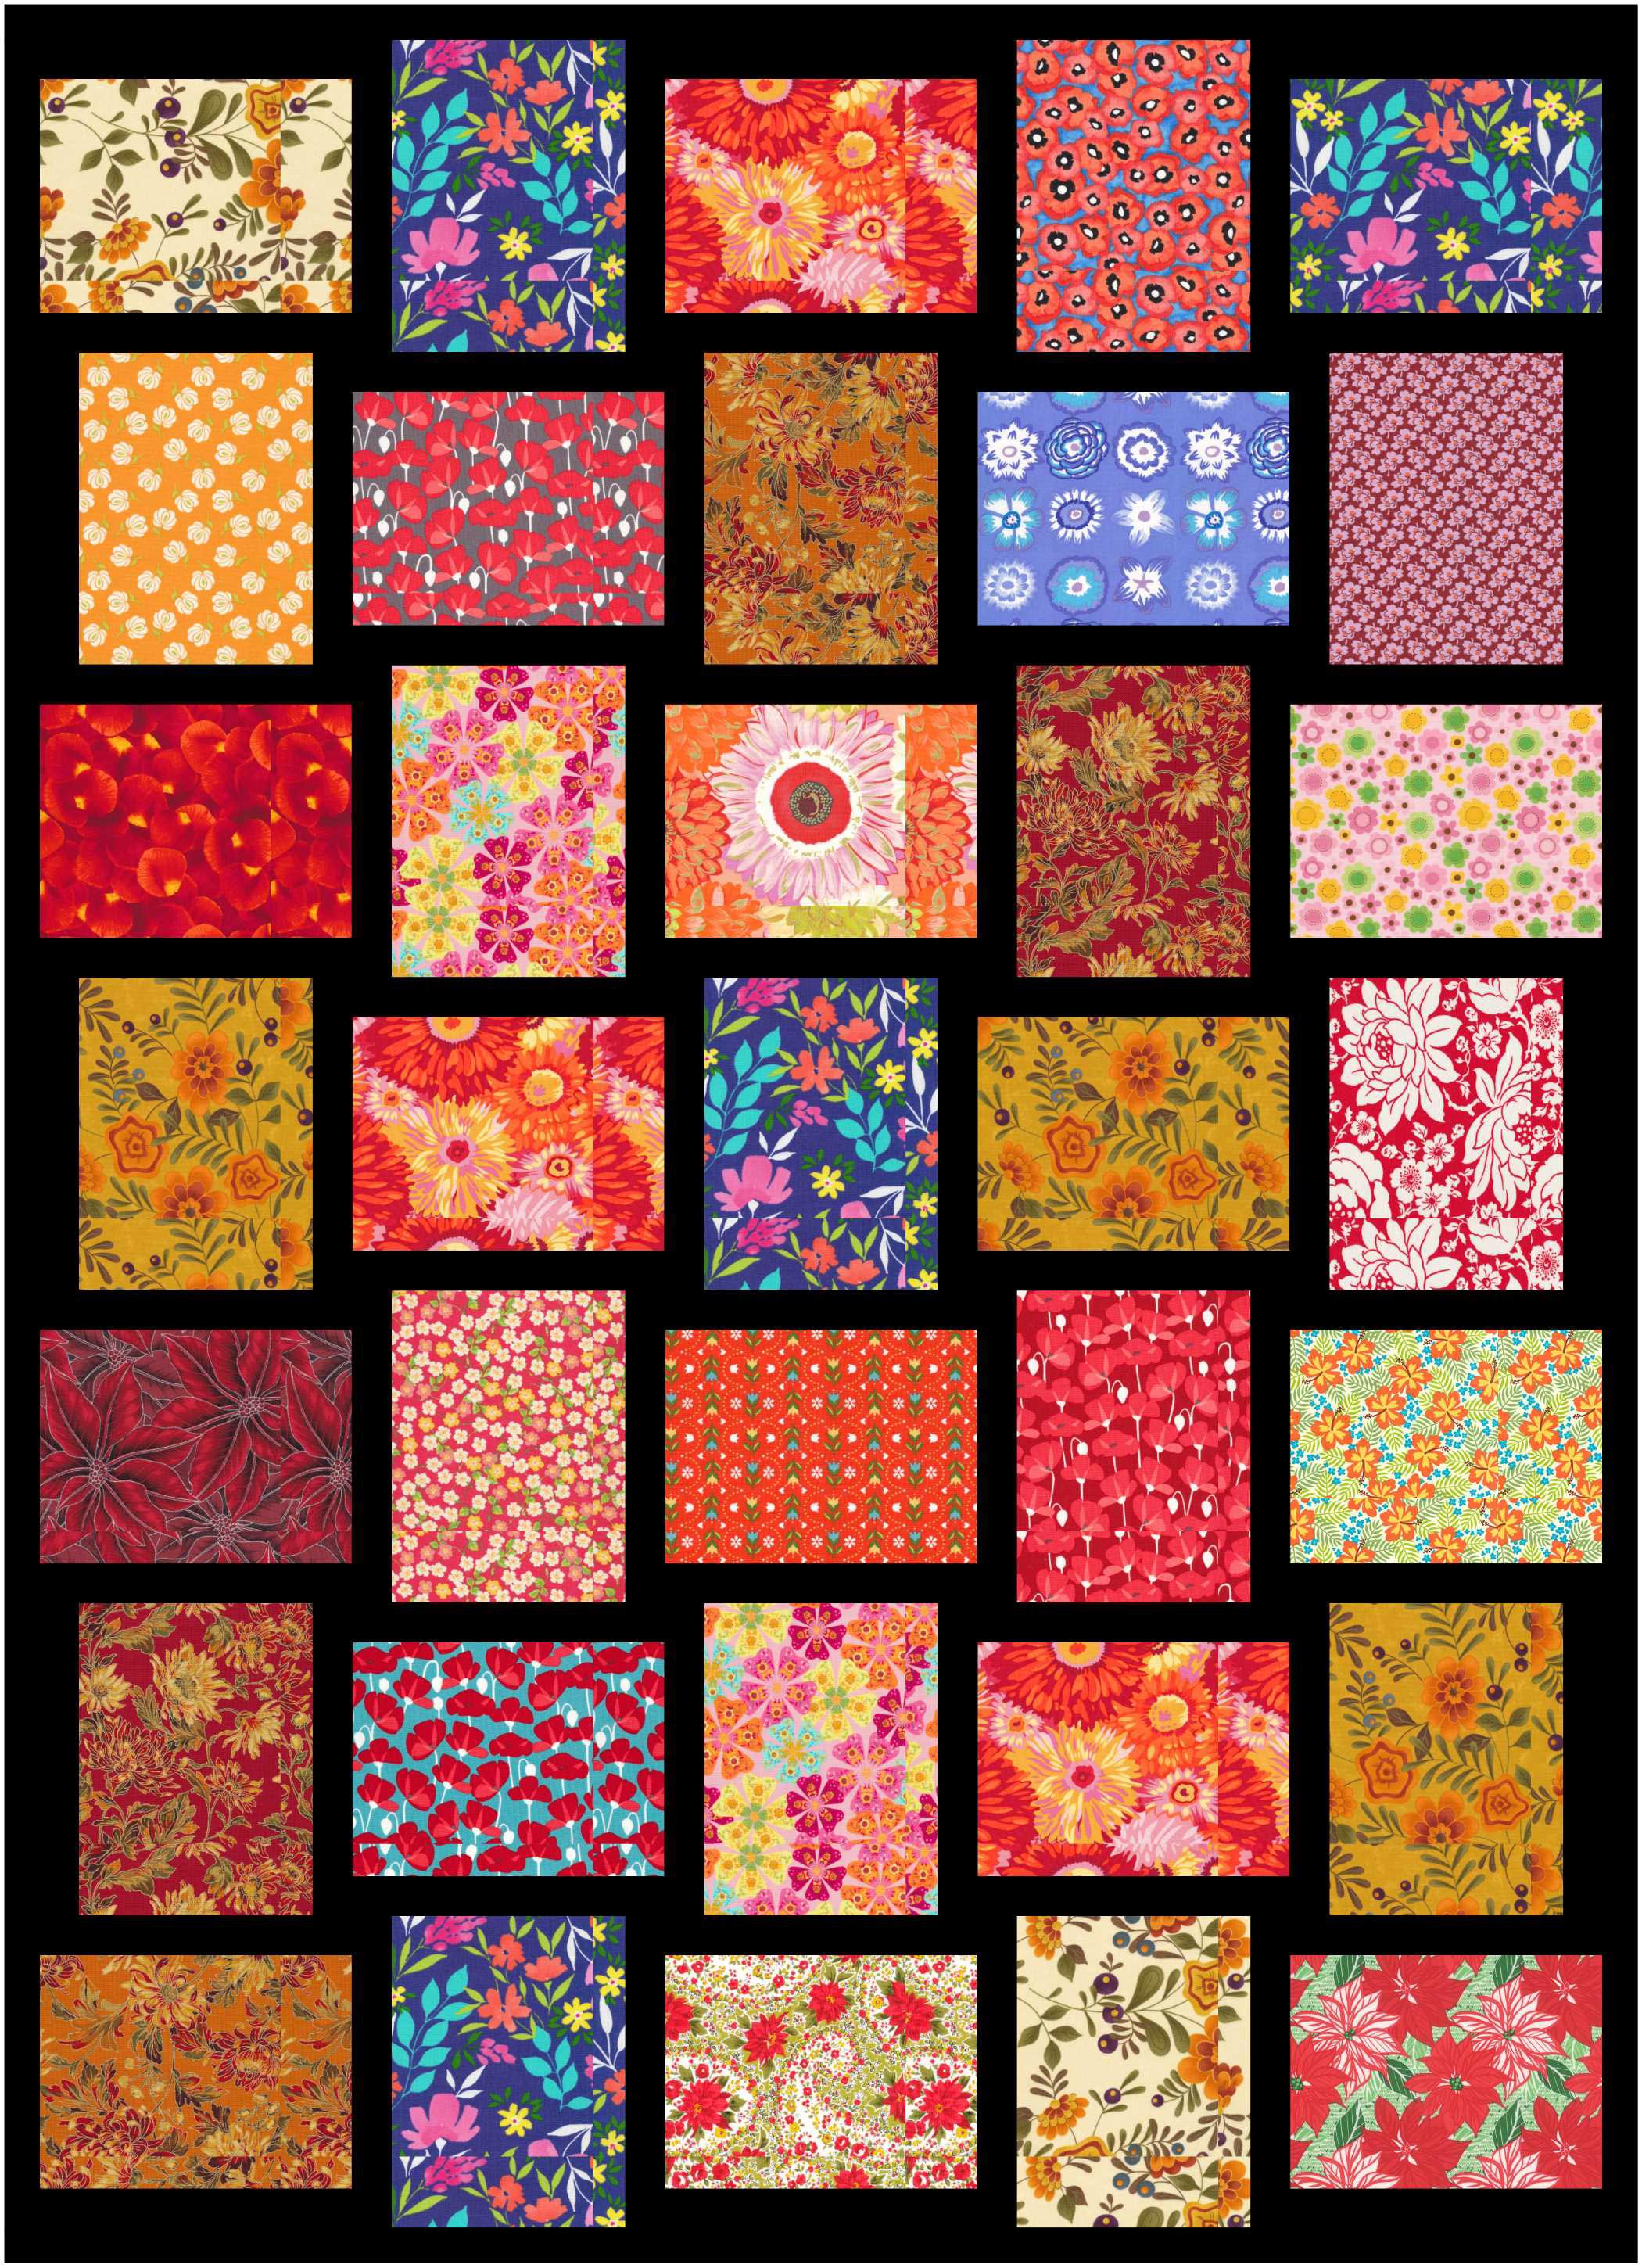 Anyway, I decided to teach it as a design-your-own quilt class, since I think the size of the center squares really should depend on the size of the prints you are using. I made a handout to help each person design his/her own blocks, so I’m sharing the details with you. All these drawings were made using Electric Quilt 8, which allows for easy export of the picture.
Here is the basic block:
The only trick is to make the block square. The center is a rectangle, and the size of the side strips has to make the block square. So, for example, if you cut a center rectangle 3.5″ x 5.5″ (to finish 3″ x 5″), your side strips need to be cut 5.5″ x 1.5″ each so the block (unfinished) will measure 5.5″ x 5.5″ and the finished block will be 5″ square. Whew!
Actually, it’s easy. We all drew our blocks (finished size) out on graph paper and remembered to add 0.5″ seam allowance in each direction before cutting each piece!
When the blocks are made, lay them out in a row, alternating directions. This forms the lattice. Two rows look like this: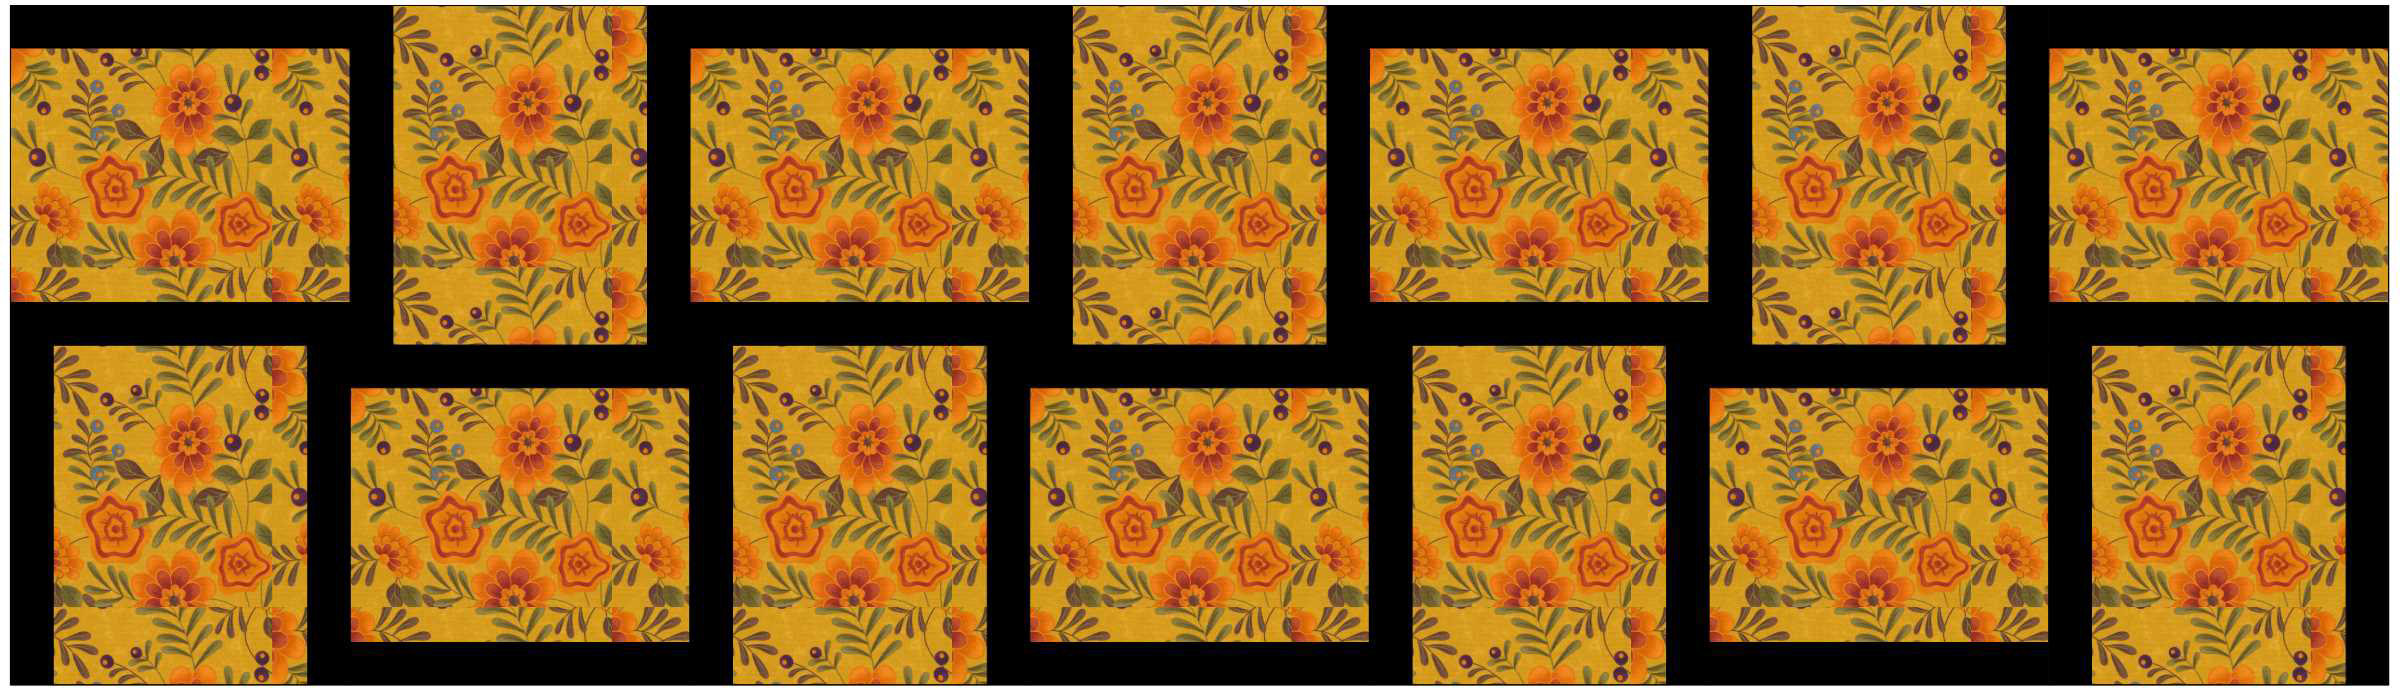
And when a border is added, all the blocks are “closed” and you have a complete lattice.
And yes, the outer edge will vary in width after the addition of the border. That’s all part of the fun. The blocks appear to float as they alternate directions.
You can vary the look of the quilt considerably by changing the proportions of the lattice and the central rectangles:
I think this design works especially well with a collection of related fabrics, and one woman brought Christmas fabrics to class:
Another brought fabrics with a camping theme:
This is an easy quilt. It can be chain pieced easily and the blocks can be trimmed before joining if necessary.
Now, go make one and send me a picture of it!


I really like this lattice quilt. In Seattle, I purchased a lattice quilt kit that my daughter-in-law chose for me to make for my son. I wish I had seen this post before I bought the kit!
Of course you can always change the way you do things. I have bought kits rarely, but I don’t think I have ever followed the instructions 😂
I have been on the look out for ways to showcase my collection of African Fabrics ever since my collection began to get large!!! This may just be the solution for that desired quilt/wall hanging. As you know, such fabrics are rich in color, design and **size** of motifs!
I’m ‘clipping’ this idea and tucking it into my boxed collection for future use.
Thanks again, Zippy.
I’m happy you like it. Please send a picture of your quilt when you make it 🙂
This is so clever. I certainly want to give it a try. Thanks
That’s my kind of pattern/directions: a basic idea and an easy way to adapt it to many measurements! I especially like your idea of synchronizing print size and focus fabric size.
I’ve been wanting to make one of these for years and two friends have made them during quilt retreats and they always come out wonderful! Thanks for the inspiration!
Send me a picture when you make it 🙂
I will!
I always think these quilts look as if they have some sort of secret to making them, but am happy to see they are very easy. I think it’s good to have your instructions out in the world, as many quilters have beautiful fabric that they don’t want to cut into, but do want to make into a quilt (a hard dilemma); this would be the quilt for them, for sure.
Yes, I like putting instructions out into the world. Thanks for reading and commenting 🙂
Pingback: Floral Lattice and a Fun Addition | Zippy Quilts