I spoke to a local quilt guild this past week about the topic below and referred them to my blog instead of giving a handout. So here’s the same information for you, with about 1/3 of the quilts I showed.
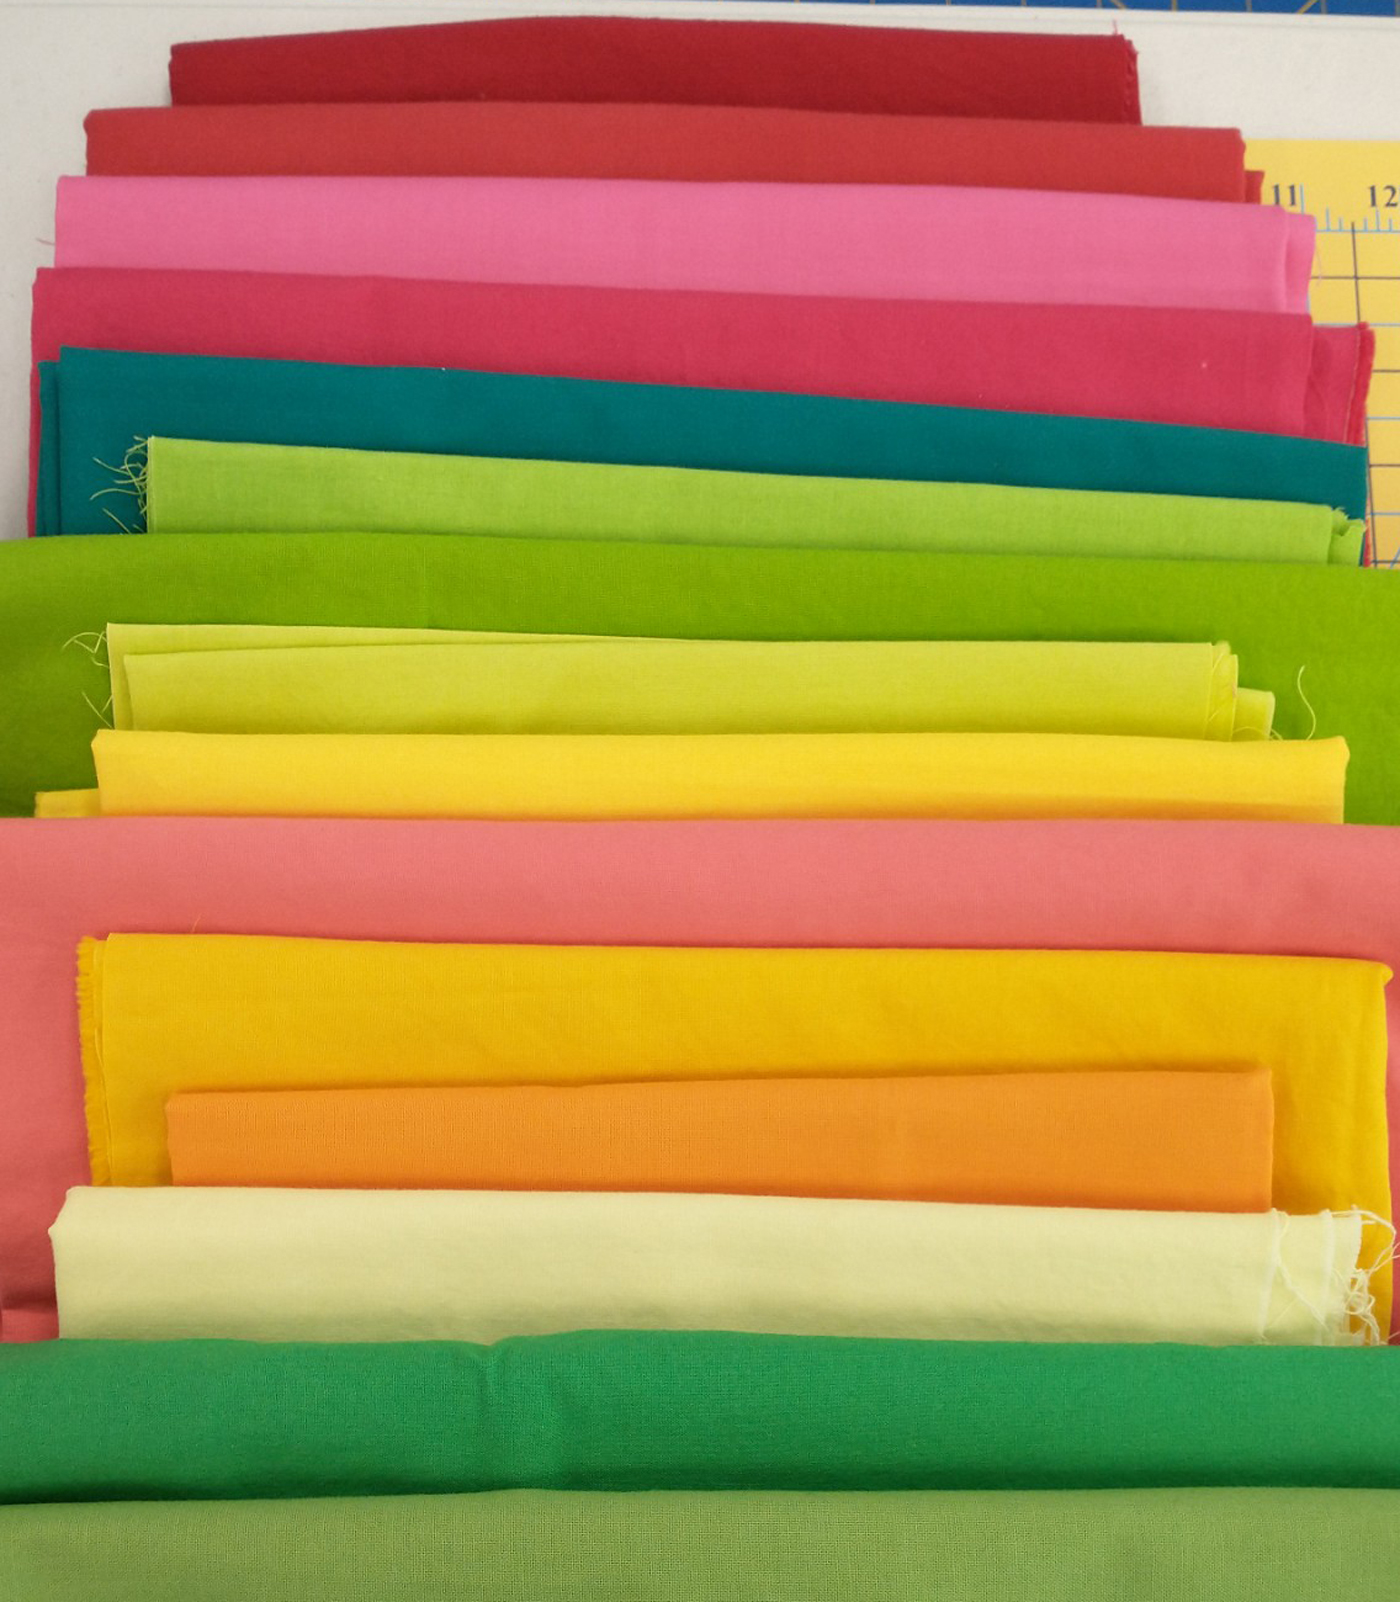
Many of my quilty friends are over 50 and determined to use all the fabric they have in stash. For most of us, there are a good number of large cuts in addition to mountains of scraps, a few UFOs (unfinished objects), some orphan blocks, and a few special fabrics we just had to have. How will we ever use it all? Here are a few ideas.
Let’s start with those beautiful fabrics you just couldn’t resist. My favorite patterns for these are the BQ patterns from Maple Island Quilts. Here are some of mine.
Patter is BQ2, available here

This pattern is BQ4 from Maple Island Quilts
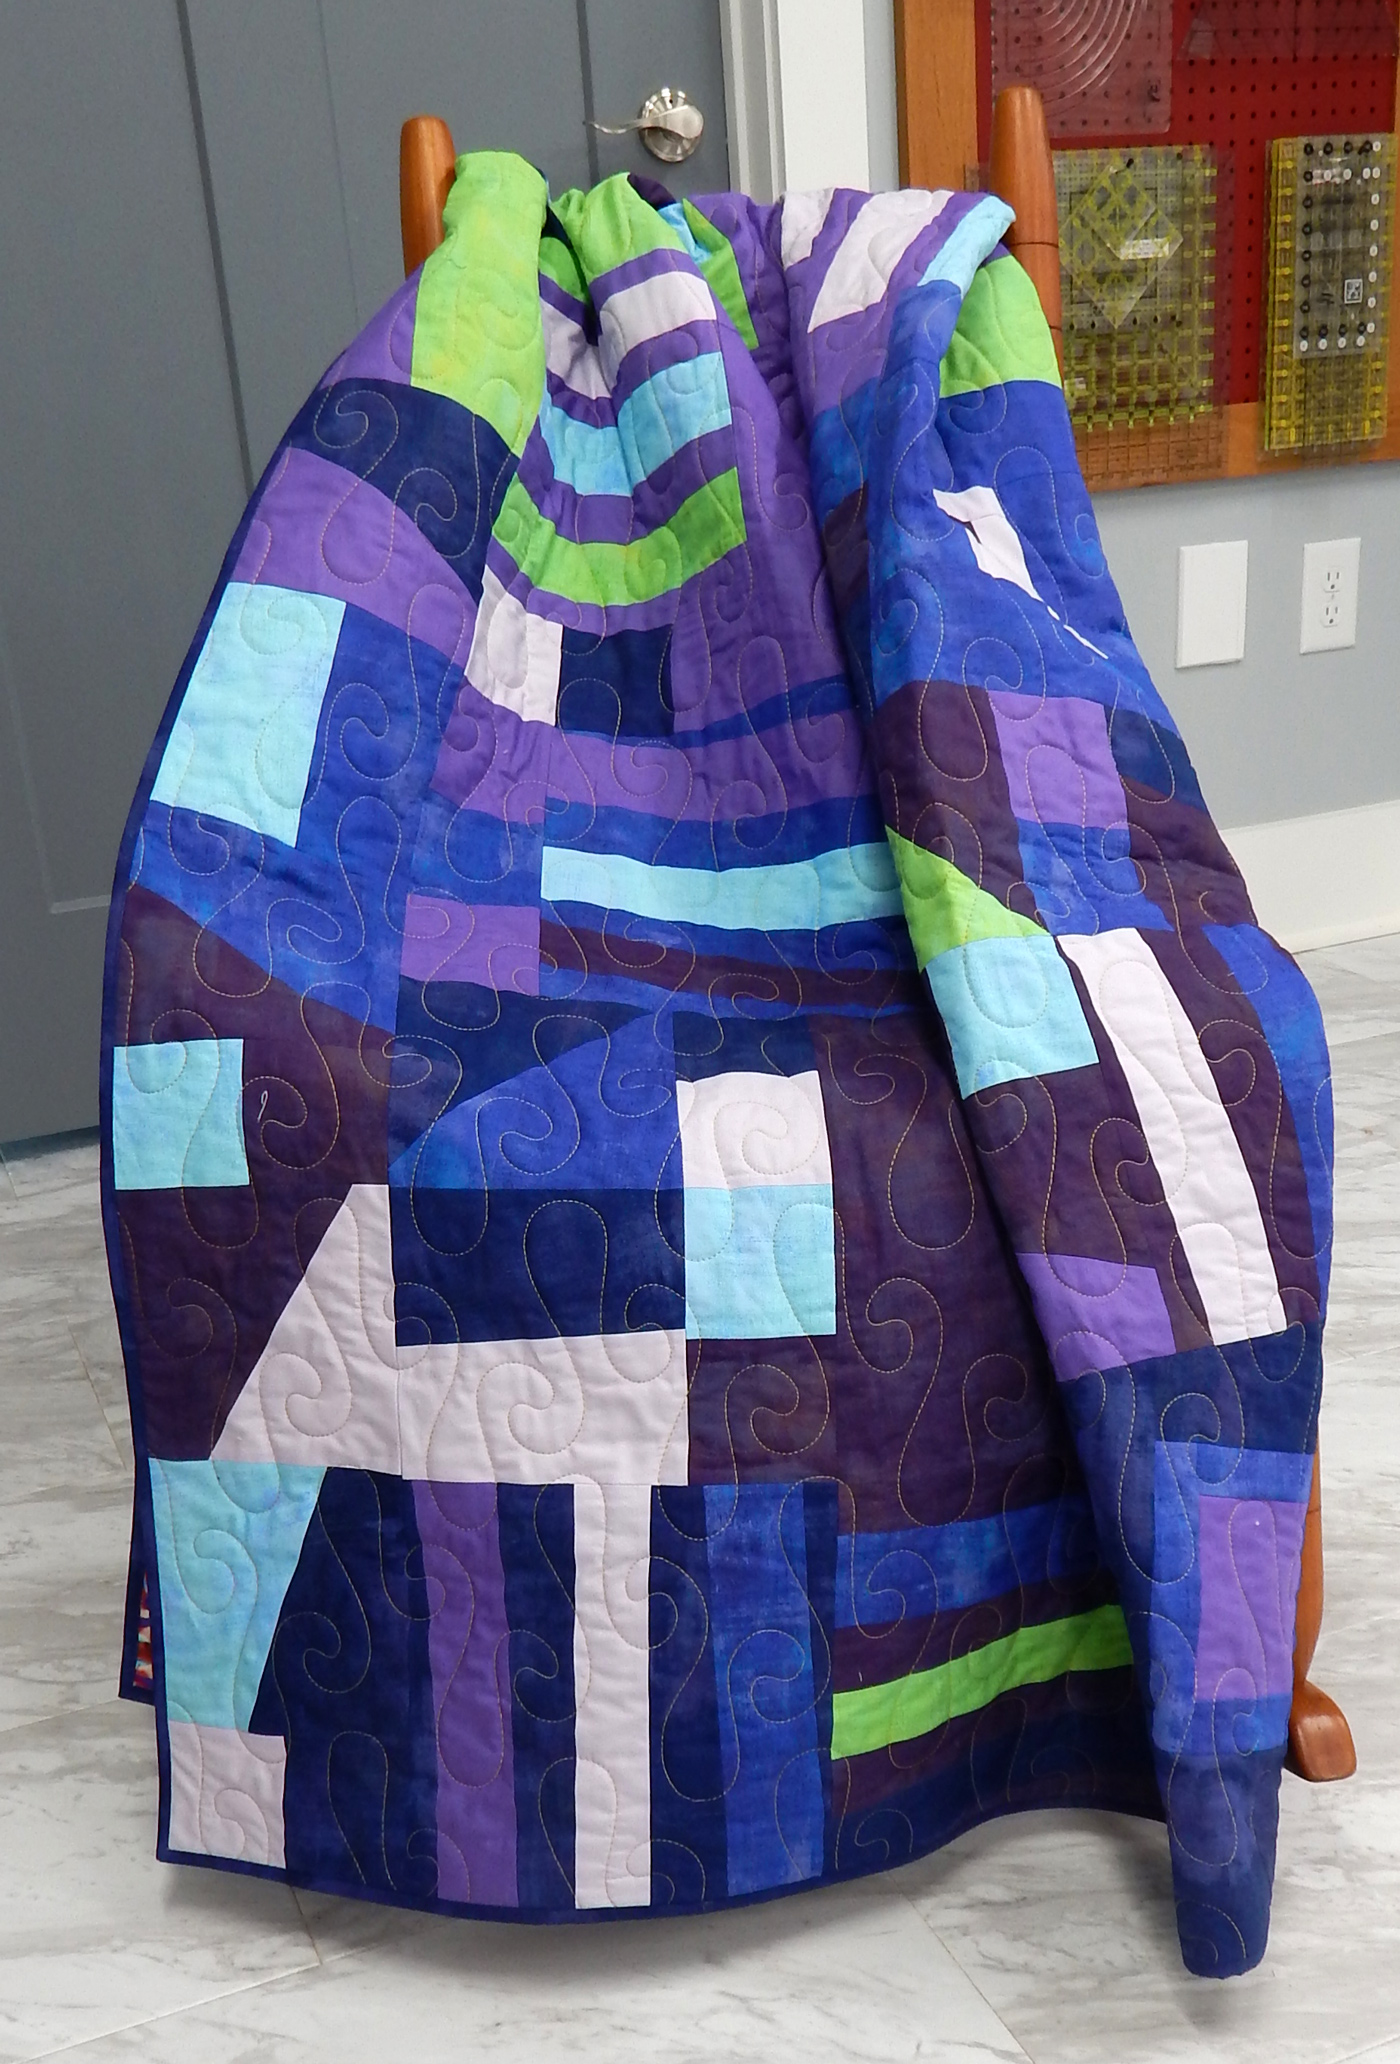
Most of us also have big (a yard or more) cuts of fabric that aren’t focus fabrics. The good news is that many modern quilt patterns have big designs. That means they are quick to make, dramatic in appearance, and use up those big cuts as well as some smaller ones.
Curious By Nature is a free pattern available on the Free Spirit site, here.

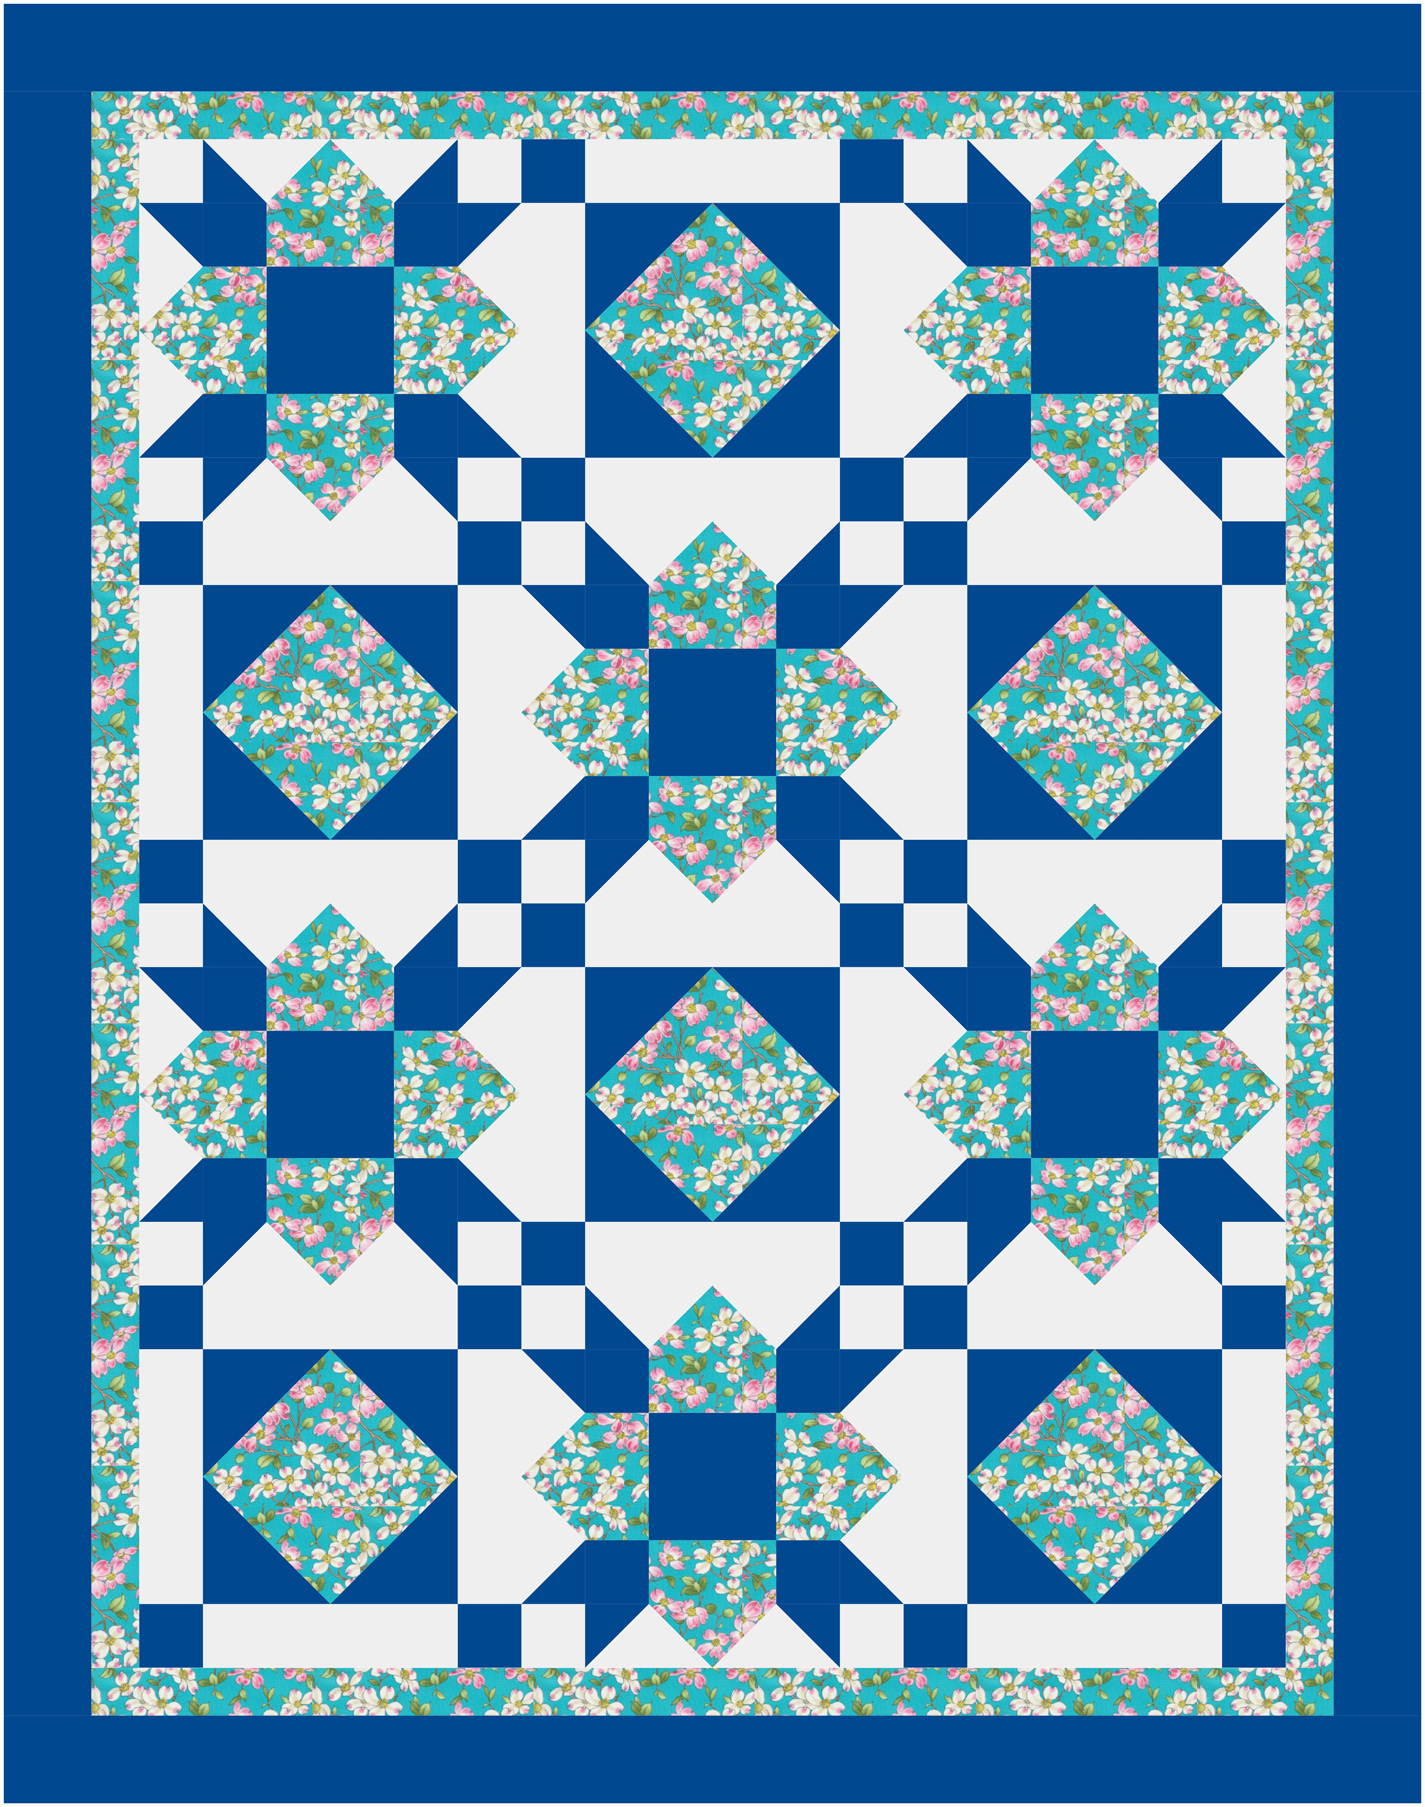
There are many chandelier quilt patterns out there, but this one was free on the Free Spirit website, here

This is my version of the Bloem pattern by Libs Elliott.

This is derived from a design by Cheryl Arkison; you can look for more ideas in her books

Patterns by Eudaimonia Studio often use large pieces and are fairly easy to piece

Henry’s Humongous Hexagons, a pattern by Karl Hentsch

This is from the pattern “Contrasting” by Zen Chic; there are a number of Zen Chic patterns that use large cuts of fabric

I liked this pattern by Brigitte Heitland of Zen Chic so much that I made it twice
You can also use up yardage with books for “3 yard quilts”, like this one. Just pick three one-yard cuts from your stash and you’re ready to go! Then go back to your stash later and pull a fabric for a border if you want a larger quilt.
This 3 yard quilt pattern, written by me, is available from Studio Stitch
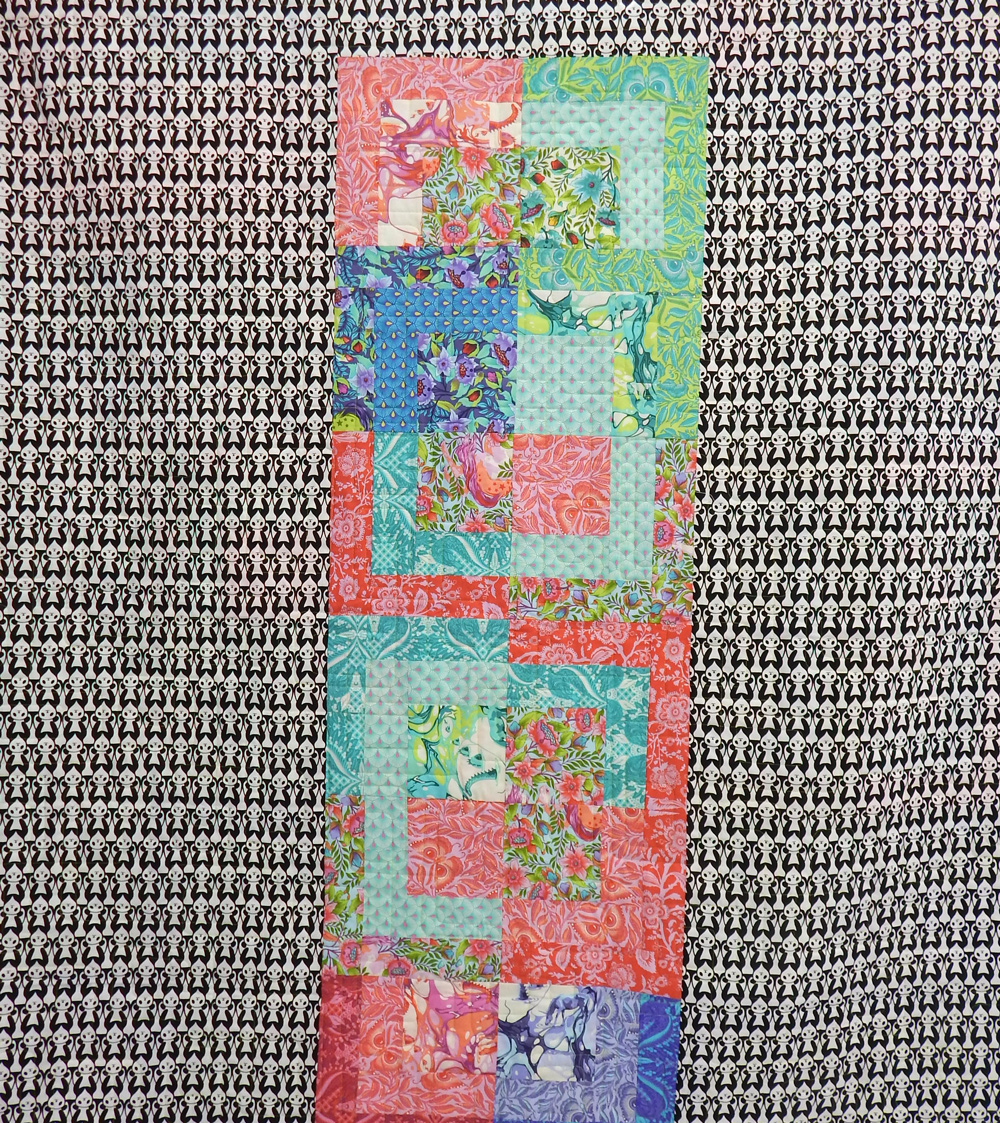
And then there are the collections, often of coordinated fabrics from the same line. There are many fat quarter patterns that can make good use of these. And some of the best fat quarter patterns are the oldies, Turning Twenty and Turning Twenty Again. Here are a couple I made years ago from those patterns.


This pattern is Bermuda Sunrise by Linda Hahn. It plays well with fat quarters. Ignore my paper tags, please!

Triangles at Play is a quick and easy pattern by Sarah Ruiz


The three quilts above are from the book Cozy Modern Quilts by Kim Schaefer. It’s an old book, so try first to get it through AbeBooks or a similar used book source. I found it there recently for under $7 including shipping–less than the cost of a single quilt pattern!

This and other patterns by Sassafras Lane are surprisingly easy and are good for using fabric collections
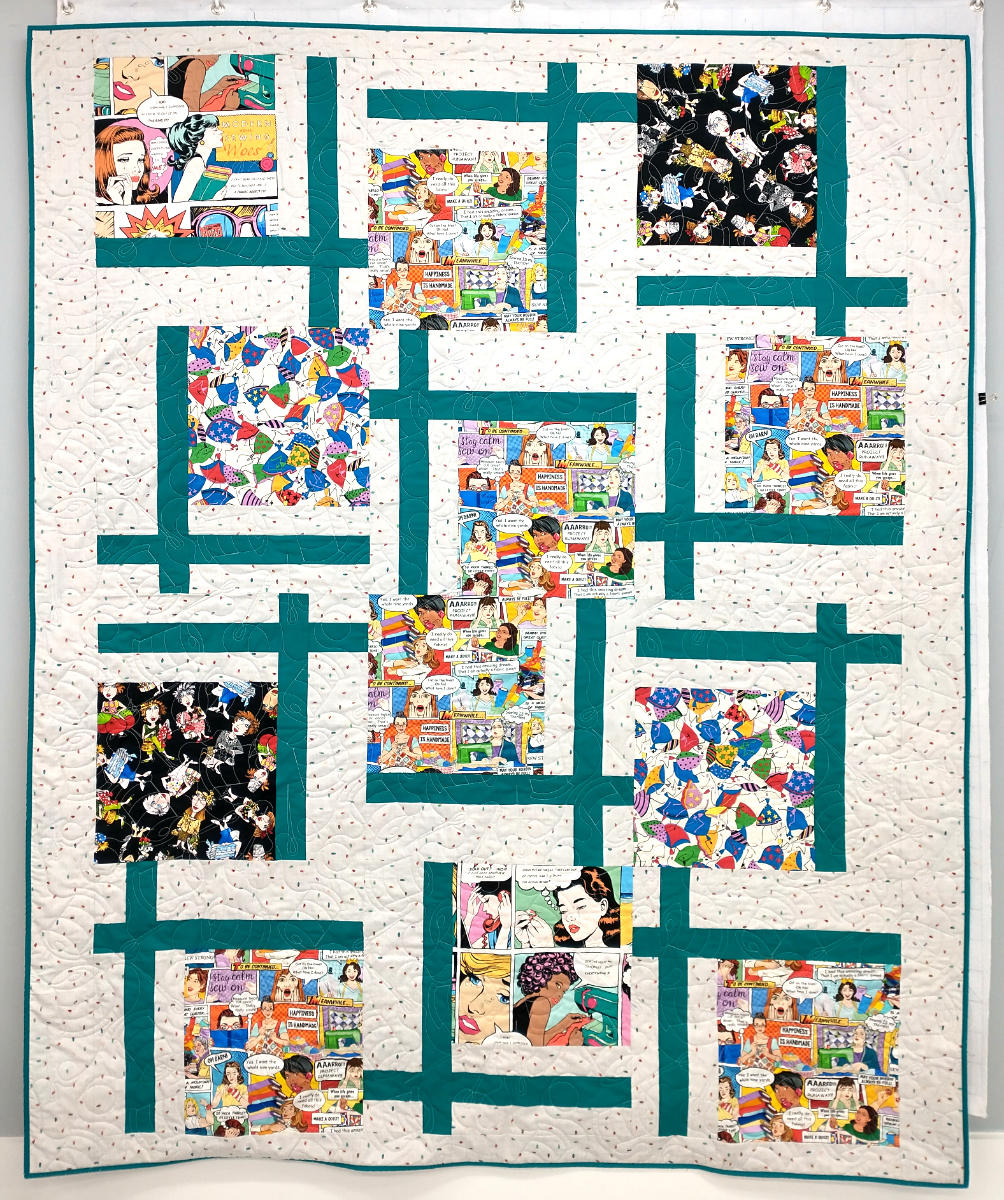
There are many patterns for scraps. In addition to the printed patterns available (and probably already in your pattern stash) there are many free patterns online. Quiltdom is one site with scrap patterns ranging from easy to challenging. And it links to other sites, so you could spend all day scrolling instead of sewing…
Here are a couple of my favorite scrap quilts. I choose simple blocks so I can use them as leaders-and-enders while making other projects, and often I have a quilt made before I know it. You don’t need a pattern for these–just copy them!


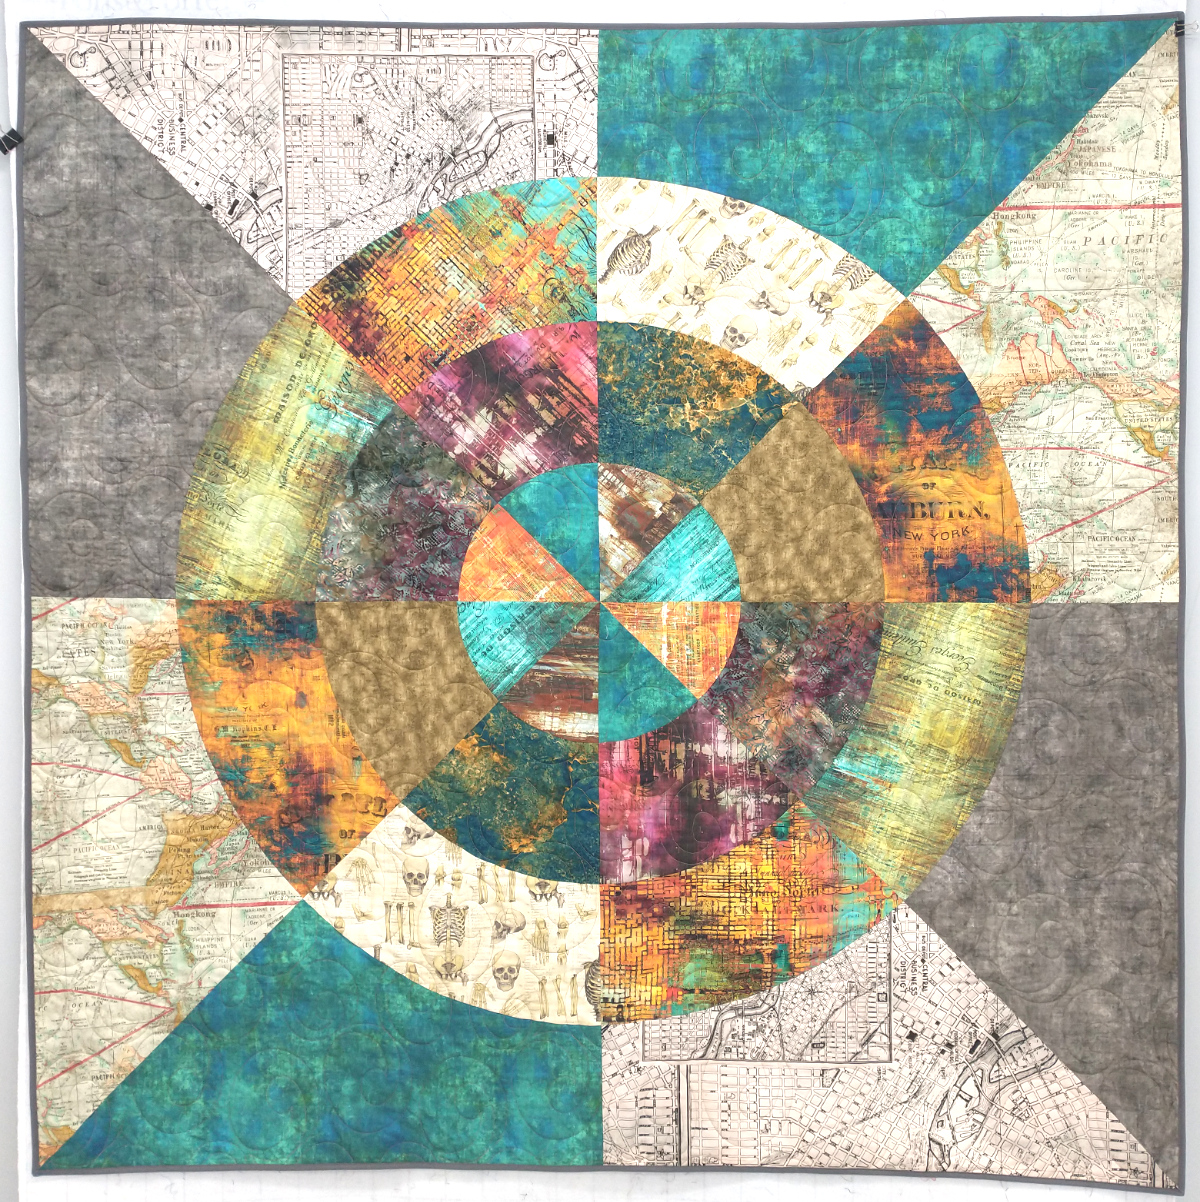
And then the orphan blocks and UFOs! Cut them up and use them to make improvised quilts. Be sure to have an interesting quilting pattern if you have a lot of negative space.

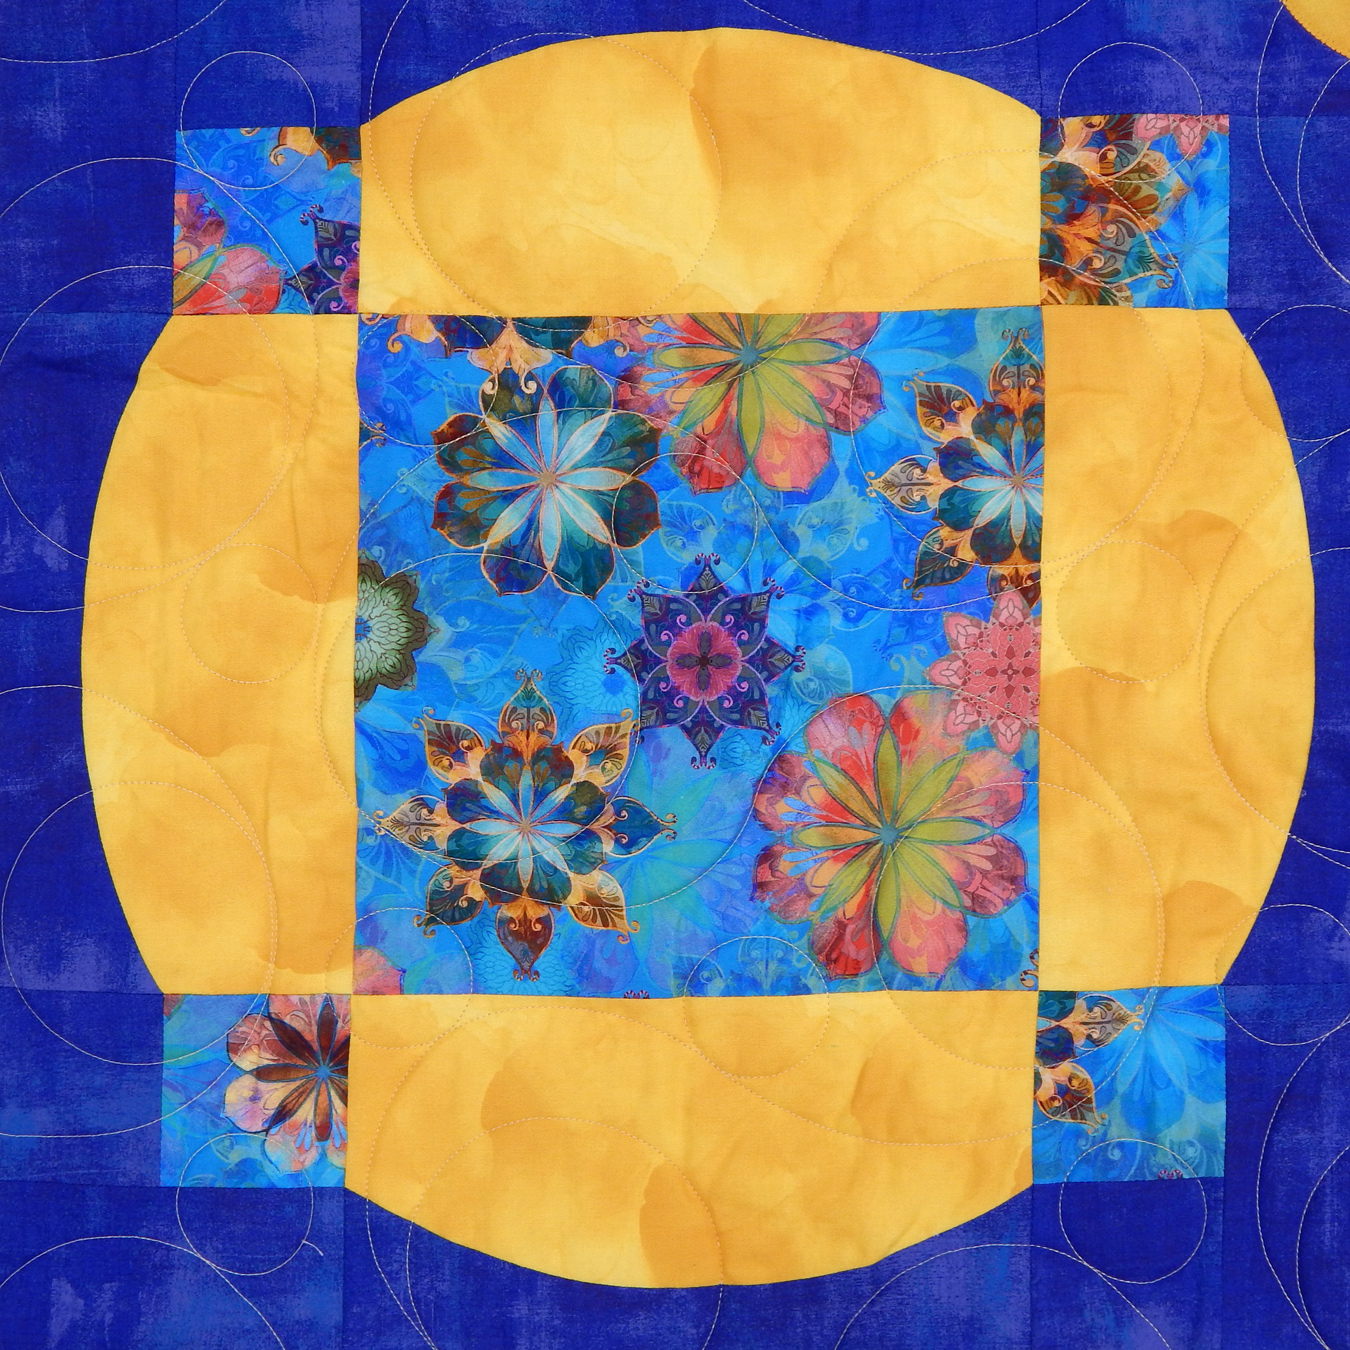
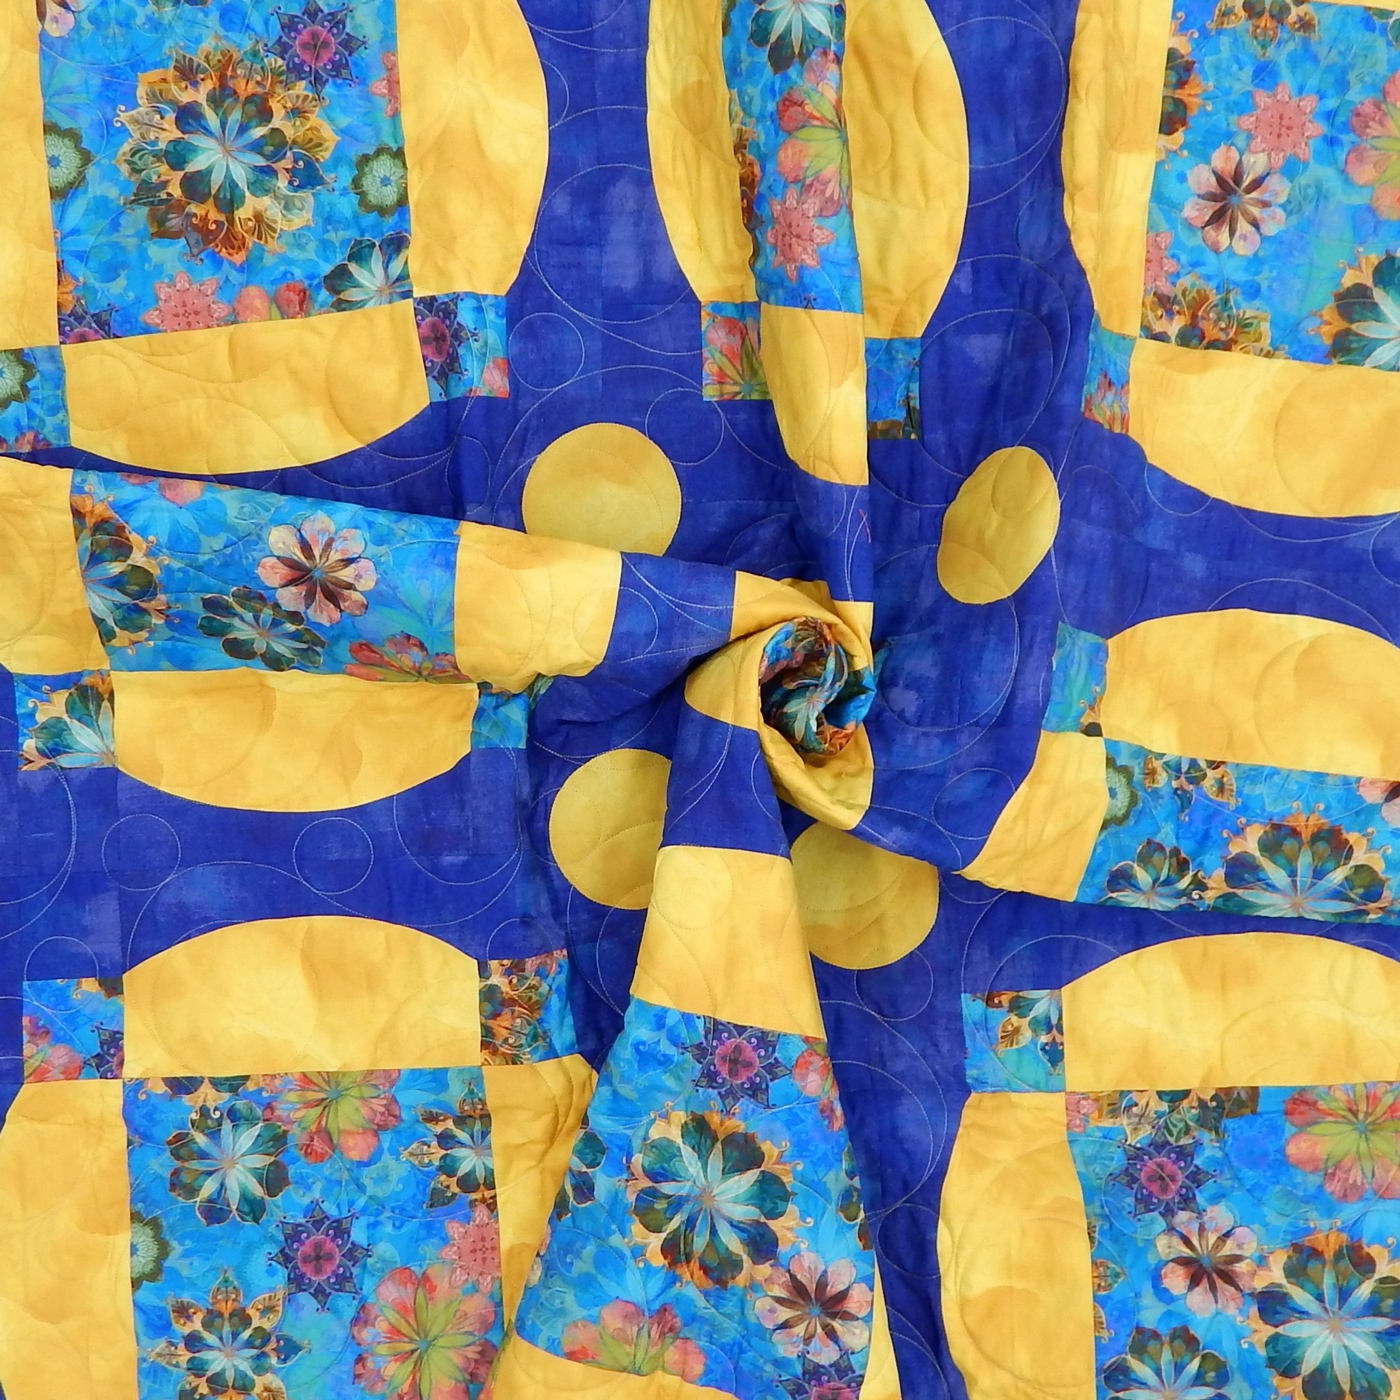
Aha! Orphan blocks can be cut up to make new blocks, as I did with my Giant Circles quilt, here
There are lots more fun patterns out there. Stick to the ones that look easy and your stash will diminish more quickly–if that’s your goal.