Start by deciding what size and shape pillow you want; or start with the block you want to use and decide what size/shape pillow form to buy.
-

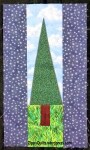
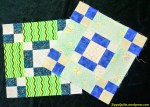
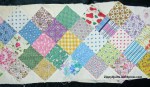
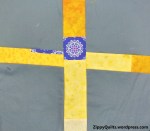
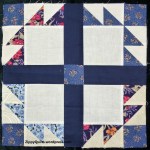
- Many orphan blocks to choose from!
-
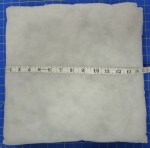
- Measure the pillow form before starting
-

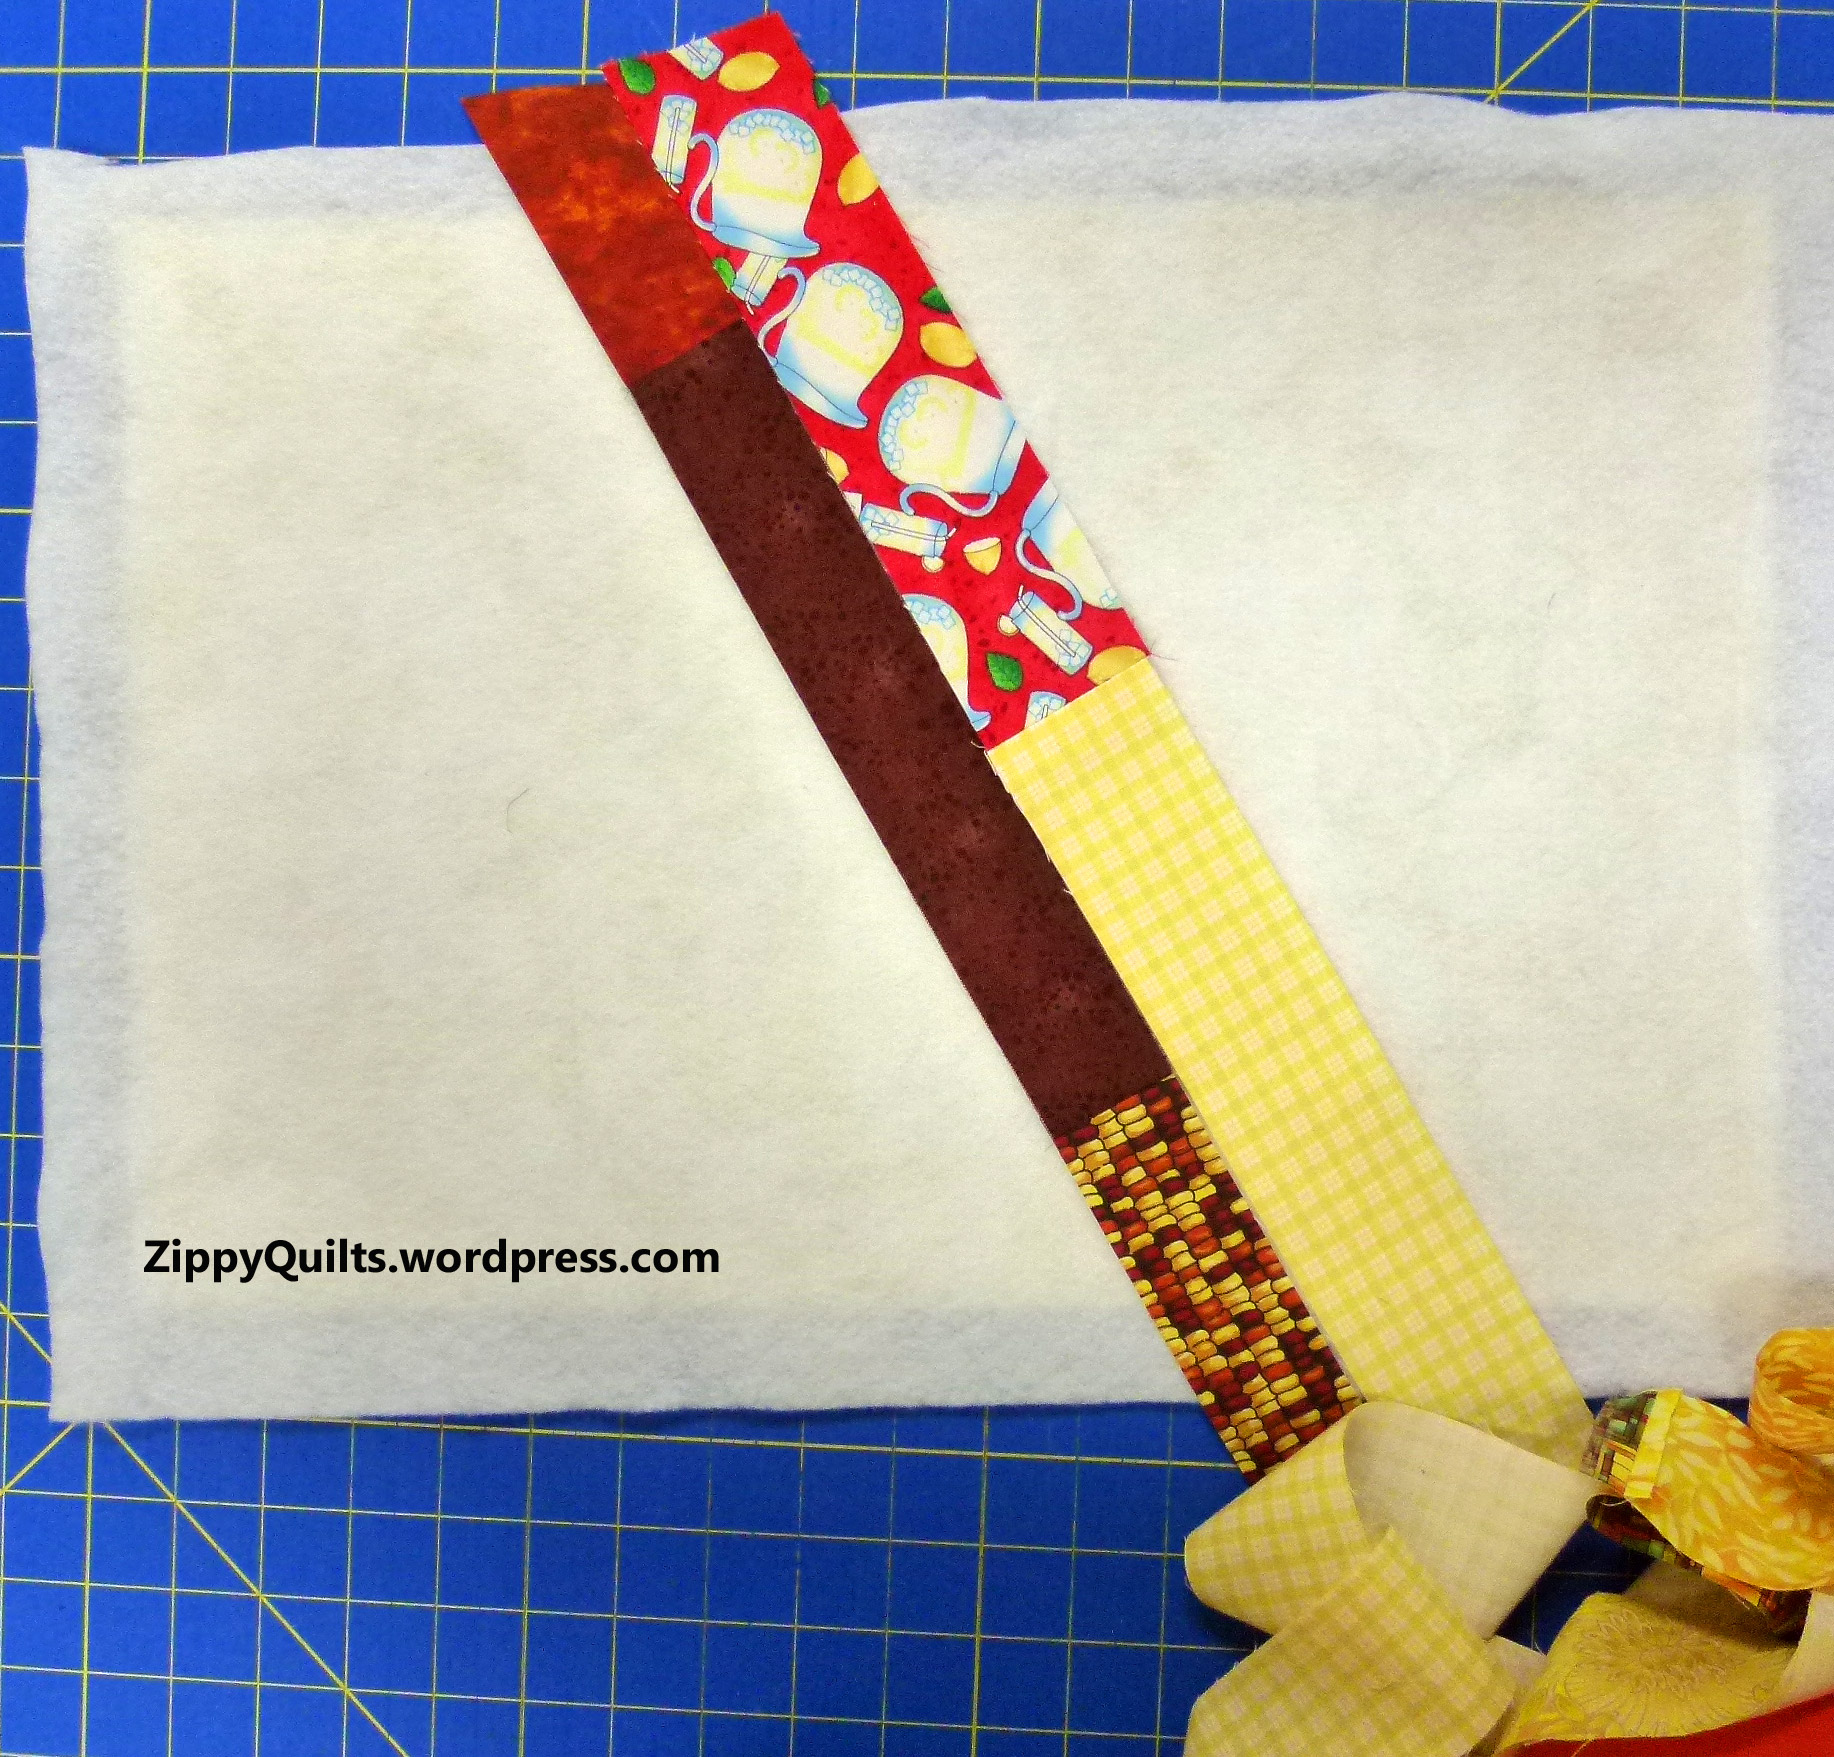
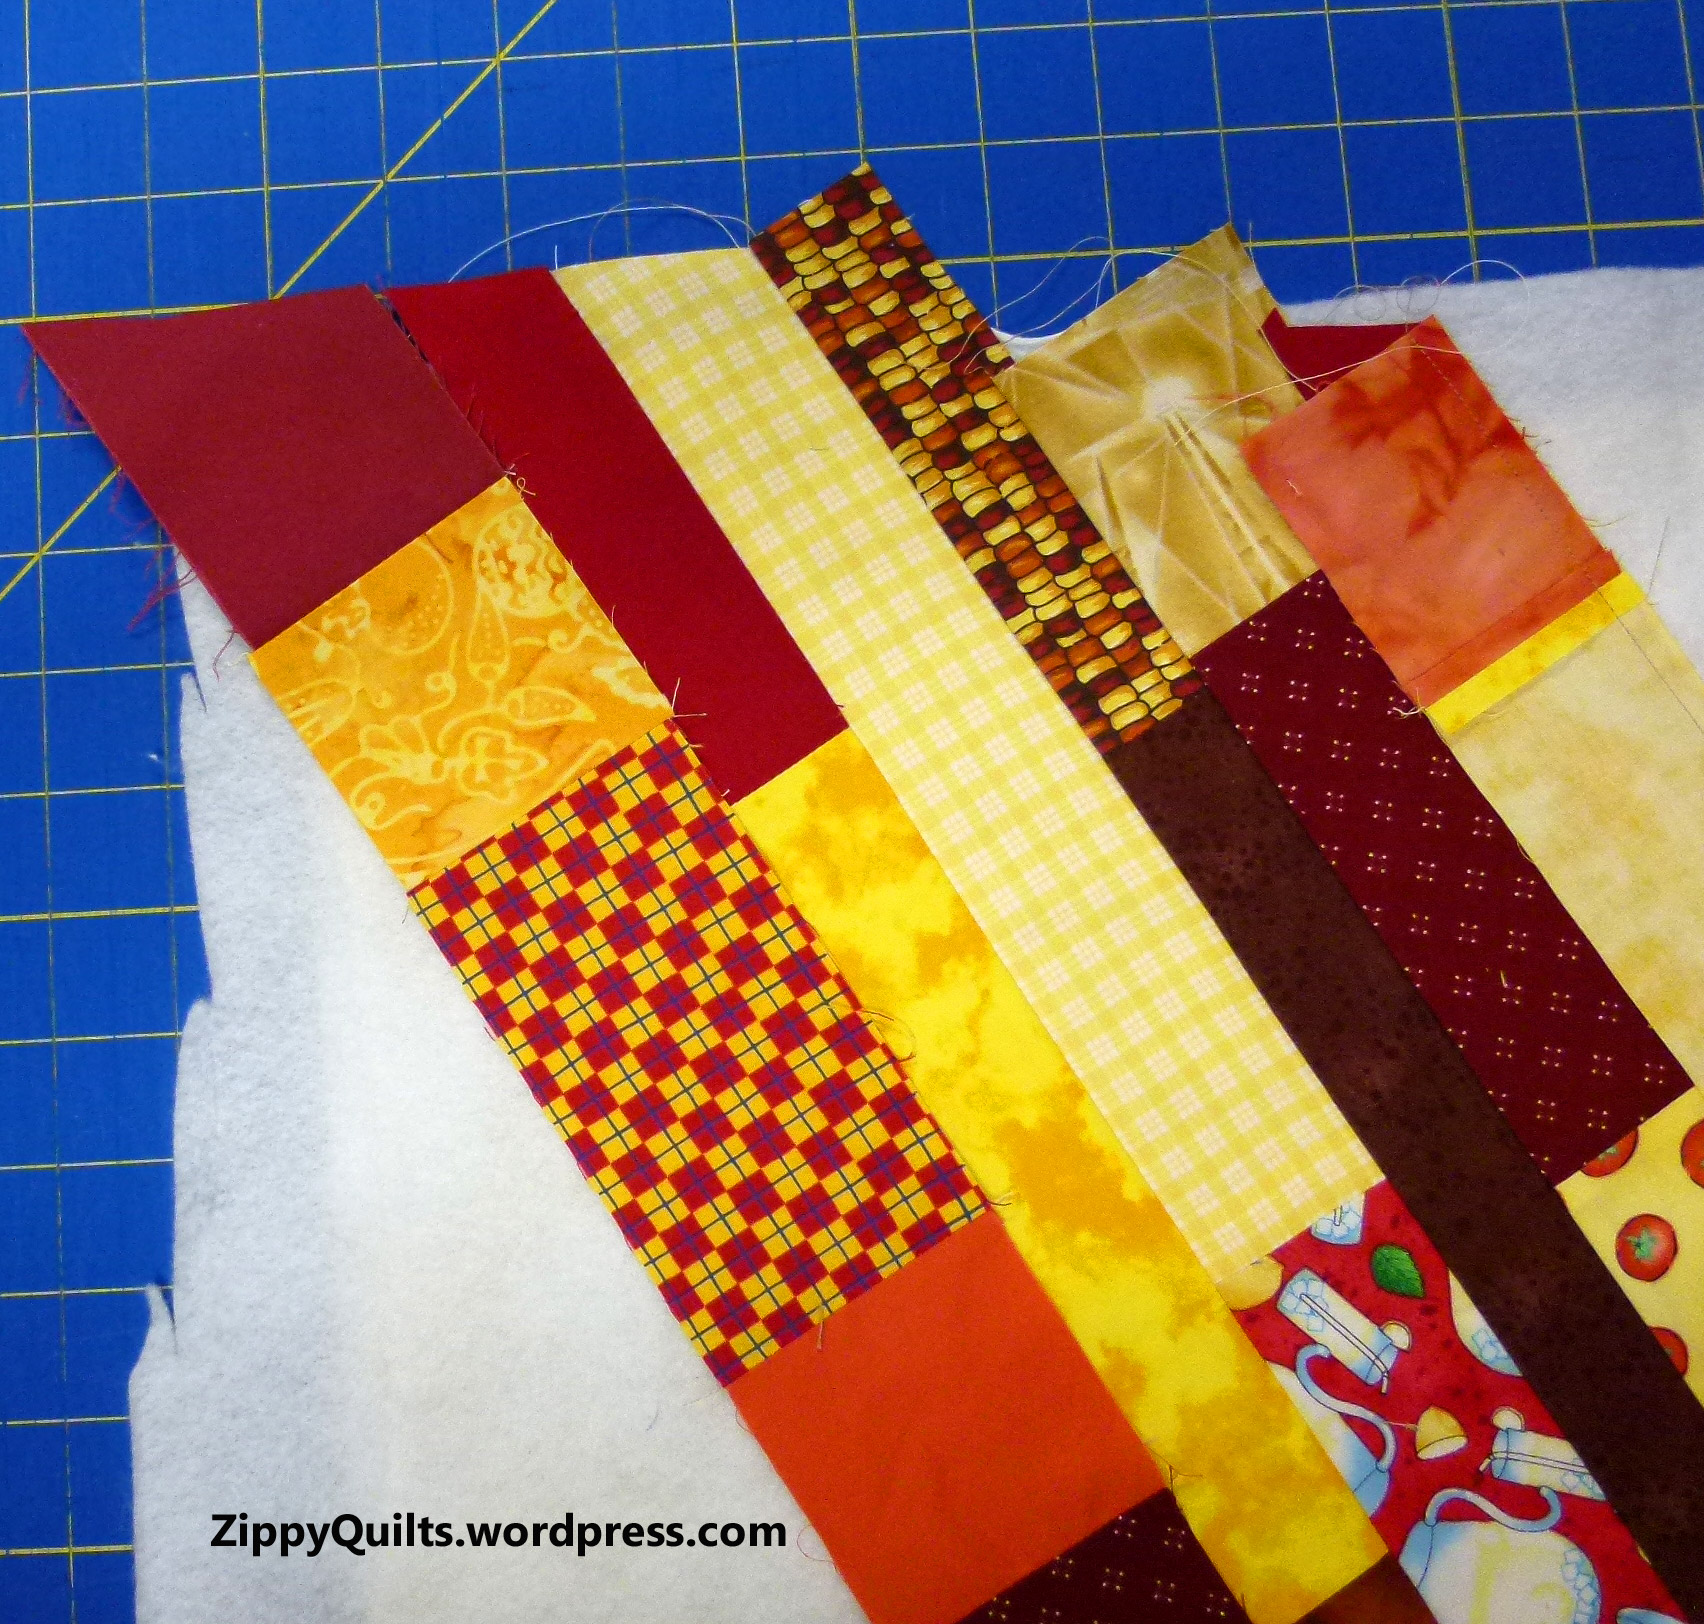
- improvised log cabin block
Once you have that pillow form home, measure from seam to seam to be sure it’s the size you think it is. Add 1/2 inch to each dimension for seam allowances and you have the size to cut (or assemble) the front and back pieces. For example: Pillow form here is 16 x 16, so I’ll make the (unfinished) front and back pieces 16-1/2 x 16-1/2 inches.
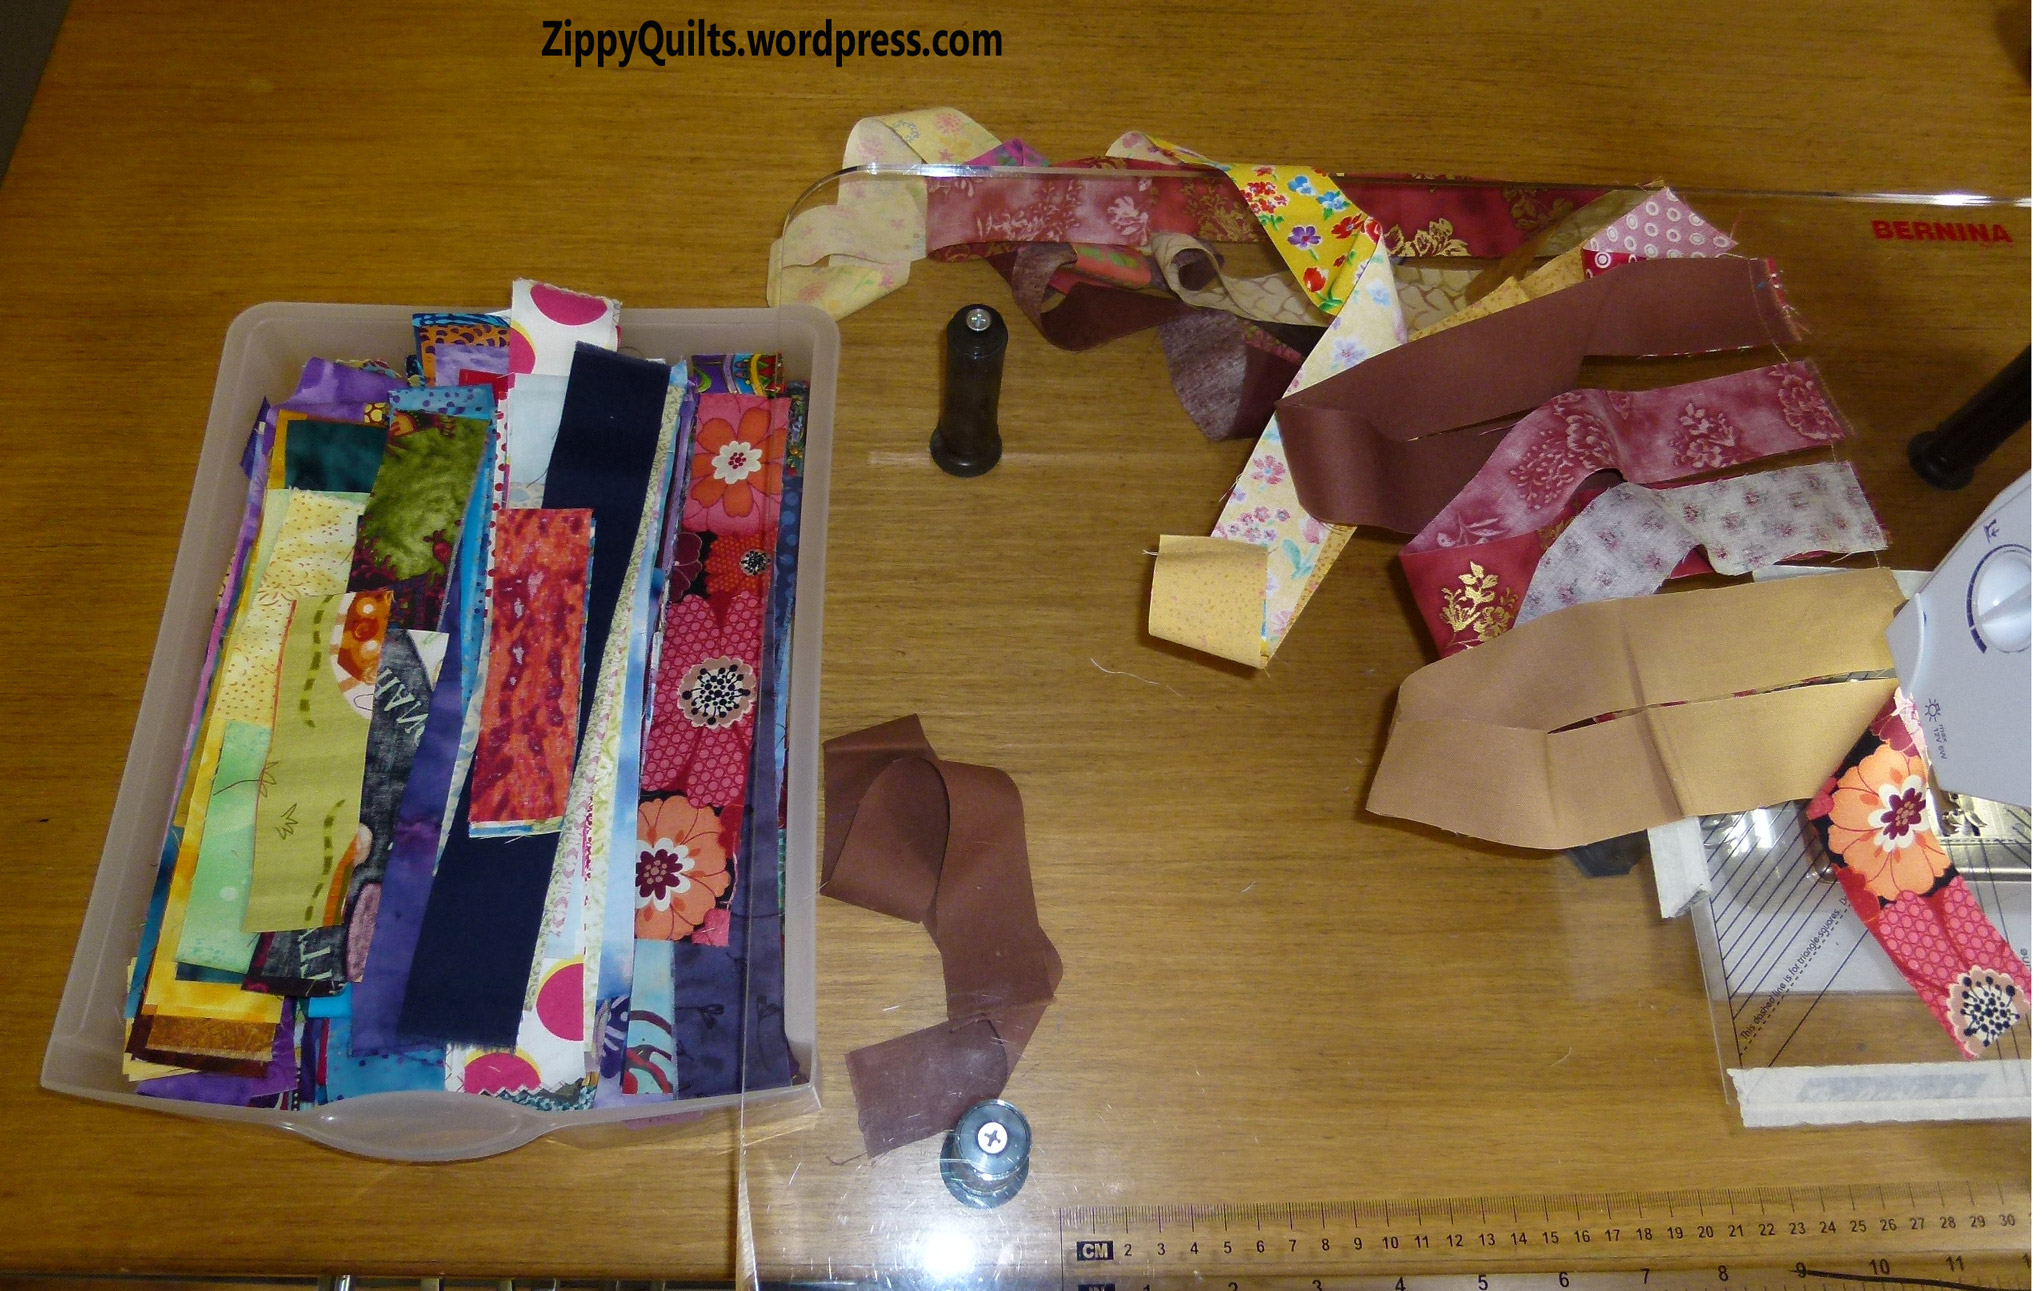
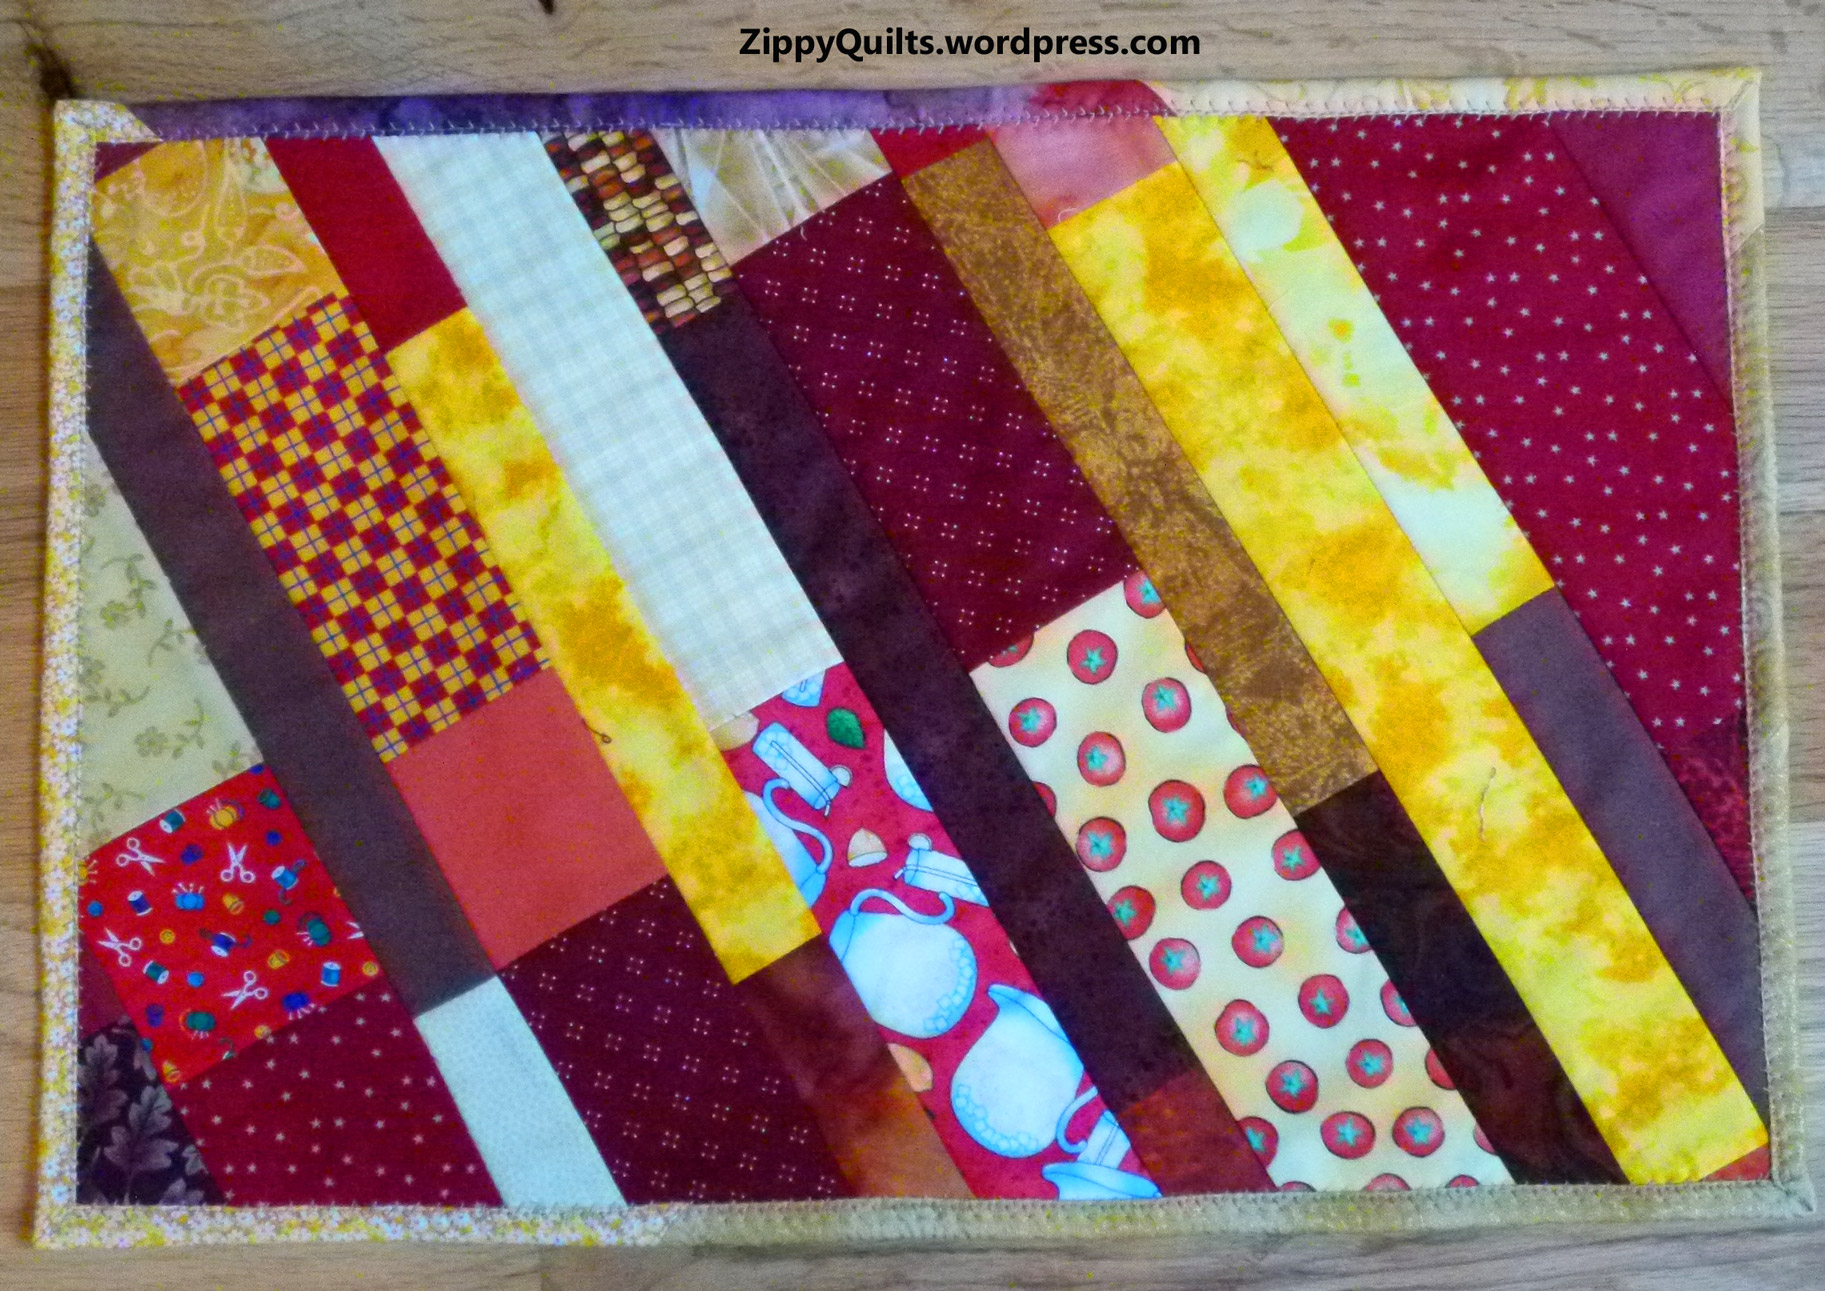
I stated with an improvisationally pieced log cabin block and added logs to 2 sides to make it big enough. While I was at it, I added pieces wider than I needed to allow for shrinkage during quilting and squaring up the final top.
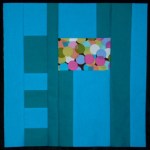
I spray-basted and quilted the top with a thin batting and muslin backing. However, a block will make a perfectly good pillow top without being quilted, like these:
To make the pillow cover easy to remove, I make an overlapping closure in the back. It’s also fine to add a zipper to one of the edge seams IF you’ve got a zipper, and of course if you know how to put one in. I do that sometimes, but there are lots of places on the web that show you how to put in a zipper, so I’m not doing it here.
To make the overlapping back: Divide back width by 2 (16-1/2 divided by 2 = 8-1/4 in my case) and then add enough to each piece for overlap and hem. “Enough” should be proportional to the size of the pillow, but in this case I added (8-1/4″ for back and one seam allowance + 1-1/4″ for hem + 2″ for overlap = 11-1/2″, which I rounded up to 12″). So I cut two back pieces 12″ x 16-1/2″, then finished one of the long sides on each piece with a hem of 1/4″ first turn + 1″ second turn.
Next, I layed out the backing pieces with hemmed edges overlapping to make a square 16-1/2″ x 16-1/2″, and basted the overlapped edges together. Put the front and back pieces right sides together, sew all around the edges with 1/4″ seam, turn right side out and insert the pillow. Voila!