*Free Motion Quilting on a Domestic Sewing Machine, that is!

I started out quilting placemats, because they are a manageable size and not much was lost if I goofed!
I’ve been working on this for years. Here are some things that have helped me, and some that haven’t:
Very Helpful: Taking an in-person class on quilting with a domestic machine. The first class introduced me to the walking foot for relatively straight lines, and to the darning foot for free motion quilting all sorts of shapes. It was helpful to have in-person instruction and feedback.
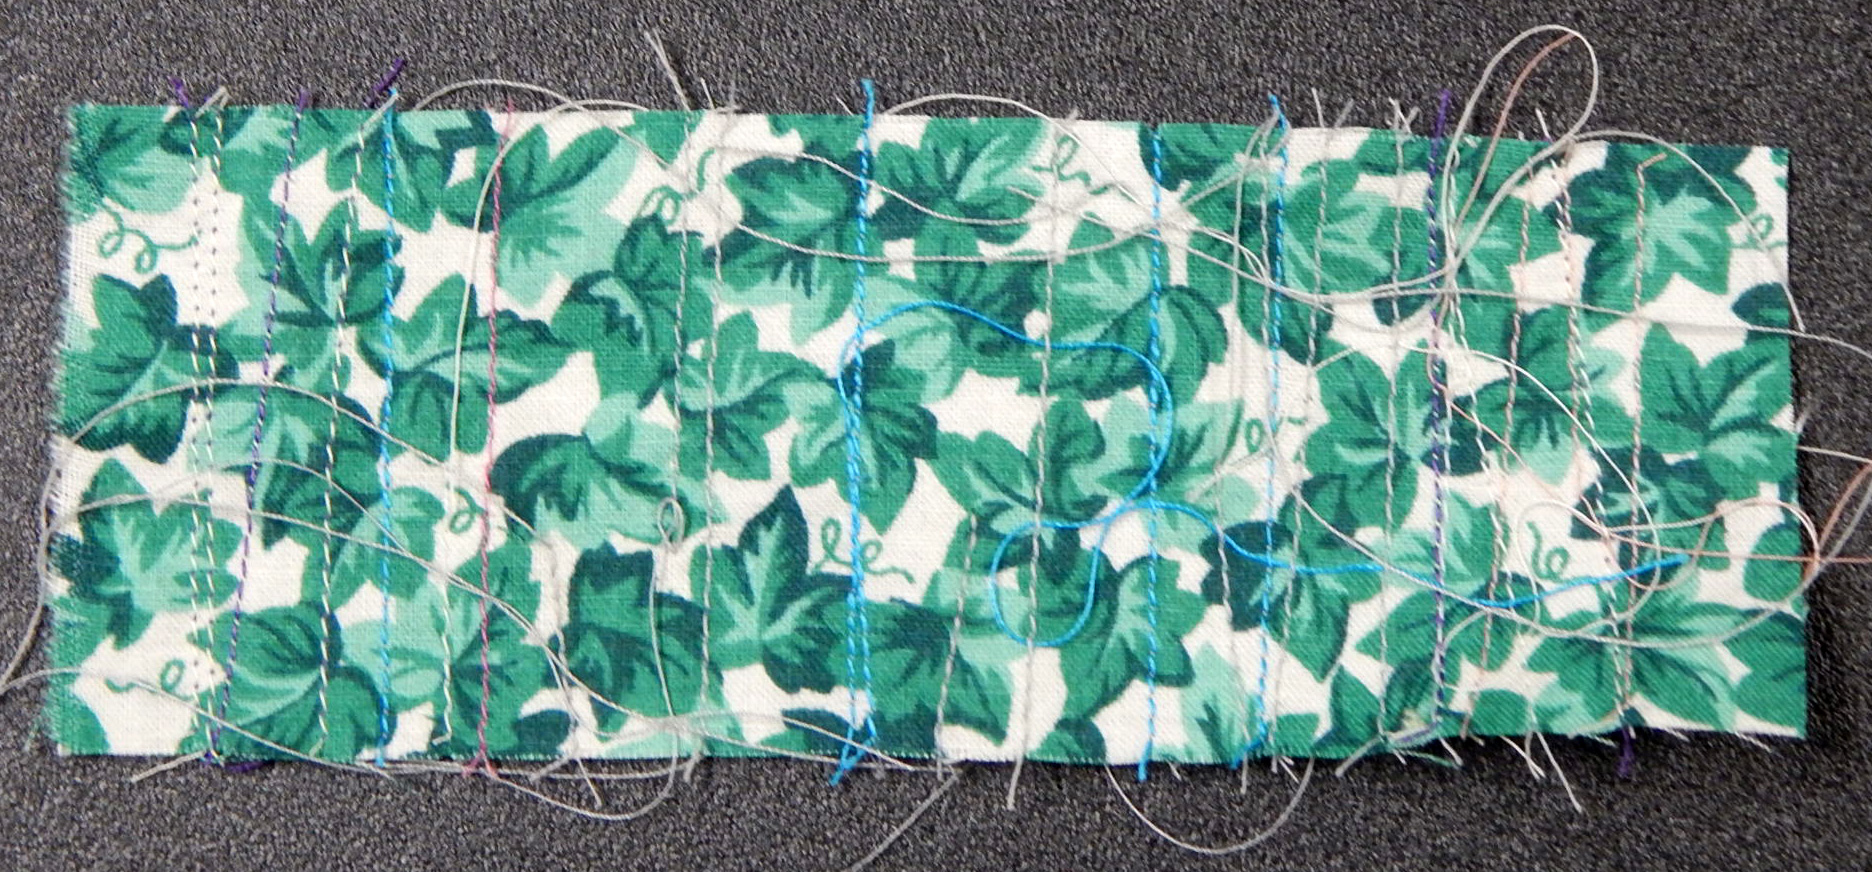
My most helpful hint: Take some cheater cloth to practice on! That placemat above is one of my original practice pieces.
Very Helpful: After practicing the basics for several years, I took Michele Scott’s advanced machine quilting class at an AQS show.(She teaches elsewhere, too). This covered different types of thread, couching, and bobbin work. She also has a good book and DVD from which one could learn this, but she’s lots of fun in person. And again, the personal feedback was helpful while I was learning. 
Helpful: I got a couple of books on machine quilting and worked through the exercises on my own. After learning the basic skills, it’s mostly practice, practice, practice.
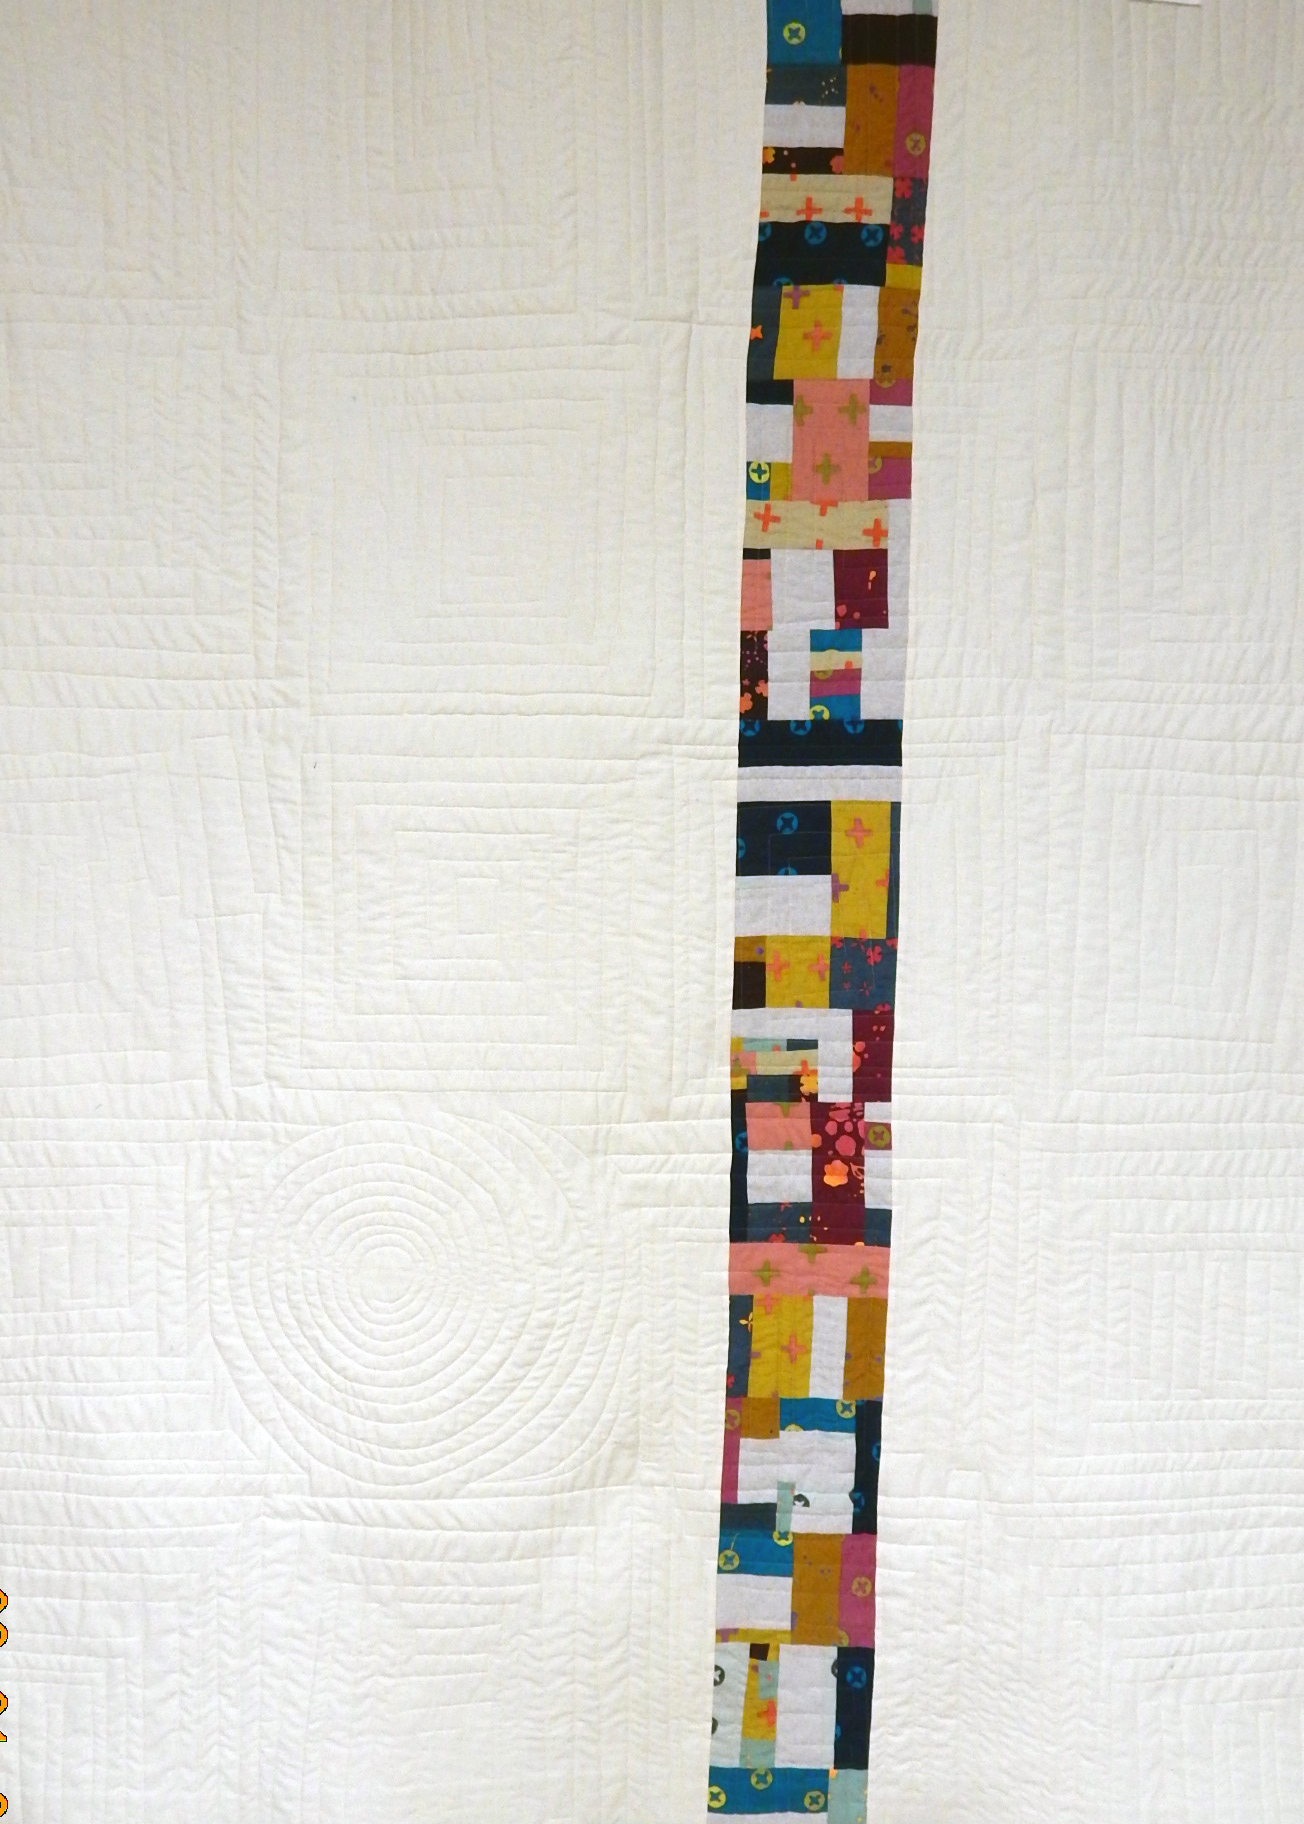
Helpful: Just do it! I found a few free-motion patterns I was comfortable with and quilted whole quilts with them. It went just fine! They turned out waaay better than I expected, so I was encouraged.

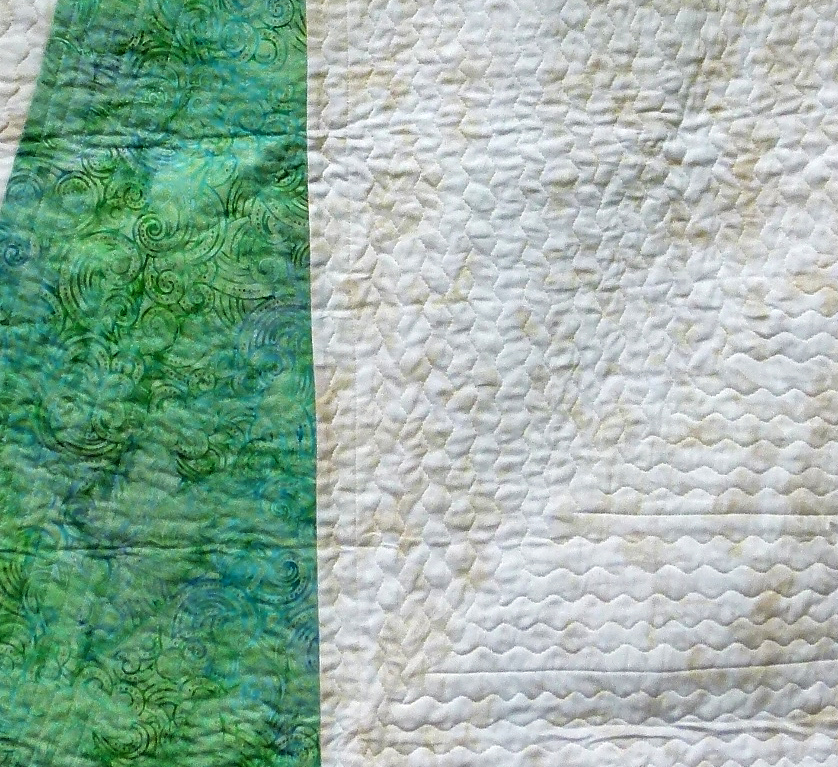
Stars and Loops is one of my favorite free motion designs
Helpful: Jacquie Gering’s machine quilting class on Craftsy. It boosted my confidence that what I was doing was just fine.

Multi-stitch zigzag stitch is a great way to make interesting quilting lines with the walking foot
Less Helpful: A friend and I spent a lot of money to take a machine quilting class at a well-known craft school. We did not get our money’s worth, but we had a good time because we got to be together. We should have checked more carefully on the level of the class before we plunked down our money.
Less Helpful: Another class on Craftsy that went through many different free-motion patterns. I got bored with that many slight variations. However, the class itself was just fine and probably would work well for some people.
And finally, I am undecided about the real value of my BSR, the very expensive Bernina Stitch Regulator. I do feel more confident using it because it decreases the problem of toe-catchers, those extra-BIG stitches that are all-too-easy to make when doing FMQ. However, it IS still possible to make uneven stitches if you don’t use the BSR just right.
The BSR’s main value to me is more confidence doing FMQ on things that are really important, when I don’t want to make a mistake. I continue to use it in preference to going back to quilting without it, so obviously I find it useful. The leaf designs in this post were quilted with it, and I like the stitching. The BSR is just not a miracle worker, which I sort of think it should be for the price.
What do you think helps with FMQ on the DSM?