It’s never too soon to start your holiday shopping, or holiday hinting! Here are a few of my favorite ideas.
Postcards: The Barack Obama Mini-Quilt Portrait Series. I was so happy to see this collection! I keep postcards on hand to write notes to friends and neighbors, and before I retired I used them to leave notes for colleagues as well. Available here. And I’m a big Obama fan, so these postcards hit the spot.

Photo courtesy of C&T
I didn’t know about the Social Justice Sewing Academy, so I’ll be following up on that.
Glue pen! This is a glue stick but of smaller diameter and therefore easier to use for holding seams in place.

A regular glue stick and a glue pen
I got an Avery glue pen for a class with Ann Holmes ages ago and still use it. If you don’t need something this small, the back-to-school sales always have glue sticks at a good price. Buy early for stocking stuffers!
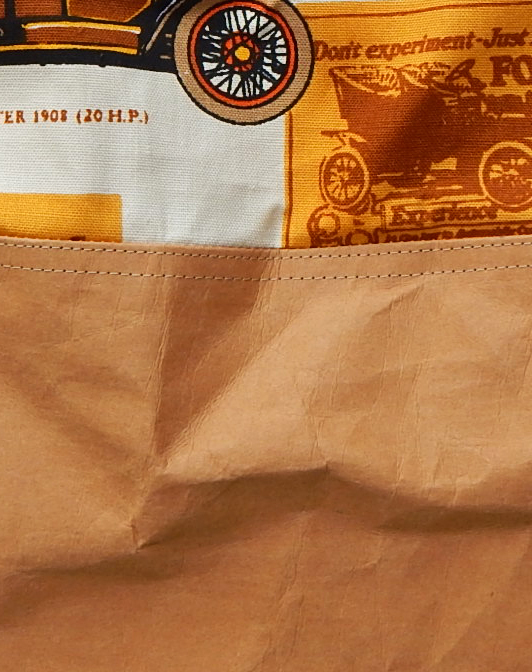
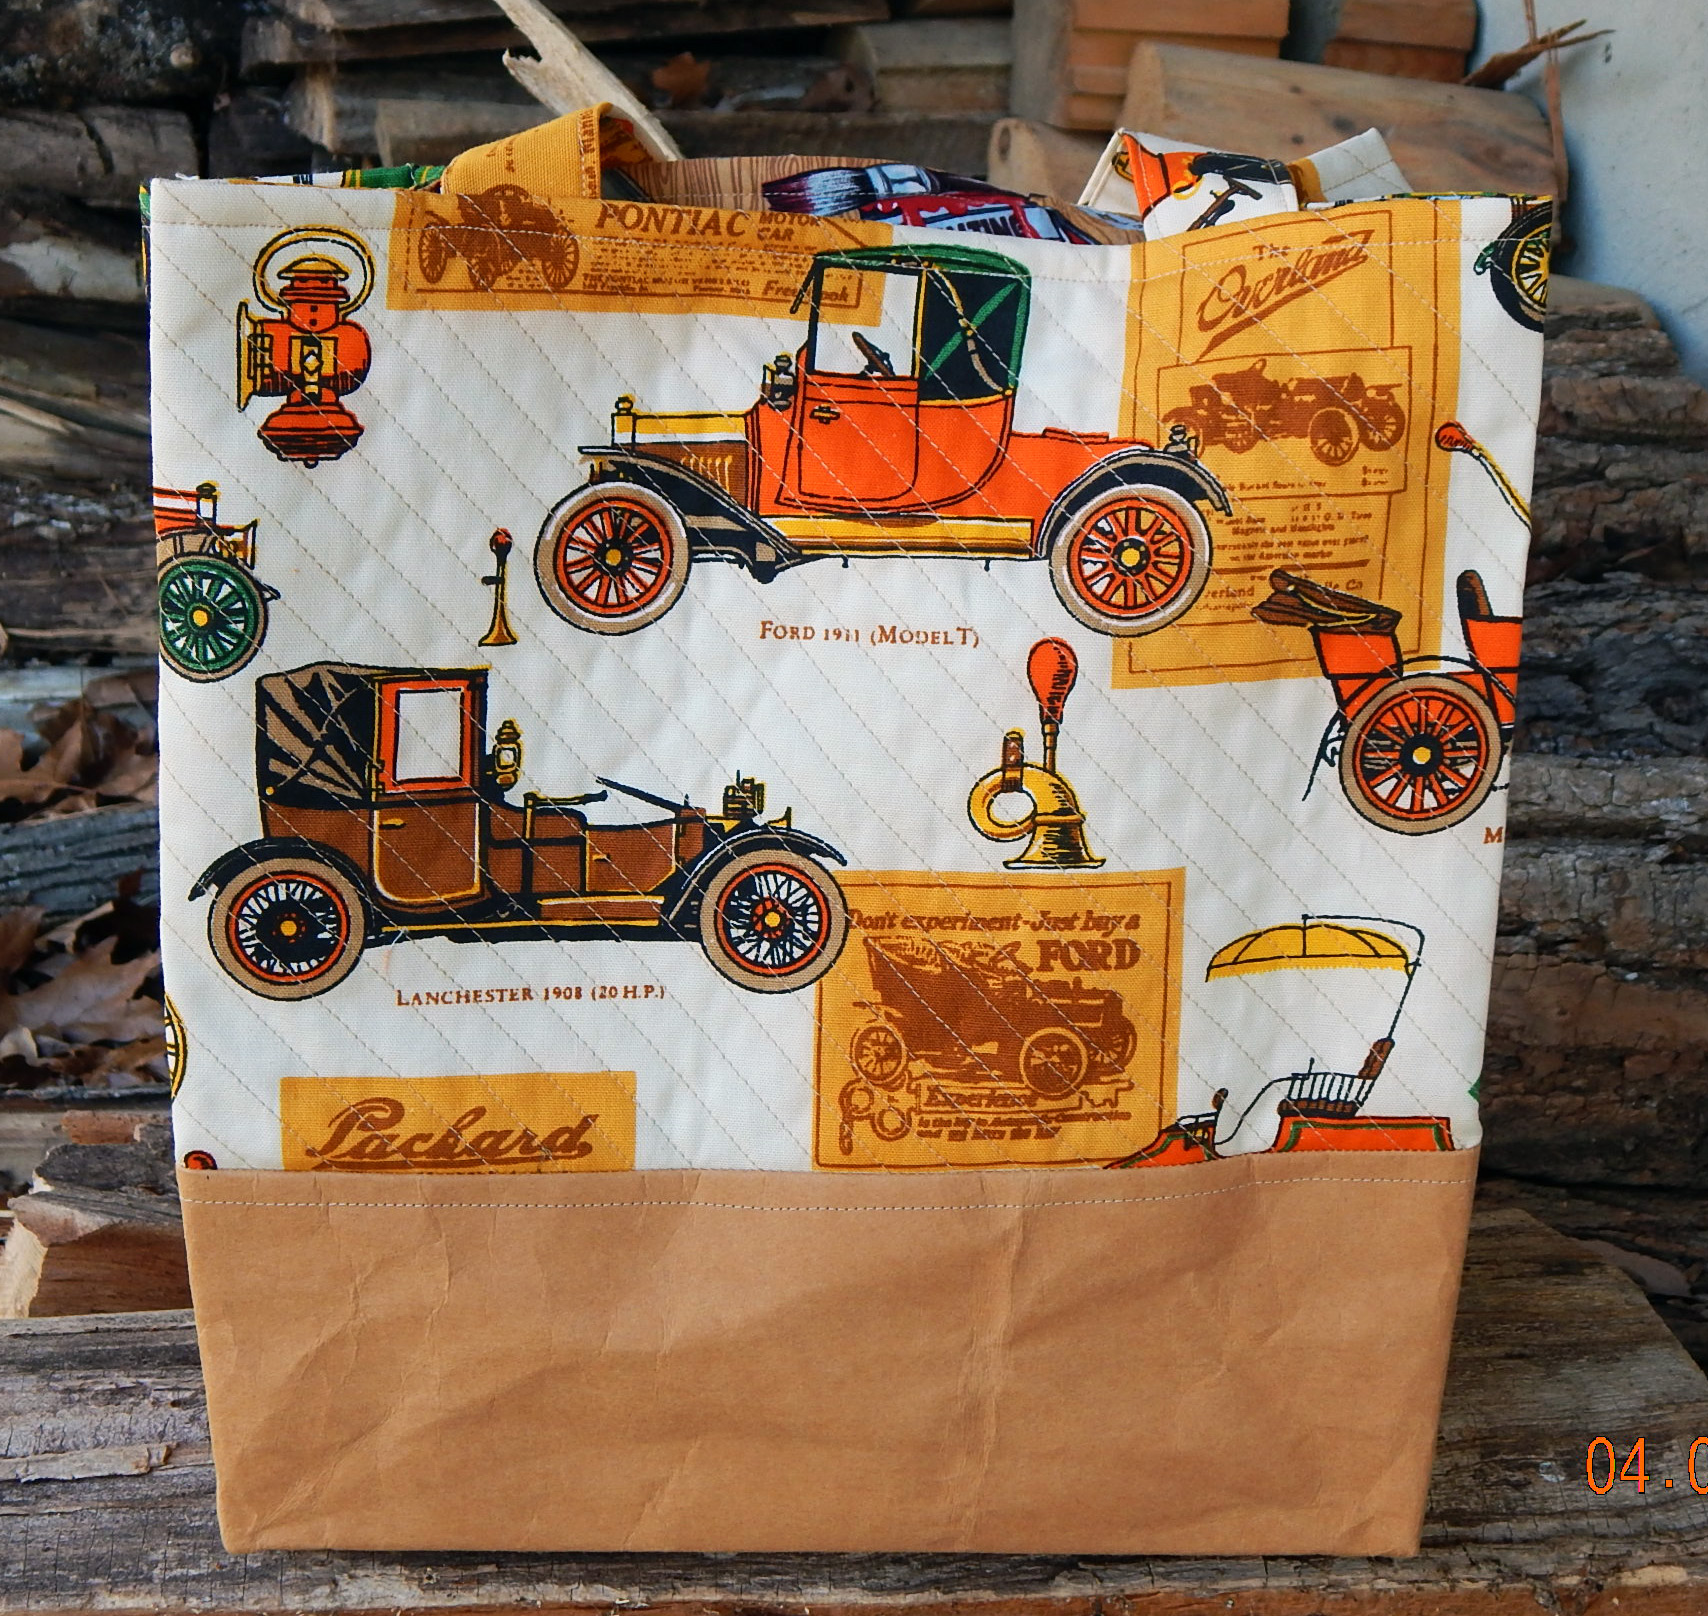
Tote bag made from recycled water bottles. There are a lot of these available, and C&T has some printed with beautiful quilt motifs.
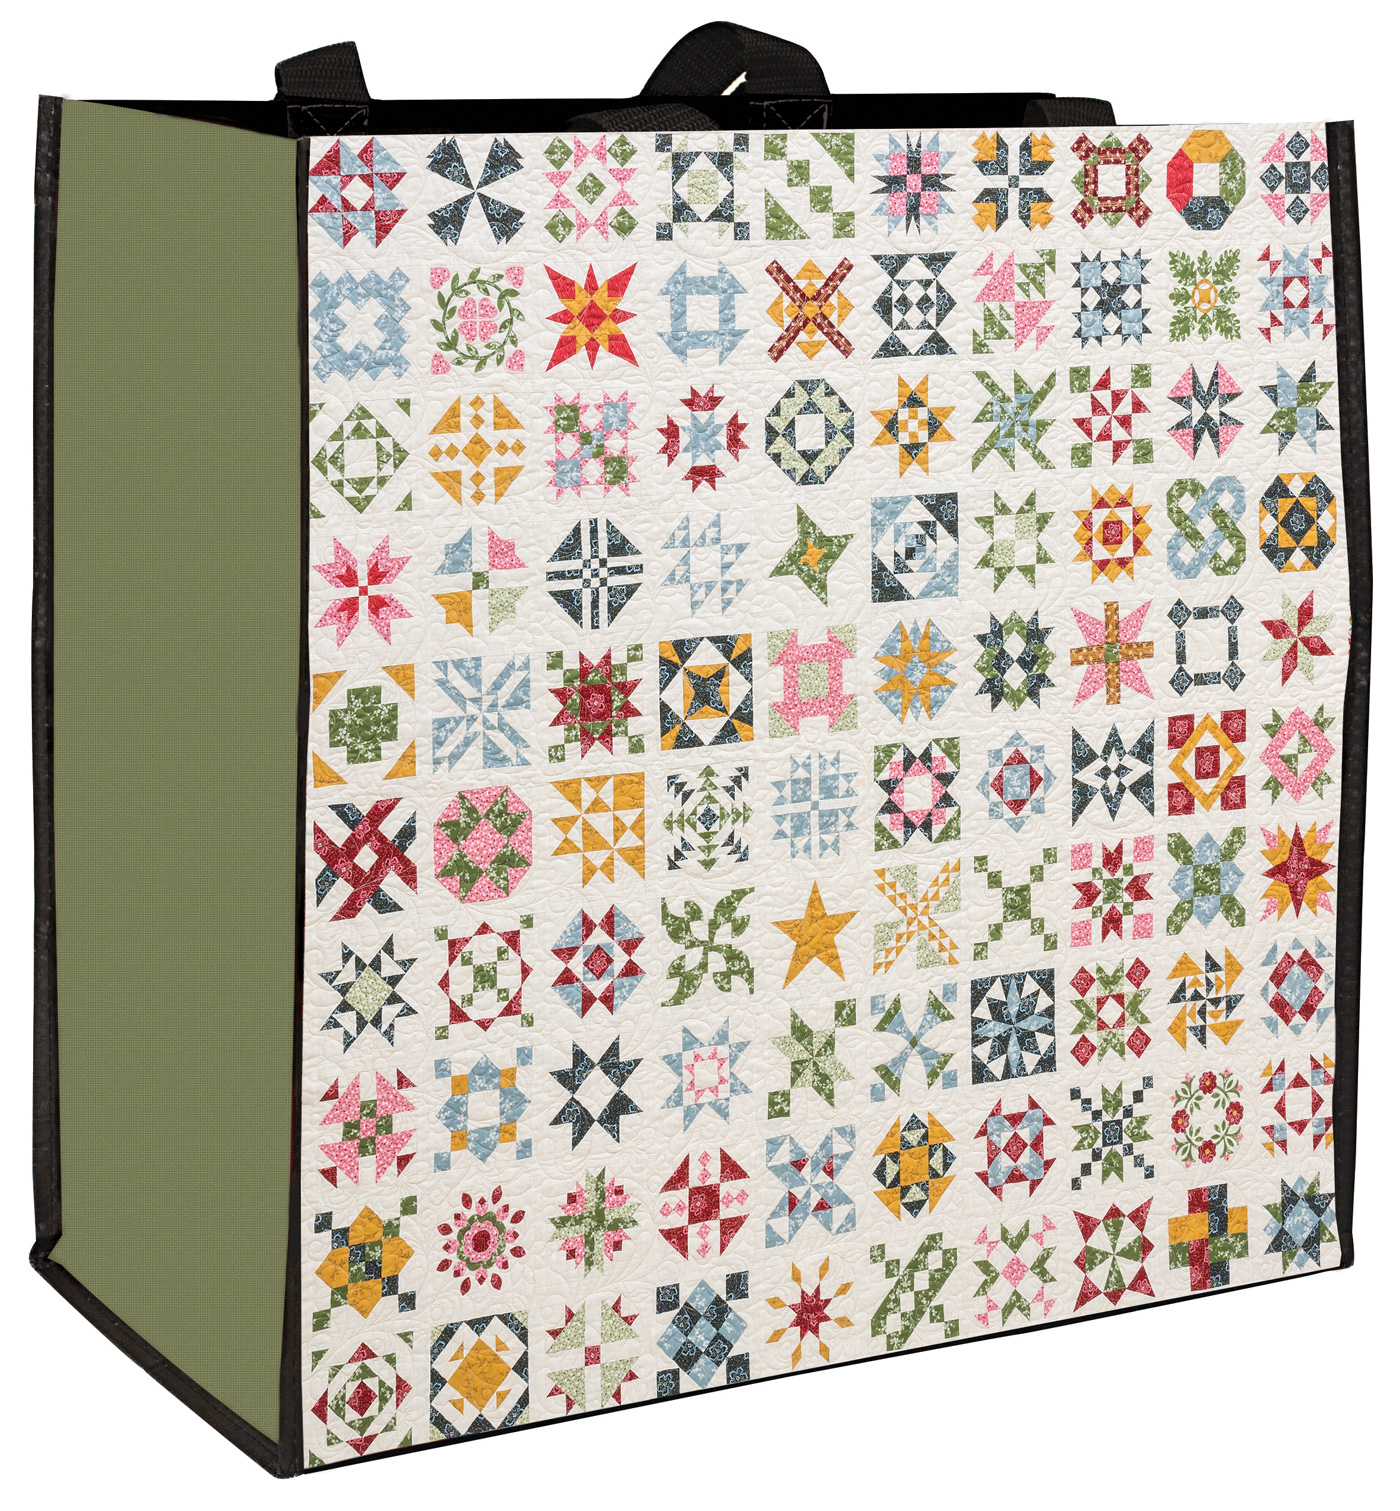
Photo courtesy of C&T
I use these for shopping and for transporting “stuff” to workshops and retreats. A friend recently started using them as wrapping when she gives a quilt as a gift. Available here.
4. IBC Silk Pins. These are the best. They are very thin and smooth, but strong enough to spring back when they bend a little going through fabric. 
Photo courtesy of Hancocks-paducah.com
I used to buy them from Clotilde before that catalog disappeared. (IBC stood for “Imported by Clotilde”). They are now available from Hancock’s of Paducah (among other places), and since I buy my batting from Hancock’s it all works out! Another good stocking stuffer for quilting friends, available here.
5. Spray mist bottle. I have two of these, one for water and one for Best Press.  Although Best Press comes in an excellent spray bottle, the mist bottle is better at spreading the liquid evenly across the fabric when ironing. I love it! Available here.
6. Rolling storage. I’ve had a little rolling storage cart for years. It doesn’t seem very well made, but with the reinforcement my husband did it has held up quite well. Very convenient for storing notions and thread. The drawers are just the right size. Here’s a link to one like mine, but there are many variations. And be warned, the price varies a lot for identical products, so shop around.
7. Ergonomic rotary cutter. I bought one of these for better control after cutting off a piece of my finger.

Photo courtesy of Connecting Threads
It’s also great for easing wrist and hand pain. Just be aware that changing the blade is different from what you’re used to. I love this rotary cutter! It comes in both left or right handed versions, available here.
8. Electric Quilt. This is not a small item price-wise, so all the more reason to request it as a special gift! I have used EQ to design quilts on my computer for years.

I used EQ to draw several possible layouts for my Tula Pink blocks
It’s easy to use and has many more features than I’ve ever learned. If you want to draw your own blocks, design your own quilts, or draw out quilts you see pictures of, this is an excellent program. Available here.
9. Gorgeous jigsaw puzzles. C&T recently put out a couple of 1000-piece jigsaw puzzles of Kaffe quilts. Beautiful! Available here.


10. Grippy. This is one of my favorite new products. At least, new to me. I’ve tried many different non-slip strategies for rulers and templates, and this is the best and most economical so far. After I tried it on one ruler, I just lined the others up on the porch and sprayed them all at once. It’s clear, it prevents slipping, and I still haven’t used up a whole can.
As always, the links above are for your convenience; I do not get paid if you buy from them. C&T provides products for me to review, but I put only my favorites in my blog.