Three Bag Patterns That Were Worth Paying For

Just as there are lots of great free bag patterns, there are many excellent patterns for sale on the internet. Here are 3 of my favorites.

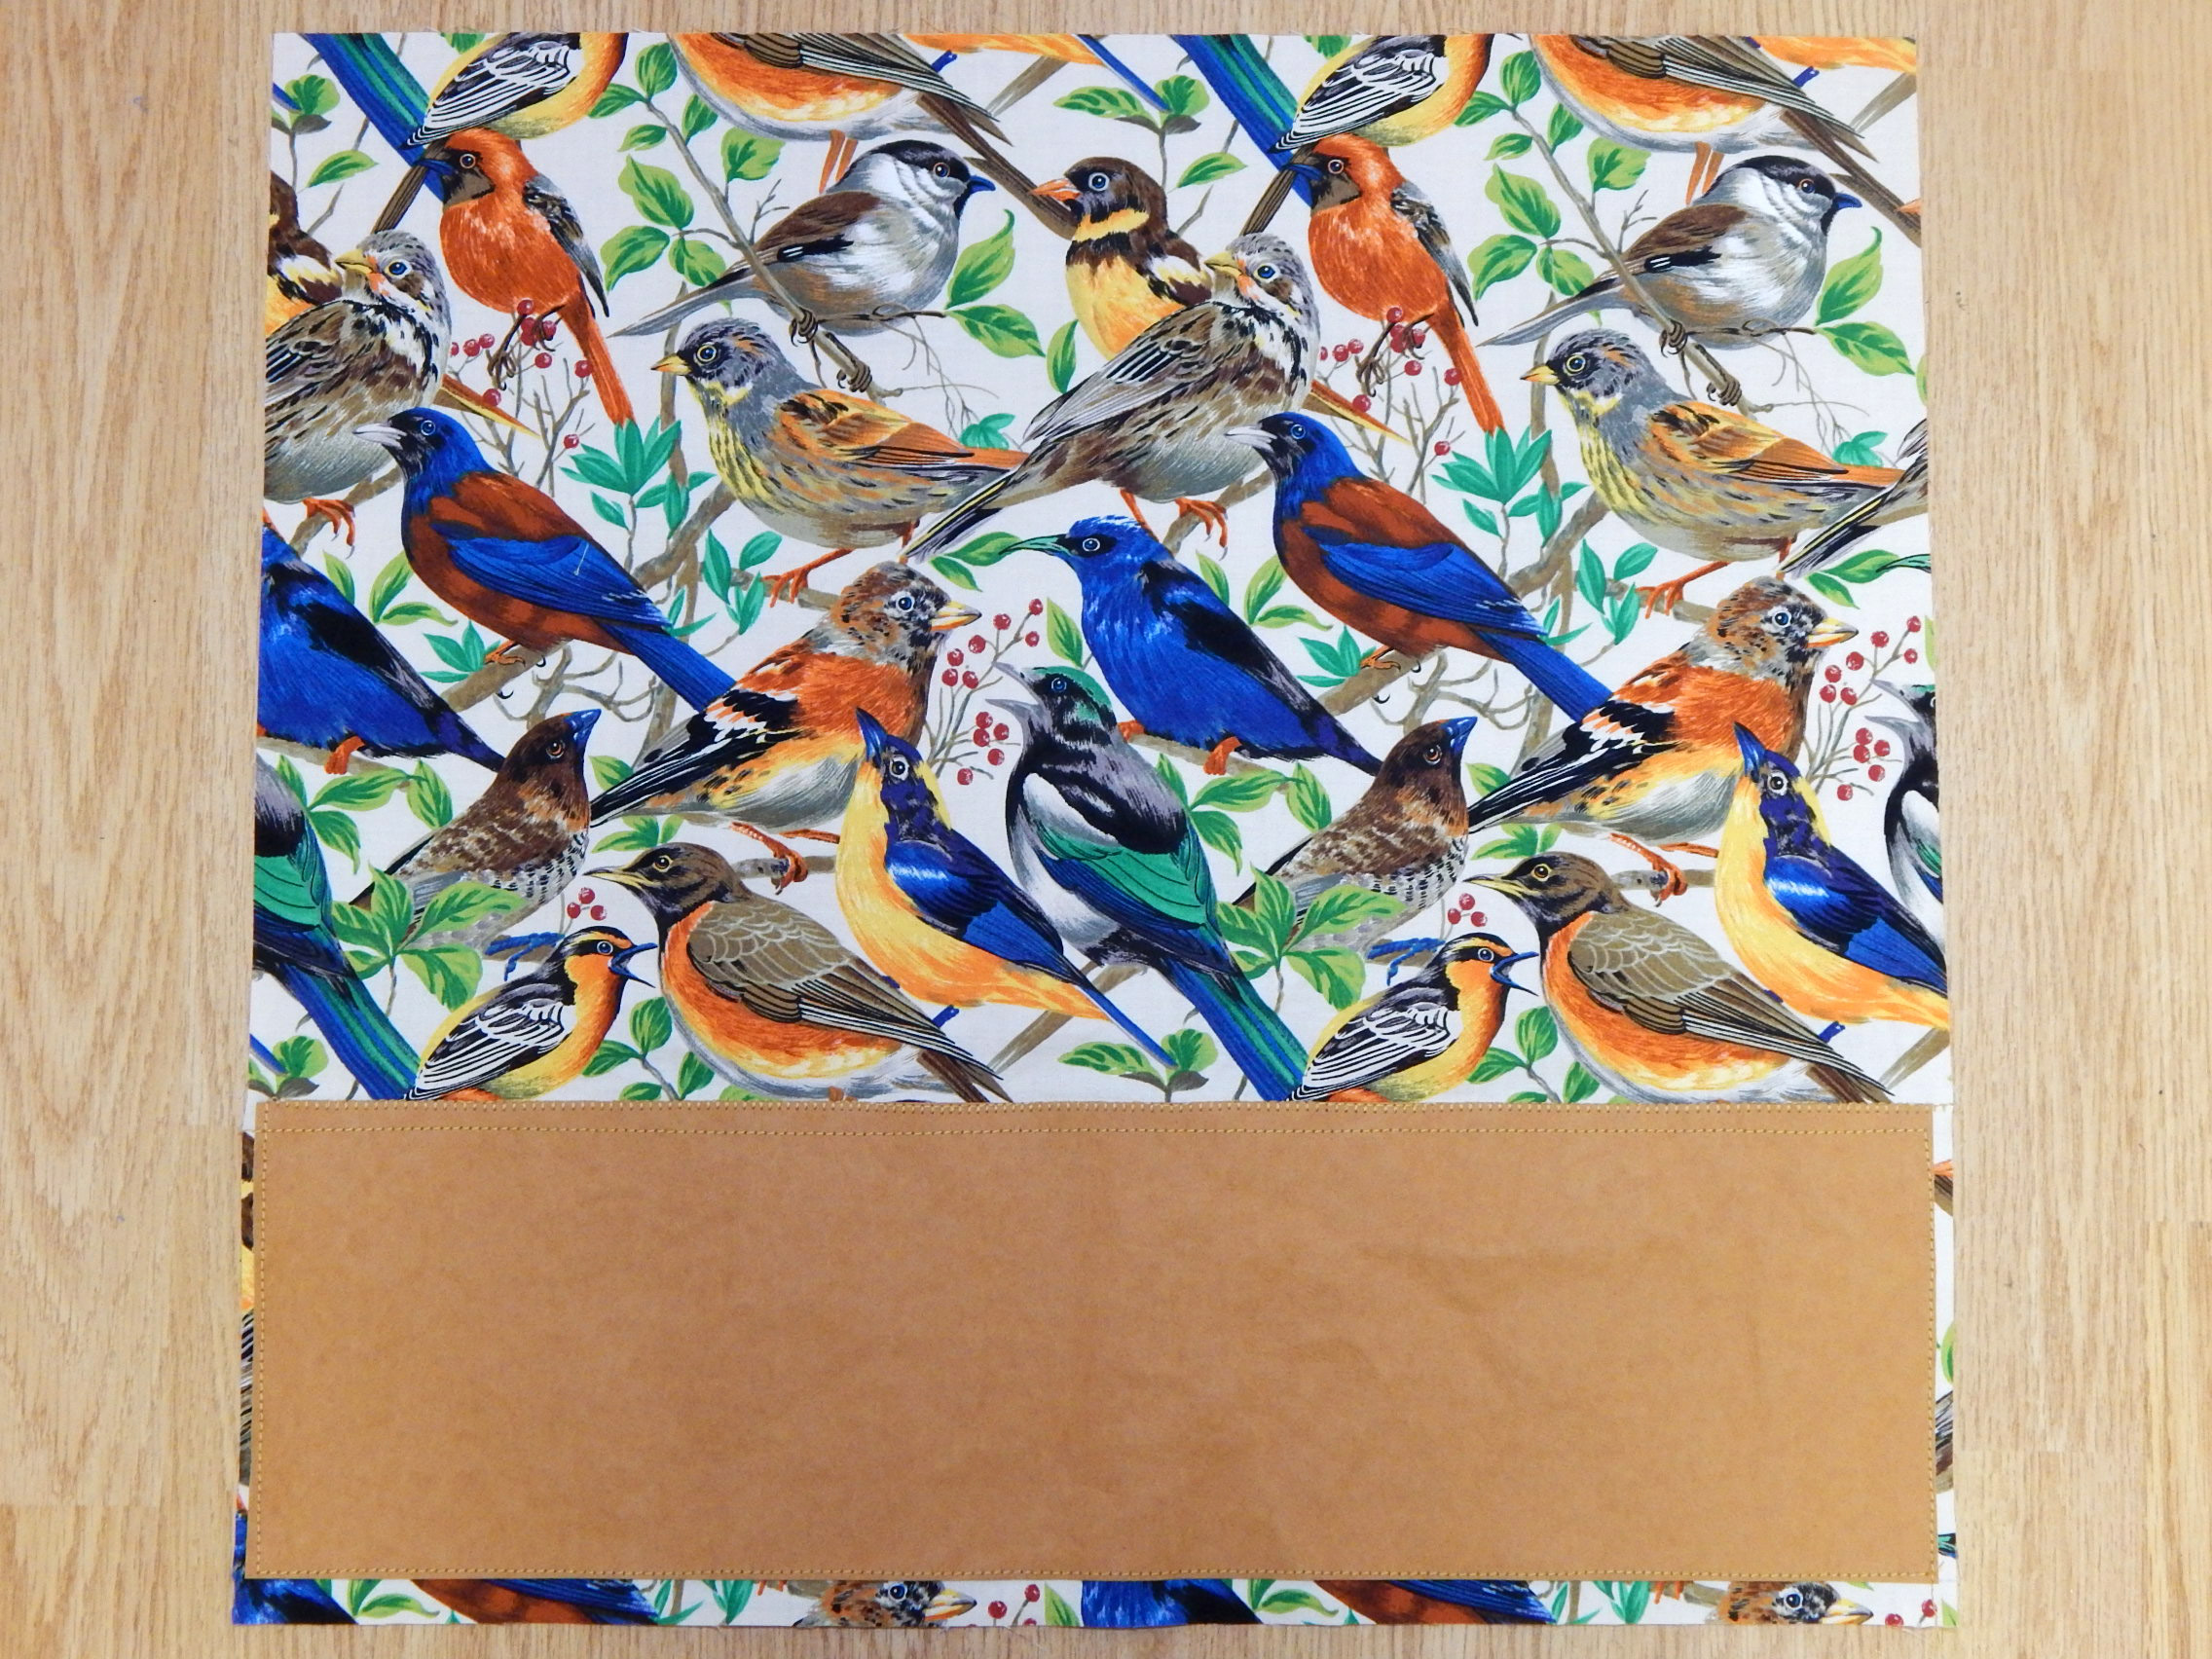
1. Divided Basket.  This is another pattern from Noodlehead, who also designed one of my favorite free patterns.  The instructions are excellent and the divided basket is cute.  It was just right for a diaper basket for the changing table for my grandson.  It is available here.

fabric basket

Divided basket made from pattern by Noodlehead

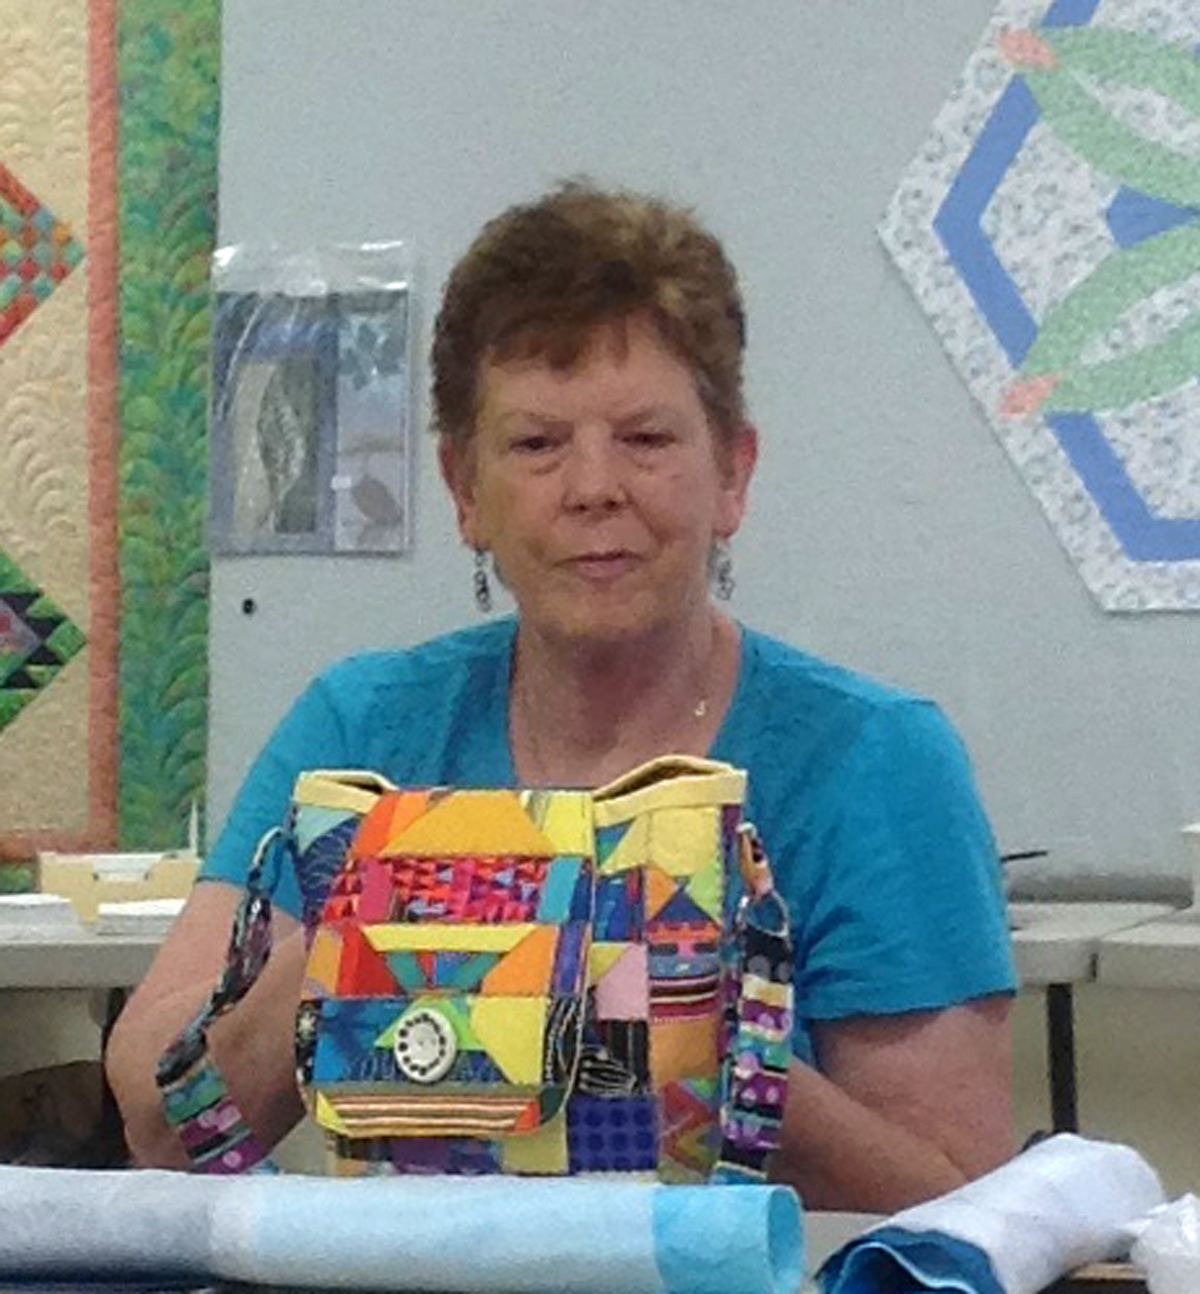
2. Clothesline bag/basket.  This pattern is from Indygo Junction and was much easier to do than I had anticipated.  You can read my review of it here, or buy it here.

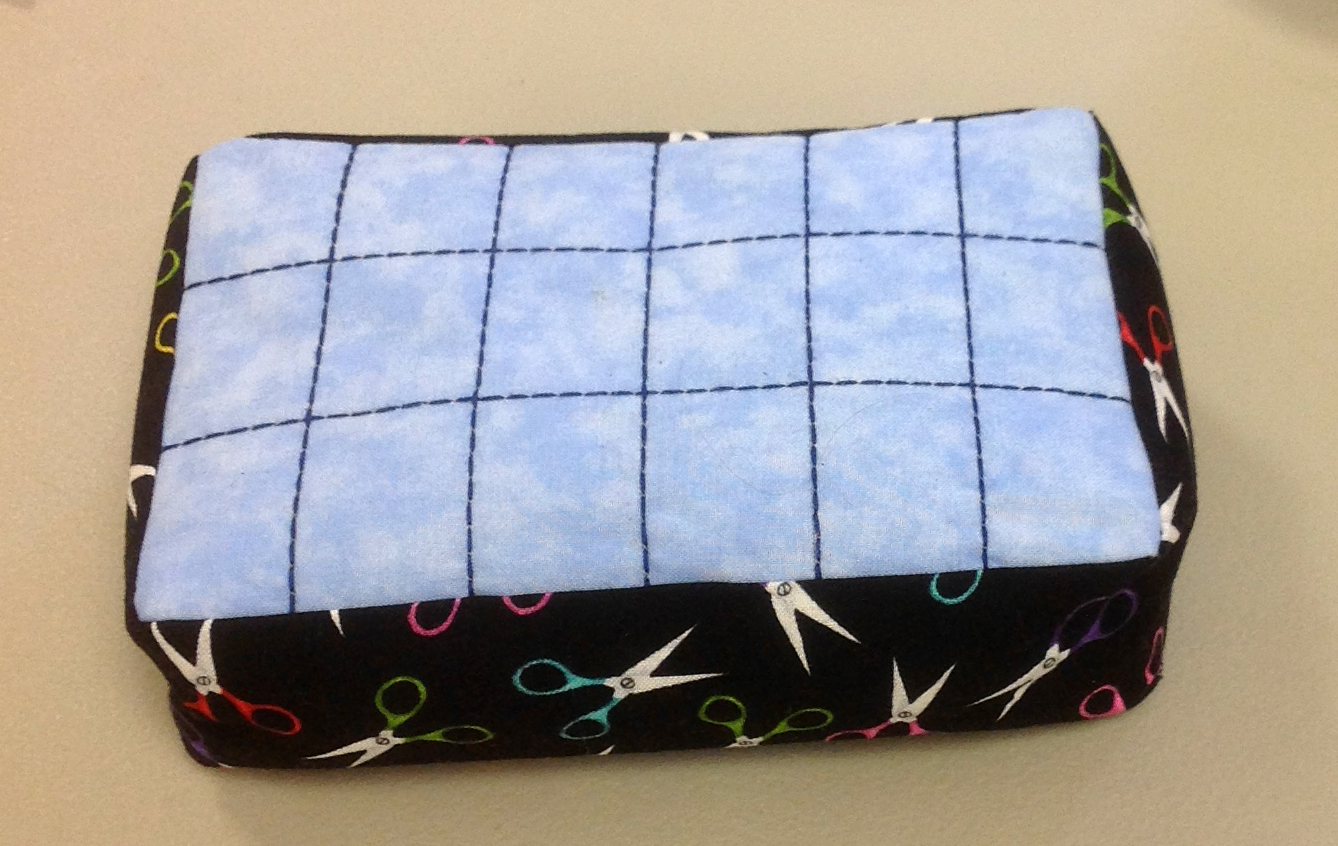
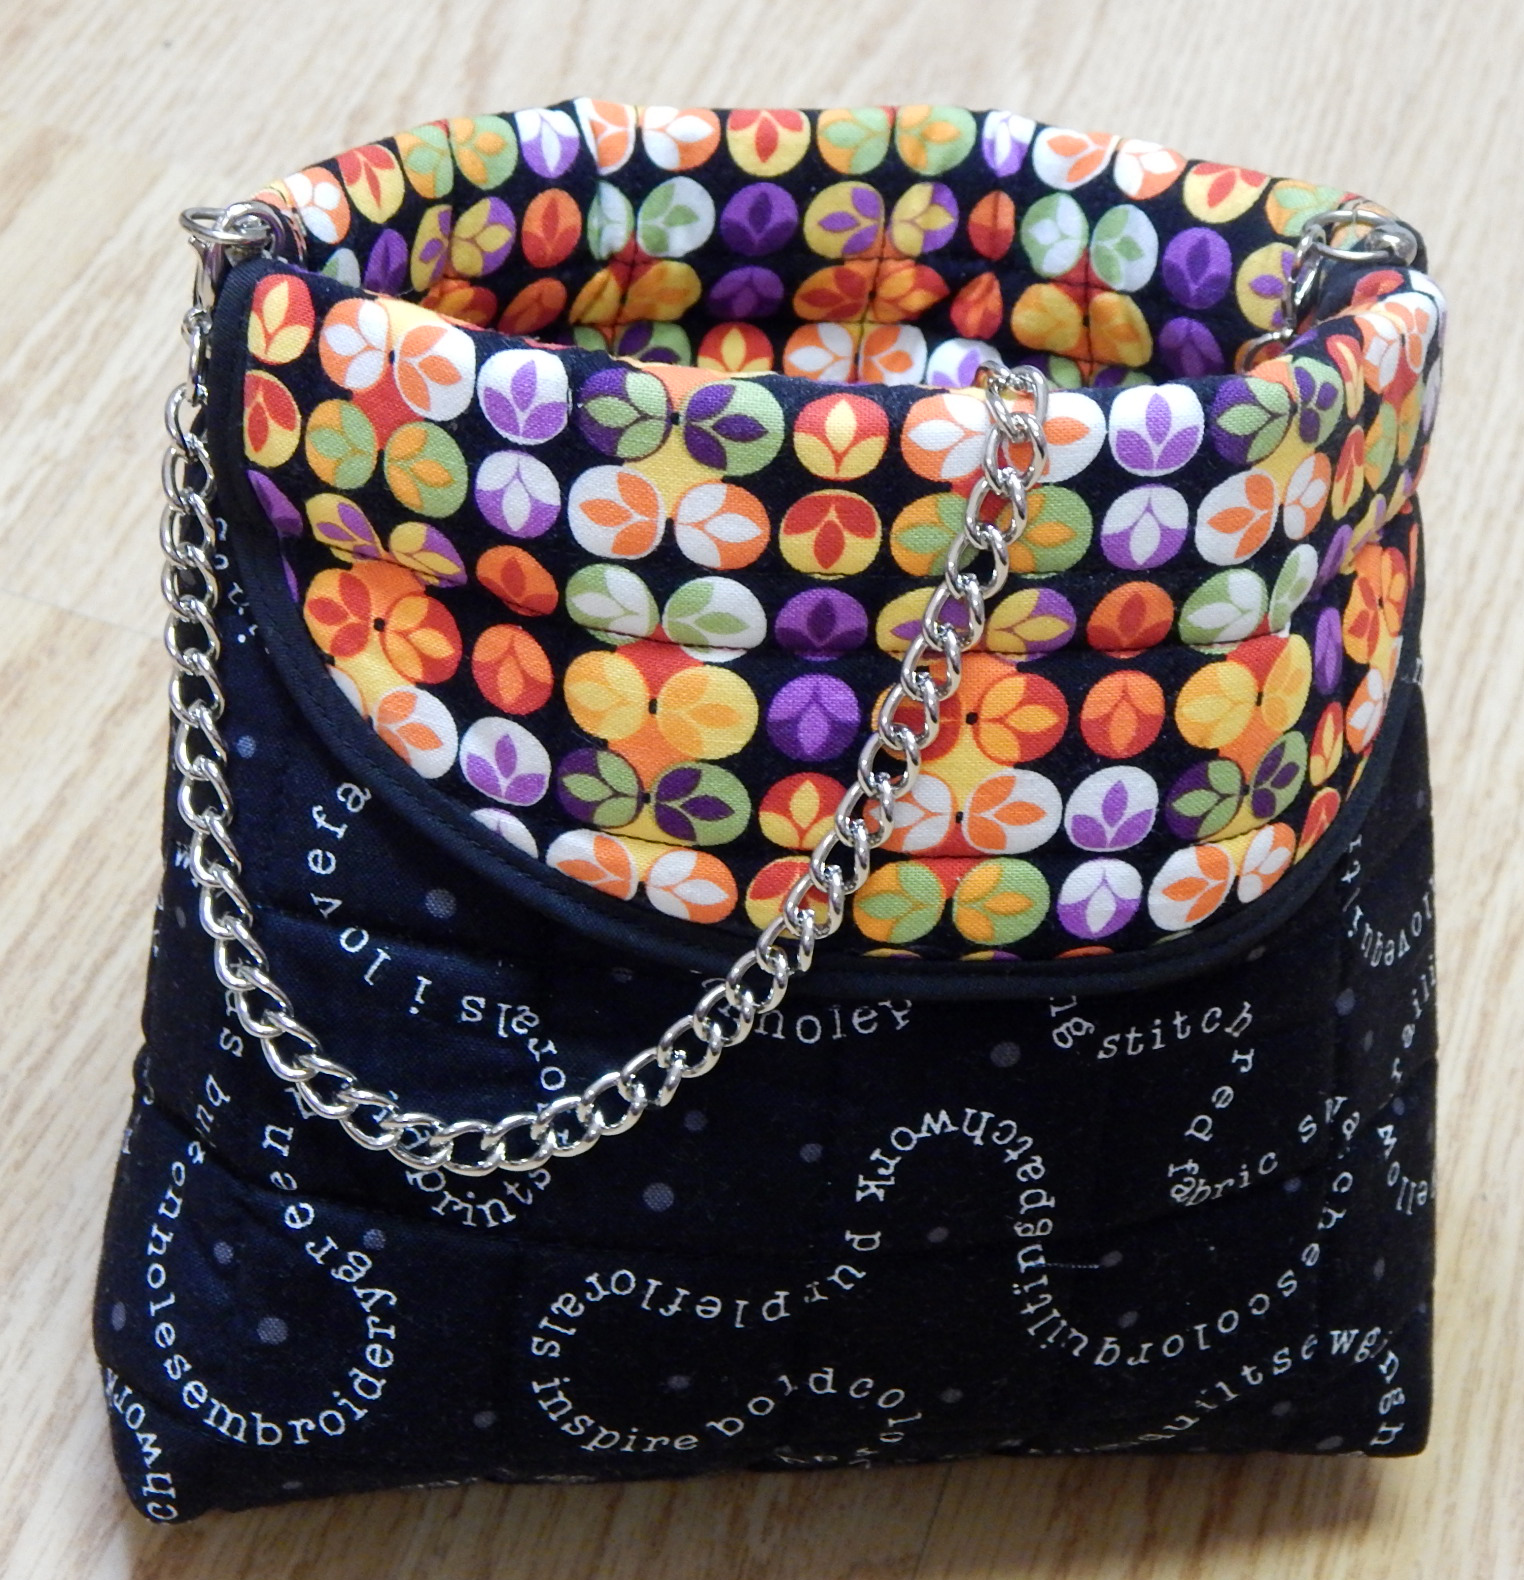
3. Sweetpea Pods, by Lazy Girl Designs..  This little bag was so.much.fun that I made more than a few!  Once you learn the zipper trick it is easy, quick, and so satisfying.  I’ve given away many of them and I keep a couple on hand for when I need a little gift for someone.  (Of course it should contain chocolate!).  I even gave one to a male friend, and rather than ask “what the heck” he said he’d use it to carry his guitar picks!  The pattern is available here.

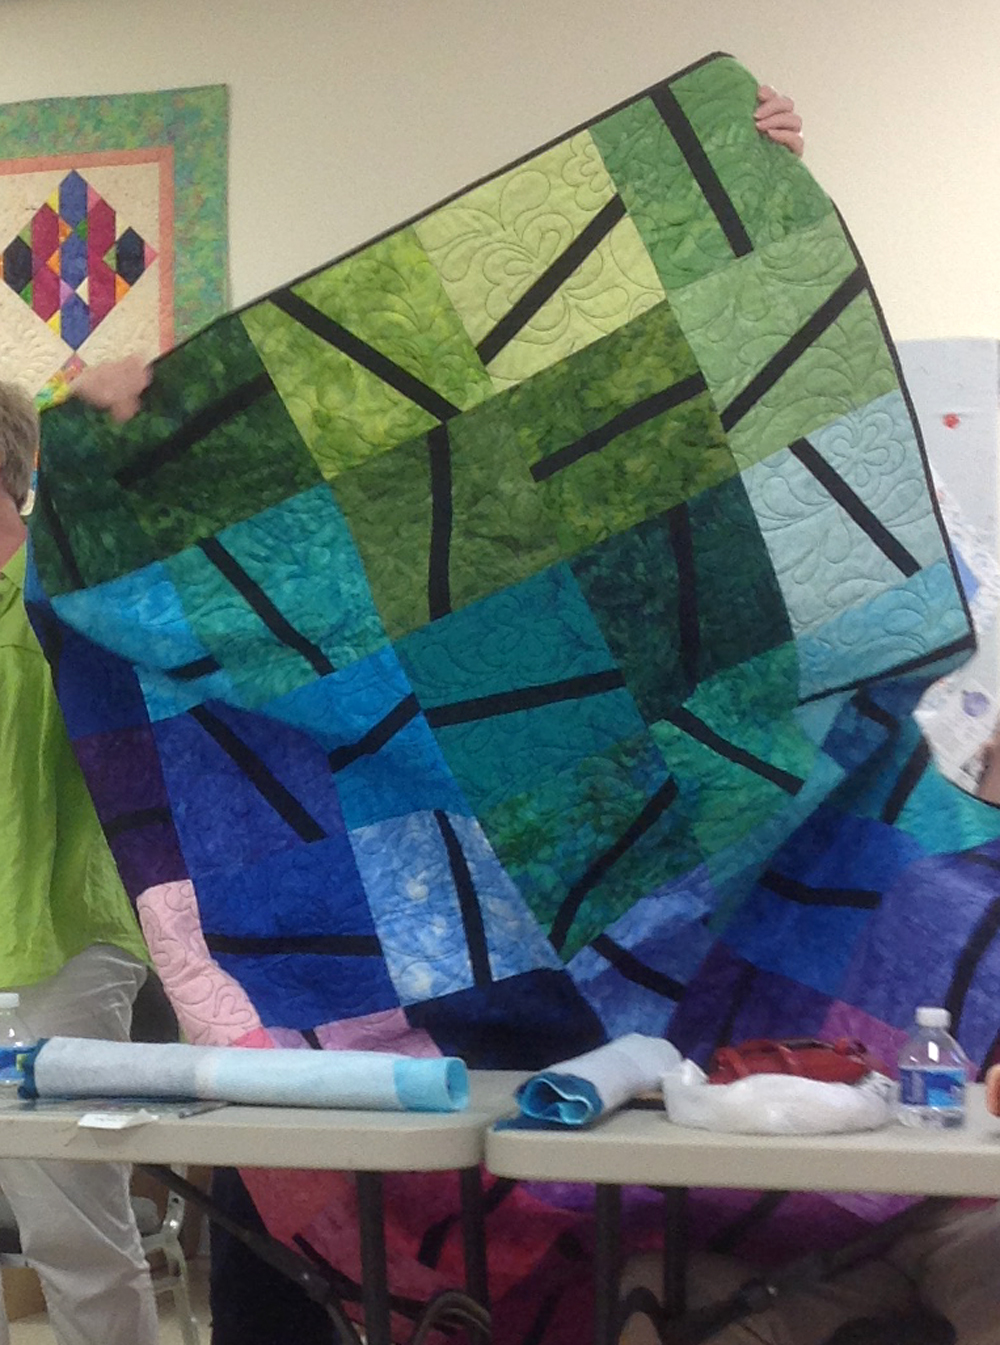
And so you know I’m not just blowing sunshine, here’s one I thought was more trouble than it was worth, even though it is very, very cute (and was all over the internet for a while):

Which bag patterns do you recommend?

Three Great Free Bag Patterns

There are so many free patterns on the internet that it can be overwhelming. Therefore, I’m here to tell you about 3 of my favorite free bag patterns.

1. Pyramid bag, I adore this pattern, and it is so easy that I’ve made a few many.  Available with an excellent tutorial at Loganberry Handmade.  After you’ve made one per her instructions, experiment with different sizes.  So cute and so fun!

2. Tote bag.   The instructions for this “market tote bag” at Bijou Lovely are very clear, with great photos.  I’ve made several of these because they are an excellent, practical size. Of course, I’ve modified this pattern, but it is great just the way it is on her site.

3. Noodlehead’s Open Wide Zippered Pouch.  Anna Graham is the queen of bags of all kinds, and there are some great free tutorials on her site, Noodlehead.  Of course, she has excellent patterns for sale, and I’ve bought some of those, too.  Anyway, go try her free zippered pouch tutorial if you’ve had doubts about zippers.  Her instructions and illustrations are clear and easy, and you CAN do that zipper!

I’ve made a bunch of these in different sizes, as well.

Please tell me if there are free online patterns or tutorials that you love!

Bag With Kraft-Tex Base

A while back I made a bag for carrying stuff to guild meetings and used some scraps of Kraft-Tex to reinforce the base. I have enjoyed that addition, both because it helps the bag stand up on its own and because I don’t have to worry about putting the bag on the floor.

Kraft-Tex for bags

Then recently I saw this Alexander Henry fabric and of course I was forced to buy it 😉

Alexander Henry fabric showing melodramatic “sewing woes”

I decided to make another tote bag using this tutorial from Bijou Lovely Designs, Holly DeGroot’s blog.  Her tutorial includes the free pattern, so go make it if you want to.  Her instructions and illustrations are excellent.

Here are my modifications for making the base of Kraft-Tex.

Holly’s instructions used the same fabric for the bag lining and the base, so of course I didn’t do that.  I cut the Kraft-Tex base 1/2″ narrower (top to bottom measurement) than Holly’s instructions, because the base on her bag is joined with a 1/4″ seam and then pressed back.  I just appliqued the Kraft-Tex to the bag.  Naturally, that required clips rather than pins–don’t want holes in the Kraft-Tex!

You can see that the fabric wasn’t printed entirely straight; the other side was straighter.  Luckily, this bag is for fun.

You can see my top-stitching here. This is the straighter side 🙂

When it came time to press the seams open, I just folded back the seams that contained Kraft-Tex, then ran the handle of my scissors along the seam to crease the Kraft-Tex into place.

You can also see where I stitched around the edge to hold the Kraft-Tex in place before assembly

The seams were not as bulky as I had anticipated, and gave me no trouble.  The only difficult part was turning the bag right-side-out through the opening in the lining.  The Kraft-Tex was a little stiff for that, but not too bad.

The Kraft-Tex stood up but the bag sides above it drooped

When I got the bag done, the Kraft-Tex part was great, but the rest of the bag was limp despite interfacing.  I took the bag for a shakedown cruise when we went to the big city Saturday, and it was a pain to get things in and out of it because the sides collapsed.  So…

I took out the top seams, inserted pieces of Peltex cut to fit, and stitched all around them.  They needed to overlap the Kraft-Tex a little to make the whole thing stand up.

That makes this “Holly’s bag with significant modifications”, but you can still get the measurements and construction details from her blog.  I like the bag now, and it is a good size.  Next time I’ll use Peltex from the get-go, probably still with the Kraft-Tex.

Giving Kraft-Tex a (Second) Chance

I made a couple of bags using Kraft-Tex for a sturdy bottom section a while back, and wasn’t that happy with it.  My review is here, if you want to read it.

Kraft-Tex review

Tote bag made with Kraft-Tex for the bottom section

However, when I got some lovely bird fabric in a guild swap, I decided to make another tote bag and use Kraft-Tex to protect the bottom again. I pre-washed the Kraft-Tex to soften it a little, then crumpled it in my hands to soften it a little more.

Kraft-Tex for bags

Since I didn’t really want the thick Kraft-Tex in the seams, the shortage worked out OK

I had BARELY enough for a shorter-than-recommended bottom section, but it worked out fine.  I used the same pattern as before, the Market Tote which is free at Bijou Lovely.

Market Tote from Bijou LovelyAs you can see, I had some beautiful birds-in-the-grass fabric (a Moda print) for the inside.

Kraft-Tex for tote bagI used a buttonhole stitch to secure the top edge of the Kraft-Tex.  Overall, the Kraft-Tex was much easier to use this time.  It makes a sturdy bottom for the bag, is washable, and presumably will wear better than a plain fabric bottom.

As before, the Market Bag tutorial was very well done and easy to follow.  The only change I made was to revise the way the bottom was attached so that I didn’t have Kraft-Tex in the seams; that would have been quite bulky.  I laid the Kraft-Tex on the top fabric and secured the edges with buttonhole stitch just inside the seamline, so it wasn’t necessary to have Kraft-Tex in the seams to hold it in place.  That worked a lot better.

Kraft-Tex for bags

Finished Bird Bag

In other words, I am now revising my opinion of Kraft-Tex and probably will use it for this purpose again!  It still does’t really look like leather to me, but in this case that isn’t the point.

QuiltCon, Anyone?

QuiltCon, the Modern Quilt Guild’s annual gathering, will be in Savannah in February 2017, and I am going!mqg-new-logo

I recently read an interesting blog by Becca Fenstermaker about how to deal with a convention when you’re an introvert.  Believe it or not, that would be me, so I plan to use her idea.

Becca’s main suggestion was to start ahead of time and try to find people who will be attending, so you’ll have somebody to visit with when you get there.

Fortunately, there will be several people from at least two of my guilds, but of course the point is meeting new people as well as visiting with old friends.  So if you’re going, please leave me a note in the comments–I’d like to met you!

Meanwhile, I’ve made two more clusters of sweet pea pods.  The pattern is well illustrated and the directions easy to follow 🙂

Hope you have a good week!

Pincushion follow-up

Here are the pincushions made by the talented members of the Franklin Modern Quilt Guild. And just so you know, any quilts you see in the background are samples hanging at A Stitch in Time, where we meet.  How great is that, to meet in a quilt shop?

Be warned:  these are really just snapshots, not my best pictures.  I tried to be as unobtrusive as possible when I took pictures, so there may be odd things in the background.

fmqg19This last one is a “needle cushion”.  Each square is to be labelled with a needle size,so partly-used machine needles can be stuck in and easily found when you need that size again:

Needle Cushion

Needle Cushion

While I’m showing some of the creativity in this group, here are the “share and inspire” offerings for this month:

quilted purse

Jane Threlkeld fused some of her orphan blocks onto backing and made this purse

Linda Harrison made these two quilts from Bonnie Christine fabrics for Art Gallery, and one of them won a prize:

And here is a bright, cheerful quilt by Lynda Doll:modern quilt

Several of our members also belong to an art quilt group, and brought an example of one of their projects.  As you can see, they each made a vase of flowers and the cut them all up and swapped quarters!  The next step will be beads and baubles.art quilt

There’s always plenty of inspiration at these meetings!

Save

Save

Pattern Review: Sweetpea Pods

Note: As always, I received NO compensation of any type for this review.

One of the many things I enjoy about attending a quilt show is the opportunity to visit the vendors. Since my nearest “local” quilt shop is about an hour away, I often see things online long before I get to examine them in person. Occasionally I do buy online, but there’s no substitute for looking something over personally before buying.

Pattern review Sweetpea PodsAt the Vermont Quilt Festival, I came across this pattern that I had been considering online because it looked so darn cute.  I talked to the vendor about it to be sure it included instructions for doing that tricky thing with the zipper and learned that it did. She also had the extra zipper pulls that are useful for this design, so I bought the pattern and the zipper pulls.

And here we go:Pods3

This pattern has VERY clear instructions.  I read a fair number of patterns (and write my own), and this is one of the best-written patterns I have seen.

The little pods are easy to make, even with taking time to learn the zipper trick.  The zipper trick actually is easy, and instructions for that are very clear as well.  The pattern is set up so that you get two pods out of each set of instructions, so I cut them out with coordinated fabrics–outside fabric for one pouch was the lining for its mate!  What fun!Sweetpea Pods pattern review

This is so fast and fun that I made several of them.  The instructions say to zig-zag finish the inside seams, but I used my serger for that, so it was even faster!

This was a great break from a rather tedious project I’ve been working on.  I’m giving these to our daughter to use as teacher gifts, but I foresee another round of them for Christmas gifts coming right up!Sweetpea Pod pattern review

You can order the pattern at several places online, or go right to the source at the Lazy Girl Designs website.

Good News, Bad News!

First, the bad news: I sliced a good-sized hunk out of my finger with the (nice, sharp) rotary cutter. When I couldn’t get the bleeding stopped after an hour, I went to Urgent Care. A nice Physician Assistant there got it all fixed up.rotary cutter accident

Quilting with 9 fingers is a challenge 😉  Another learning experience…

In better news, I made Lora Douglas’s Roxie bag this week, and it is as cute as expected! This project is part of Quilted Adventure, an online retreat I’m taking part in throughout 2016.  As always, I learned several things from making this bag.  And unlike the learning experience mentioned above, this was fun:

Roxie Bag, Quilted Adventure

Roxie Bag, Designed by Lora Douglas

Lora’s instructions requested foam batting, a product I had never heard of!  Luckily, my “local” quilt shop had it. It did give the bag really nice structure without making it stiff, and I probably will use foam batting for future bags.  A nice find!

I purchased the hardware for the bag from Lora’s Etsy shop,  I had no idea a flex frame could be so sturdy.  Most bags I’ve seen were made with lengths of metal measuring tape as the closure.  That works just fine (if your husband isn’t very vigilant about his tools) but the closure isn’t very tight.  The flex frame that came with the kit holds that bag closed with certainty!  And unlike the measuring tape closure, this one can hold itself open when needed.

Lora Douglas

Roxie Bag with the top snapped open

Lora’s instructions also called for glue-basting the binding, which I had never done.  It actually worked great!  I’ll probably do that again.

If you’re interested in the year-long Quilted Adventure, all classes are online for the whole year, so you can sign up any time.  Just use the link above to go to Lora’s site and click the button in her margin.  If your main interest is the bag rather than the whole retreat, she’ll release the single pattern some time in 2017.

So the good learning experiences certainly outweighed the bad this week!


Winner! Online Quilt Retreat

I won a year-long online quilt retreat!  What the heck is that?

Lora Douglas of Dragonfly Quiltworks

Lora Douglas of Dragonfly Quiltworks

Here’s Lora Douglas, one of the teachers from the retreat, to explain.

This year-long on-line, quilt retreat is sponsored by “Adventure Art Retreats”, which was started by Ilysa Ginsburg and Kira Slye. They launched “Polymer Clay Adventure” as an online experience in 2015 and got about 1000 subscribers! They’re adding a quilt adventure for 2016.

There are 12 projects, one each month of the retreat. There will be classes for quilts, placemats, totes, hexies, fabric dyeing, laminating fabric and polymer clay buttons

Roxie bags made by Lara for her Quilt Adventure class

Roxie bags made by Lora for her Quilt Adventure class

.I designed the Roxie Bag as one of the monthly projects for the retreat, and I’ll be teaching it by online video. When I couldn’t find a pattern using flex frame hardware that was easy to make and looked great, I designed my own. It is perfect as a cross-body bag for carrying a cell phone and other small items.

“Quilted Adventure” is the online equivalent of a traditional quilt retreat where you meet other quilters while learning new things.  “Retreaters” can take a new class each month; participate in live-stream events with our host, Vanessa Vargas Wilson of The Crafty Gemini; receive monthly clues for a mystery quilt; and take part in swaps. There will be a newsletter to keep participants informed of upcoming events. The instructors will be available to answer questions throughout the retreat. It’s going to be fun!

Another Roxie bag--how many samples did she make???

Another Roxie bag–how many samples did she make???

I’m gathering my supplies, and I’m sure you’ll be seeing some of my projects here as I participate in the retreat.  For now, If you want to know more about Lora or the Quilt Adventure online retreat, here’s the link for her site. There’s a button there to click for finding out more about the retreat.  (Or, if you just want to buy a Roxie bag after seeing it here, her site has a link to her Etsy shop as well. I won’t tell if you want to buy it instead of making it yourself 😉

Review: Kraft-Tex for Bags

I’ve had my eye on Kraft-Tex for some time. It’s a paper product made by C&T

Kraft-Tex review

Kraft-Tex, made by C&T but sold many places

and advertised to sew and wash like fabric but look like leather.  As I’ve probably said before, I’ll try almost anything once 🙂  (And just for the record, I purchased the material used for this project and this review is entirely my own opinion.)

I decided to use Kraft-Tex as the bottom of a tote bag.  There was a helpful video on You Tube (of course!) showing how to use it and showing what it looked like both washed and unwashed.  Because I didn’t want to wash the drapery fabric I was using for the bag, I didn’t wash the Kraft-Tex.

The Kraft-Tex was very stiff right out of the package, so I wadded it up hoping to soften it a little before folding it to make the bag bottom.  I didn’t really need to do that; it folded and sewed very nicely.  It remained extremely stiff but was not at all difficult to stitch with my Bernina, even when it came to sewing through 4 layers as I boxed the bottom of the bag.

Kraft-Tex review

Tote bag made with Kraft-Tex for the bottom section

When I got it all put together it provided a nice substantial bottom for the bag, as I had hoped.  It did not even THINK about tearing like paper when I was working with it. However, I really think it LOOKS like a brown paper bag rather than “like leather” as advertised.  Maybe that’s just because I used it to make a bag.  As you can see from this detail, it did stitch very nicely.

Kraft-Tex bag

Detail of Kraft-Tex and Drapery Fabric Bag

However, the claim that Kraft-Tex “handles like fabric” was absolutely untrue!  It was so stiff that I decided to wash what remained along with the rest of the drapery fabric.  Both washed and dried well on gentle cycle, and the Kraft-Tex was slightly softer after washing. It didn’t handle any more like fabric, though–turning that stiff outer bag through the opening left in the lining for that purpose was “challenging”!

Here’s the second bag, made with washed Kraft-Tex.  Sure enough, it looks the same after washing.  I quilted the upper part of the bag, which gave it more substance than the previous one, so it went better with the stiff Kraft-Tex bottom.

Kraft-Tex review

Bag made after washing the Kraft-Tex and fabric

The pattern I used for this bag was free at Bijou Lovely and was very well written and illustrated.  I’ll probably make the bag again, but I’ll find another use for the Kraft-Tex!