More Stars

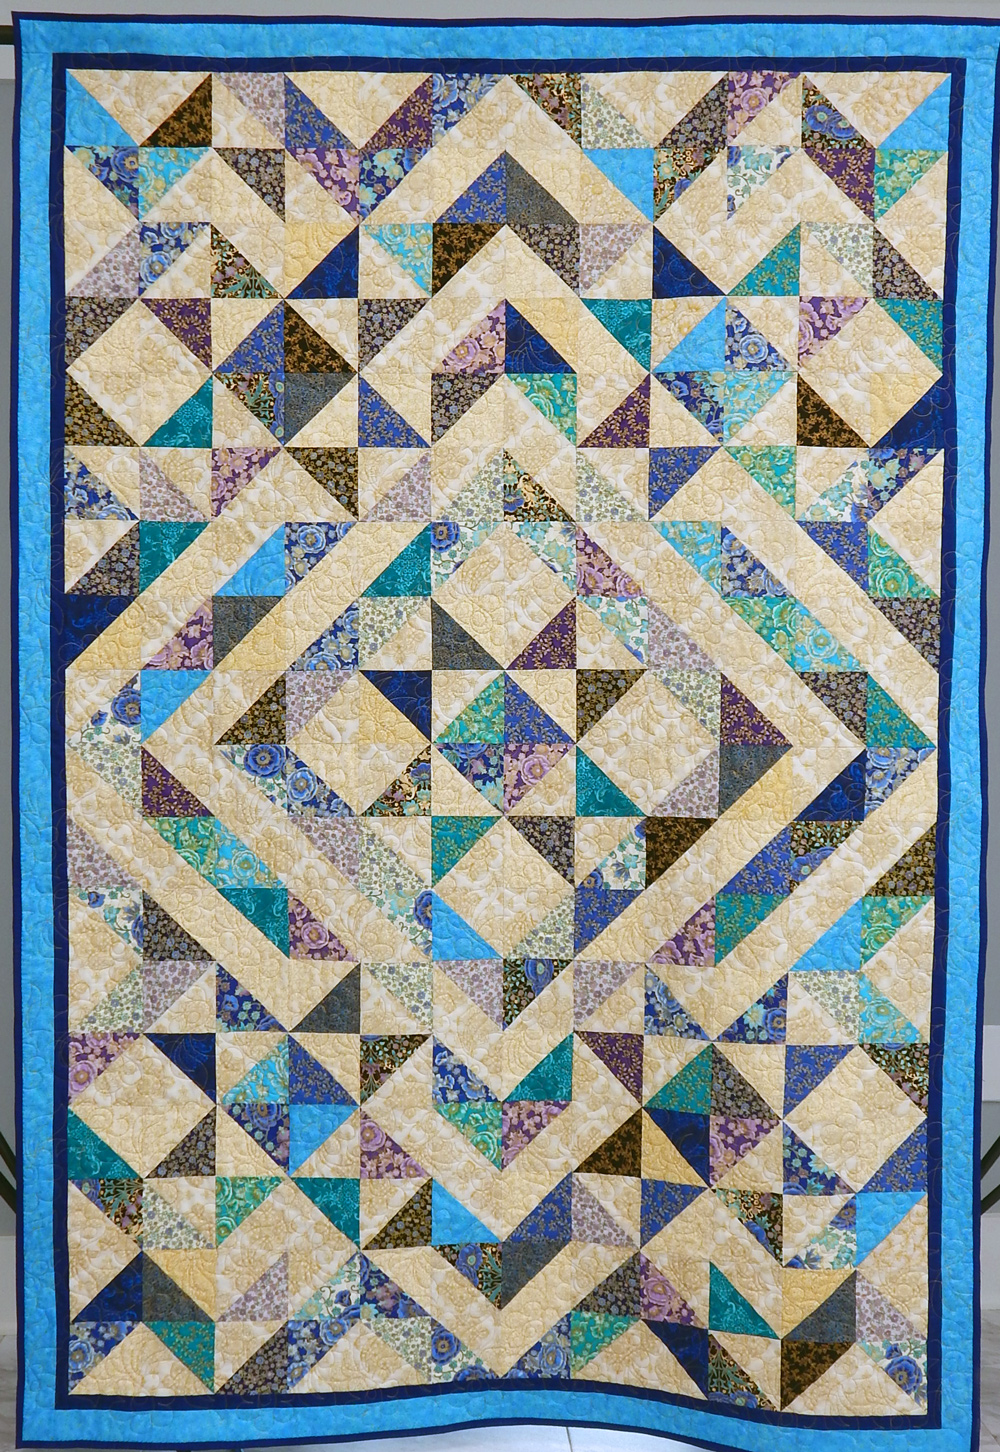
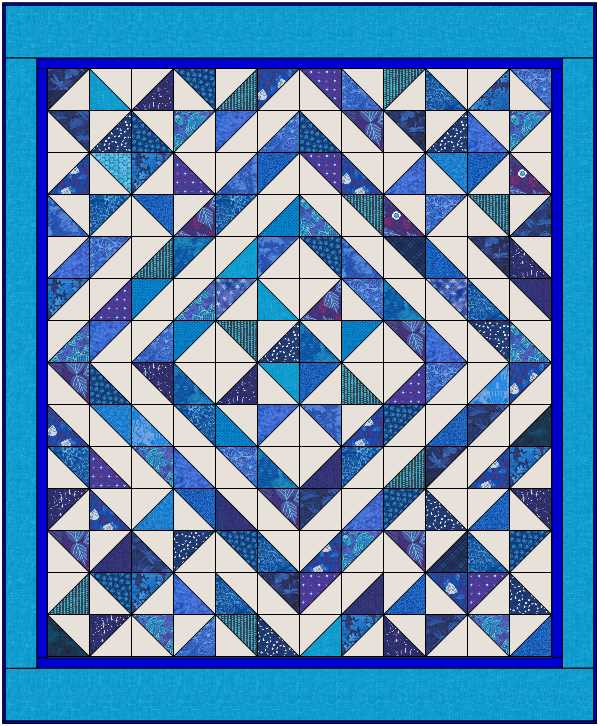
Lucky Stars by Atkinson Designs is one of my all-time favorite quilt patterns because it is so clever. It uses fat quarters and makes lovely stars without the need to worry about cutting off the points!

I don’t recall how many quilts I’ve made from this pattern, but here’s another one. It’s made with the fossil fern fabrics I’ve collected over the years for no particular reason other than a love for those fabrics. Hoping to use them up, I made the back out of my scraps.

Julia Madison quilted it with stars and loops–perfect!

Quilt Stats:

Pattern: Lucky Stars by Alex Anderson

Fabric: Benartex Fossil Ferns

Finished size: 59″ x 44″

Quilted by: Julia Madison

Pattern available here. As always, this is not an affiliate link; it is just for your convenience.

Two Lovely Beginner Books

I am charmed by a couple of new little books for beginners in sewing or quilting.

Jump Into Patchwork and Quilting is an approachable introduction to quilting. It is not completely basic, as it assumes you have a sewing machine and know how to use it. However, it covers basic information about quilting, including fabric selection, batting, basting, and so forth.

I found the level of detail exactly right. For example, there is a well-illustrated explanation of how to use a rotary cutter safely, without getting into the eternal debate about whether it’s OK to use the lines on your mat for measuring.

The book begins with easy projects and proceeds to a final sampler quilt. This seems to me an encouraging way to teach a beginner to quilt, as these earlier projects can be completed fairly quickly. Here’s part of the Table of Contents showing some of the projects:

Photo courtesy of C&T

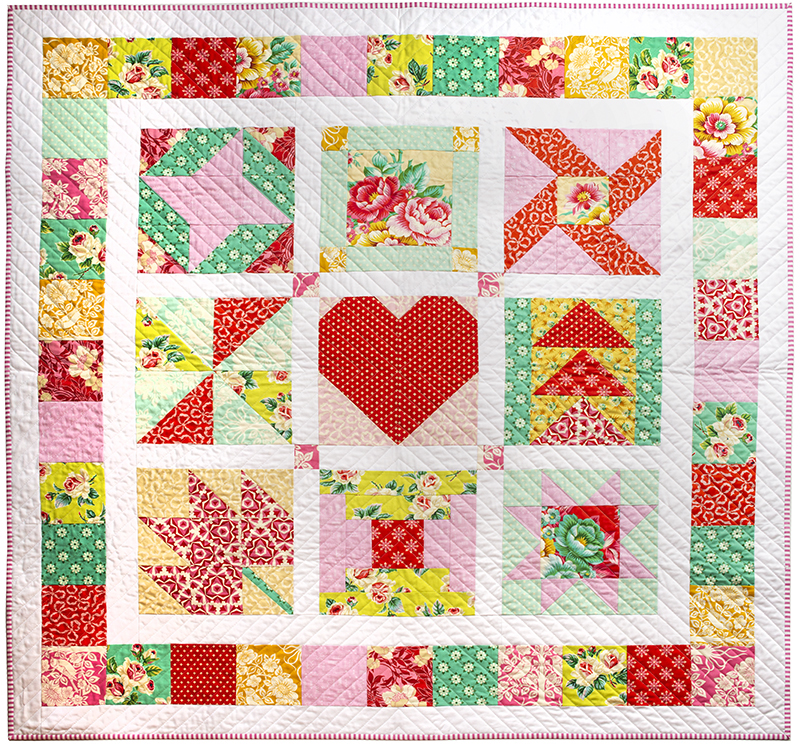
The final project is a typical beginner sampler quilt. It is done in cheerful colors and has a modern look while using some traditional prints. I like the combination, which should allow those drawn to both traditional and modern type quilts to enjoy the project.

Phot courtesy of C&T

The one additional thing I would have liked to see in this book is encouragement to allow for mistakes. There is the usual explanation of the importance of a consistent 1/4″ seam, but it would be nice to see acknowledgment that even “imperfect” blocks can be beautiful.

This would be a great book for a series of classes, or for teaching a friend to make quilts. It is available here.

Jump Into Sewing is bright and cheerful without being childish. There are many useful illustrations.  It starts with “Anatomy of a Sewing Machine”, which will be especially useful for those who may have inherited a sewing machine without knowing anything about it. There is a section of clear explanations on troubleshooting common machine sewing problems such as thread snarled on the top or bottom of the fabric.

Photo courtesy of C&T

The first project is an easy pillow. It gave me the idea of helping my 5-year-old make a pillow. He enjoyed decorating a tote bag and the pillow would be a fast project.

Photo courtesy of C&T

More advanced projects include making a buttonhole and putting in a zipper. The final project is a substantial-looking tote bag, which, like the other projects in the book, could be gender neutral.

Photo Courtesy of C&T

Jump Into Sewing is available here.

The book does not offer any information about garment construction, though of course the techniques would transfer. I hope this new series will progress to “Jump Into Garment Sewing” in the future.

These are fun books that make me think of the non-sewers on my holiday list 😉

P.S.: The links above are for your convenience; they are not affiliate links from which I make money.
Wonky

I’m currently on a program of finishing 2 UFOs (unfinished objects) before starting each new project. I caught up quite a bit last year, but there are a few things still to be done.

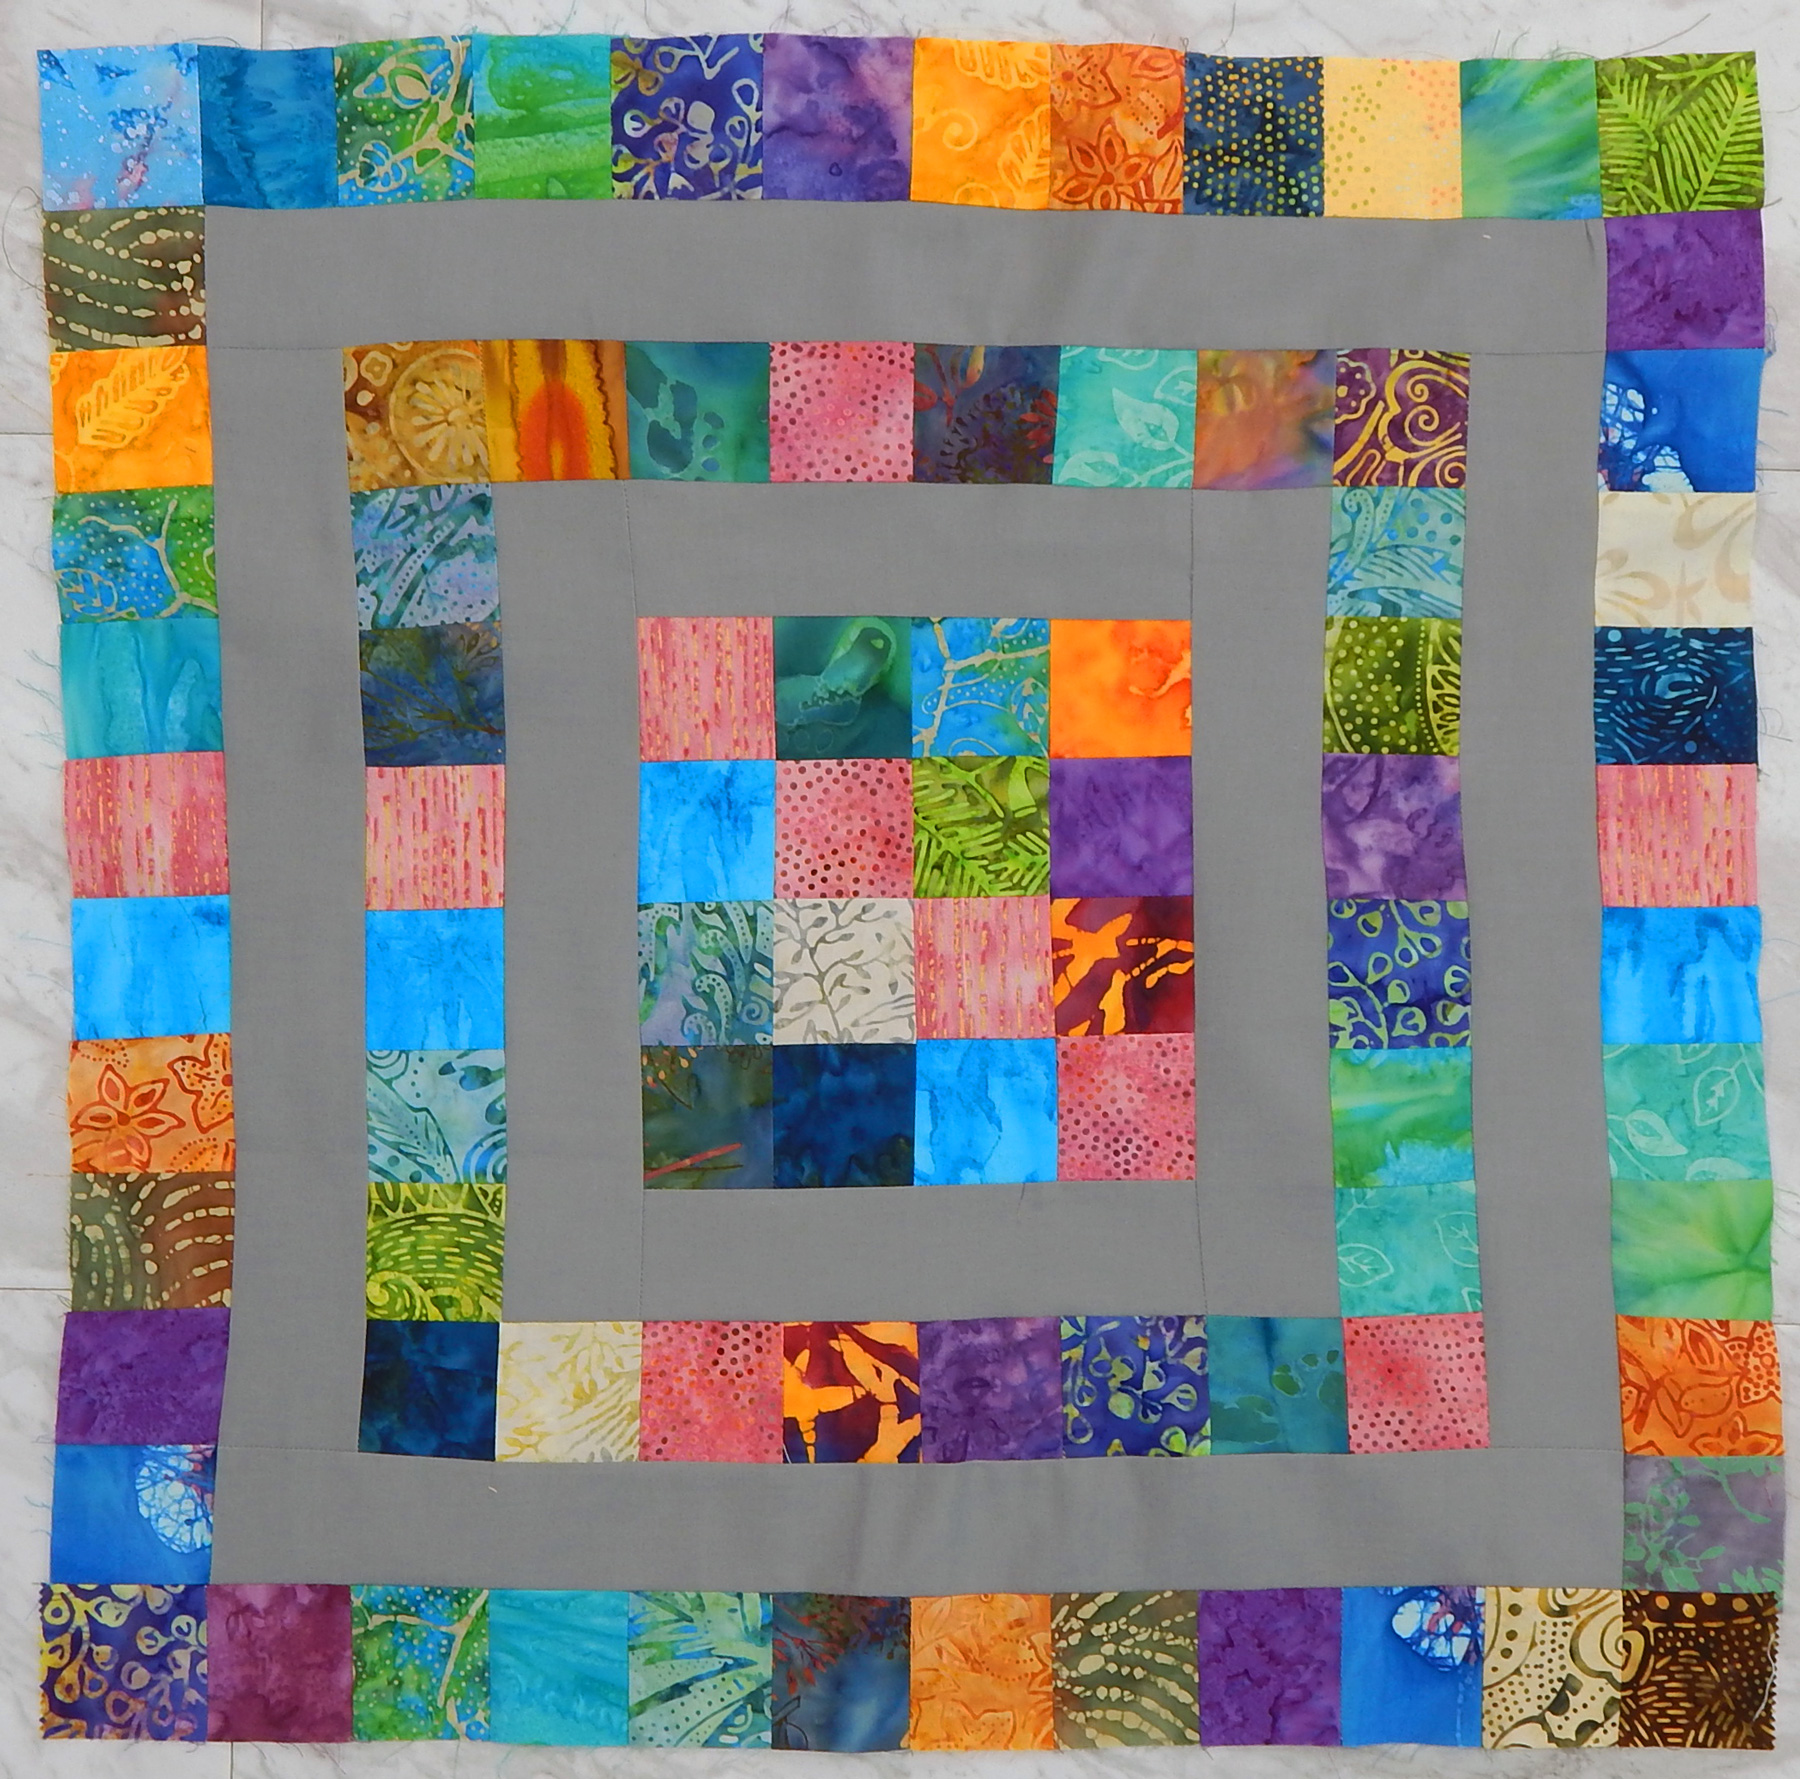
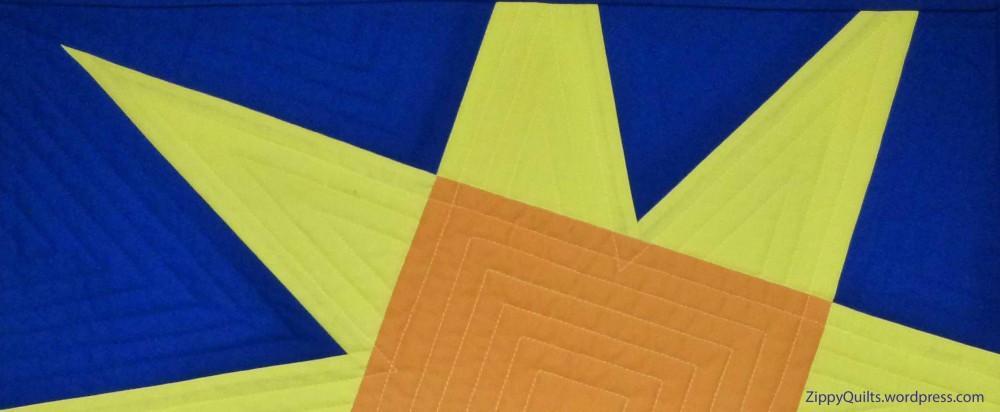
Most recently I pulled out these swap blocks from a long time ago. They should finish 24″ square. Of course, since they are medallion style blocks, there’s plenty of opportunity for the size and shape to get “off” with each additional border.

There was one in the group that surely was not perfectly square. I put 4 of them together anyway, figuring this could be a picnic quilt and “fixing” the wonky block was way too fiddly.

This worried me a little, even in a picnic quilt. (OK, like most quilters, I’m more than a little O.C.)

Then my daughter came along and said, “It’s not wonky, it’s organic in design!” Ha! So there! Art-speak is frequently useful!

Finally, the Move!

Aha! We are finally in our new home and loving it.

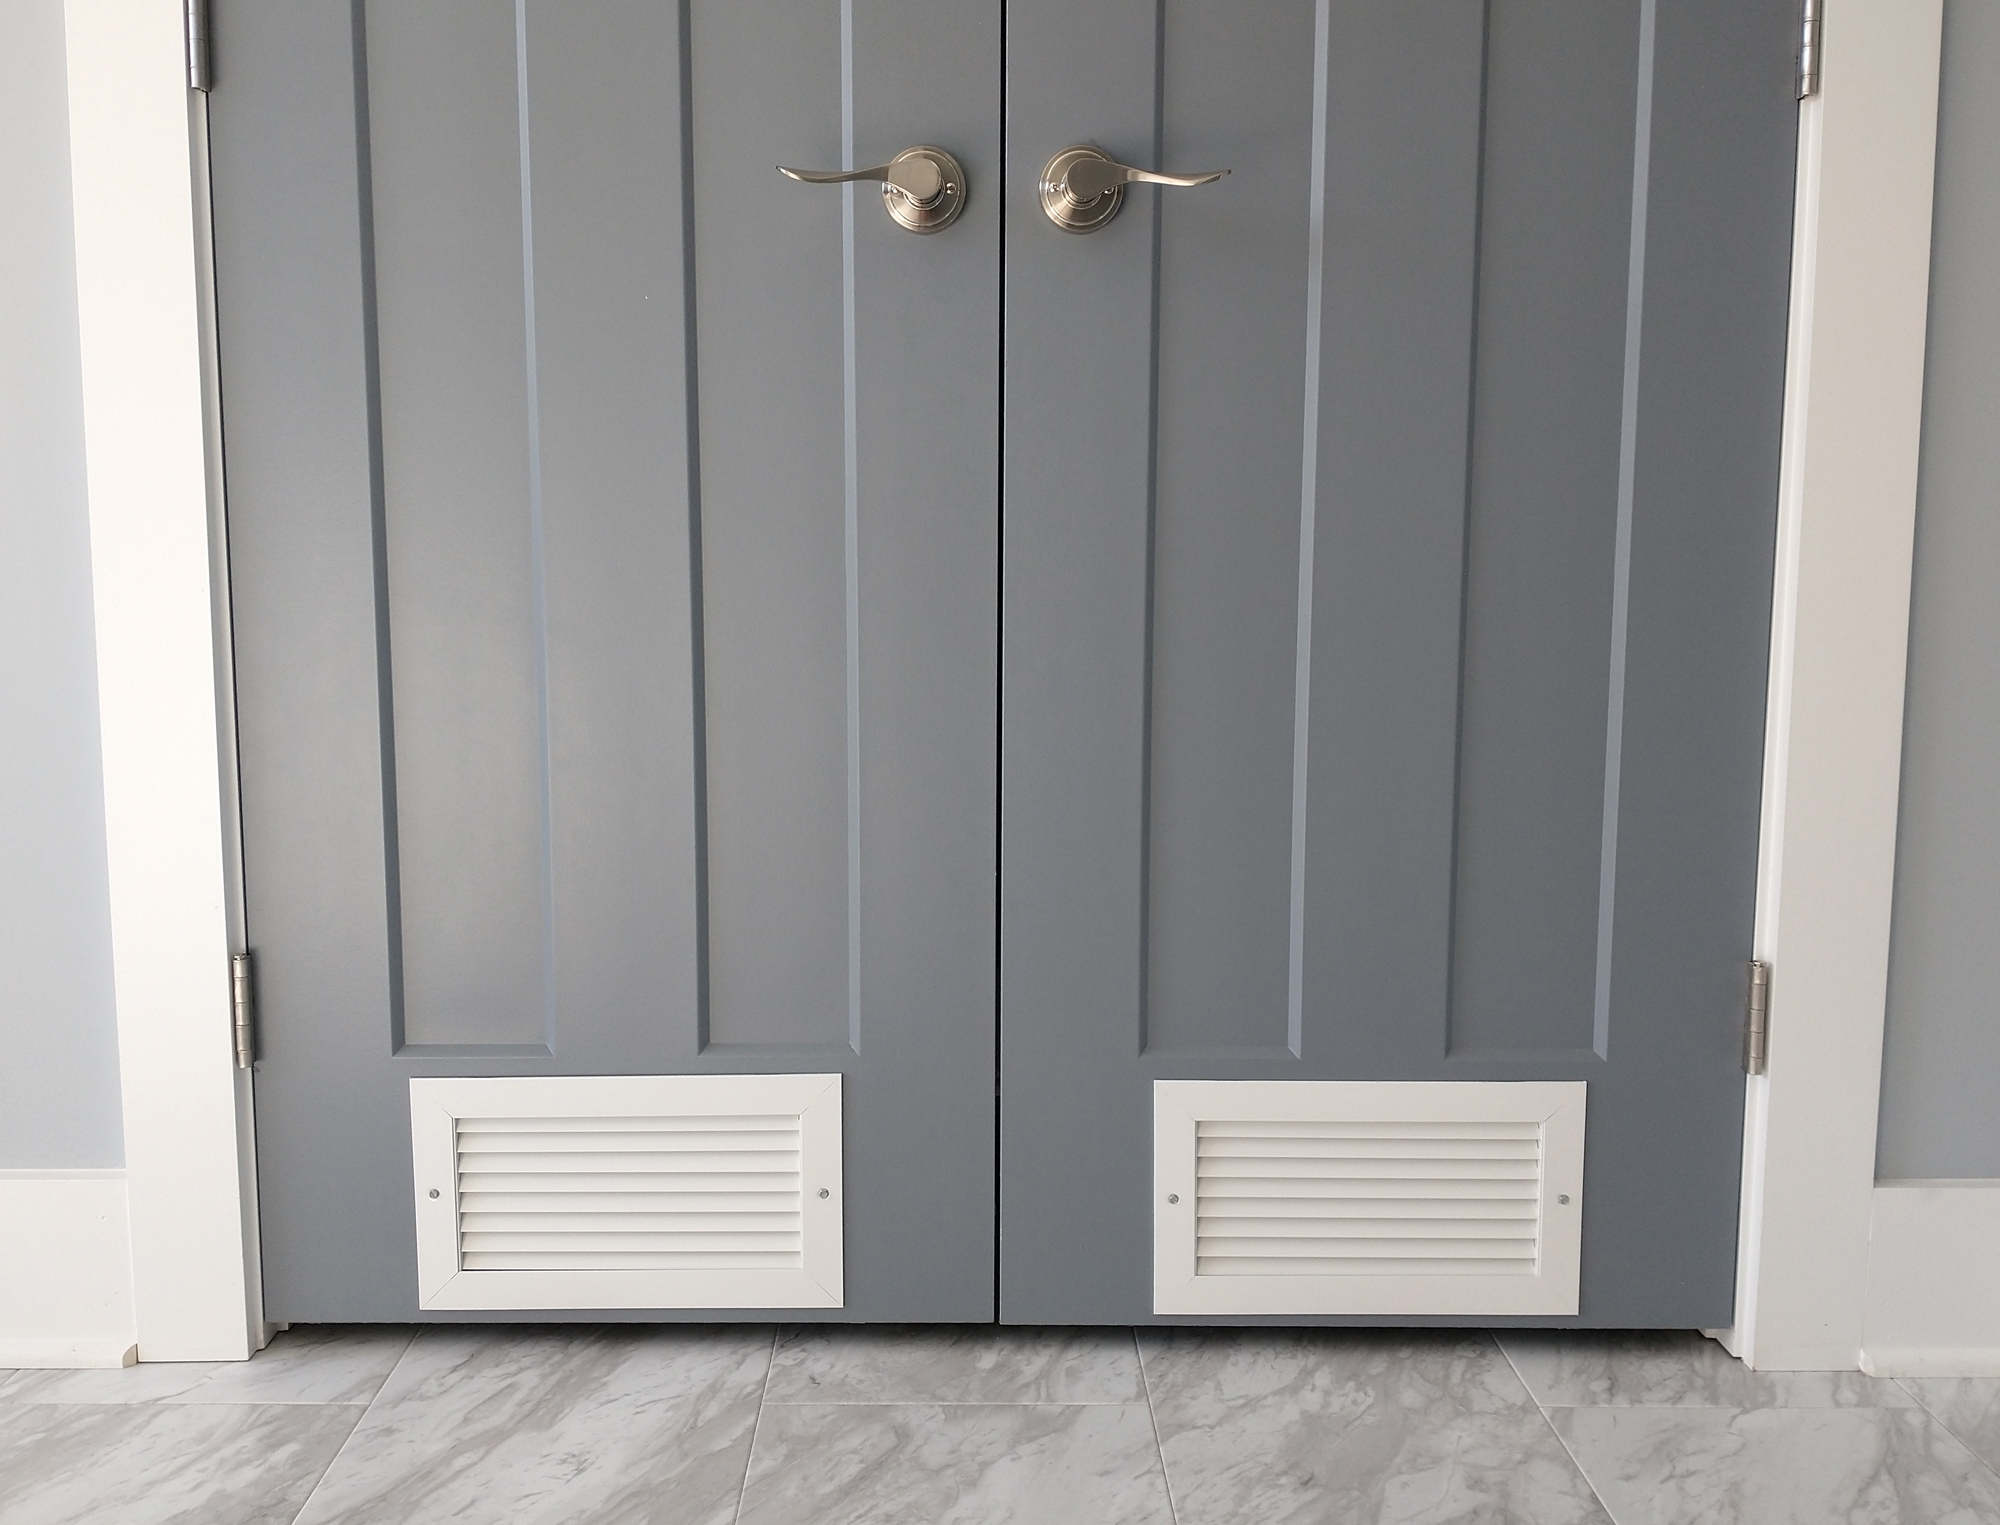
It includes a specially-designed quilt closet for storing finished quilts on wire shelving with good ventilation.

There are vents at the base of the doors to let air in

And a vent on the side wall at the top to let air out, encouraging passive circulation.

And it’s nice to know the quilts will be well treated now, because some of them had a little accident on the trip here.

Luckily the boxes that got damp contained finished quilts. I just washed and dried them and they are just fine.

The rest of the quilts (for the second part of the move) were packed like this.

So, once I can get my studio set up, the quilt making will begin again! Here’s a picture of the studio

And the special knob for the studio door

There’s a house attached to the studio, as well as a yard.

If anybody is looking for a great builder in the N.C. triad area, you should know that our house was built by My Granville Home of Greensboro. They were wonderful! Feel free to contact either me or the Granville people with questions.

A Little Finish

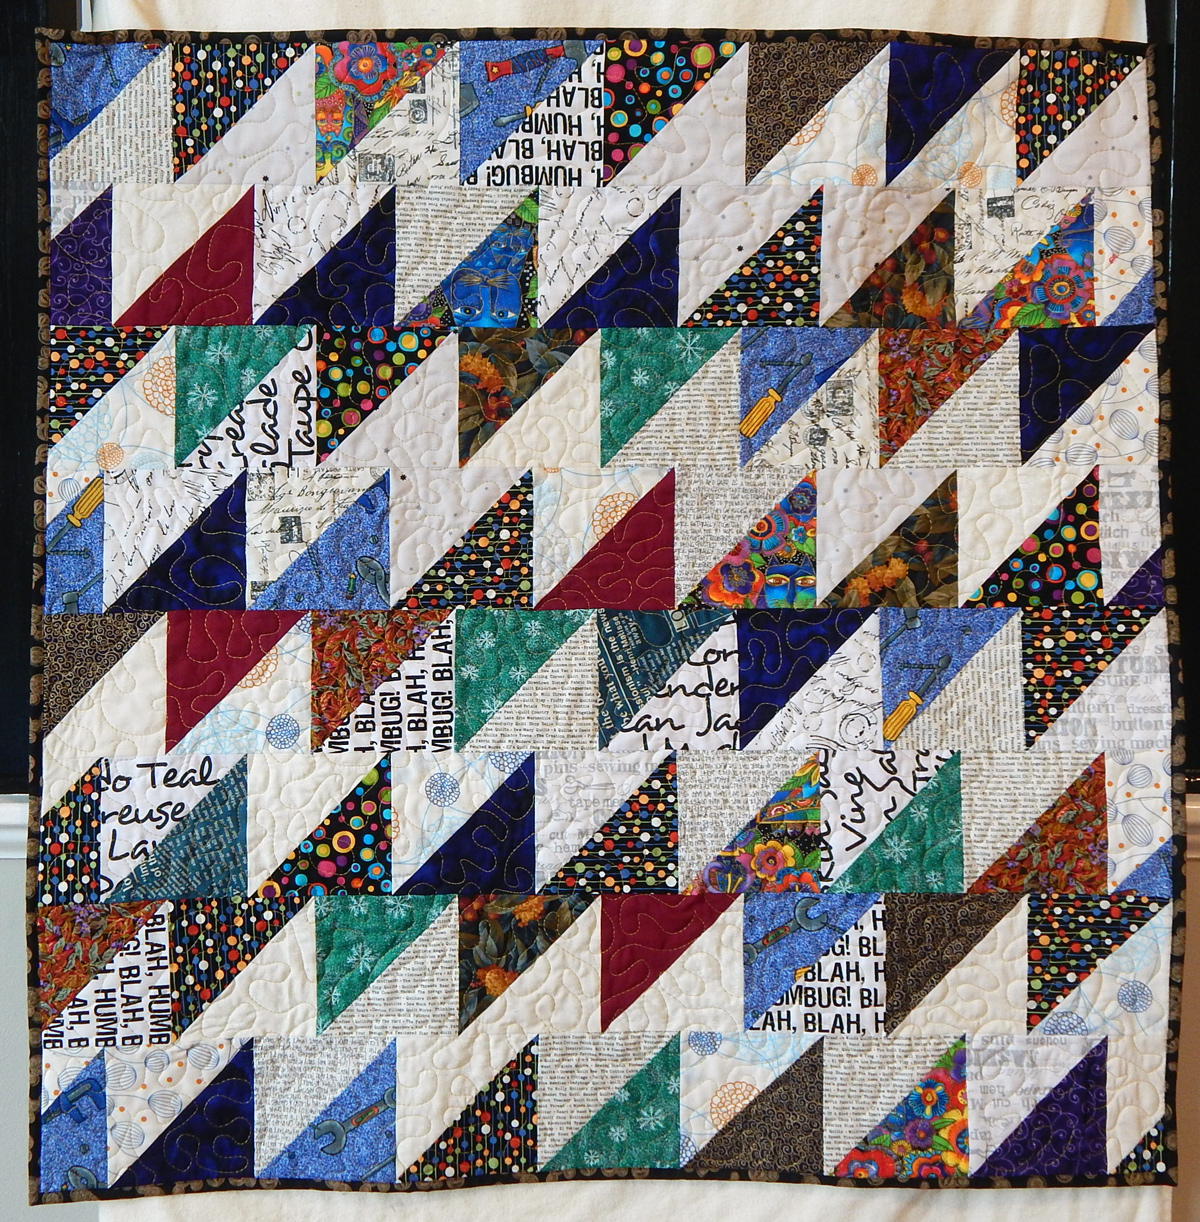
This is a quilt top I made as I was working out the details of the Lightening pattern I did for Studio Stitch a while back.

This is only 36″ square, so it will be a quilt for Ronald McDonald House in Winston-Salem, where they use this size for incubator covers.

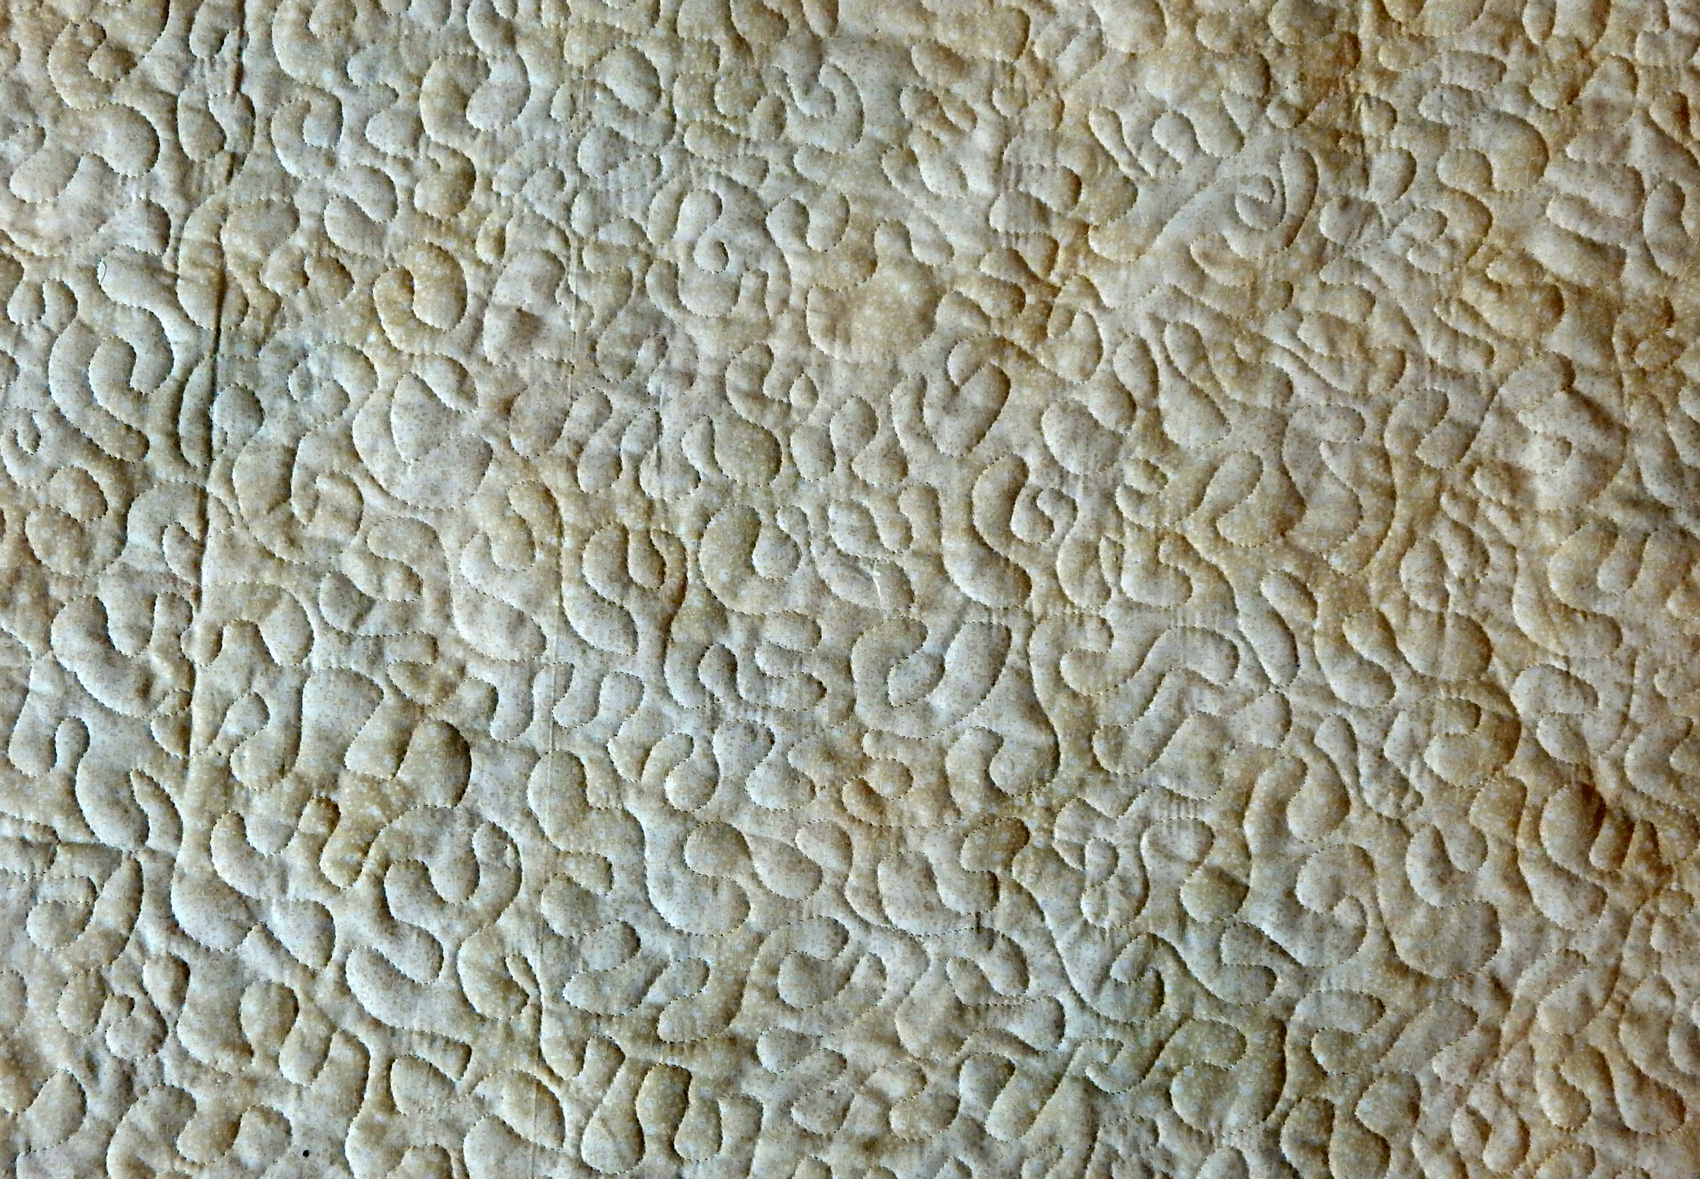
I quilted this on my domestic sewing machine (a Bernina 550). I did not use the BSR stitch regulator primarily because it is packed somewhere in a moving box, though honestly, I don’t feel the need for it. I quilted a meander because it is fast and easy.

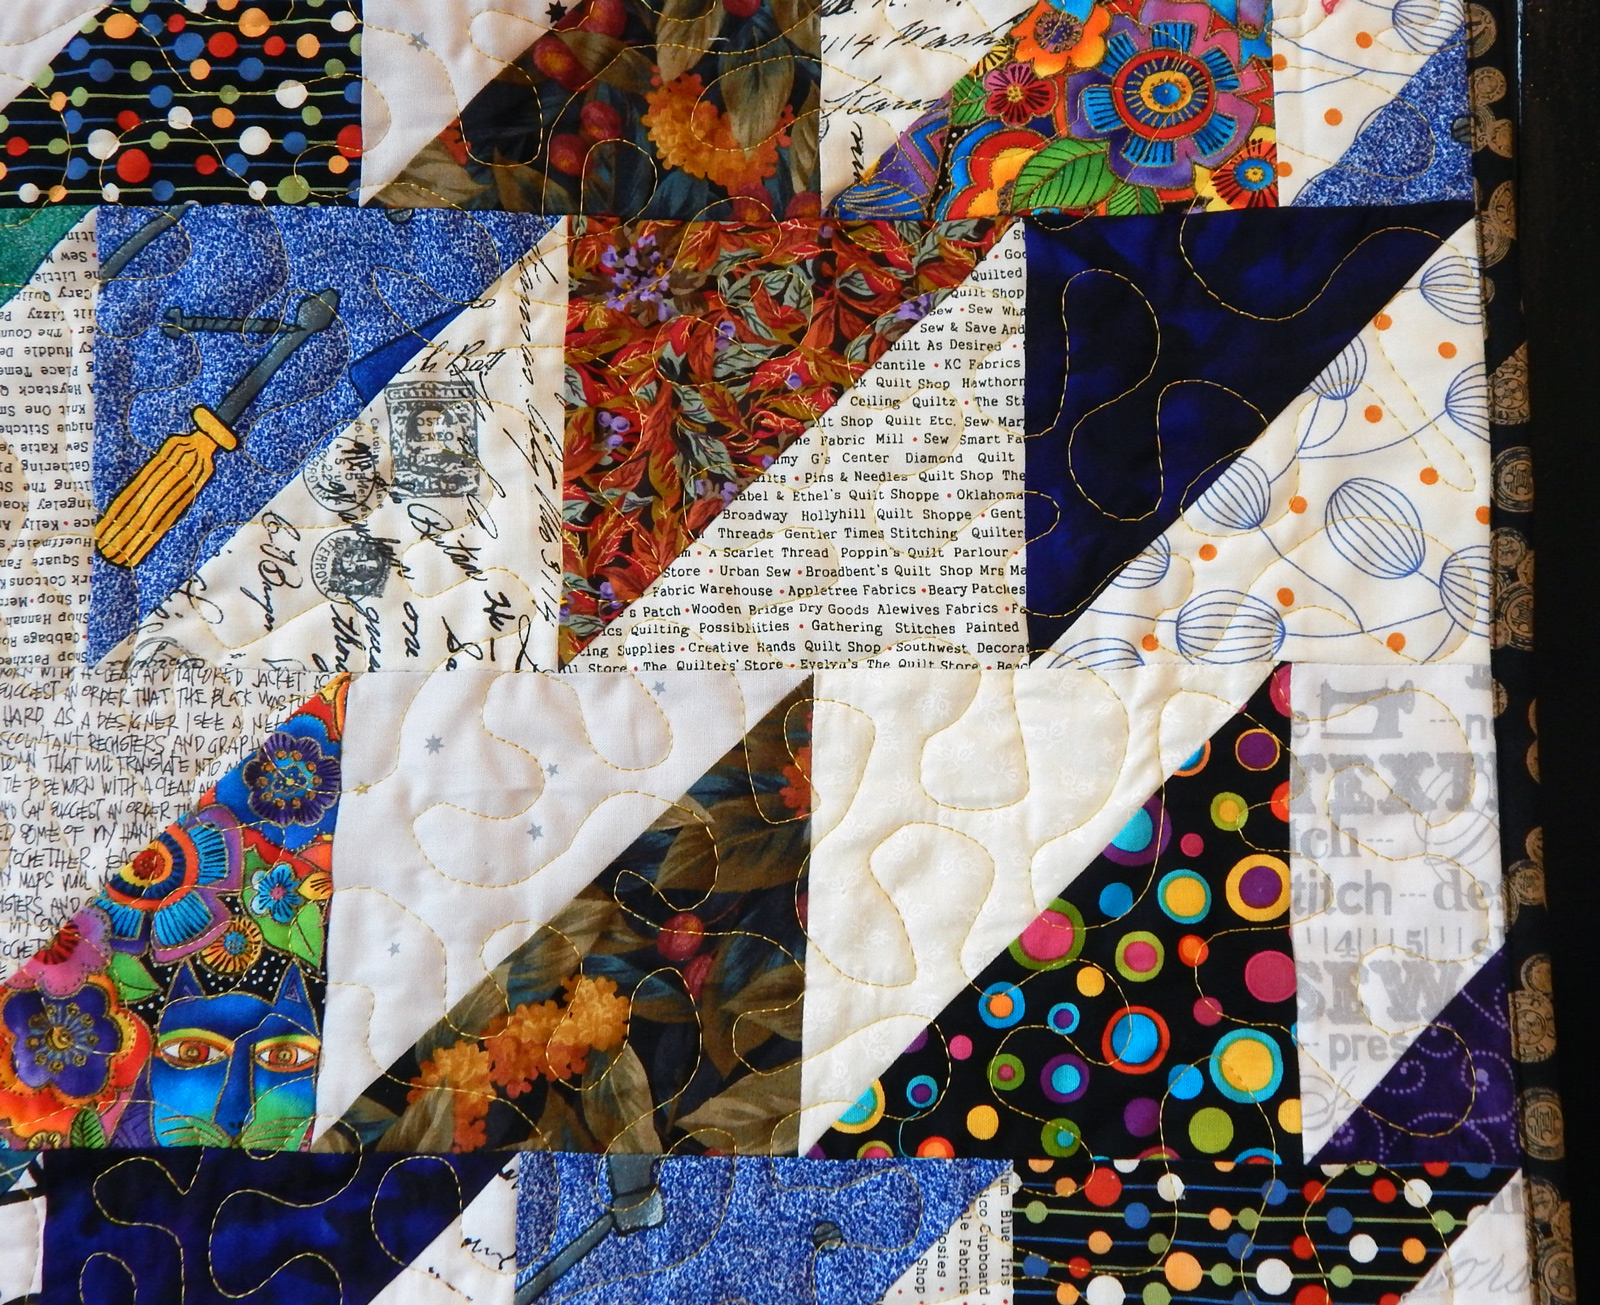
My blogging friend Clair pointed out some time ago that gold thread goes with almost any quilt top, and I’ve found that to be true! This is my favorite gold thread because it does look really gold but it is NOT metallic. (Metallic thread can be a bear to quilt with.)

As always, I used Bottom Line in the bobbin. I love that thread! If you have it in black and white you can blend it with almost any backing, though I have bought a few other colors as well.

And FYI, nobody paid me to say all this, and I bought the thread with my own money, etc, etc.

In case you missed it, here’s the quilt for which this was a practice piece. Last I looked Studio Stitch still had the pattern available free with purchase and even had one bundle of fat quarters left of the fabric.

Thanks for reading, and have a good week!


Virtual Design Wall

I’m making a queen sized quilt from my 100 Tula City Sampler blocks using this design. I made several layouts in EQ8, my design software, and chose this one.I love this layout, but it’s turning out to be a bear to piece!

BTW, I don’t recommend this design particularly. The sashing is waaay too fiddly.

Anyway, I have assembled the top in 4 quarter panels to improve the accuracy of my piecing. Now I’m ready to assemble the panels into a quilt top, but we are still in our rental house so I don’t have much of a design wall.

I thought I would wait until I have a big design wall in the new house, but then I had another thought. I took a picture of each of the quarters, edited them all with Photoshop, and custom printed them so each quarter is 7″ square. The pictures aren’t perfect, but I think they’ll work!

Now I can play with arranging the quarters in various ways. The printed colors aren’t great (I used regular printer paper) but this is going to be much easier than moving 4 big panels around on a big design wall. I may even use this technique again when I have a big design wall available.

I’ll let you know what happens.

Some Finishes

The random number generator picked comment #3, by Mary Lindberg, as the winner of the book on quilt finishing. I have been unable to contact her. If you read this, Mary, please contact me by 6:00 this evening so I can send your book. If I don’t hear from Mary I’ll ask the random number generator to select someone else.

It seems like I’ve done a lot of quilt-making in 2021, but had little to show for it. Here, at last, are a couple of finishes. These are made using blocks from a batik swap with one of my groups, done during COVID time when we couldn’t get together.

This first one is lap size, made just for fun. It doesn’t have a home yet, but I’m sure it will find one.

Name: Batik Swap One

Size: 66″ x 54″

Blocks by: Jeri, Mary B, Rena, and me

Quilted by: Julia Madison

Here’s the second quilt from swap blocks. This one is twin size, intended for use on one of the bunk beds in the “brothers’ room” at our new house.

Name: Brothers’ Bunk Quilt

Size: Twin

Blocks by: Jeri, Mary B, Rena, and me

Quilted by: Julia Madison

And speaking of the quilter, look at these pretty sunflowers she did on one of the quilts:

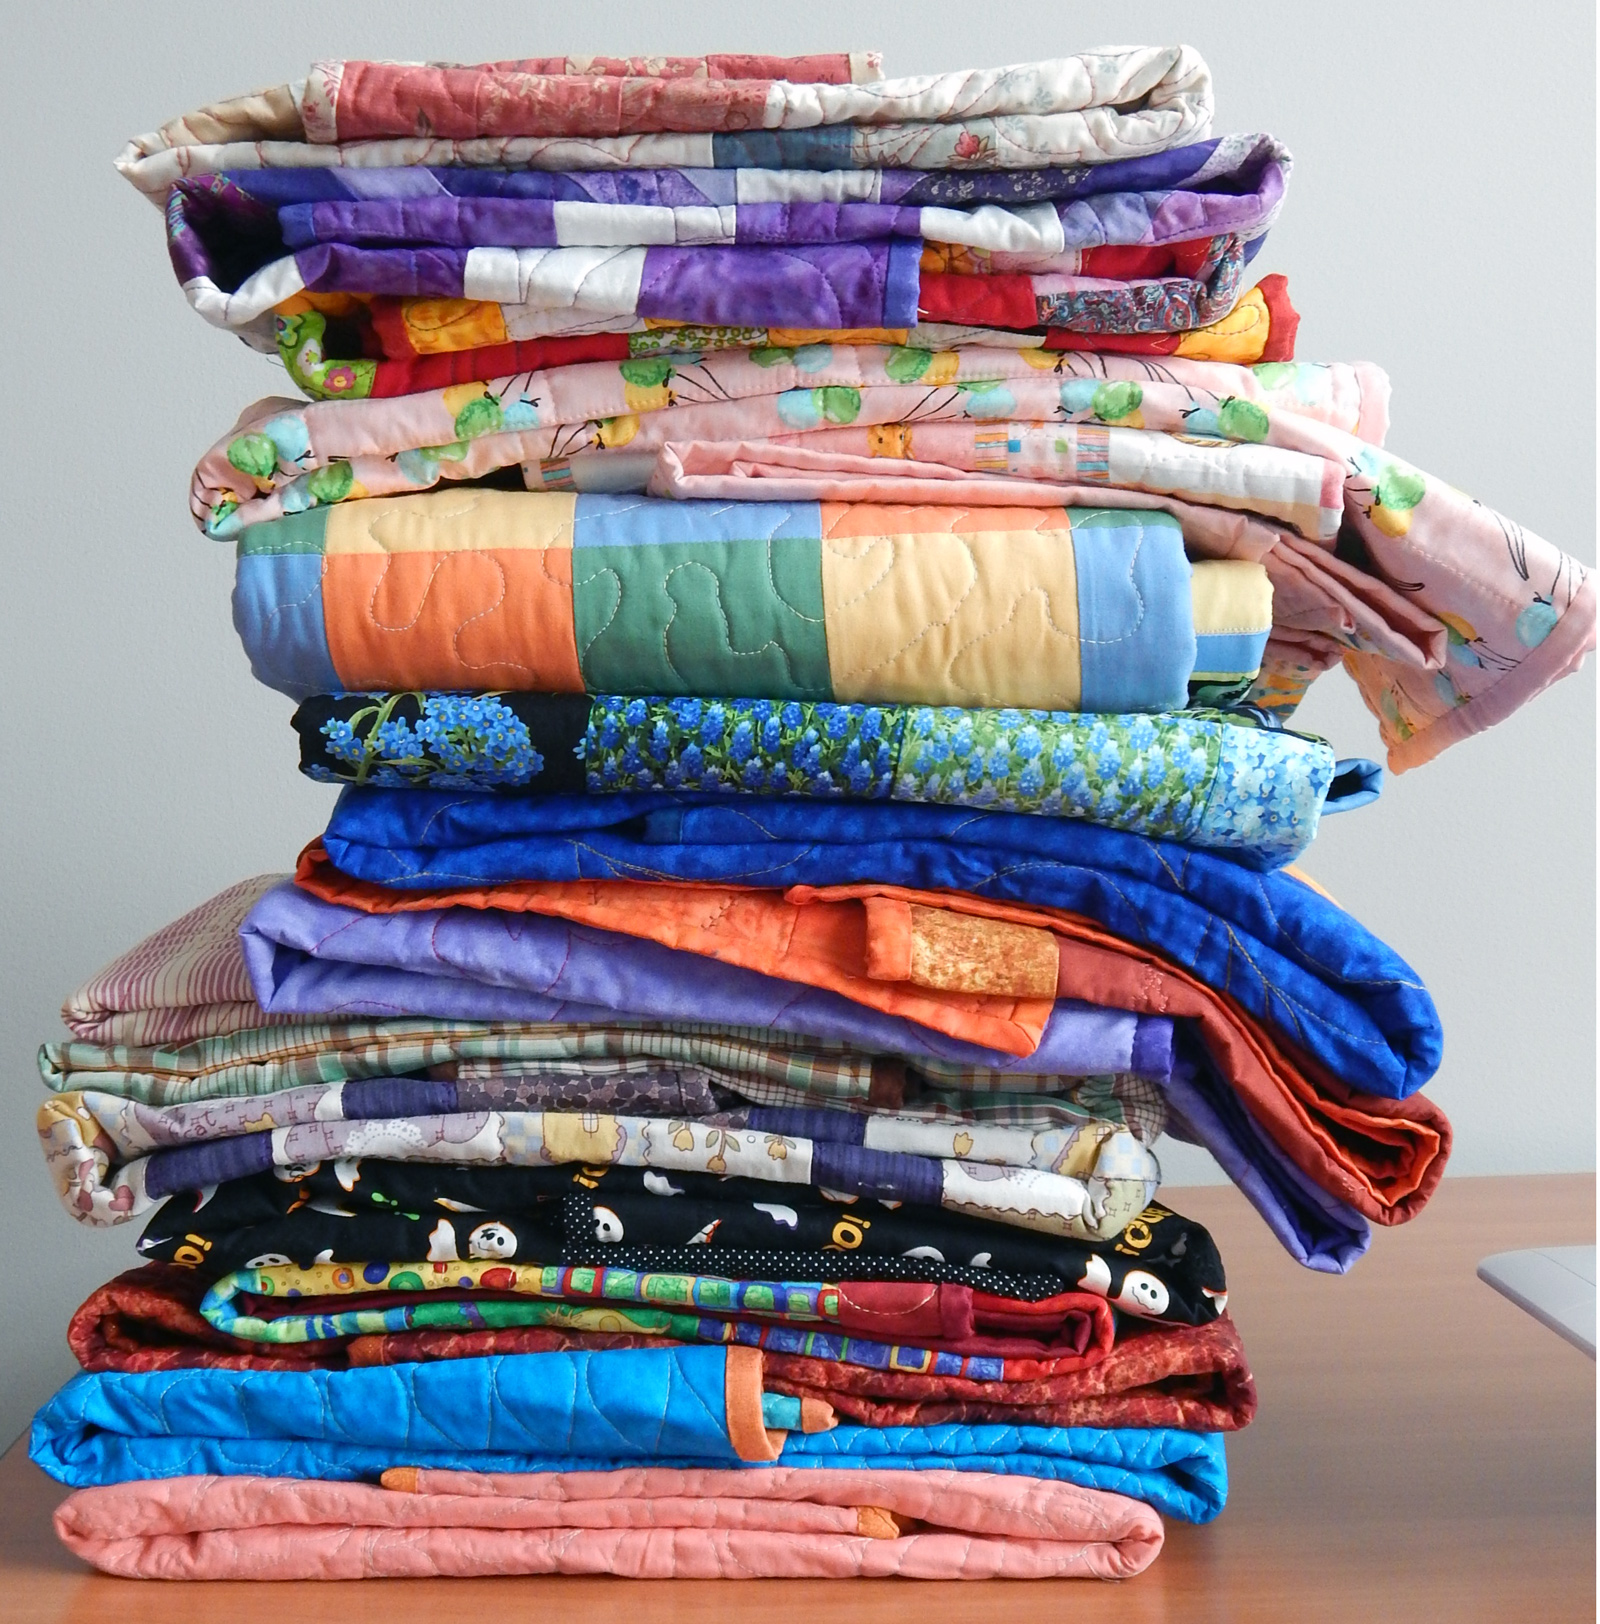
Last but not least, here is the latest stack of quilts made by the same group. I’ve been slow to deliver them, but they finally went to Ronald McDonald house this past week.


A Terrific Resource for Quilt Finishing

The Ultimate Quilt Finishing Guide is not exaggerating in its name. I was not immediately enthusiastic because it isn’t a “modern” quilt book, but it really is “ultimate” in being very comprehensive. Pretty much everything you’ve ever learned or wanted to know about borders, batting, backing, and binding is in this book, whether you’re a modern or traditional quilter.

Photo courtesy of C&T

It’s a single resource for all the stuff I keep forgetting, like how to make bias binding from a square of fabric.

I also like the book because the authors often agree with me 😀  For example, they suggest choosing border fabric after completing the center of the quilt. This has been my method for years unless I have a specific reason for buying the border fabric at the same time as the fabrics for the center.

There is a section on squaring up the quilt top when it’s finished, and another section on squaring the quilt up after it has been quilted. This is a major hassle for many quilters, so it’s nice to have it all clearly explained and well illustrated.

There is a discussion of how to measure for borders and then attach them without distorting the edges of the quilt. I should have read that years ago, before I learned the hard way!

Other helpful topics include:

  • Choosing batting
  • Joining batting pieces
  • Binding for both plain and fancy edges

The only thing I disagreed with in the entire book is the method for joining binding ends. I’m sure the way described in the book works just fine, but I love Susan Cleveland’s “Kiss, Twist, and Wiggle” method.

An extensive section covers just about every type of border imaginable, which I particularly like. I certainly could draft any of these using EQ (Electric Quilt design software), but here they are with an explanation of how to do the math to make them fit! That last is the most important, and there are practical work-arounds when needed. For example, when a border is one that makes turning corners difficult, the authors suggest using corner squares. I like it.

This is a comprehensive guide that I’m happy to add to my quilt library. Although most of the samples in the book are more traditional looking, the authors do include many borders that would work for modern quilts, especially as the modern quilt movement seems to be diversifying a bit.

Here’s one last picture from the book:

Photo courtesy of C&T

If you’ve read this far, leave me a comment and I’ll draw a name to receive a free copy of this book. Sorry to say I can only ship to U.S. addresses. I’ll draw the winner on Sunday, July 4, a week after this post goes up. I think I can find your email if you’re a subscriber to these posts, but if you want to be sure please leave an email in your comment. And thanks for reading!

Please note: C&T provides books and products for me to review. I choose those that I like the very best to tell about in my blog.