Here are the rest of my 2020 project completions. As previously mentioned, shelter-in-place was an opportunity!

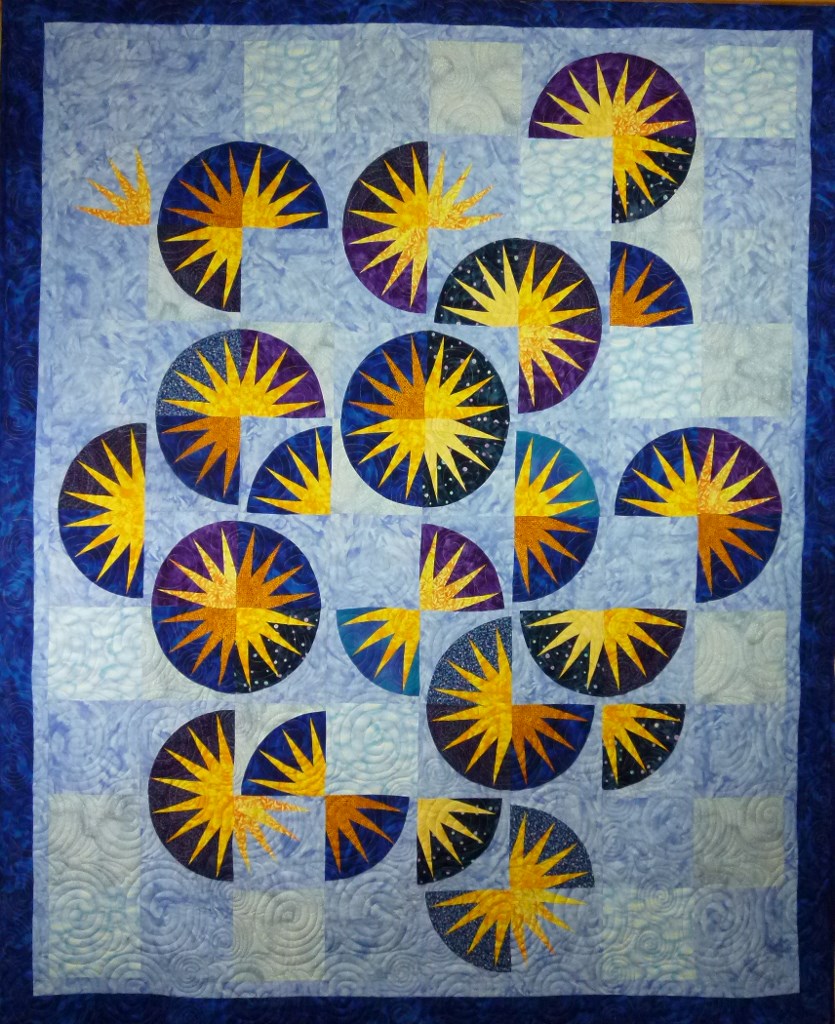
I designed and made Fiddlesticks after seeing a number of similar quilts on the internet.
Pineapple Fabrics requested pineapple blocks for a children’s hospital donation project, and my friend Chela and I each made several.

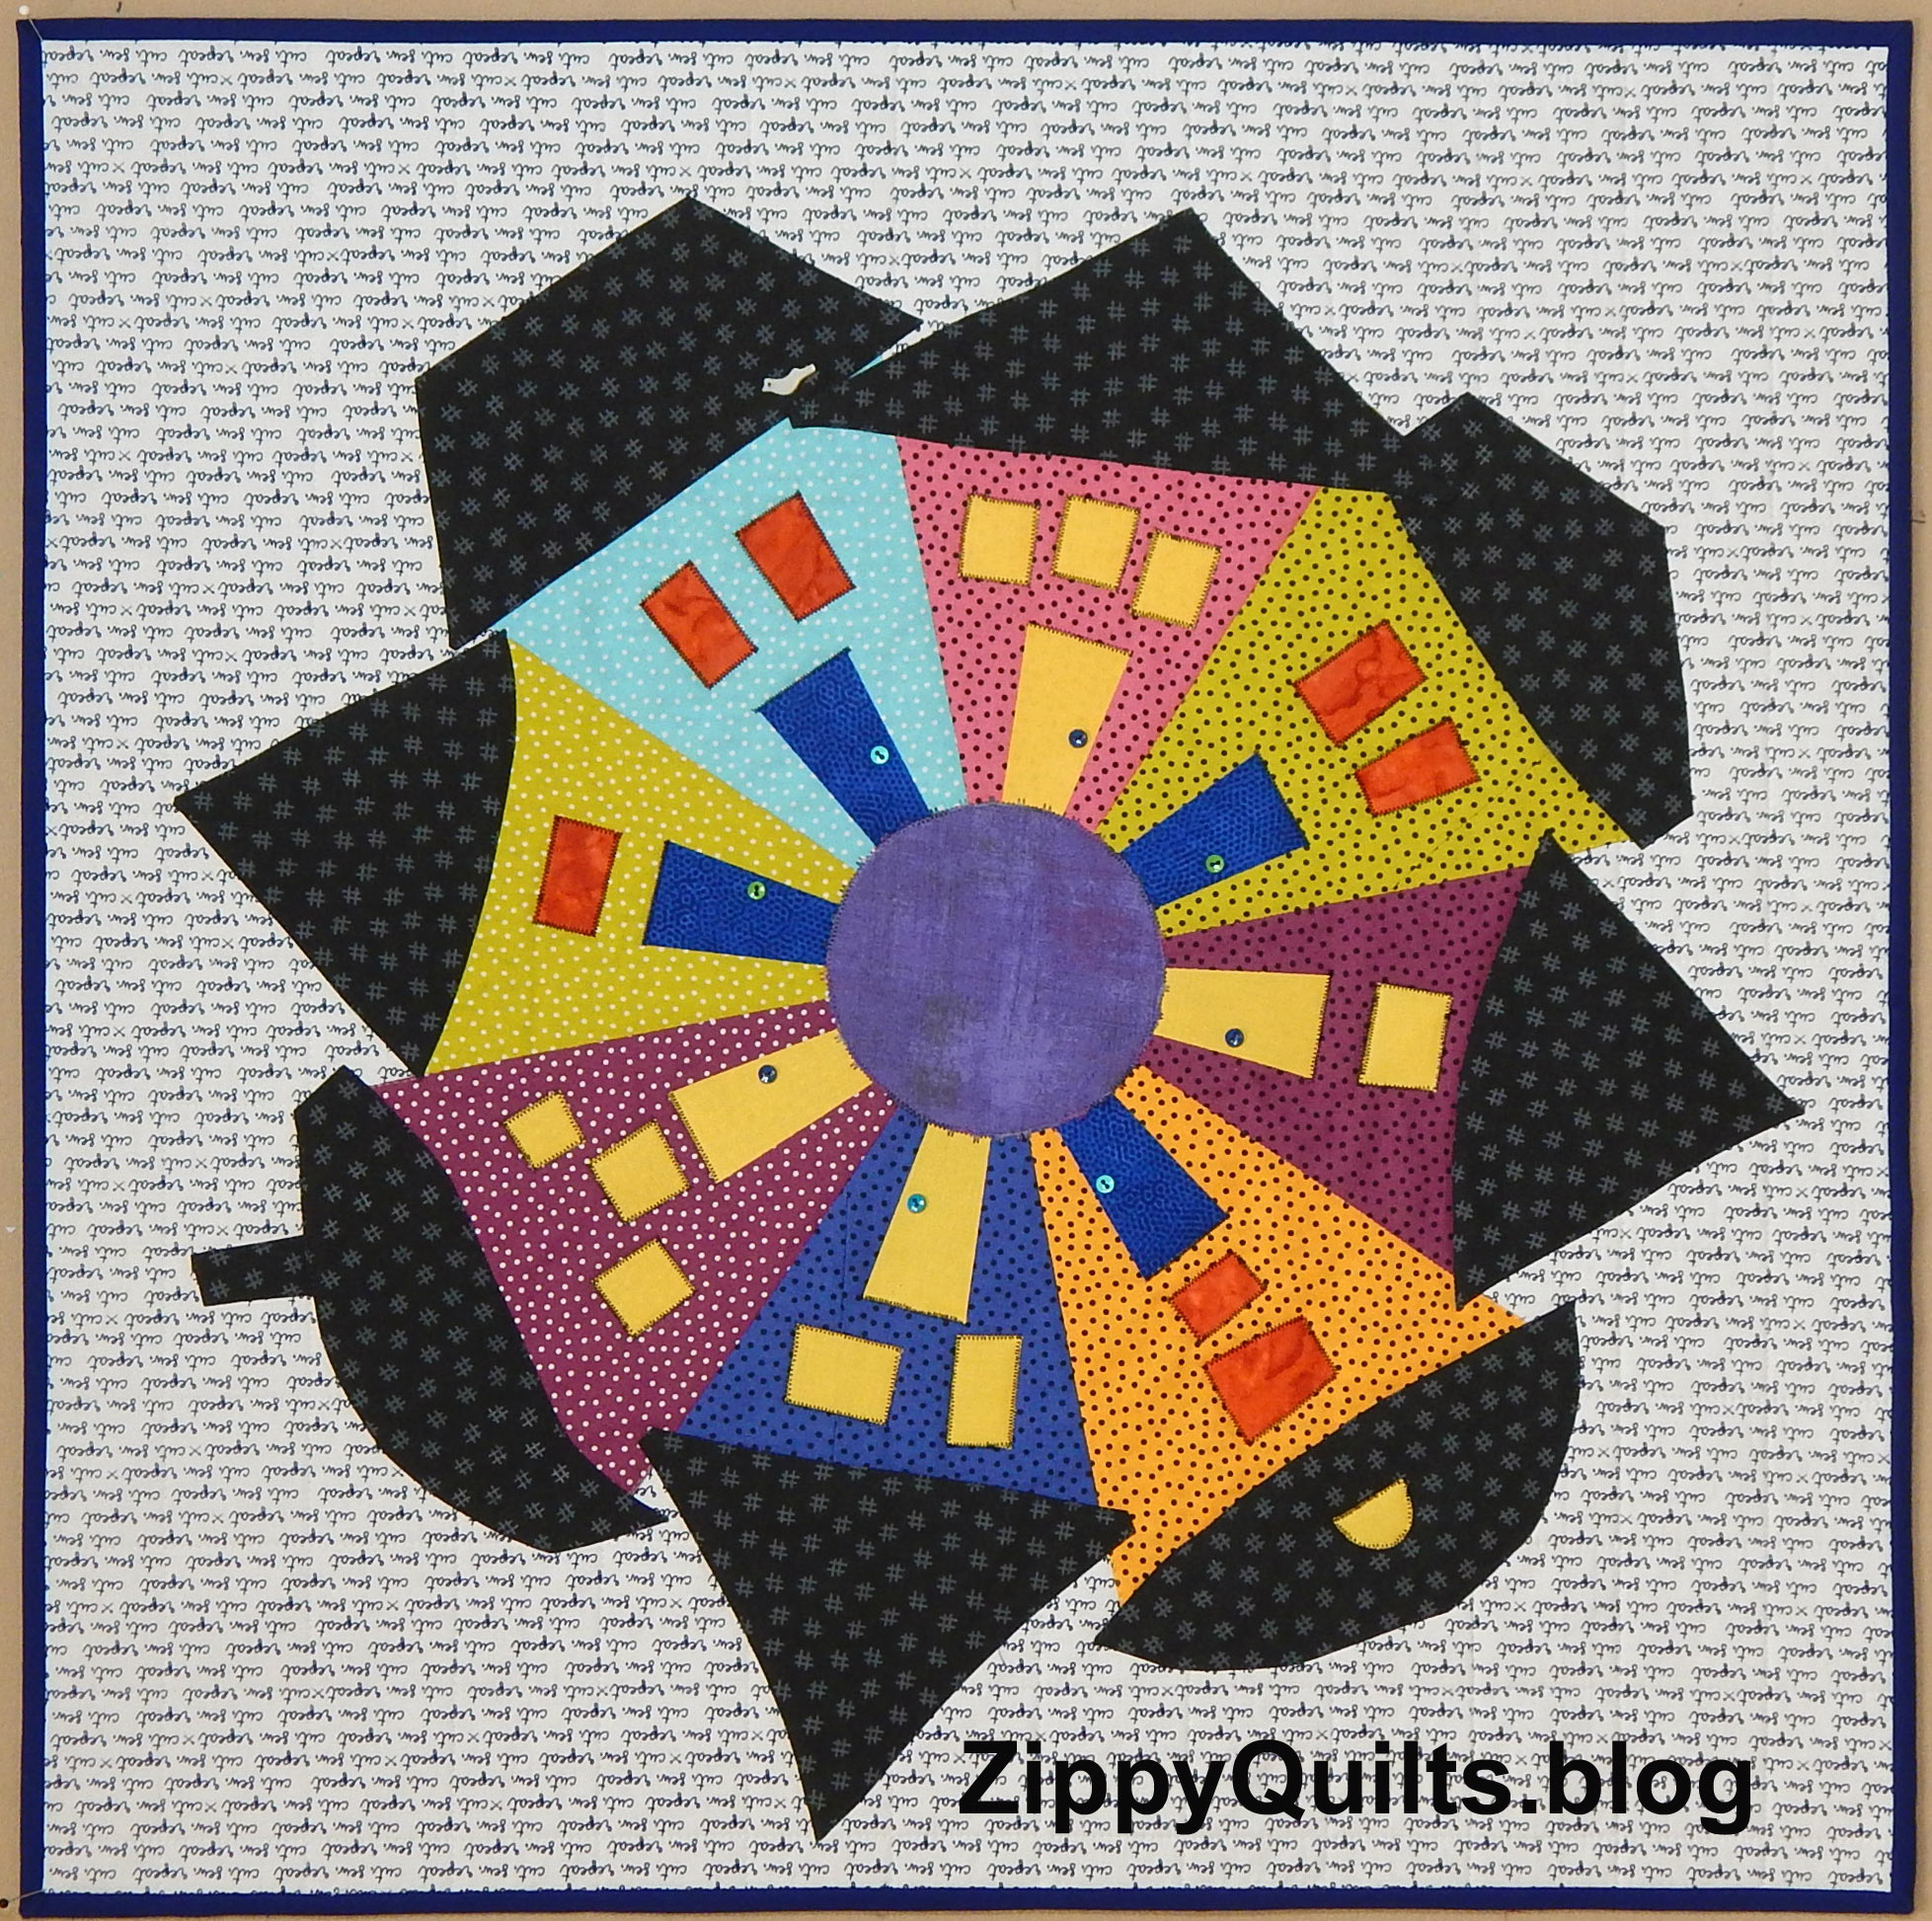
I finally finished this little art quilt, which was started several years ago

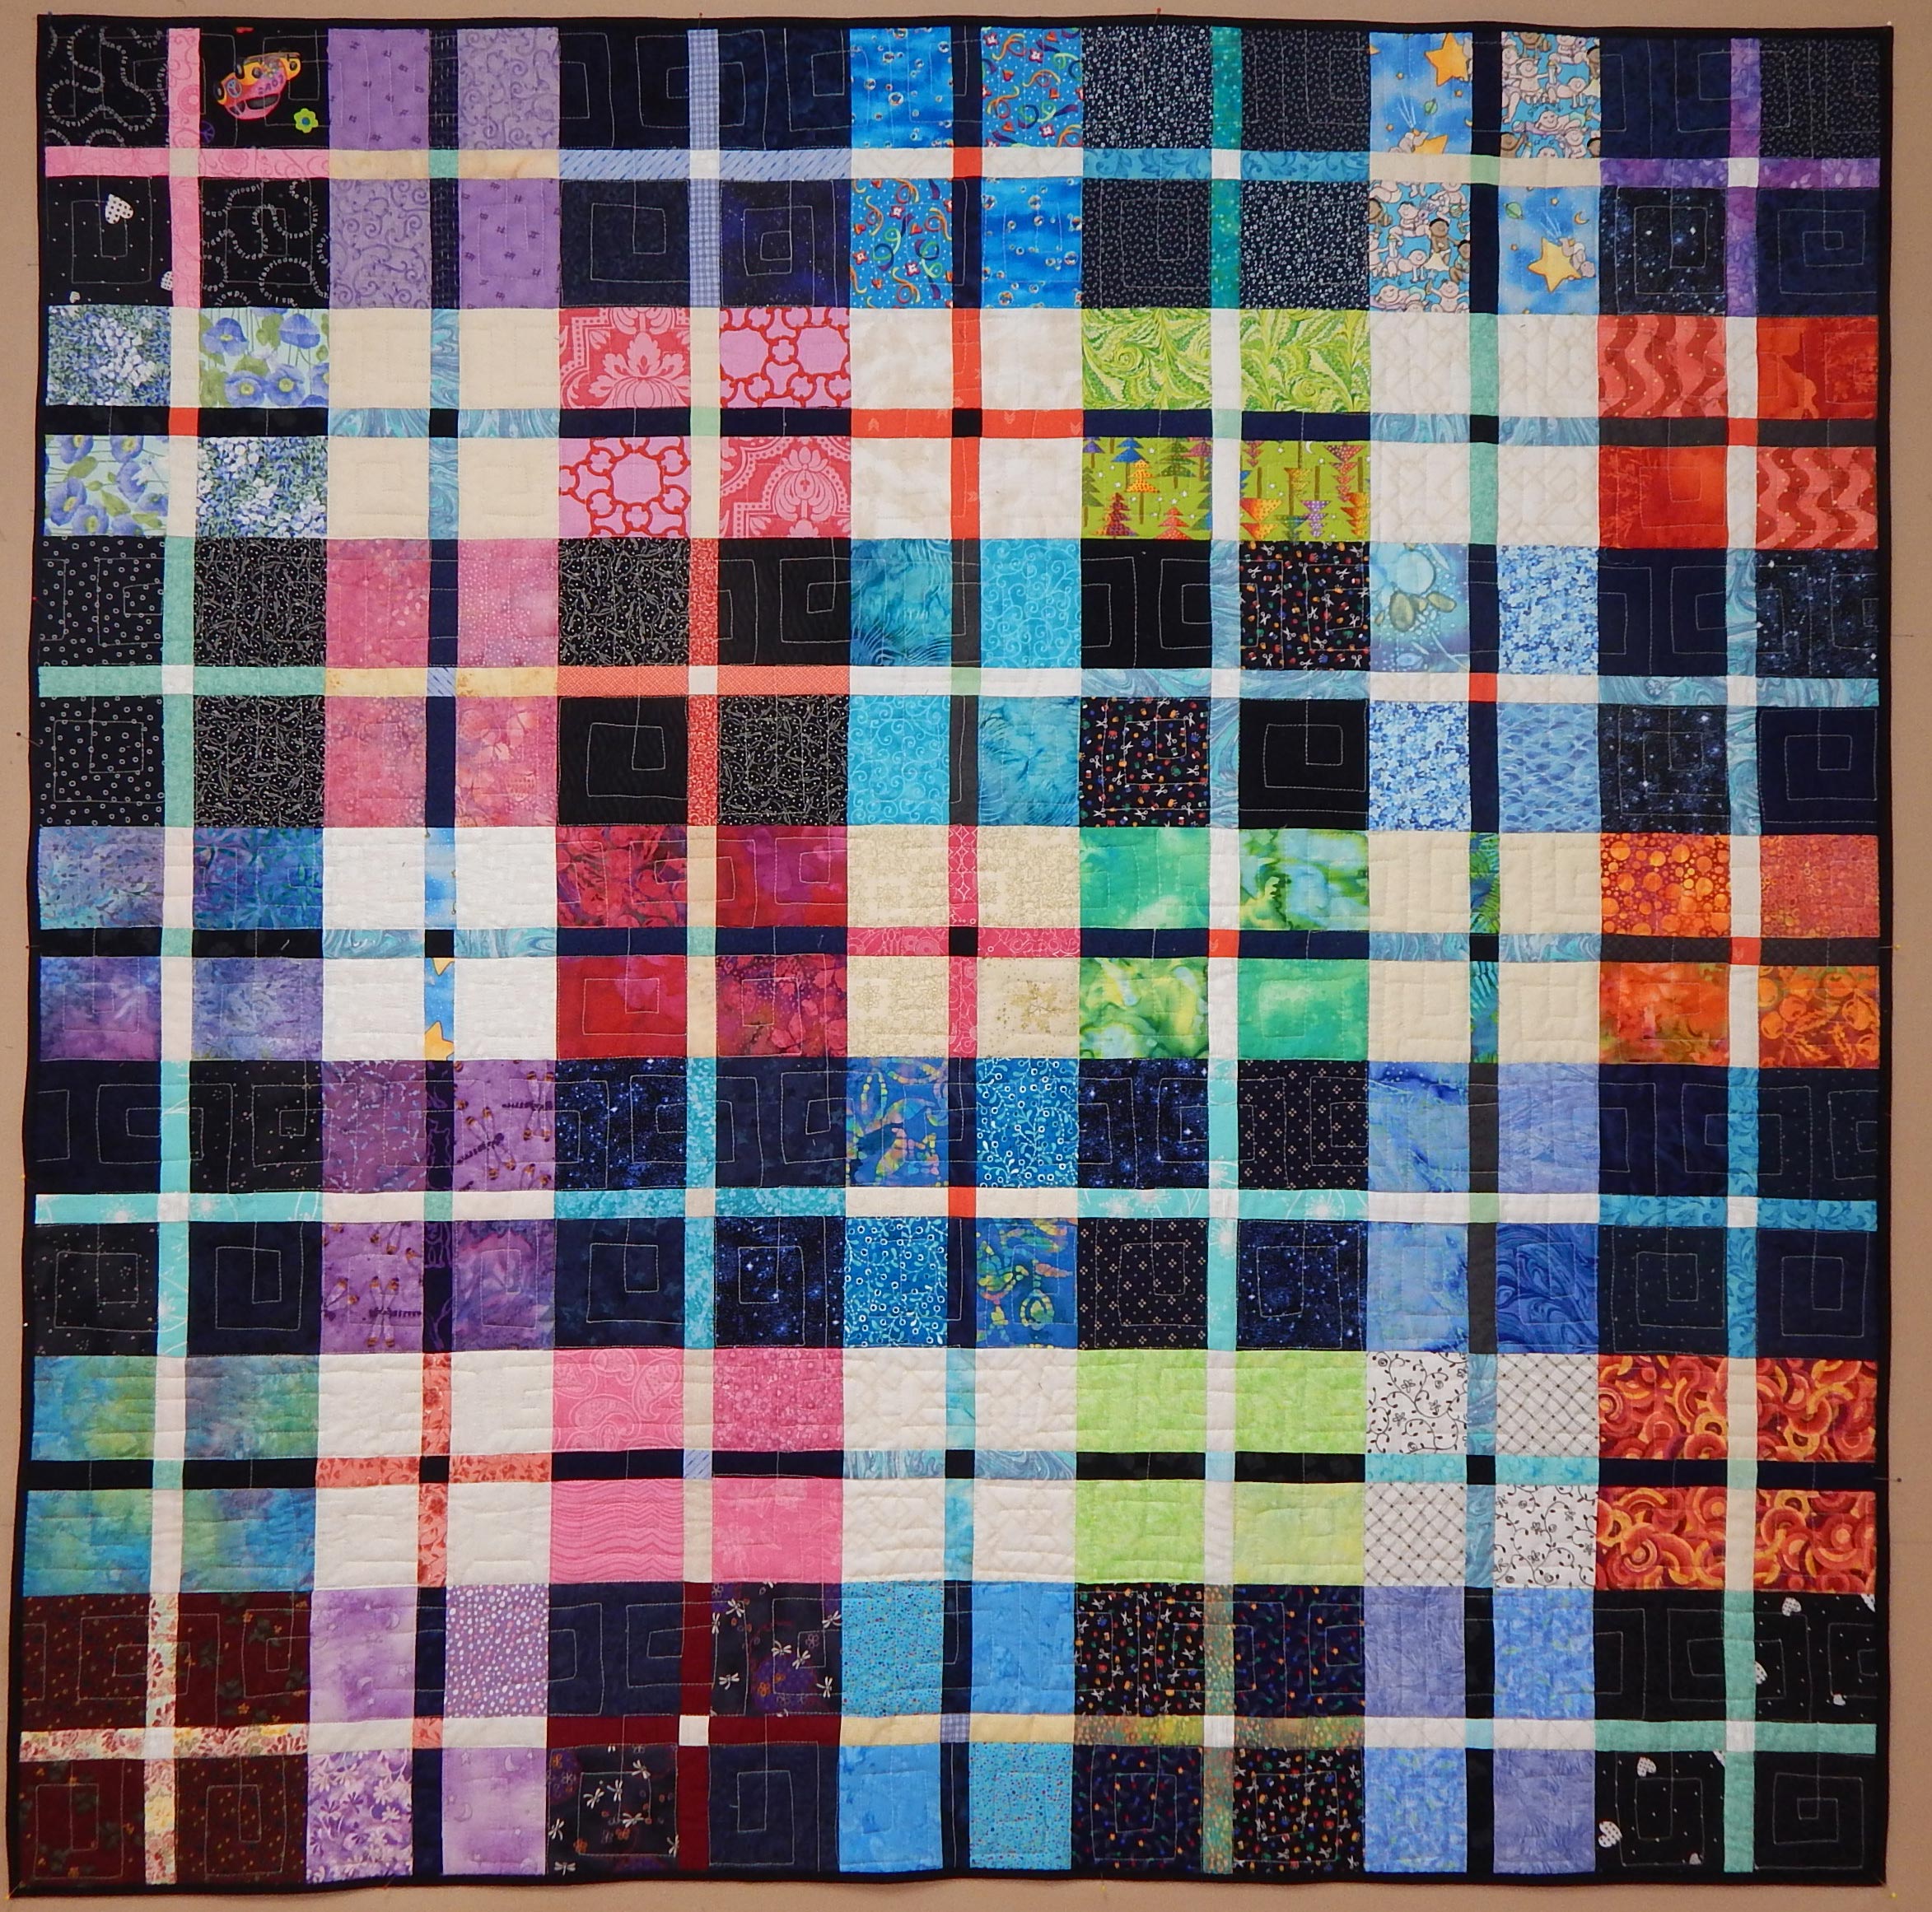
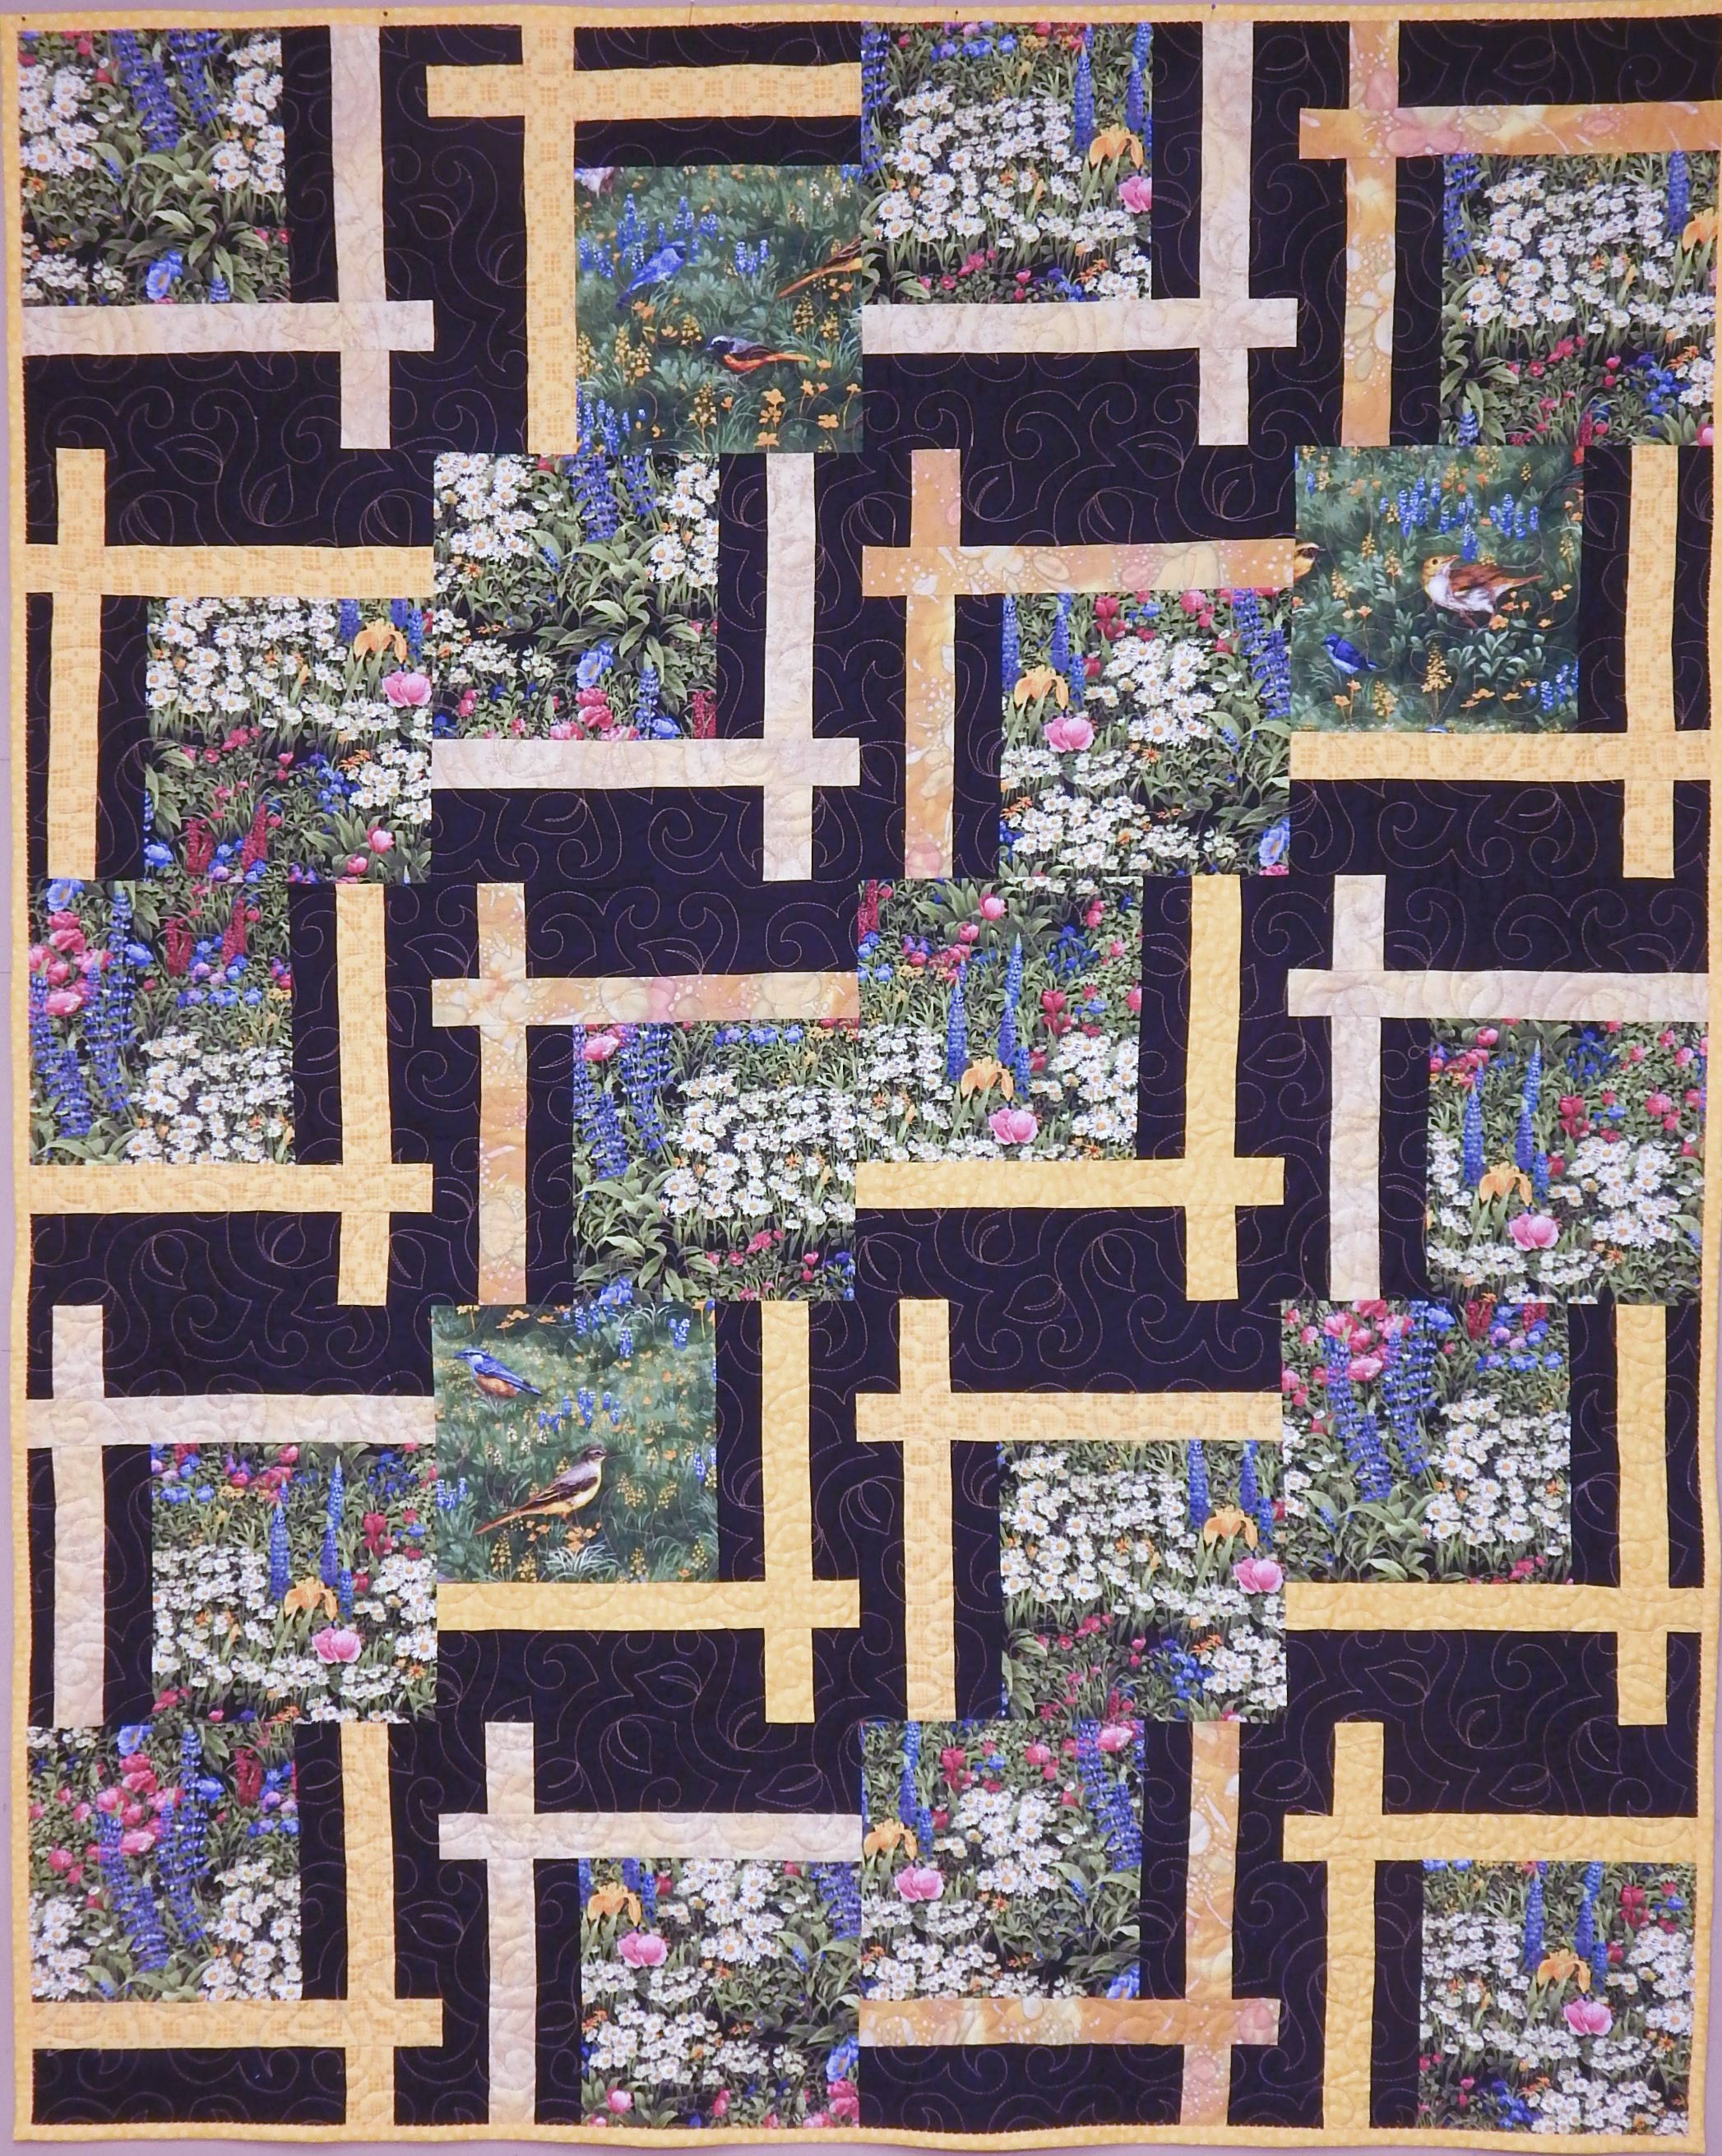
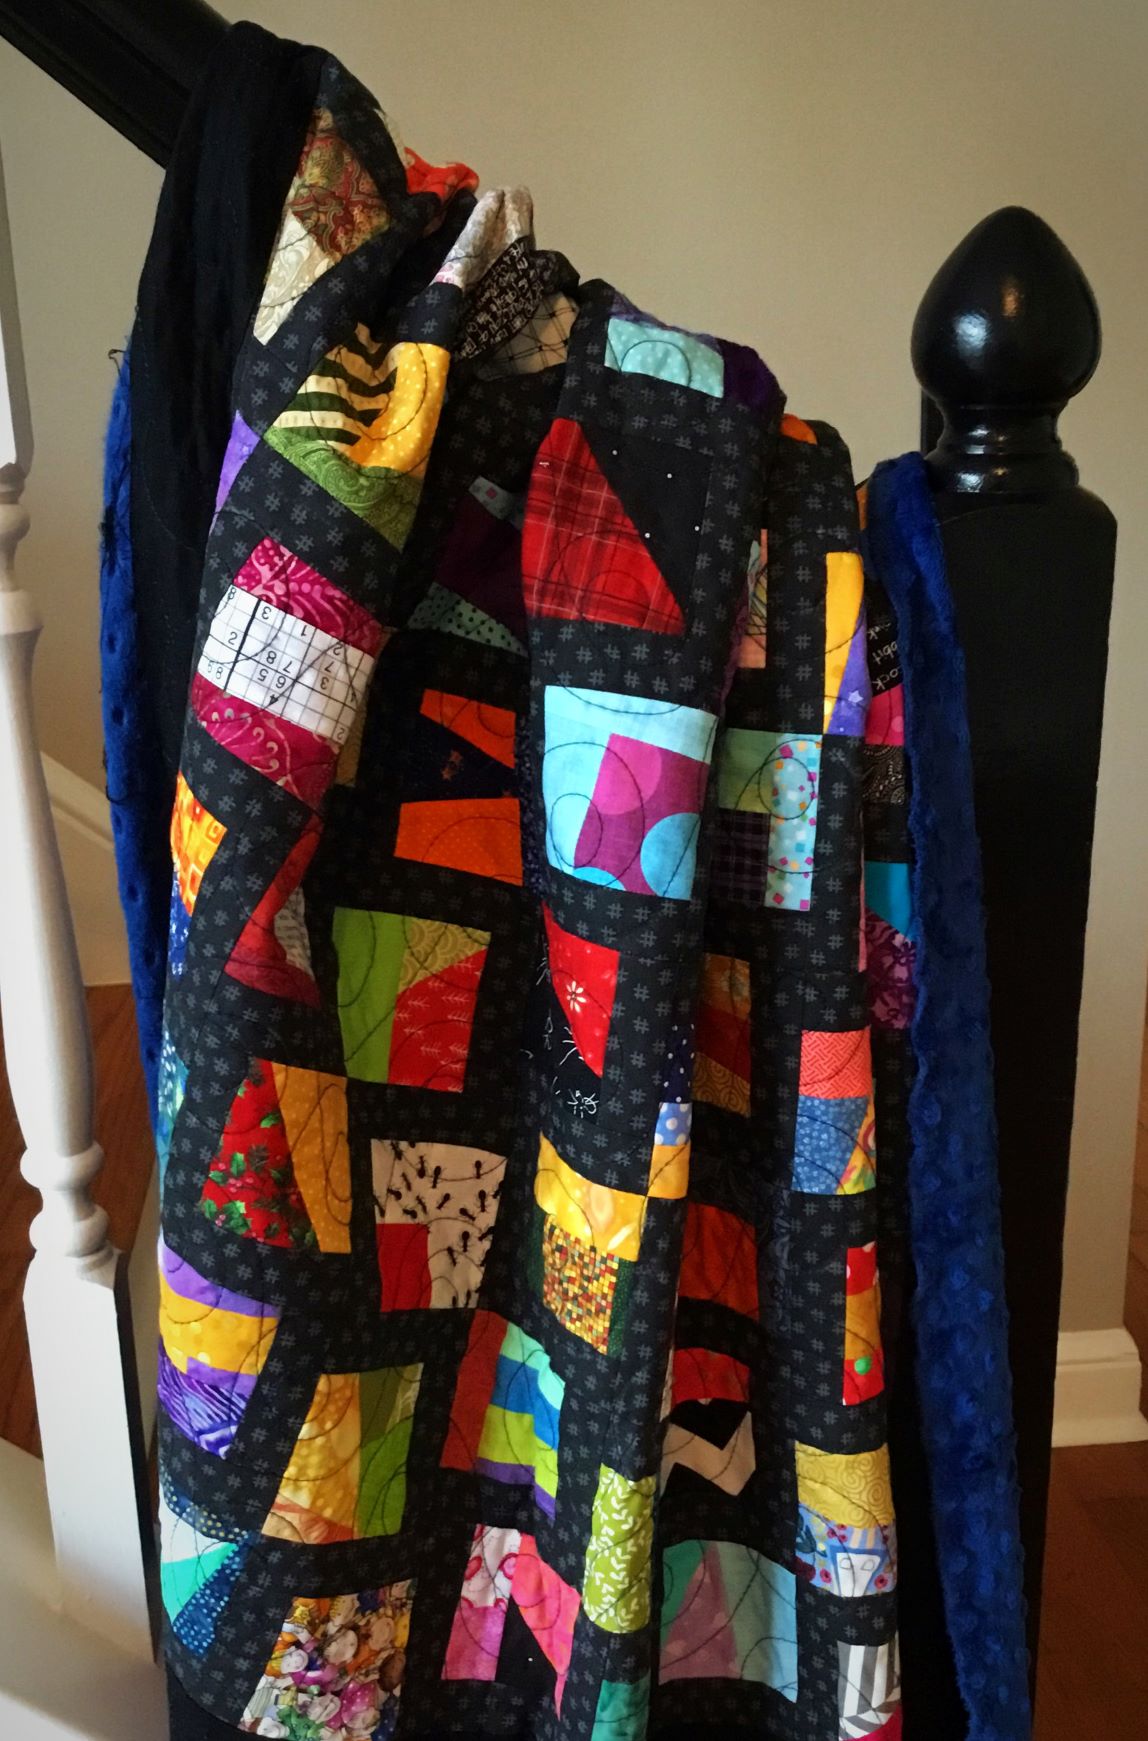
This quilt used up a lot of scraps!
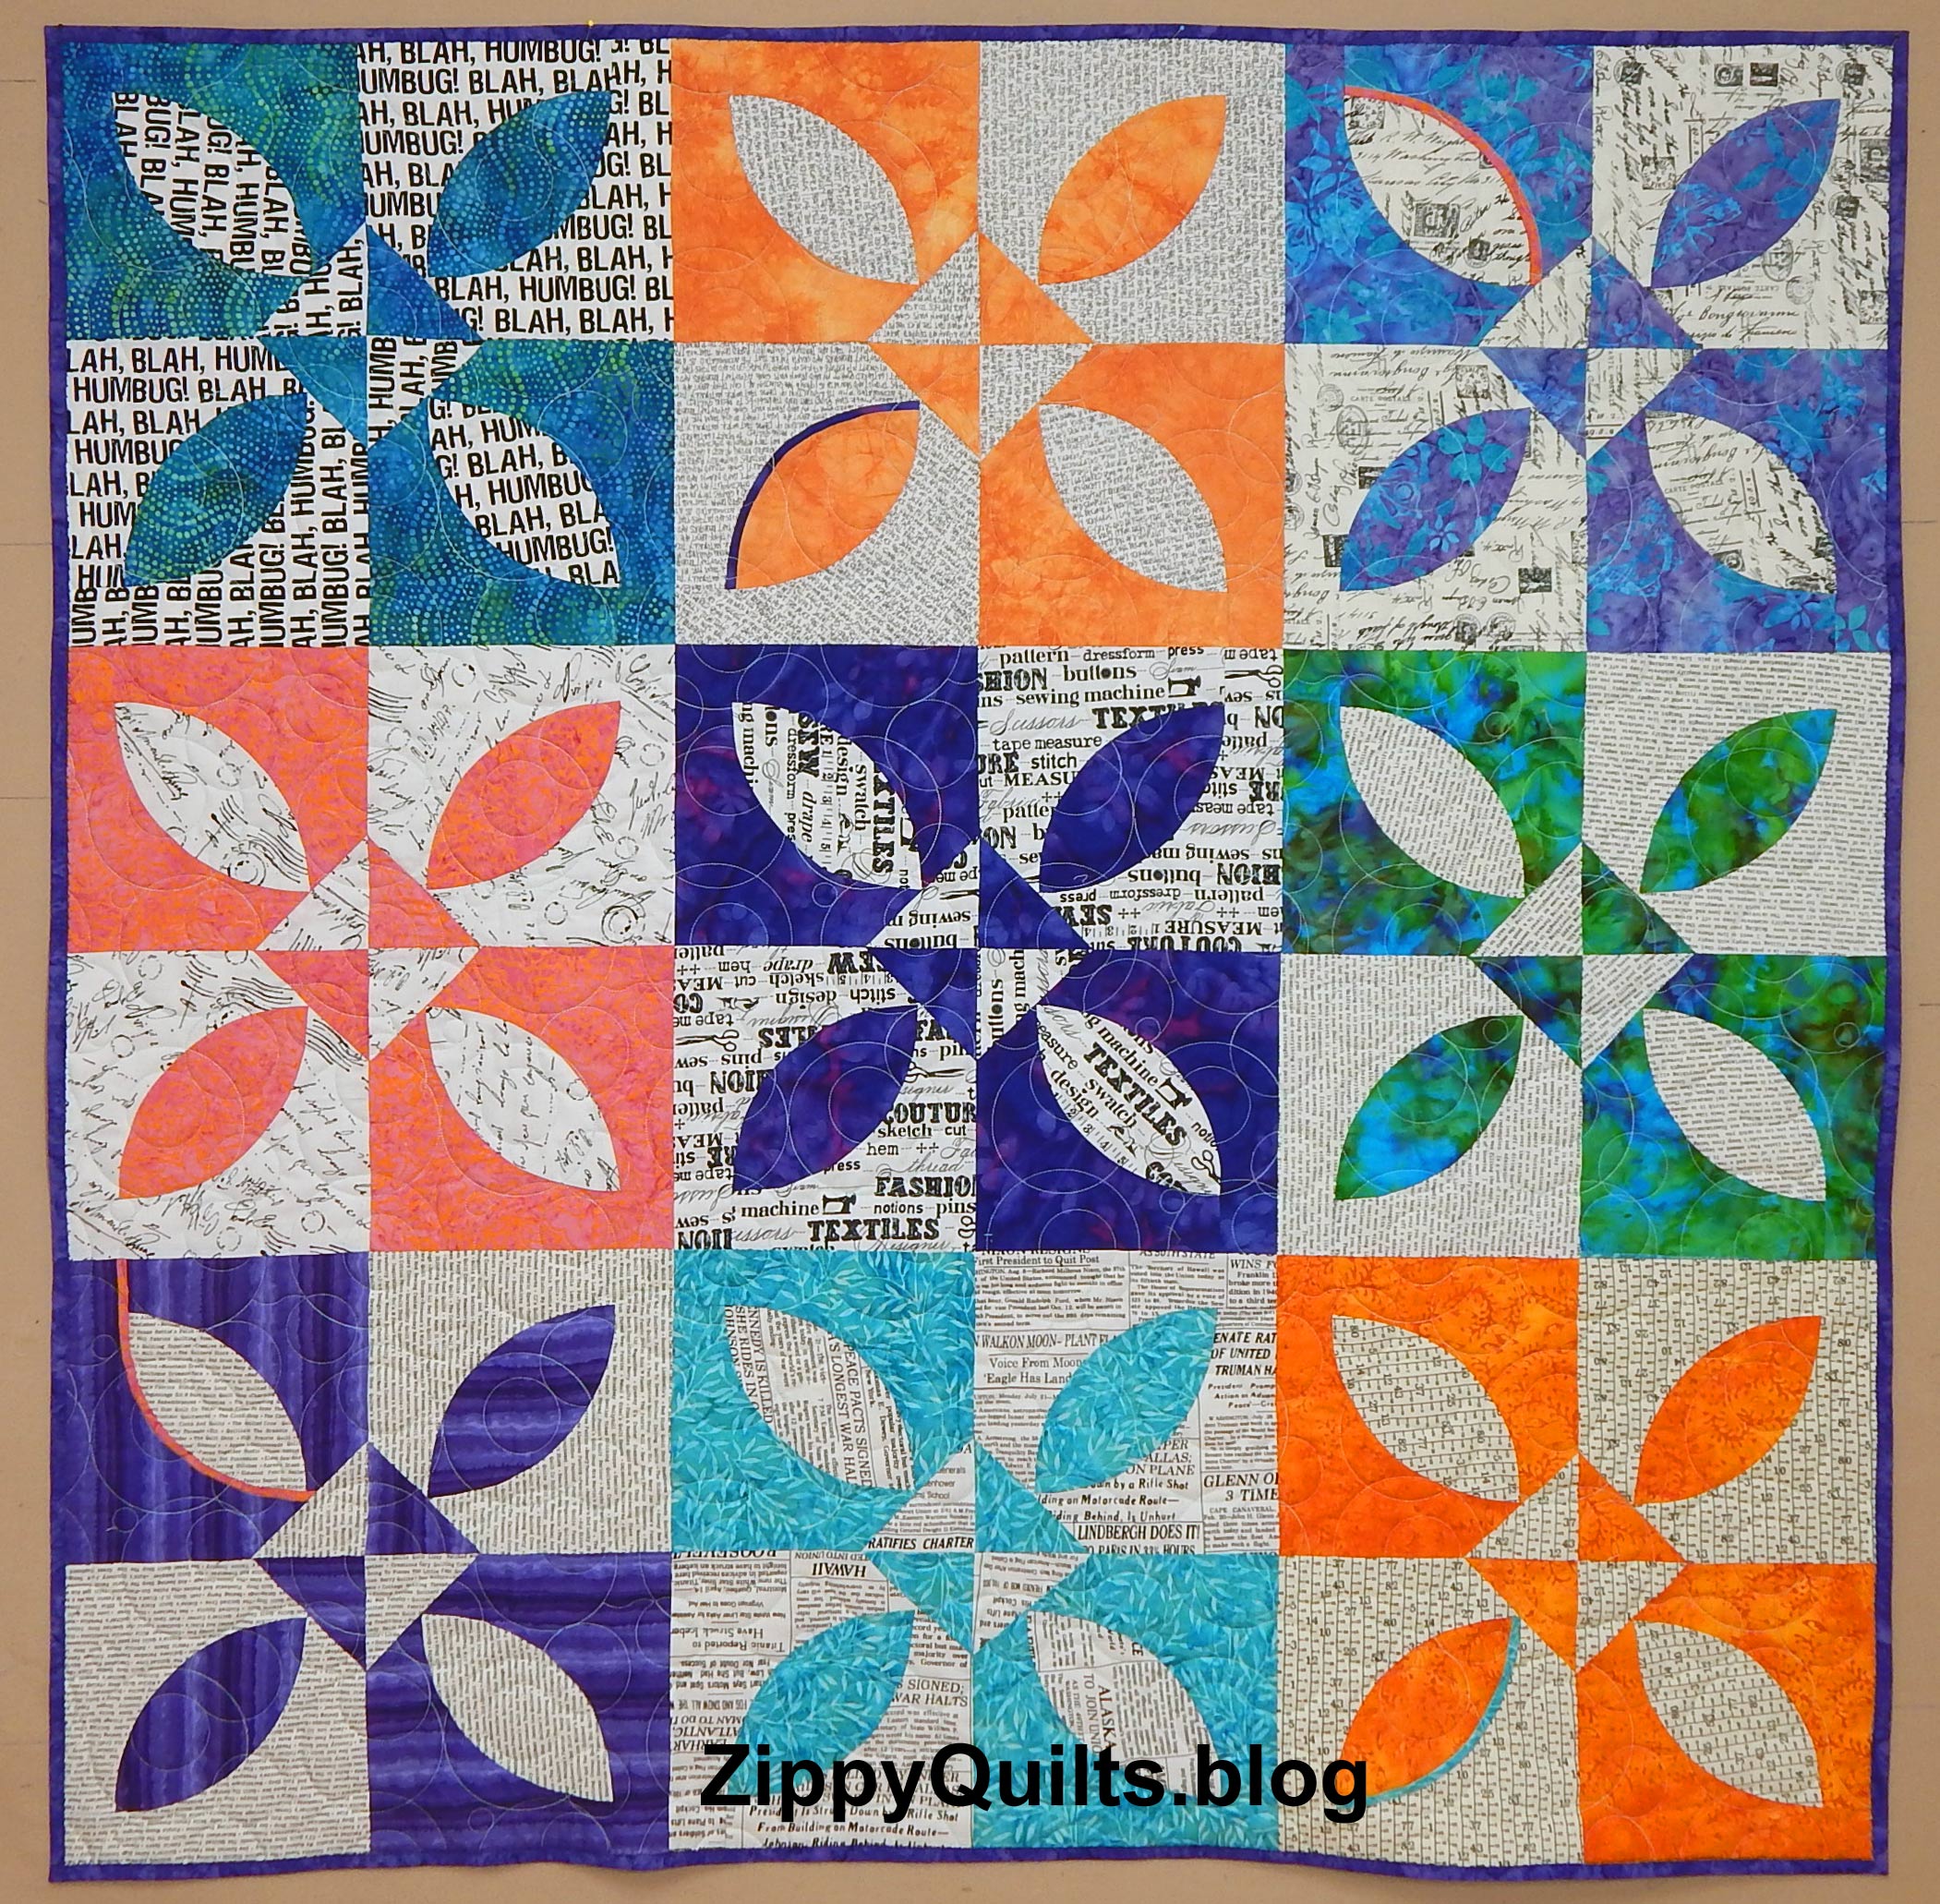
I made numerous projects inspired by books I reviewed for C&T. The quilt on the left is a modification of a pattern that appears in New Patchwork and Quilting Basics, by Jo Avery. The block on the right is one of my favorites of the year; the pattern is in Quilt: Modern Curves and Bold Stripes.
The quilt above is modified from my friend Elizabeth’s Merrion Square pattern. The pattern is available in her Payhip shop and includes several variations.

This quilt was made with a jelly roll I won in a contest! The pattern is in Love Jelly Roll Quilts.

Who can resist the colorful fabrics by Kaffe Fasset? I made two quilts with them. This pattern is available free from Free Spirit Fabrics, here.
And here’s the quilt made with leftover blocks:


Above is another Scrap Quilt, 64″ x 64″. I was planning to teach it in January, but the COVID numbers have gotten too high here for that to be safe right now.

This is the quilt in crib size
The quilt above is another I developed for Studio Stitch. I think they still have some kits left if you’re interested. My friend Mary just sent me a picture of her completed quilt from the kit!
This next quilt, 12″ x 12″, was just a block for years after I took a leaf pounding class. I finally quilted it, and I’m happy with the result. 
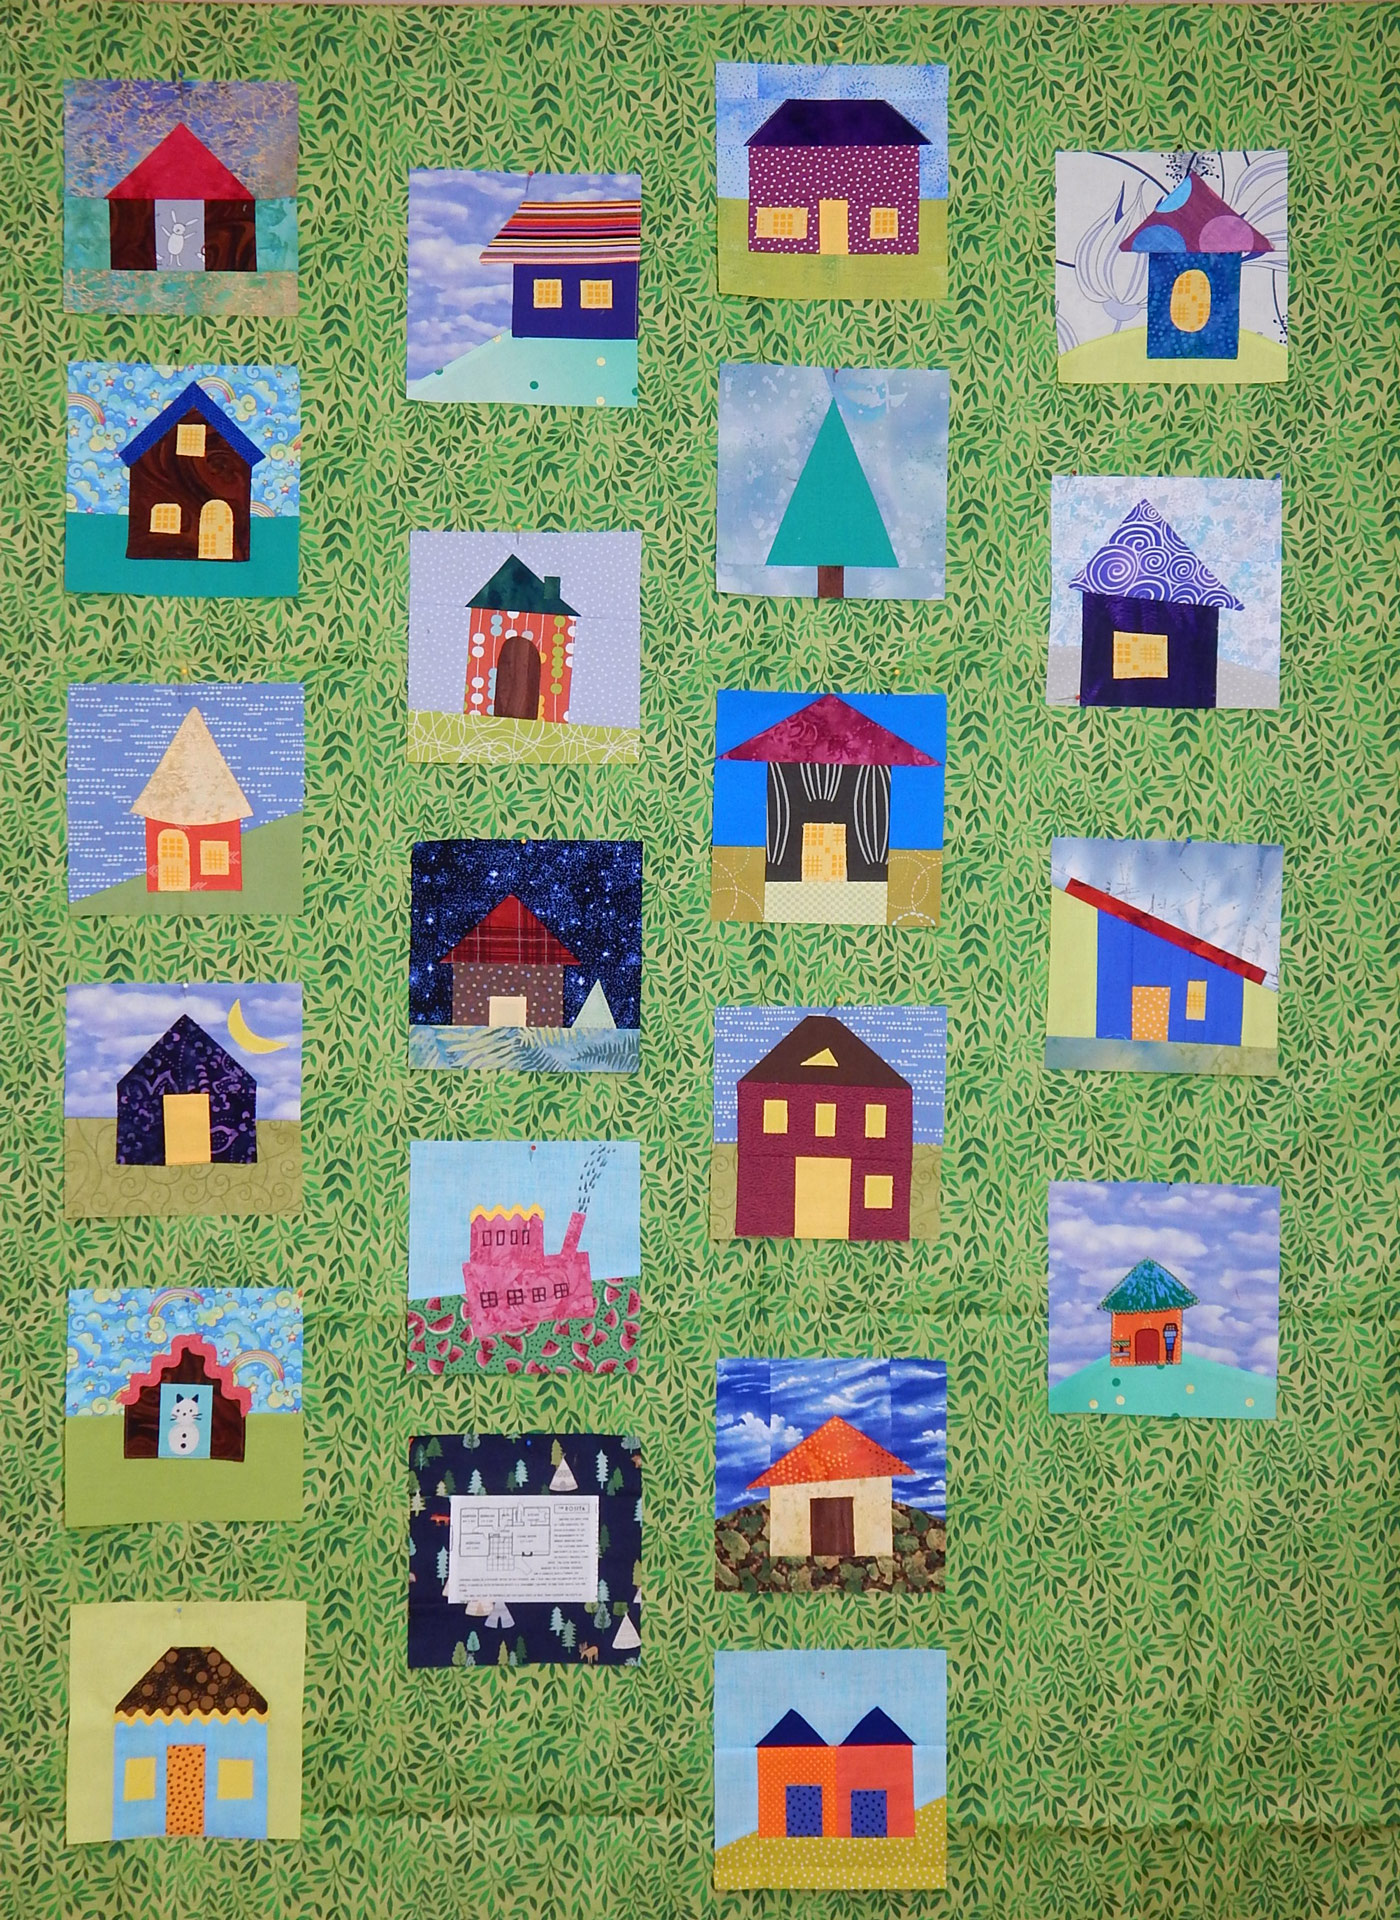
Here are 3 that I know you’ve seen before, but they were completed in 2020, so gotta show them:

It’s always a great idea to offset the intersecting seams!

Quilt on a chair
And finally, here’s my end-of-year art quilt. I’ve had this idea in mind for some time so I was glad to finally get it out on fabric. I think the tree topper needs a golden starburst around it, so I’ll be adding that before the next holiday season, but at least the quilt is mostly done.
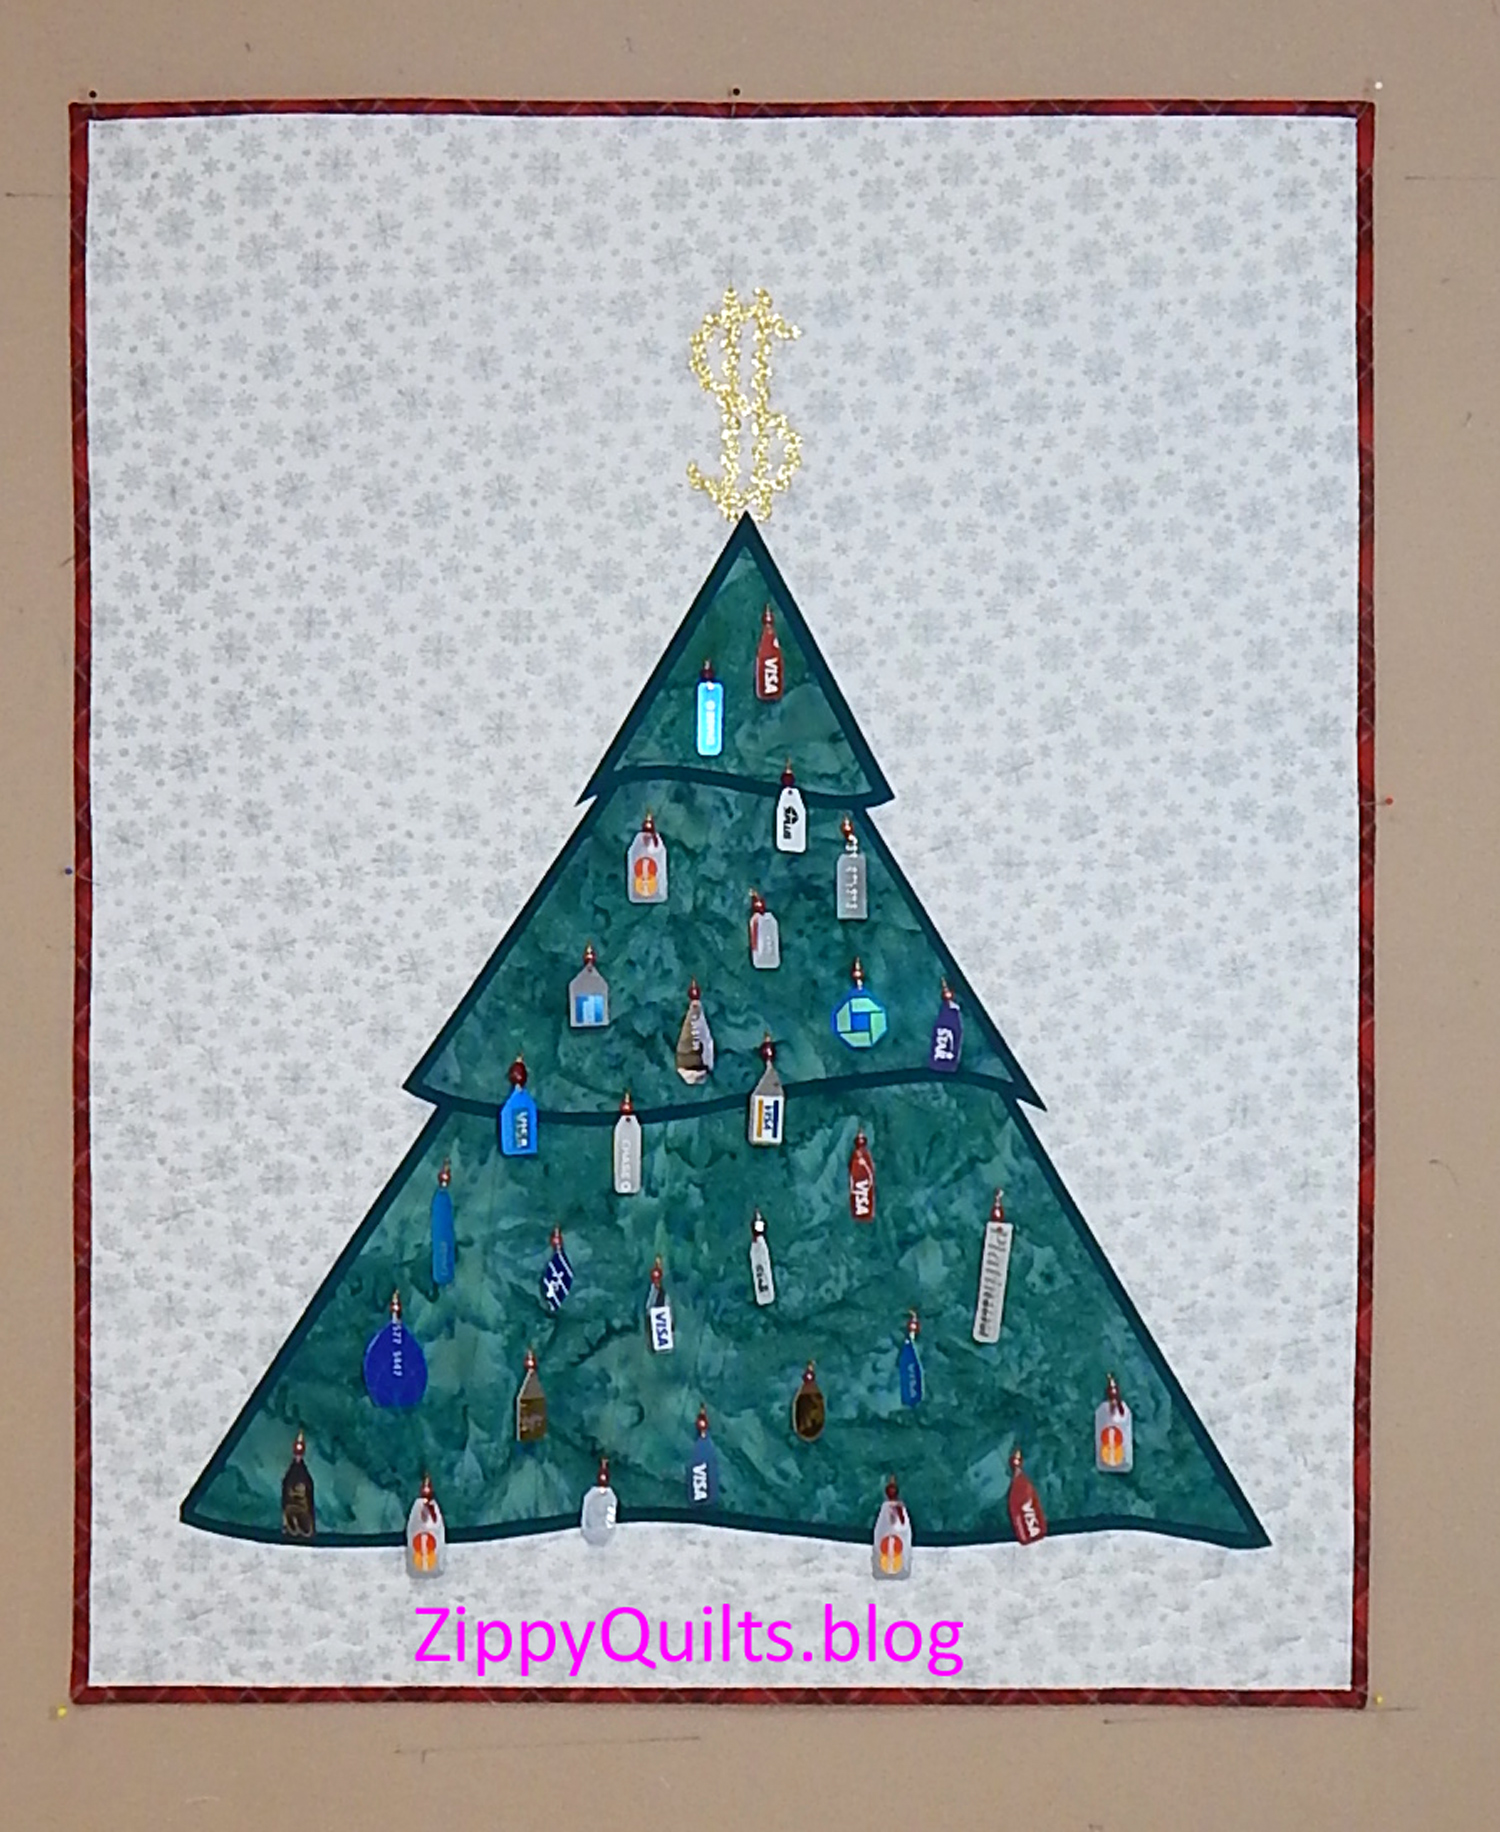
Xmas, 25.5″ x 31.5″
Whew! 2020 had some redeeming accomplishments despite all the “challenges”, as we like to call them! I hope you find that the year had some good points for you, as well.


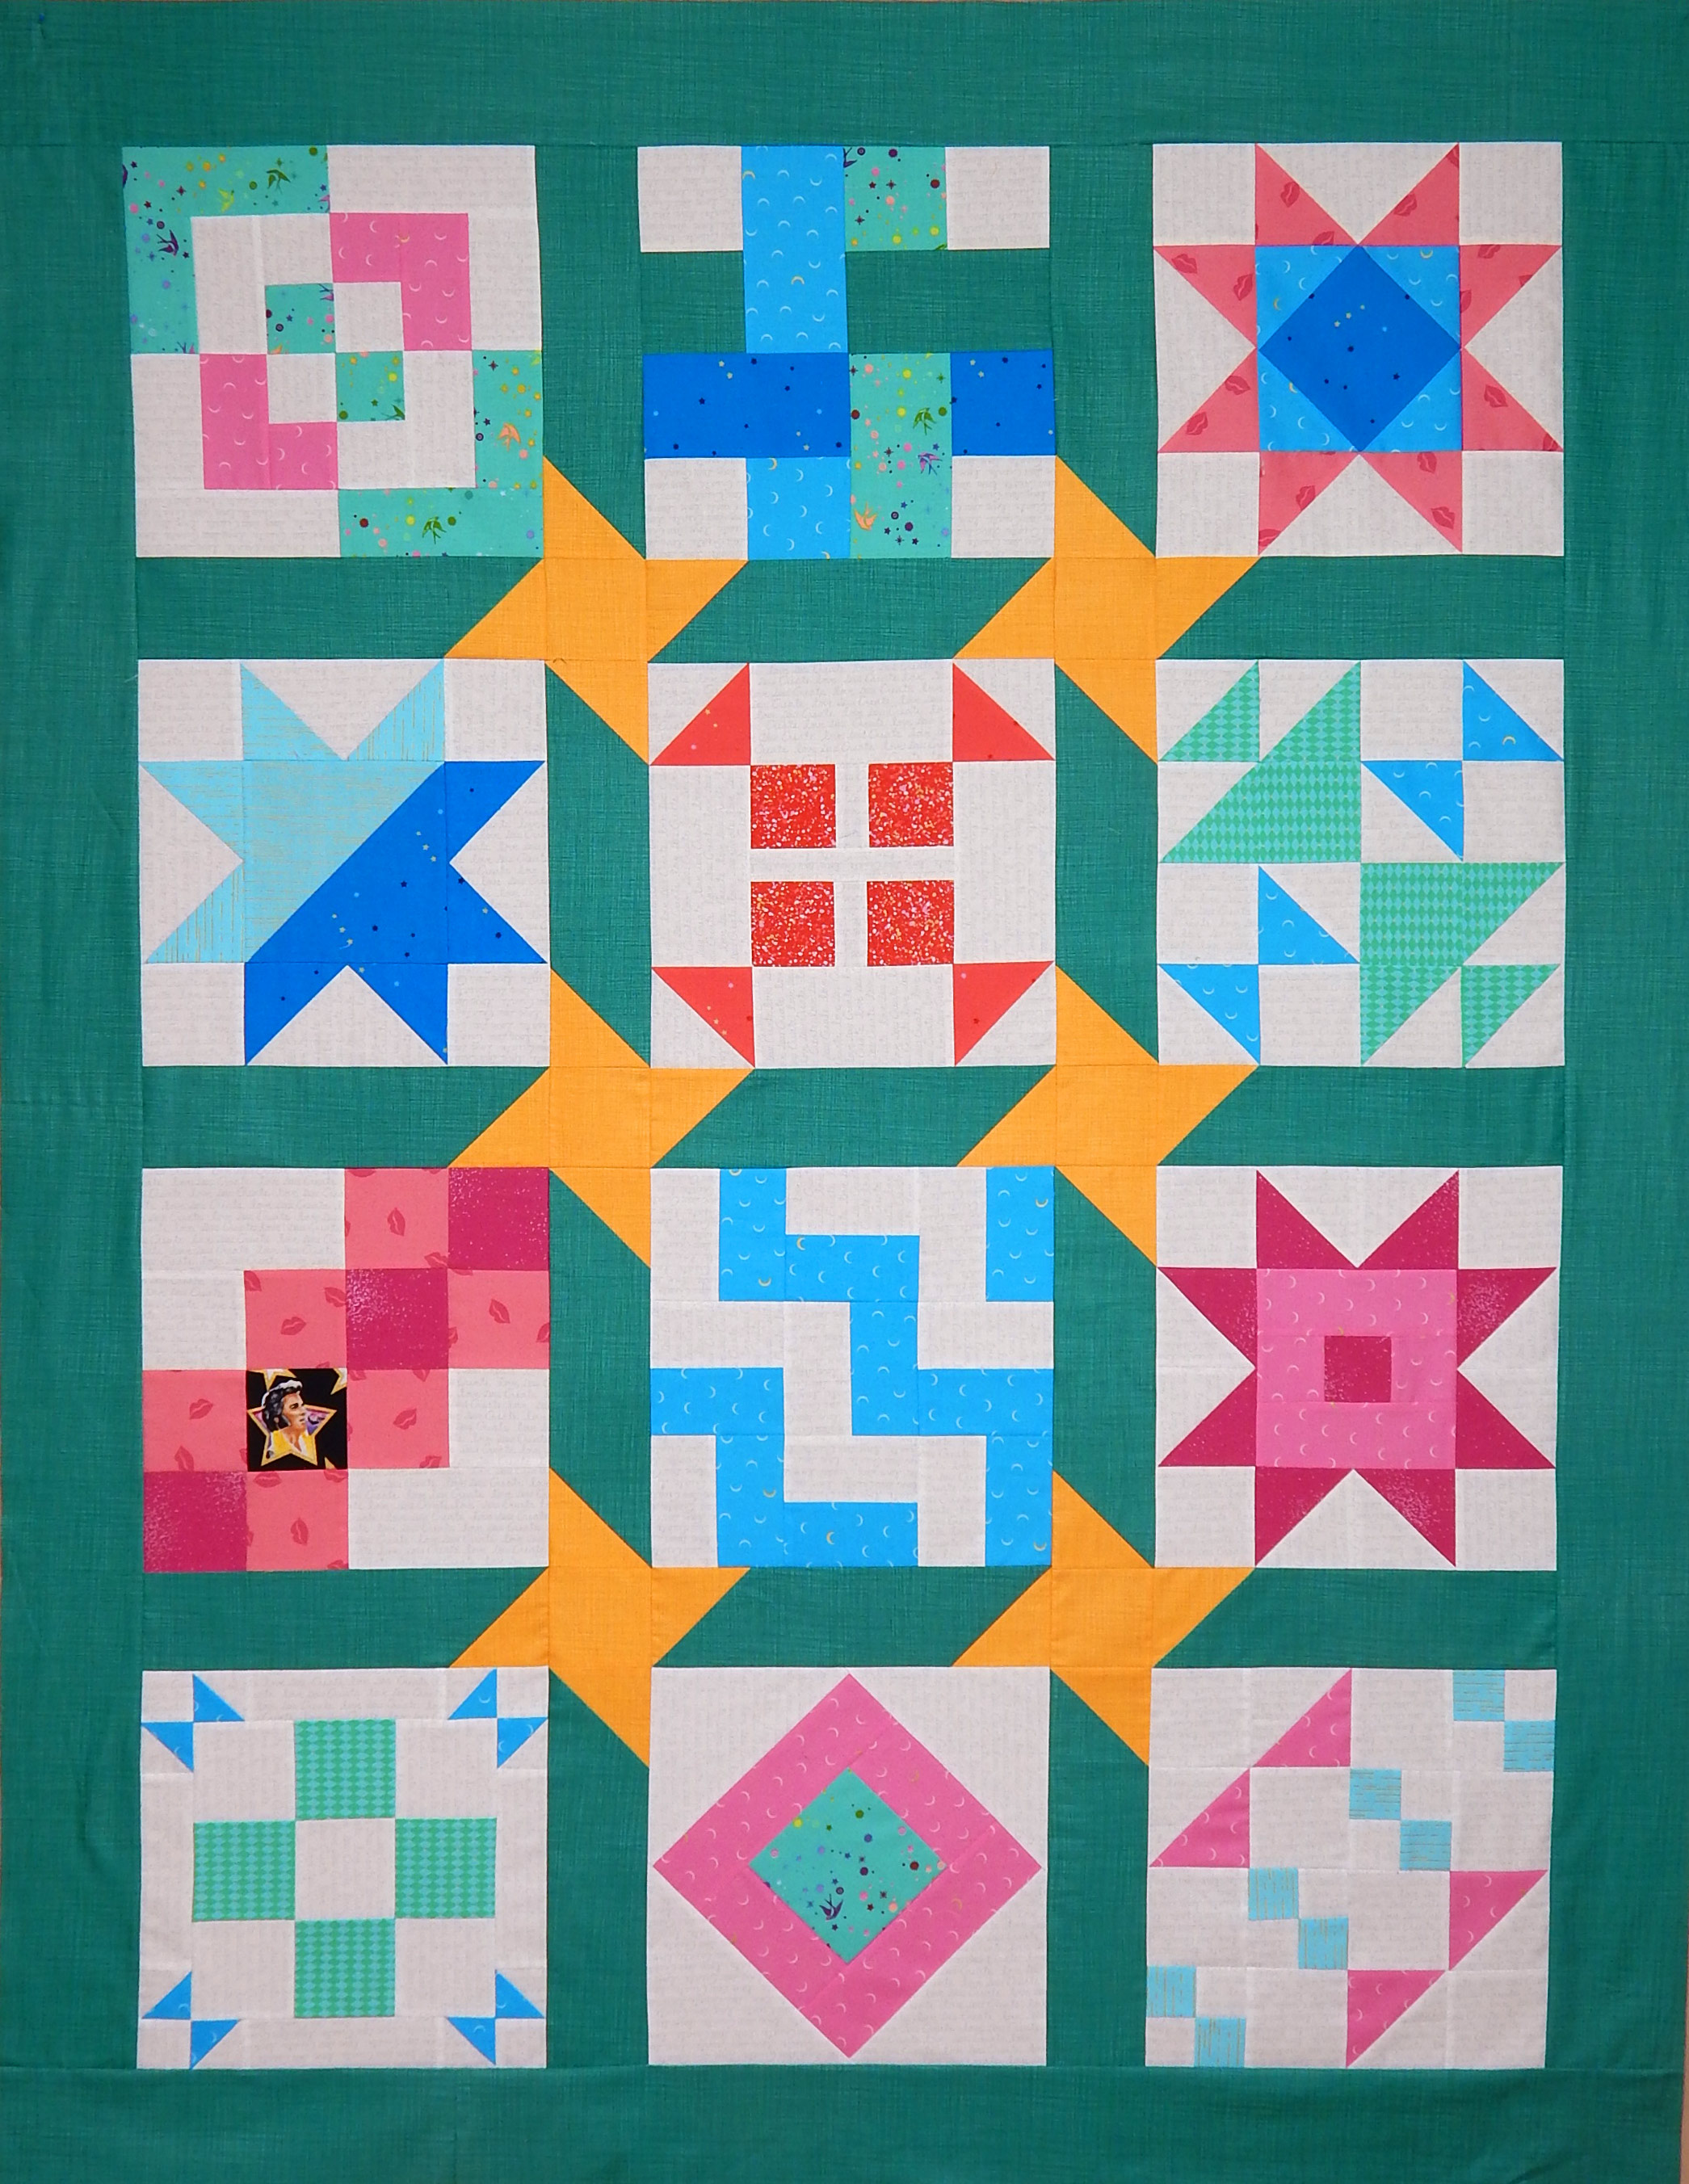
 I was very pleased to see Nancy Pelosi included. I would have included Mother Theresa, but perhaps the author (or editor) thought calling her a Badass Woman would have been disrespectful. Anyway, I just love the idea of traditionally female fiber arts celebrating prominent women.