I love the Vermont Quilt Festival (VQF) for several reasons: Vermont in June, great exhibits, and the opening reception with champagne and chocolate!!! (I’m showing a few of the beautiful quilts today, and I’ll have more later.)
However, my very favorite part is that each quilt is judged on its own merits. Every quilt is rated with published criteria and may (or may not) be awarded a ribbon, based on its score. I love this idea because, as I’ve said elsewhere, the idea of “competitive quilting” doesn’t compute for me. With the VQF system, your primary competition is yourself. Then, if you just have to try to beat other people in a given category, they do have the usual “best machine quilting”, etc.
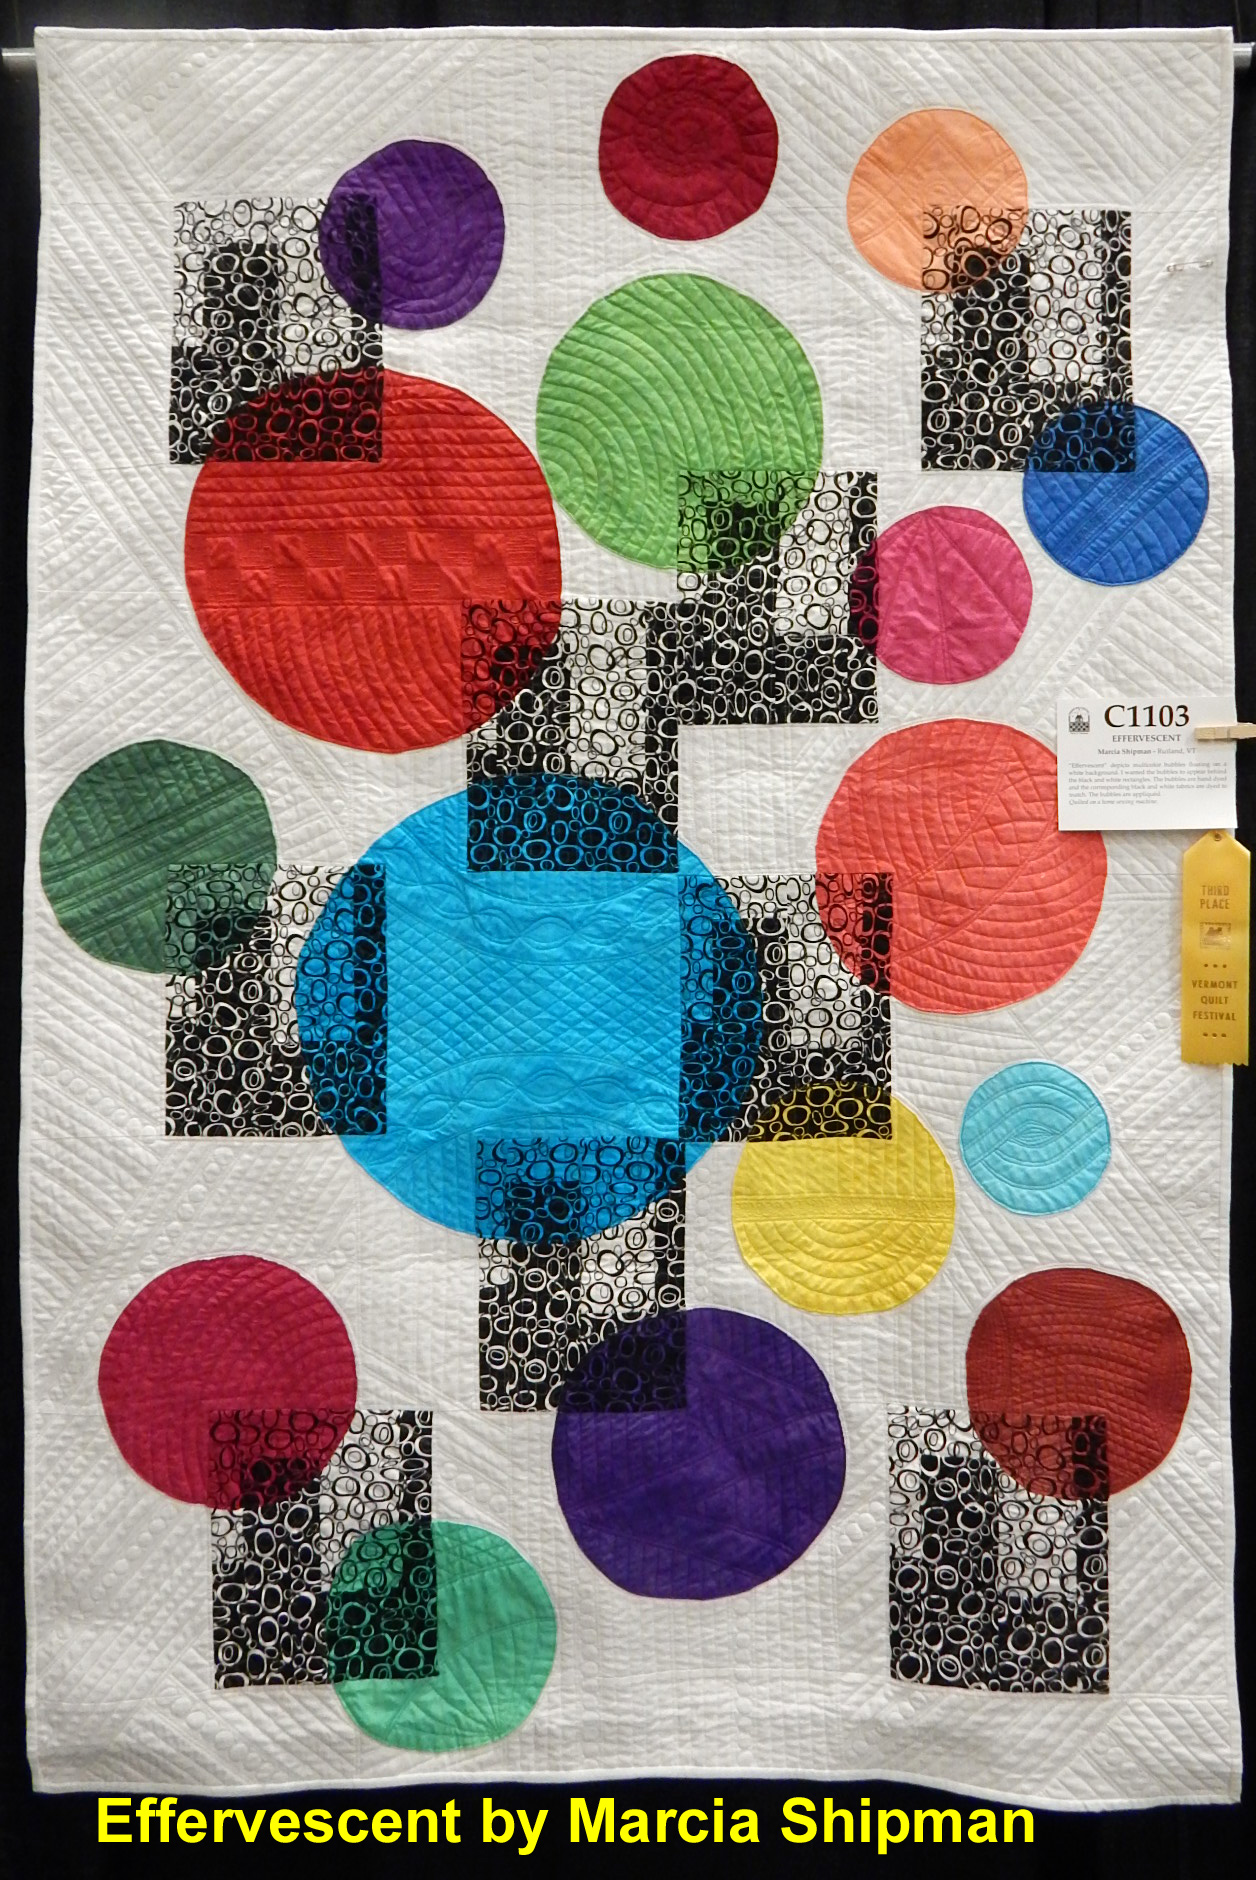
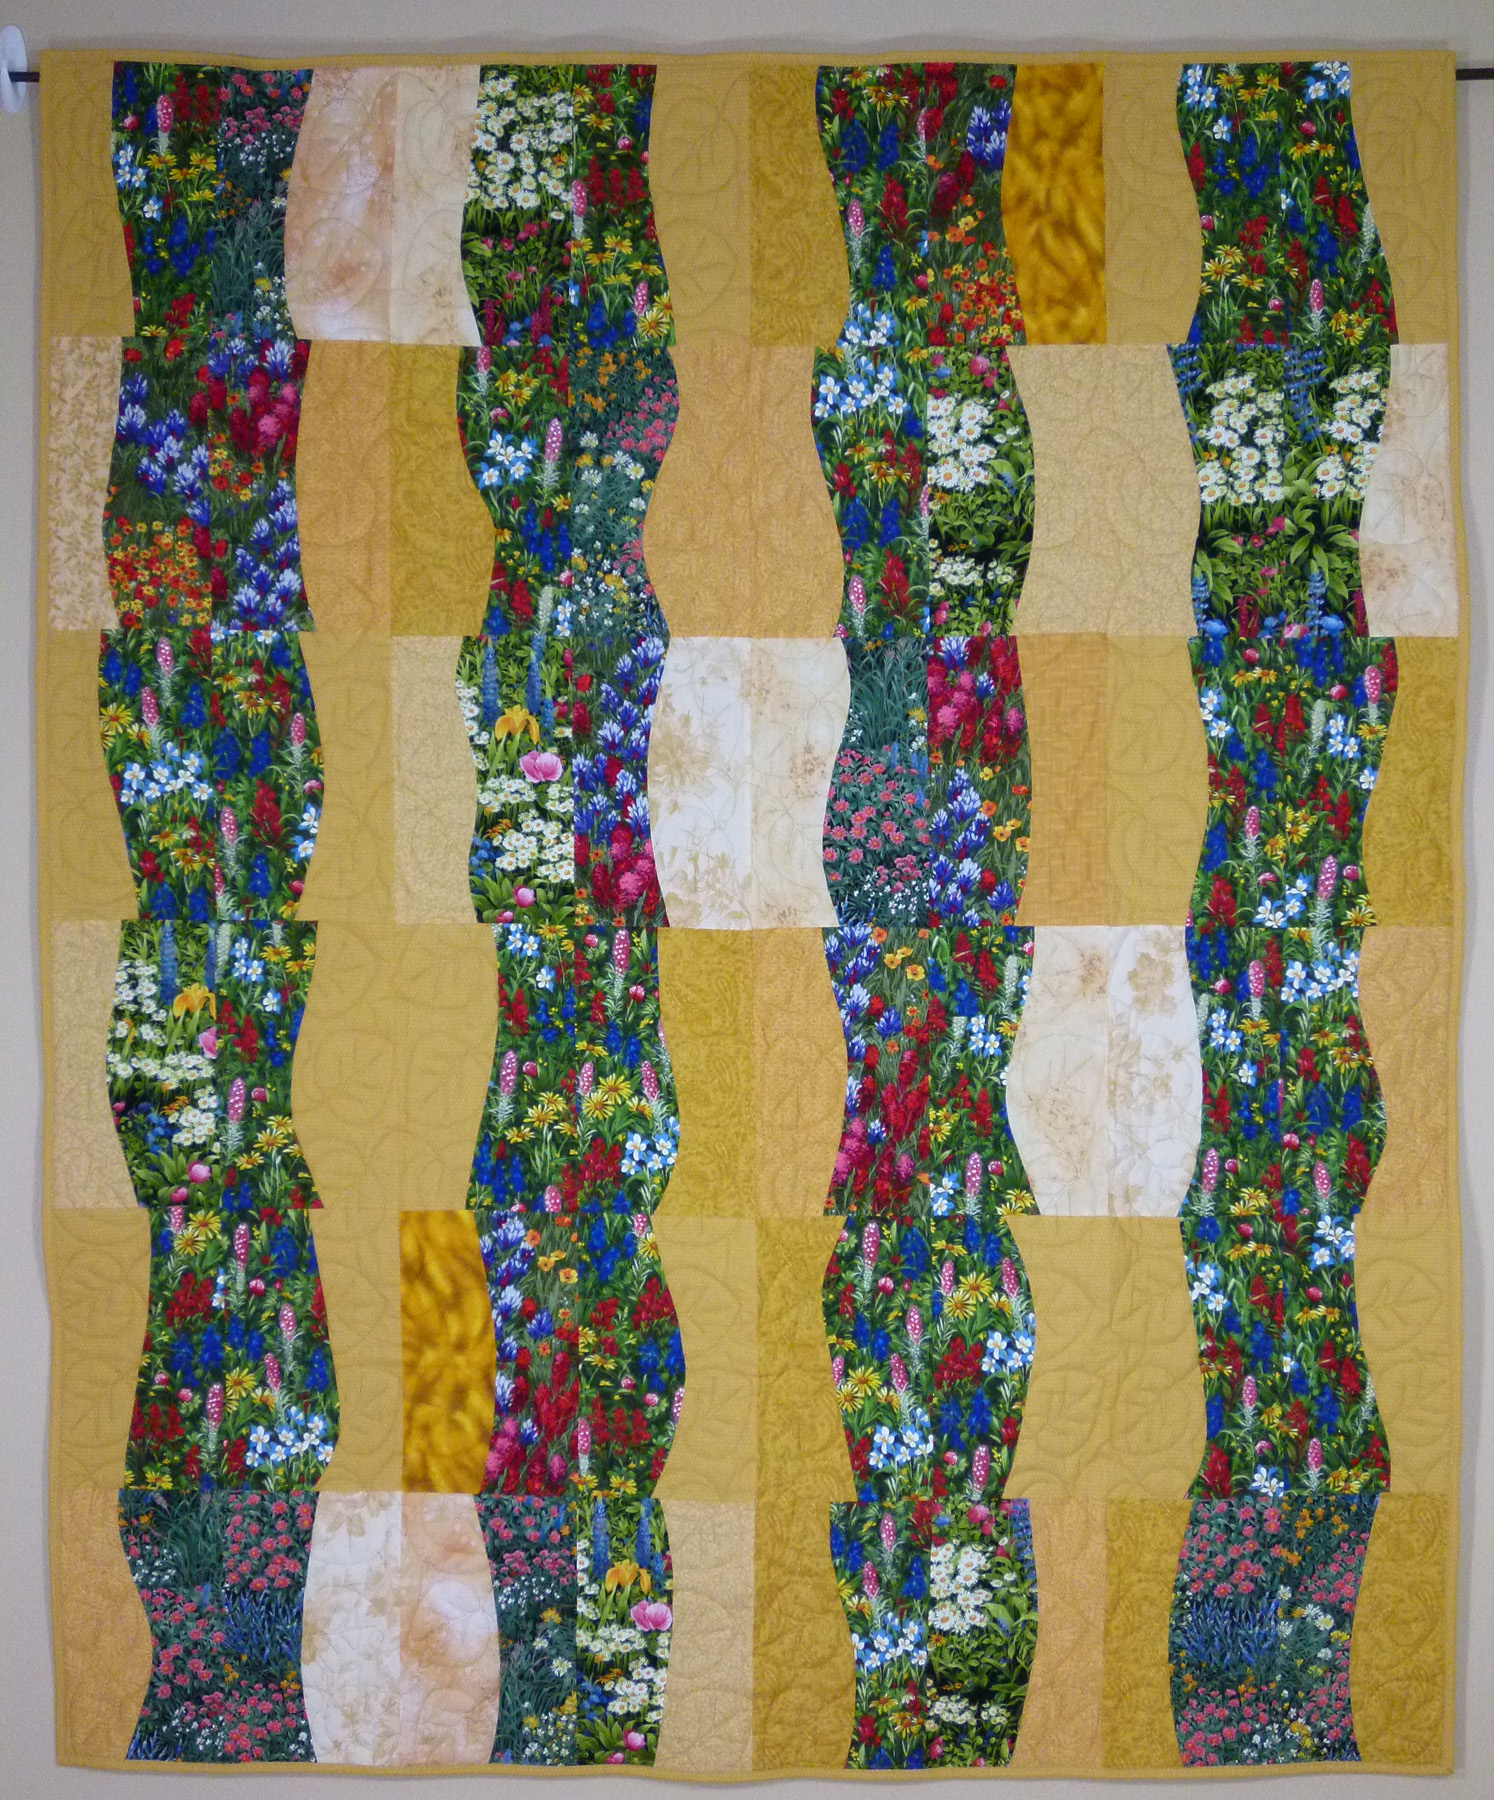
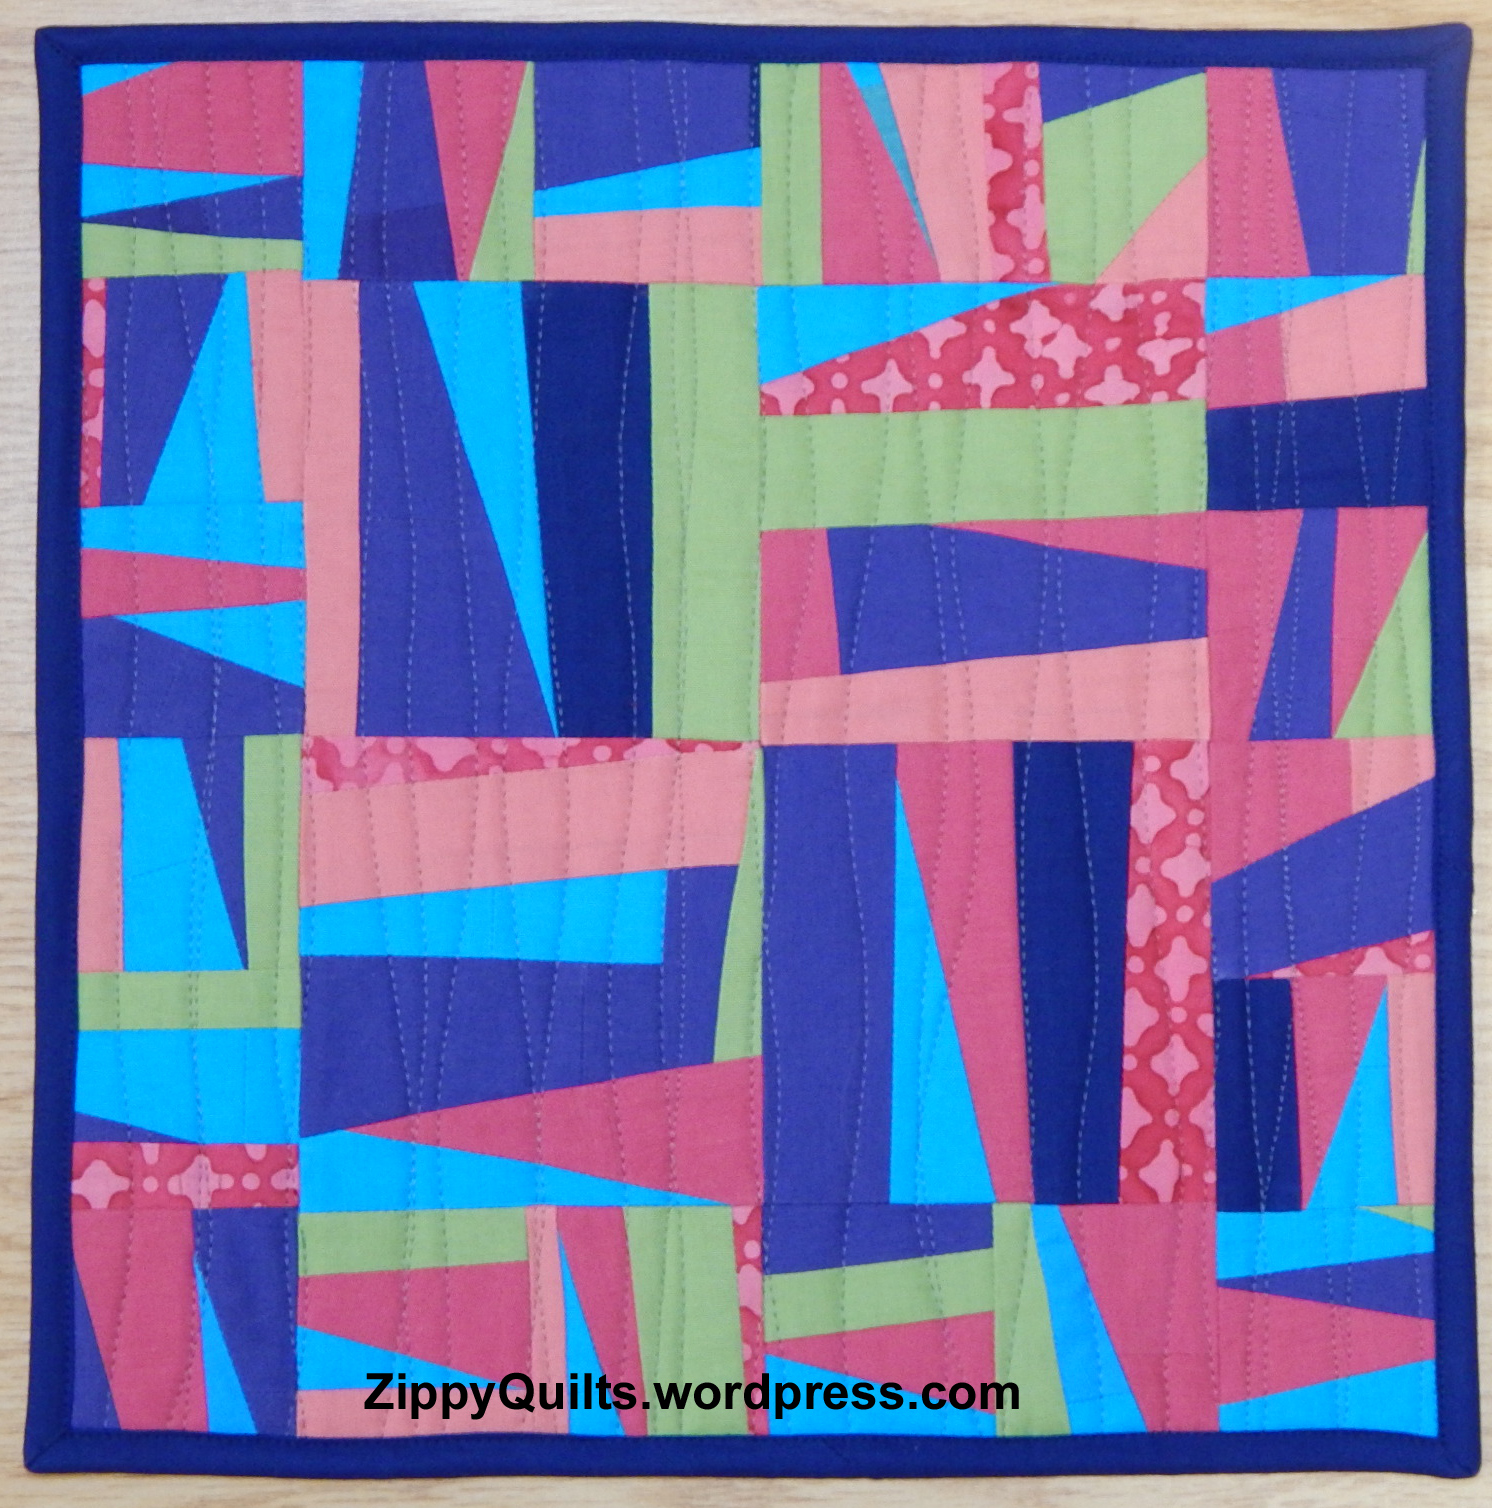
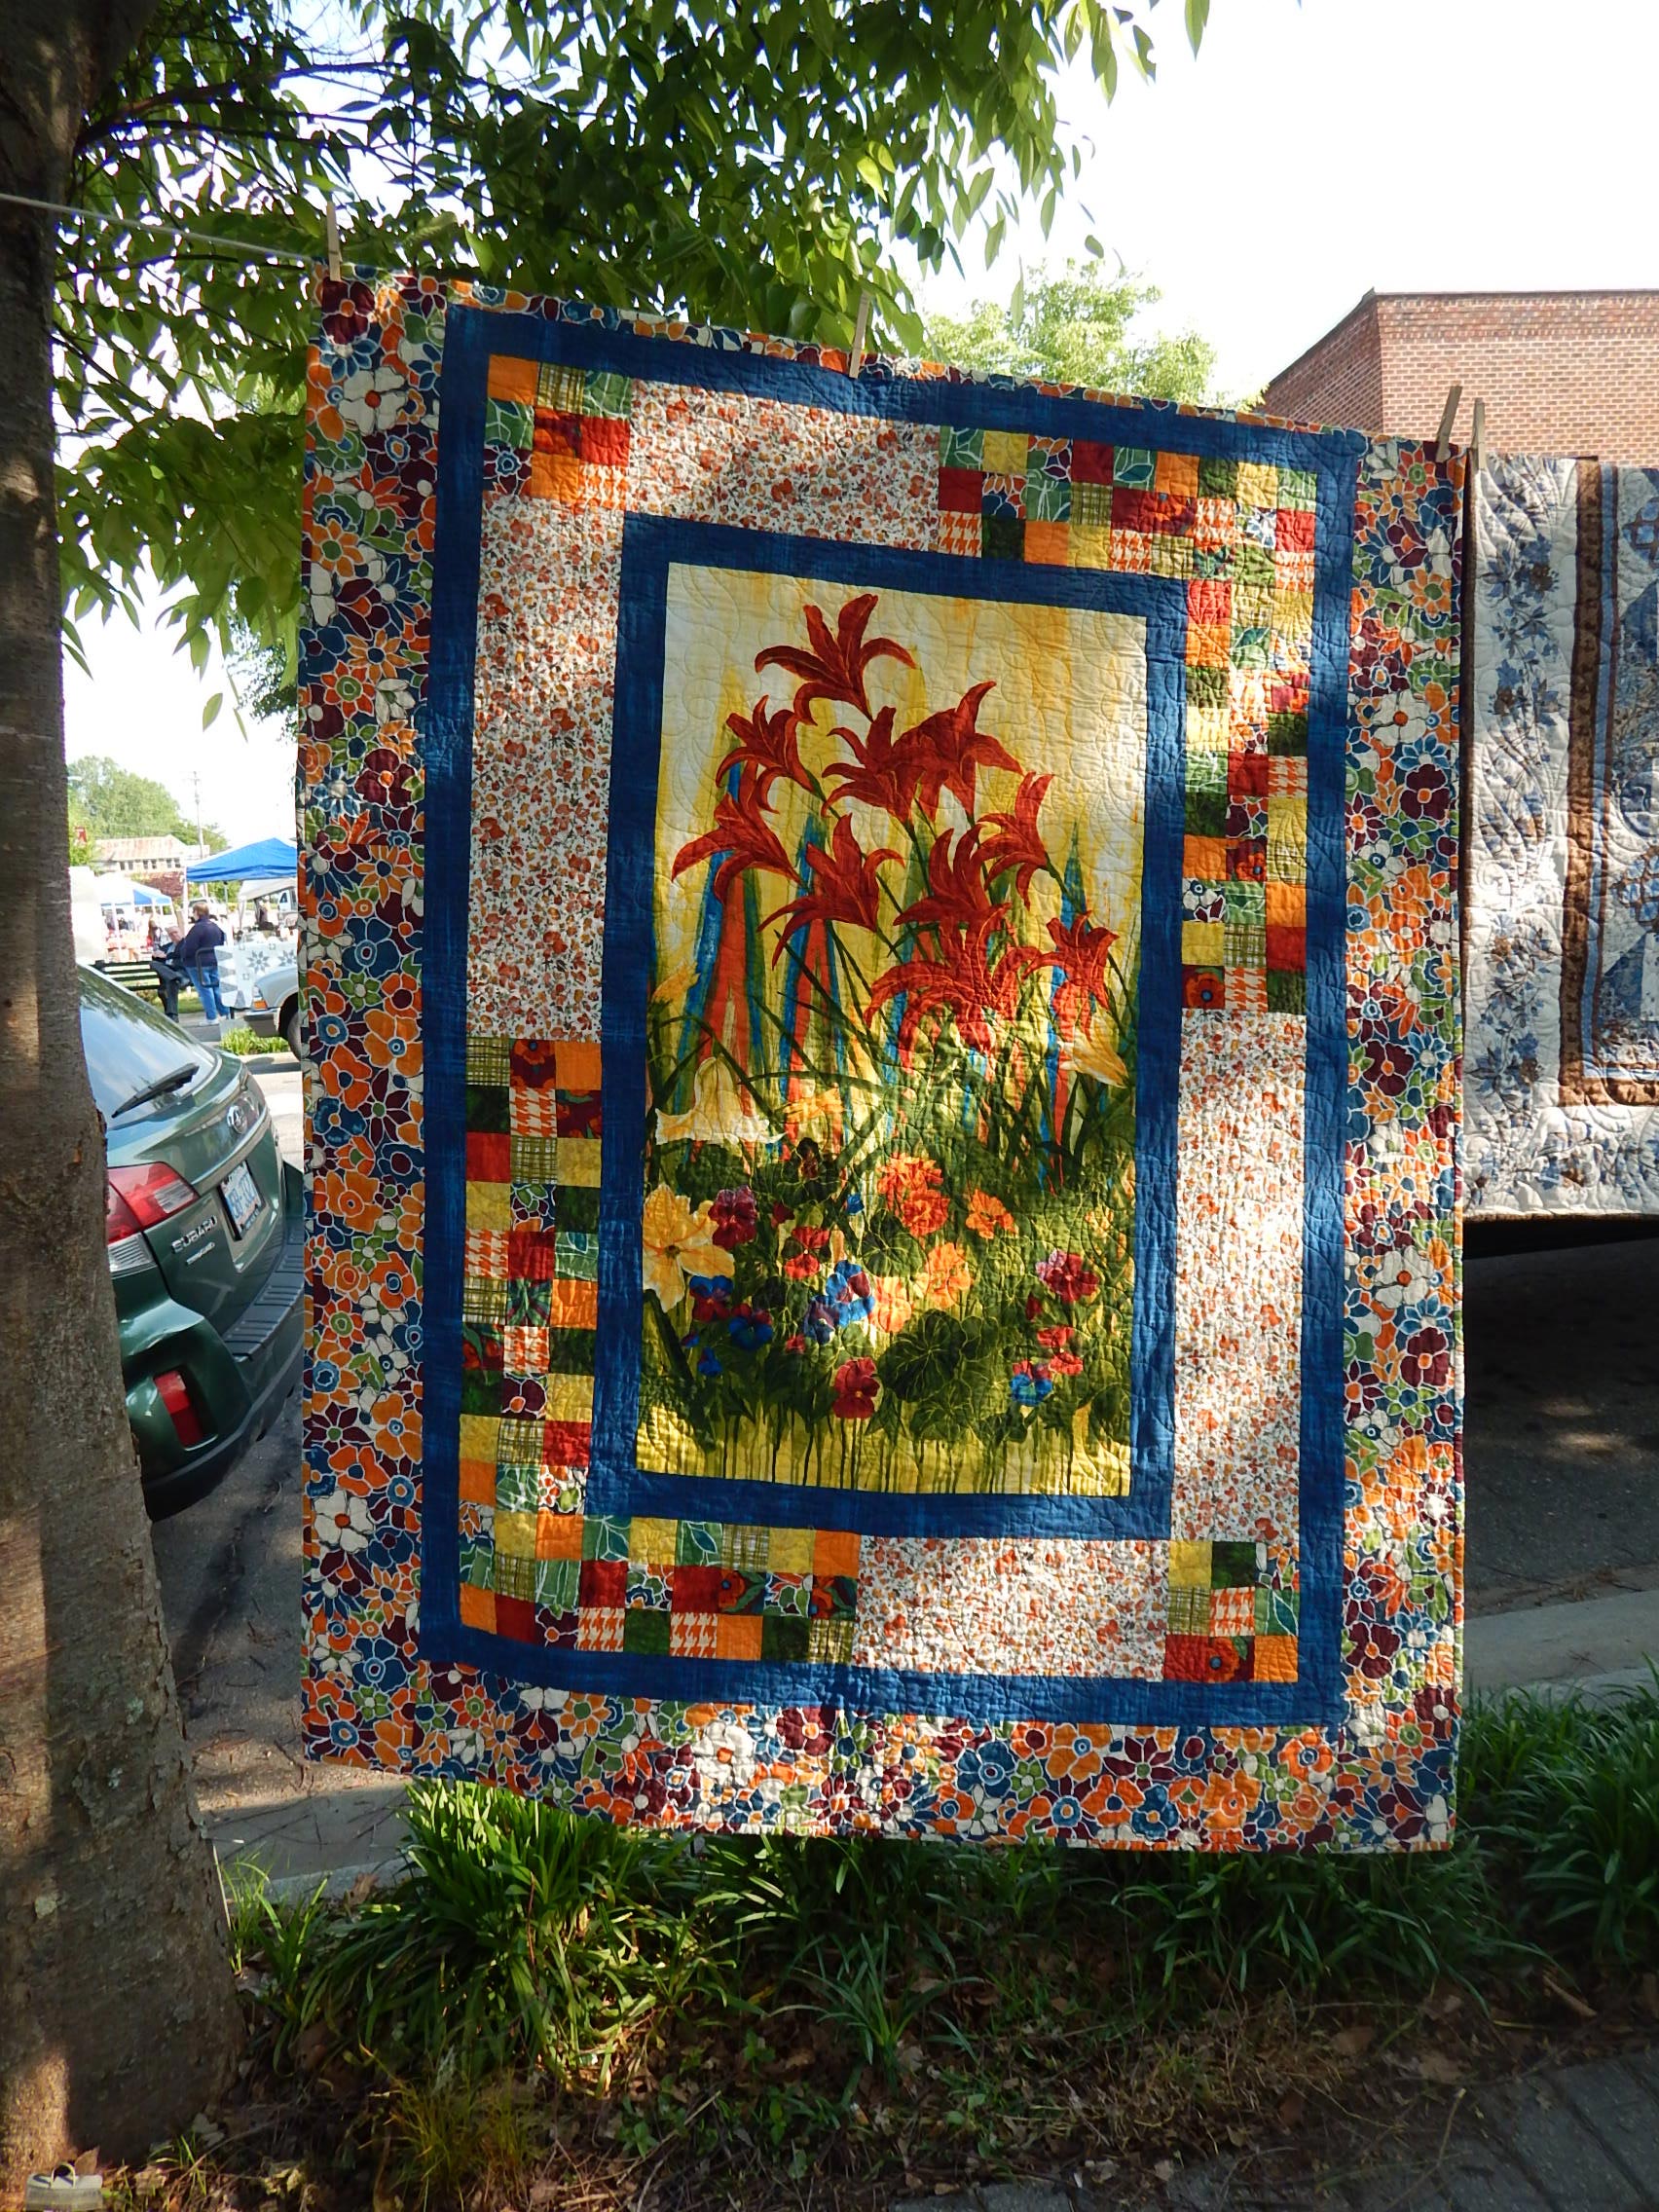
This quilt involved extensive work and I think it is very “artistic”. It got a 3rd place for workmanship, but it also got the Best Modern Quilt award.
Here is the way quilts are judged, taken from the VQF website:
Each judge evaluates all entries, scores the quilts using the point system below, and provides a brief written critique. The final score for each entry is the average of the three judges’ scores. Score sheets and critiques are returned to contestants with their quilts.
POINT SYSTEM (100 points total)
- Visual Impact: 15 points maximum
- Design: 40 points maximum
- 20 points: use of pattern and design
- 10 points: effectiveness of color in overall design
- 5 points: suitability of materials
- 5 points: border treatment
- Workmanship: 45 points maximum
- 20 points: precision of work, top and back
- 20 points: quality of quilting and/or needlework
- 5 points: binding and edges
RIBBON CATEGORIES
- Exceptional Merit (purple): 98 -100 points
- First (blue): 95-97 points
- Second (red): 92-94points
- Third (yellow): 88-91point
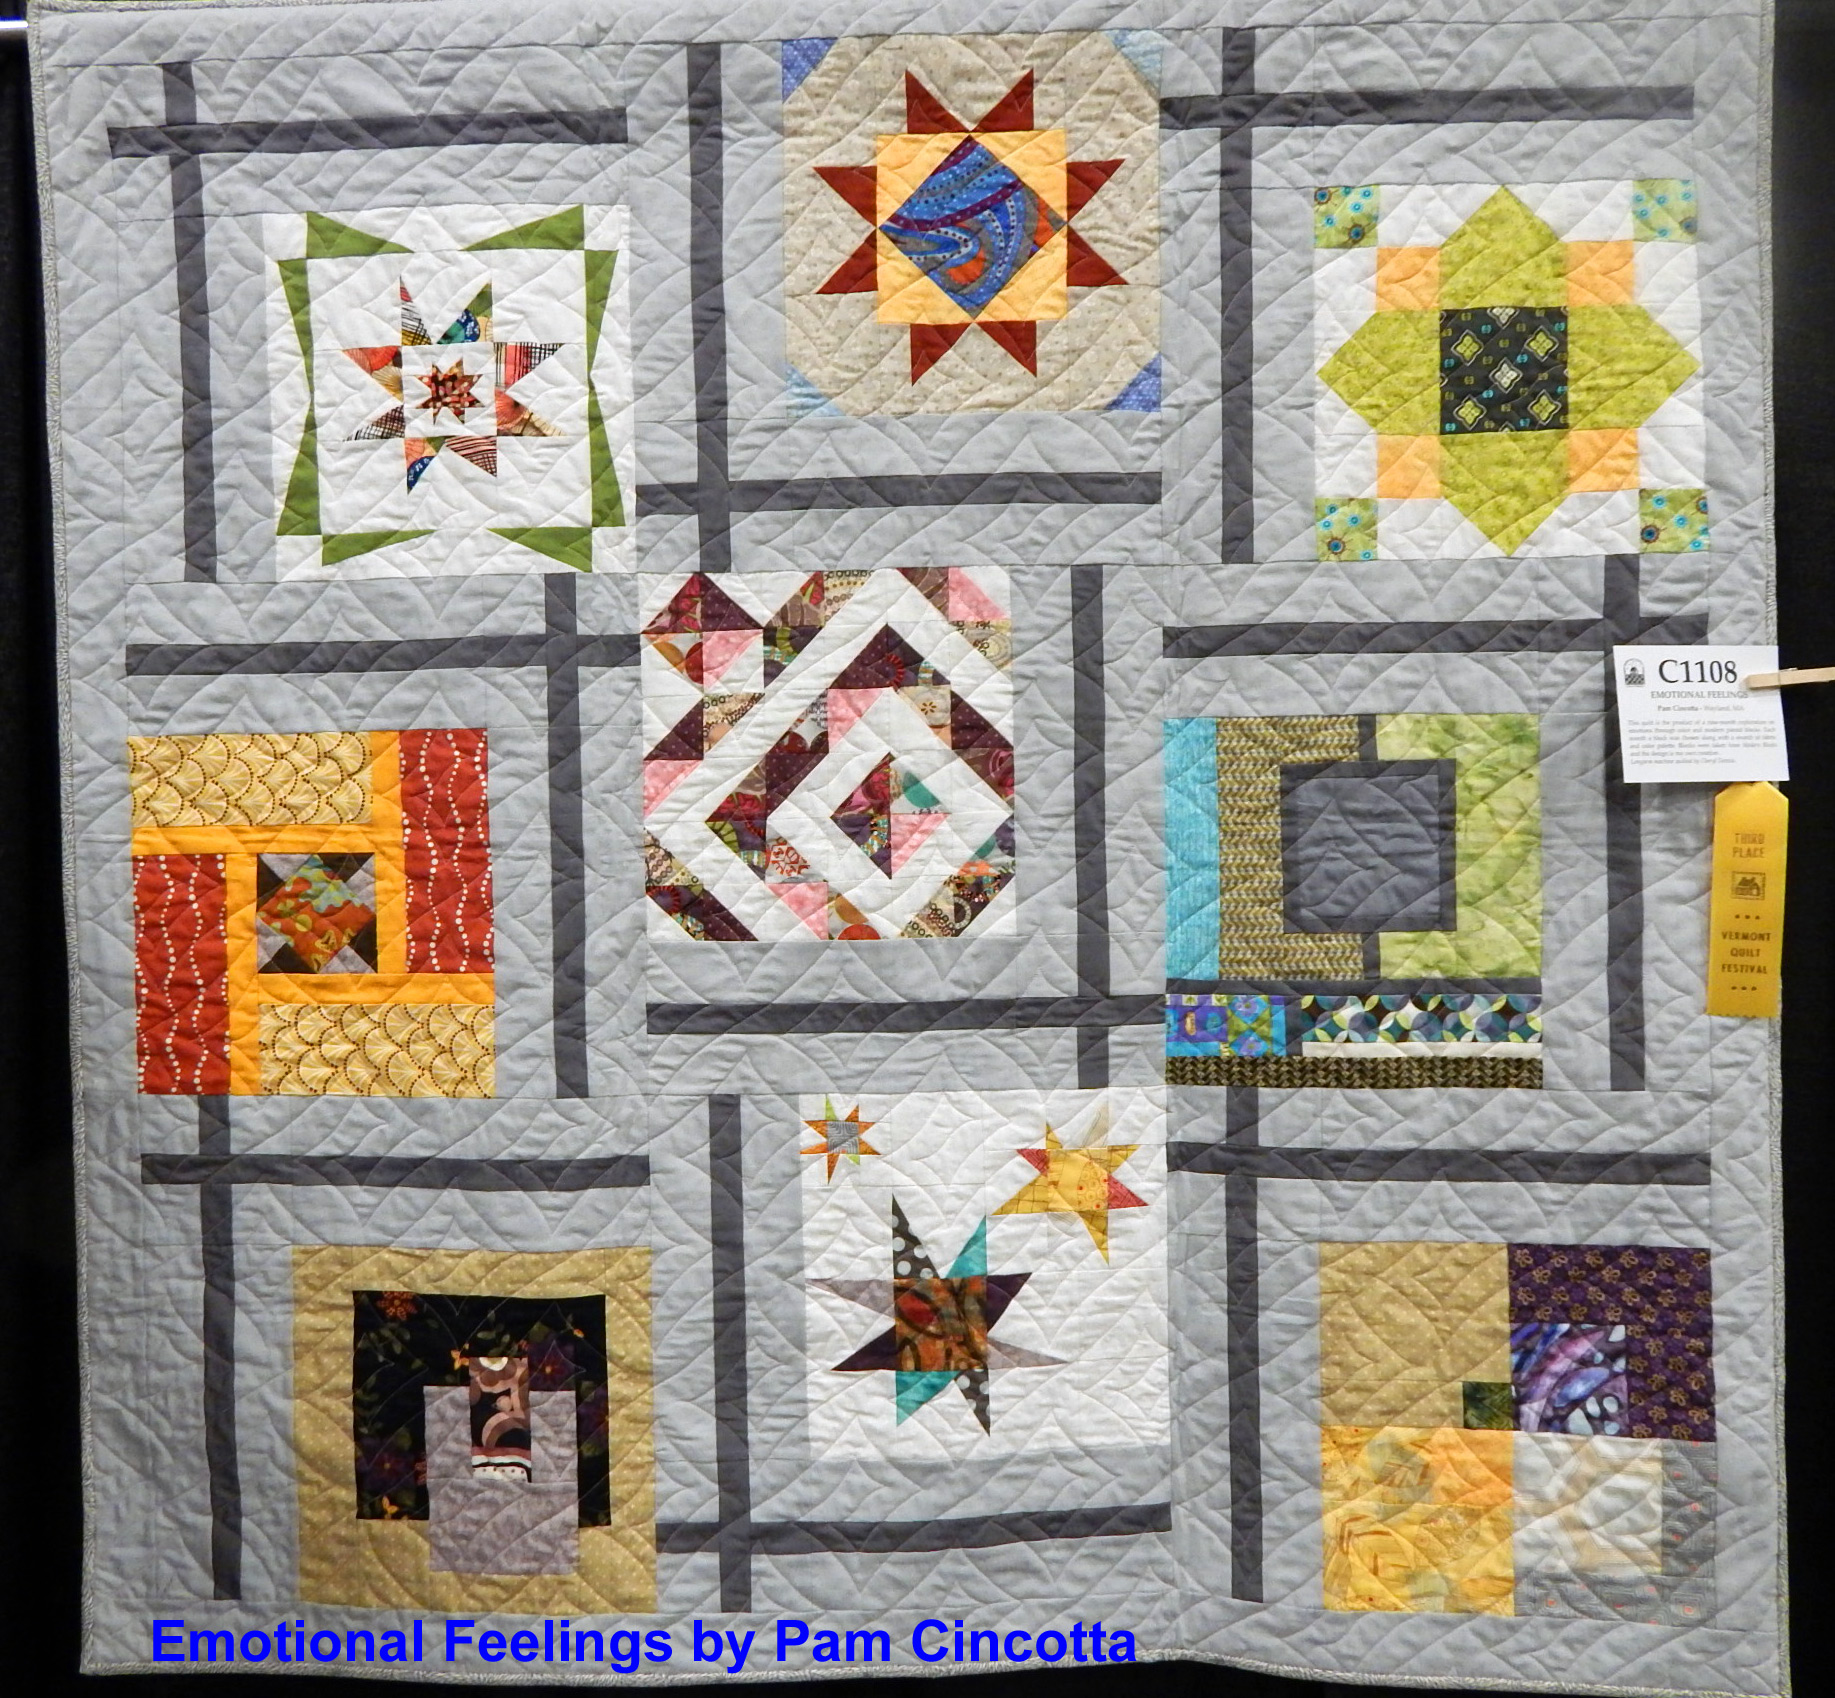
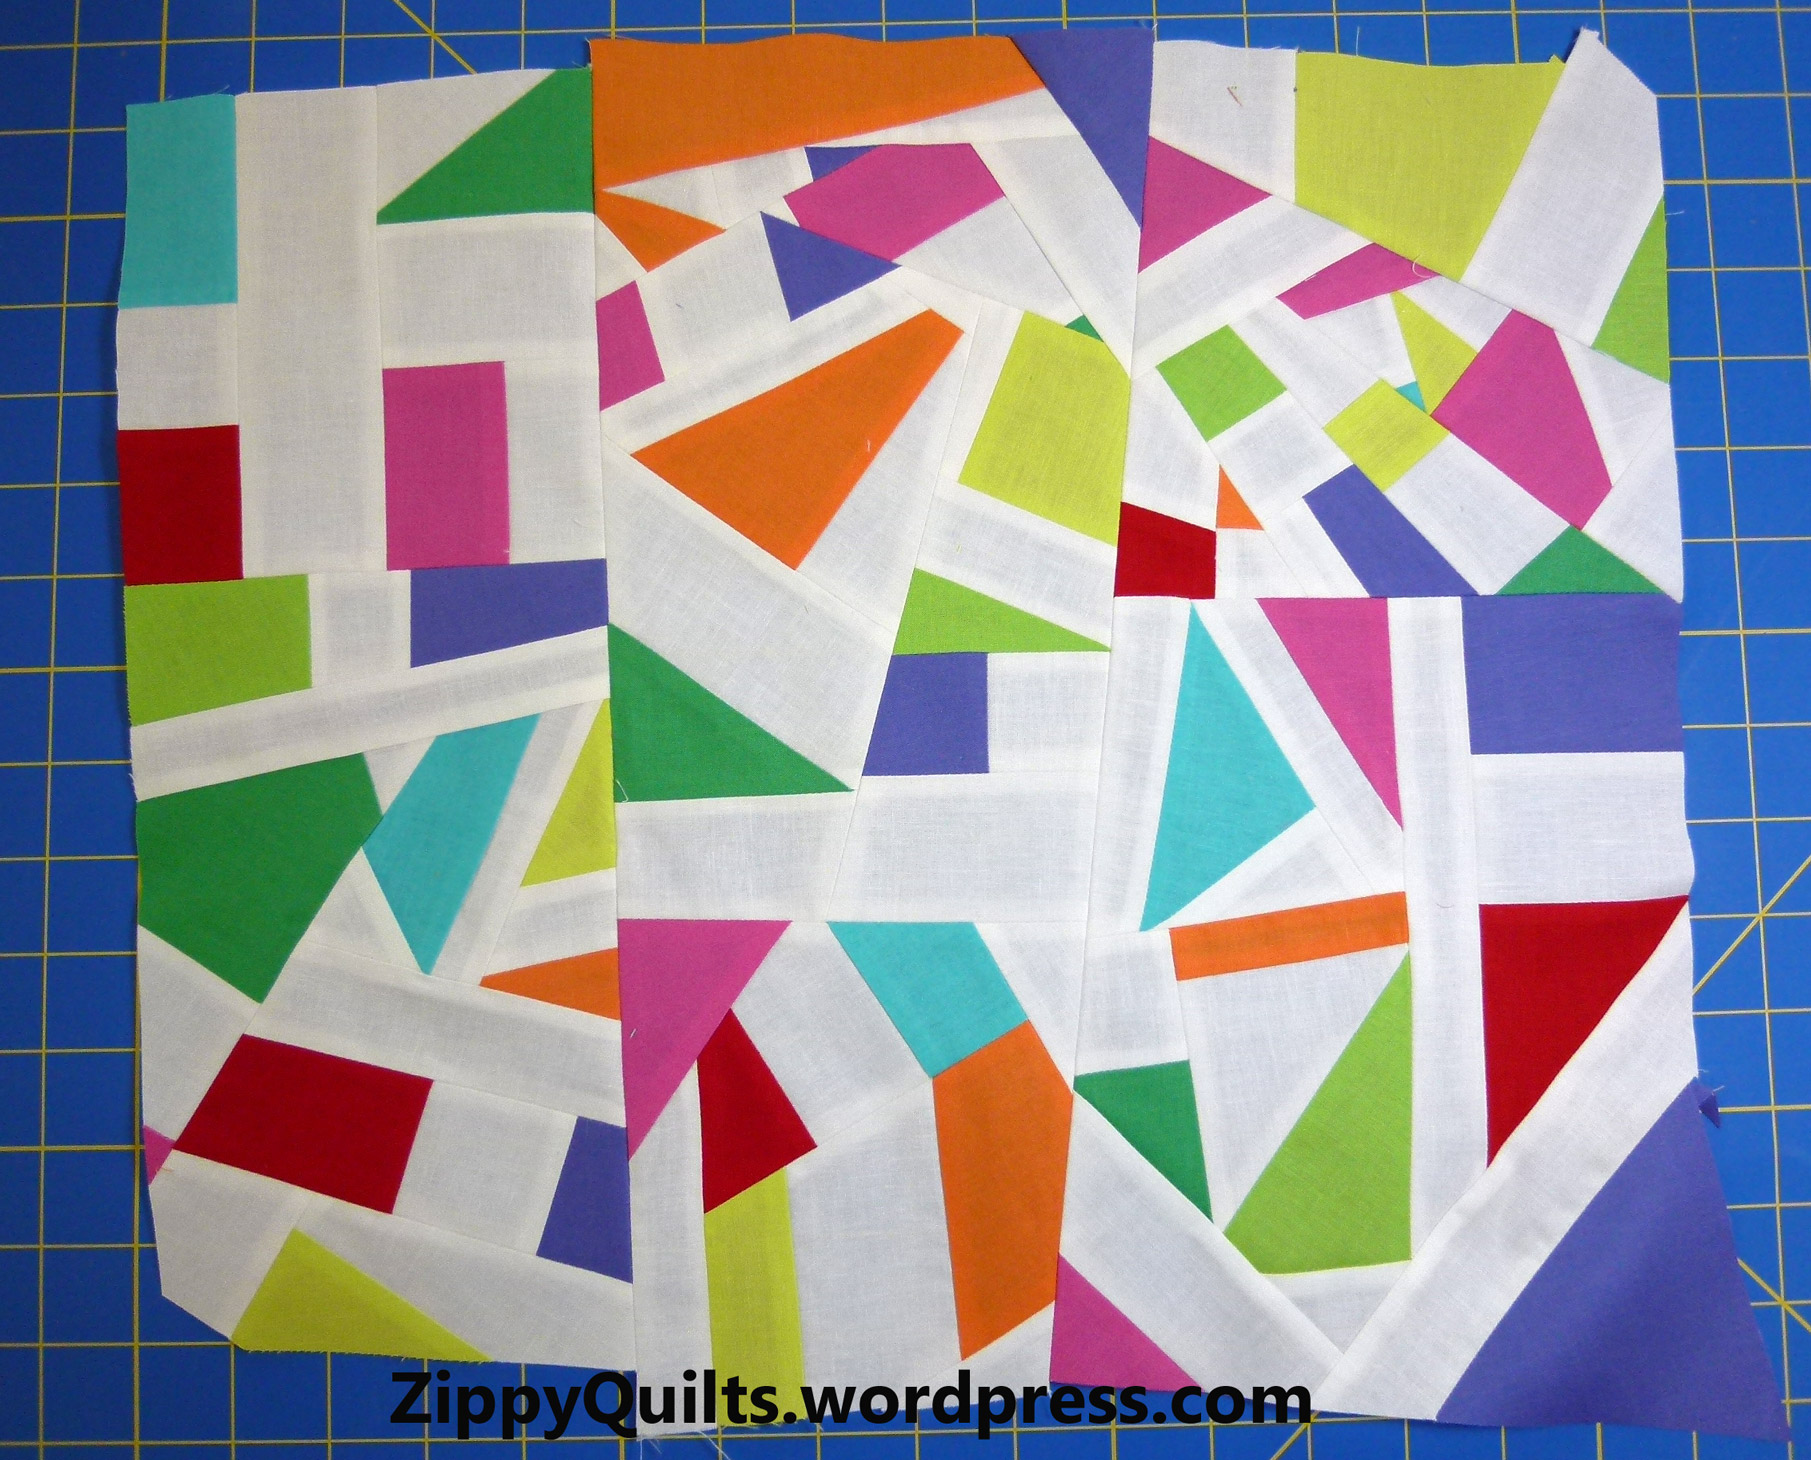
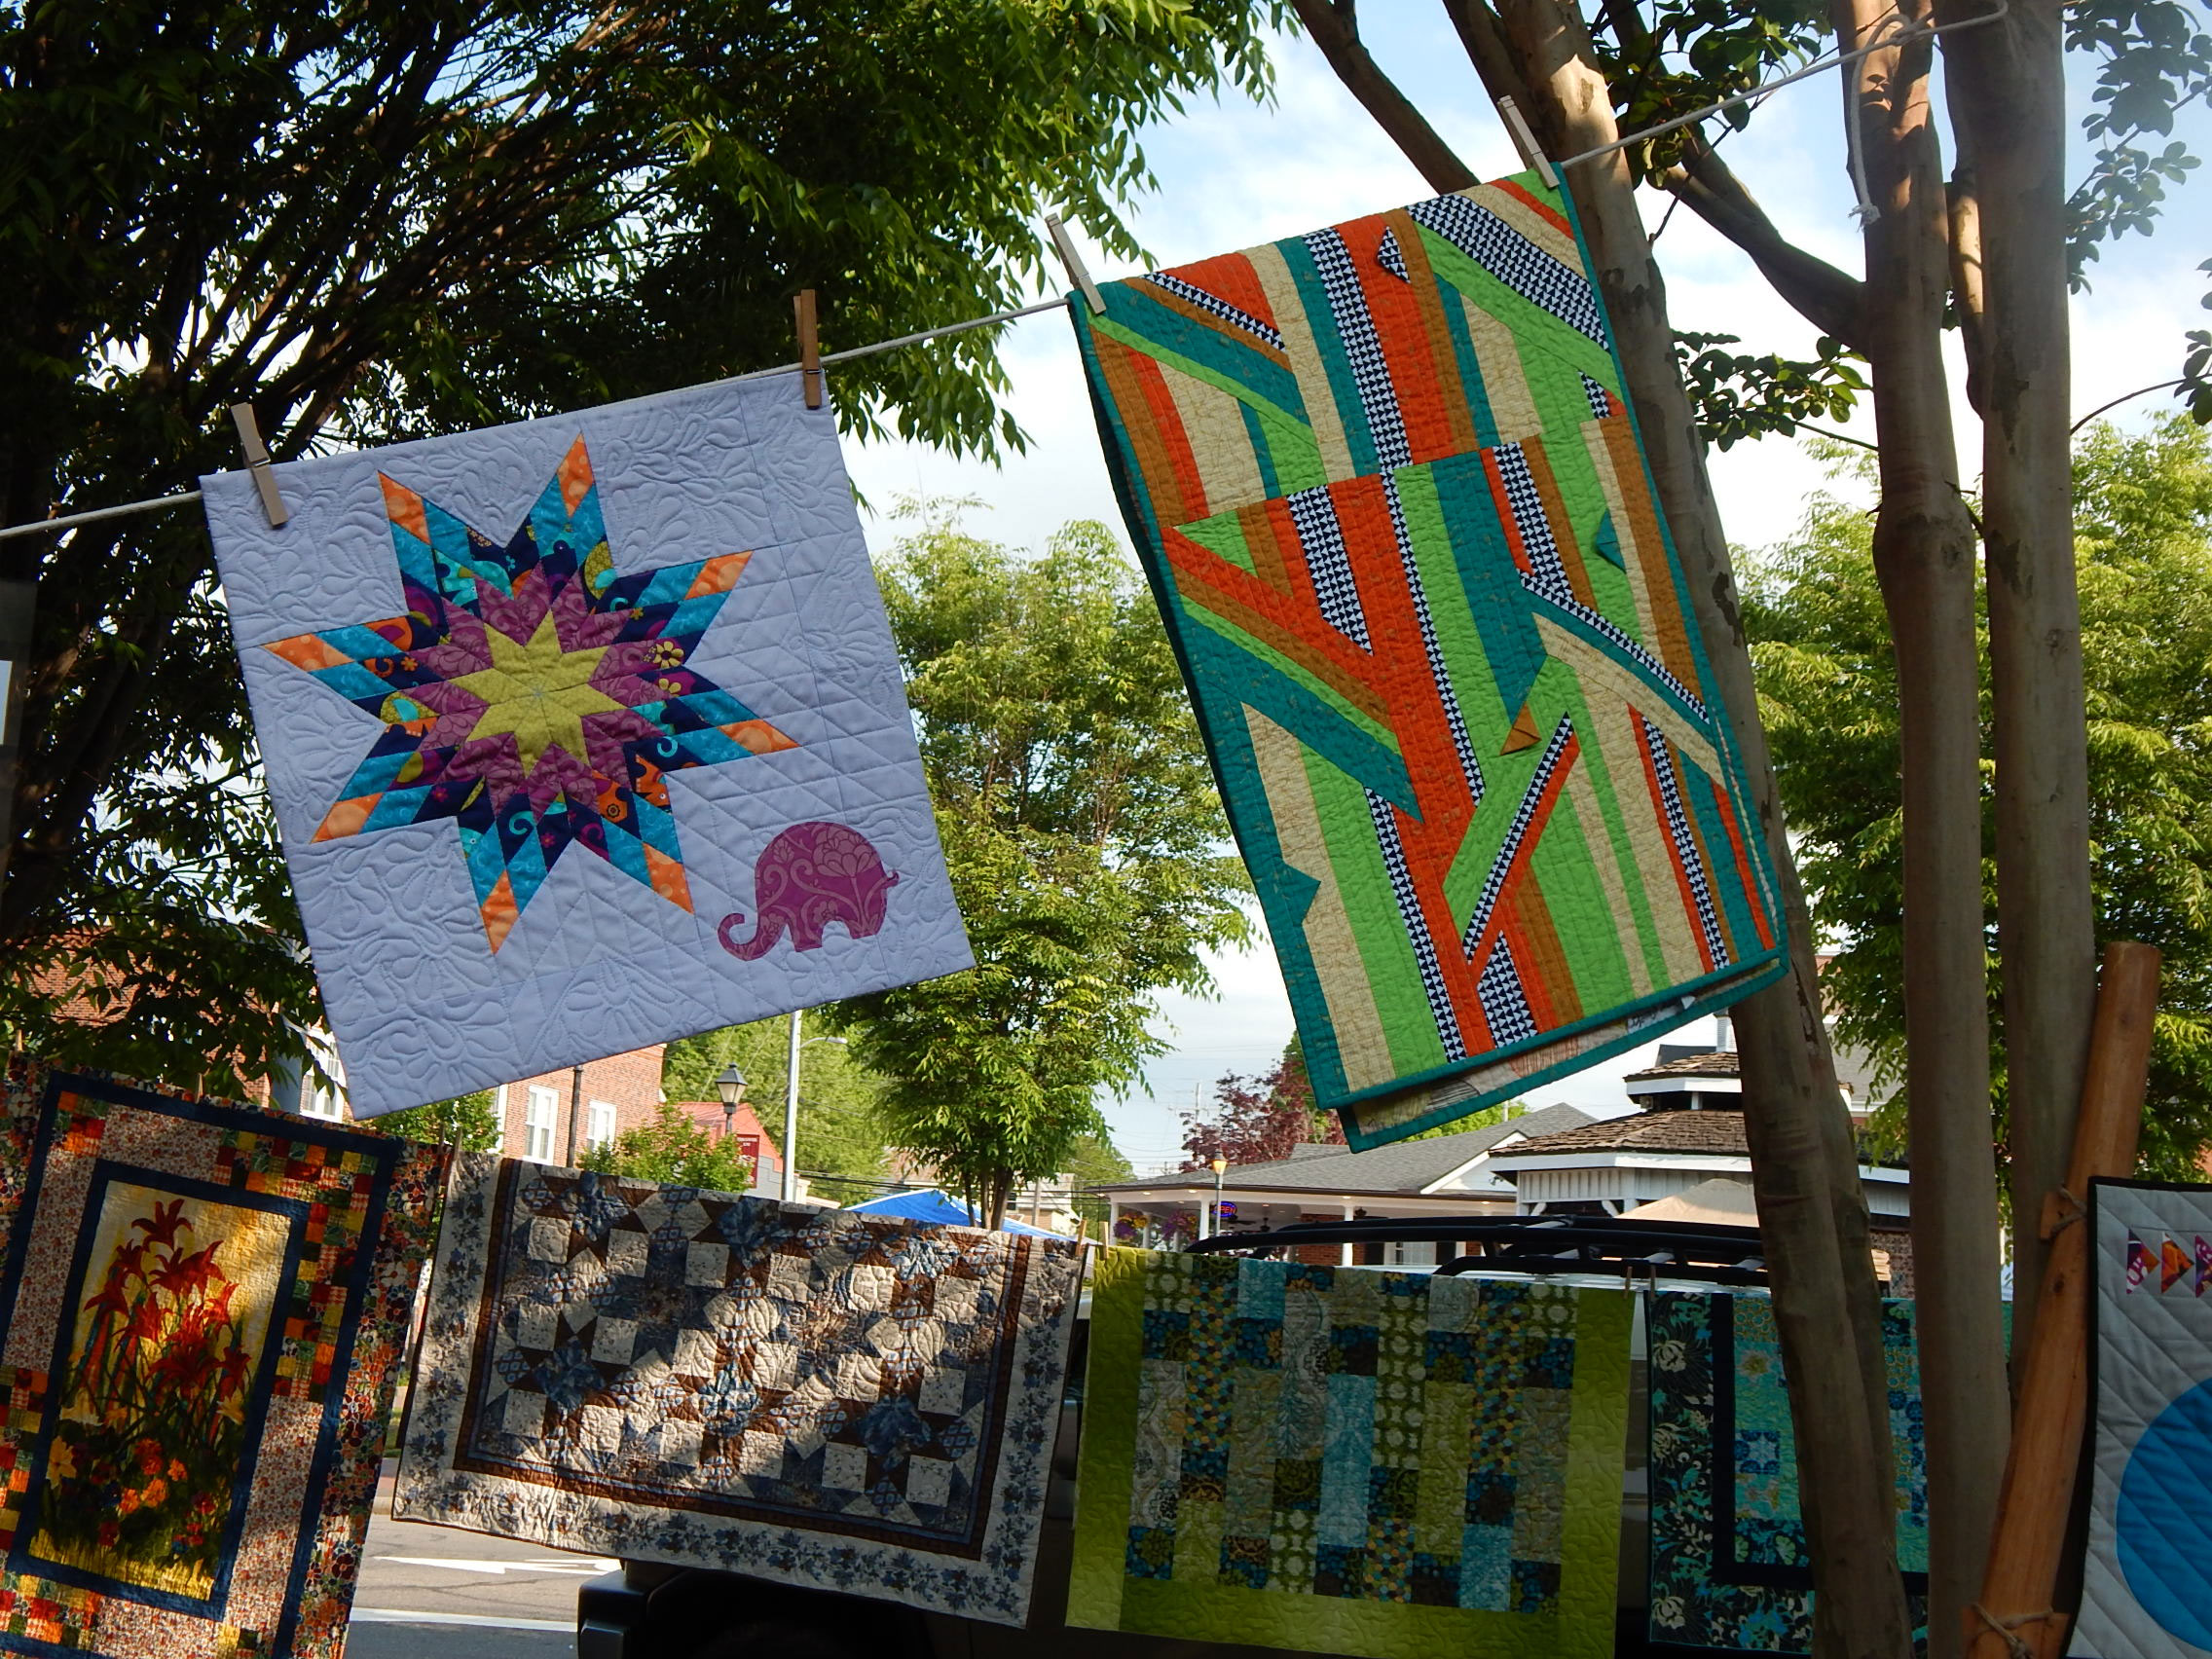
Here is a modern sampler that I enjoyed. It got a 3rd place ribbon.
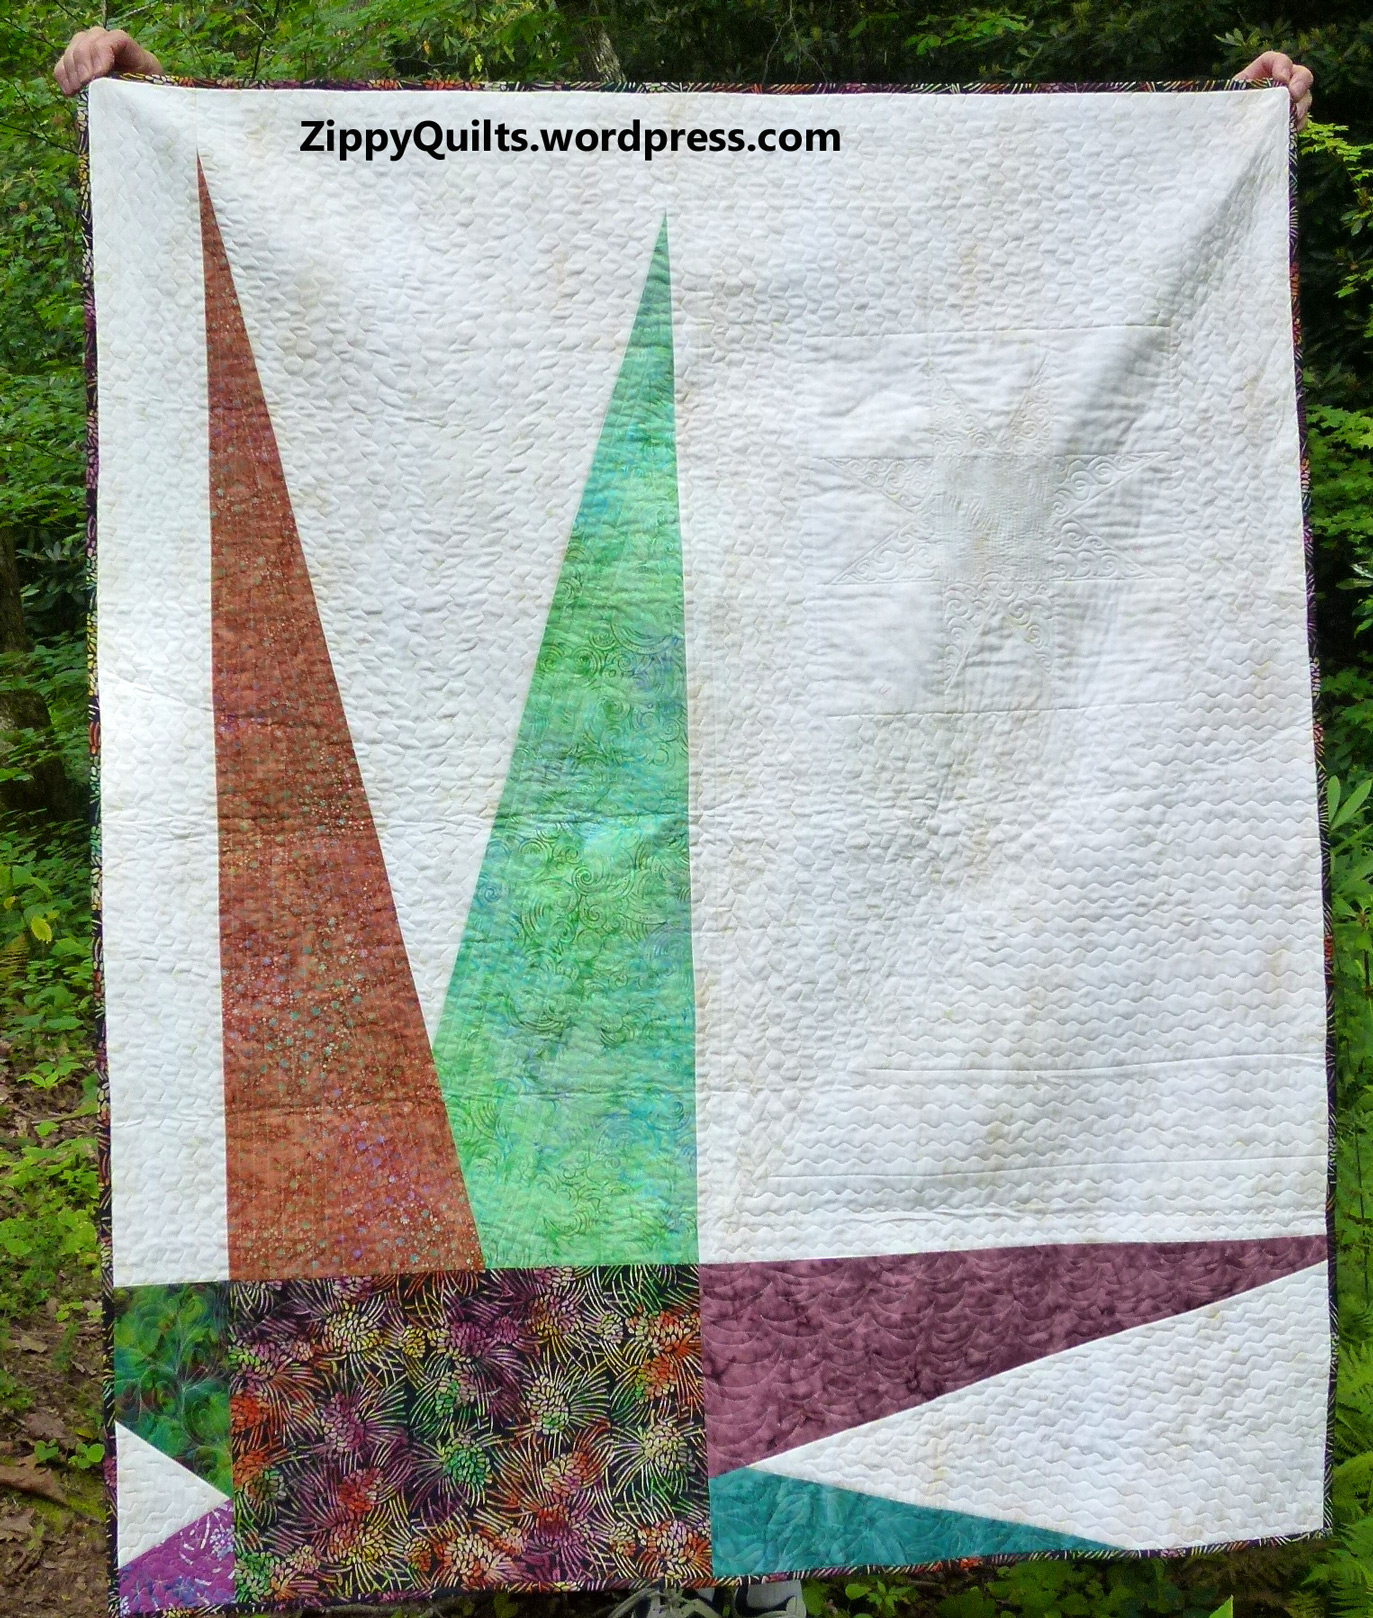
Although I didn’t win any of the “big” categories, I did get a (3rd place) ribbon at VQF this year. As you can see, that amounts to a “B” grade, so I’m pretty happy. The comments were useful, as well, so I know what to do the same and what to do differently next time.

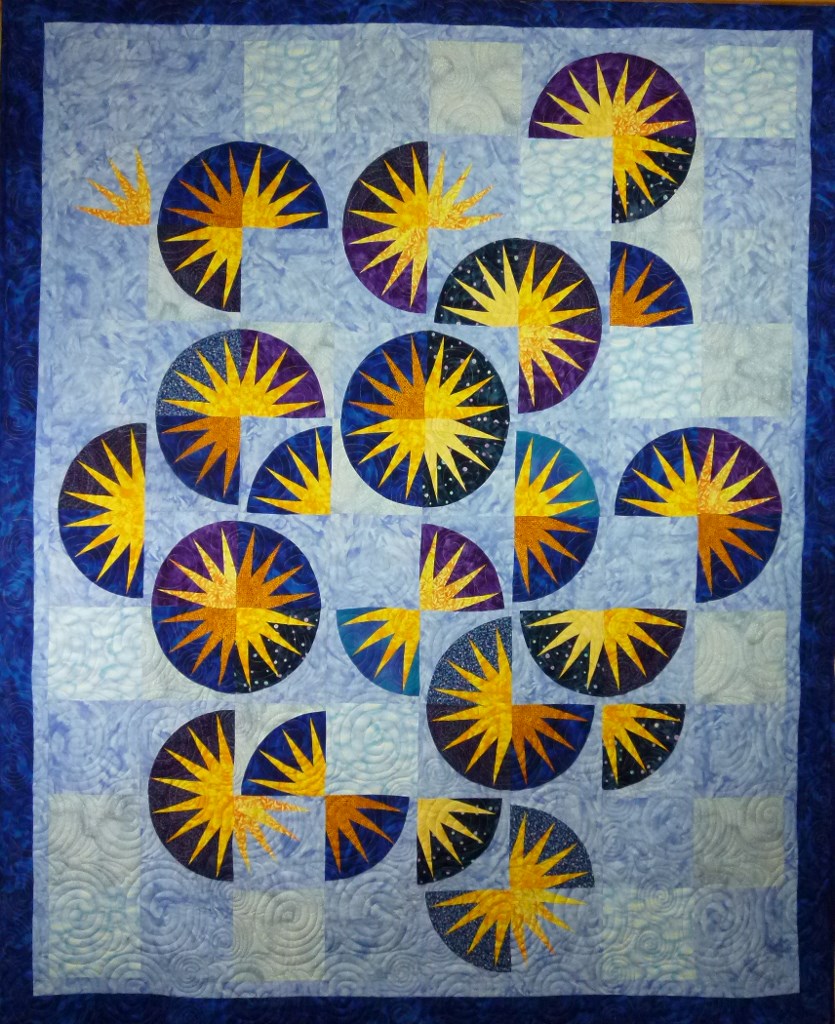
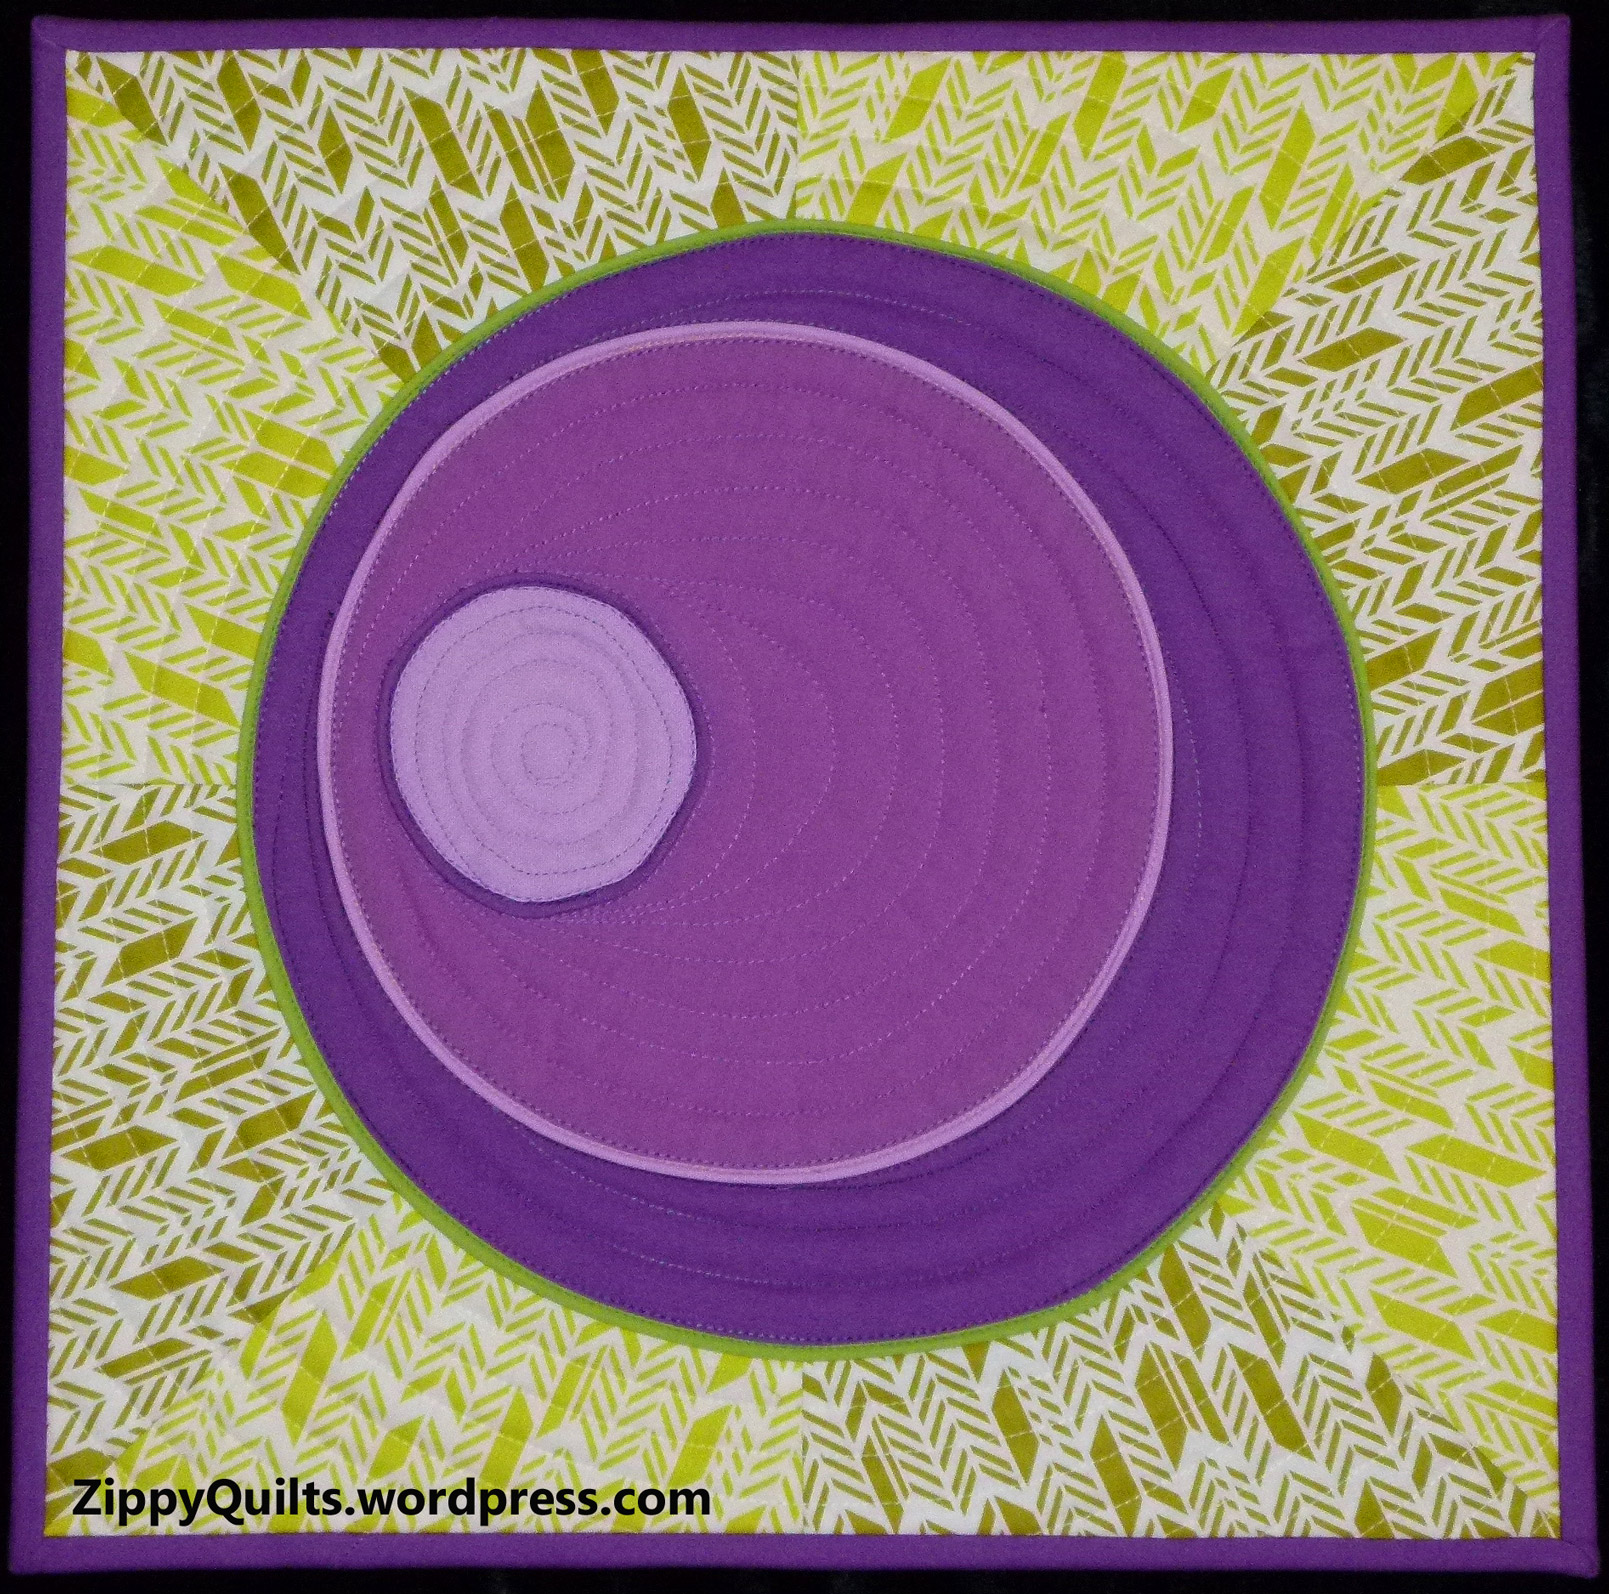
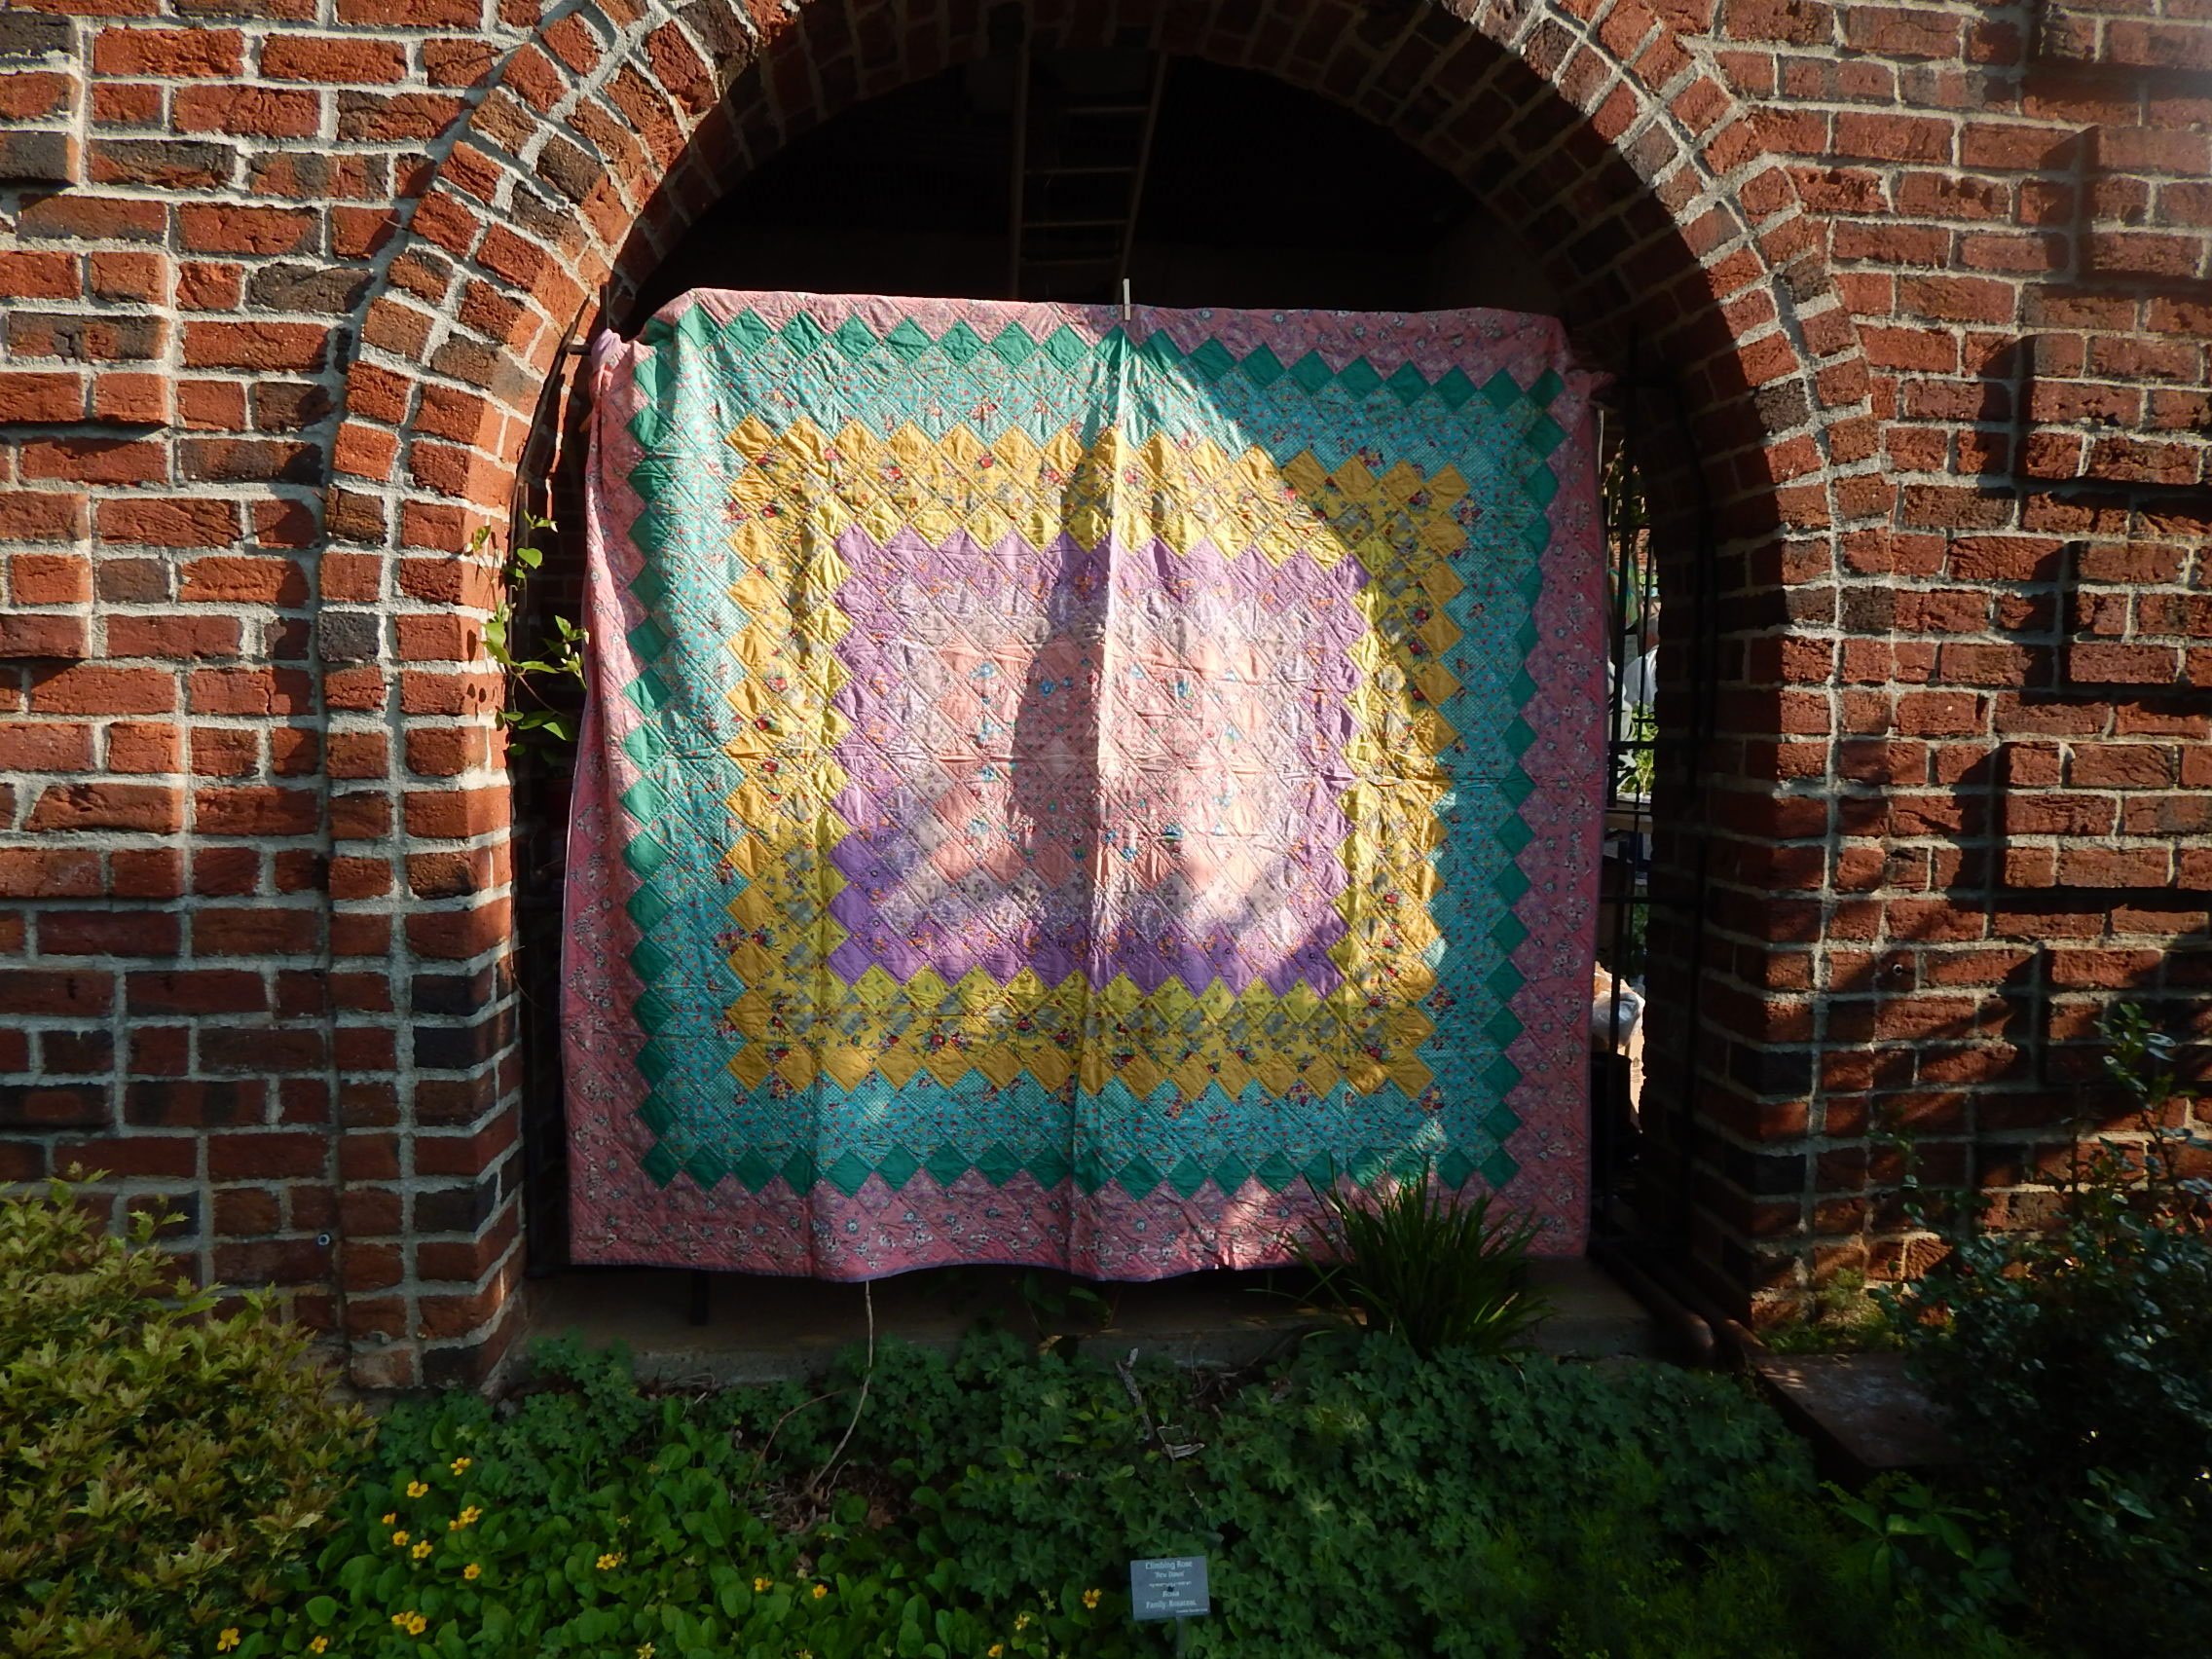
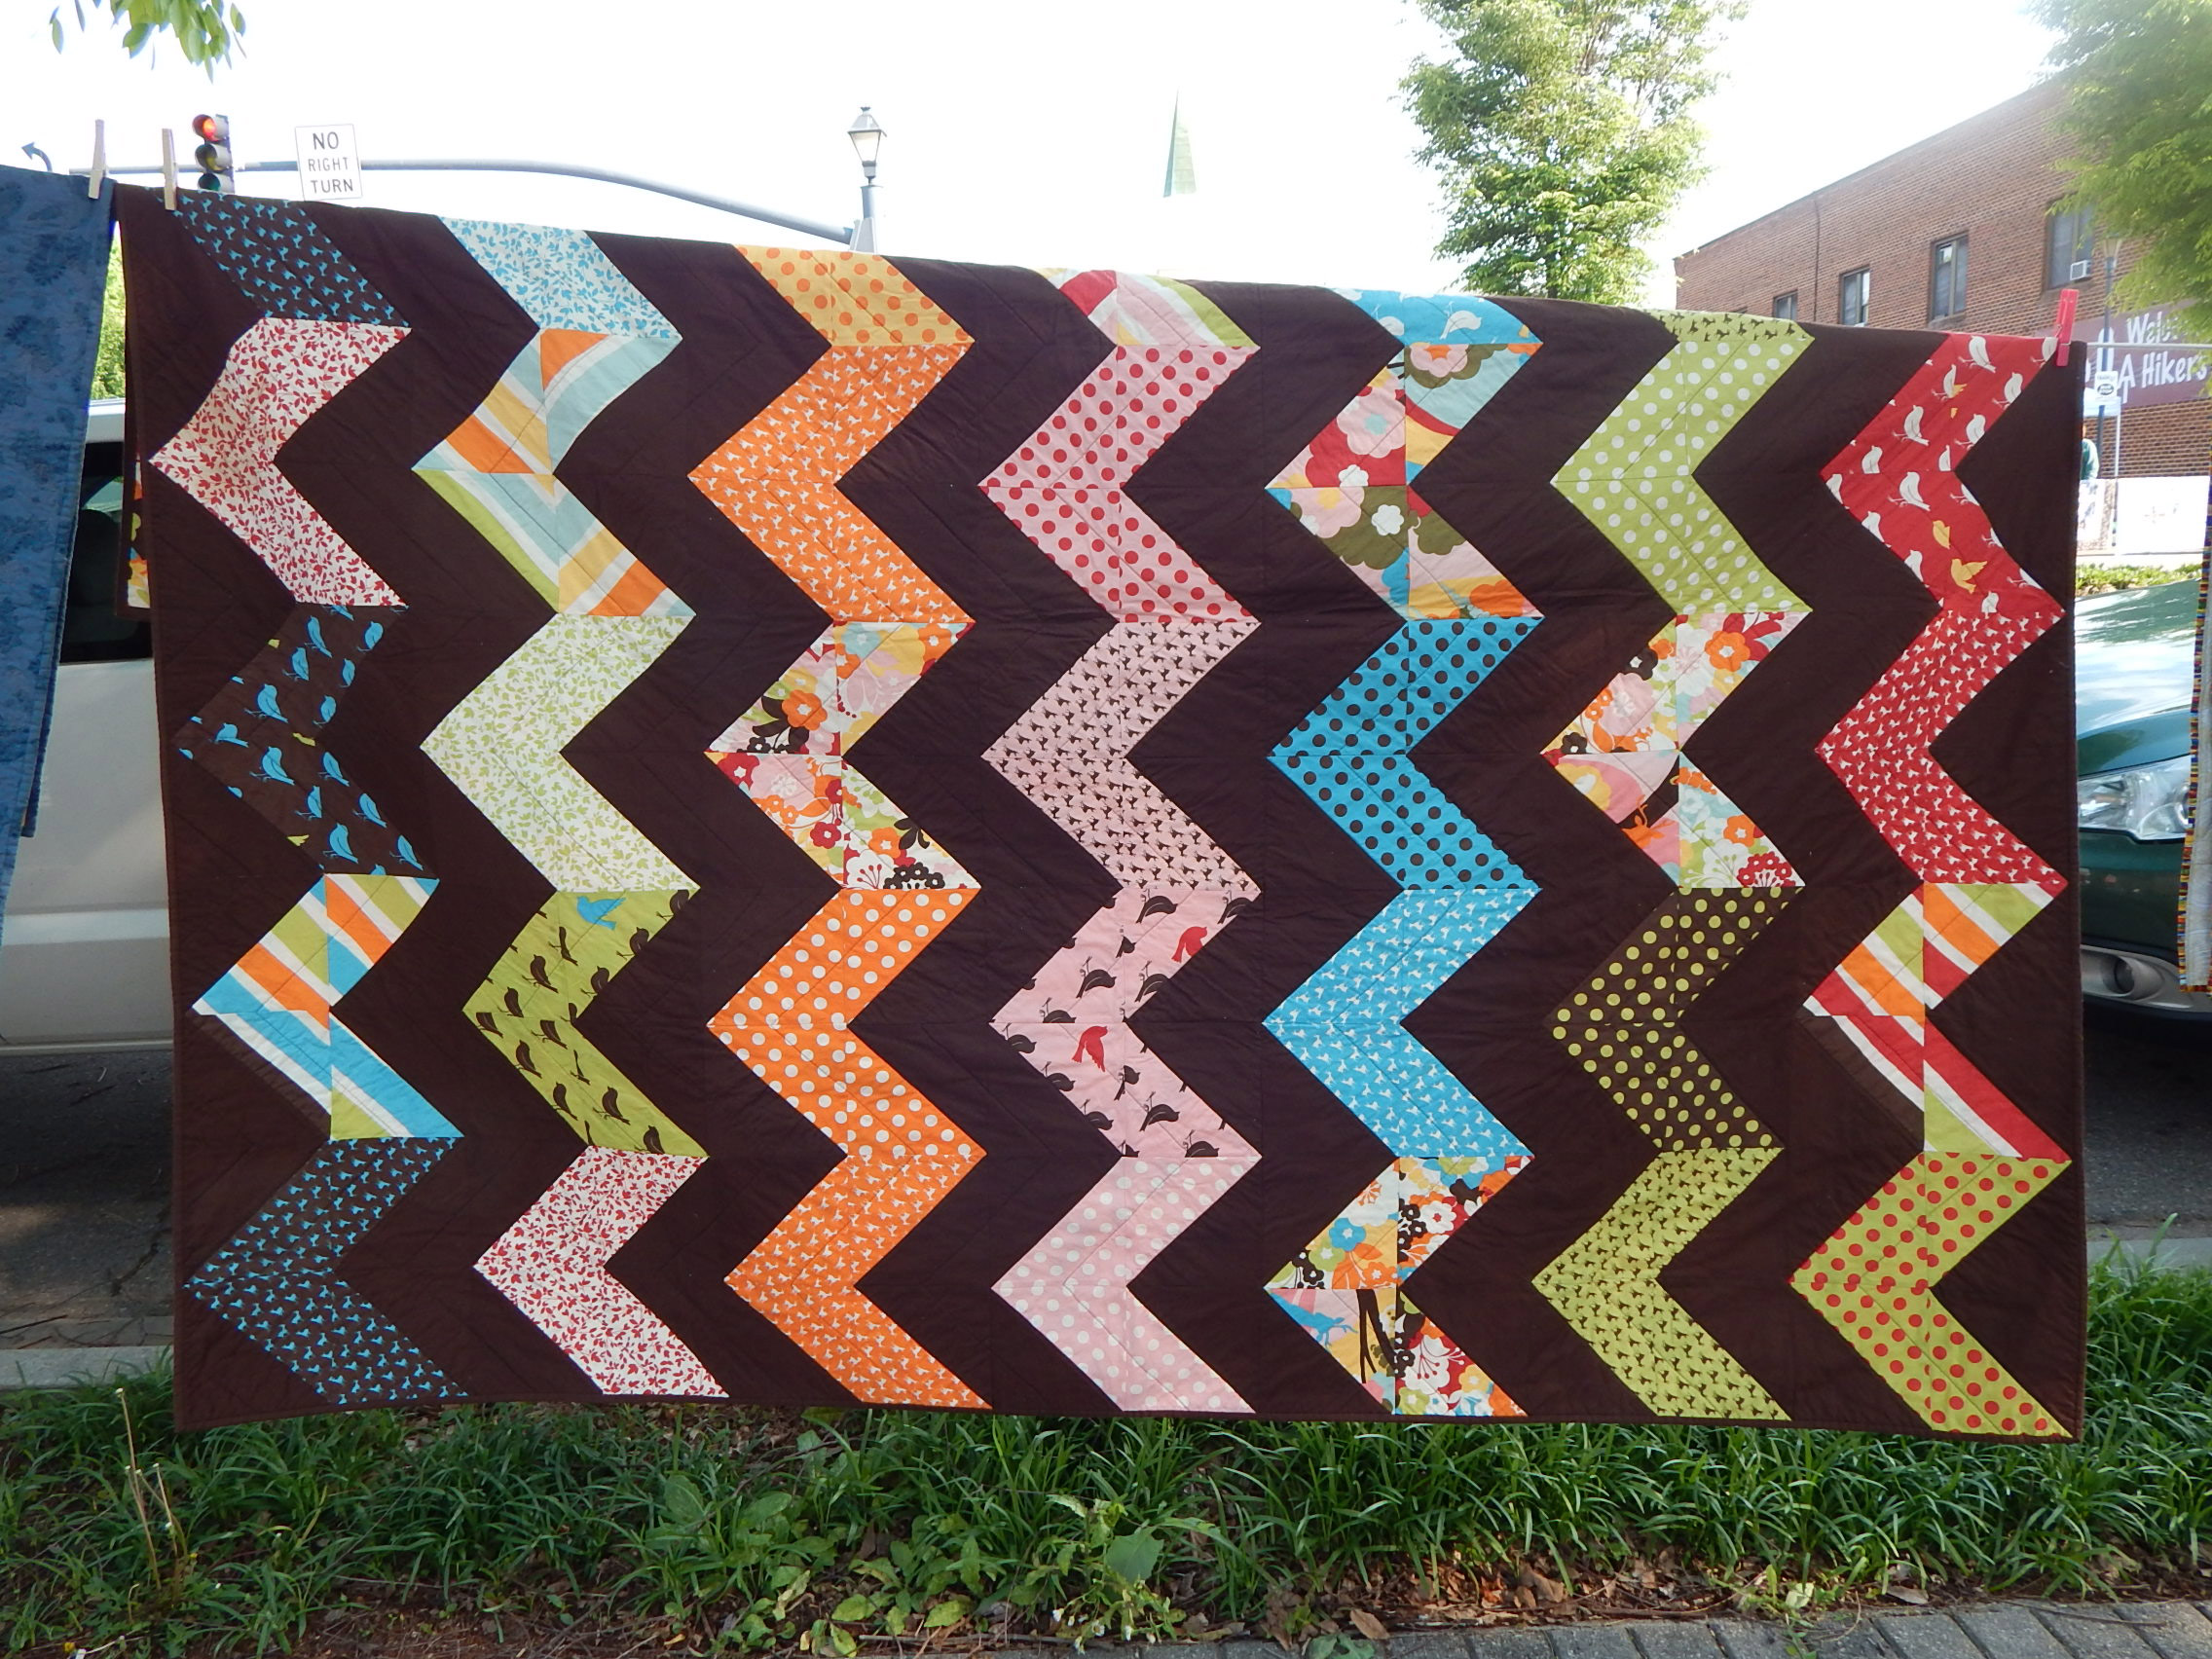
This quilt, made from a pattern, got a 3rd place ribbon as well. The circle is on a black background, so the quilt is square.
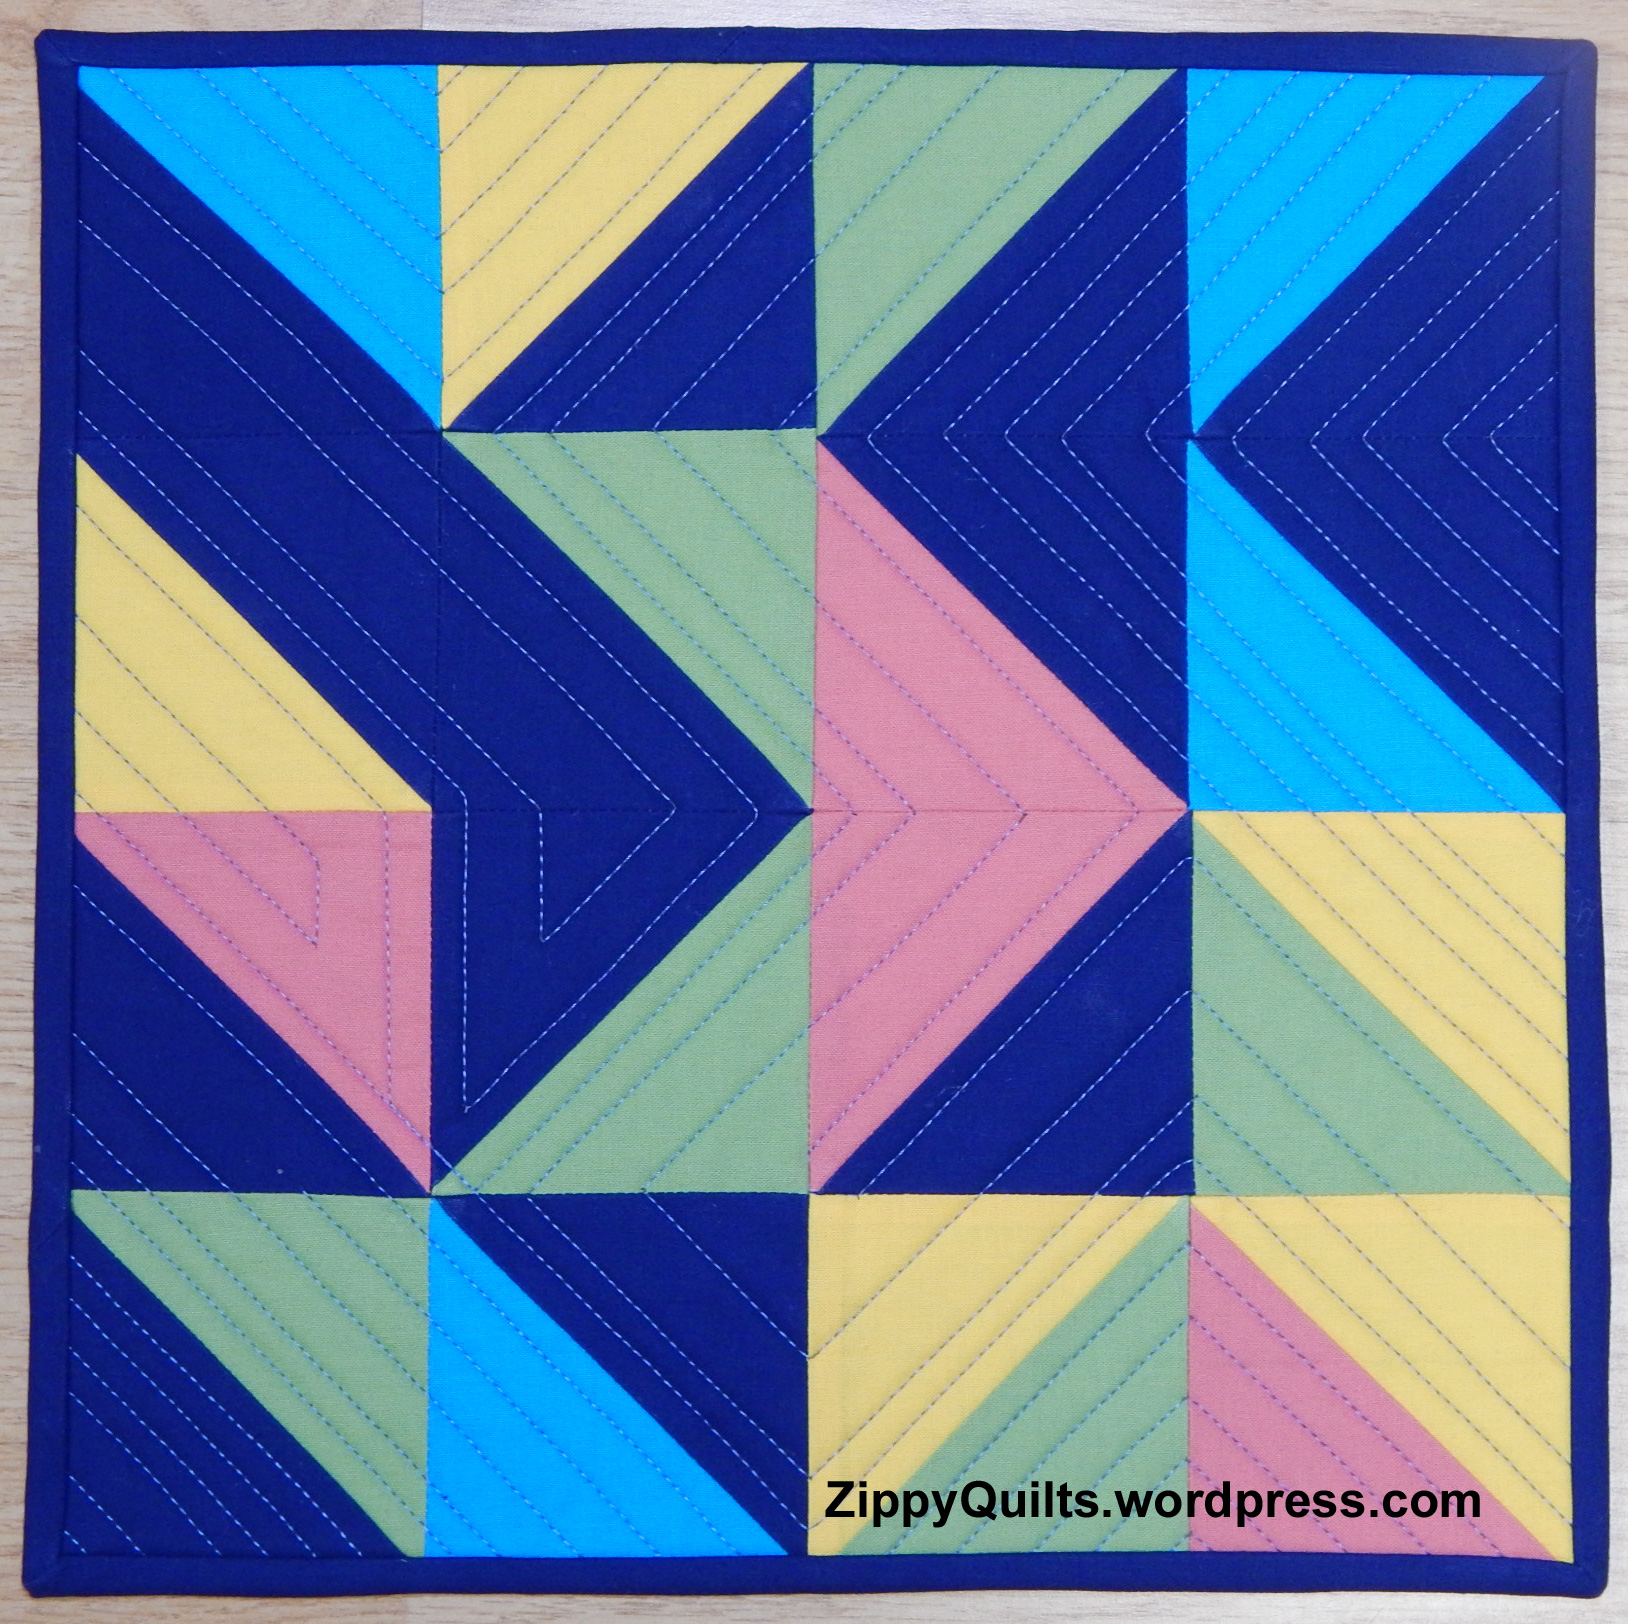
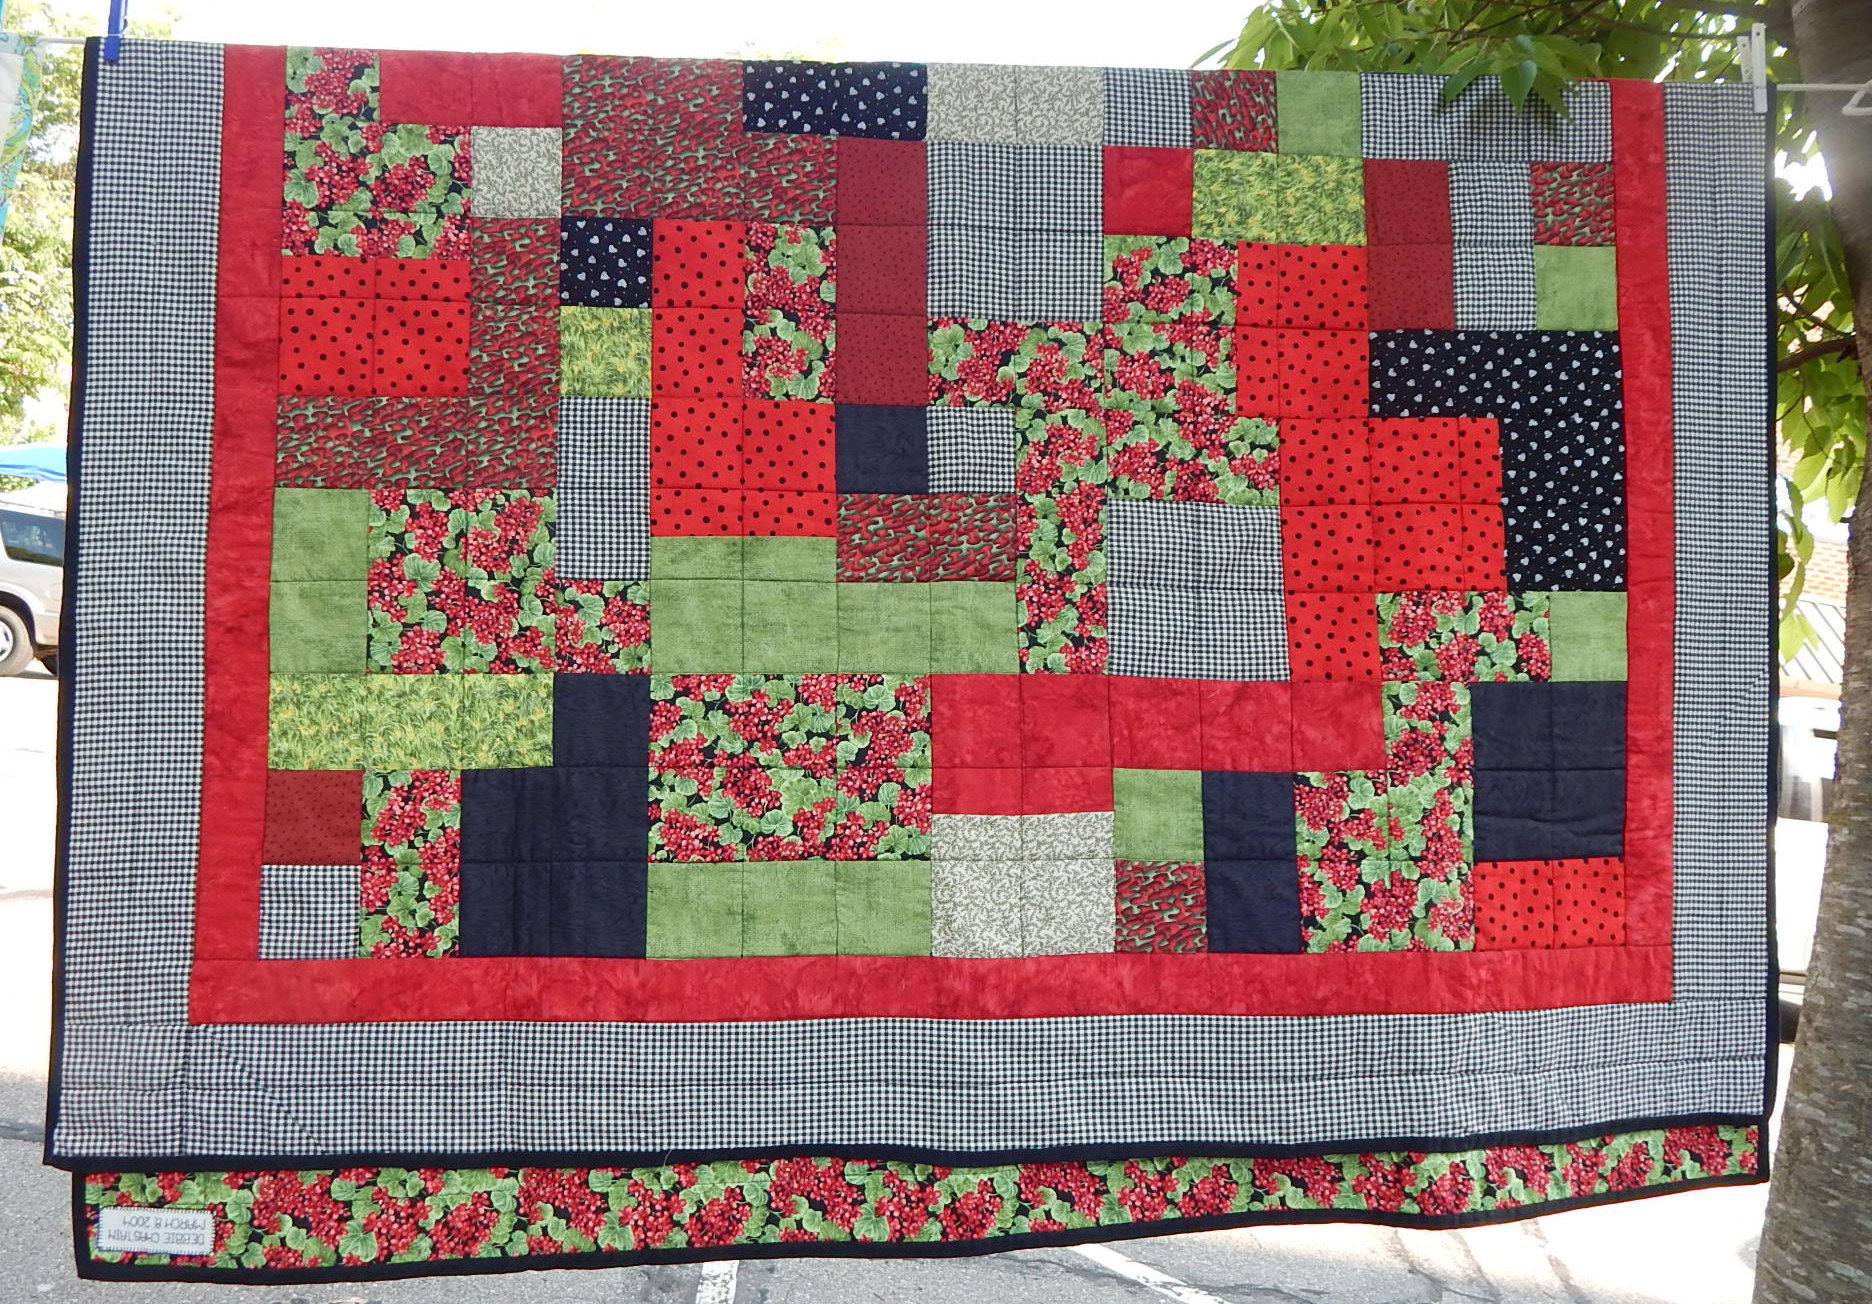
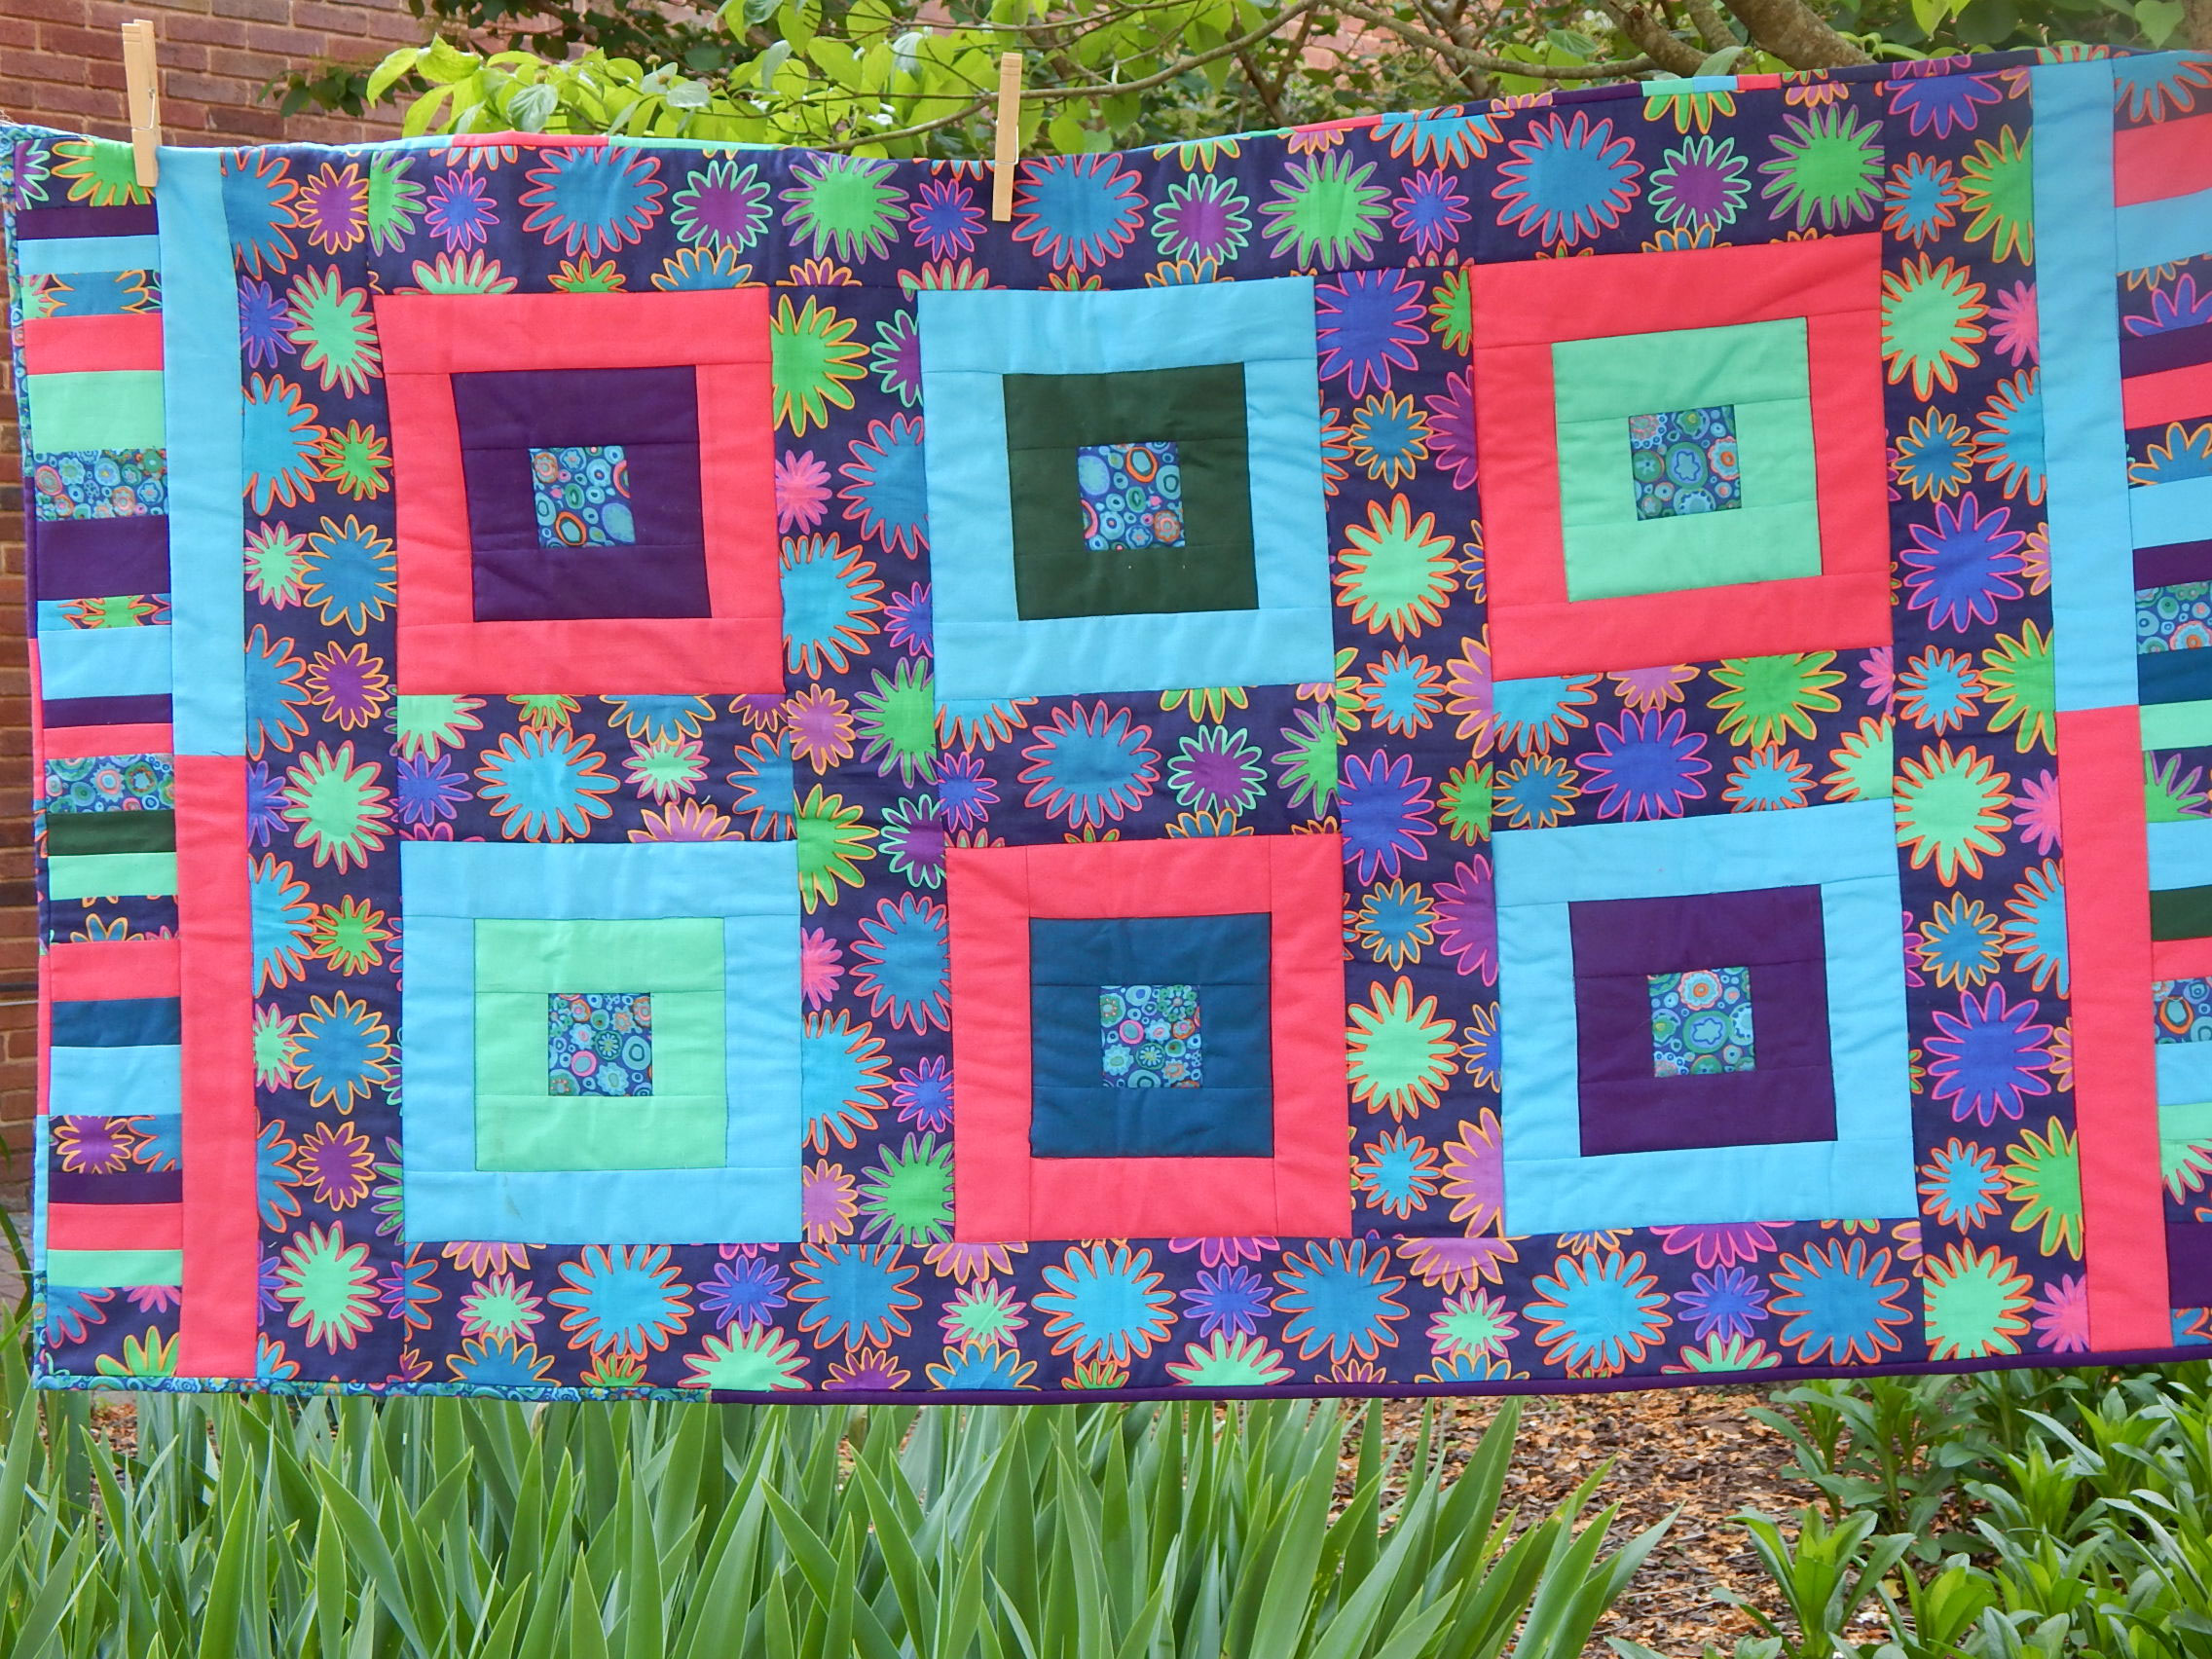
I certainly wish other shows would adopt a similar system! I’m sure it is expensive, since VQF has 3 judges for each quilt and they have to make comments and take time to score each one, not just look at it once and move on. But for me, as a quilter, it makes the VQF show much more worth the effort of entering. Here’s my quilt:

Happy Squares, designed and made by me.
Does anyone know of other shows with a similar system? I’d like to consider them when planning next year’s entries!