Connie Brown
Connie Brown and I met at the Modern Quilt Guild of Asheville. She has been juried into membership in the Southern Highland Craft Guild, a prestigious organization promoting fine Southern Appalachian crafts. I thought you would enjoy meeting her.
Give us the quick tour of your quilting career. How did you get started?
My husband, son, and I moved to Asheville in 1989. I knew no one in the area, so I signed up for a quilting class at Asheville-Biltmore Technical College. The instructor, Mary Field, was the best. Along with quilting basics, she taught me many sewing skills and shared her knowledge and love of antique quilts and quilt history. By the end of the class she had encouraged me to join the Asheville Quilt Guild and a weekly bee. The first few meetings I attended featured presentations by quilt historians. I really enjoyed quilt history, so I started studying antique quilts.
When/how did you decide to “go pro” by studying quilt history and appraisal, judging shows, and joining the Southern Highland Craft Guild (SHCG)?

Connie demonstrates quilting at a Southern Highland Craft Guild event
After a few years of making quilts and entering them in both local and national shows, I put a couple in a gallery exhibit. To my surprise, one sold and visitors were interested in my other quilts. I knew about the SHCG, with its shops, marketing, and educational opportunities. After selling that quilt in the art gallery, I decided to apply for membership and was juried in during 2000. I have my quilts in their shops and participate in several of their events, including Fiber Day and Heritage Day (where I share my beekeeping), as well as others.
When people started calling me about the value of antique quilts, or what value to place on a quilt they were entering in a show, I saw a need for a local certified quilt appraiser. I put my years of studying quilt history and my knowledge of local quilt sales to use and focused on becoming a certified quilt appraiser. In 2009, I was certified by the AQS (American Quilters Society) as an Appraiser of Quilted Textiles.
What is your favorite of the quilts you have made?
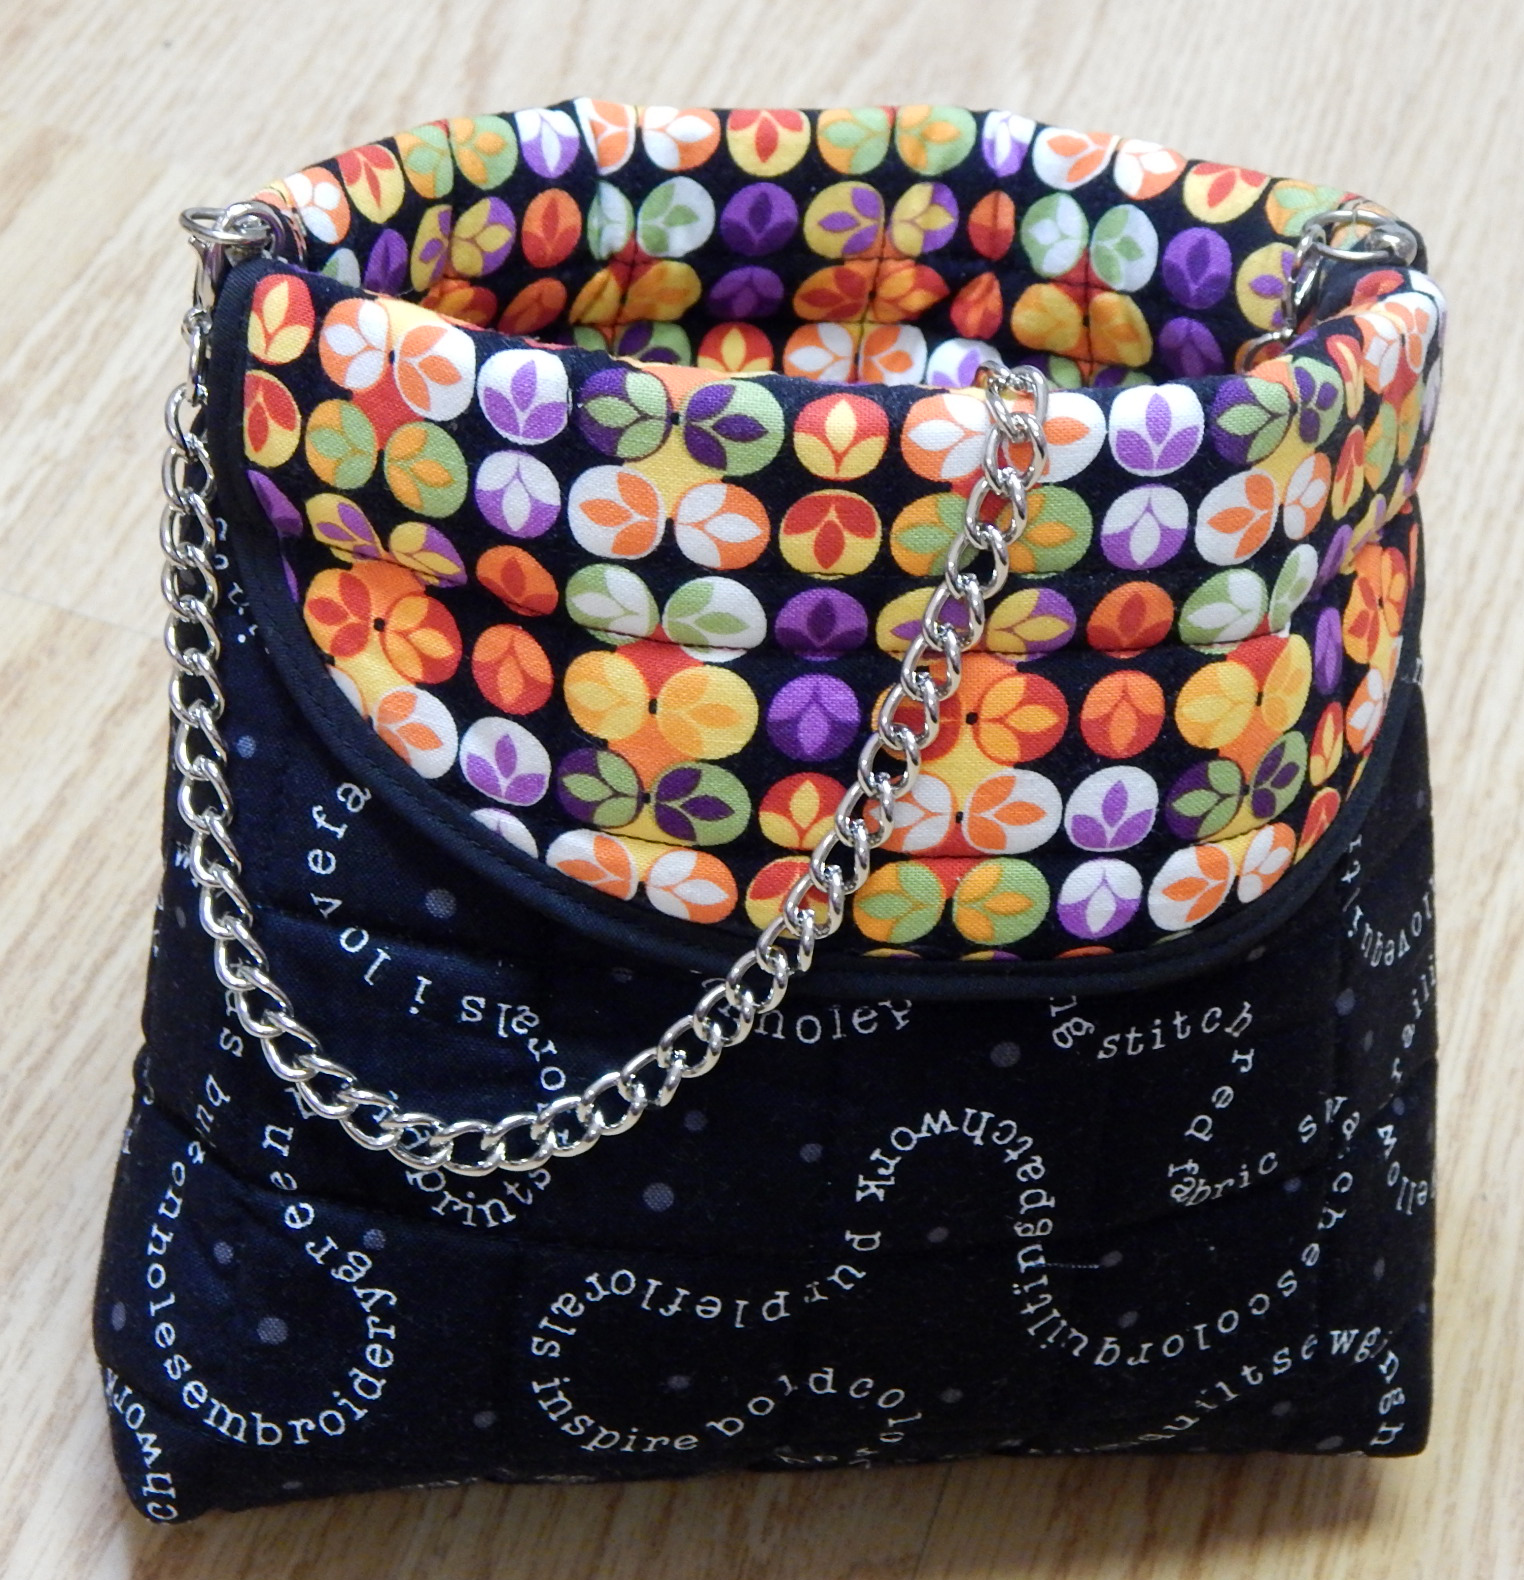
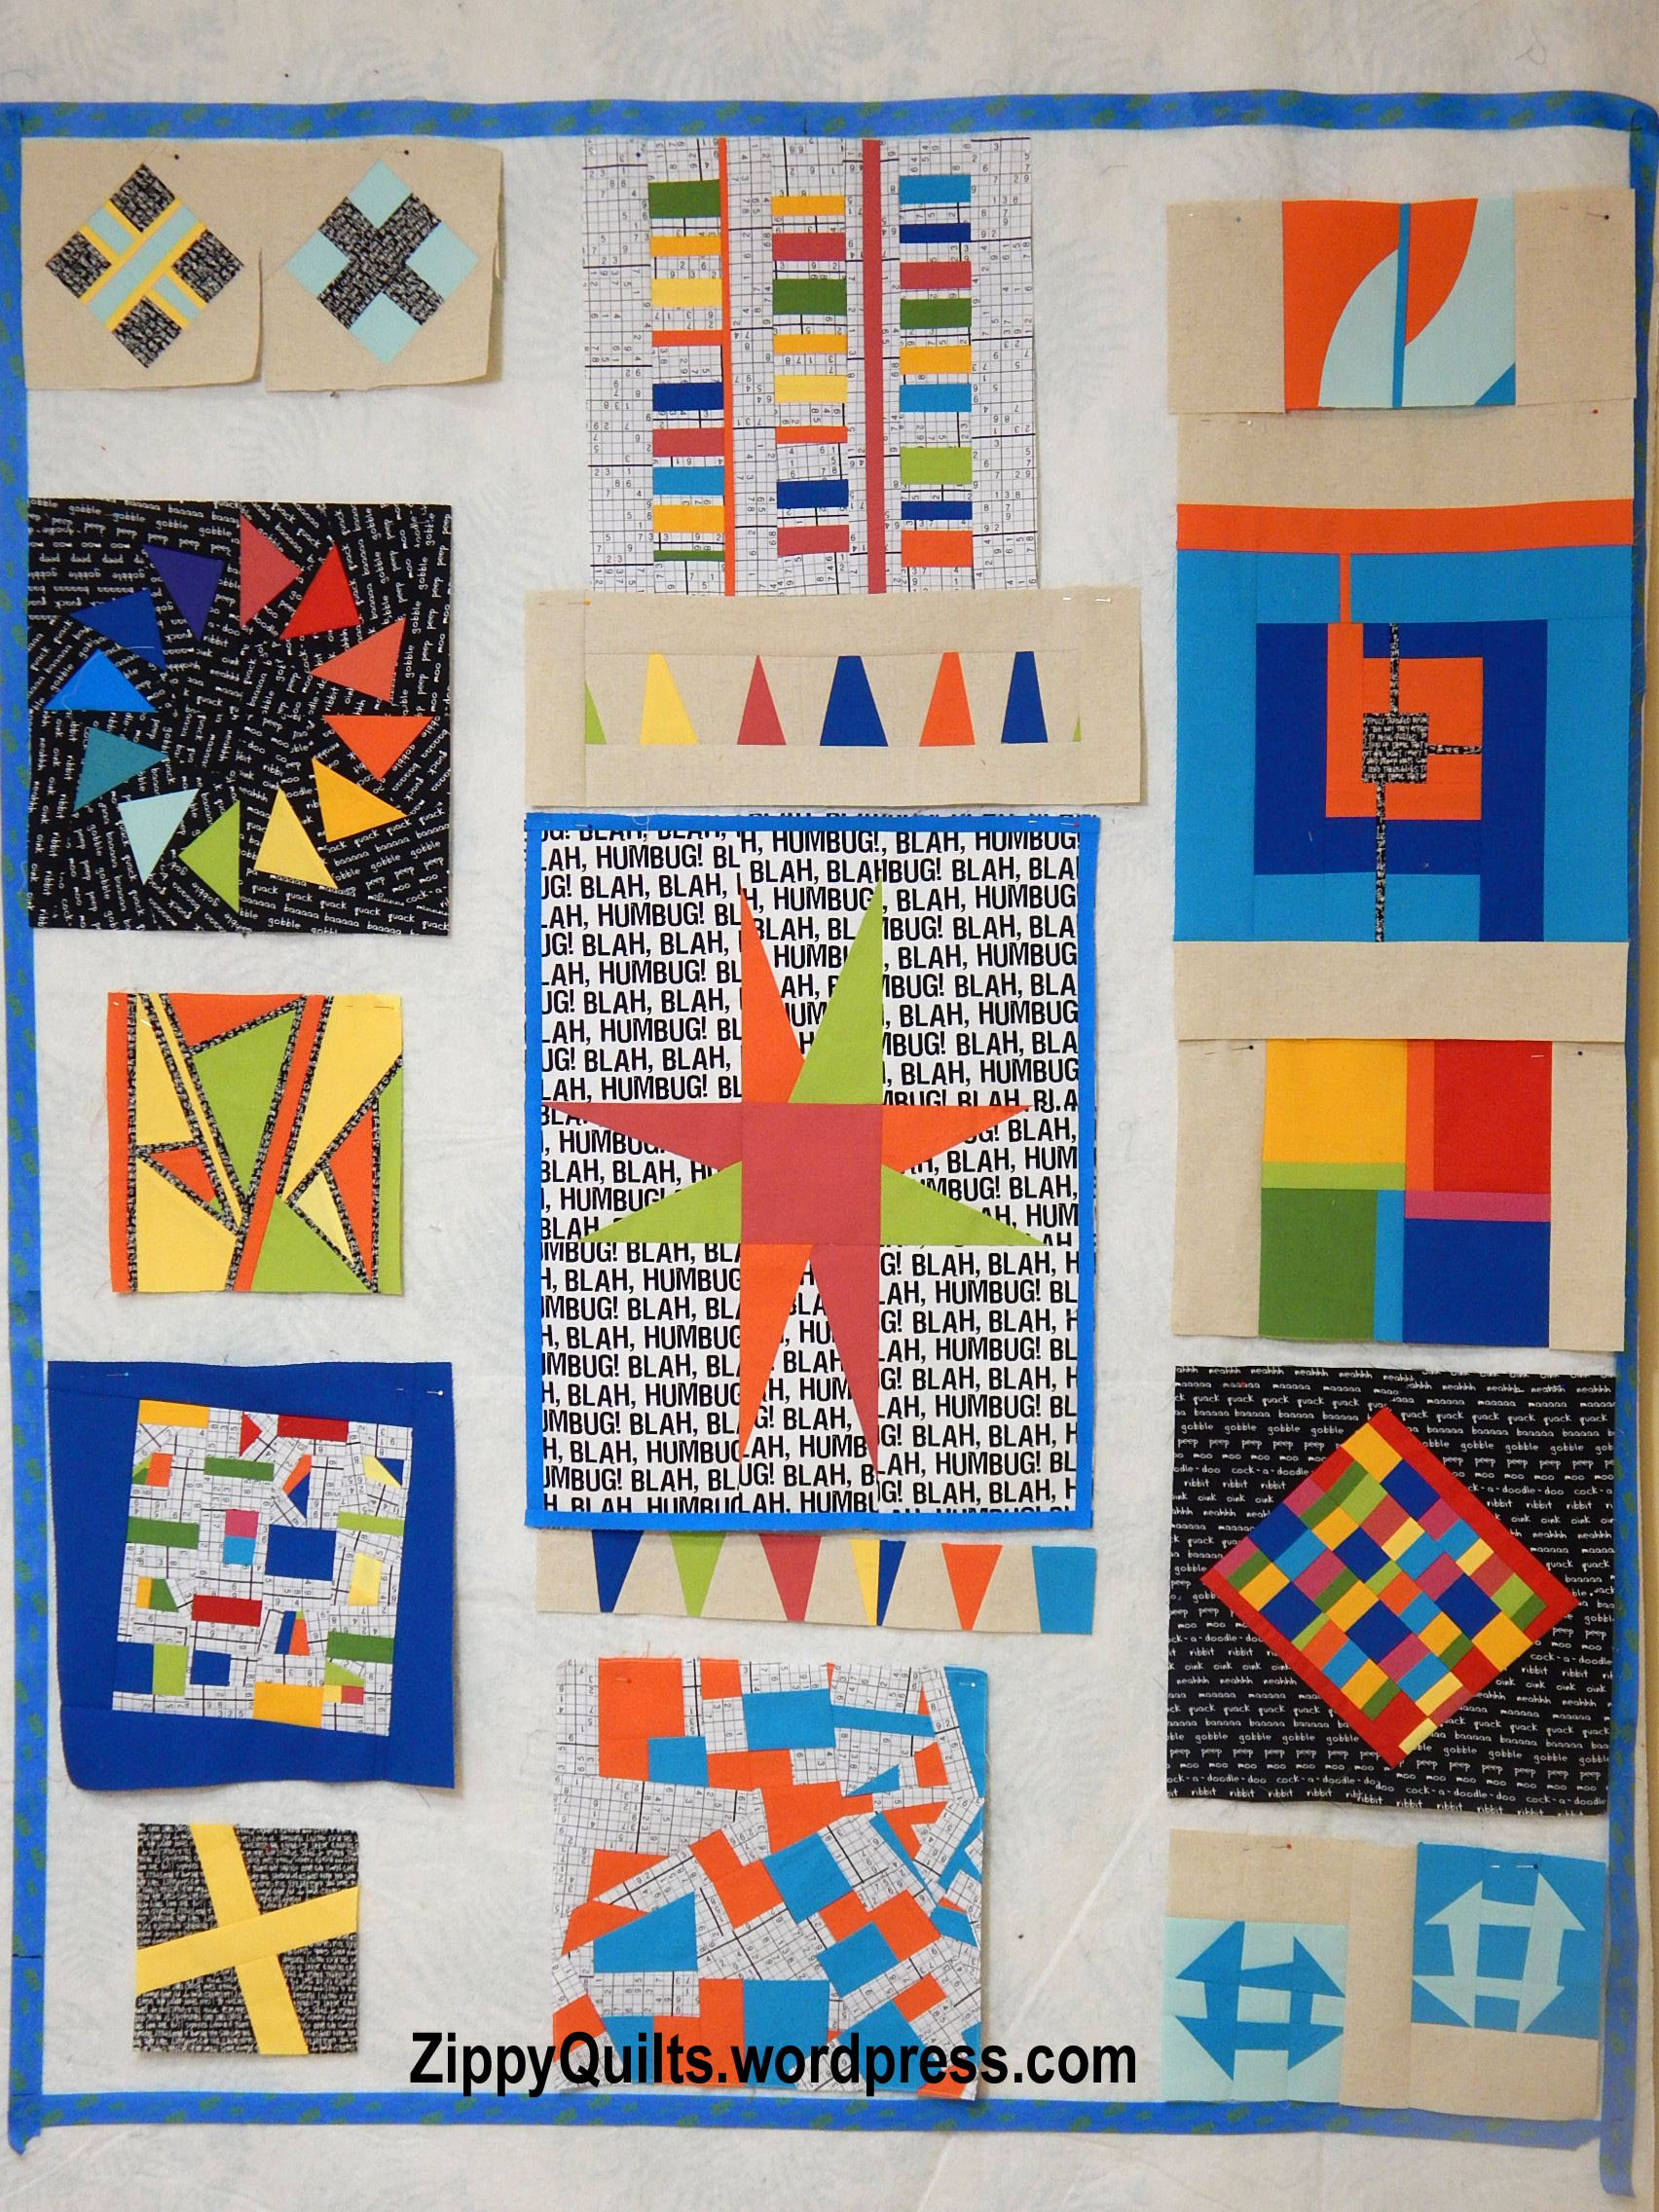
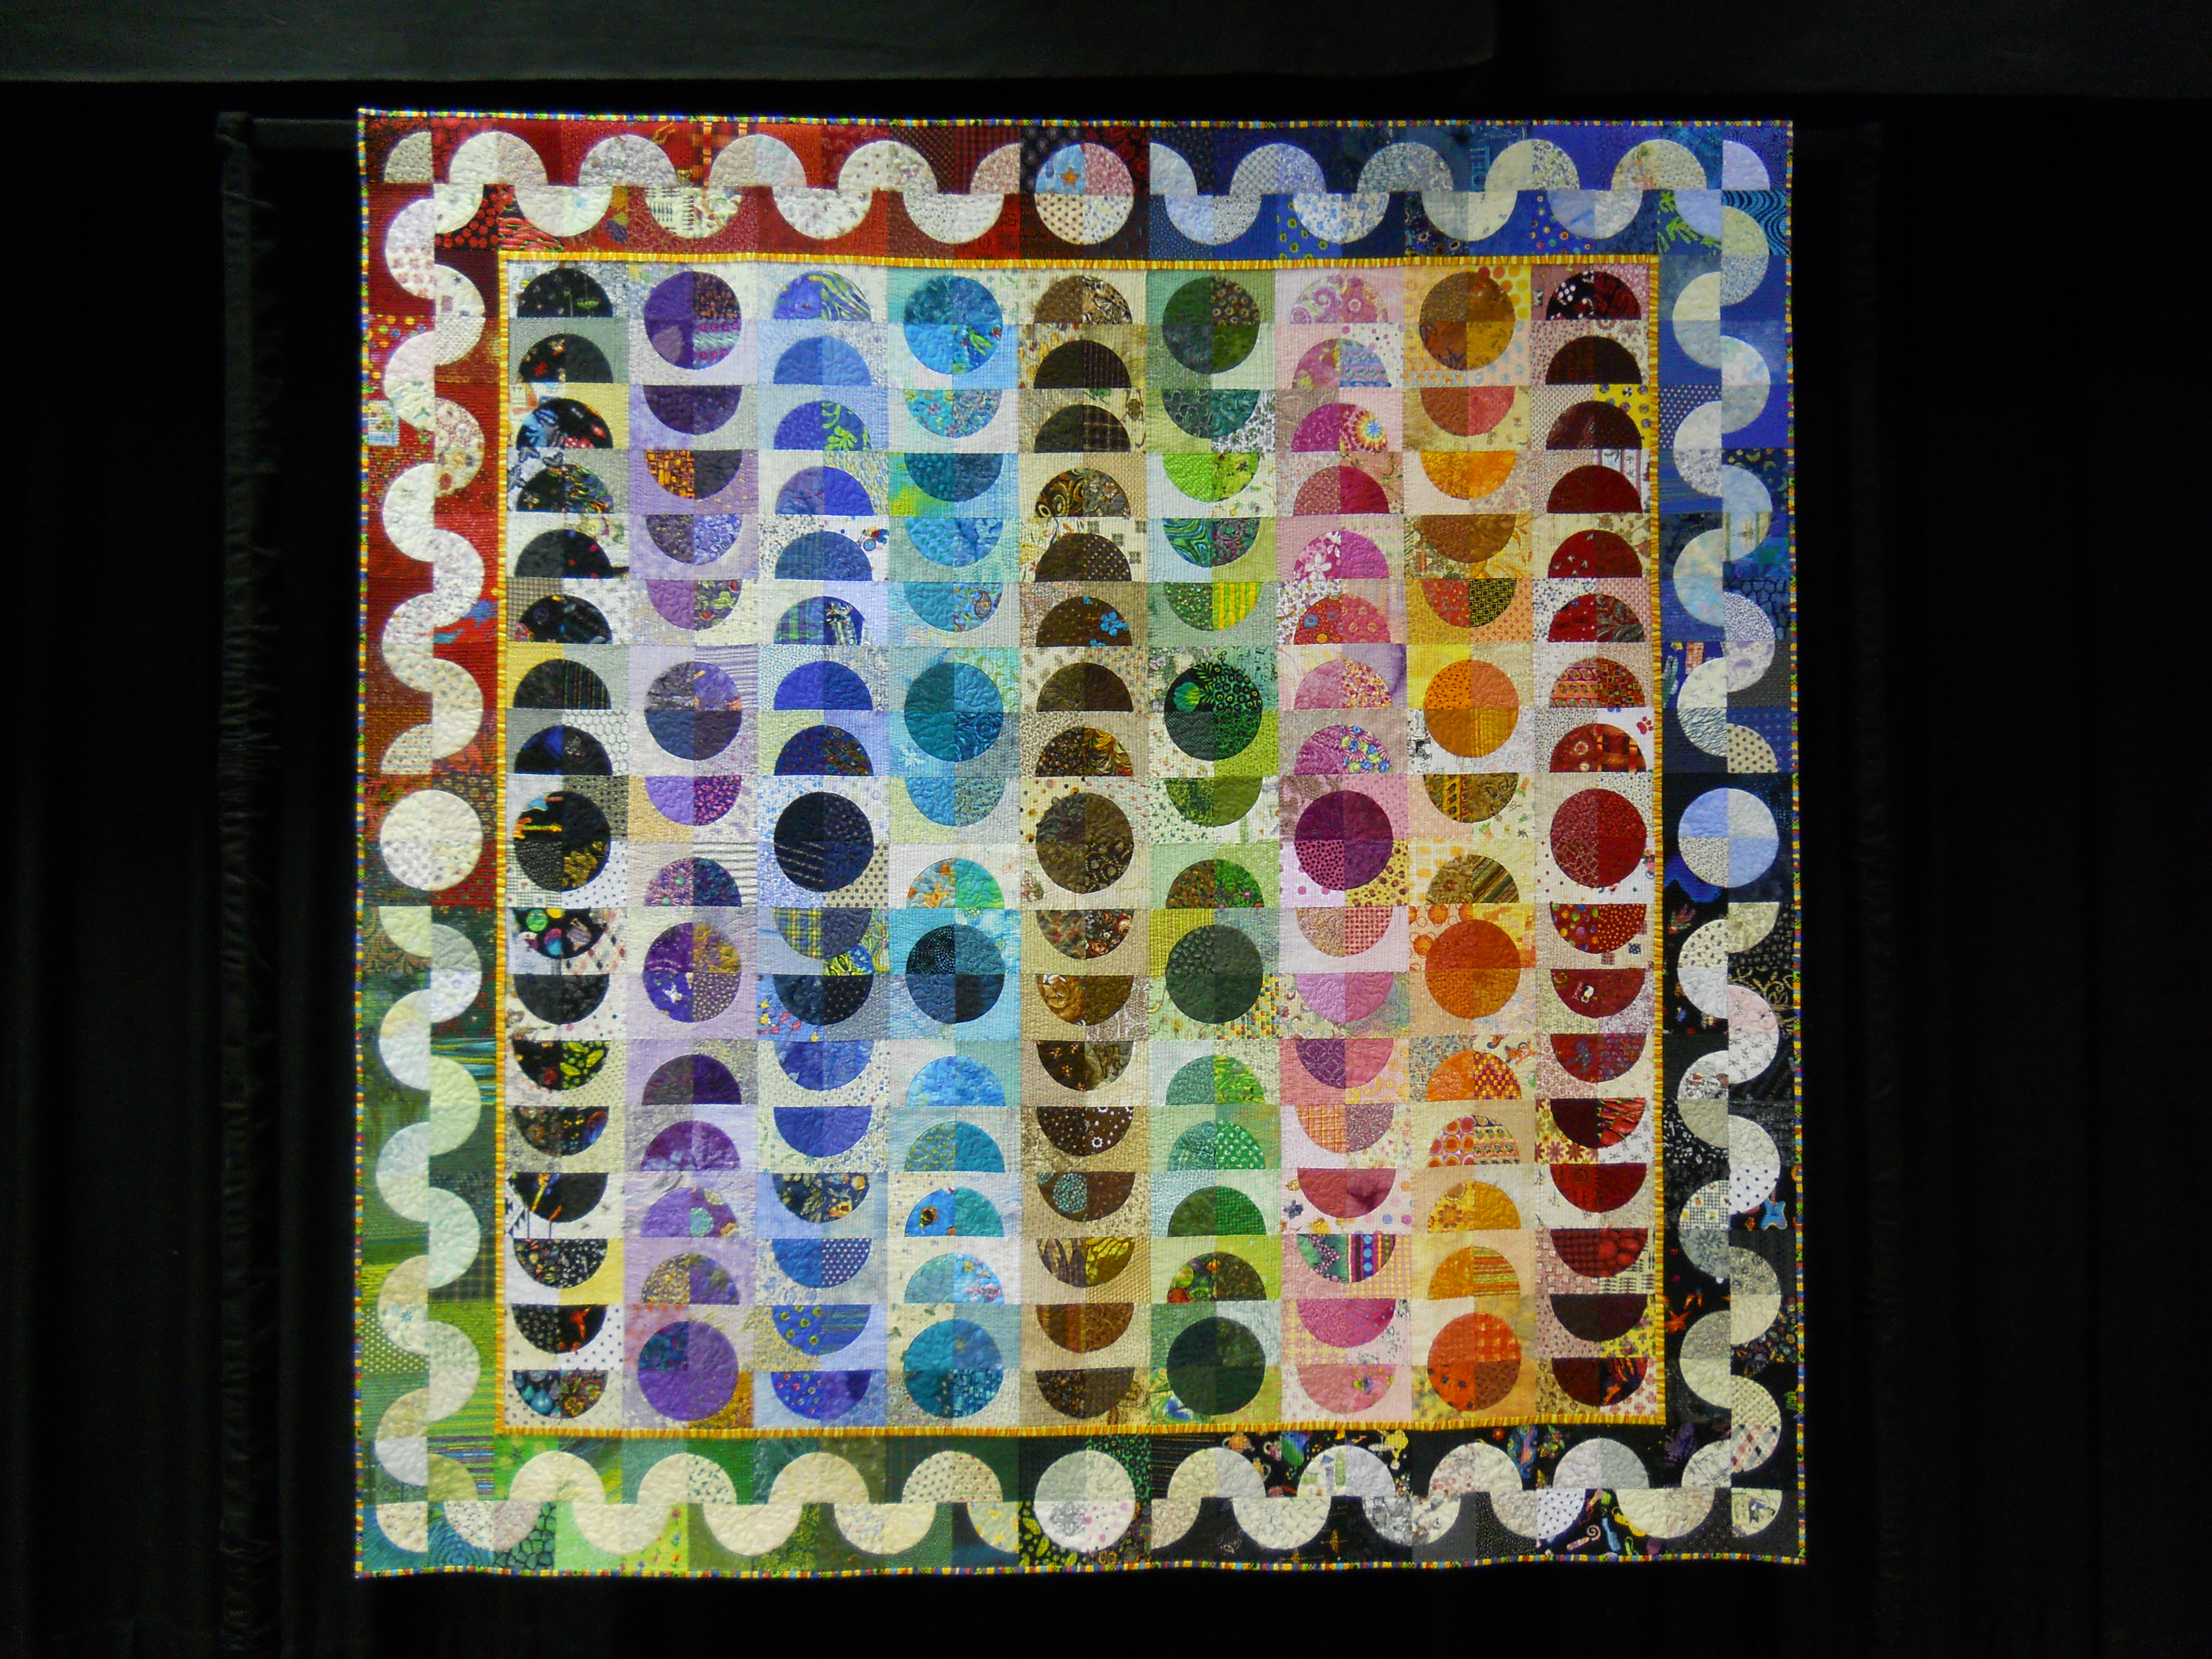
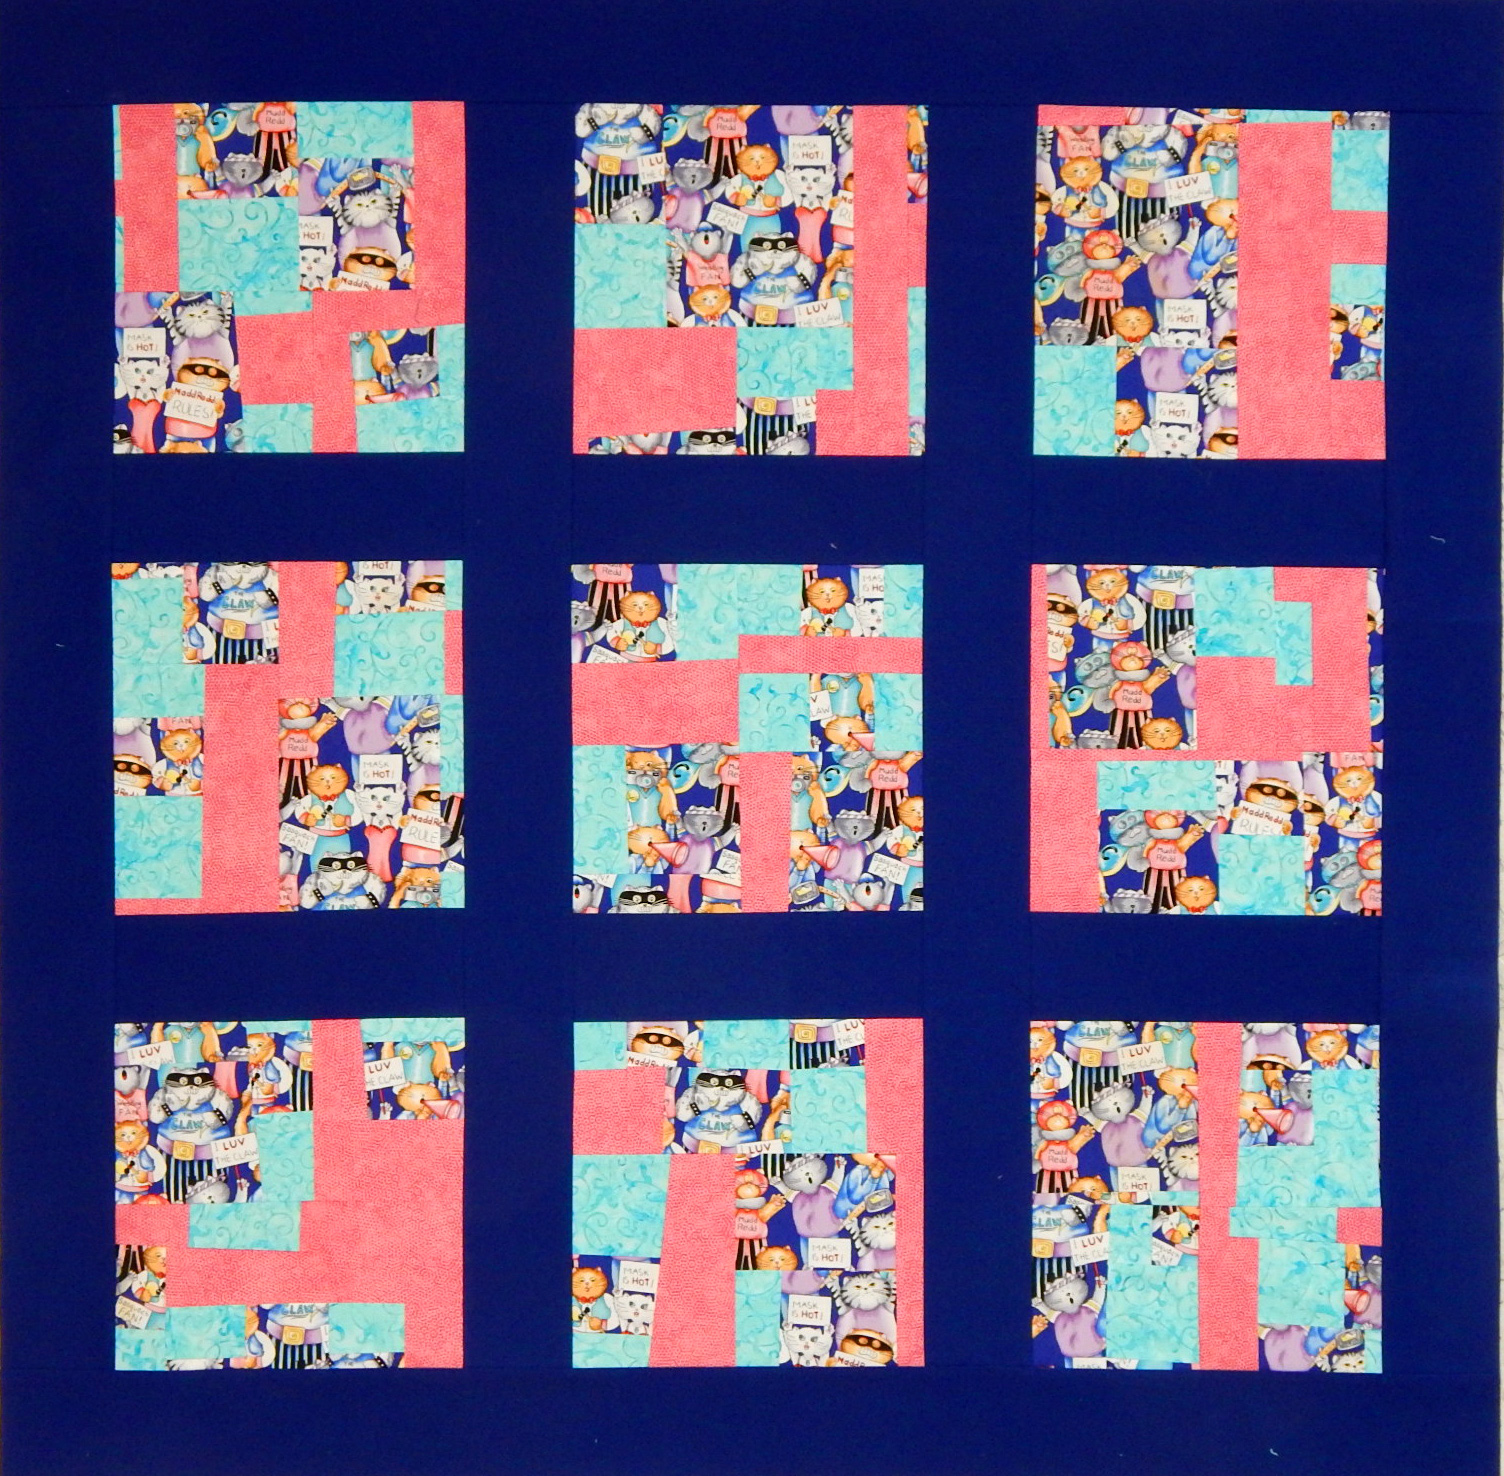
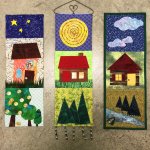
I love making circles and Drunkard’s Path units! My 3 favorite quilts so far are:

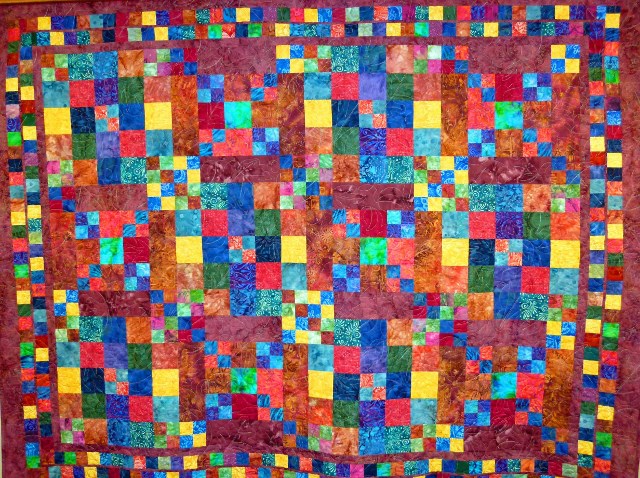
Color Cascade
“Color Cascade aka Prints Charming” includes more than 500 scraps. The pattern for this quilt is in the September 2012 issue of American Quilter Magazine. This is machine pieced and machine quilted.
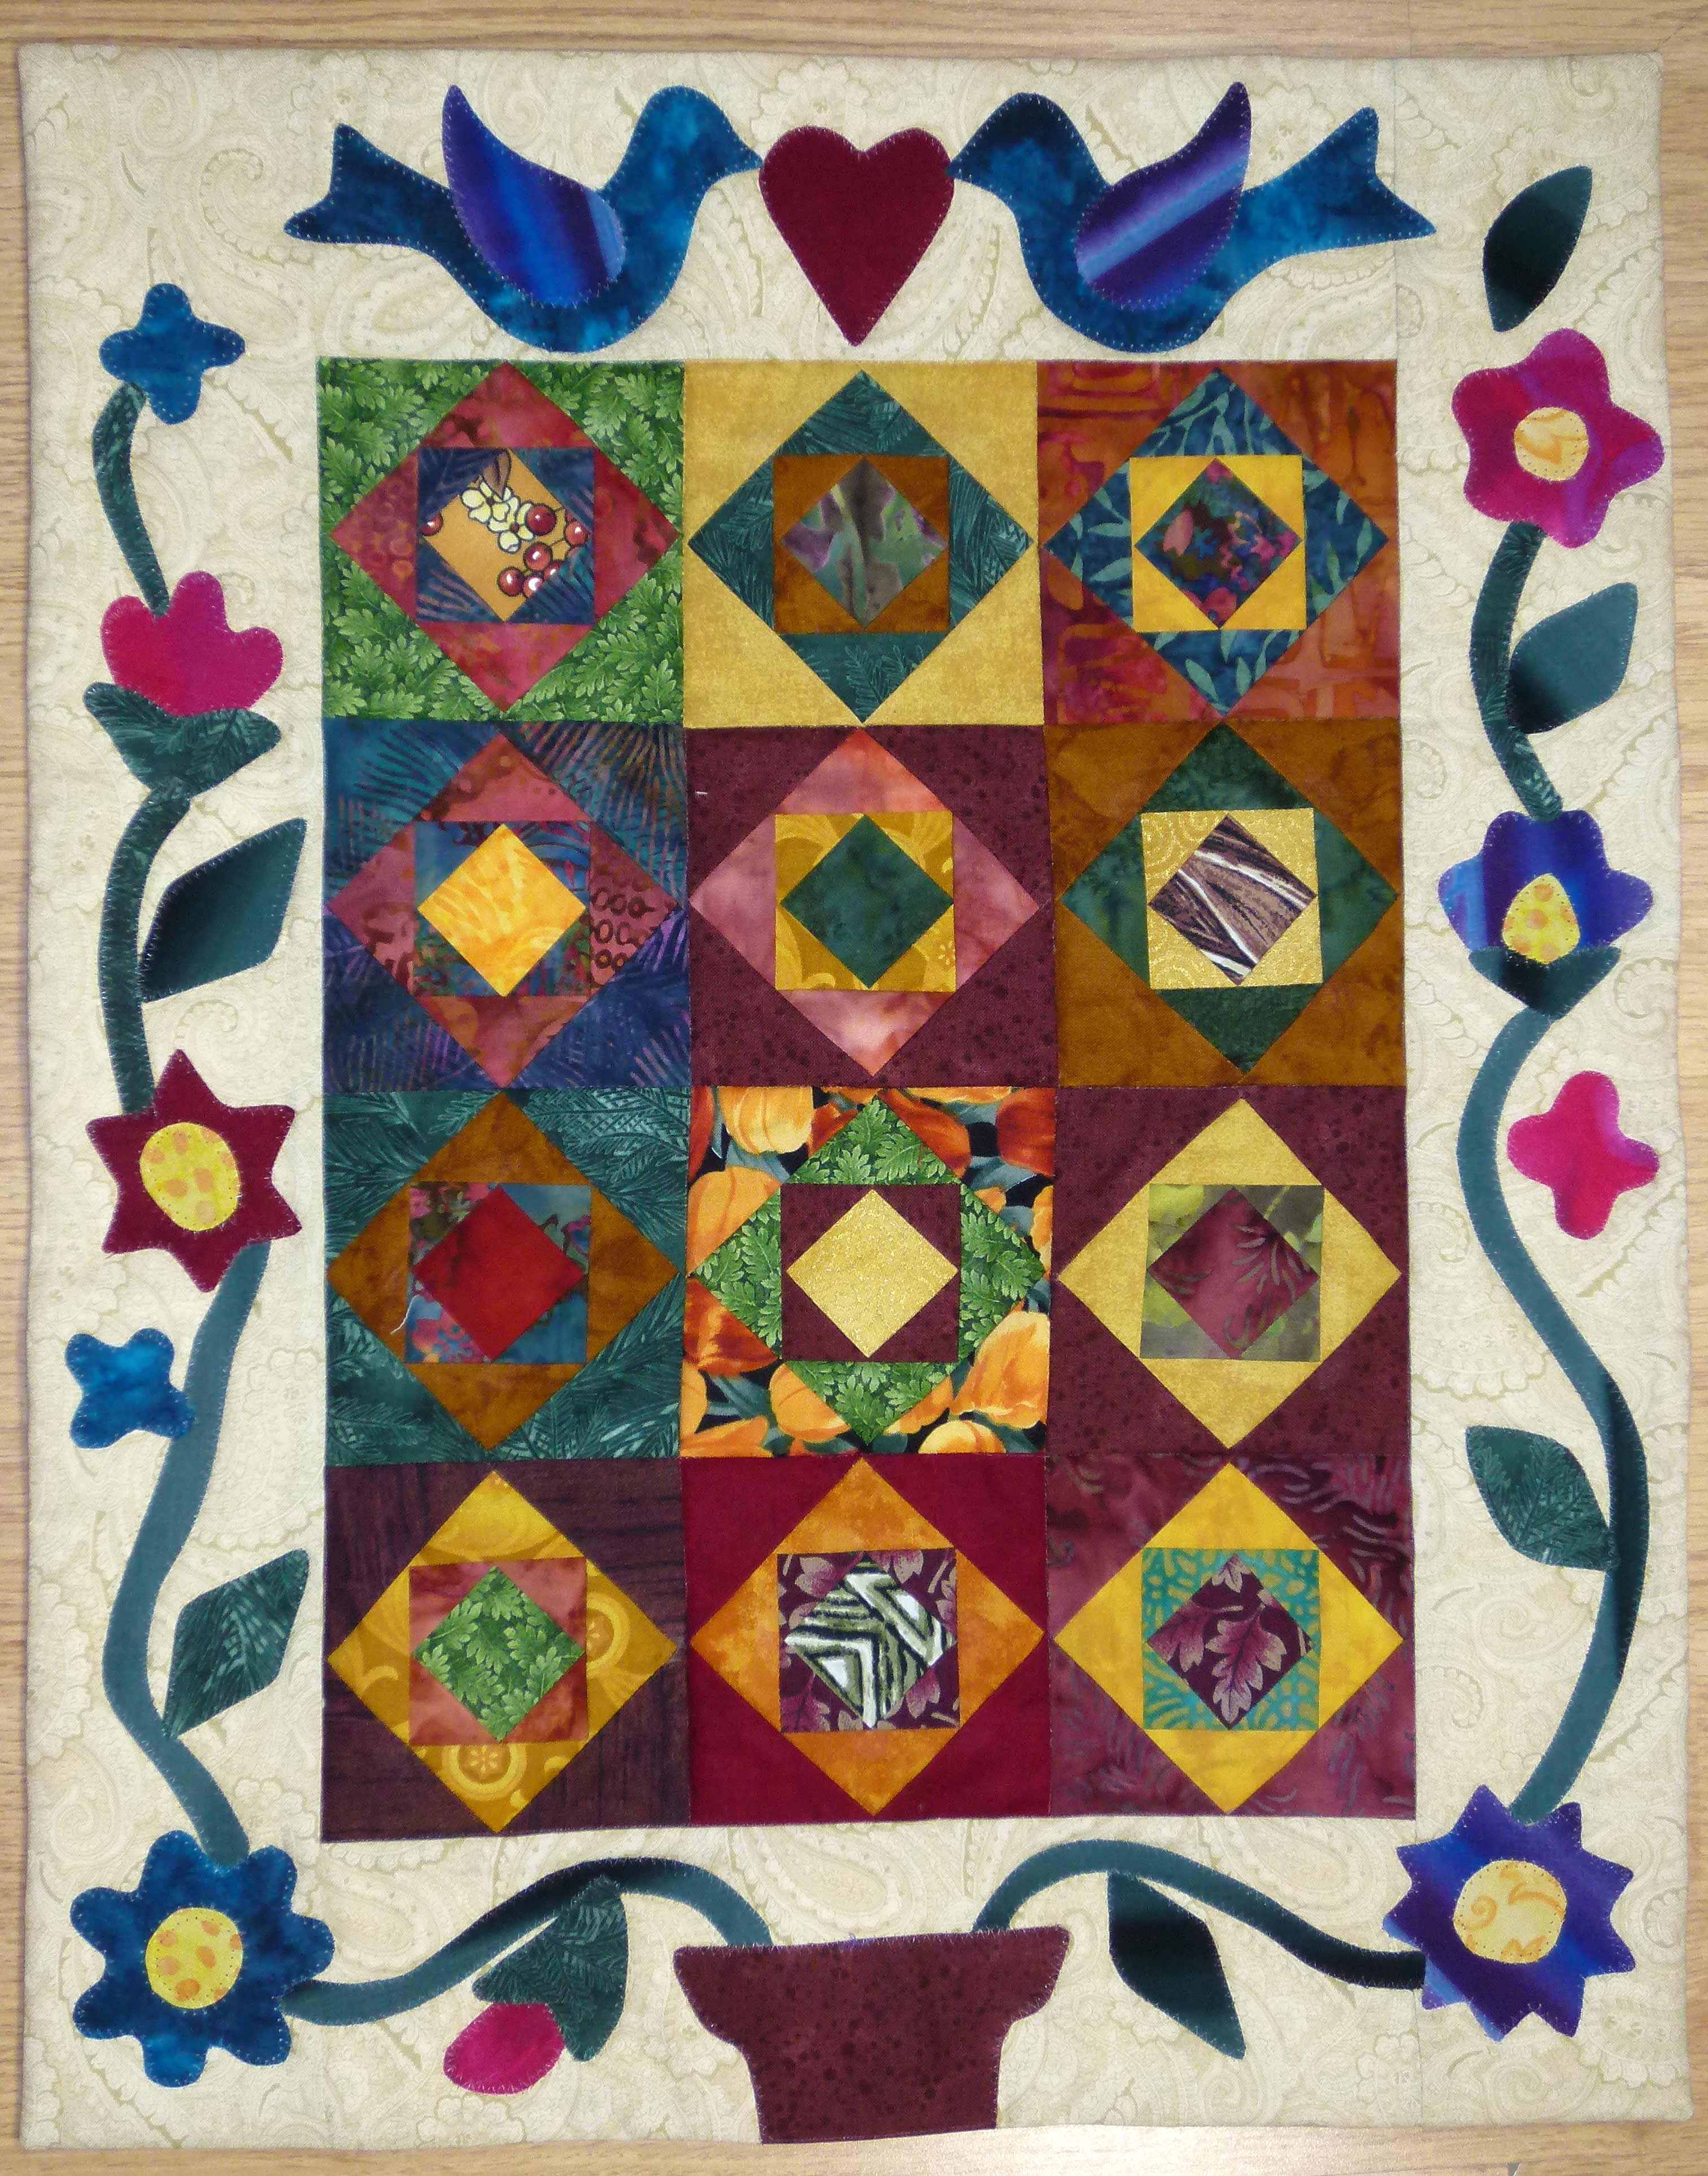
 “V-Spot Target Attack” is also made entirely by machine.
Finally, “Tiffilippa” was inspired by a Tiffany lampshade. I couldn’t throw away the trimmed off “waste”, so I used it as a border.
How much time do you spend quilting? How do you have time to quilt, participate in guilds, keep bees, substitute teach, and still eat and sleep?
Every day I do something quilt related, whether it’s making quilts, studying, visiting an exhibit, or writing appraisals. I always carry something to work on in my down time when I substitute teach.
How far do you travel with your quilt activities? And what do you have coming up?
I’ll be at the Folk Art Center (on the Blue Ridge Parkway near Asheville) for National Quilting Day (March 19, 2016). I’ll be hosting a quilt sharing day with an exhibition of 4 or 5 antique quilts, and people are invited to bring older quilts they have questions about. I won’t be doing appraisals that day, but it’s a free event and a good opportunity for people who may have quilts they wonder about. It can help them decide whether the quilt needs a formal appraisal.
This year I will be offering appraisals at the AQS shows in Paducah and Chattanooga as well as in Mt. Pleasant, South Carolina during the Cobblestone Quilt Show. My fees for written appraisals are $75 per quilt, but during these events the charge is $50 per quilt. Each appraisal takes a minimum of 2 hours, including meeting with the client, travel, research and preparation, and typing the report.
To see more of Connie’s quilts, visit her webpage at southernhighlandguild.org/conniebrown
You may email Connie at mail2thebrowns@juno.com