Only as Good as Your Last Quilt?

There’s a cynical phrase, common in professional sports, that is used often in other arenas as well: You’re only as good as your last game. It’s a commentary on public opinion. Unfortunately, there’s a corollary in our everyday judgments of ourselves.

Michael Miller Challenge 2013

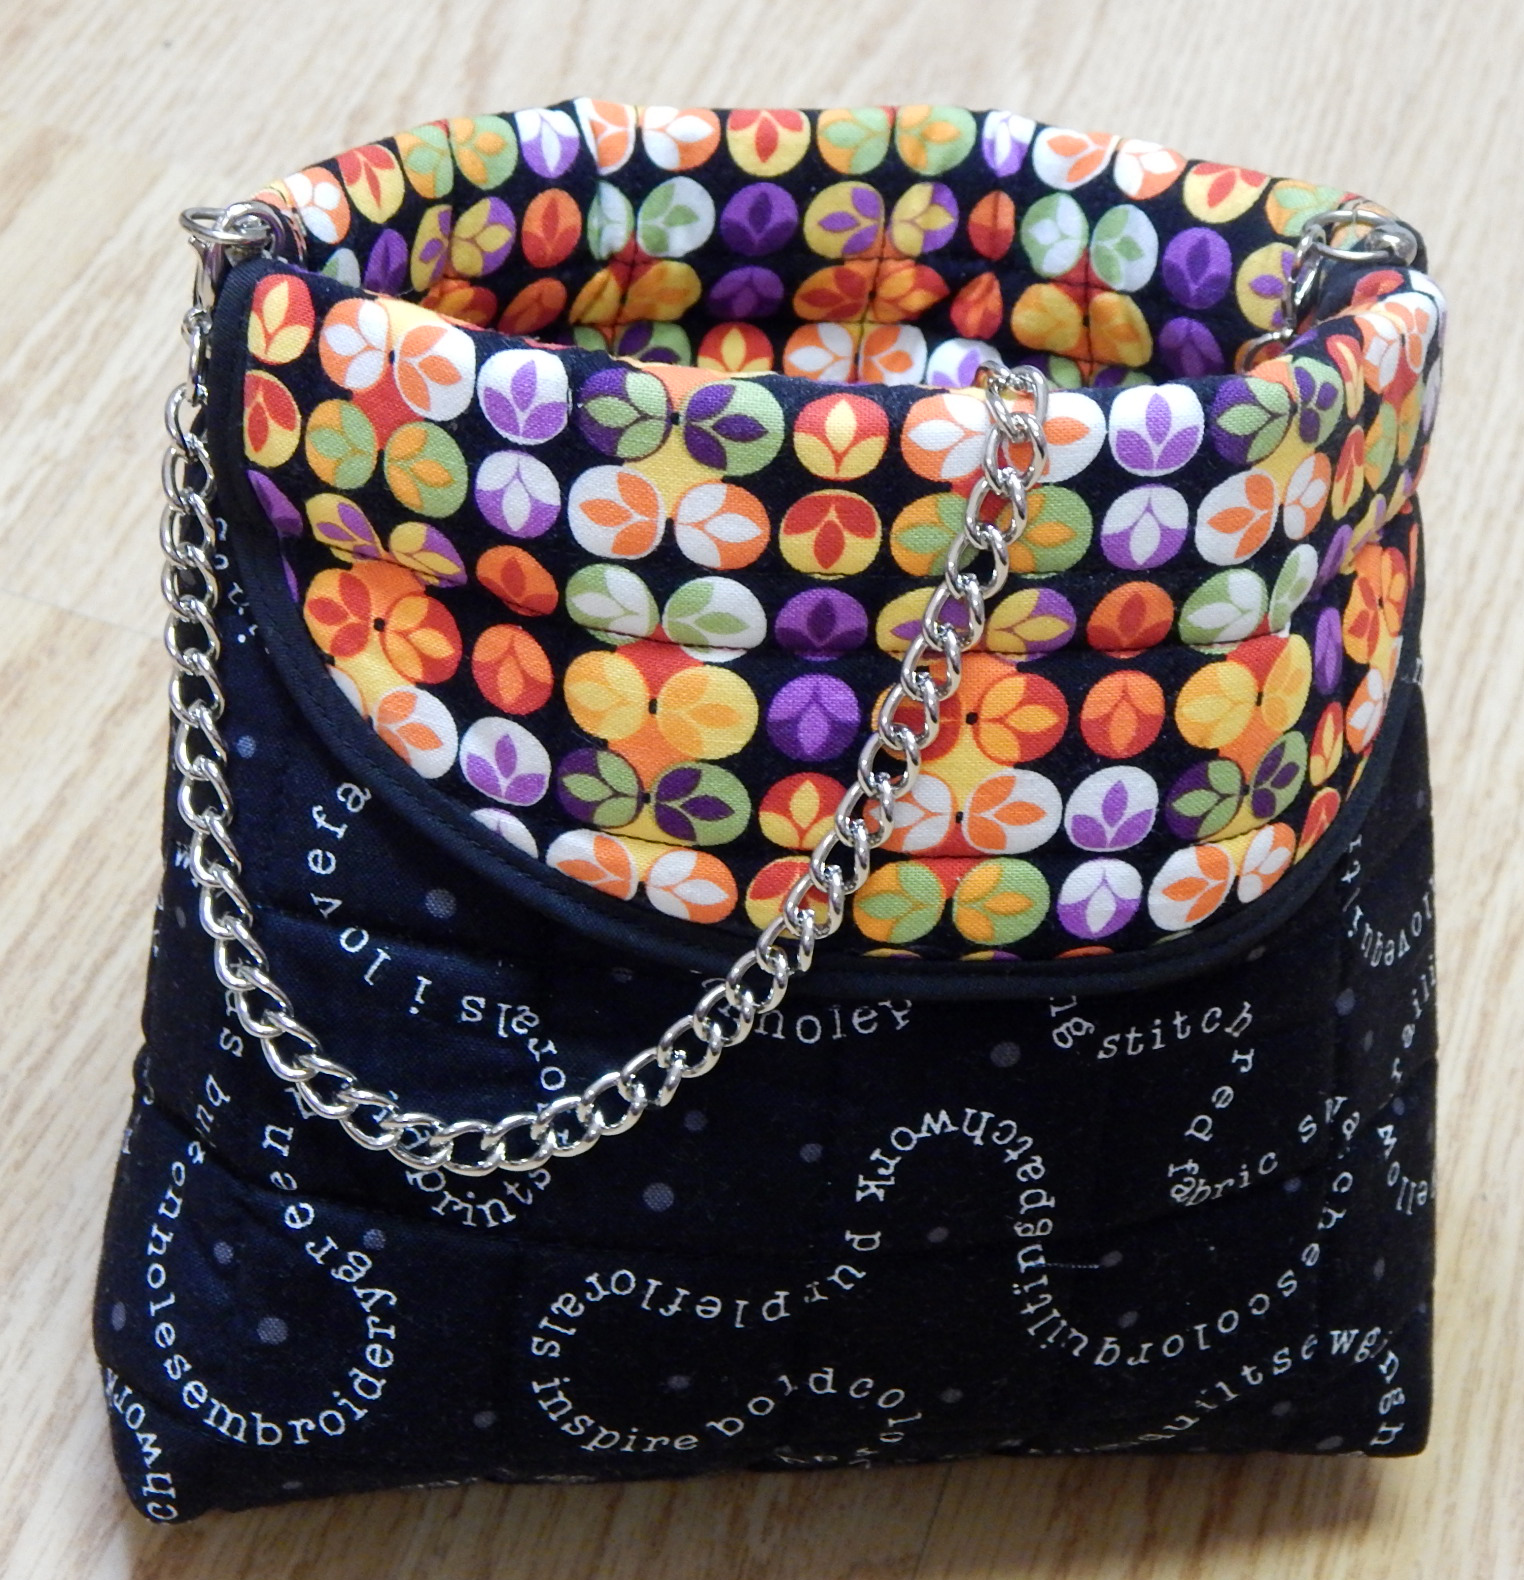
This little quilt, “Packet of Posy Seeds”, did NOT win anything.

One of the modern guilds I belong to had an interesting discussion last meeting about which quilts are selected for QuiltCon, and why.  We pretty much all agreed that the show is used to further the MQG’s own definition of modern quilting rather than to reveal the depth and breadth of the modern quilt movement.

modern quilt

This little quilt was published, along with an article I wrote

So, am I a good quilter because my quilt was juried into an AQS show? Or a poor quilter because SEVERAL quilts were rejected for a QuiltCon show? A good quilter because I’ve designed quilts that were published?  Or a bad quilter because every magazine doesn’t love every one of my proposals?  There’s a temptation to feel great when a quilt wins a prize and to feel a bit down when one is rejected.  But does that make sense?

modern quilt

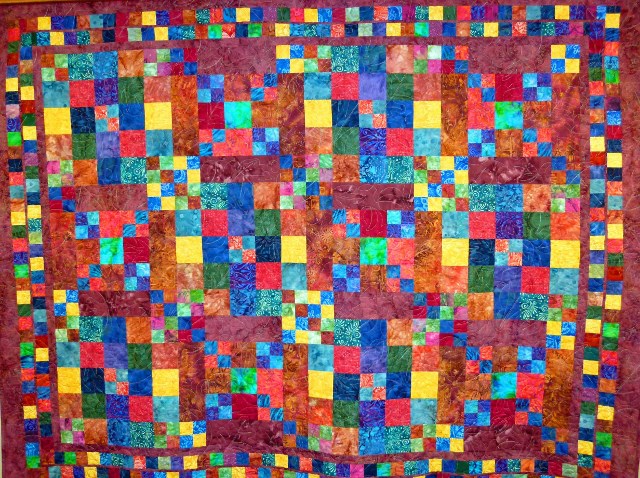
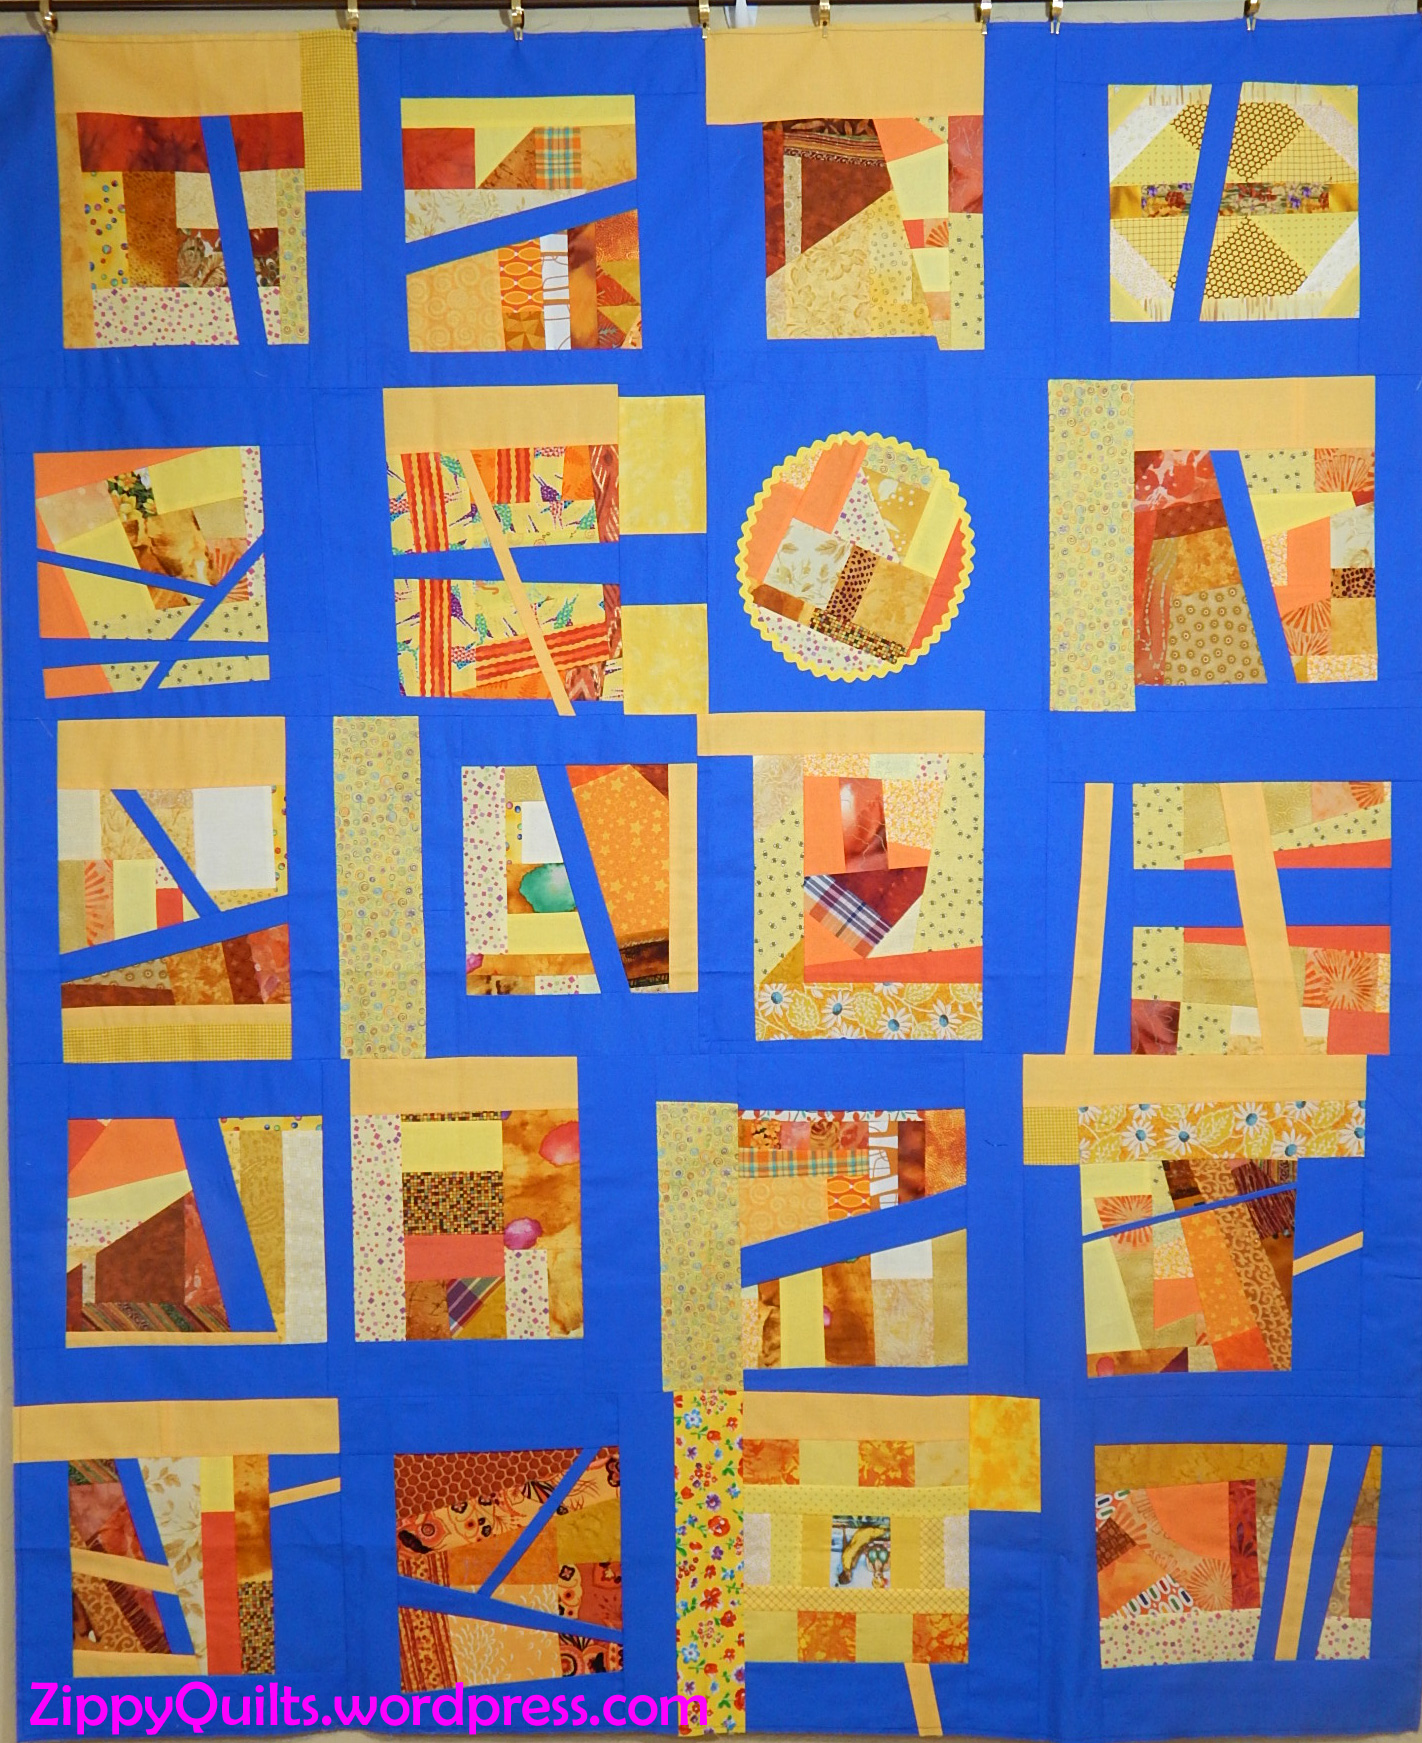
Happy Squares, designed and made by me. I love it, but nobody wants to publish the pattern.

Of course there are some “competitive quilters”, but most of us quilt because we enjoy it. My quilts are made to please myself, not to please other people.  Even when I make a quilt for a challenge or show, I make it the way I want it, and I expect that is true for most people.  I doubt that quilting is a road to fame and fortune for most of us, and that’s fine.

Modern Quilts Unlimited magazine

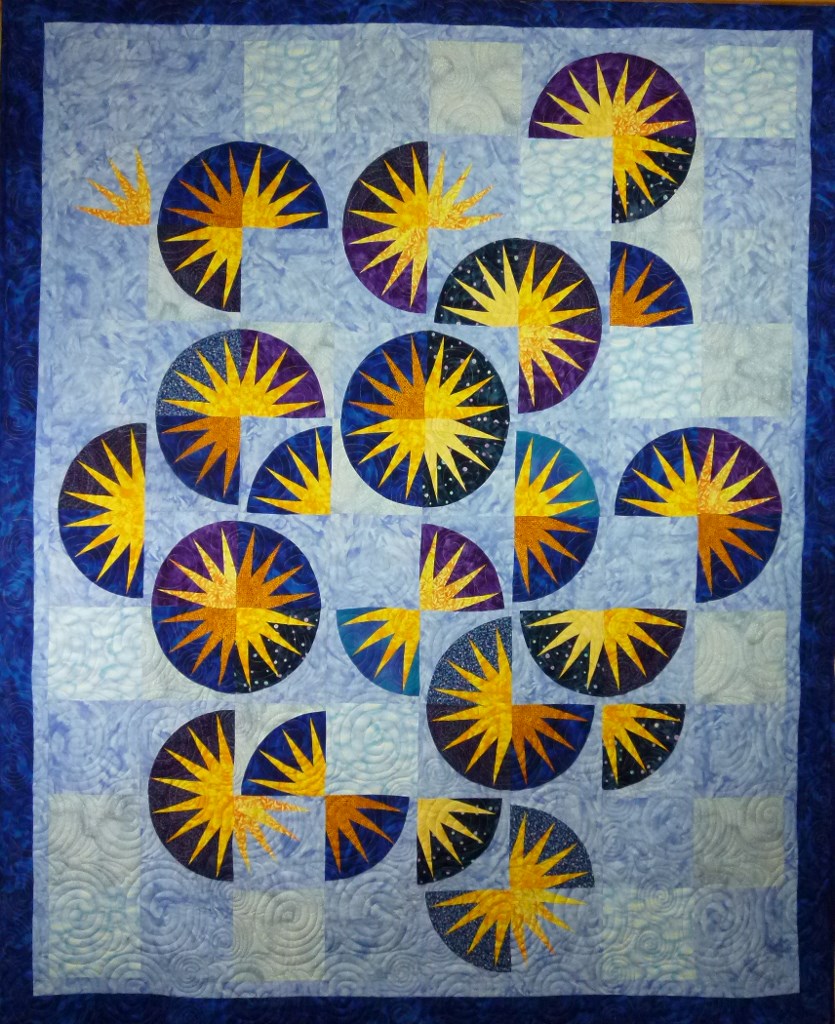
Zippy Star quilt for Modern Quilts Unlimited. I won a contest with this design.

So, if QuiltCon didn’t accept my quilt, it is NOT a personal judgment about me, it is a programmatic judgment about where the MQG folks want the definition of modern quilting to go. And if some of my quilts are published or win prizes, that’s dandy, but I still made them to suit myself.

improvisationally pieced quilt

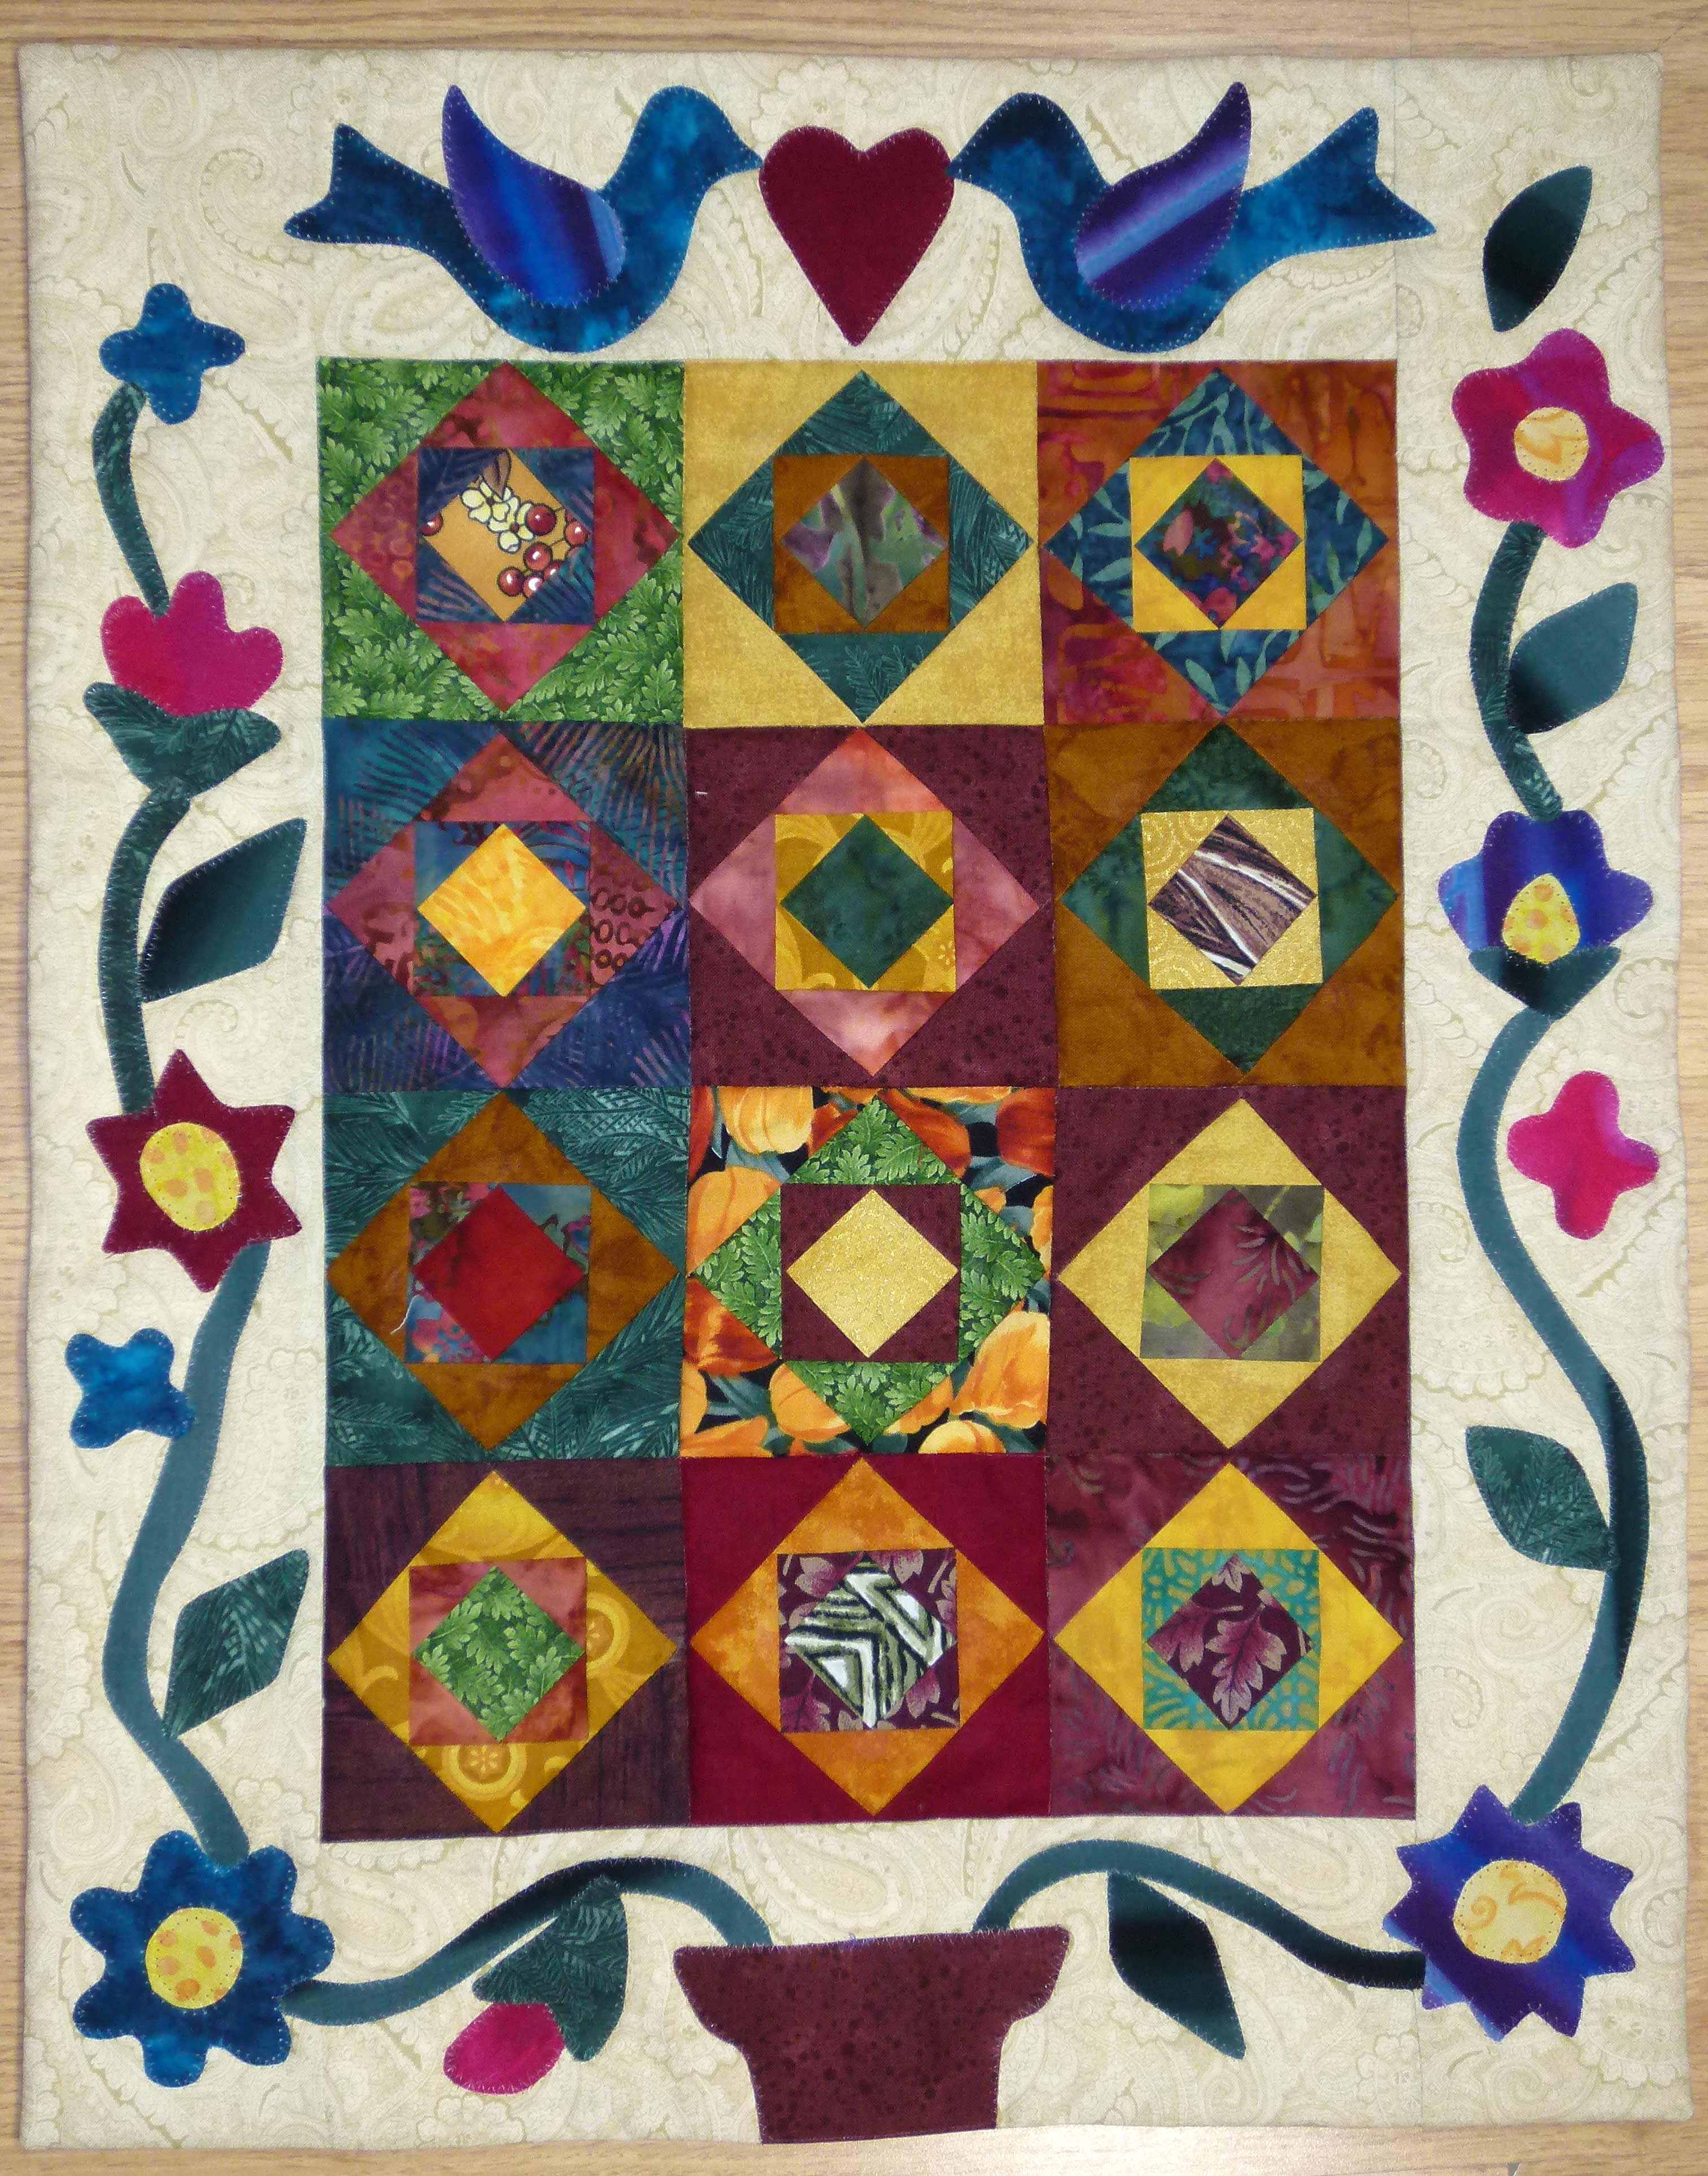
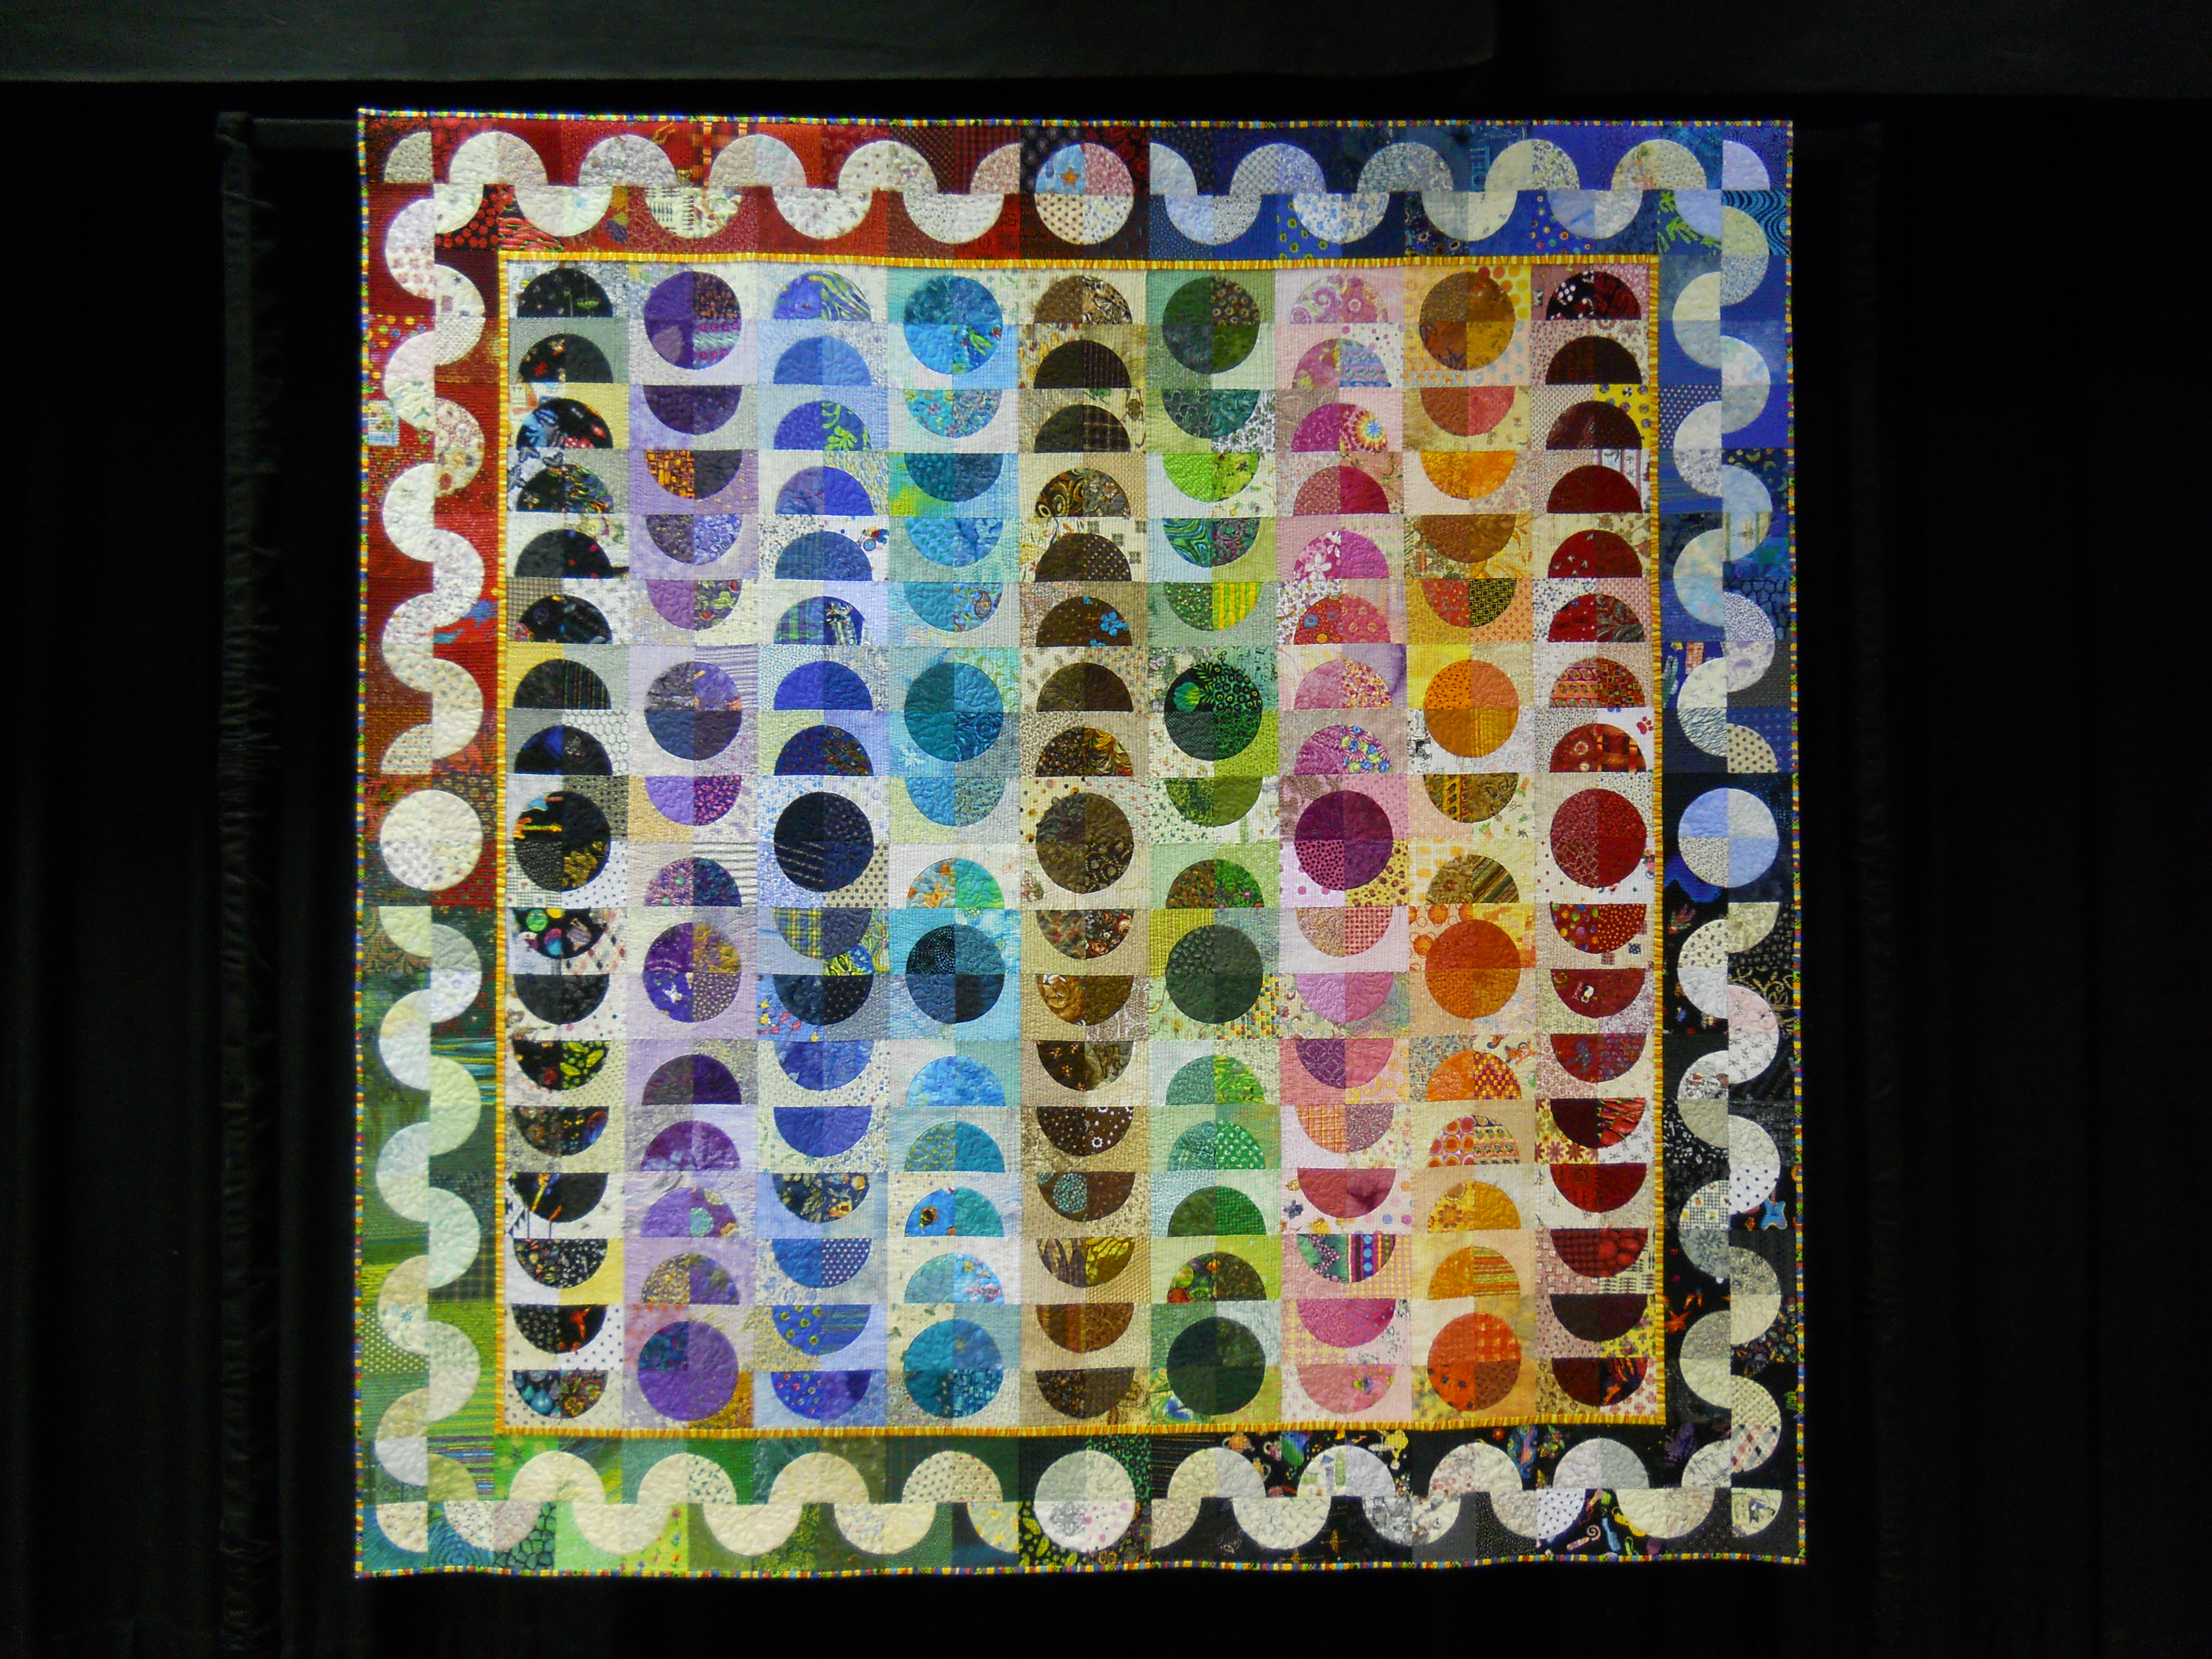
“In Fairyland” has been in 2 shows but won no prizes.

So much of life involves following other people’s rules, sometimes for good reason and sometimes not.  Although I’m a serious quilter, I want to do it by my own rules.  I’ll still submit to shows because I like to see my quilts displayed.  But really, the quilt is an end in itself.

Spring Sun, a design by me, using blocks paper pieced from a totally different Judy Niemeyer pattern!

I designed Spring Sun using blocks paper pieced from a totally different Judy Niemeyer pattern. It was juried into an AQS show.

My friend Melanie has written a couple of posts on why we quilt.  You might enjoy them:

Make Good Art

Saturation Point

Love Panto Quilting and KonMari Update

The two quilt tops I finished last month are back from the quilter already!  I’ve used the same quilter for a long time because she does wonderful work.  I choose panto designs rather than custom quilting, in part because of the great variety of designs of available and in part because it is so much more affordable.

panto quilting

Panto design of circles on a block from my modern sampler

Just look at these cute circles on the Modern Sampler Quilt:  Yes, that is an edge-to-edge panto design!  I have done those doggone circles on my domestic sewing machine, and they were a PAIN.  I am so thrilled to have someone do them for me at a reasonable cost!

modern sampler, panto quilting

Another block from my modern sampler showing all those circles in the panto design

Here are some close-ups of the quilting on the batik block-swap quilt.  I love the choice of thread color as well as the design.  It enhances the overall quilt!batik quilt, block swap

applique, applique blockNow I’ll just get these bound and ready to go!

Here’s one more reason I choose panto quilting.  I asked for a choppy quilting design to go with the chopped-up blocks in this quilt and got just what I wanted!

modern quilt

Panto quilt design on one of my improvised quilts

I do quilt my own quilts on my domestic sewing machine, both free-motion and with the walking foot.

free motion quilting

Here’s some free motion quilting I did years before I tried the stitch regulator

free motion quilting

Here’s some sort-of straight line quilting I did freehand

walking-foot quilting

I did this with the walking foot without marking

It’s not my favorite thing to do, but if I need a quilt done a certain way or in a hurry, I do it.  Alas, I have not found the stitch regulator as useful as I expected. (You can read my review here.)  I do enjoy all the things I can do with the walking foot!

walking foot quilting

Here are some variably-spaced lines I did with the walking foot

hand quilting

Here’s something I quilted by hand “back in the day”.  It’s been around a while.

Update on KonMari in the Studio:

It took an entire week to go through all my fabric and then get it put away, but it was worth it.  I had a great “ahhh…” feeling when it was all done.  My studio is much neater and I know what I have.

One thing I learned is that almost any fabric brings me joy!  Probably why I’m a quilter.  So there wasn’t much fabric to get rid of.  I DID get rid of a bunch of scrap collections I was “saving”.  I cut my scrap fabric in strips of pre-determined width and store it by strip size so that I can find what I want easily.  However, I had several collections of tiny pieces too small to cut into strips.  I know some people just love those and do lots of things with them, but it’s not for me!  So out they went.

My next project is the donation quilt for the Quilt Alliance’s 2016 Contest, so the next step in KonMari will have to wait until that is done.  You should consider entering, too!  Entries are only 16 inches square, so it’s not a huge commitment.  Check it out here.

Quilt Alliance


KonMari in the Studio

Because I had seen so many reviews of it, I recently read The Life-Changing Magic of Tidying Up. It is very Japanese in character: there is a right way to do everything, and KonMarifollowing the rules brings good fortune. I’m a little surprised at how much it has caught on in the West. The author, Marie Kondo, calls her method for “tidying” KonMari, a combination of her names.

I was unexpectedly convinced by reading her book that I can, indeed, get rid of a lot of my “stuff” and be happier for it!  And I thought I’d start in my studio, since that won’t involve anybody but myself.

My studio is pretty neat, with almost everything stored away.  And when I see pictures of other people’s studios, I realize that my stash is minimal by many standards!

KonMari recommends dealing with things by category, and in a strict order. There are no categories for a quilt studio, so I made my own categories and ordered them like this:
1. Fabric
2. Tools, such as rulers and scissors
3. Notions, such as thread and ric-rac
4. Published materials, such as books and patterns
5. Sewing and serging machines
6. Everything else

The method requires gathering all items of a particular category in one place. ALL must come out of their drawers, boxes, etc. Ms. Kondo says to pile it all on the floor, but you know THAT’s not happening!

studio organization, stash

Some of the stash laid out on tables–and some bins on the floor, too

The next step is to handle each piece and decide whether it gives me joy. If it does, it stays. If not, it GOES!

studio organization, stash managemengt

The stash from another angle

This may, at first, seem like a waste. After all, I paid for that fabric, washed, ironed, and stored it. But after reading the book, I believe the true waste is being weighed down by things I’m hoarding because I “might need them” or “intend to use them” in the mythical “some day”.  And really, do I want to work for hours on a quilt made with fabric I don’t love?

I’ll let you know how this first step turns out 🙂  How are you managing your stash?

Finished Tops!

After much deliberation about layout, I got my Modern Sampler quilt put together last week and sent it off to be quilted.  Here’s the final top:

modern sampler

My Modern Sampler top is ready for quilting!

Then, for good measure, I put together the batik blocks from a swap I was in several years ago and sent that top off to be quilted, as well.

batik quilt blocks

Group batik blocks, put together and ready for quilting

Yes, the sashing DOES vary a bit, because the blocks do.  That’s the way it goes with a block swap.  I love the variety of the blocks and, of course, the batik fabrics.

I’m sending this to Aunt Marti’s UFO challenge, which helps keep me motivated.  What are you up to?

Good News, Bad News!

First, the bad news: I sliced a good-sized hunk out of my finger with the (nice, sharp) rotary cutter. When I couldn’t get the bleeding stopped after an hour, I went to Urgent Care. A nice Physician Assistant there got it all fixed up.rotary cutter accident

Quilting with 9 fingers is a challenge 😉  Another learning experience…

In better news, I made Lora Douglas’s Roxie bag this week, and it is as cute as expected! This project is part of Quilted Adventure, an online retreat I’m taking part in throughout 2016.  As always, I learned several things from making this bag.  And unlike the learning experience mentioned above, this was fun:

Roxie Bag, Quilted Adventure

Roxie Bag, Designed by Lora Douglas

Lora’s instructions requested foam batting, a product I had never heard of!  Luckily, my “local” quilt shop had it. It did give the bag really nice structure without making it stiff, and I probably will use foam batting for future bags.  A nice find!

I purchased the hardware for the bag from Lora’s Etsy shop,  I had no idea a flex frame could be so sturdy.  Most bags I’ve seen were made with lengths of metal measuring tape as the closure.  That works just fine (if your husband isn’t very vigilant about his tools) but the closure isn’t very tight.  The flex frame that came with the kit holds that bag closed with certainty!  And unlike the measuring tape closure, this one can hold itself open when needed.

Lora Douglas

Roxie Bag with the top snapped open

Lora’s instructions also called for glue-basting the binding, which I had never done.  It actually worked great!  I’ll probably do that again.

If you’re interested in the year-long Quilted Adventure, all classes are online for the whole year, so you can sign up any time.  Just use the link above to go to Lora’s site and click the button in her margin.  If your main interest is the bag rather than the whole retreat, she’ll release the single pattern some time in 2017.

So the good learning experiences certainly outweighed the bad this week!


2013: The Quilts

Most of the first post about 2013 showed special projects.  Here are the quilts.

This quilt, made from a Batavian Batiks pattern, hangs in my husband's office

This quilt, made from a Batavian Batiks pattern, hangs in my husband’s office

quilt, donation quilt, bright quilt, blended border

And here is a donation quilt made from extra blocks. I used it to try out blended borders.

Here are two more donation quilts, made for Ronald McDonald House in 2013:

Happy Plaids is my own design, but there are MANY similar quilts out there

Happy Plaids is my own design, but there are MANY similar quilts out there

Twinkle, a pattern by Swirly Girl Designs, was made because I had some fabulous leftover fabric

Twinkle, a pattern by Swirly Girl Designs, was made because I had some fabulous leftover fabric

The first post about 2013 projects included a table runner made from leftovers after I finished this next quilt:

improvisational quilt

This quilt, pieced improvisationally from bright batiks and black, is one of my all-time favorites.  

This quilt was for a special baby; and yes, that’s me with my beautiful daughter 🙂

baby quilt

Quilt for a special baby!

I found a pattern for this little miniature while on a trip, and just couldn’t resist making it–all from scraps, of course.

miniature quilt

Miniature quilt–I’m sorry I don’t recall the name of the designer.

Here’s an improvisationally designed T shirt quilt I made for a friend:

Improvised T shirt quilt

Modern T Shirt Quilt, using my favorite method of designing as I go

And finally, the last Ronald McDonald quilt for 2013, made from blocks that were just too wild without solid sashing!

Ronald 1 2013That’s what I could find for 2013!  More years later.

My Modern Sampler: Using Linen in Quilts

After finishing the blocks for my modern sampler, I ordered several shades of Essex linen/cotton blend to consider for the background. I know I said I’d never use linen again after the last struggle, but I’ve learned several things since. So, if you’re thinking of using linen in your quilts for its nice texture, read my tips at the end of this post.

Here I’m trying various layouts on two different potential background fabrics.  I hung the ironed fabric and pinned the blocks to it, trying out various layouts and different colors of background fabric.

essex linen

Here is the Pewter background

modern sampler

Here is the Natural background, with a different attempt at layout

I decided I liked the natural background better than they gray.  Then I took it all down and made a rectangle on my design “wall”, outlining the approximate finished size with blue painter’s tape.

modern sampler

Here is the layout I decided to use, with some of the sashing in place

And here are my thoughts on using linen in quilts:
–The linen I used the first time was “real”, 100% linen. Remember that from your childhood, when summer clothes were supposed to be linen? Think wrinkles! And avoid 100% linen for your quilts
–The “linen” of the Essex brand actually is a linen/cotton blend, so it has a nice texture but is less wrinkle-prone and tighter woven than the linen I used previously.
–Pre-wash the linen blend, even if you don’t pre-wash anything else. Wash in warm water and dry on warm so it will get its shrinking done and be more dense and stable.
–Before you pre-wash, serge or zig-zag the raw edges together to prevent fraying! This worked great and “wasted” only about 1/4″ on each raw edge, much less than would have frayed. And there was no mess of threads in the washing machine.

How have you done with using fabrics other than quilting cotton in quilts?


Projects 2013–Part I

For some time I’ve been meaning to add to my blog with a gallery of projects for each of the past several years.  I’ve been held up in part by the variable quality of my photography over the years, but I’ve decided to just start anyway.  Here are some projects from 2013.

I entered several national contests in 2013, the year I also started this blog.  Here is the quilt I made for the Quilt Alliance TWENTY challenge and chose as the header for my blog:

Rising star art quilt

Rising Star, made for the Quilt Alliance TWENTY contest in 2013

I made this quilt for the Michael Miller challenge in 2013:

Michael Miller Challenge 2013

Packet of Posey Seeds

And I made this little quilt for the Pantone Challenge:

Applique quilt

Radiating Orchid mini-quilt for the Radiant Orchid Challenge

I attended some wonderful classes with Laura Wasilowski in 2013, and made this little art quilt:

applique art quilt

Leaf, made in class with Laura Wasilowski

I did some “crafty” things in 2013, including chambray shirts decorated with orphan blocks and matching T shirts for a special baby and his special Dad:

Here are a set of placemats and two table runners from 2013:quilted placemats

leaf runner

table runner

Table runner made from a strip of leftovers

Also in 2013, I made an apron for a special friend and a caddy for carrying my iron to classes and retreats:

2013 was also a good year to make pillows for friends and to use up orphan blocks:

Well!  That’s it for special projects from 2013.  The actual quilts from 2013 are up next–more to come!

Connie Brown, A North Carolina Quilter

Connie Brown quilter

Connie Brown 

Connie Brown and I met at the Modern Quilt Guild of Asheville.  She has been juried into membership in the Southern Highland Craft Guild, a prestigious organization promoting fine Southern Appalachian crafts.  I thought you would enjoy meeting her.

Give us the quick tour of your quilting career.  How did you get started?

My husband, son, and I moved to Asheville in 1989.  I knew no one in the area, so I signed up for a quilting class at Asheville-Biltmore Technical College.  The instructor, Mary Field, was the best.  Along with quilting basics, she taught me many sewing skills and shared her knowledge and love of antique quilts and quilt history.  By the end of the class she had encouraged me to join the Asheville Quilt Guild and a weekly bee. The first few meetings I attended featured presentations by quilt historians.  I really enjoyed quilt history, so I started studying antique quilts.

When/how did you decide to “go pro” by studying quilt history and appraisal, judging shows, and joining the Southern Highland Craft Guild (SHCG)?

Connie Brown, hand quilting

Connie demonstrates quilting at a Southern Highland Craft Guild event

After a few years of making quilts and entering them in both local and national shows, I put a couple in a gallery exhibit.  To my surprise, one sold and visitors were interested in my other quilts.  I knew about the SHCG, with its shops, marketing, and educational opportunities.  After selling that quilt in the art gallery, I decided to apply for membership and was juried in during 2000.  I have my quilts in their shops and participate in several of their events, including Fiber Day and Heritage Day (where I share my beekeeping), as well as others.

When people started calling me about the value of antique quilts, or what value to place on a quilt they were entering in a show, I saw a need for a local certified quilt appraiser.  I put my years of studying quilt history and my knowledge of local quilt sales to use and focused on becoming a certified quilt appraiser.  In 2009, I was certified by the AQS (American Quilters Society) as an Appraiser of Quilted Textiles.

What is your favorite of the quilts you have made?

I love making circles and Drunkard’s Path units!  My 3 favorite quilts so far are:

Connie Brown quilter

Color Cascade

“Color Cascade aka Prints Charming”  includes more than 500 scraps.  The pattern for this quilt is in the September 2012 issue of American Quilter Magazine.  This is machine pieced and machine quilted.

Connie Brown quilt“V-Spot Target Attack” is also made entirely by machine.

Finally, “Tiffilippa” was inspired by a Tiffany lampshade.  I couldn’t throw away the trimmed off “waste”, so I used it as a border.

How much time do you spend quilting?  How do you have time to quilt, participate in guilds, keep bees, substitute teach, and still eat and sleep?

Every day I do something quilt related, whether it’s making quilts, studying, visiting an exhibit, or writing appraisals.  I always carry something to work on in my down time when I substitute teach.

How far do you travel with your quilt activities?  And what do you have coming up?

I’ll be at the Folk Art Center (on the Blue Ridge Parkway near Asheville) for National Quilting Day (March 19, 2016).  I’ll be hosting a quilt sharing day with an exhibition of 4 or 5 antique quilts, and people are invited to bring older quilts they have questions about.  I won’t be doing appraisals that day, but it’s a free event and a good opportunity for people who may have quilts they wonder about.  It can help them decide whether the quilt needs a formal appraisal.

This year I will be offering appraisals at the AQS shows in Paducah and Chattanooga as well as in Mt. Pleasant, South Carolina during the Cobblestone Quilt Show.  My fees for written appraisals are $75 per quilt, but during these events the charge is $50 per quilt. Each appraisal takes a minimum of 2 hours, including meeting with the client, travel, research and preparation, and typing the report.

To see more of Connie’s quilts, visit her webpage at southernhighlandguild.org/conniebrown

You may email Connie at mail2thebrowns@juno.com

When Good Improv Goes Bad

I really love improvisational quilting and, in fact, have been doing it for about 15 years–since before I knew improvisational quilting was a “thing”. Most of the time it works out great.

improvisational quilt

Nothing Is Wasted, my first improvisational quilt, 2001-2002

This is my first improvisational quilt, made with scraps from an Amish style quilt with yellow added.  I made it for the friend who helped me select fabrics for the original quilt.

It wasn’t easy to get good solids back then, and I ended up going to an Amish-owned store.  When I got there, I found that there WERE a lot of solids, and MANY of them were polyester blends.  Well, duh, if you don’t have an electric iron, that makes a lot of sense. Anyway, I got the solids eventually, but NOT at my local quilt shop!

Once in a while, though, the improvisation requires revision.  Maybe more than once!

Take this attempt at an improvised log cabin block, made in 2012 to use up the little maple leaves at the center.

improvised quilt

“Bad Ronald”, a failed attempt to improvise a donation quilt for Ronald McDonald House

I added too many fabrics, and even though they were in the same color families, the design did NOT gel!  That stripe, in particular, really blew it!

It took a while, but in 2015 I cut the piece up and started over, coming up with something I liked better:

donation quilt

Maple Leaf donation quilt–I guess we could call this one “Good Ronald”

And then there was this attempt at Sherri Lynn Wood’s Score #1:

improvised quilt

This came from following one of Sherri Lynn Wood’s “scores”

Which I eventually re-made into this donation quilt:

improvised quilt

The “New! Improved!” quilt

And, just to end on a positive note, let me repeat that mostly the improvisations DO work out well, like this one:

Improvised slab quilt

I cut up the yellow-orange slabs and inserted blue

Have a good week!