Projects 2013–Part I

For some time I’ve been meaning to add to my blog with a gallery of projects for each of the past several years.  I’ve been held up in part by the variable quality of my photography over the years, but I’ve decided to just start anyway.  Here are some projects from 2013.

I entered several national contests in 2013, the year I also started this blog.  Here is the quilt I made for the Quilt Alliance TWENTY challenge and chose as the header for my blog:

Rising star art quilt

Rising Star, made for the Quilt Alliance TWENTY contest in 2013

I made this quilt for the Michael Miller challenge in 2013:

Michael Miller Challenge 2013

Packet of Posey Seeds

And I made this little quilt for the Pantone Challenge:

Applique quilt

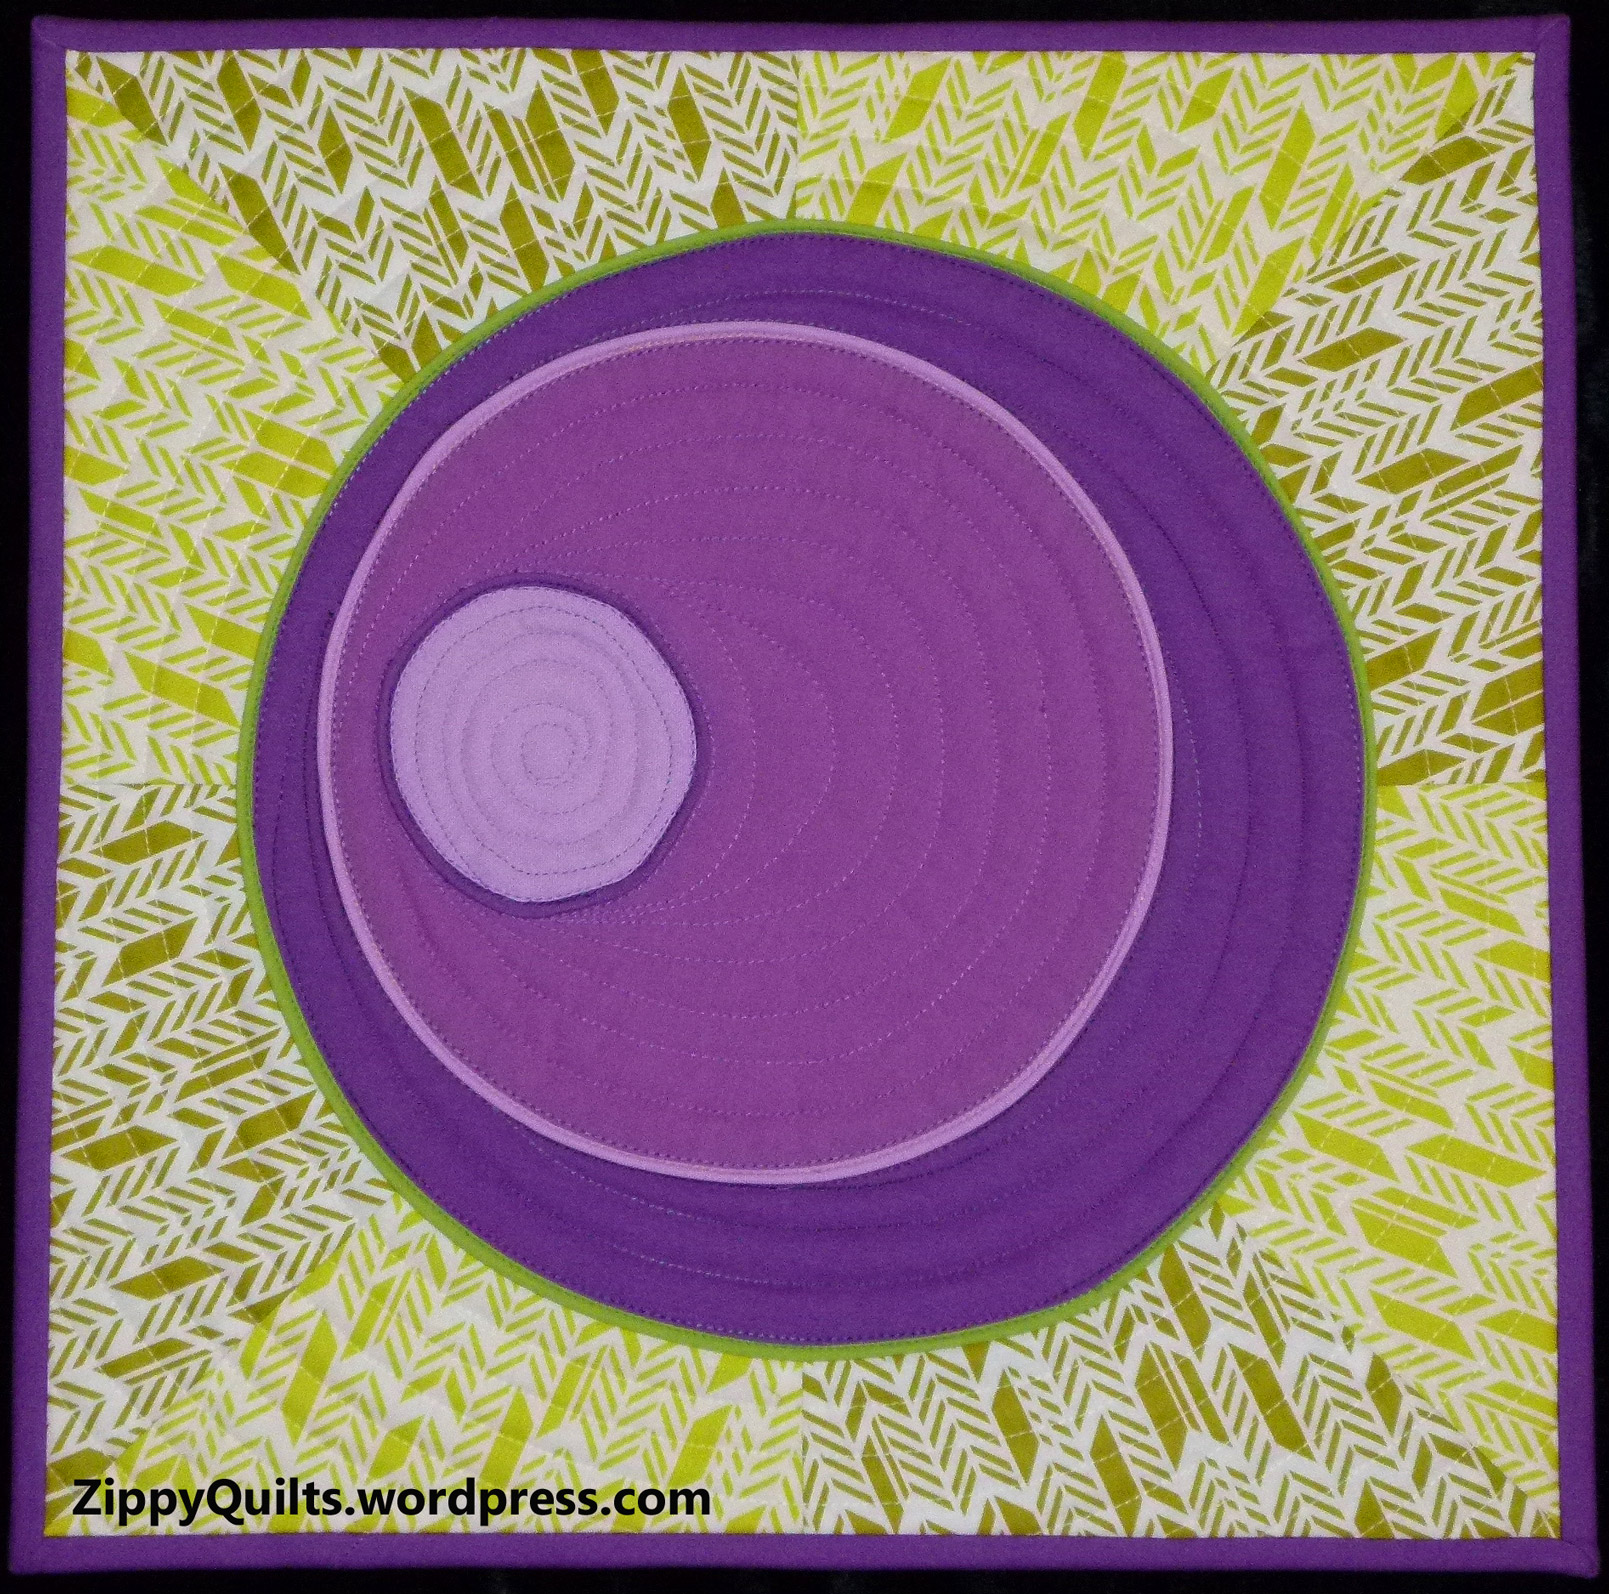
Radiating Orchid mini-quilt for the Radiant Orchid Challenge

I attended some wonderful classes with Laura Wasilowski in 2013, and made this little art quilt:

applique art quilt

Leaf, made in class with Laura Wasilowski

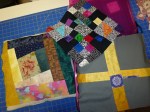
I did some “crafty” things in 2013, including chambray shirts decorated with orphan blocks and matching T shirts for a special baby and his special Dad:

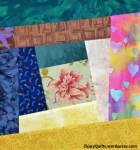
Here are a set of placemats and two table runners from 2013:quilted placemats

leaf runner

table runner

Table runner made from a strip of leftovers

Also in 2013, I made an apron for a special friend and a caddy for carrying my iron to classes and retreats:

2013 was also a good year to make pillows for friends and to use up orphan blocks:

Well!  That’s it for special projects from 2013.  The actual quilts from 2013 are up next–more to come!

Make An Orphan Block Pillow

Start by deciding what size and shape pillow you want; or start with the block you want to use and decide what size/shape pillow form to buy.

Once you have that pillow form home, measure from seam to seam to be sure it’s the size you think it is.  Add 1/2 inch to each dimension for seam allowances and you have the size to cut (or assemble) the front and back pieces.  For example:  Pillow form here is 16 x 16, so I’ll make the (unfinished) front and back pieces 16-1/2 x 16-1/2 inches.

I stated with an improvisationally pieced log cabin block and added logs to 2 sides to make it big enough.  While I was at it, I added pieces wider than I needed to allow for shrinkage during quilting and squaring up the final top.

I spray-basted and quilted the top with a thin batting and muslin backing.  However, a block will make a perfectly good pillow top without being quilted, like these:

To make the pillow cover easy to remove, I make an overlapping closure in the back.  It’s also fine to add a zipper to one of the edge seams IF you’ve got a zipper, and of course if you know how to put one in.  I do that sometimes, but there are lots of places on the web that show you how to put in a zipper, so I’m not doing it here.

To make the overlapping back:  Divide back width by 2 (16-1/2 divided by 2 = 8-1/4 in my case) and then add enough to each piece for overlap and hem.  “Enough” should be proportional to the size of the pillow, but in this case I added (8-1/4″ for back and one seam allowance + 1-1/4″ for hem + 2″ for overlap = 11-1/2″, which I rounded up to 12″).  So I cut two back pieces 12″ x 16-1/2″, then finished one of the long sides on each piece with a hem of 1/4″ first turn + 1″ second turn.

Next, I layed out the backing pieces with hemmed edges overlapping to make a square 16-1/2″ x 16-1/2″, and basted the overlapped edges together.  Put the front and back pieces right sides together, sew all around the edges with 1/4″ seam, turn right side out and insert the pillow.  Voila!