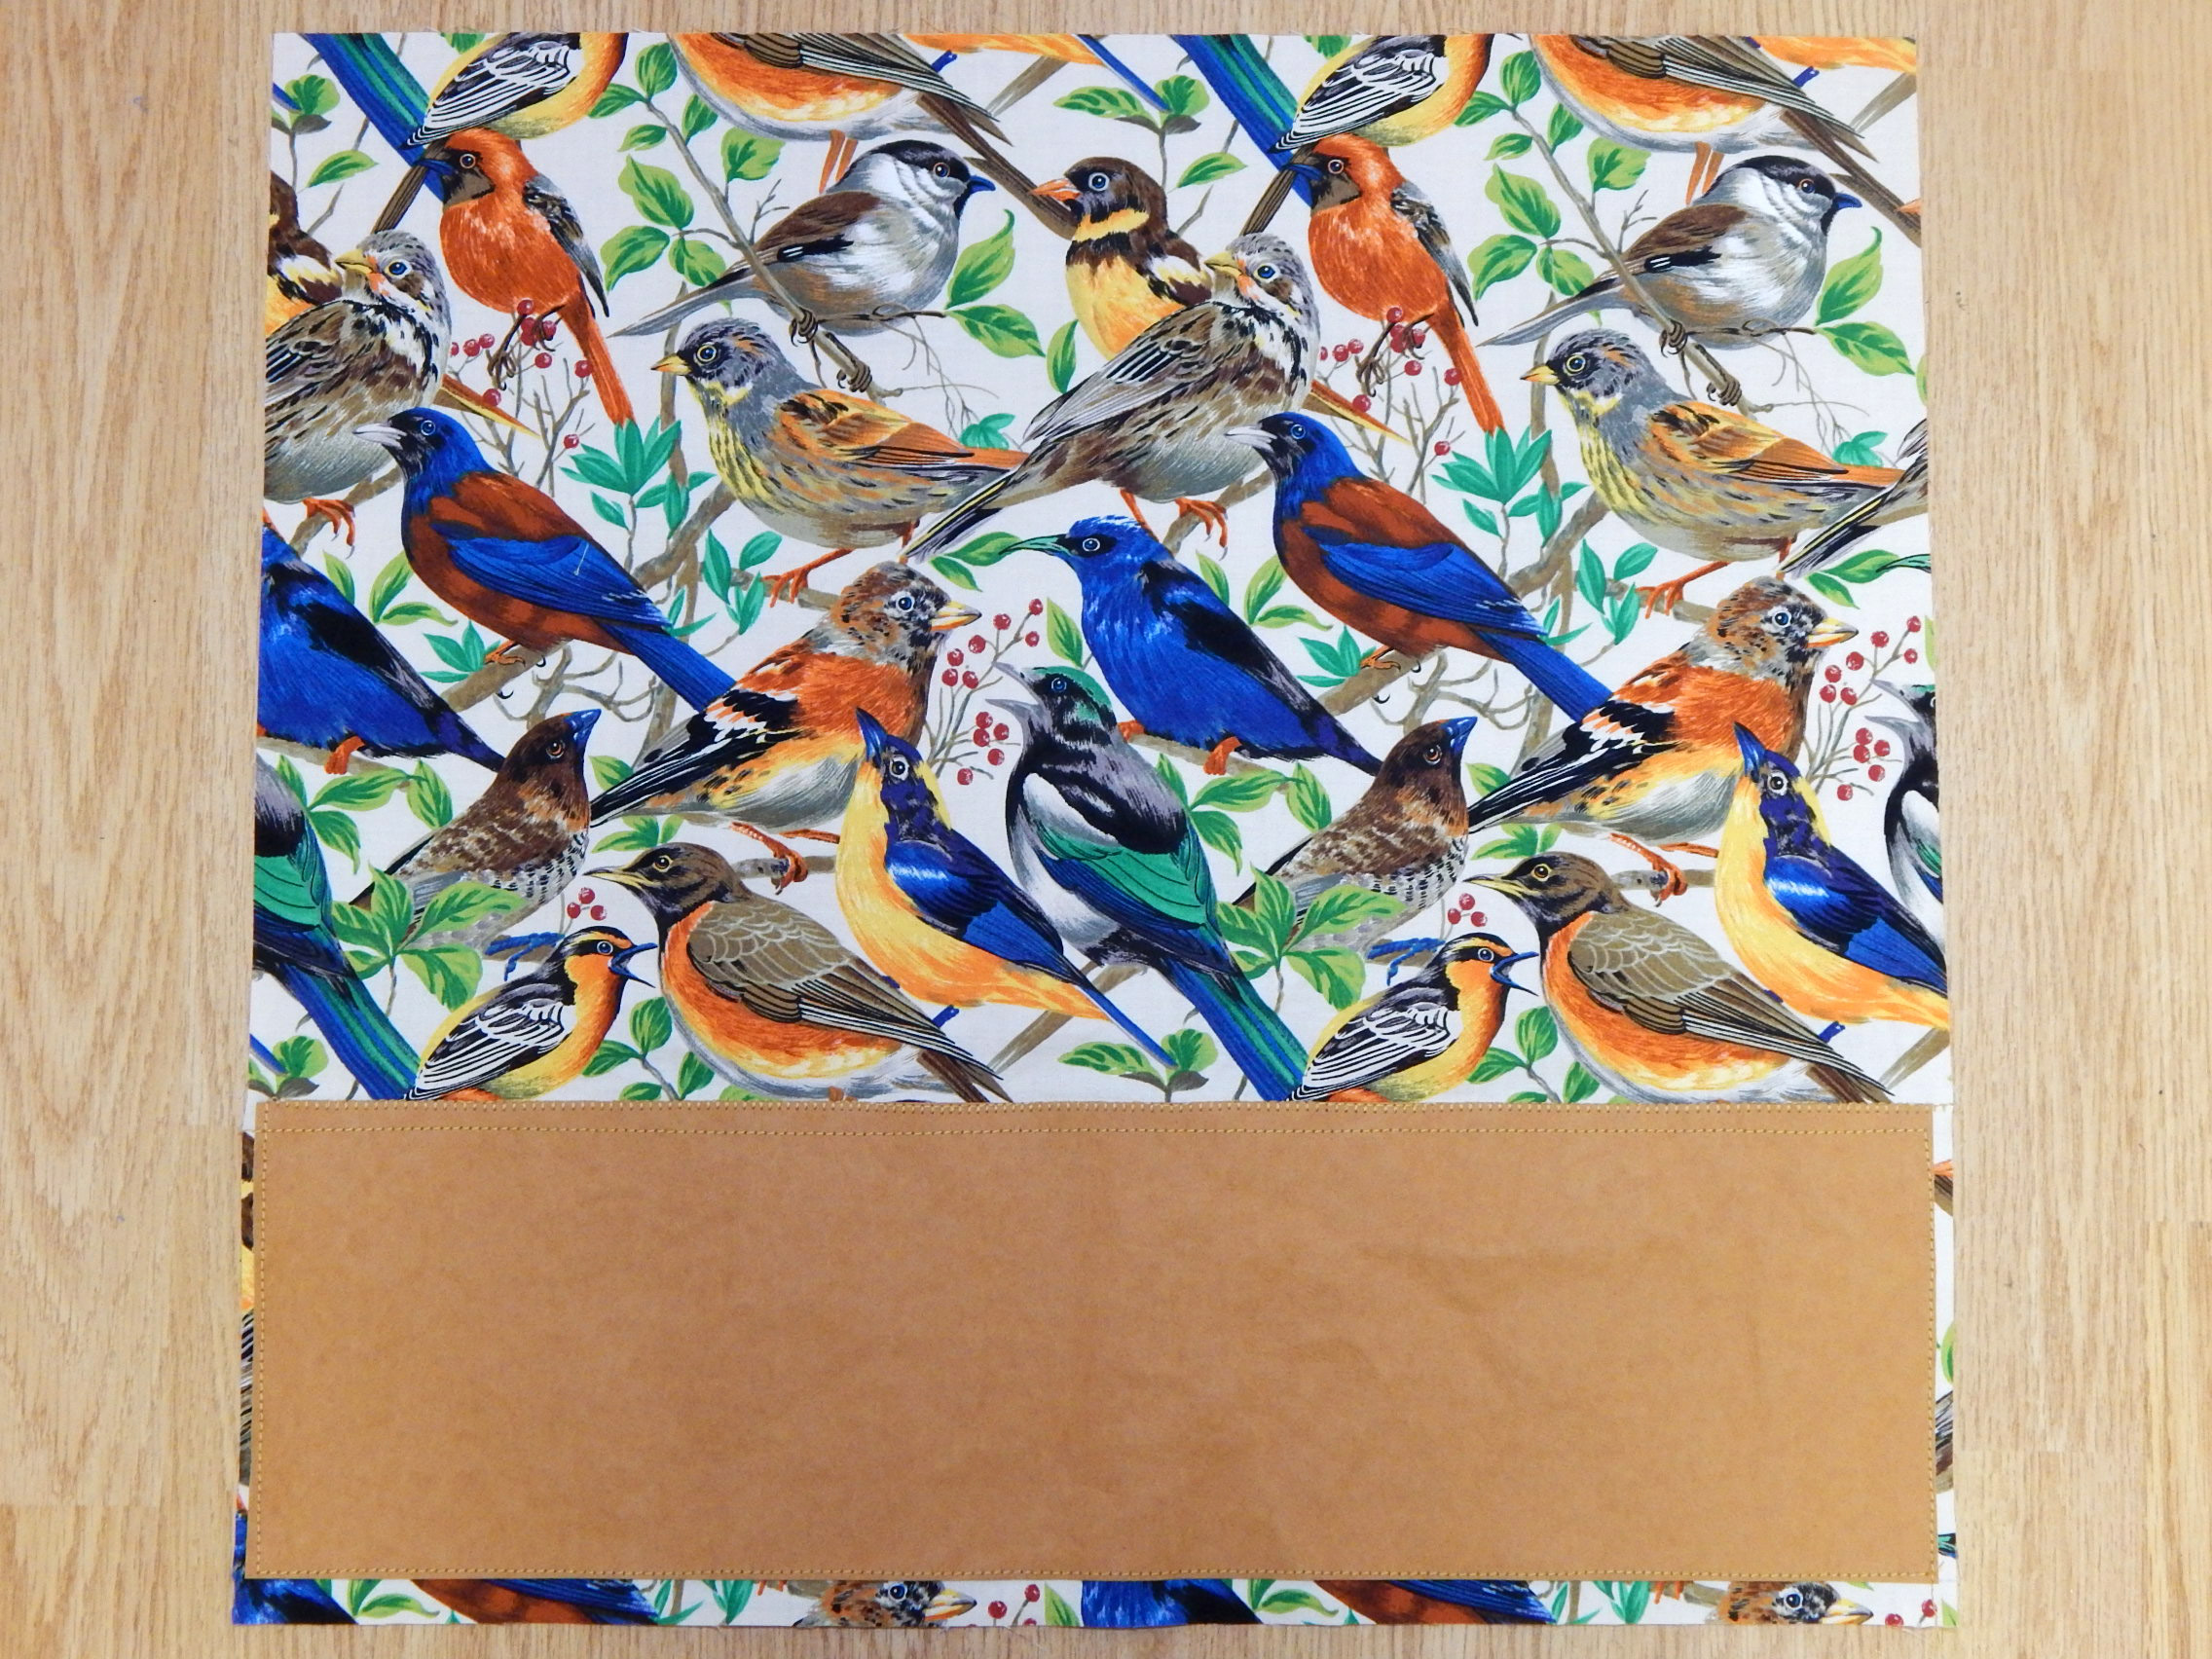
I’ve had this Jane Sassaman fabric for several (5?) years now, but I love it so much it’s been hard to decide what to do with it.

Garden Divas fabric by Jane Sassaman
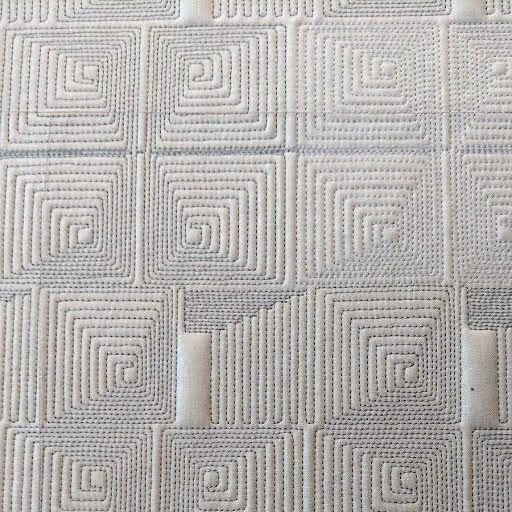
Coincidentally, I’ve also been meaning for years (more than 5?) to make a one-block wonder quilt. In case you don’t know, one-block wonders are hexagonal blocks made out of 6 equilateral triangles. Usually the triangles are identical so that the block looks like a kaleidoscope.

I think you can see the outline of the hexagonal block and its triangles here
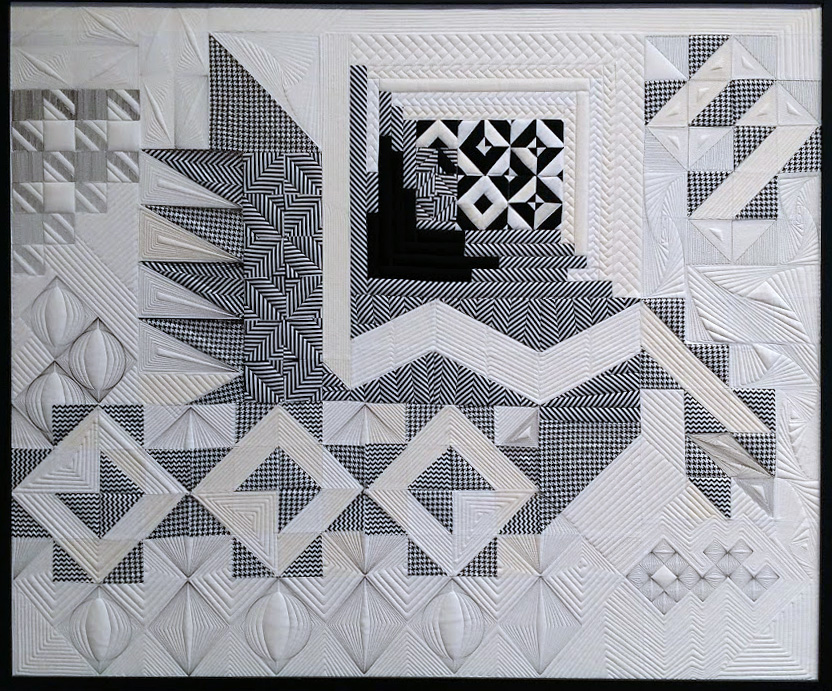
Finally, I got the fabric and the one-block wonder idea together, and here are the blocks. They are just pinned together, and I expect to re-arrange them many times before I decide on a final design. That black half-hexagon in the upper left corner is what I’ll do to make the edges of the final design even.
I thought about adding some focus to the design by inserting small, solid-color lines at random places, line this: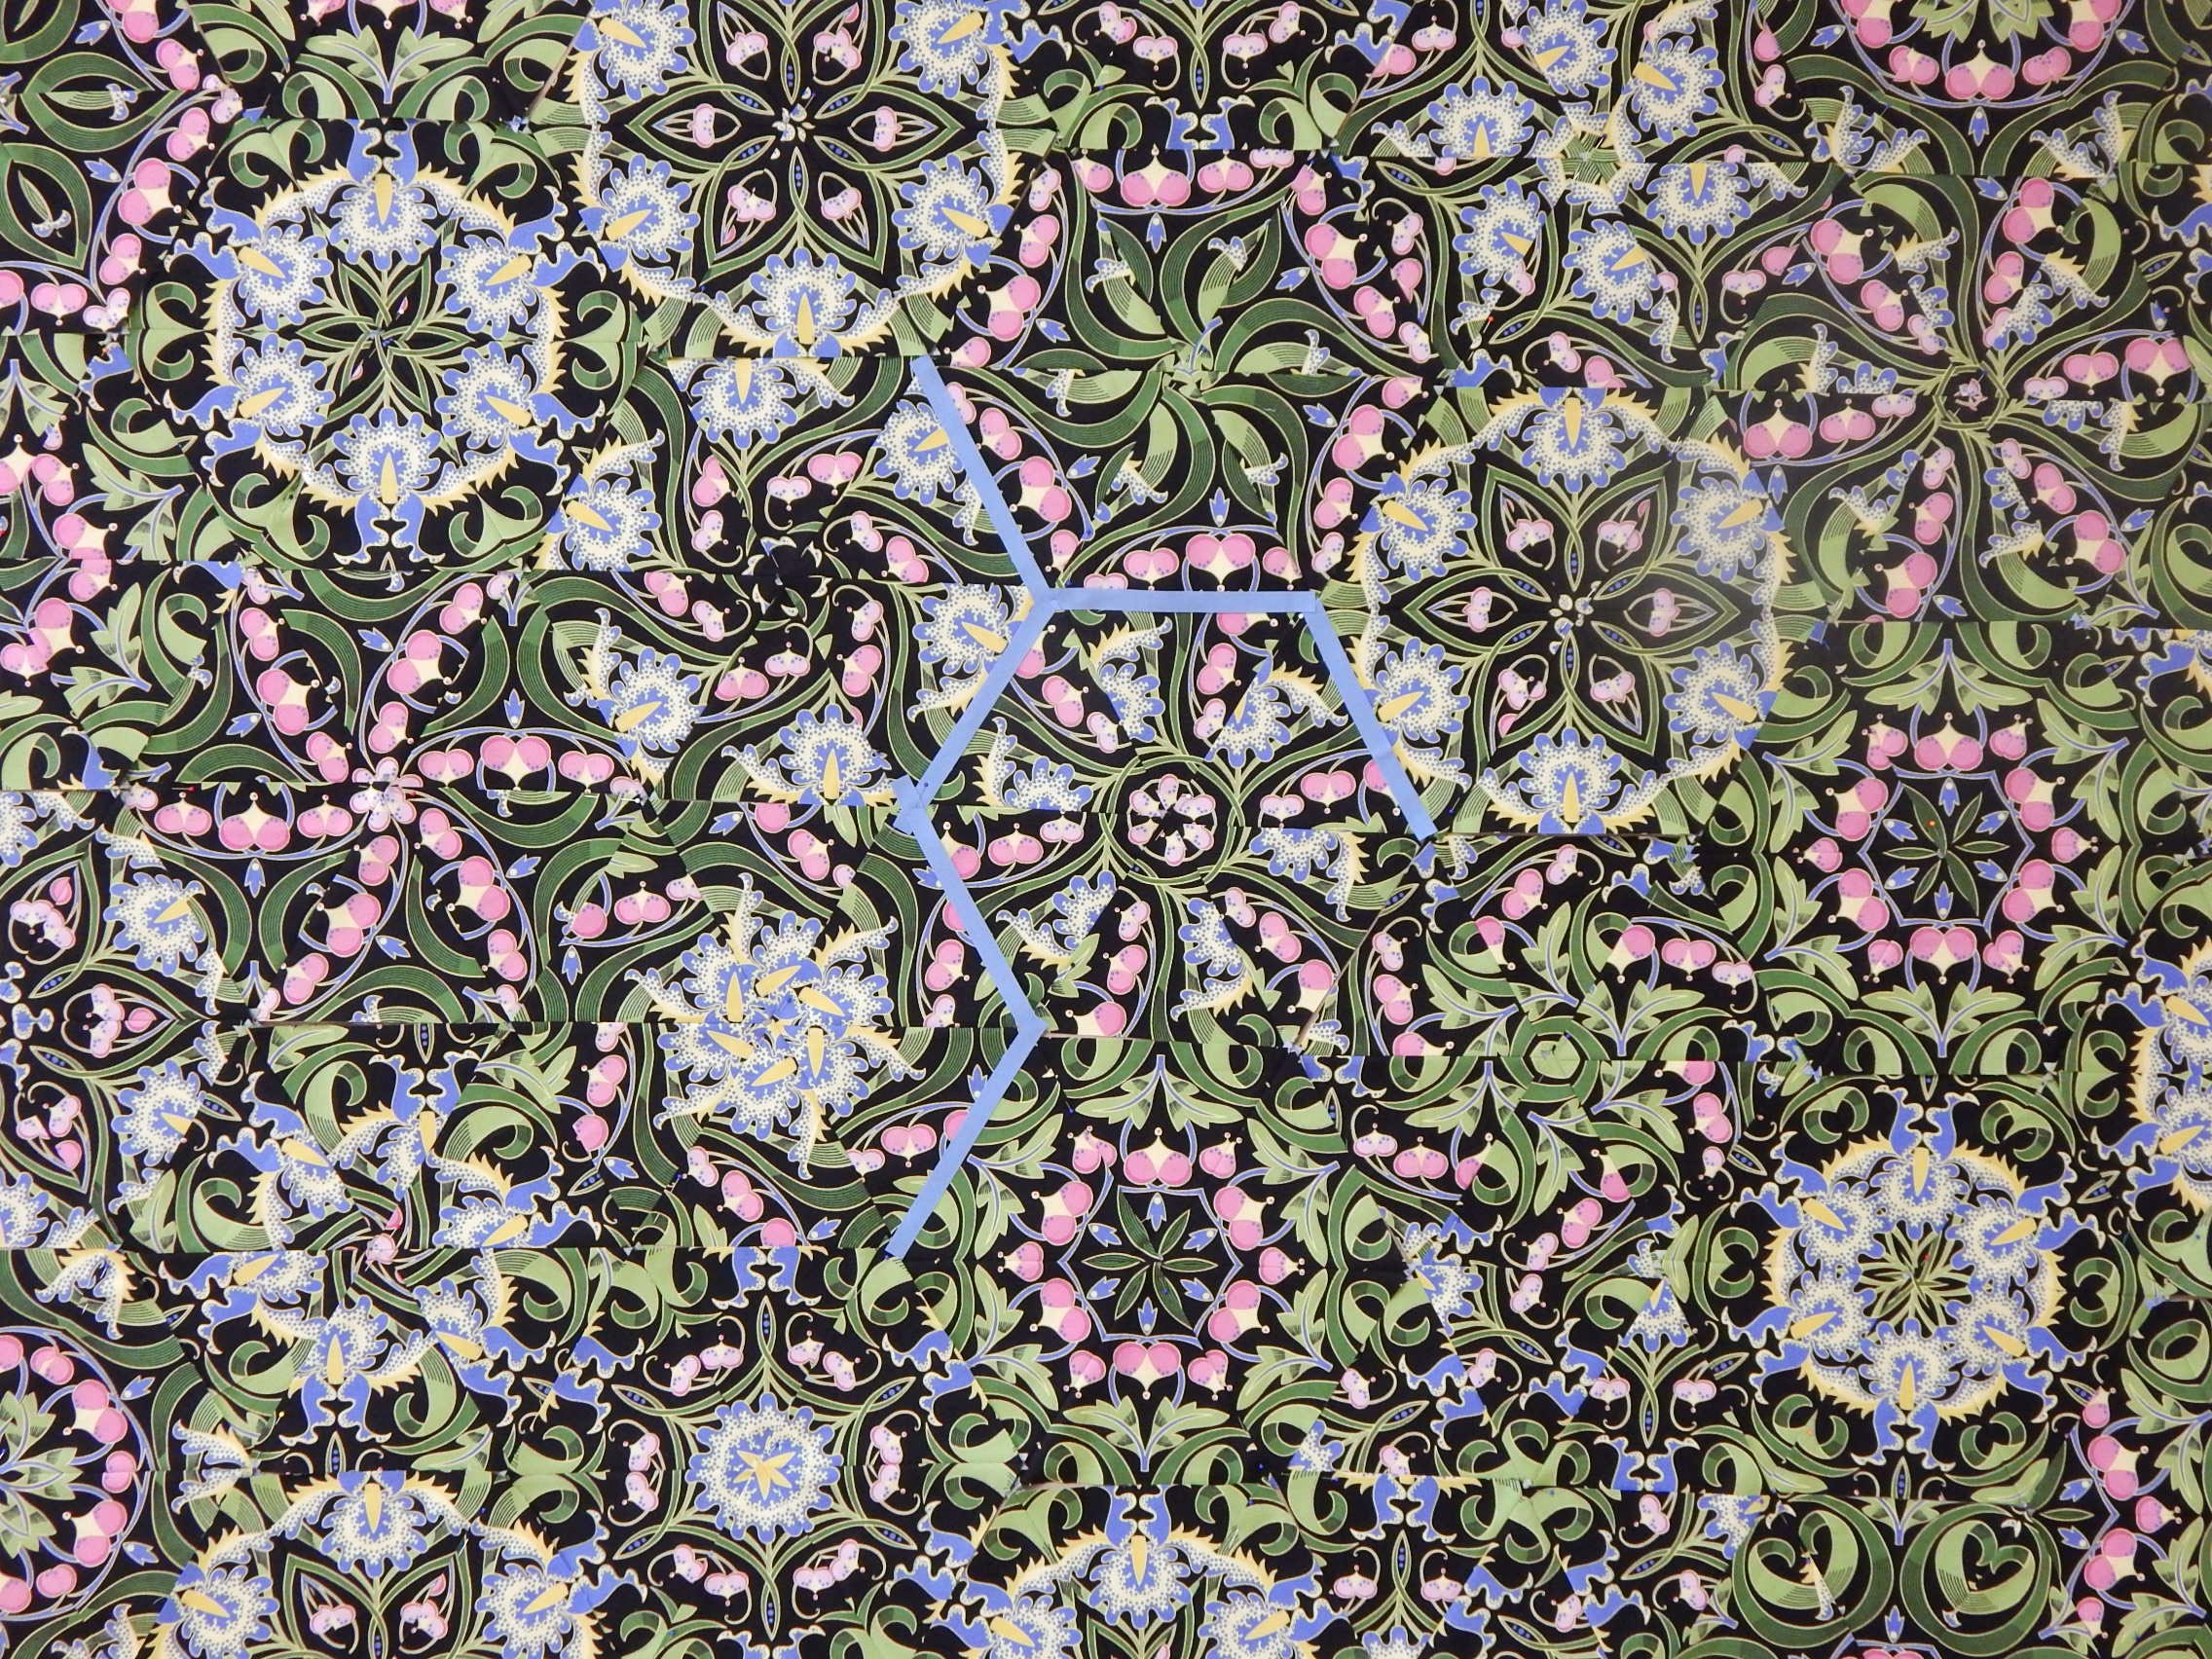
I’m not sure I like that, but scattered black triangles are a possibility:
Or maybe not. Suggestions?