I am charmed by a couple of new little books for beginners in sewing or quilting.

Photo courtesy of C&T

Photo courtesy of C&T
Jump Into Patchwork and Quilting is an approachable introduction to quilting. It is not completely basic, as it assumes you have a sewing machine and know how to use it. However, it covers basic information about quilting, including fabric selection, batting, basting, and so forth.
I found the level of detail exactly right. For example, there is a well-illustrated explanation of how to use a rotary cutter safely, without getting into the eternal debate about whether it’s OK to use the lines on your mat for measuring.
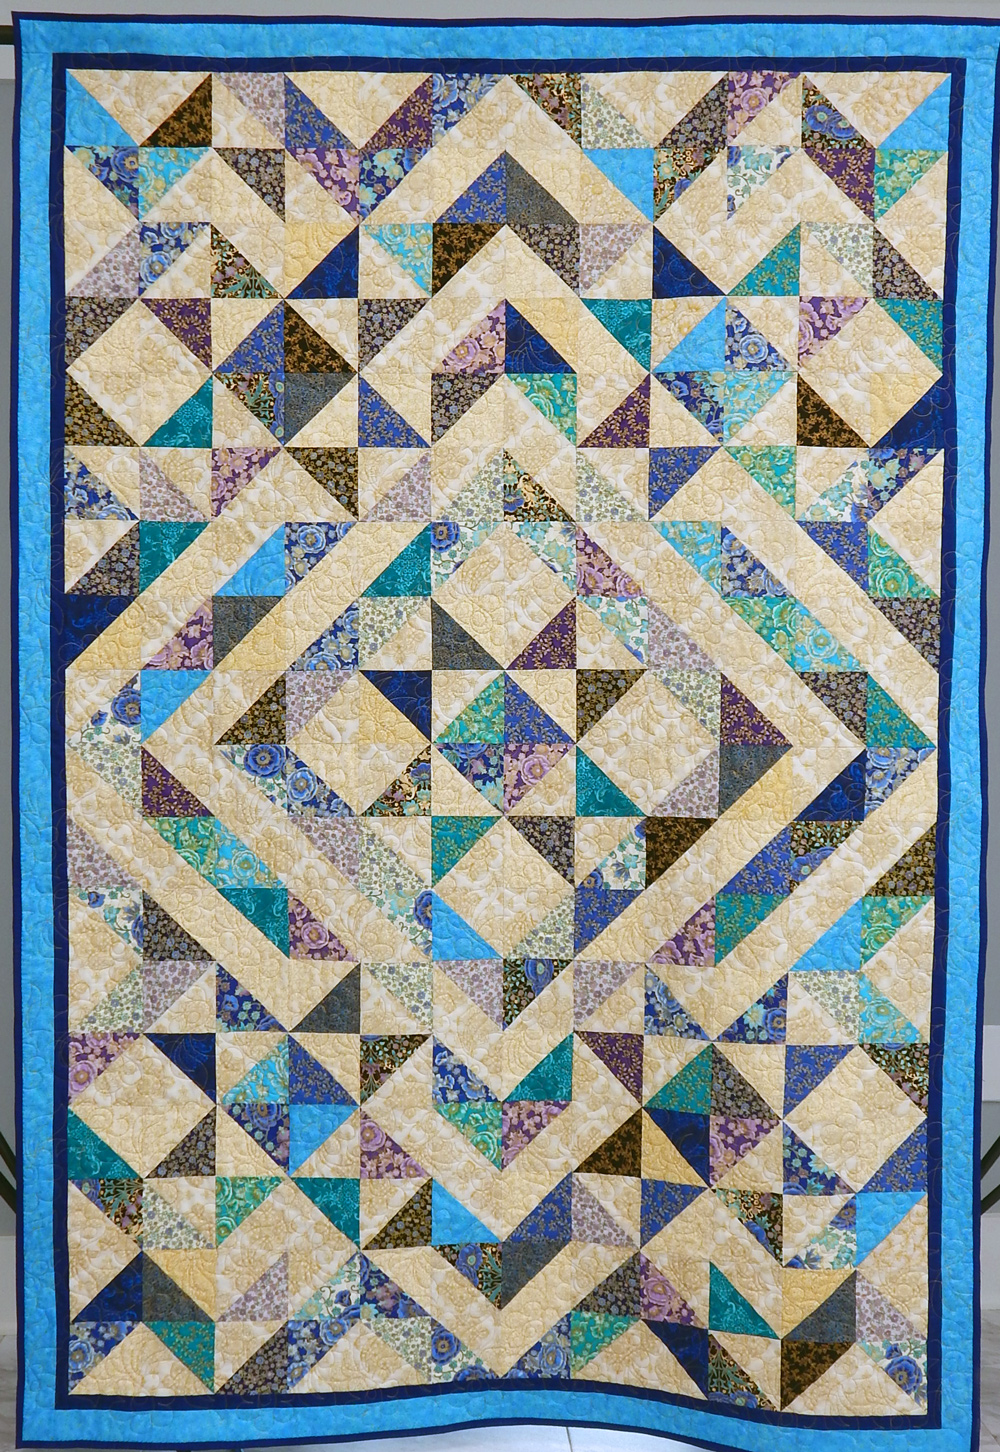
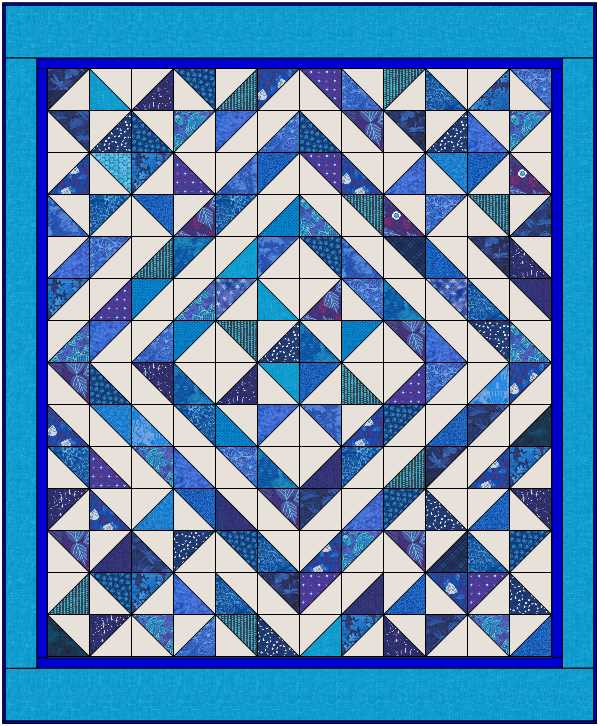
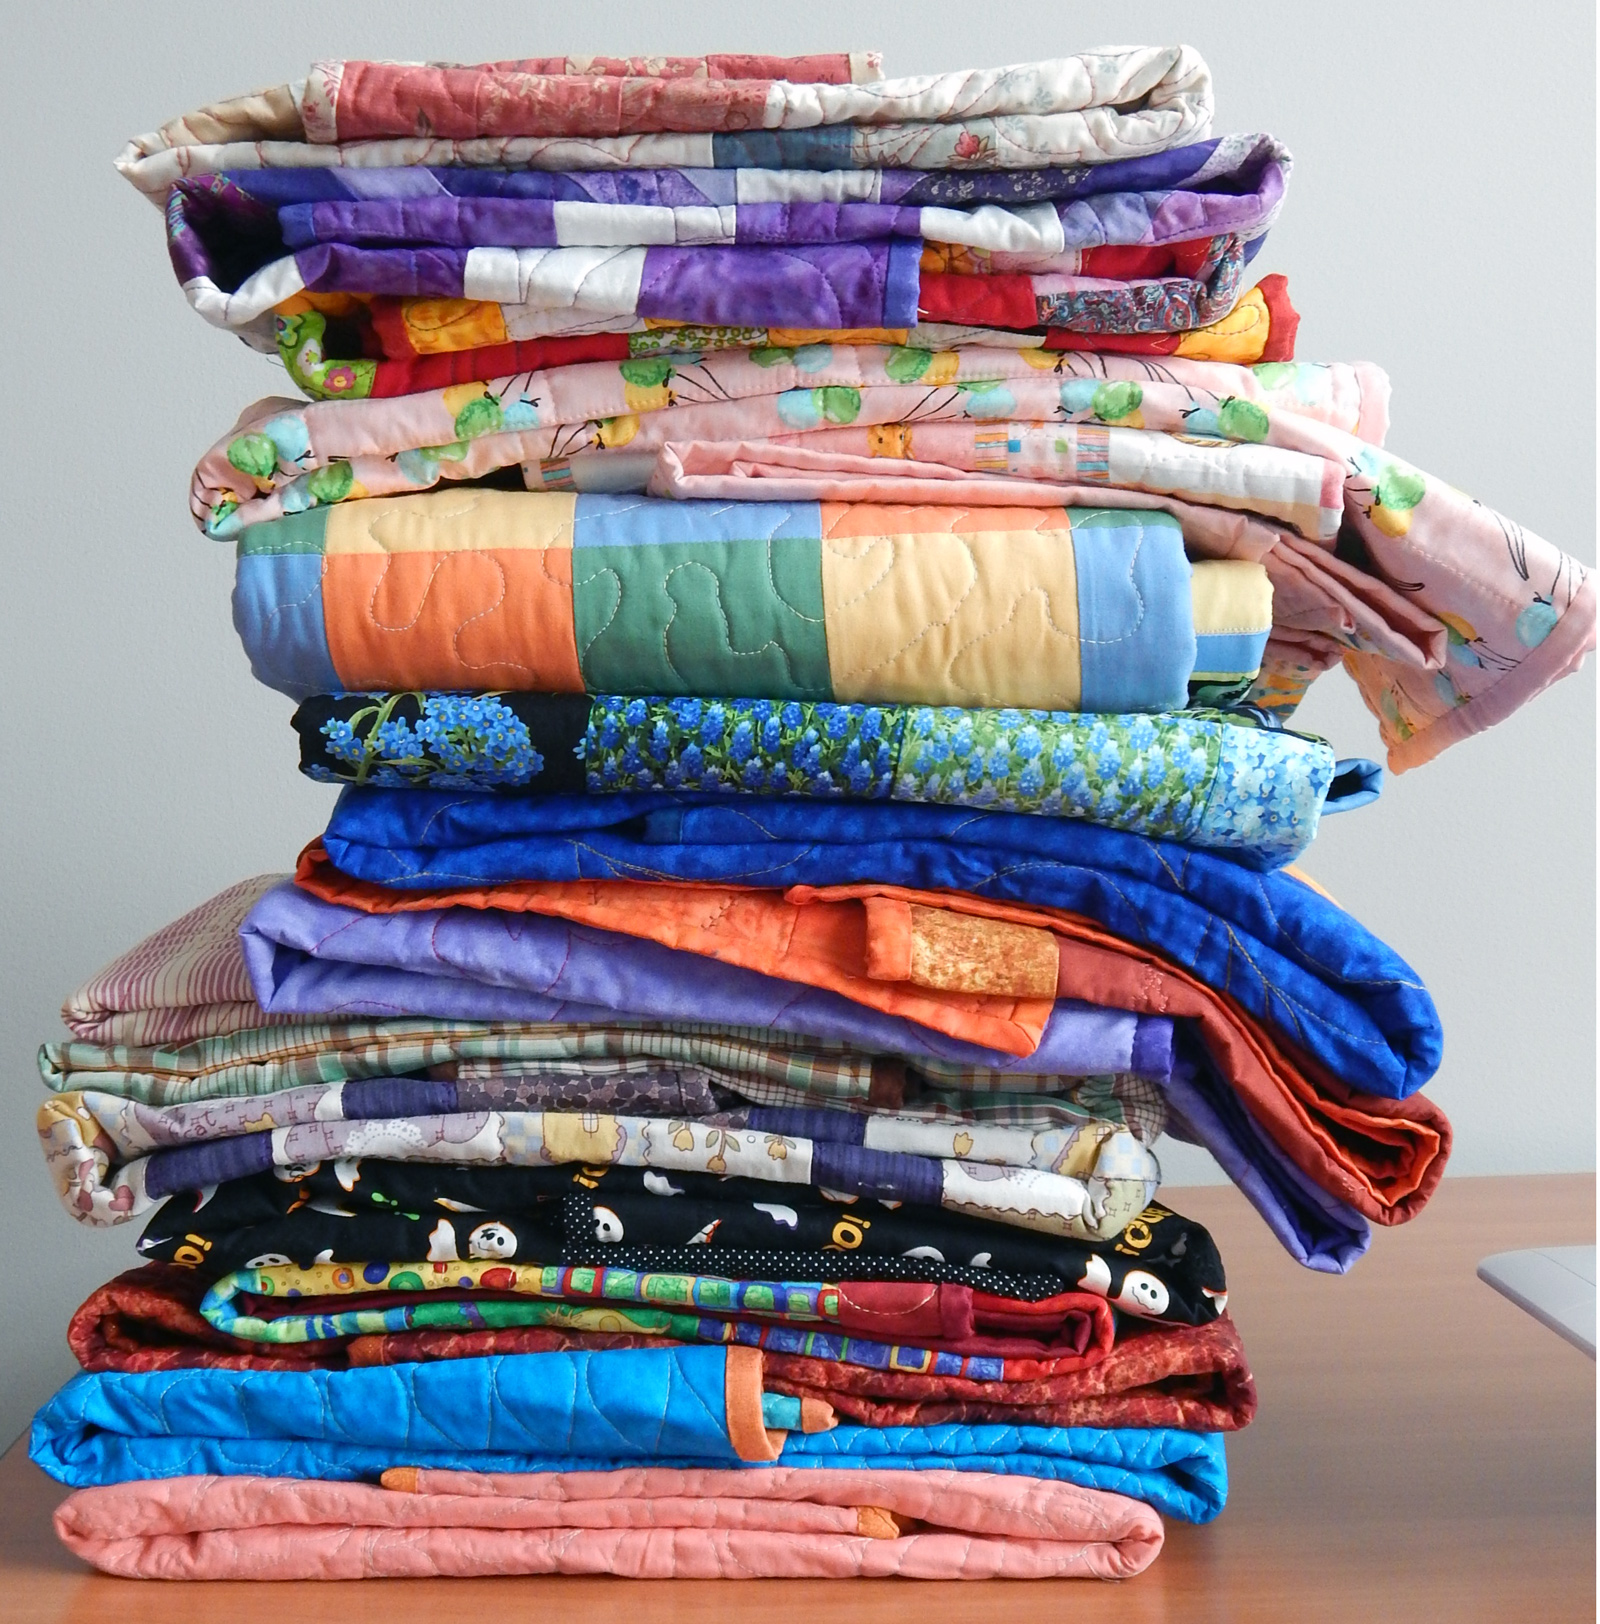
The book begins with easy projects and proceeds to a final sampler quilt. This seems to me an encouraging way to teach a beginner to quilt, as these earlier projects can be completed fairly quickly. Here’s part of the Table of Contents showing some of the projects:

Photo courtesy of C&T
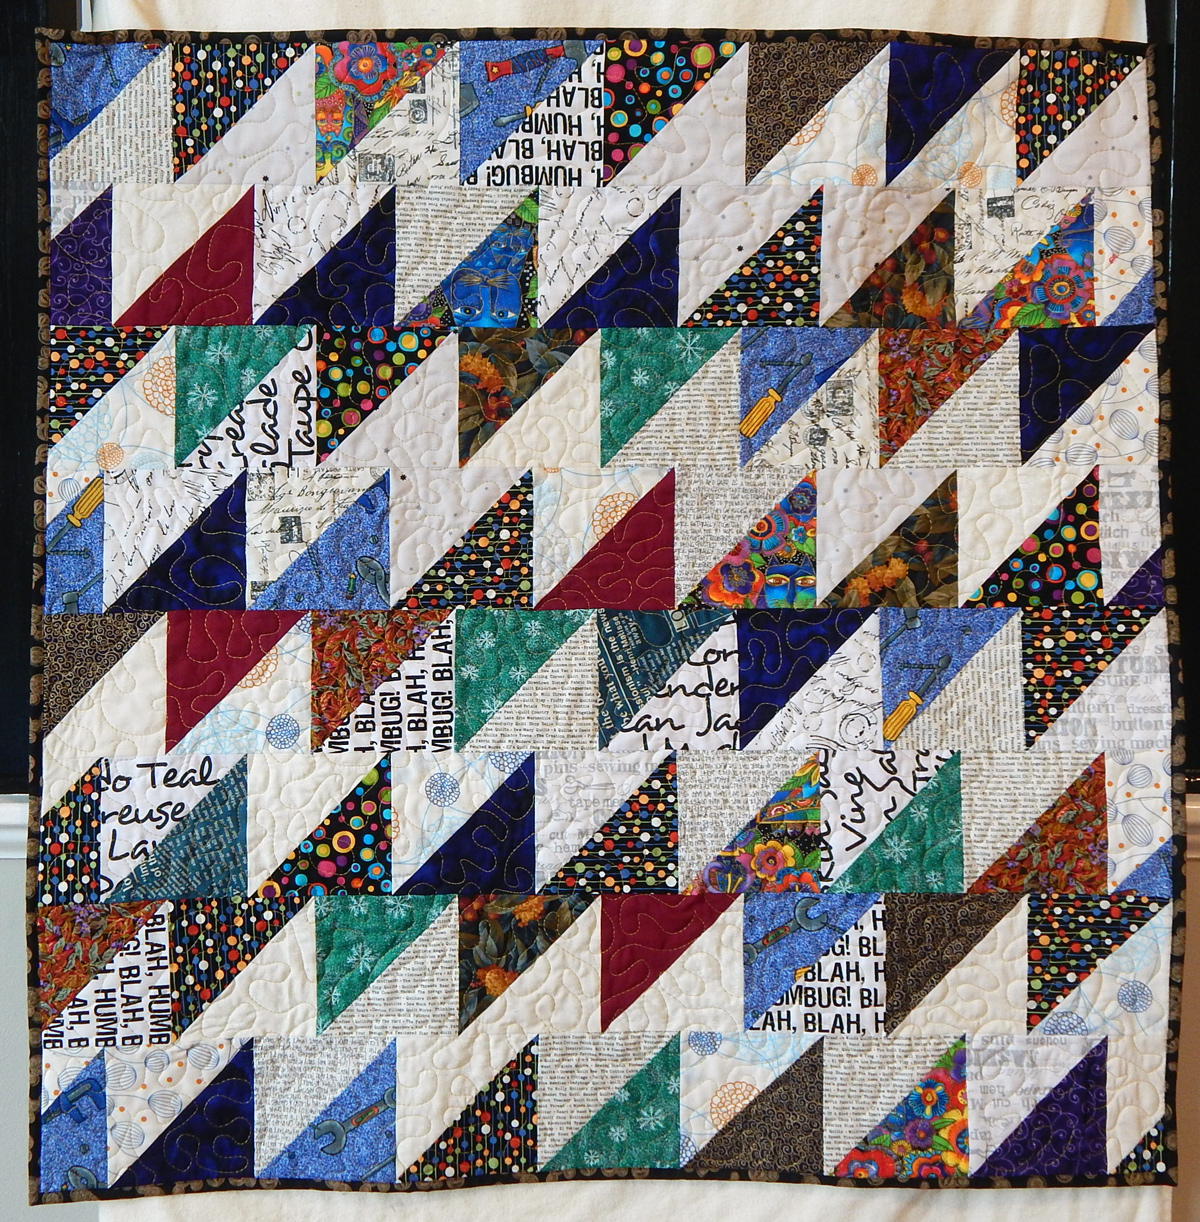
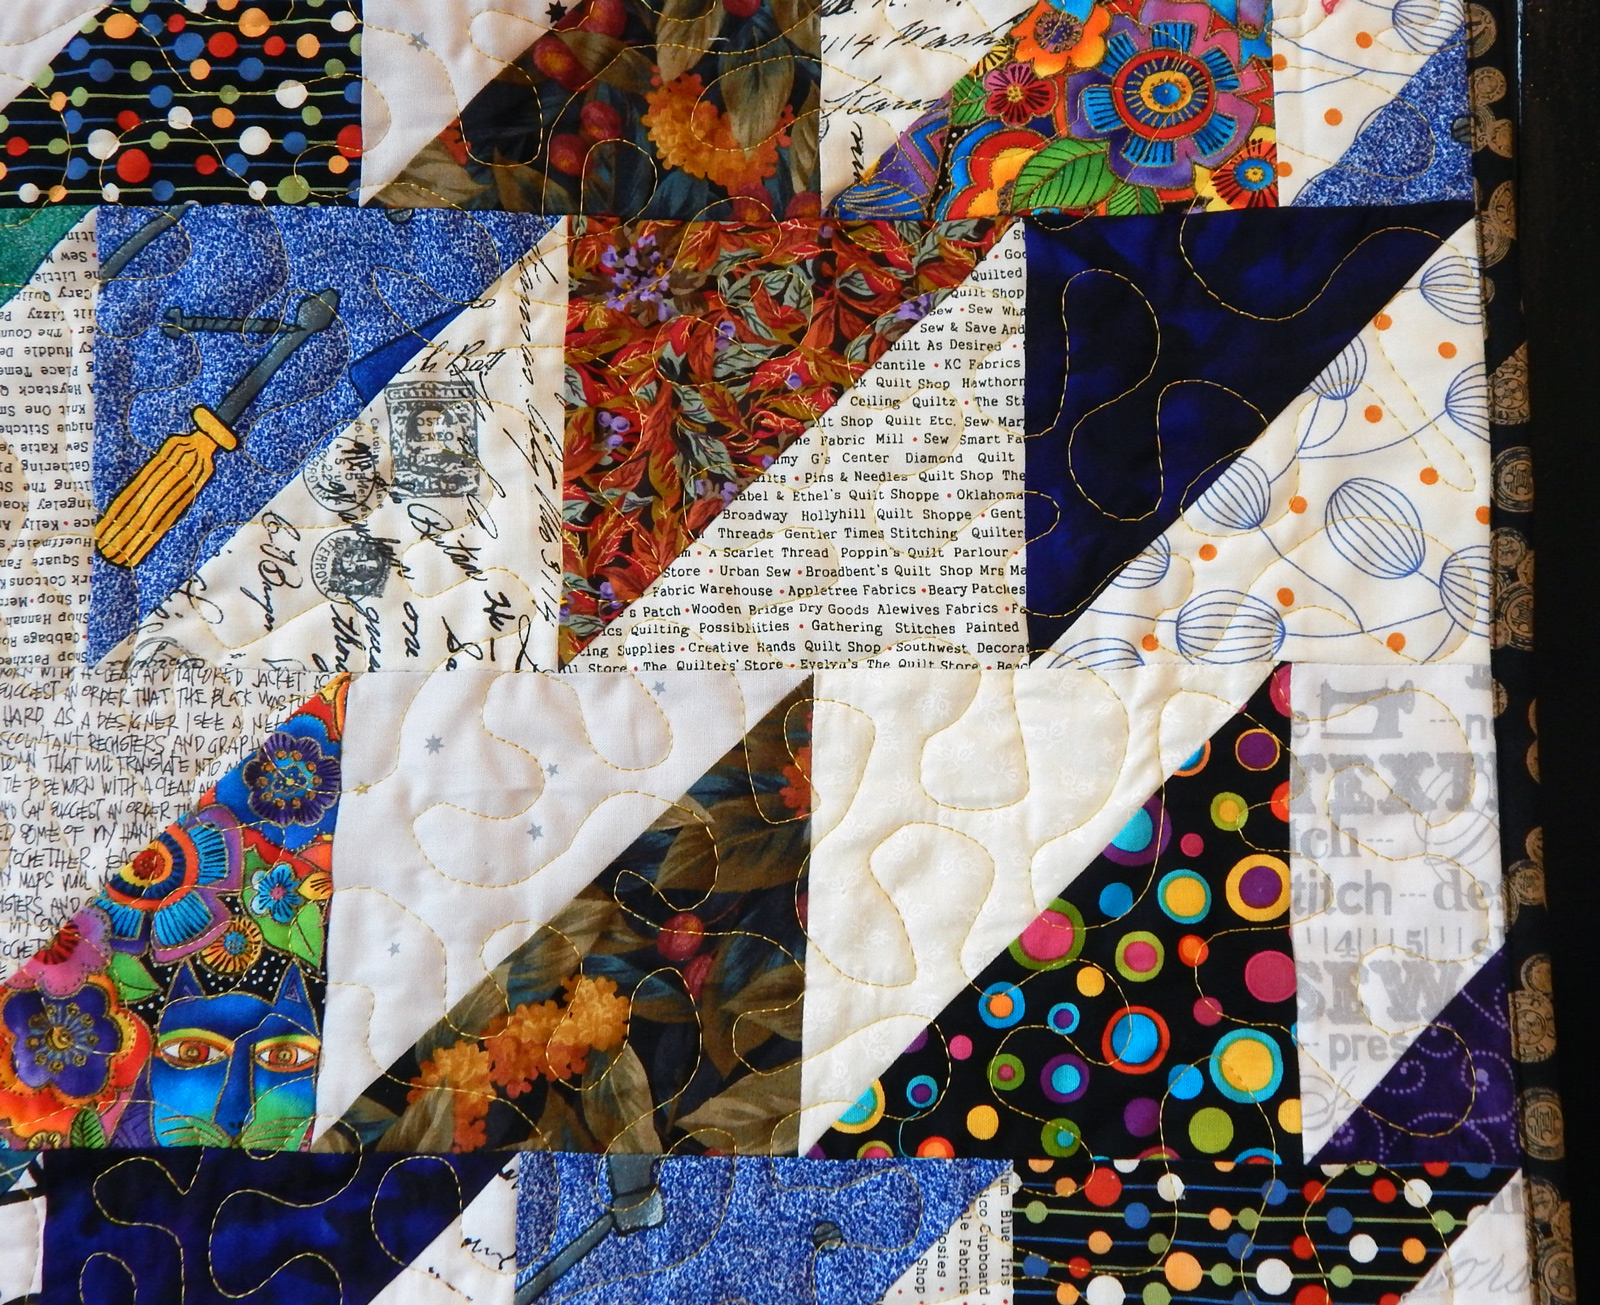
The final project is a typical beginner sampler quilt. It is done in cheerful colors and has a modern look while using some traditional prints. I like the combination, which should allow those drawn to both traditional and modern type quilts to enjoy the project.

Phot courtesy of C&T
The one additional thing I would have liked to see in this book is encouragement to allow for mistakes. There is the usual explanation of the importance of a consistent 1/4″ seam, but it would be nice to see acknowledgment that even “imperfect” blocks can be beautiful.
This would be a great book for a series of classes, or for teaching a friend to make quilts. It is available here.
Jump Into Sewing is bright and cheerful without being childish. There are many useful illustrations. It starts with “Anatomy of a Sewing Machine”, which will be especially useful for those who may have inherited a sewing machine without knowing anything about it. There is a section of clear explanations on troubleshooting common machine sewing problems such as thread snarled on the top or bottom of the fabric.

Photo courtesy of C&T
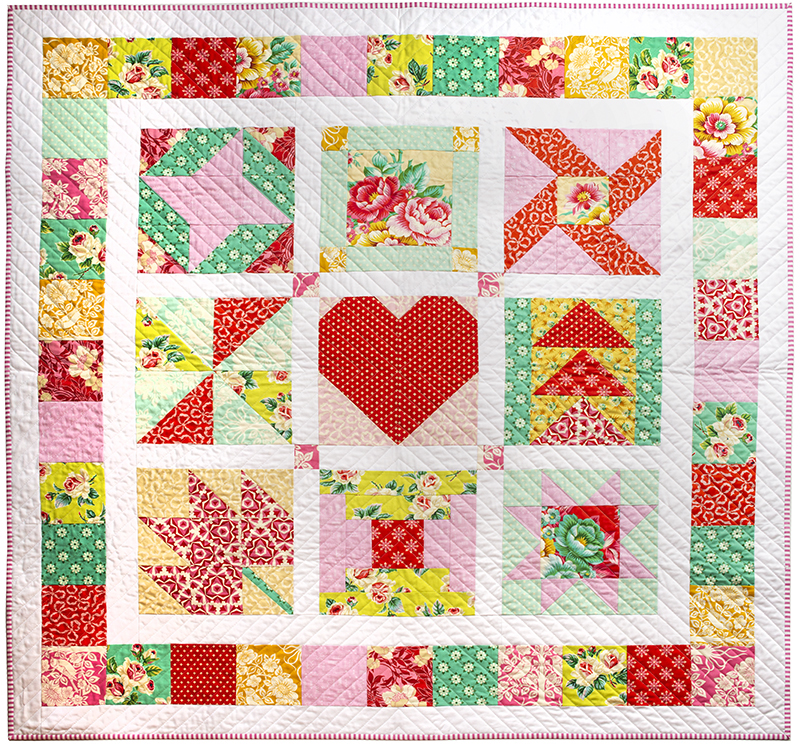
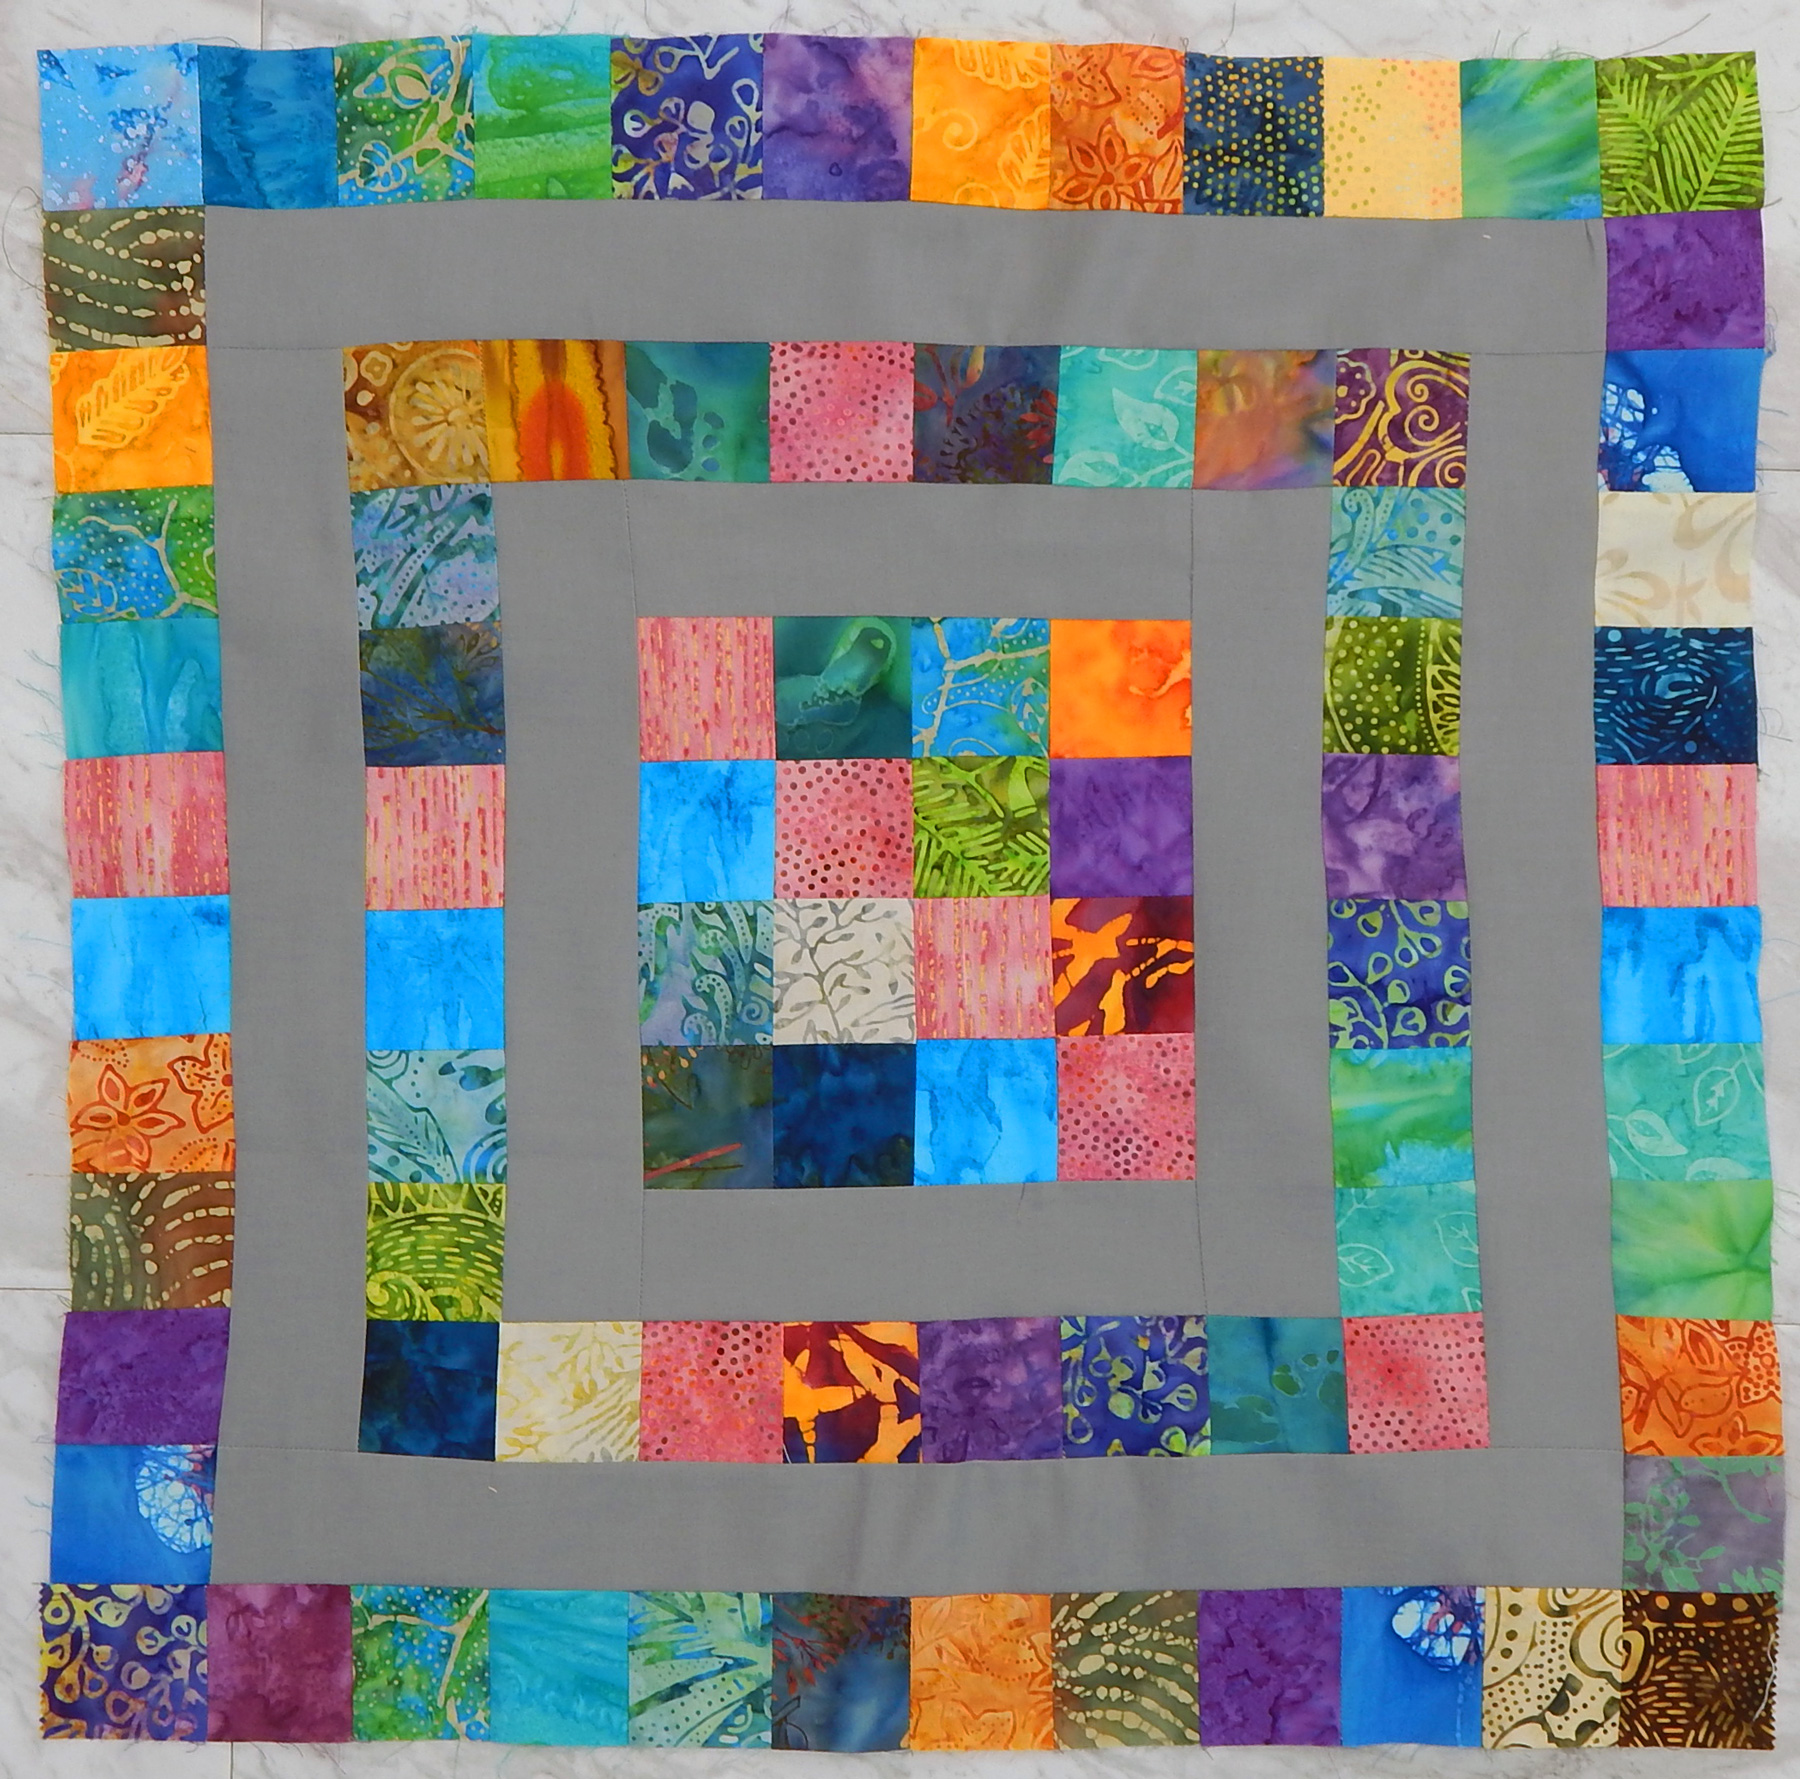
The first project is an easy pillow. It gave me the idea of helping my 5-year-old make a pillow. He enjoyed decorating a tote bag and the pillow would be a fast project.

Photo courtesy of C&T
More advanced projects include making a buttonhole and putting in a zipper. The final project is a substantial-looking tote bag, which, like the other projects in the book, could be gender neutral.

Photo Courtesy of C&T
Jump Into Sewing is available here.
The book does not offer any information about garment construction, though of course the techniques would transfer. I hope this new series will progress to “Jump Into Garment Sewing” in the future.
These are fun books that make me think of the non-sewers on my holiday list 😉
P.S.: The links above are for your convenience; they are not affiliate links from which I make money.