Finished! In 2016

First, the Christmas tree picture with fireplace was at the Grove Park Inn, in Asheville, N.C. That fireplace is big enough for a man to stand up in. Hopefully when there’s no fire.

And now, the 2016 finishes.

Asheville Quilt Show

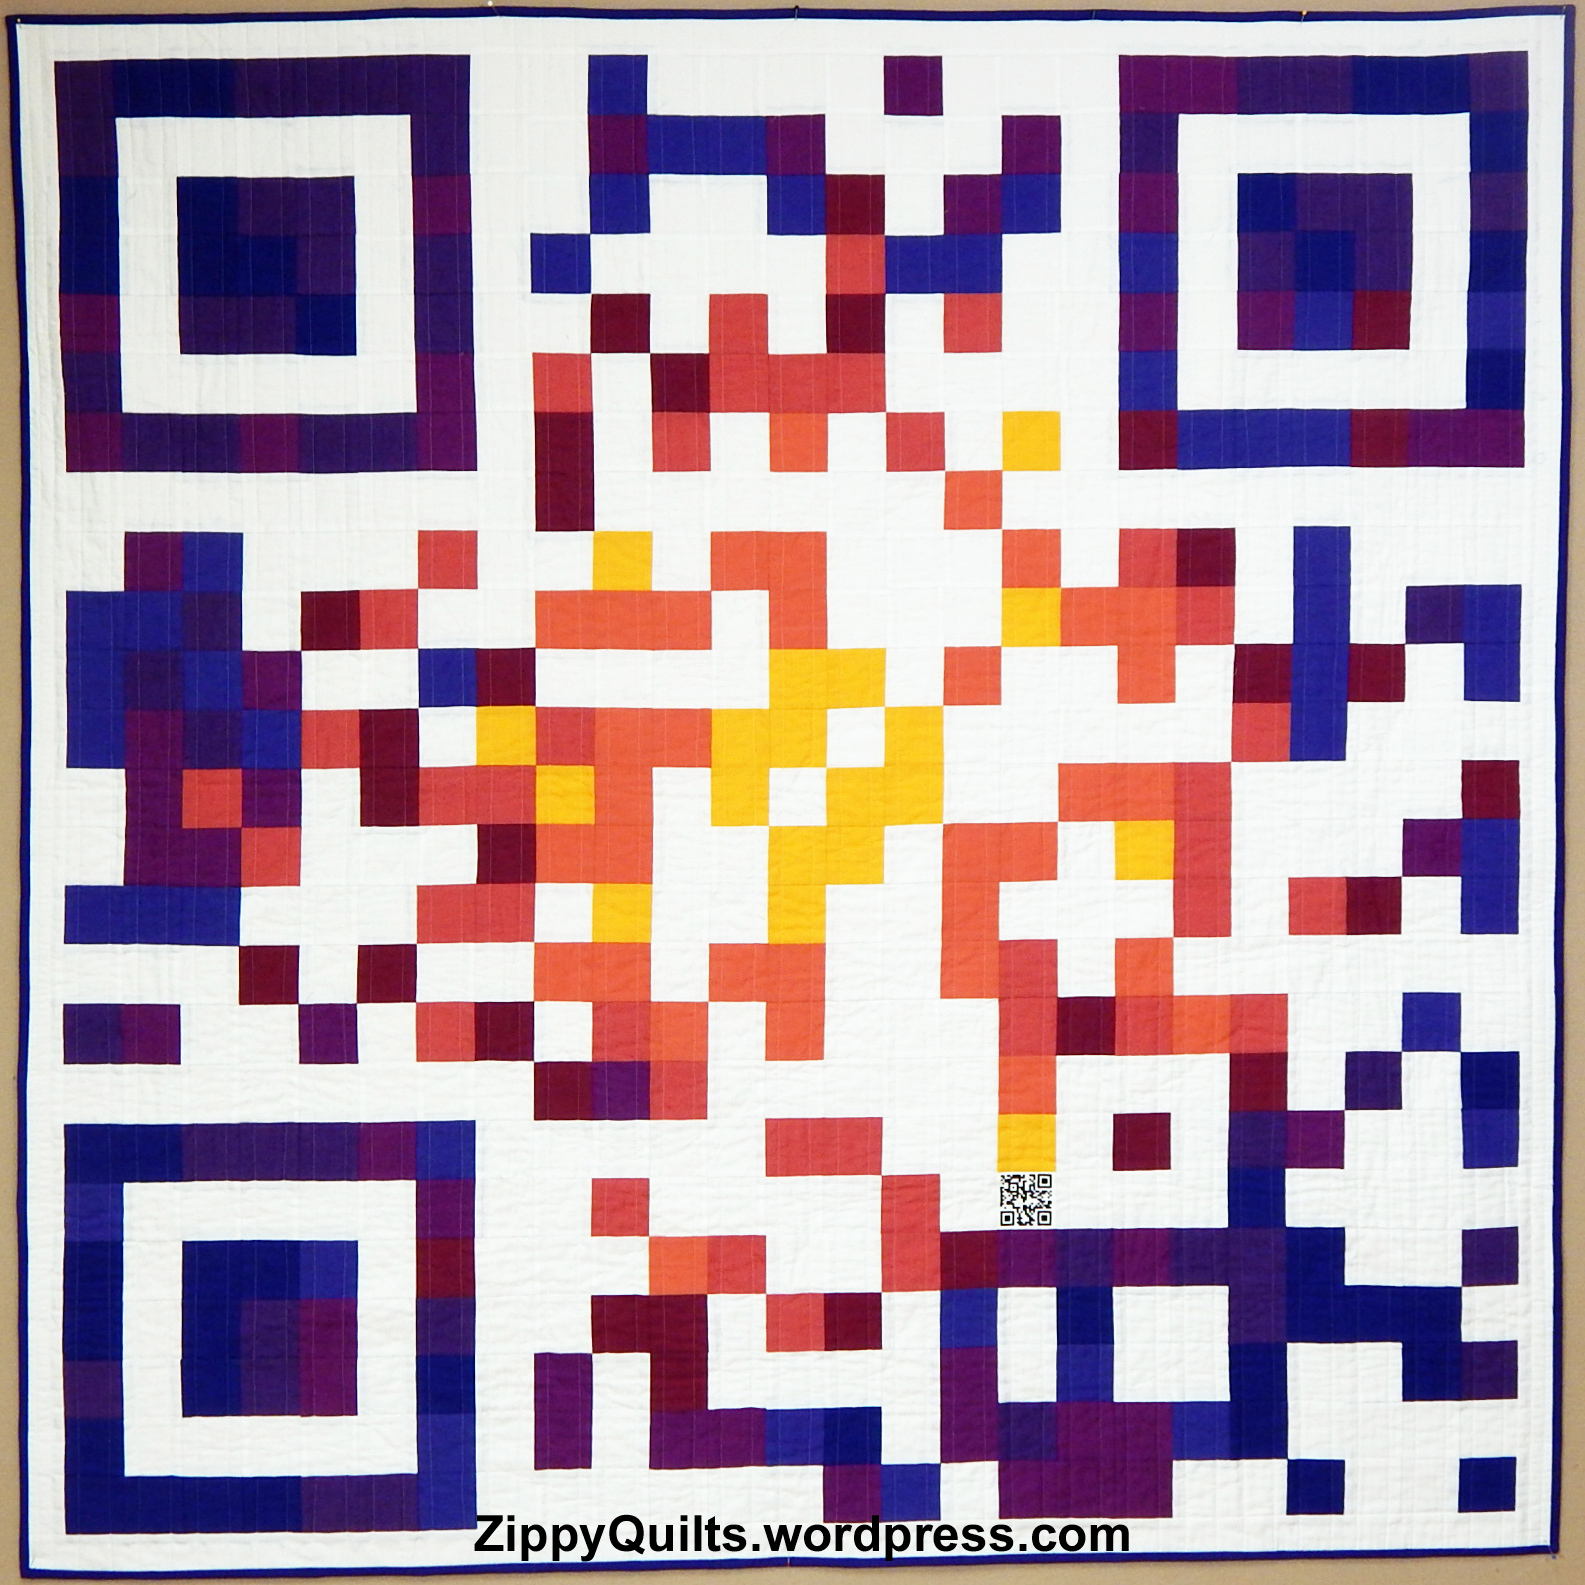
Scan Me, a quilt made to promote safer sex.

improvisational quilt

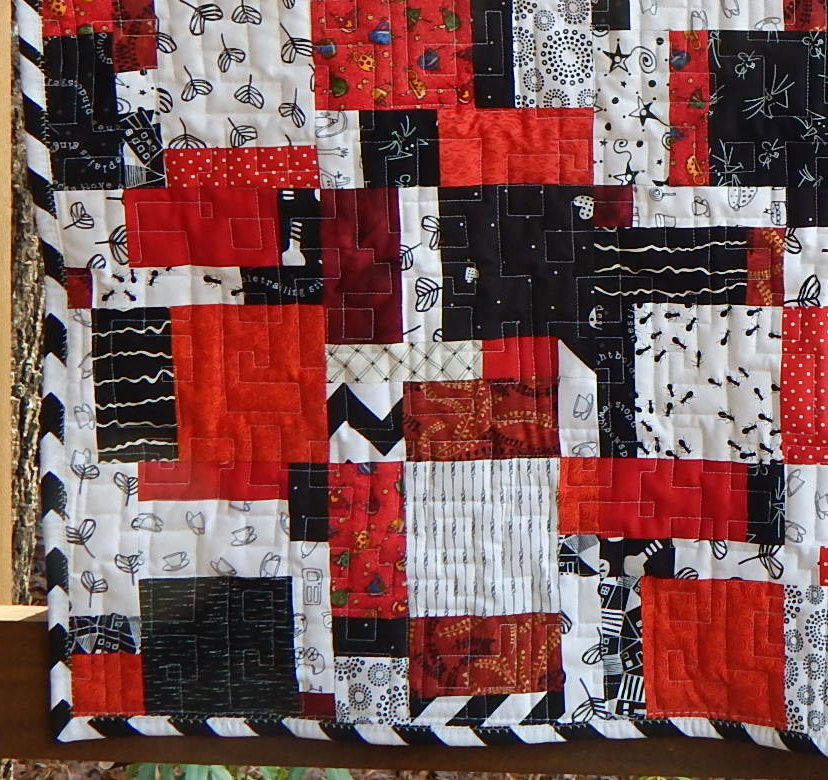
Cherrywood Toss won a blue ribbon.

art quilt, gwen marston

Refrigerator quilt inspired by Gwen Marston. Bev Manus came up with the idea for refrigerator quilts.

modern sampler

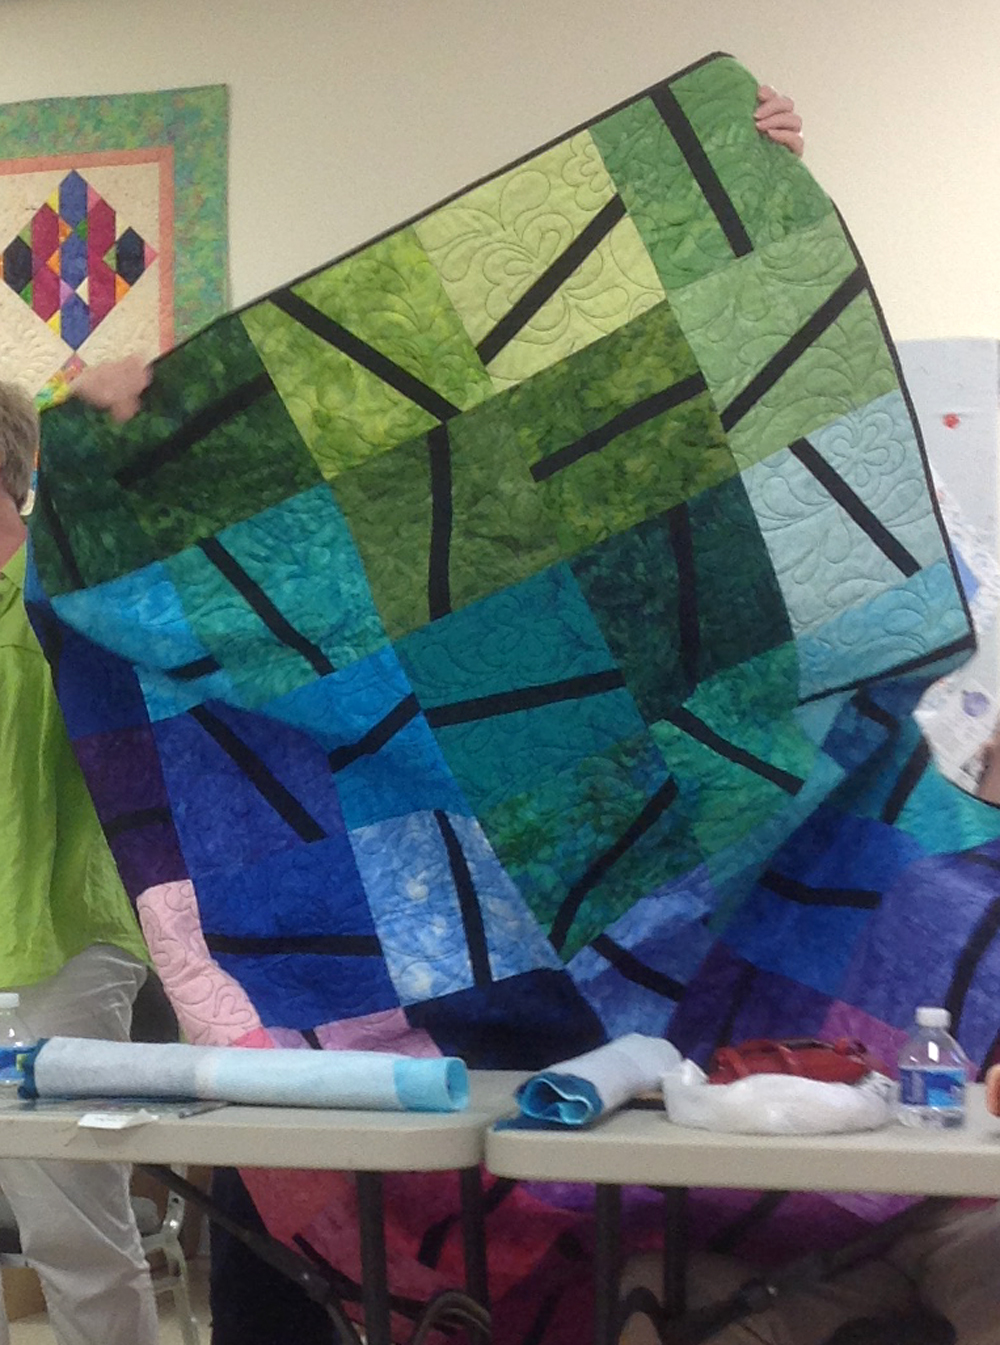
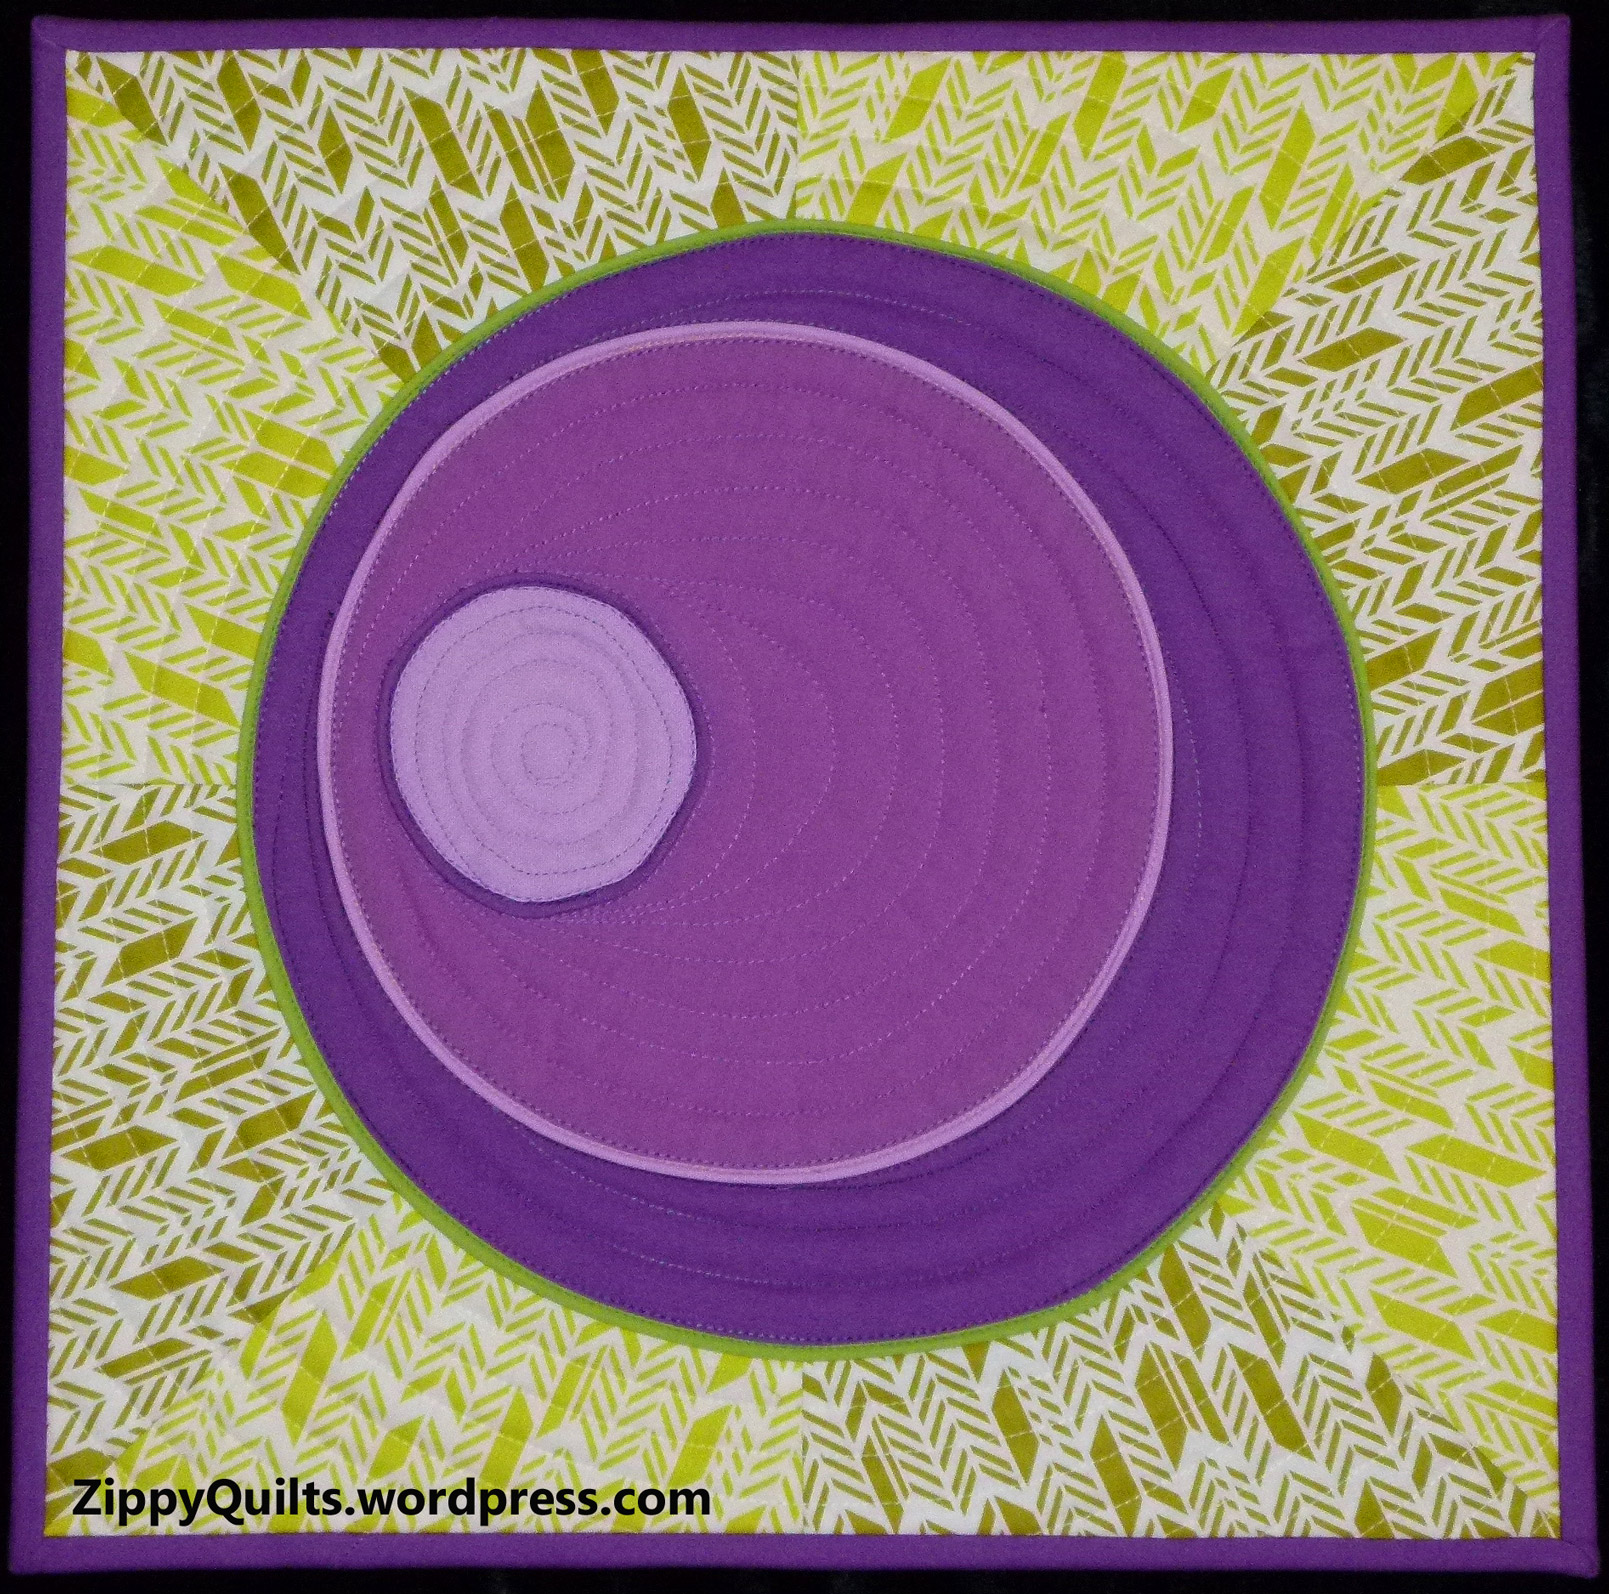
My Modern Sampler Quilt

improvisational quilt

“Gwen Visits the Farm” is the quilt I made for the Quilt Alliance contest this year

Quilted Adventure

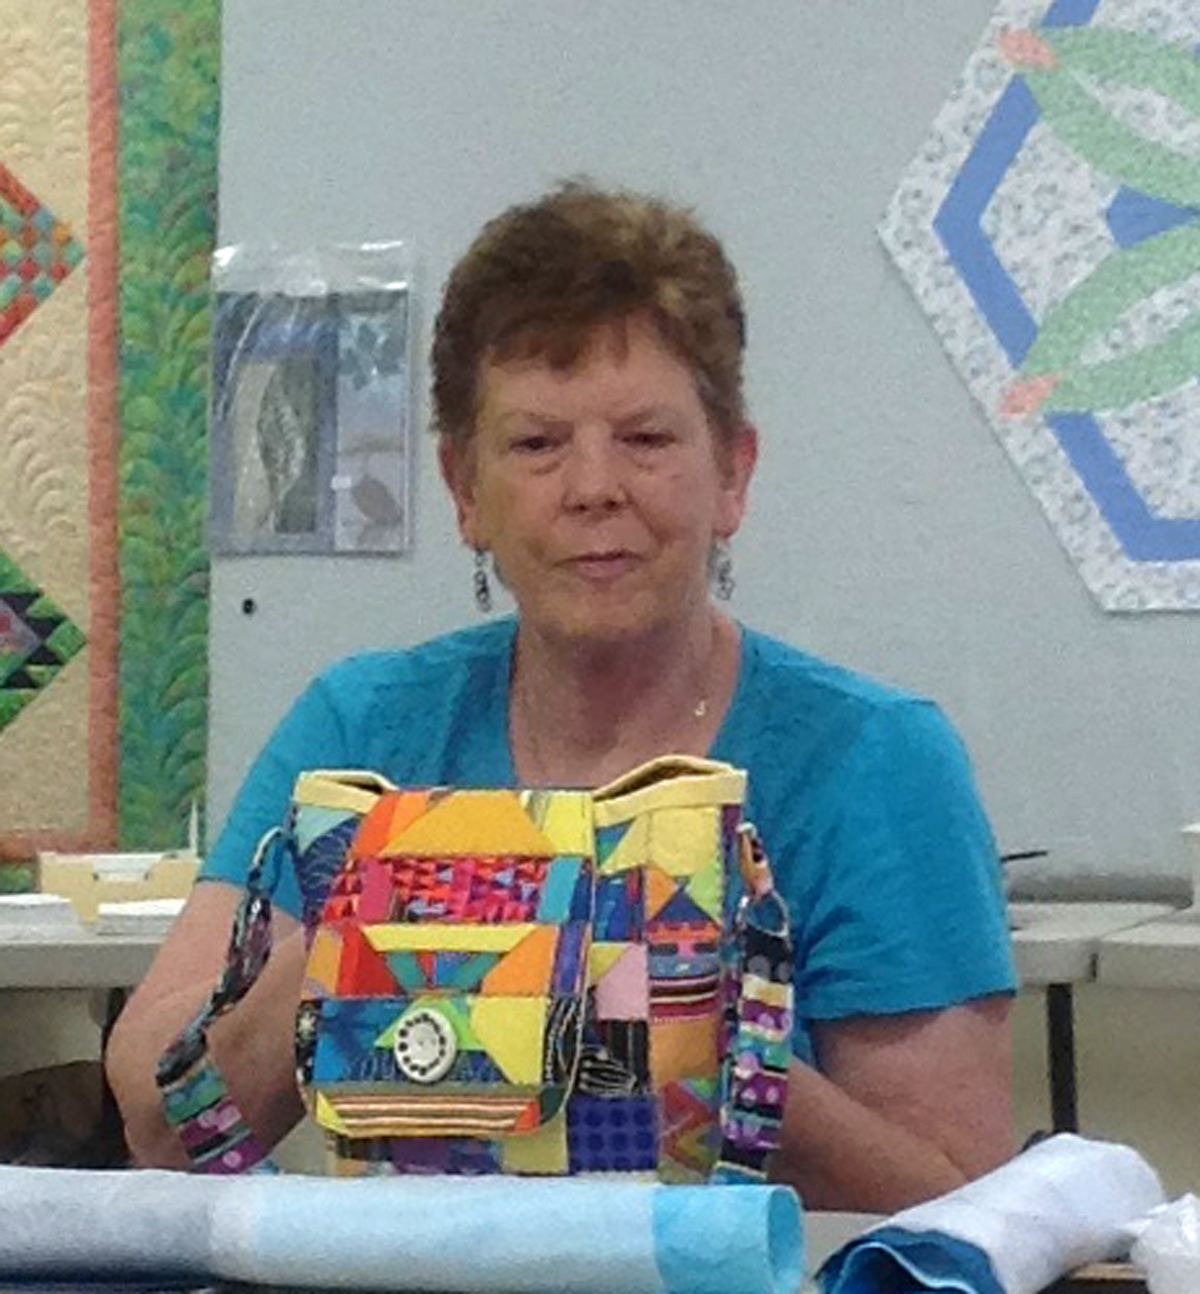
Roxie bag made as part of Quilted Adventure online retreat

Loes Hinse blouse

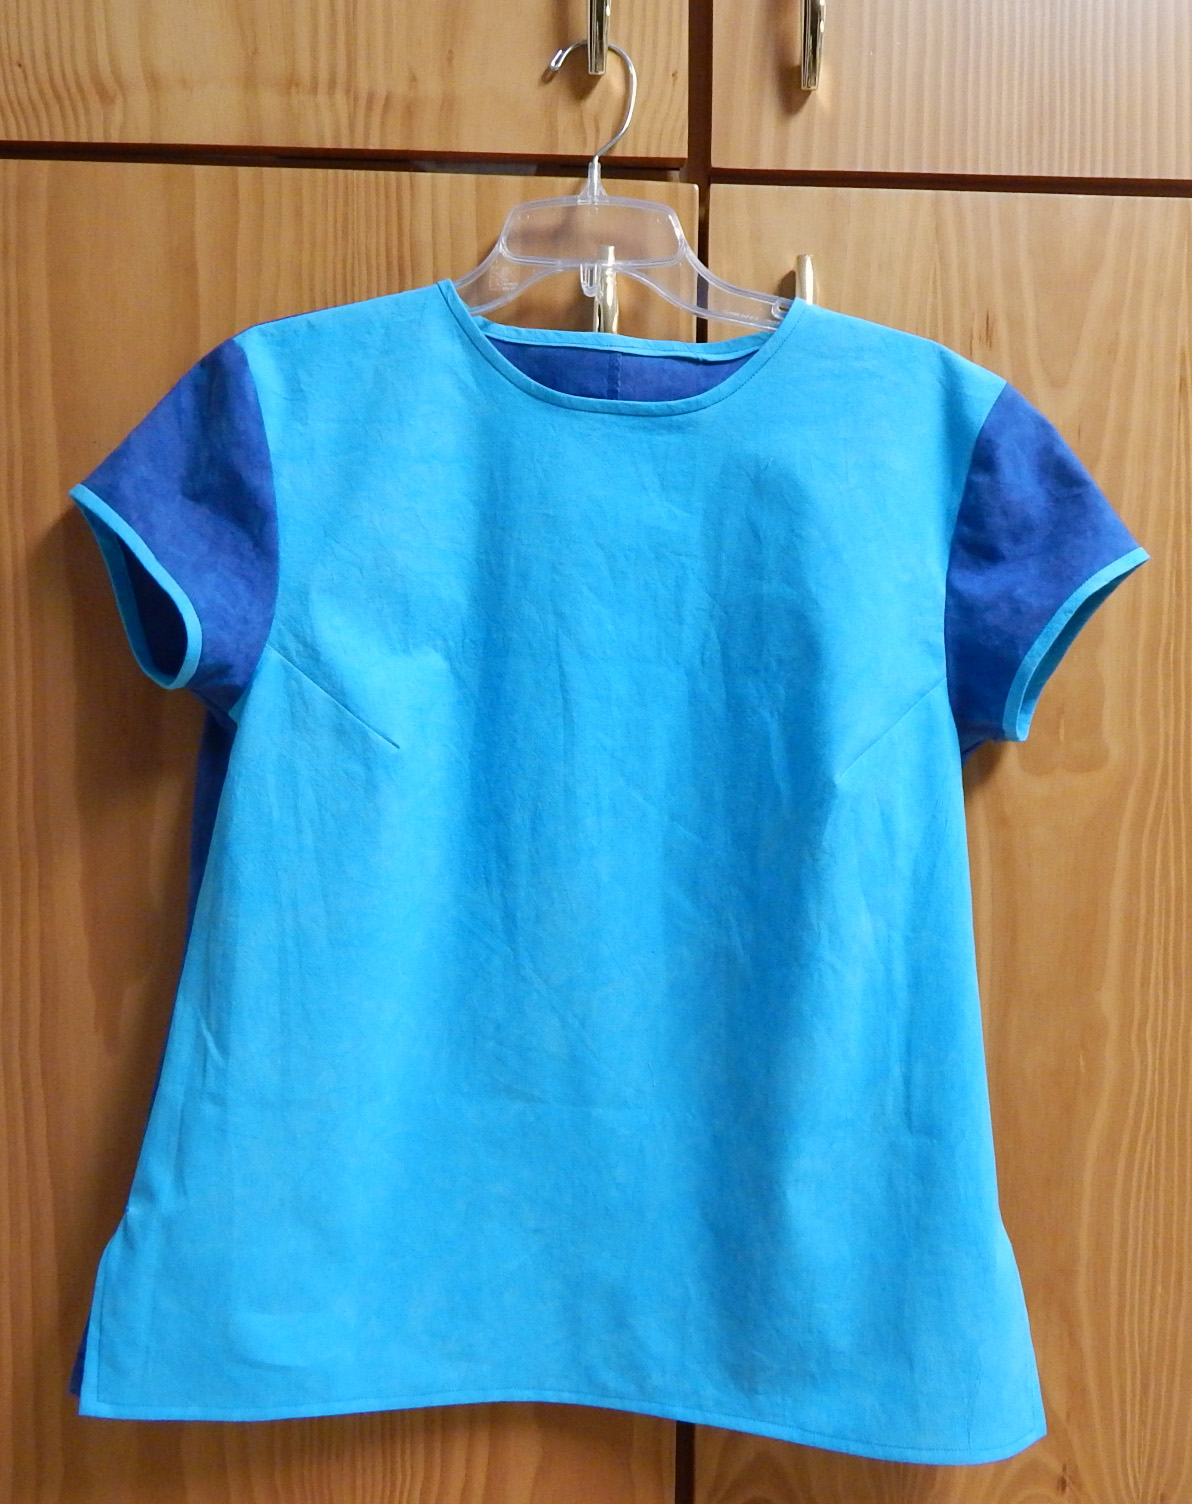
Blouse from a Loes Hinse pattern, in Cherrywood fabrics

Tumbling Blocks

Tumbling Blocks placemats, made in class with Karen Combs

Sweetpea Pod pattern review

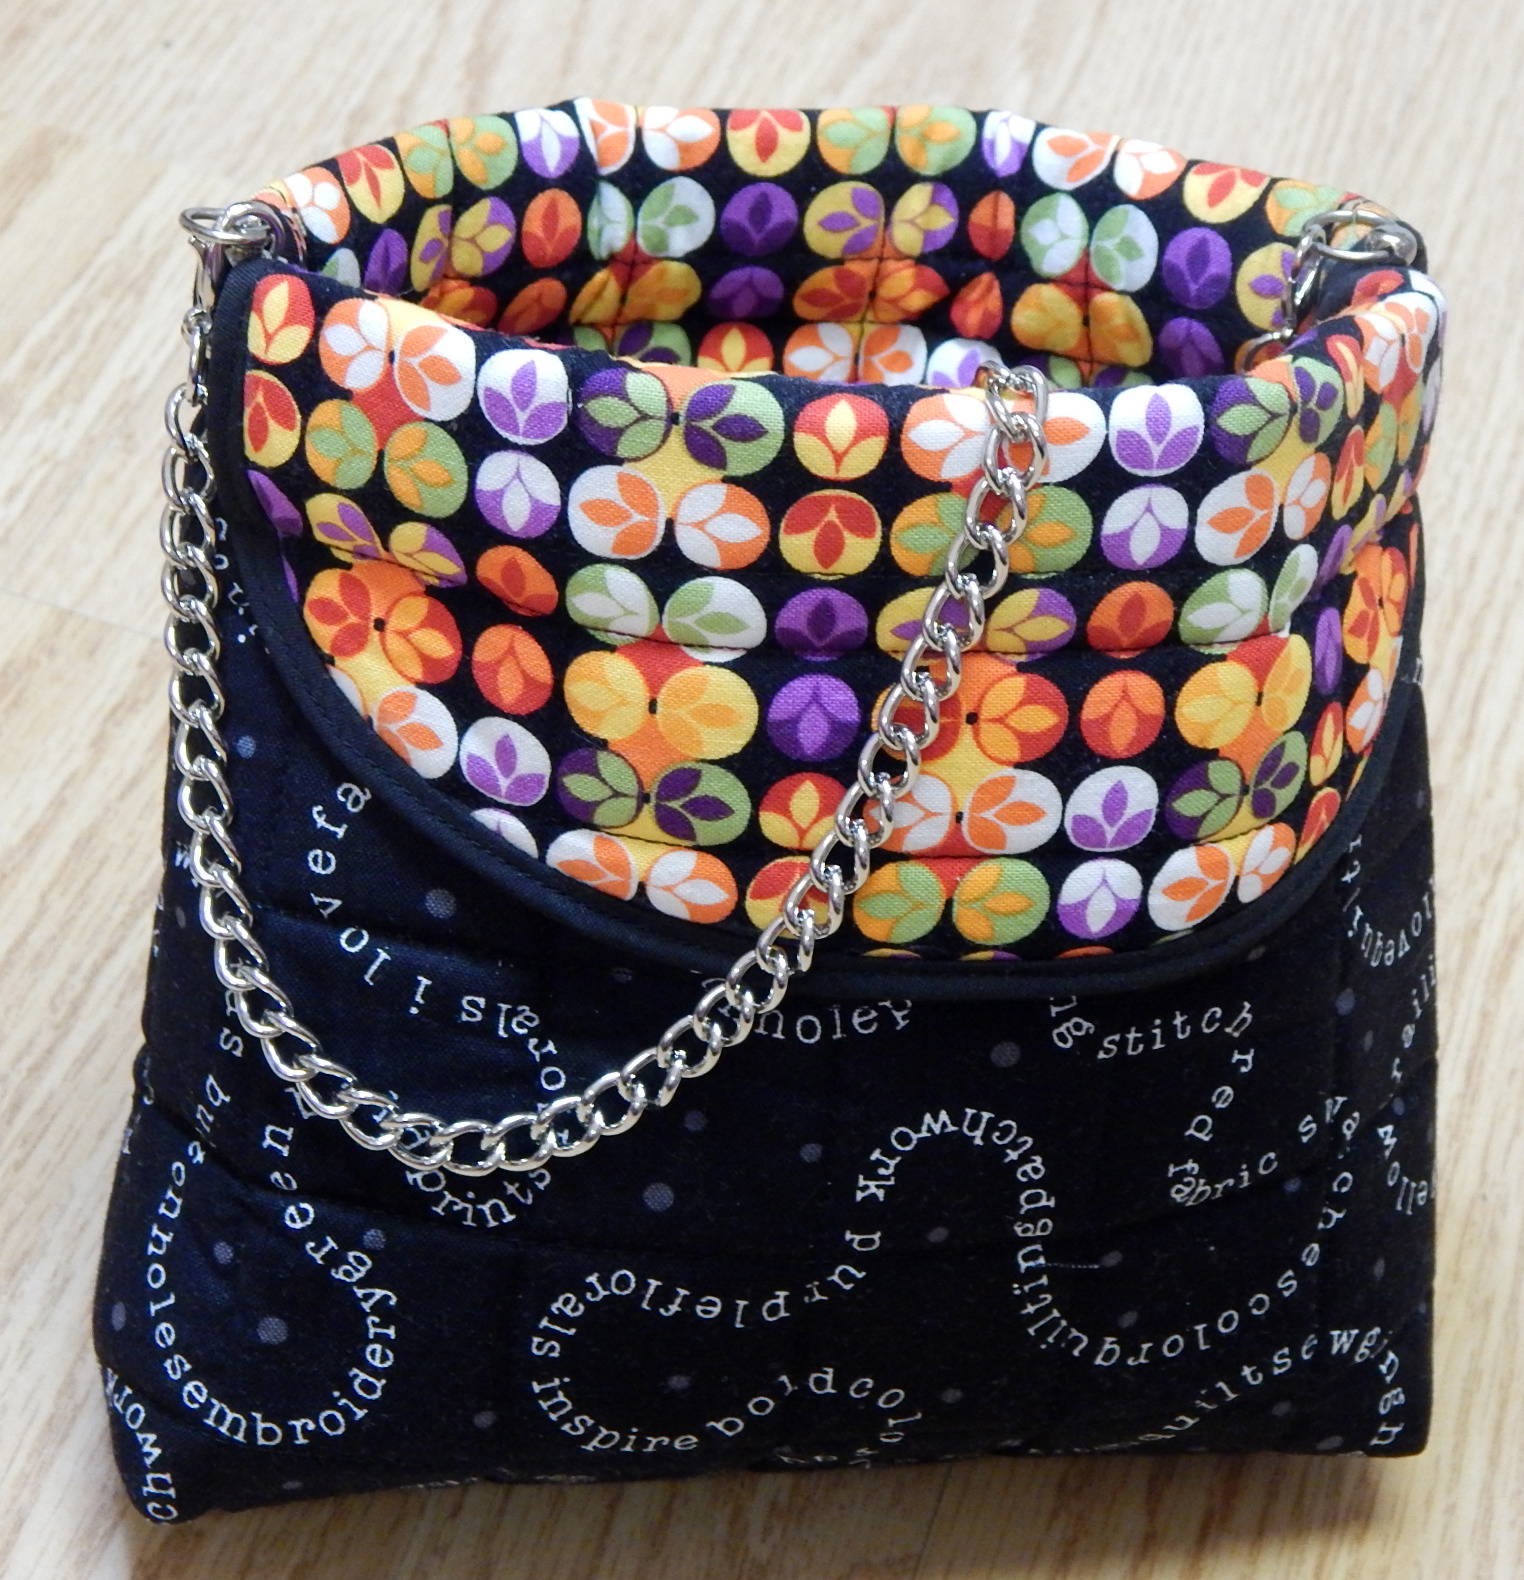
These Sweetpea Pod bags were so fun that I made a LOT of them!

And, of course, the quilts for Ronald McDonald House:

Happy new year, and may you have a great year of quilts in 2017!

Orphan Block Cards

A while back I ordered some blank cards with the idea that I would use some fabric scraps to create my own note cards. card2

In addition to the cards, I had this spray intended to turn any fabric into fusible fabric. Never mind why.  card1

So I sprayed the back of one of my little orphan blocks, then ironed it onto the card. I pinked the edges of the blocks before using because I figured there’d be endless loose threads otherwise.

card3The heat of the iron warped the card a little, so I wasn’t entirely satisfied with that.  A glue stick probably would have worked as well, without creating the warp.

Despite the warp, this was actually going pretty well, and I have an (almost) endless supply of little orphan blocks, so next I tried sewing the blocks on the cards:card4

It was difficult to keep them from distorting while being sewn.  So…warped cards from ironing, or blocks slightly askew from sewing?  Anyway, they are unique 🙂card5

Be warned: If I correspond with you regularly, one of these will be coming your way, ready or not!

Pincushion follow-up

Here are the pincushions made by the talented members of the Franklin Modern Quilt Guild. And just so you know, any quilts you see in the background are samples hanging at A Stitch in Time, where we meet.  How great is that, to meet in a quilt shop?

Be warned:  these are really just snapshots, not my best pictures.  I tried to be as unobtrusive as possible when I took pictures, so there may be odd things in the background.

fmqg19This last one is a “needle cushion”.  Each square is to be labelled with a needle size,so partly-used machine needles can be stuck in and easily found when you need that size again:

Needle Cushion

Needle Cushion

While I’m showing some of the creativity in this group, here are the “share and inspire” offerings for this month:

quilted purse

Jane Threlkeld fused some of her orphan blocks onto backing and made this purse

Linda Harrison made these two quilts from Bonnie Christine fabrics for Art Gallery, and one of them won a prize:

And here is a bright, cheerful quilt by Lynda Doll:modern quilt

Several of our members also belong to an art quilt group, and brought an example of one of their projects.  As you can see, they each made a vase of flowers and the cut them all up and swapped quarters!  The next step will be beads and baubles.art quilt

There’s always plenty of inspiration at these meetings!

Save

Save

Pincushion Project

Who can resist alliteration–just sayin’

traditional pincushion

Does everybody in American have one of these?

One of my quilt groups has a pincushion exchange scheduled for next month, and the last program was a display of many creative pincushions. I wish I had taken pictures! Since this is quite a creative group, I’ll be sure to take some at the exchange.

Meanwhile, I needed to make a pincushion. Note that I don’t say I need a pincushion. That certainly is not the case. I have a number of pincushions, and yes, I use all of them. However, to say I need another would be pushing it!

There are lots of great pincushion ideas on Pinterest, so I just made my own Pincushion board to collect a few. Then I chose one I thought I could make, and here it is:

pincushion

Dresden Pincushion, made from a free pattern at AllPeopleQuilt.com

I also noted that one of the bloggers I follow had gone crazy making pincushions, many of which were just little quilt blocks sewn together and filled. So I made a mini from some 2″ finished blocks I found in the orphan bin.

Then I went a little crazy myself, and took pictures of all my pincushions.  Most of them were gifts from friends or family, which gives them special meaning.

And finally, a fun factoid: I learned in my research that it is best to stuff pincushions with crushed walnut shells to give them a little heft!  And those crushed shells are sold as lizard litter in the pet store!  Who knew?

One last pincushion, a miniature: miniature pincushion

Save

Pattern Review: Sweetpea Pods

Note: As always, I received NO compensation of any type for this review.

One of the many things I enjoy about attending a quilt show is the opportunity to visit the vendors. Since my nearest “local” quilt shop is about an hour away, I often see things online long before I get to examine them in person. Occasionally I do buy online, but there’s no substitute for looking something over personally before buying.

Pattern review Sweetpea PodsAt the Vermont Quilt Festival, I came across this pattern that I had been considering online because it looked so darn cute.  I talked to the vendor about it to be sure it included instructions for doing that tricky thing with the zipper and learned that it did. She also had the extra zipper pulls that are useful for this design, so I bought the pattern and the zipper pulls.

And here we go:Pods3

This pattern has VERY clear instructions.  I read a fair number of patterns (and write my own), and this is one of the best-written patterns I have seen.

The little pods are easy to make, even with taking time to learn the zipper trick.  The zipper trick actually is easy, and instructions for that are very clear as well.  The pattern is set up so that you get two pods out of each set of instructions, so I cut them out with coordinated fabrics–outside fabric for one pouch was the lining for its mate!  What fun!Sweetpea Pods pattern review

This is so fast and fun that I made several of them.  The instructions say to zig-zag finish the inside seams, but I used my serger for that, so it was even faster!

This was a great break from a rather tedious project I’ve been working on.  I’m giving these to our daughter to use as teacher gifts, but I foresee another round of them for Christmas gifts coming right up!Sweetpea Pod pattern review

You can order the pattern at several places online, or go right to the source at the Lazy Girl Designs website.

2014 Projects, Part 2

To continue a review of projects from 2014, the point of this exercise is to get together a gallery page for each year I’ve done this blog.

I made “Drunk in the Garden” both to use this beautiful floral fabric that reminded me of Texas and to practice cutting and piecing gentle curves.

Drunk in the Garden, the original quilt

Drunk in the Garden, the original quilt

Despite the beautiful fabric, the overall design never looked right to me, primarily because the gold fabrics varied too much in value.  I eventually cut this quilt up and made some place mats, which were much more successful.  You can see them here, if you like.

I designed a quilt for the Michael Miller challenge and, though it sank without a trace in the challenge, I liked it.  The design was improvised based on the little scan codes made up of triangles at my local garden center:

Michael Miller challenge quilt

Packet of Posy Seeds

Also in 2014, I designed a quilt and pillow for Modern Quilts Unlimited magazine.  Here is the picture from the magazine:

quilt photo

Zippy Star Quilt and Pillow as shown in Modern Quilts Unlimited, Summer 2014

And here is the “practice” quilt I made first to work out the details:

modern quilt

Zippy Star I, which sold at the Asheville Quilt Show in September

As if one Michael Miller challenge weren’t enough, I made this quilt for another later in the year:MM-finish1

And finally, I finished this quilt, which I had been working on for years.  Literally.

Spring Sun, a design by me, using blocks paper pieced from a totally different Judy Niemeyer pattern!

Spring Sun, a design by me, using blocks paper pieced from a totally different Judy Niemeyer pattern

And that was it for 2014!  One thing that is obvious from reviewing some of these pictures is that I have improved my photography since 2014.  For which I’m thankful.

Coming up next: a report from the 2016 Vermont Quilt Festival!


Save

Save

Save

Save

Save

Save

Good News, Bad News!

First, the bad news: I sliced a good-sized hunk out of my finger with the (nice, sharp) rotary cutter. When I couldn’t get the bleeding stopped after an hour, I went to Urgent Care. A nice Physician Assistant there got it all fixed up.rotary cutter accident

Quilting with 9 fingers is a challenge 😉  Another learning experience…

In better news, I made Lora Douglas’s Roxie bag this week, and it is as cute as expected! This project is part of Quilted Adventure, an online retreat I’m taking part in throughout 2016.  As always, I learned several things from making this bag.  And unlike the learning experience mentioned above, this was fun:

Roxie Bag, Quilted Adventure

Roxie Bag, Designed by Lora Douglas

Lora’s instructions requested foam batting, a product I had never heard of!  Luckily, my “local” quilt shop had it. It did give the bag really nice structure without making it stiff, and I probably will use foam batting for future bags.  A nice find!

I purchased the hardware for the bag from Lora’s Etsy shop,  I had no idea a flex frame could be so sturdy.  Most bags I’ve seen were made with lengths of metal measuring tape as the closure.  That works just fine (if your husband isn’t very vigilant about his tools) but the closure isn’t very tight.  The flex frame that came with the kit holds that bag closed with certainty!  And unlike the measuring tape closure, this one can hold itself open when needed.

Lora Douglas

Roxie Bag with the top snapped open

Lora’s instructions also called for glue-basting the binding, which I had never done.  It actually worked great!  I’ll probably do that again.

If you’re interested in the year-long Quilted Adventure, all classes are online for the whole year, so you can sign up any time.  Just use the link above to go to Lora’s site and click the button in her margin.  If your main interest is the bag rather than the whole retreat, she’ll release the single pattern some time in 2017.

So the good learning experiences certainly outweighed the bad this week!


Projects 2013–Part I

For some time I’ve been meaning to add to my blog with a gallery of projects for each of the past several years.  I’ve been held up in part by the variable quality of my photography over the years, but I’ve decided to just start anyway.  Here are some projects from 2013.

I entered several national contests in 2013, the year I also started this blog.  Here is the quilt I made for the Quilt Alliance TWENTY challenge and chose as the header for my blog:

Rising star art quilt

Rising Star, made for the Quilt Alliance TWENTY contest in 2013

I made this quilt for the Michael Miller challenge in 2013:

Michael Miller Challenge 2013

Packet of Posey Seeds

And I made this little quilt for the Pantone Challenge:

Applique quilt

Radiating Orchid mini-quilt for the Radiant Orchid Challenge

I attended some wonderful classes with Laura Wasilowski in 2013, and made this little art quilt:

applique art quilt

Leaf, made in class with Laura Wasilowski

I did some “crafty” things in 2013, including chambray shirts decorated with orphan blocks and matching T shirts for a special baby and his special Dad:

Here are a set of placemats and two table runners from 2013:quilted placemats

leaf runner

table runner

Table runner made from a strip of leftovers

Also in 2013, I made an apron for a special friend and a caddy for carrying my iron to classes and retreats:

2013 was also a good year to make pillows for friends and to use up orphan blocks:

Well!  That’s it for special projects from 2013.  The actual quilts from 2013 are up next–more to come!

Cover for The Quilter’s Planner

I was pretty excited to get the newly-developed Quilter’s Planner (more info HERE if you’re interested) for Christmas.  I decided it needed a fancy cover to protect all my

The Quilter's Planner 2016

The Quilter’s Planner

plans!  A quick Google search for “planner cover tutorial” found one HERE by Jodi Bonjour on her blog Sew Fearless.

Now, Jodi’s tutorial is for a planner of a DIFFERENT SIZE, You can follow her general directions, but here are my modifications to make it the right size for the Quilter’s Planner. As is often the case, it took 2 tries to get this right, so I’ve also made a few notes about what worked for me.

First, about cutting:  I cut the pieces for the cover, lining, fusible fleece, and Peltex (stiffener) 20-1/2″ x 11″.  The sleeves were cut 5-1/2″ x 11″.  Here are pictures of the interior of the planner cover, showing what the sleeves are:

cover for the quilter's planner 2016

Interior of the planner cover, showing the sleeves and the closing tab

cover for quilter's planner 2016

Interior with the planner in place, cover inserted in the sleeves

I pretty much followed Jodi’s instructions, BUT here are a few hints:

  • I spray basted the backing to the Peltex–that stuff is slippery.
  • It may be a good idea to cut these pieces 1″ larger than needed and trim to size after quilting the cover.  As always, things shift a little during quilting.
  • Jodi used a big snap to close her cover, but I used hook-and-loop tape.  It’s more adjustable, and who knows what all I may jam in with the book?  (Plus, I couldn’t find my snap setter 🙂
  • Jodi’s directions just say to attach the tab closure.  For the record, you do that by lining up the unfinished end of the tab with the unfinished edge of the planner cover, centering it along one side.
  • I cut my binding 2-1/4″ wide, attached it to the inside with a 1/4″ seam, and turned it to the outside.  This made the seam attaching it to the outside almost 1/2″, which made the planner cover fit tightly into the pockets.  It worked out fine, but check your seams so you don’t find the pockets have gotten a little too small!

I quilted my cover, which holds all the layers together really well.  I’m not sure what would happen if you didn’t do that.  Here’s a picture of the quilting:

cover for quilter's planner 2016

Quilting on the exterior of the cover

And here is my planner cover, ready to start 2016!

cover for quilter's planner 2016

The finished planner cover

What are your plans for the new year?

Final Finishes!

I got these two quilts back from the quilter last week, so I put the binding on and have my final 2 finishes for the year!

modern quilt

This binding was made from the remaining black and white chevron fabric

I finally finished the eternal paper piecing for this quilt and I’m having fun arranging the blocks.

modern quilt

The pattern is Lombard Street, by Sassafras Lane Designs

Here are a few of the other projects I’ve done this year.  You can click on any of them for more detail.

And finally, here are a couple of things I had published in Modern Quilts Unlimited:

Can’t wait to start next year’s projects!  Woo!