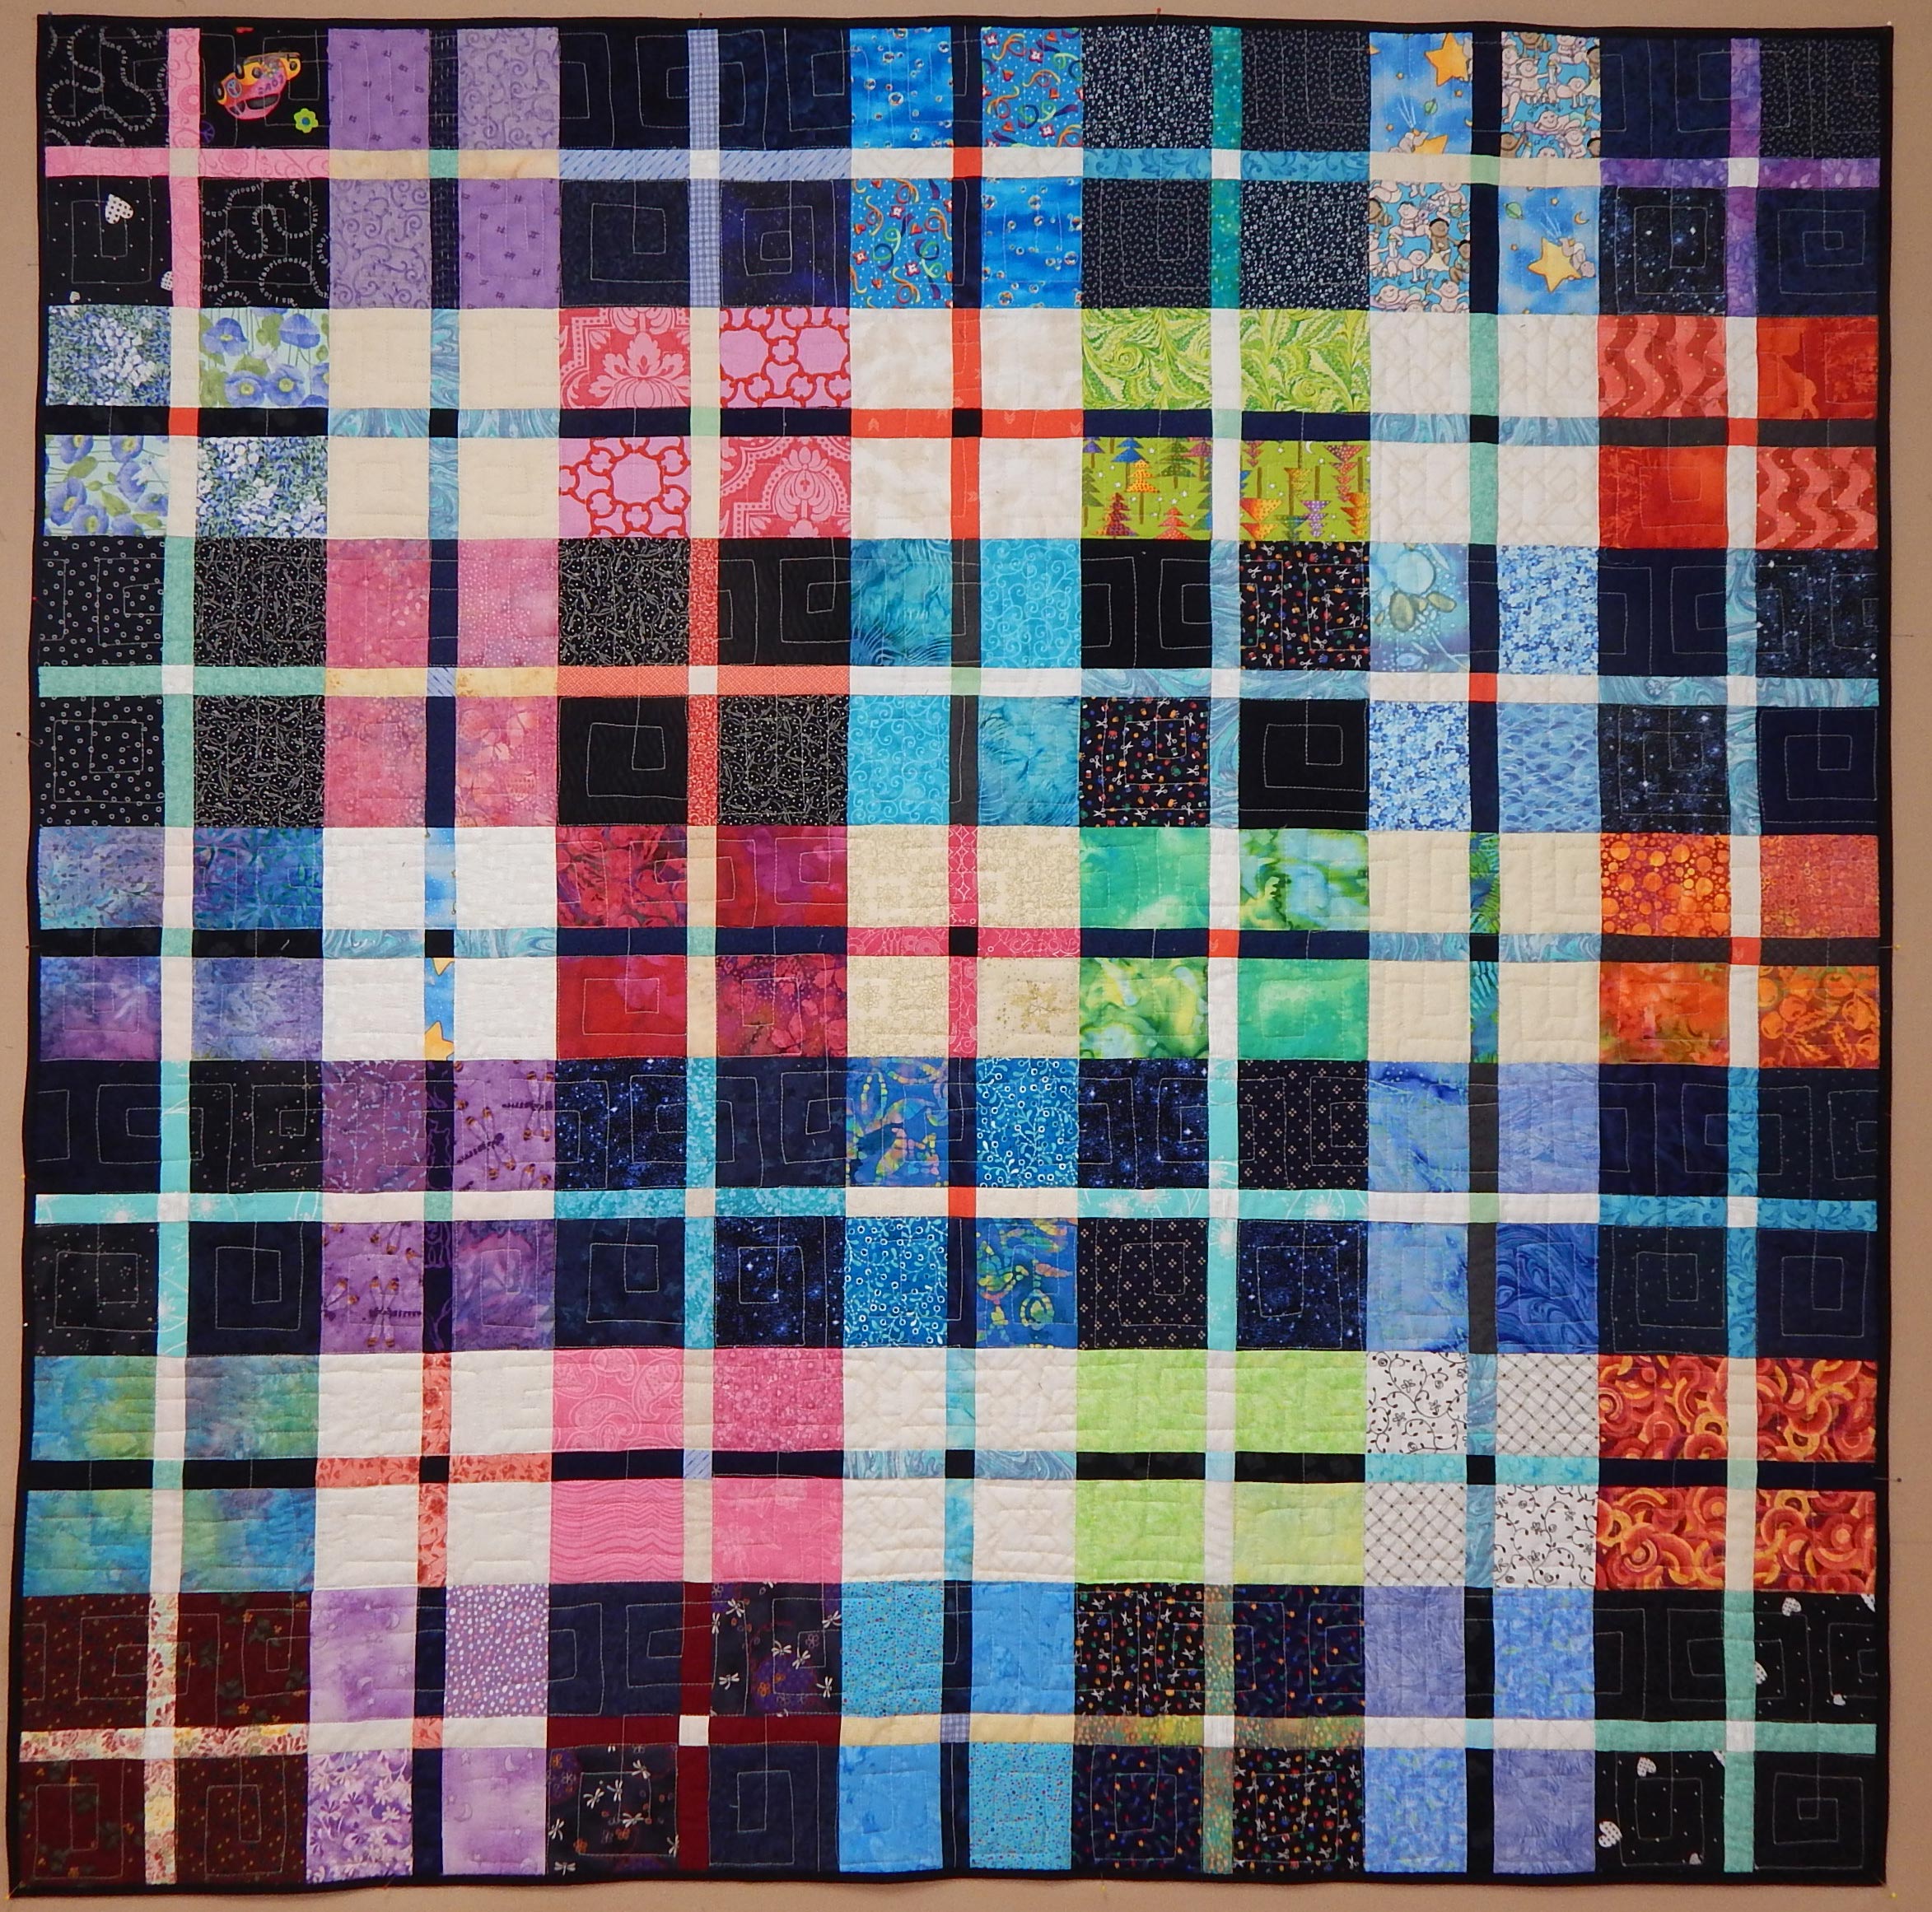
I mentioned last week that I had forgotten to blog about my improvisational quilt, so here’s the whole story.
Last summer I took part in an improv quilt-along hosted by Shannon Fraser Designs. I made a bunch of blocks in response to her prompts.
Eventually, I used my signature little black strips to combine them into a final design.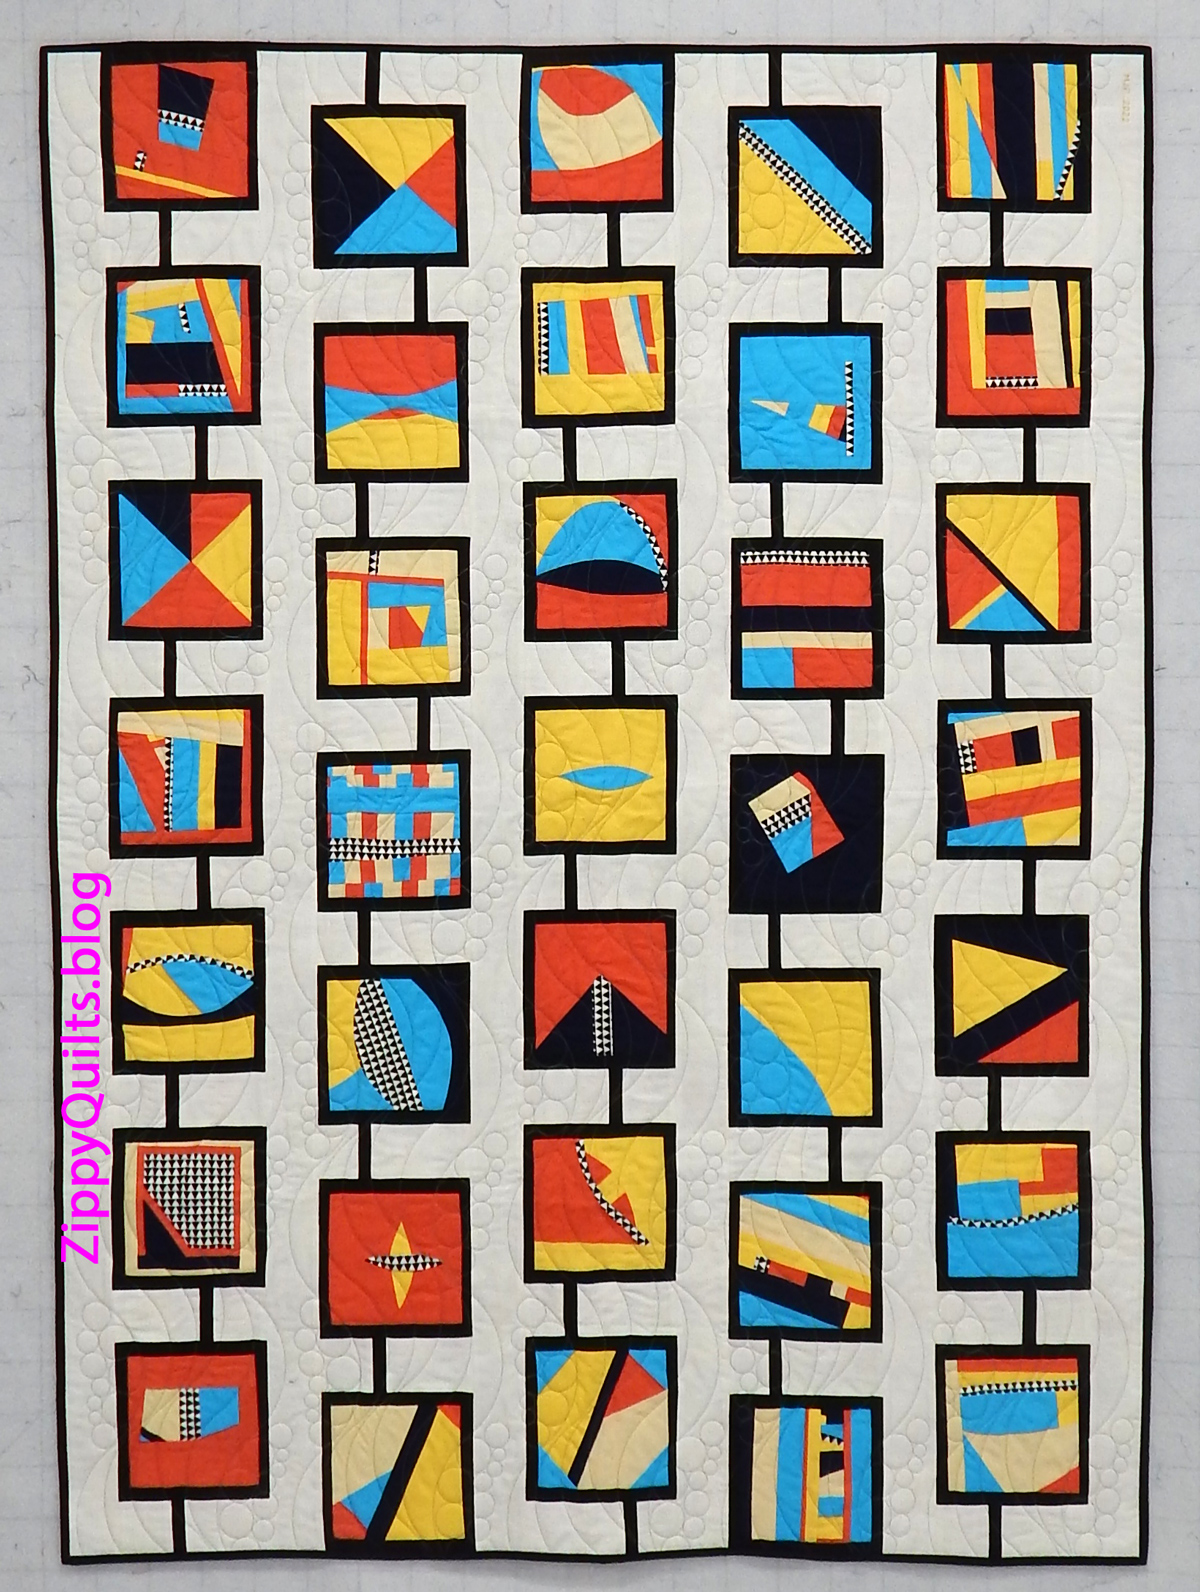
And then I forgot to blog about the finished product. So here we go:
Quilt Stats
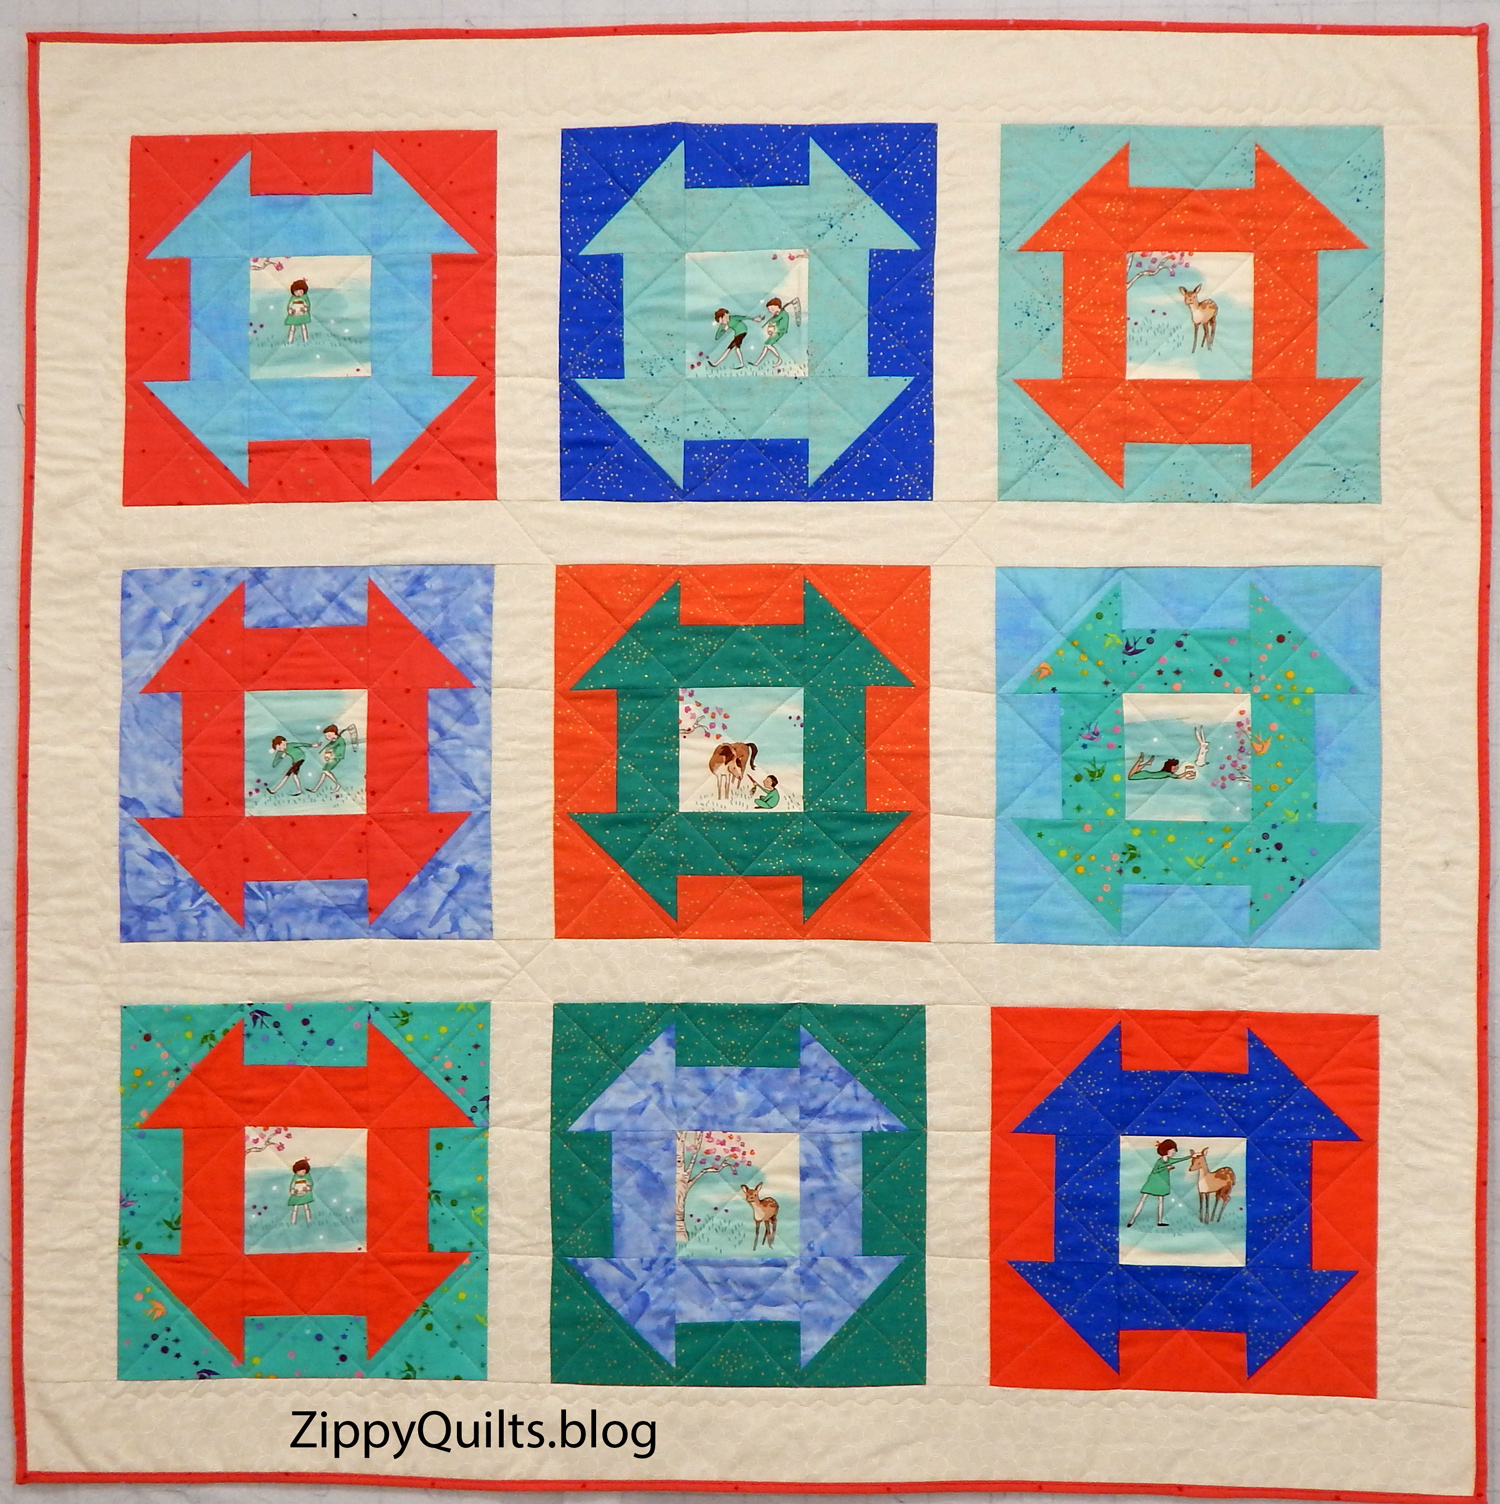
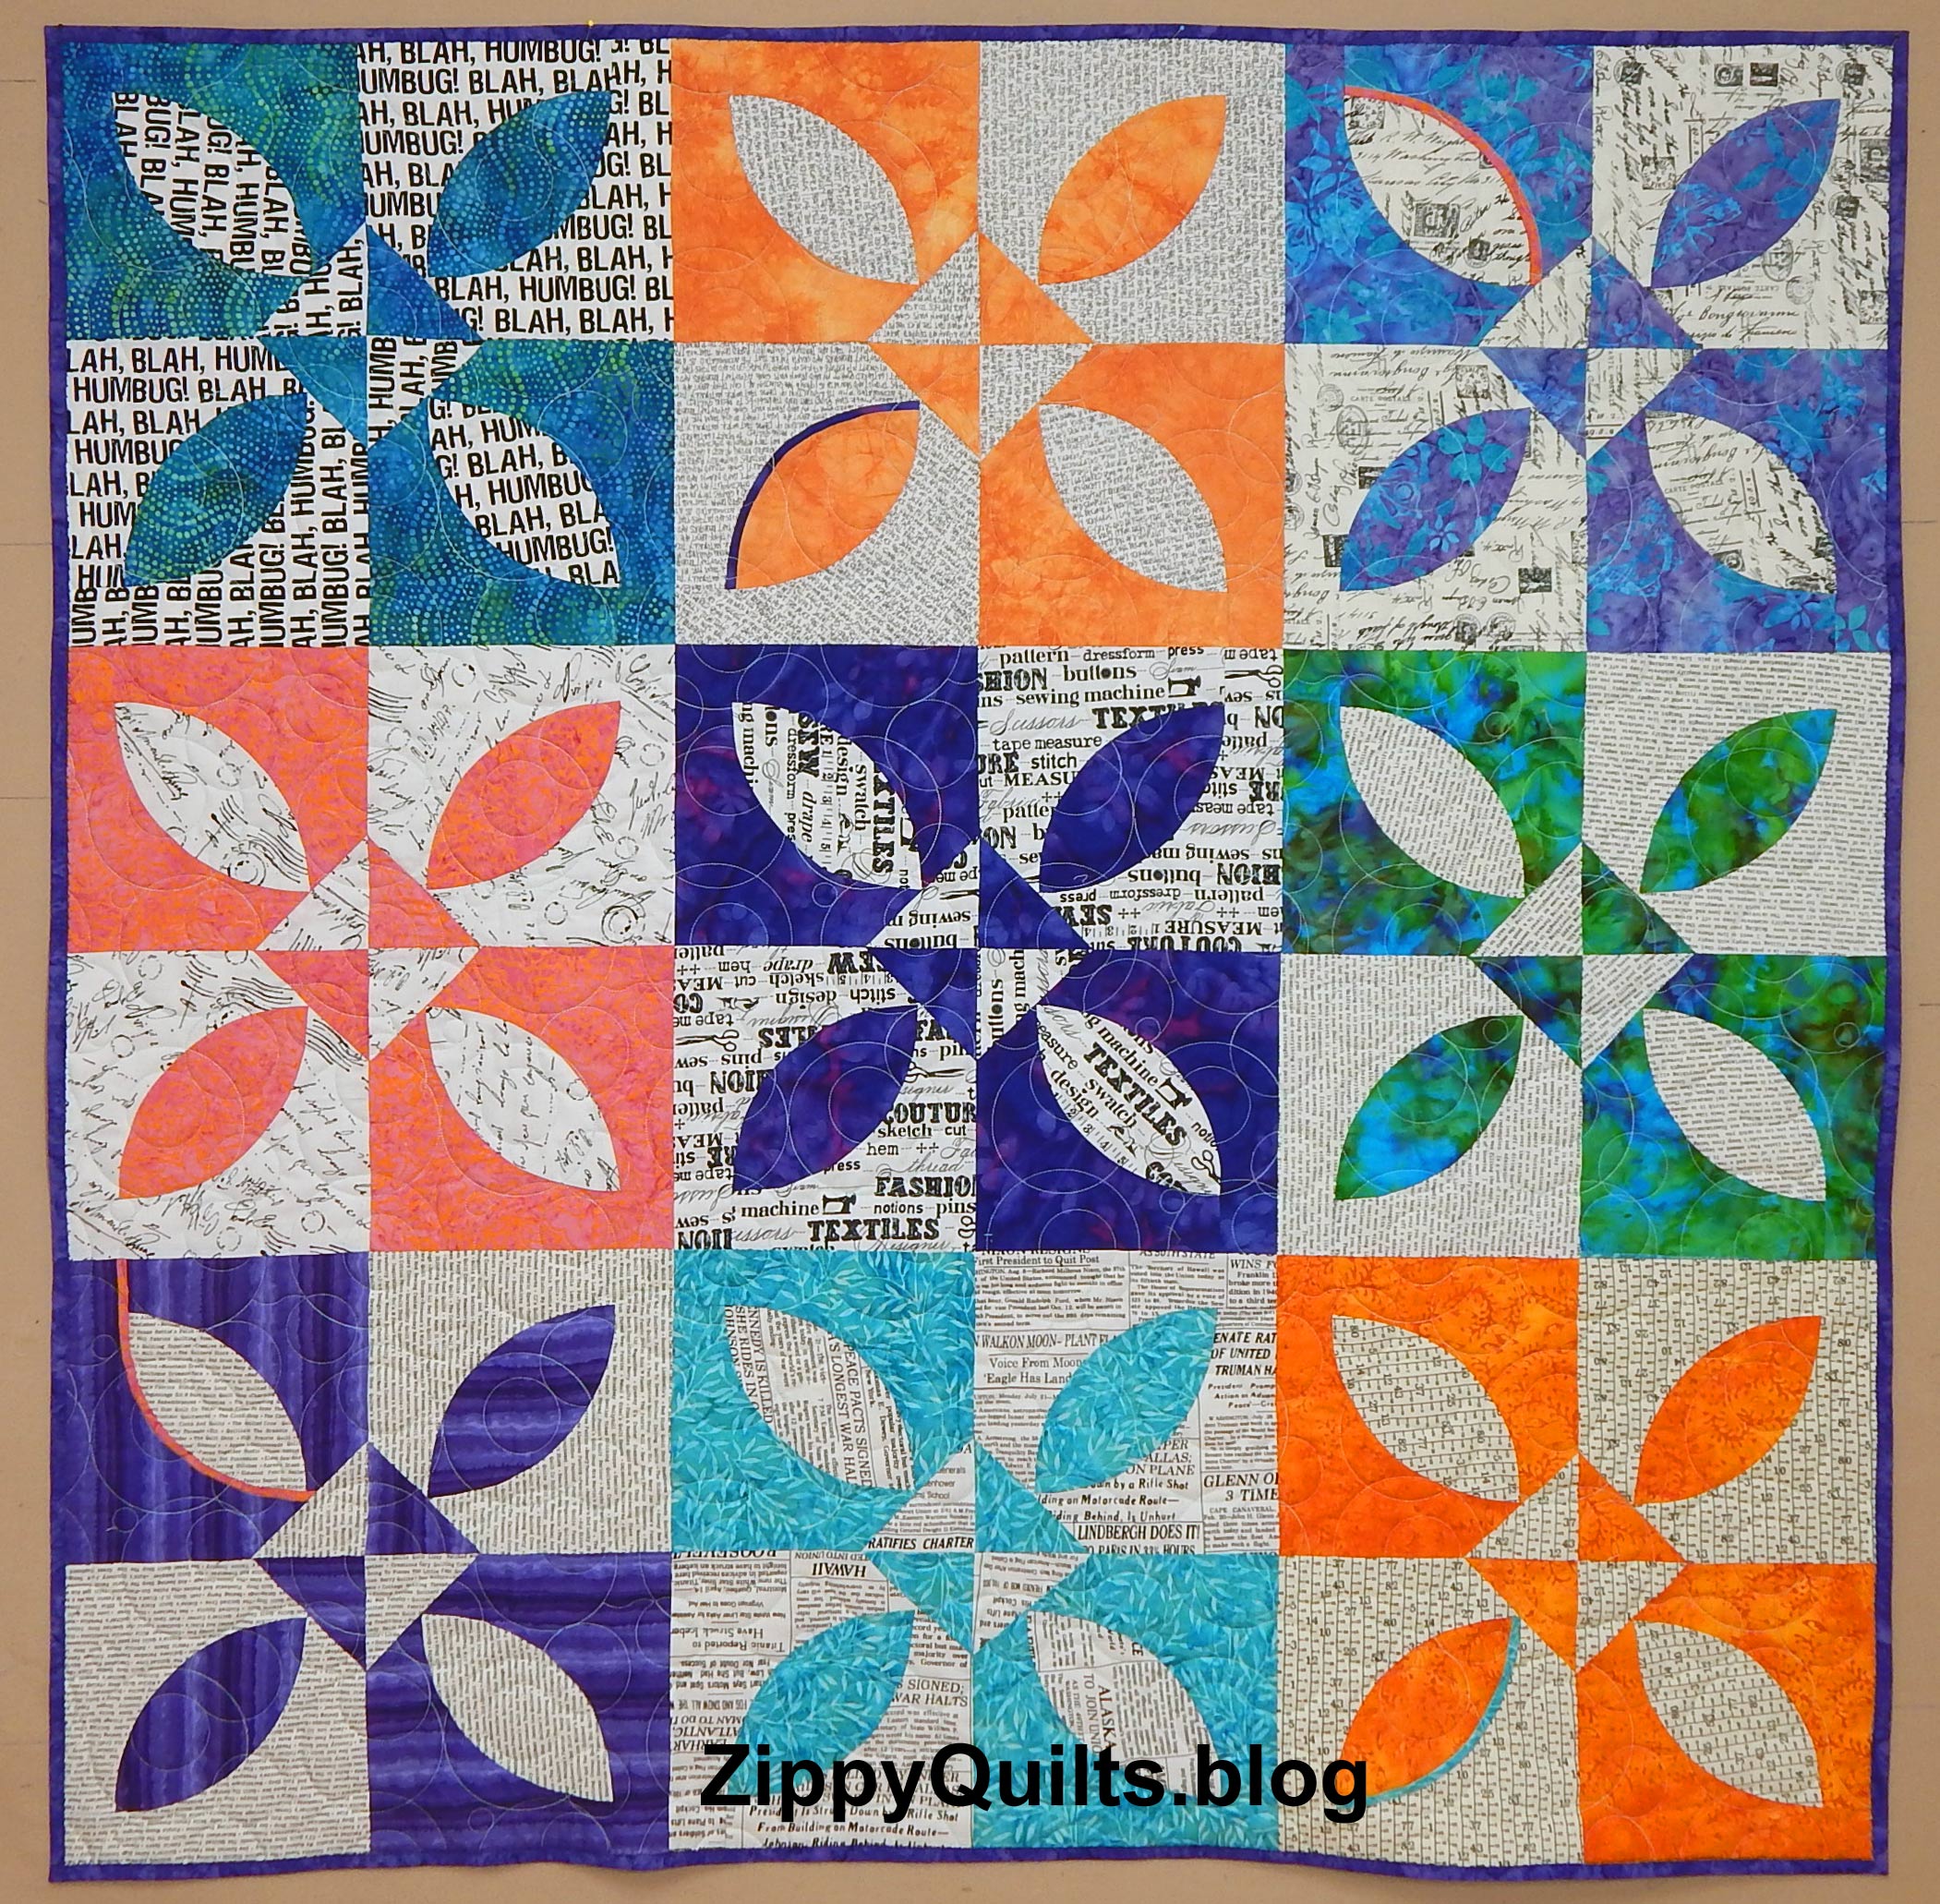
Name: Improv 2022
Finished size: 42″ x 57″
Designed, and made by: me, in response to improv prompts from Shannon Fraser Designs
Quilted by: Linda Nichols
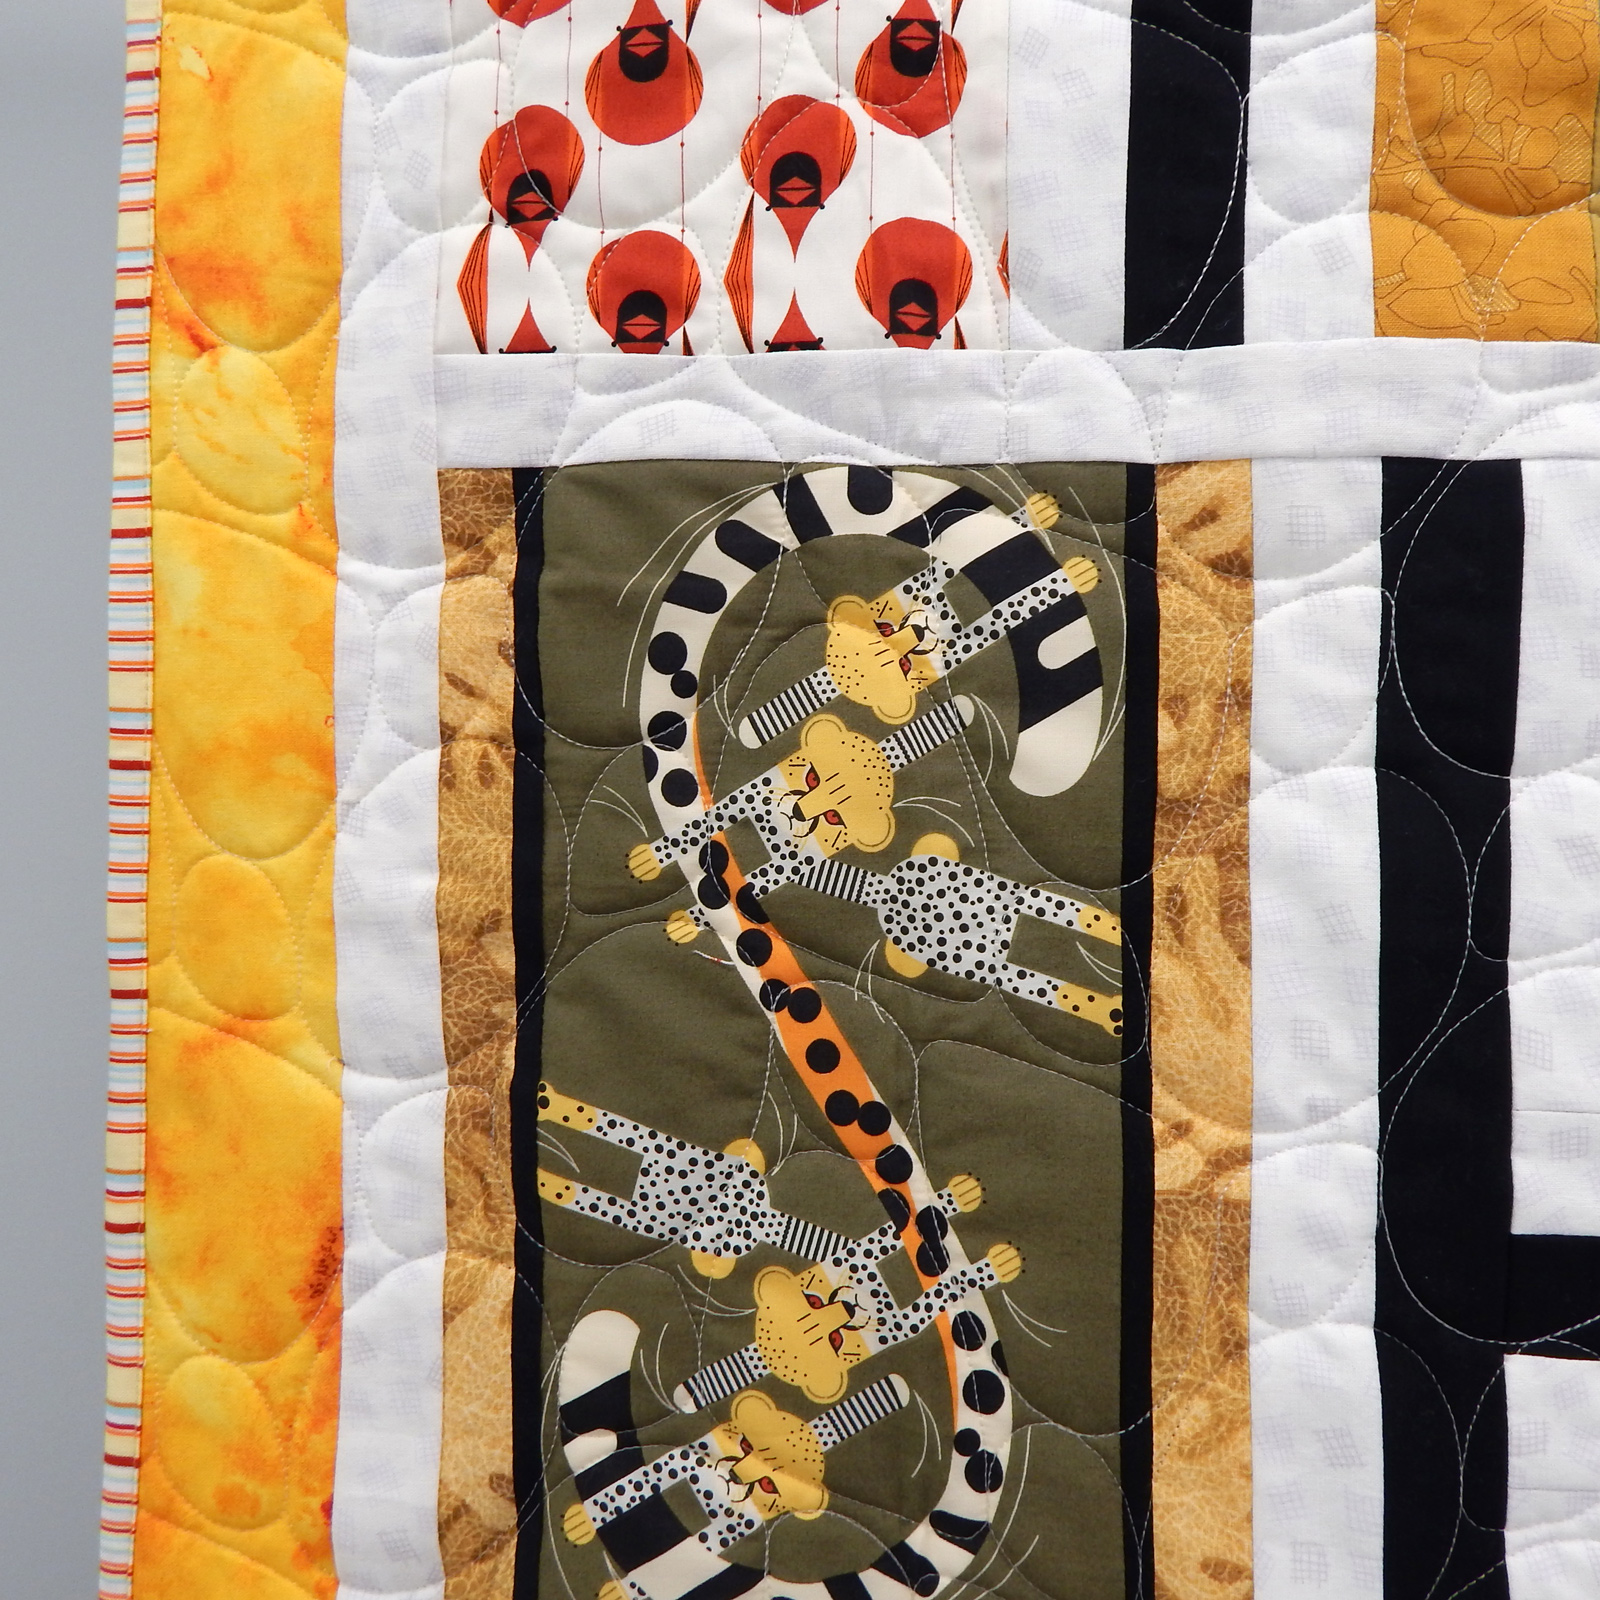
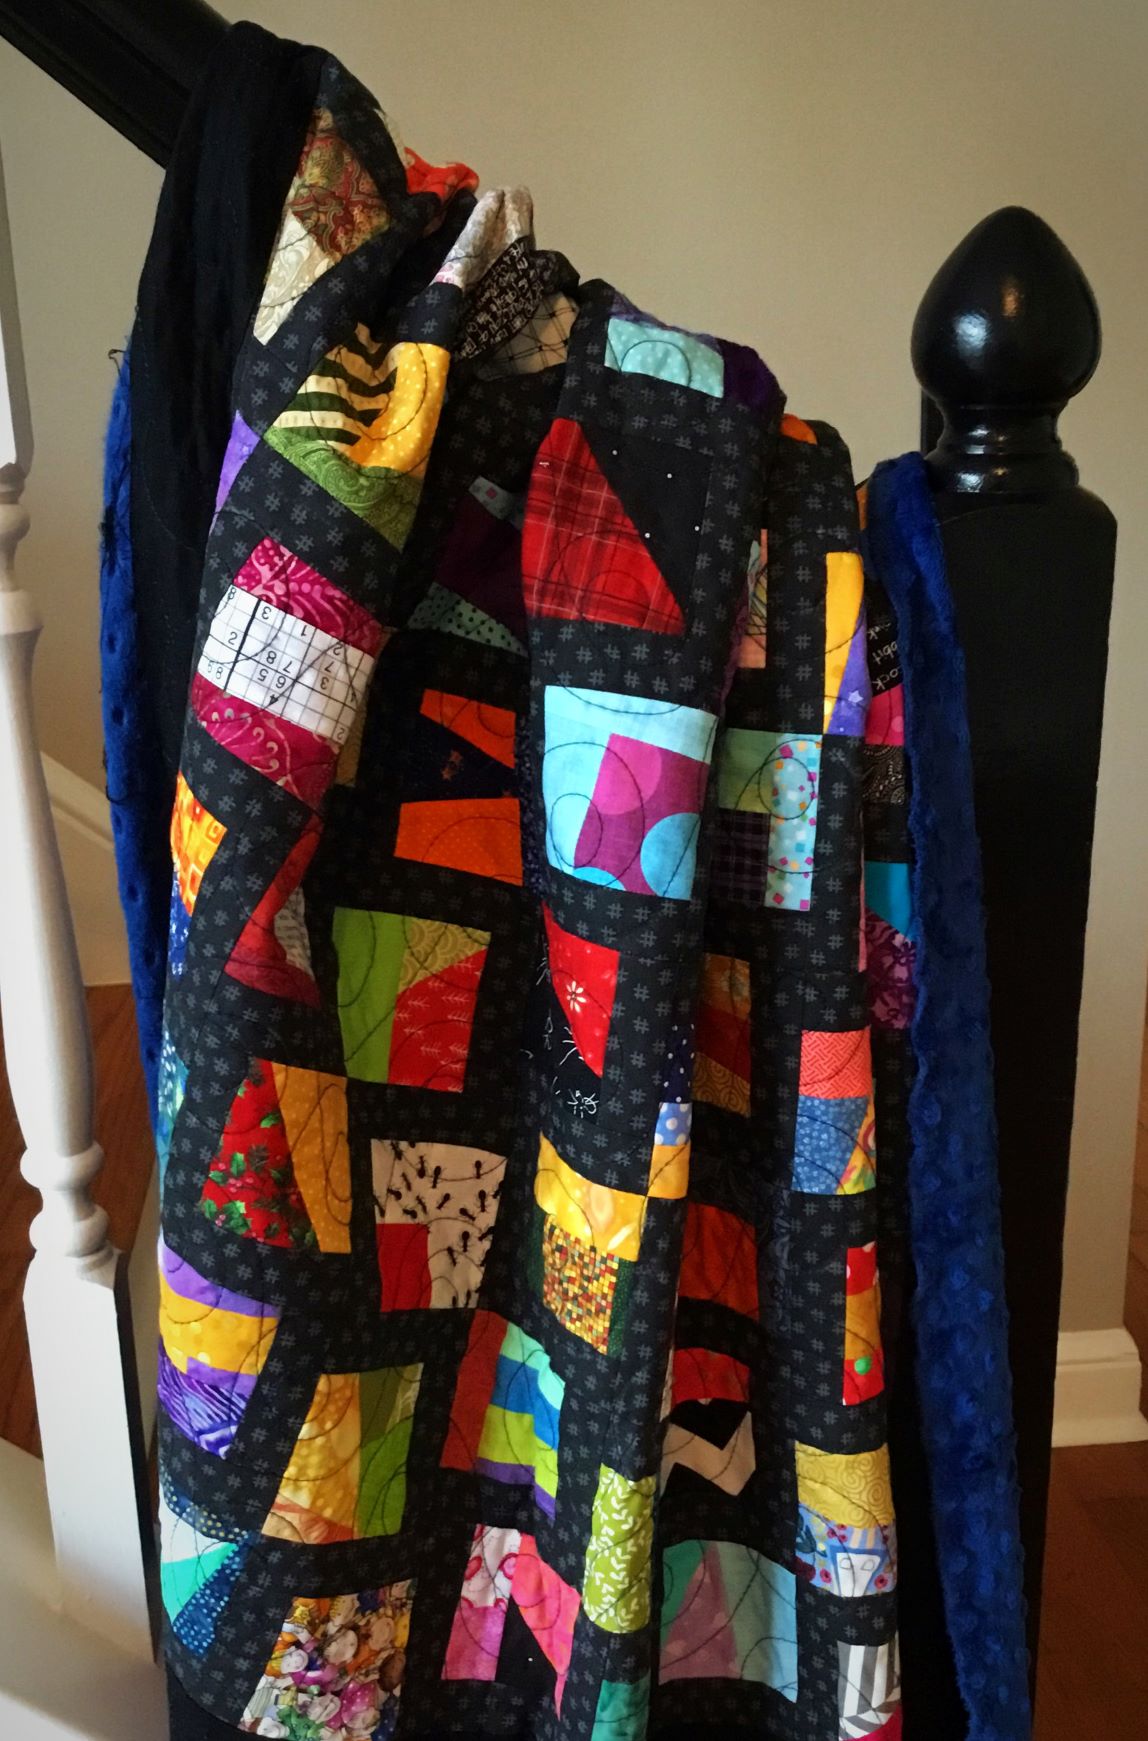
More recently I made another raid on the scrap drawers and put together this top. 
It’s from an old book from Cozy Quilt Designs, entitled Strip Clubbing: Fast and Easy Quilts with 2 1/2″ Strips. I was pleased with the pattern and directions. Instructions were such that every one of those seams nested!!! How great is that? Because of that, almost all of those intimidating-looking intersections were close to perfect! Woo!
This is only about 36″ square, so it will be a donation quilt to cover a premie incubator at a local medical center. If you’re interested in the book, your best bet probably is a used book site like Abe Books. Sure it’s available new, but it’s old enough that there are plenty of used copies out there at a fraction of the price.
Have a good week!