2 Quilts, 1 Set of Instructions

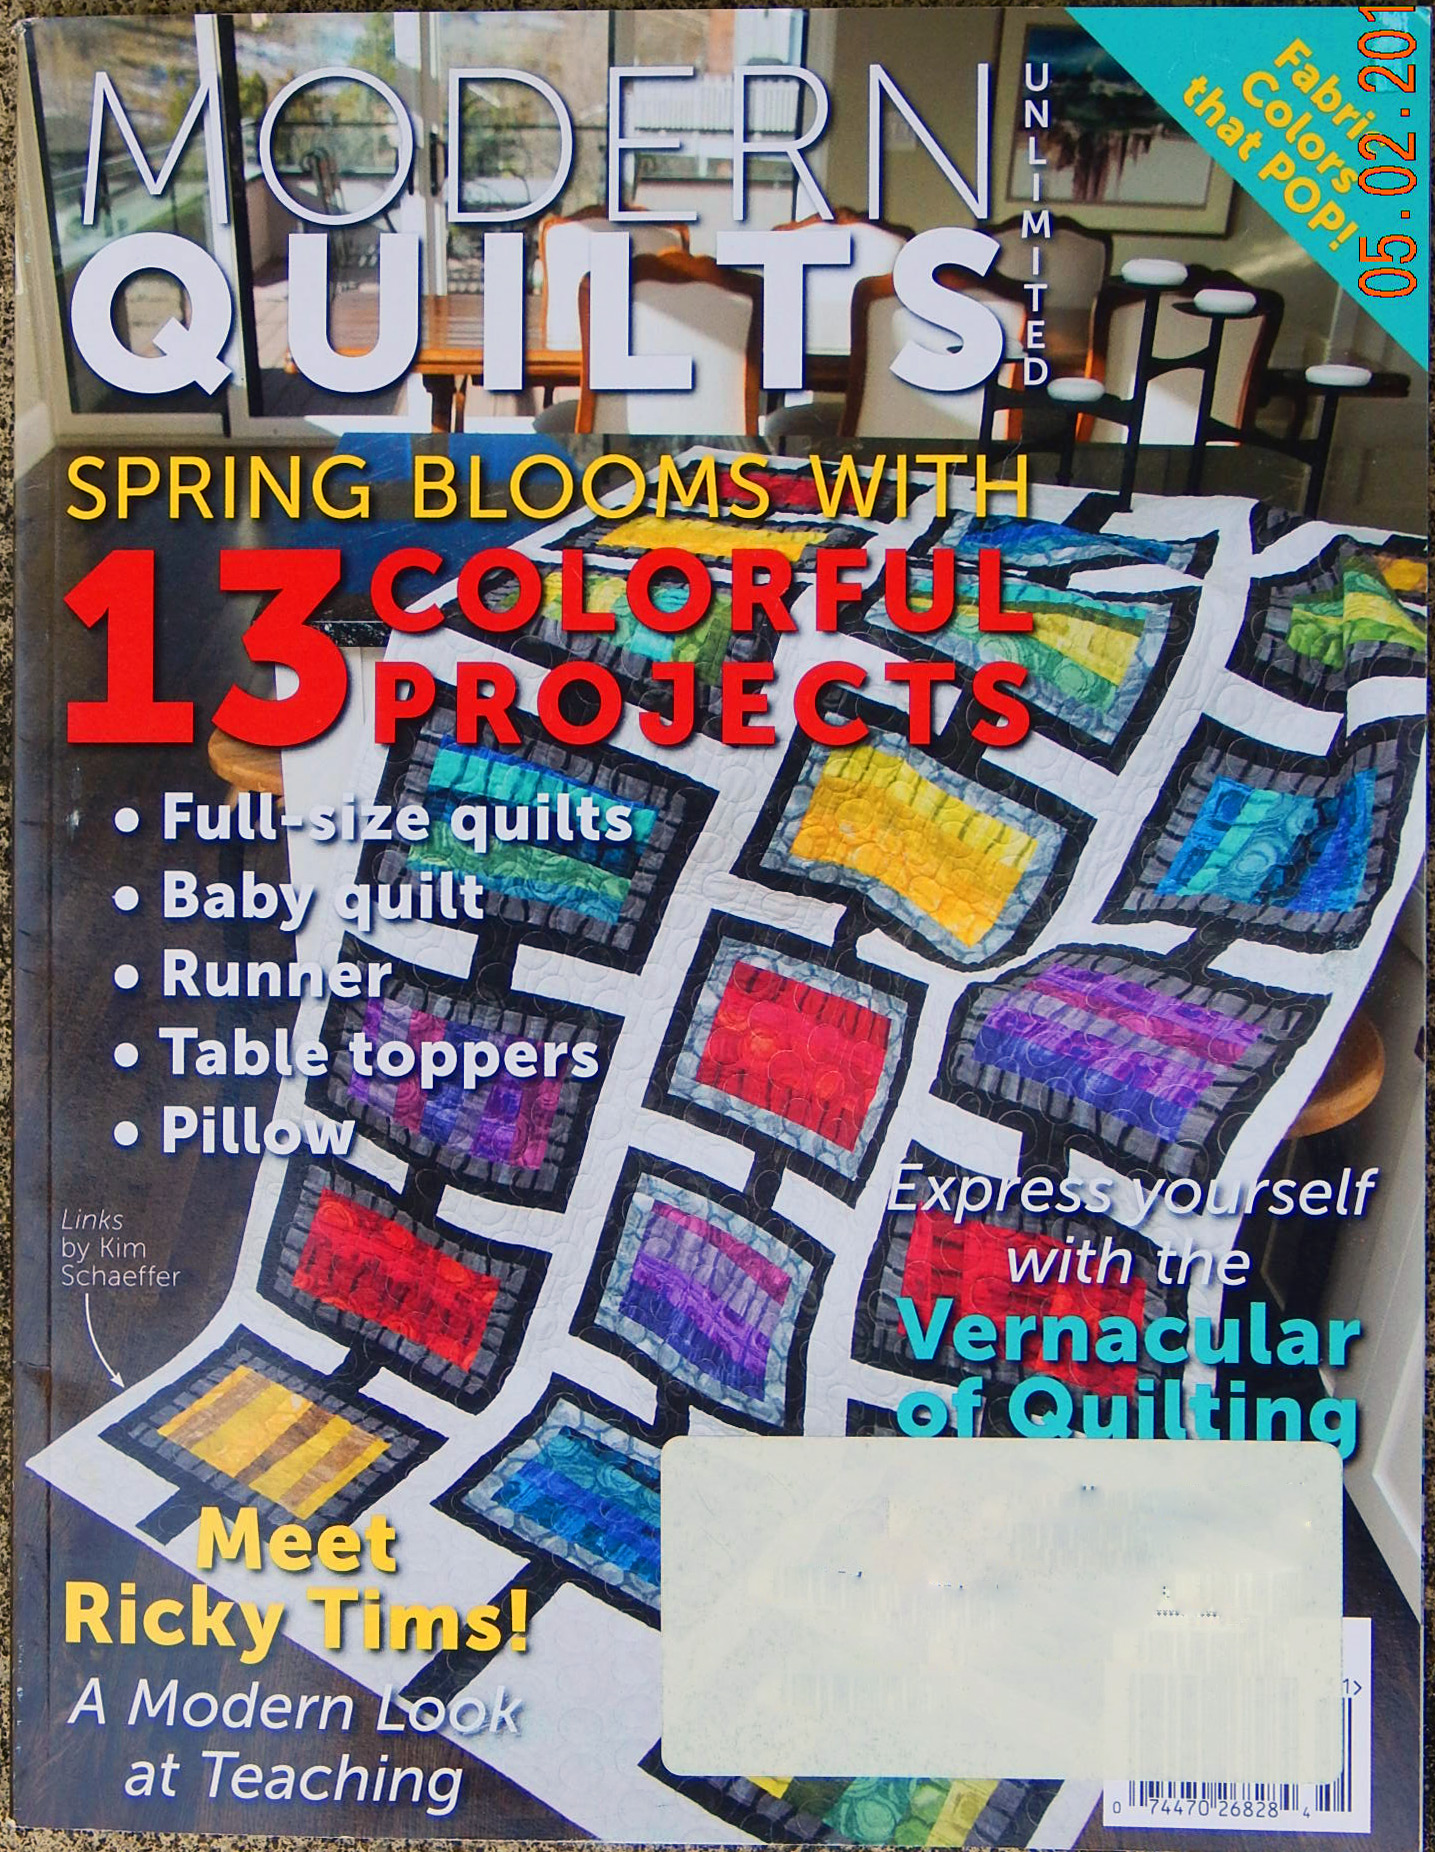
It’s here! The latest issue of Modern Quilts Unlimited, containing a quilt designed and made by me!Modern Quilts Unlimited magazine
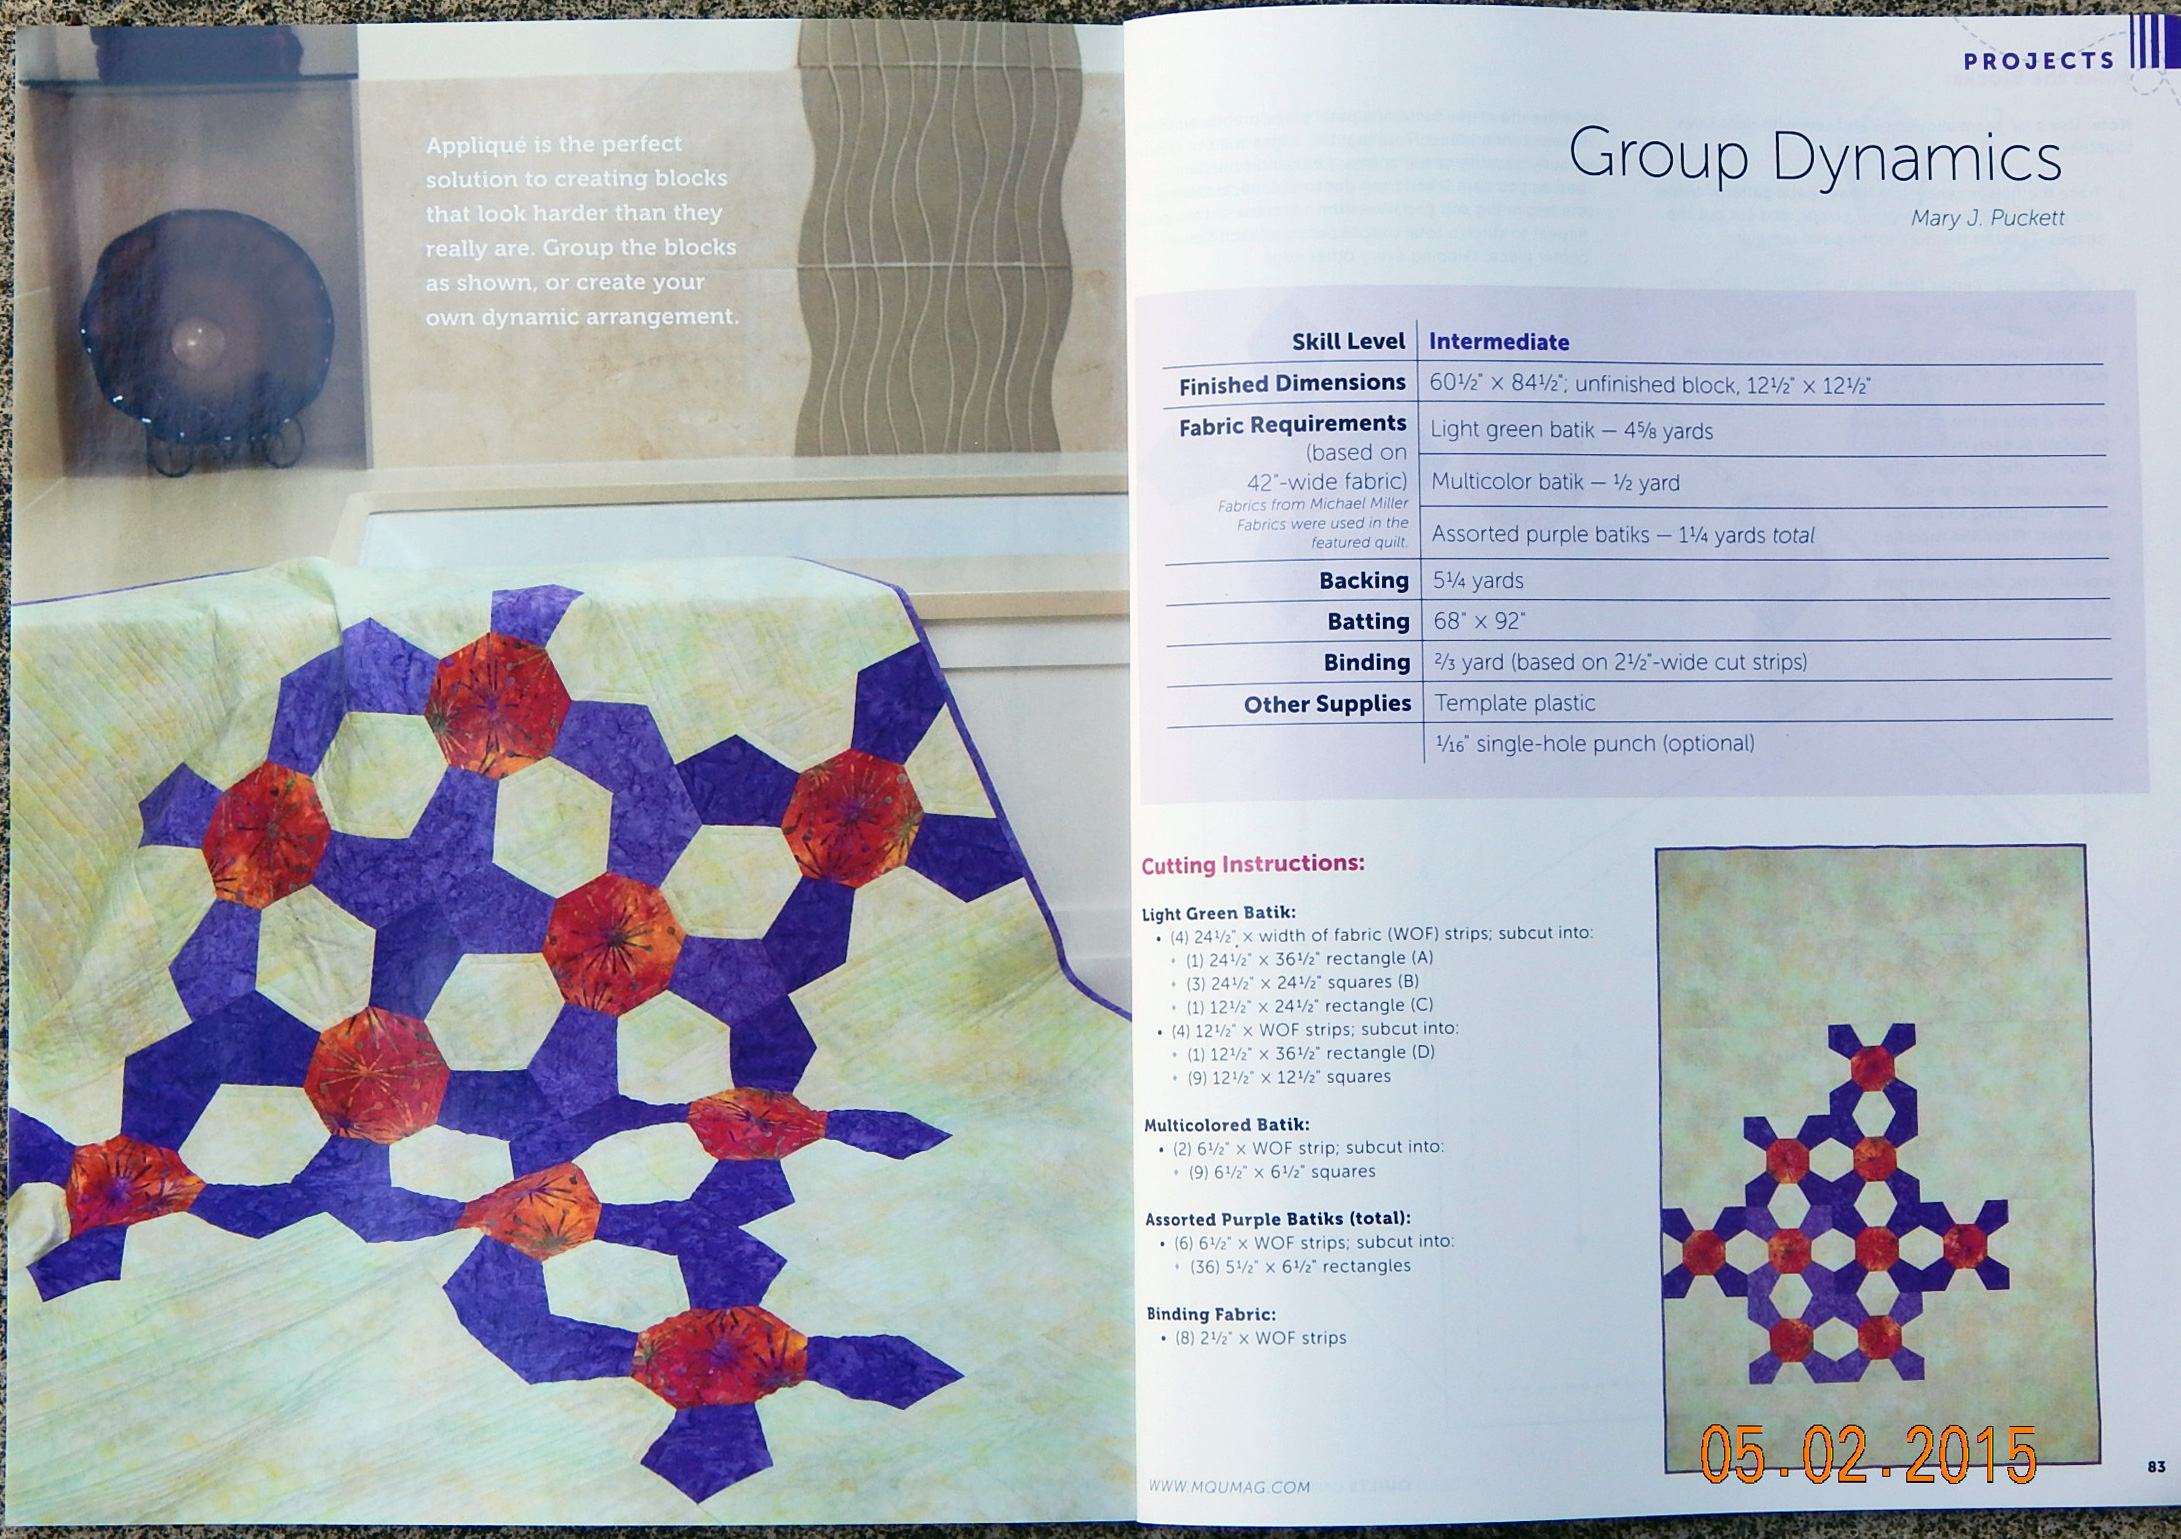
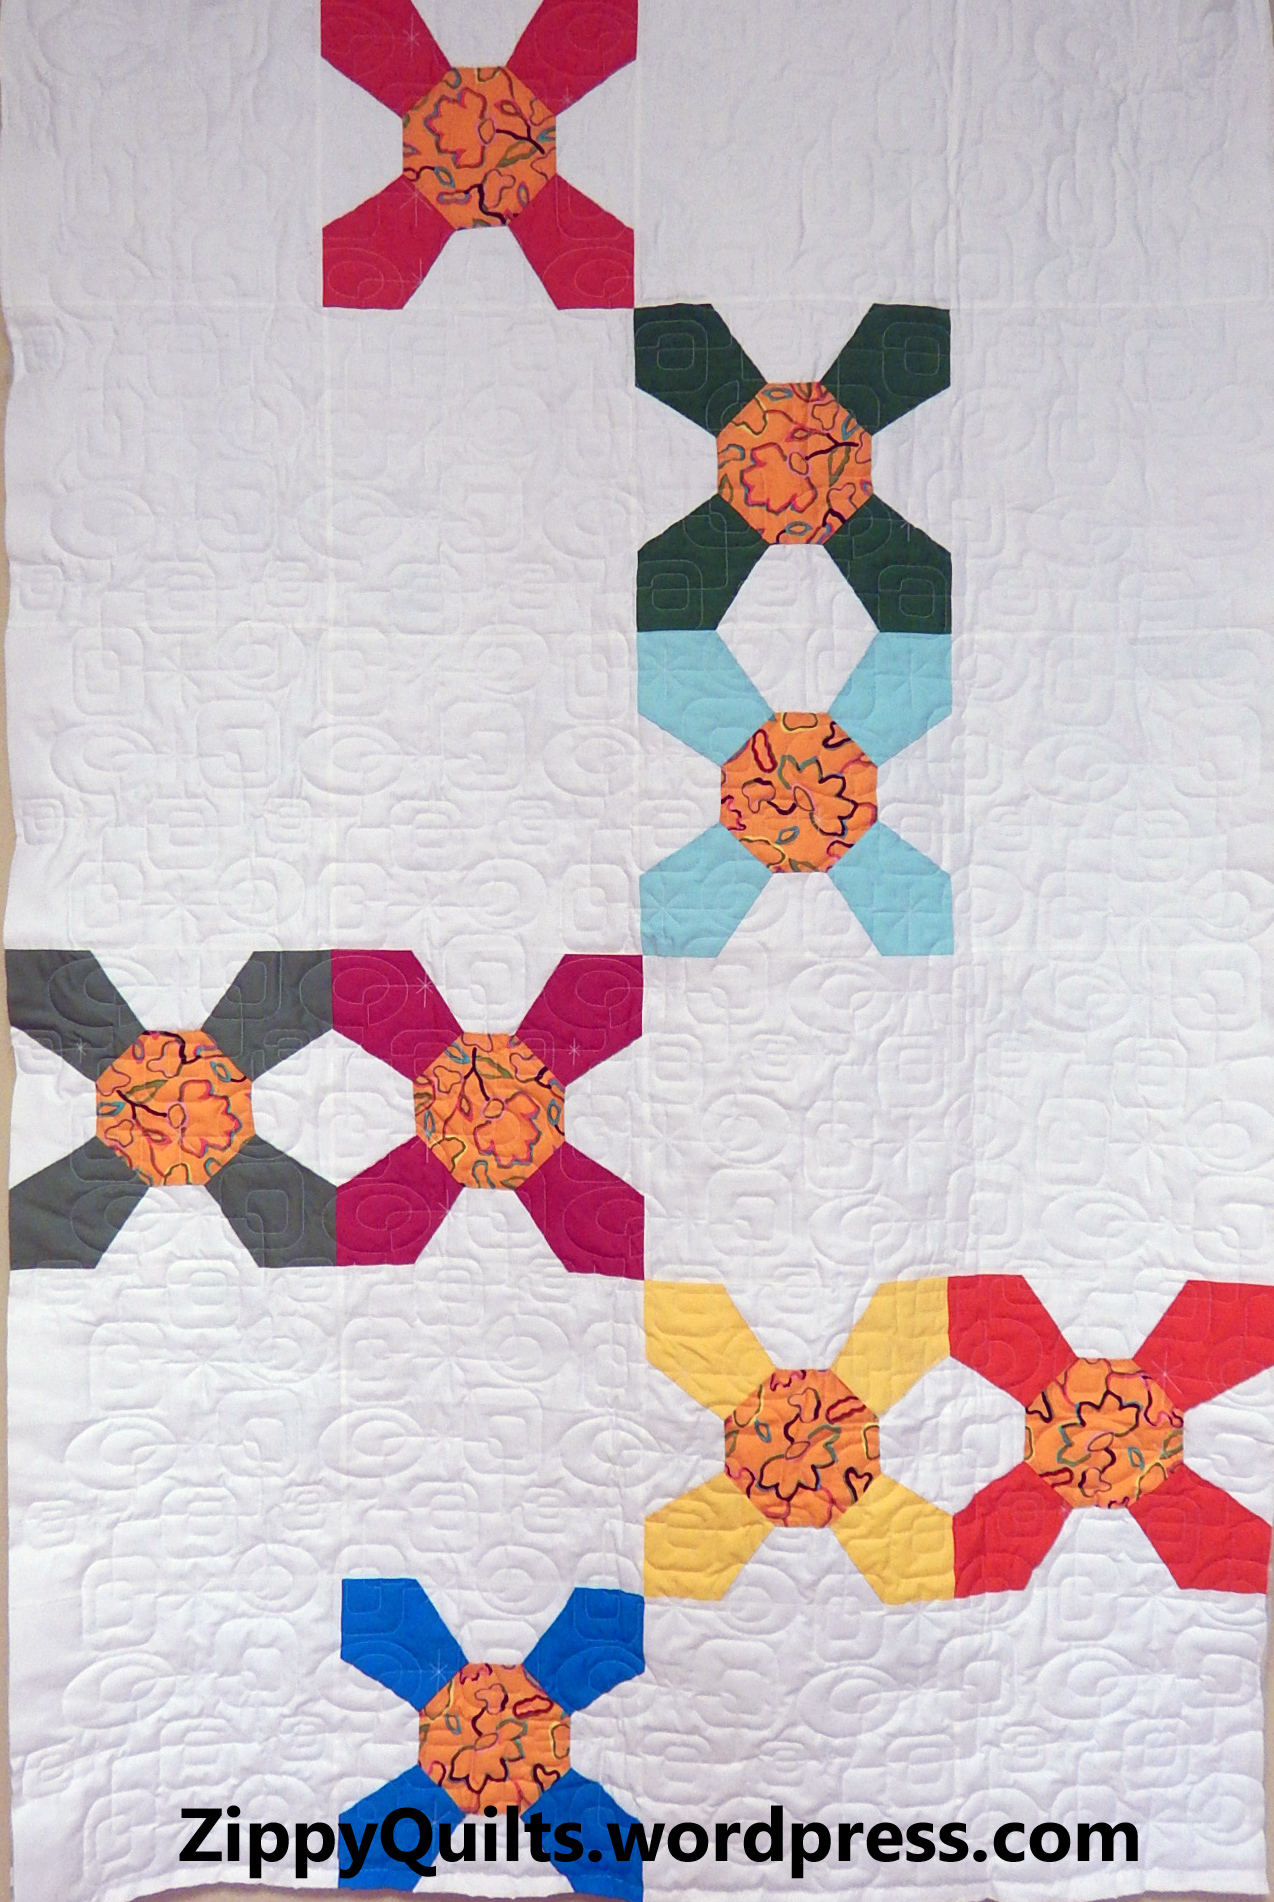
The editors did a great job of providing clear diagrams for my instructions, and of photographing the quilt.  It is made from Michael Miller batiks, supplied by the company for this project.  I love MM fabrics, and was happy to use batiks for a little change from the “oh-so-solid” solids that are currently popularModern Quilts Unlimited.And here’s a second quilt made with the same feature blocks, arranged differently. (The solids are Michael Miller Cotton Couture left over from another project.)  You can get the templates from the magazine and make your own blocks, arranging them to suit yourself.

Quilt Pattern

Alternate colorway and block arrangement from the same pattern

modern quilt

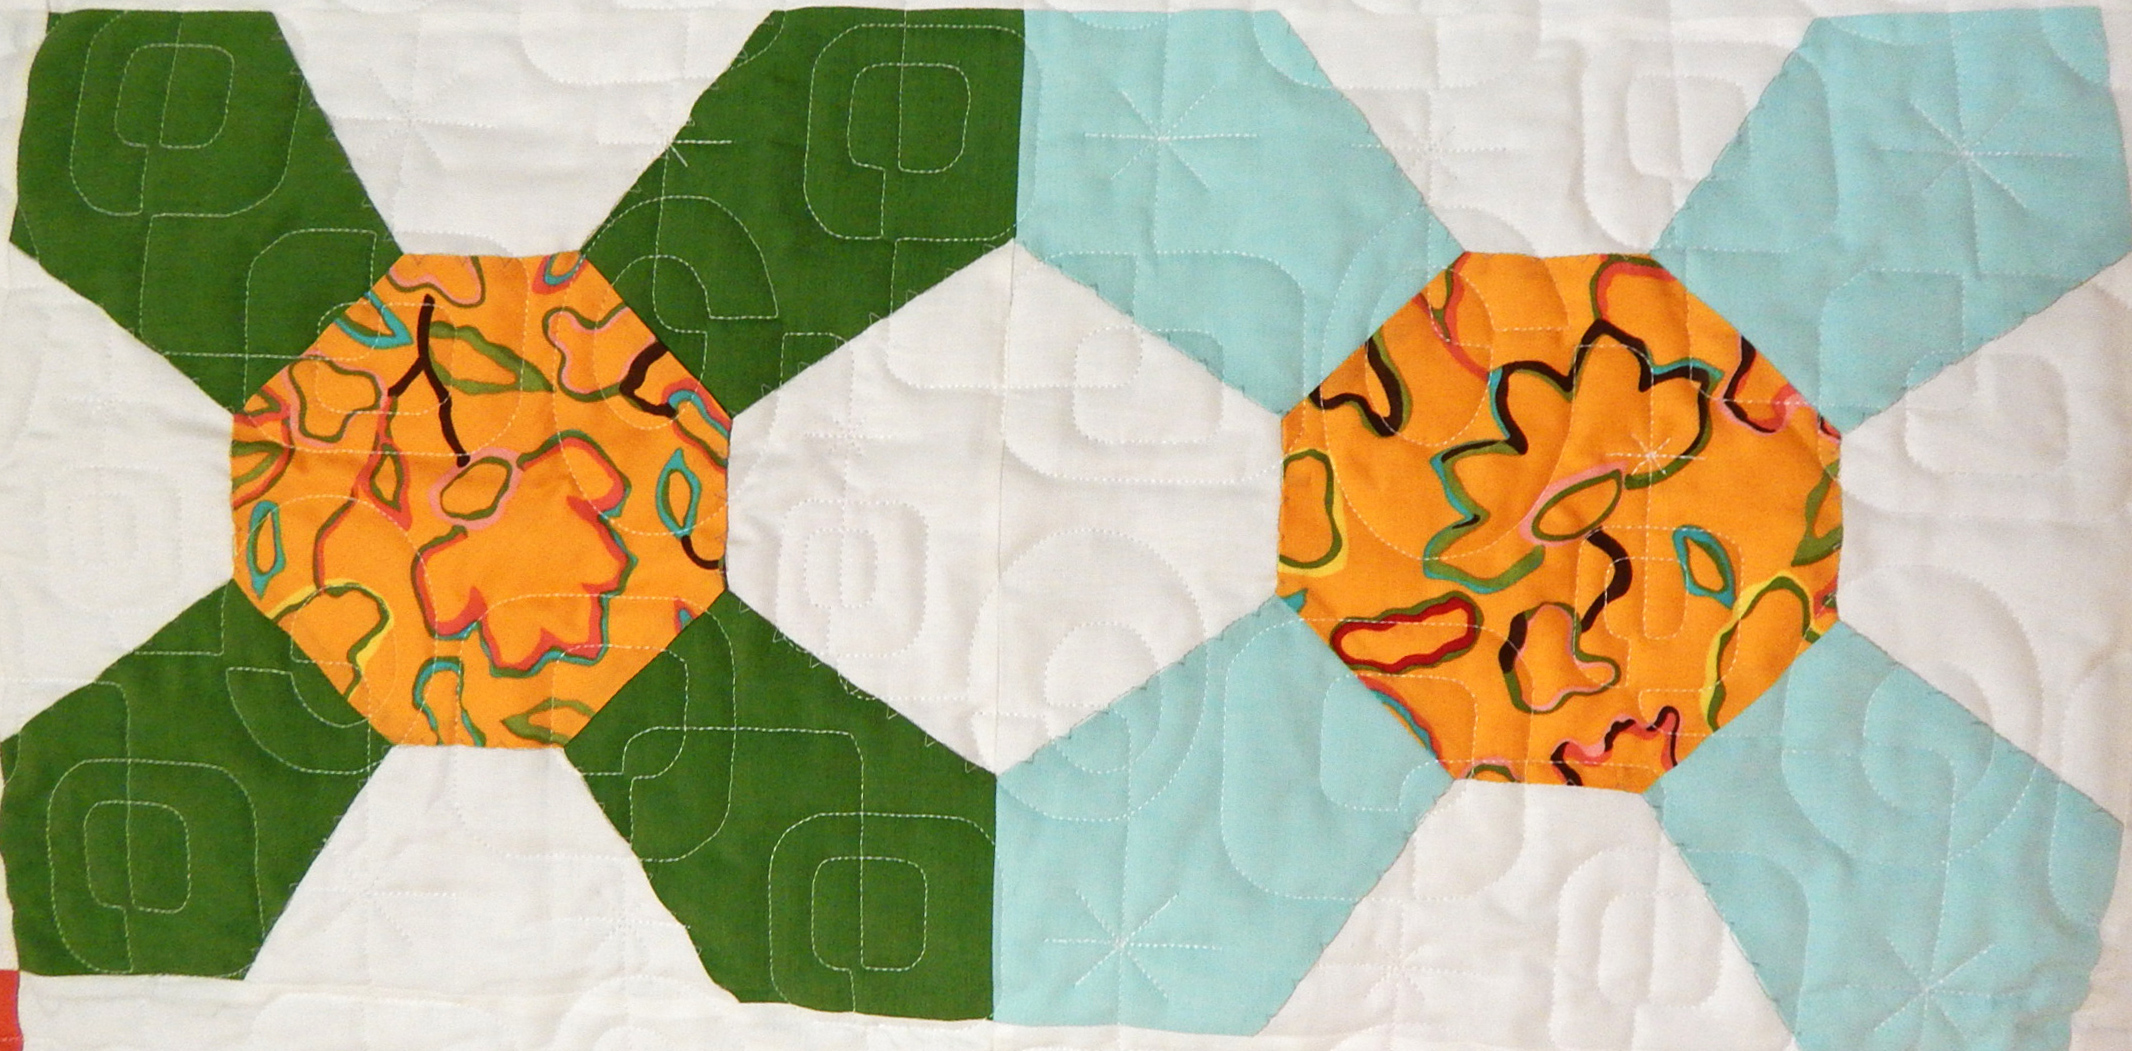
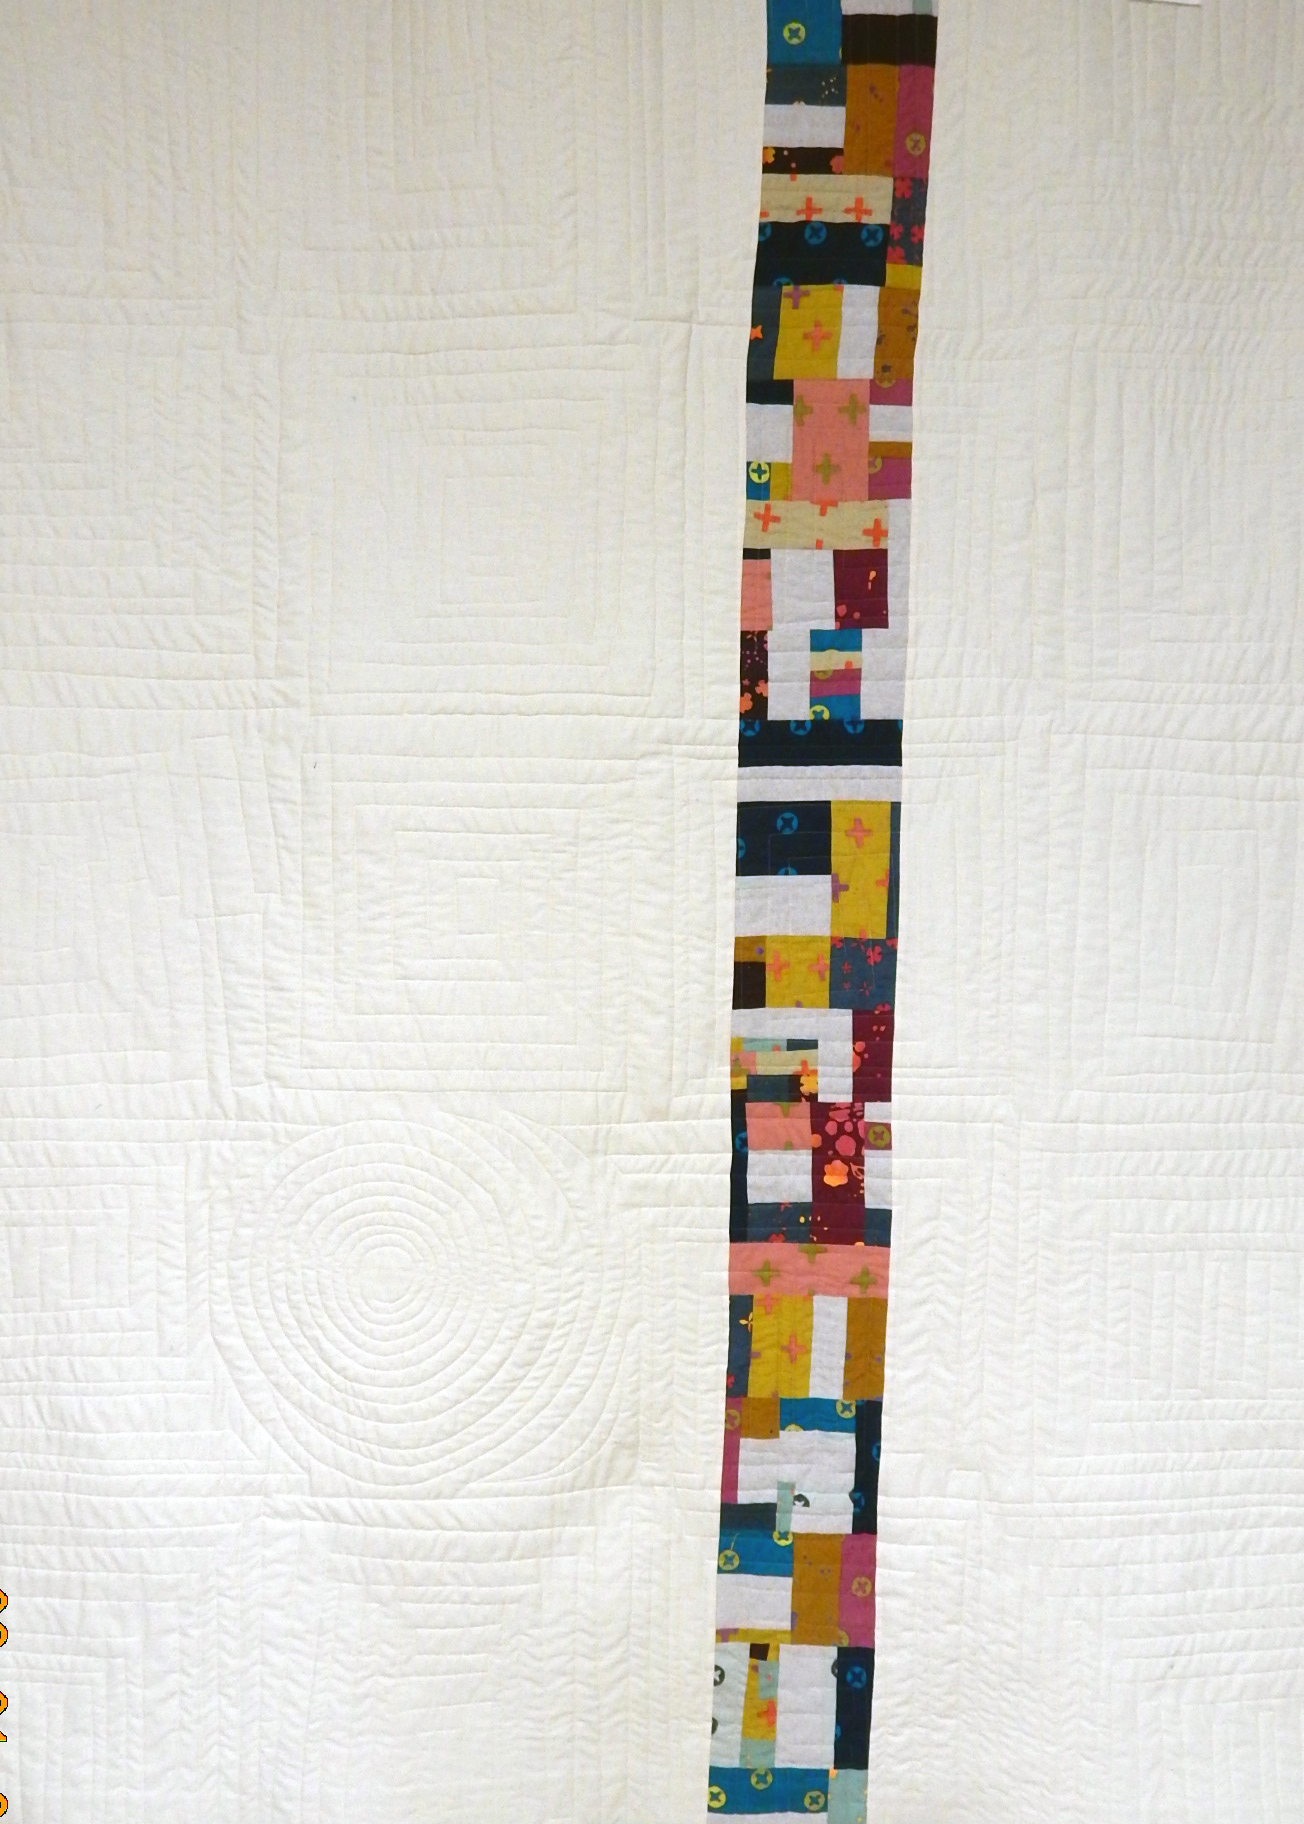
Look at this fun quilting done by Joyce Miller!

So go make it your own way!


One Quilt, Two Lessons

Check out these fabrics!

Fat quarter bundle

Alison Glass Handprint fabric and neutral linen

A friend gave me the FQ (fat quarter) bundle of lovely Alison Glass handprint fabric and I combined it with a neutral linen fabric I’d been saving for something special. I started with Karla Alexander’s instructions for a quilt, but (as my friends all know) I never really follow instructions so it diverged…improvised modern quilt blocks

The blocks were lots of fun to make.  I followed the instructions for a while, then started cutting the blocks up and inserting strips.  Then decided NOT to trim all the blocks to one size.  I adjusted the sizes of the linen sashing so that all the rows came out the same length, and made the rows of different heights to allow for the different block sizes.

And I slashed the sashing and inserted some strips in that, too.

When I had the top all made, I basted it with spray basting as usual.  BUT I didn’t have enough of the first can.  Then the SECOND can was a different brand and almost empty as well!

Determined to get the doggone thing basted, I resorted to some spray-on stuff that was supposed to bond the fabric to the batting when I ironed it.  This last stuff left SPOTS on the handprint fabric, which is light weight (almost like voile).  YIKES!

Lesson 1:  Be patient until you can get to the store for a can of basting spray.

Finally (after buying basting spray) it was basted and I started quilting.  Enter Lesson 2: this linen is a loose weave of large fibers and doesn’t play well with a tight weave of small fibers. YIKES AGAIN!  No matter how I changed the pressure on the quilting foot or otherwise fiddled with it, the quilting distorted the top and the backing.

improvised modern quilt

The finished quilt

Now it’s finished and I like it.  I appreciate the texture of the linen, but I’m not sure I’ll use it again.  I took this to my last modern guild meeting and people were positive about it, but one of the more experience sewists told me linen is usually stretchy, so at least it’s not just me!

improvisational quilting

Here’s the quilt back–that column was straight when I started!

Well, I try to learn something new every day, so I’m calling this a SUCCESS! 😉


4 Quilt Tops–Help Me Choose!

The theme of the Quilt Alliance challenge this year is “Animals We Love”.  It gave me a hard time–I tried for weeks to think of something–then all of a sudden I had more ideas than I knew what to do with!  So here are 4 tops I’ve made, and I need to decide which one to submit.  Please tell me which you think is best!  It may help if you’ll tell me why you like it as well (or why you hate it).  All are 16 inches square, which is a requirement of the challenge.

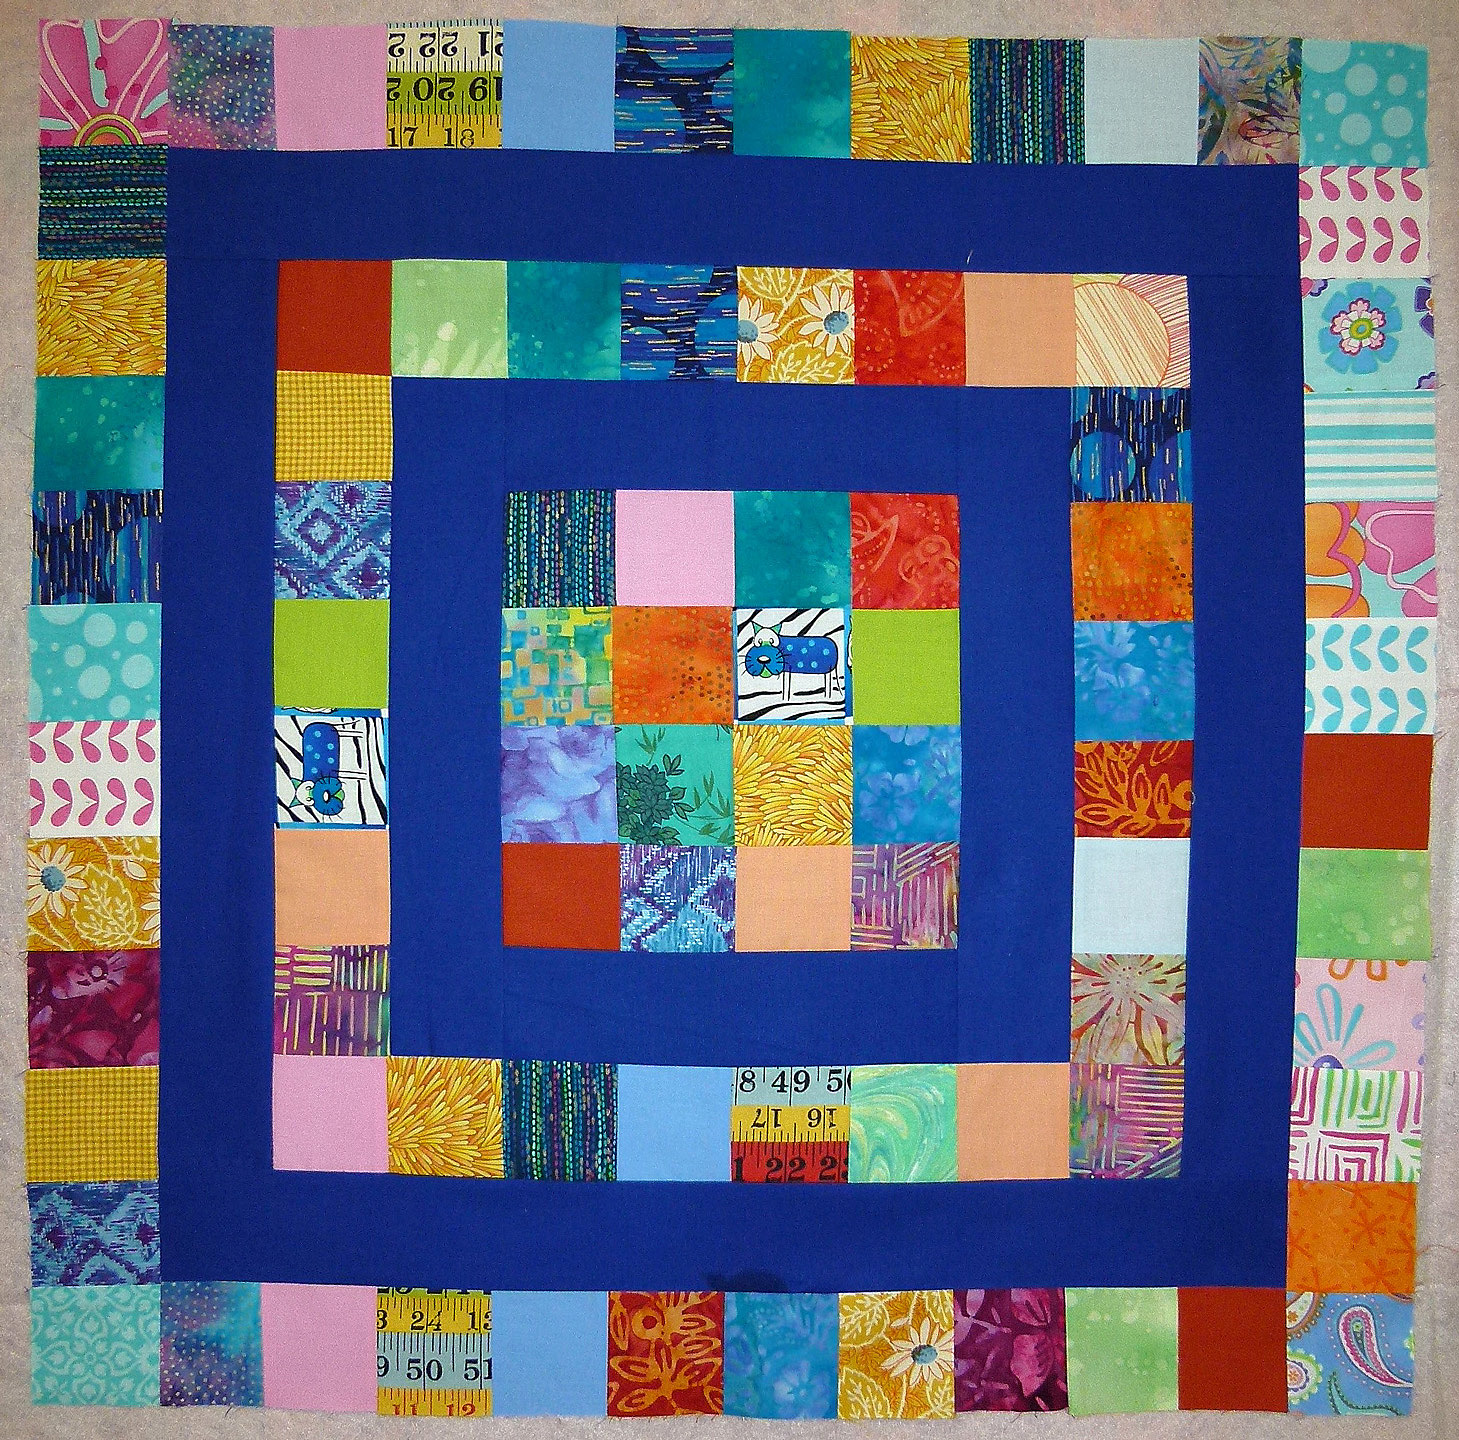
#1: Cat Circus was designed using EQ7 and made using templates.modern quilt block

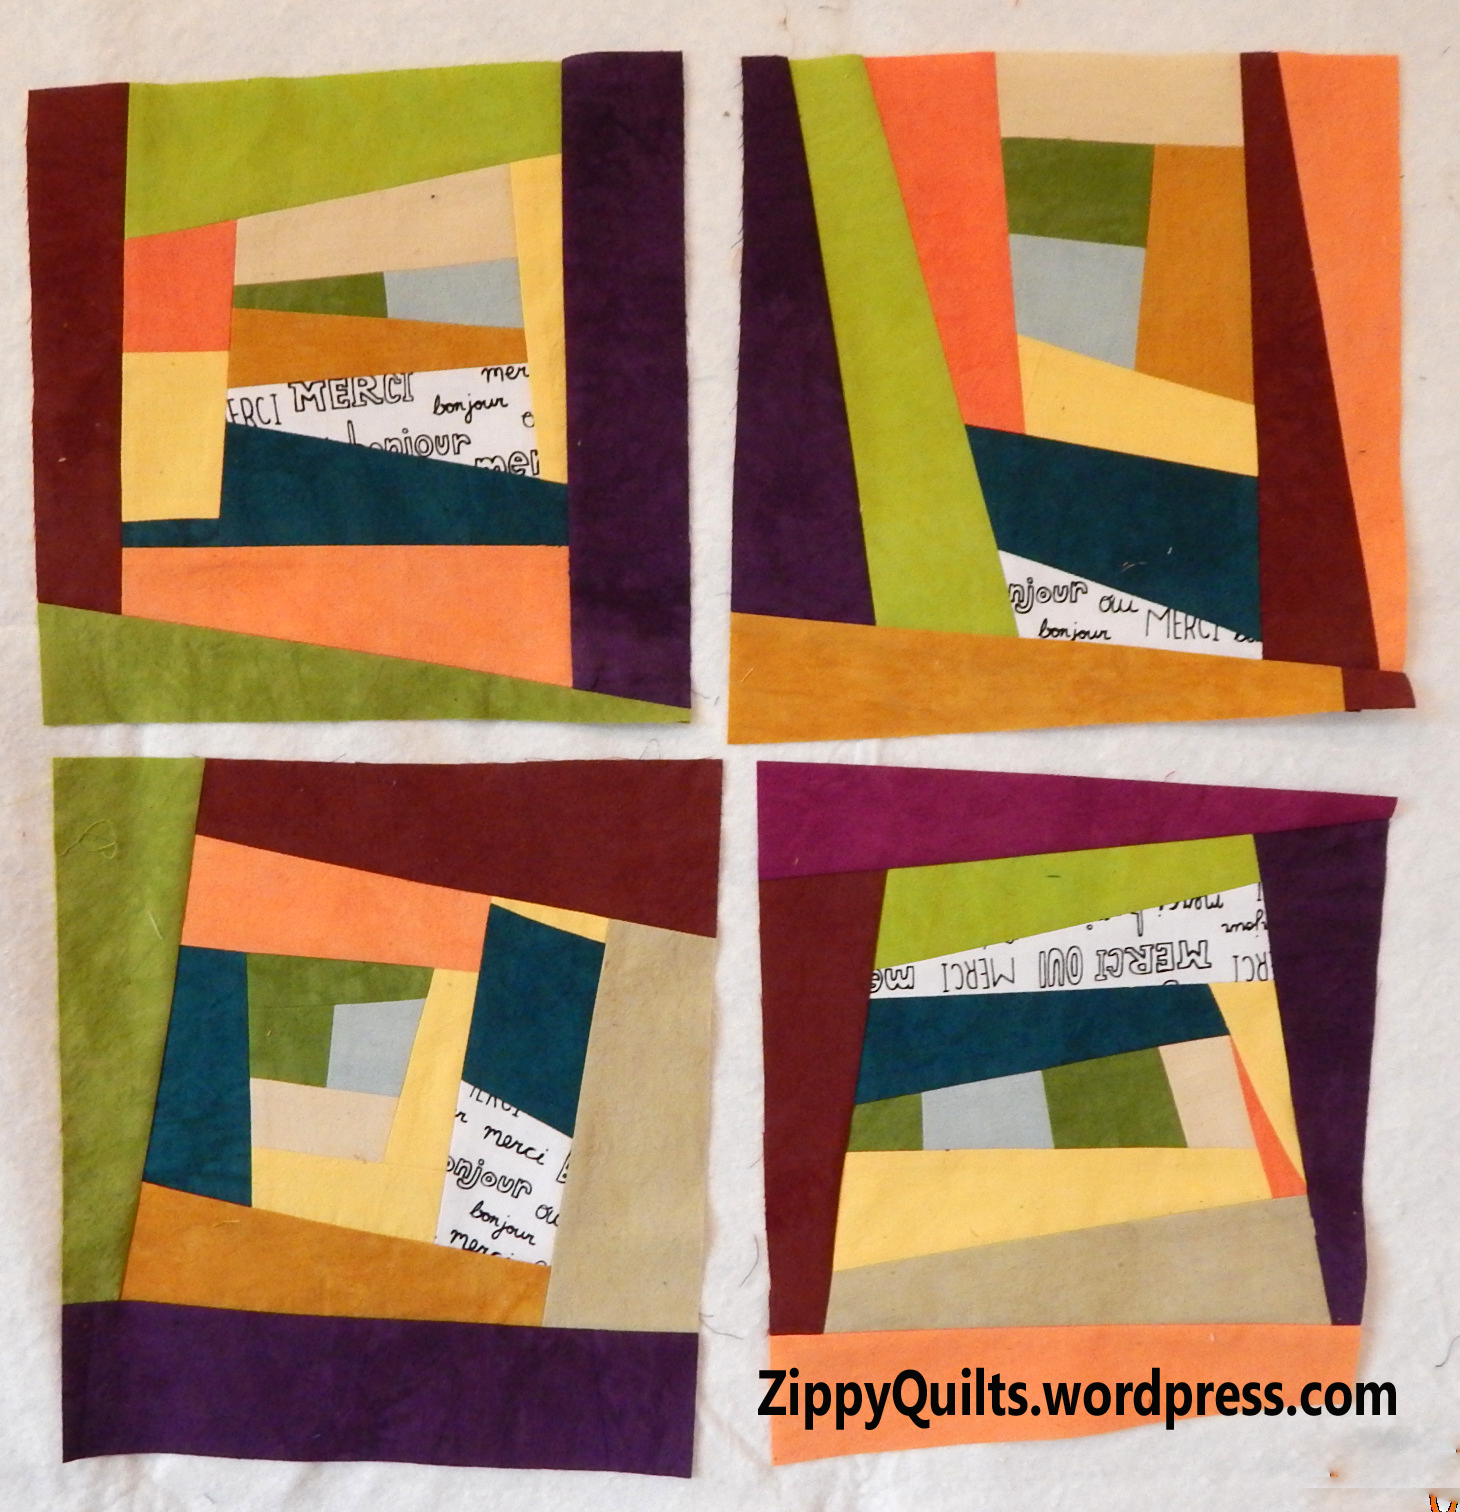
#2: Barnyard Whirl was cut freehand.  The black fabric is printed with animal sounds.  (Why do we teach little children to make animal sounds, anyway?  Oops, a digression!)Modern quilt block

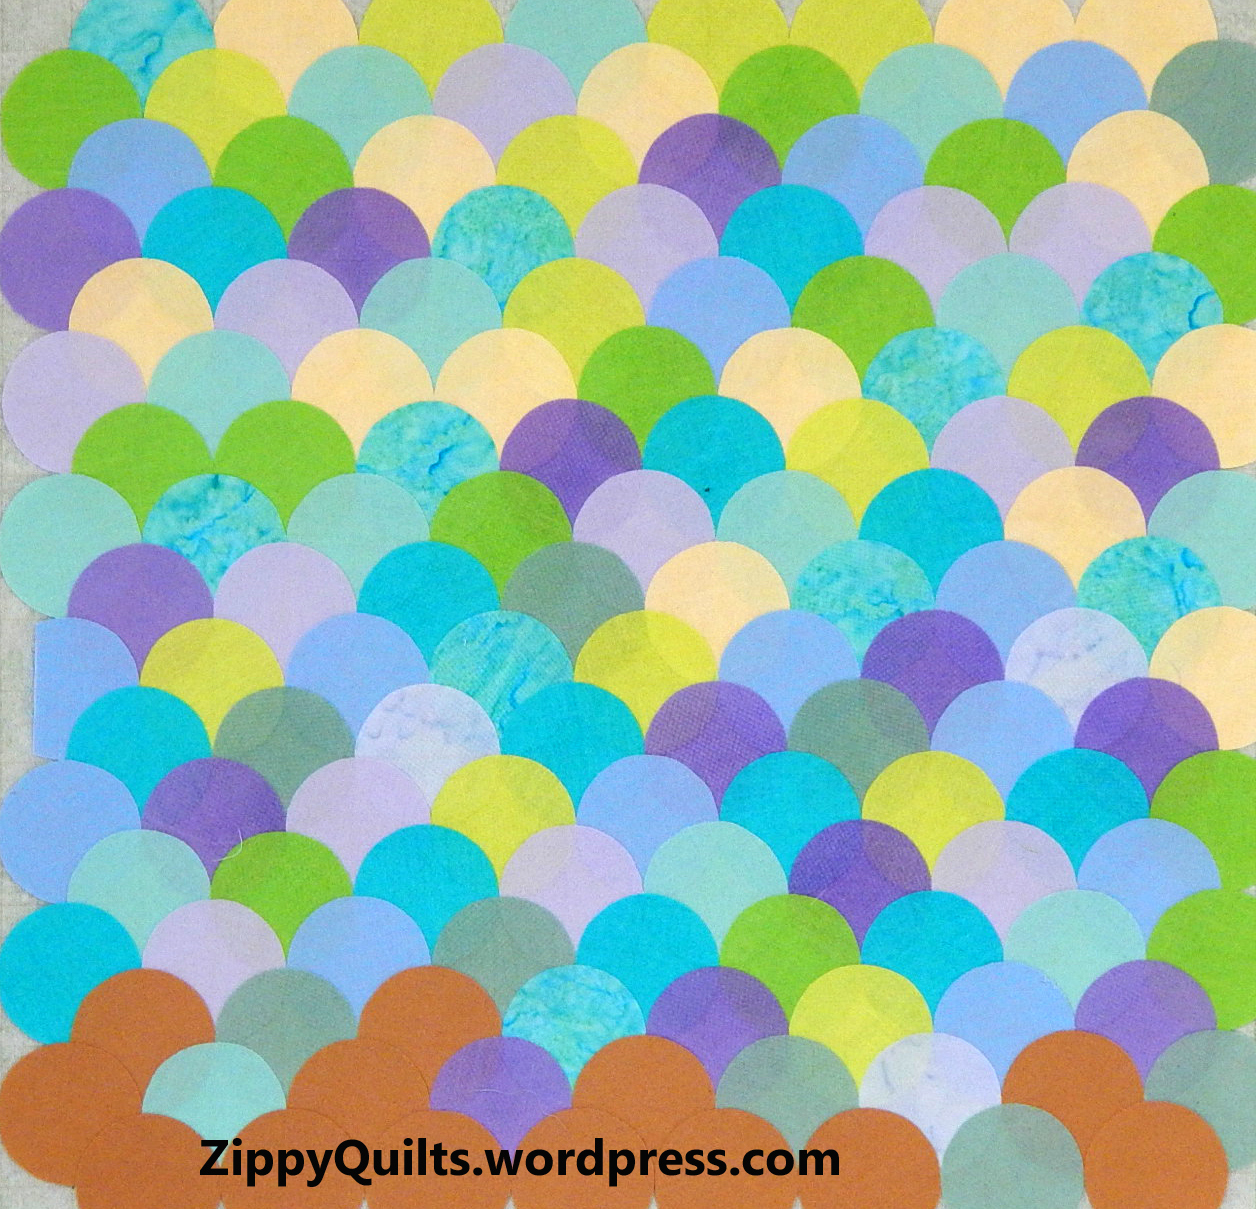
#3: We Love Clams will have a thread-sketched cartoon clam (presumably looking worried about all that love) as a focal point when I quilt it.Modern Clamshell Quilt

#4: Untitled (feel free to suggest a title) again with the animal-sounds black fabric.Modern QuiltAnd that’s it!  Yes, I made 4 quilt tops!  Please help me choose one.


March News x 3

First, here’s the stack of quilts my group made for Ronald McDonald House:Donation Quilts

Second, here are some other projects along the way:

Improvisational Quilt Blocks

Gwen Marston Style Improvisational Blocks (made by me)

Group-block-2

One of the blocks from our group block swap (24 inches square!)

Jerri's start on a BIG Bonnie Hunter quilt

Jerri’s start on a BIG Bonnie Hunter quilt

improvised blocks

Improvised “slabs” for our next group block swap!

Finally, the March finish (as in, I am DONE with this one!)

Storm at Sea

Paper Piecing Gone WAY Wrong!

I bought this paper-piecing pattern for Storm at Sea in 2006 and cut the pieces over a (long) period of time with the intention of making it of scraps from other quilts.  What I FAILED to do was to make a sample block before cutting the whole thing!!!

I wanted to paper piece this design so the points would be perfect.  Instead, carefully piecing along the lines on the paper produced what you see above.  The pattern and paper went into the trash, and the thousands of pieces I cut will be re-purposed!

I almost always make a test block, and now I expect it will be always-always instead of almost-always 😉

The Modern Sampler Continues

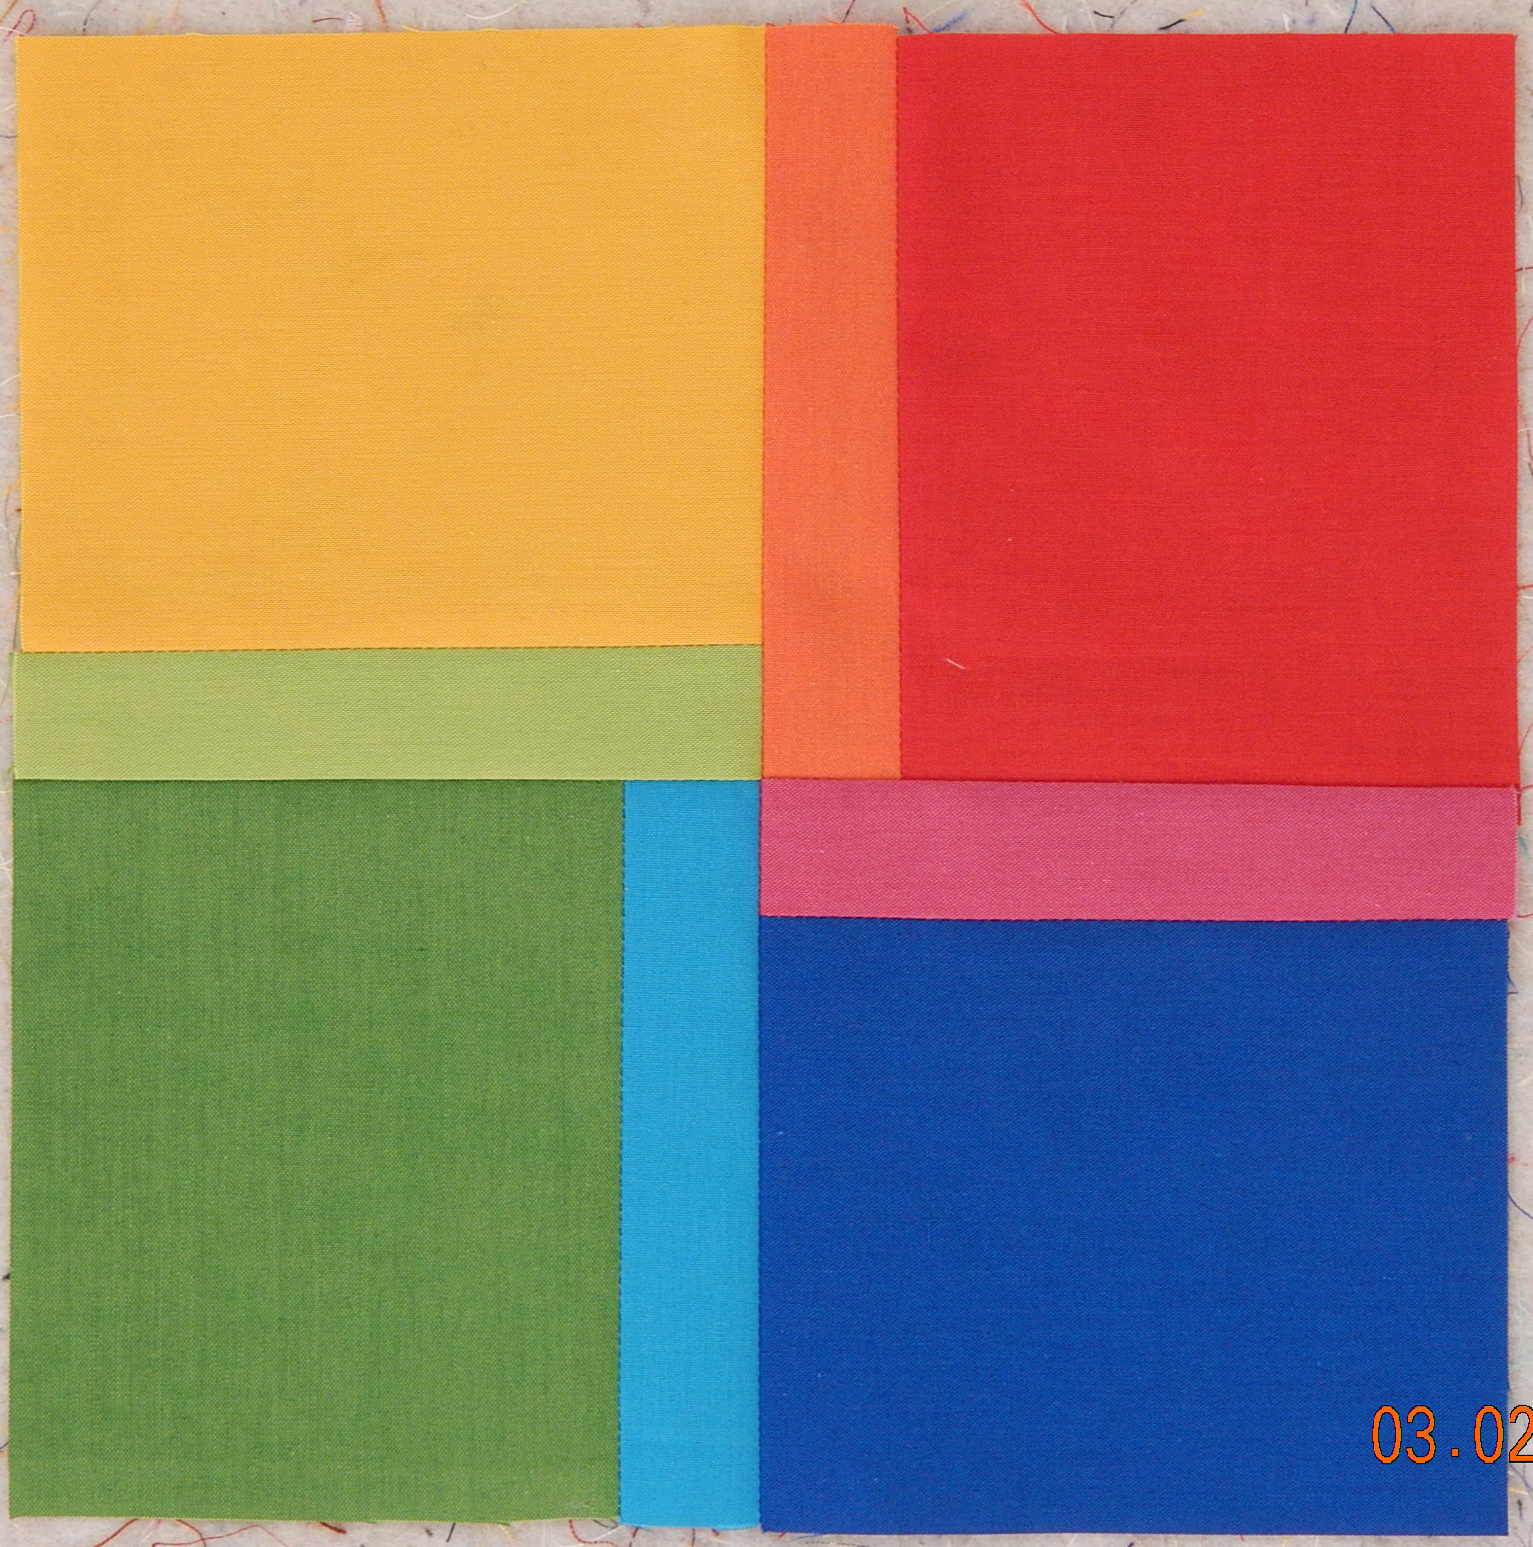
These next two blocks were made from inspirations I found on Pinterest (yes, I love Pinterest!)  The first I simply copied because I loved the colors and their arrangement in the original artwork by Richard Paul Lohse.

Modern Quilt Block

Quilt block based on the work of artist Richard Paul Lohse

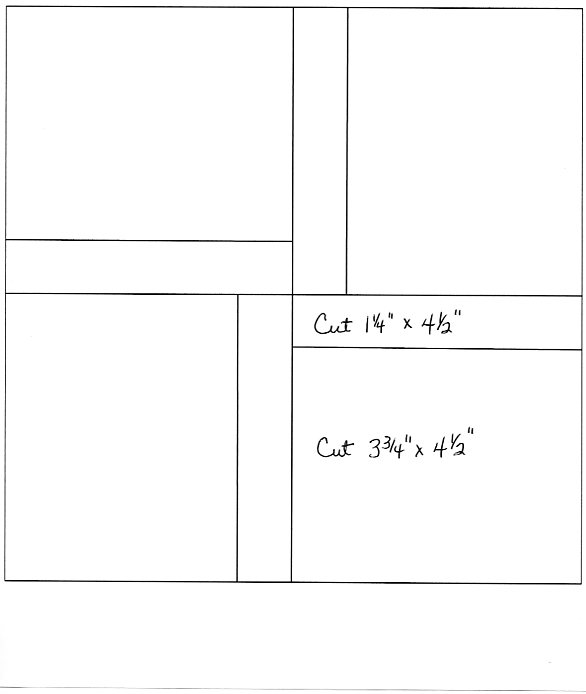
Here’s a drawing of how I constructed this block, with measurements, if you want to copy him, too.  There are 4 units, each 4″ finished (4-1/2 inches for each unit before joining) so that the entire block is 8″ finished.  I’ve marked the size to cut each piece on one of the 4 units, assuming you can take it from there 🙂

modern quilt block

Layout for block based on art of Richard Paul Lohse

If you look up the artist Richard Paul Lohse, you’ll see that a lot of his designs would make terrific blocks or whole quilts.  Great sense of color!

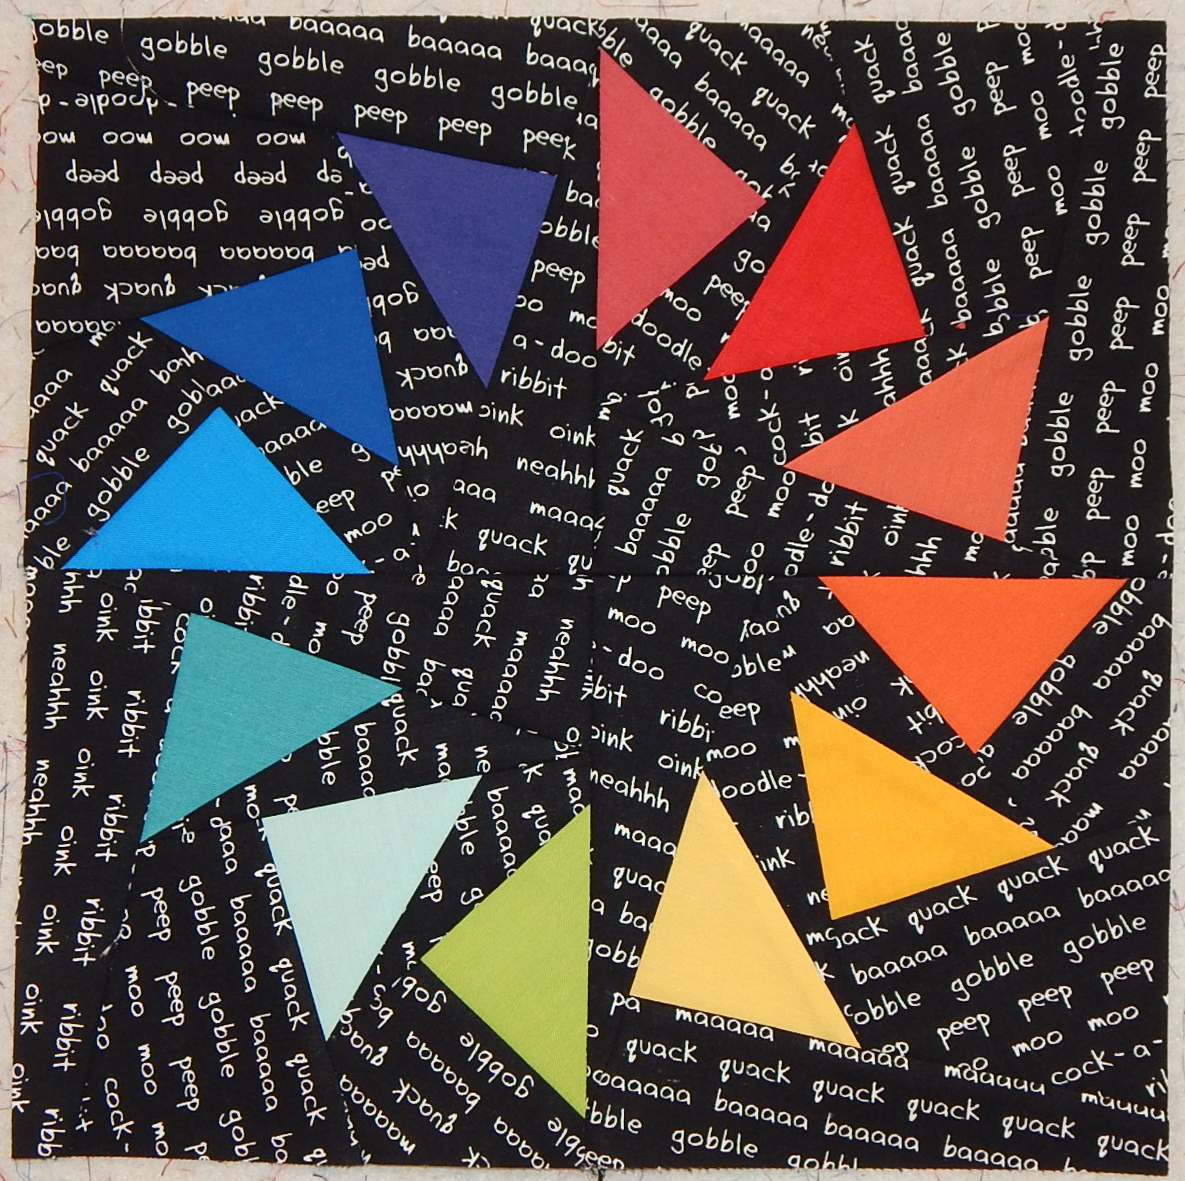
The second block was made from a tutorial I found at a website called Piece By Number and you can find the free pattern on her site here.

modern paper pieced block

Circle of Geese block made from a pattern at PieceByNumber

This block was easier than it looks thanks to paper piecing.  I enjoyed making it, though I feel no need to make another right away!

I think these two blocks have a lot of ZIP for the relatively little amount of effort they required.  The Lohse block depends very much on choice of color, so be sure to lay out the fabrics and look at them a while before cutting.  Have fun!

My Own Modern Sampler: It may take a year!

I’ve had some beautiful solids and black/white text prints in a box waiting for me to have time for them, and I’ve been studying all my favorite inspirations trying to decide how to use this stash.

modern quilt fabrics

Quilt-in-Waiting

Then it came to me:  I don’t have to choose!  I’ve been wanting to make my own modern sampler quilt for some time, and this is it.  I’m going to make lots of different blocks, JUST BECAUSE I WANT TO MAKE THEM and then combine them into this quilt.

Here’s how it will go:  I’ll make a block whenever it strikes my fancy and will post about it here in case you want to make it, too.  Some will be original, some traditional or designed by other quilters.  I’ll make a quilt when I have enough blocks, but I’m giving myself a year. Blocks will range in size from 3″ to 12″ and they won’t all be square!

Here are the first couple:

modern quilt block

Two 9-patch blocks cut freehand; these finish 6 inches square

Obviously the 9-patch isn’t a new block, and there are “modern crosses” all over the web, like this one from Allison at CluckCluckSew, so my idea isn’t unusual.

Modern Quilt

Quilt by Allison at CluckCluckSew.com

The point is, I enjoyed doing it!  These blocks are just for fun.

I figure these are too easy to require instructions, but I blogged about how to insert those narrow yellow bands, so check it out here if you want to know how I did it.  And, since they are cut freehand and end up a little wonky, I started with 8 inch squares to get 6 inch finished-size blocks.

I hope you’ll follow along with my sampler even if you don’t make the blocks.  I’ve already made the next two (which are far fancier than these), and I’ll blog about them next week!


2015 Donation Quilt #1

A couple of my quilty friends try to make a quilt a month for various charities, so I thought I’d try that this year.  The group with which I make donation quilts sends them to a Ronald McDonald House to be given to sick children.  The House wants all quilts to be 40″ x 40″, which doesn’t seem too big to do one a month.  Here goes….

For January I took some of my orphan blocks and related fabrics and made this quilt.  The blocks also happen to be on my UFO list for 2015, so there’s TWO projects accomplished at once 🙂

Donation quilt

February finish and January donation quilt

The blocks finish 12″ square, which means that with a 2″ border the quilt comes out 40″ x 40″ as planned. The 9-patch blocks were made using the stack and shuffle method I learned years ago from Karla Alexander’s books.  It’s easy and fun.  To end up with blocks this size, I started with 15″ x 15″ squares of fabric (since they’re cut wonky on purpose it takes a bigger starting square than you might think).

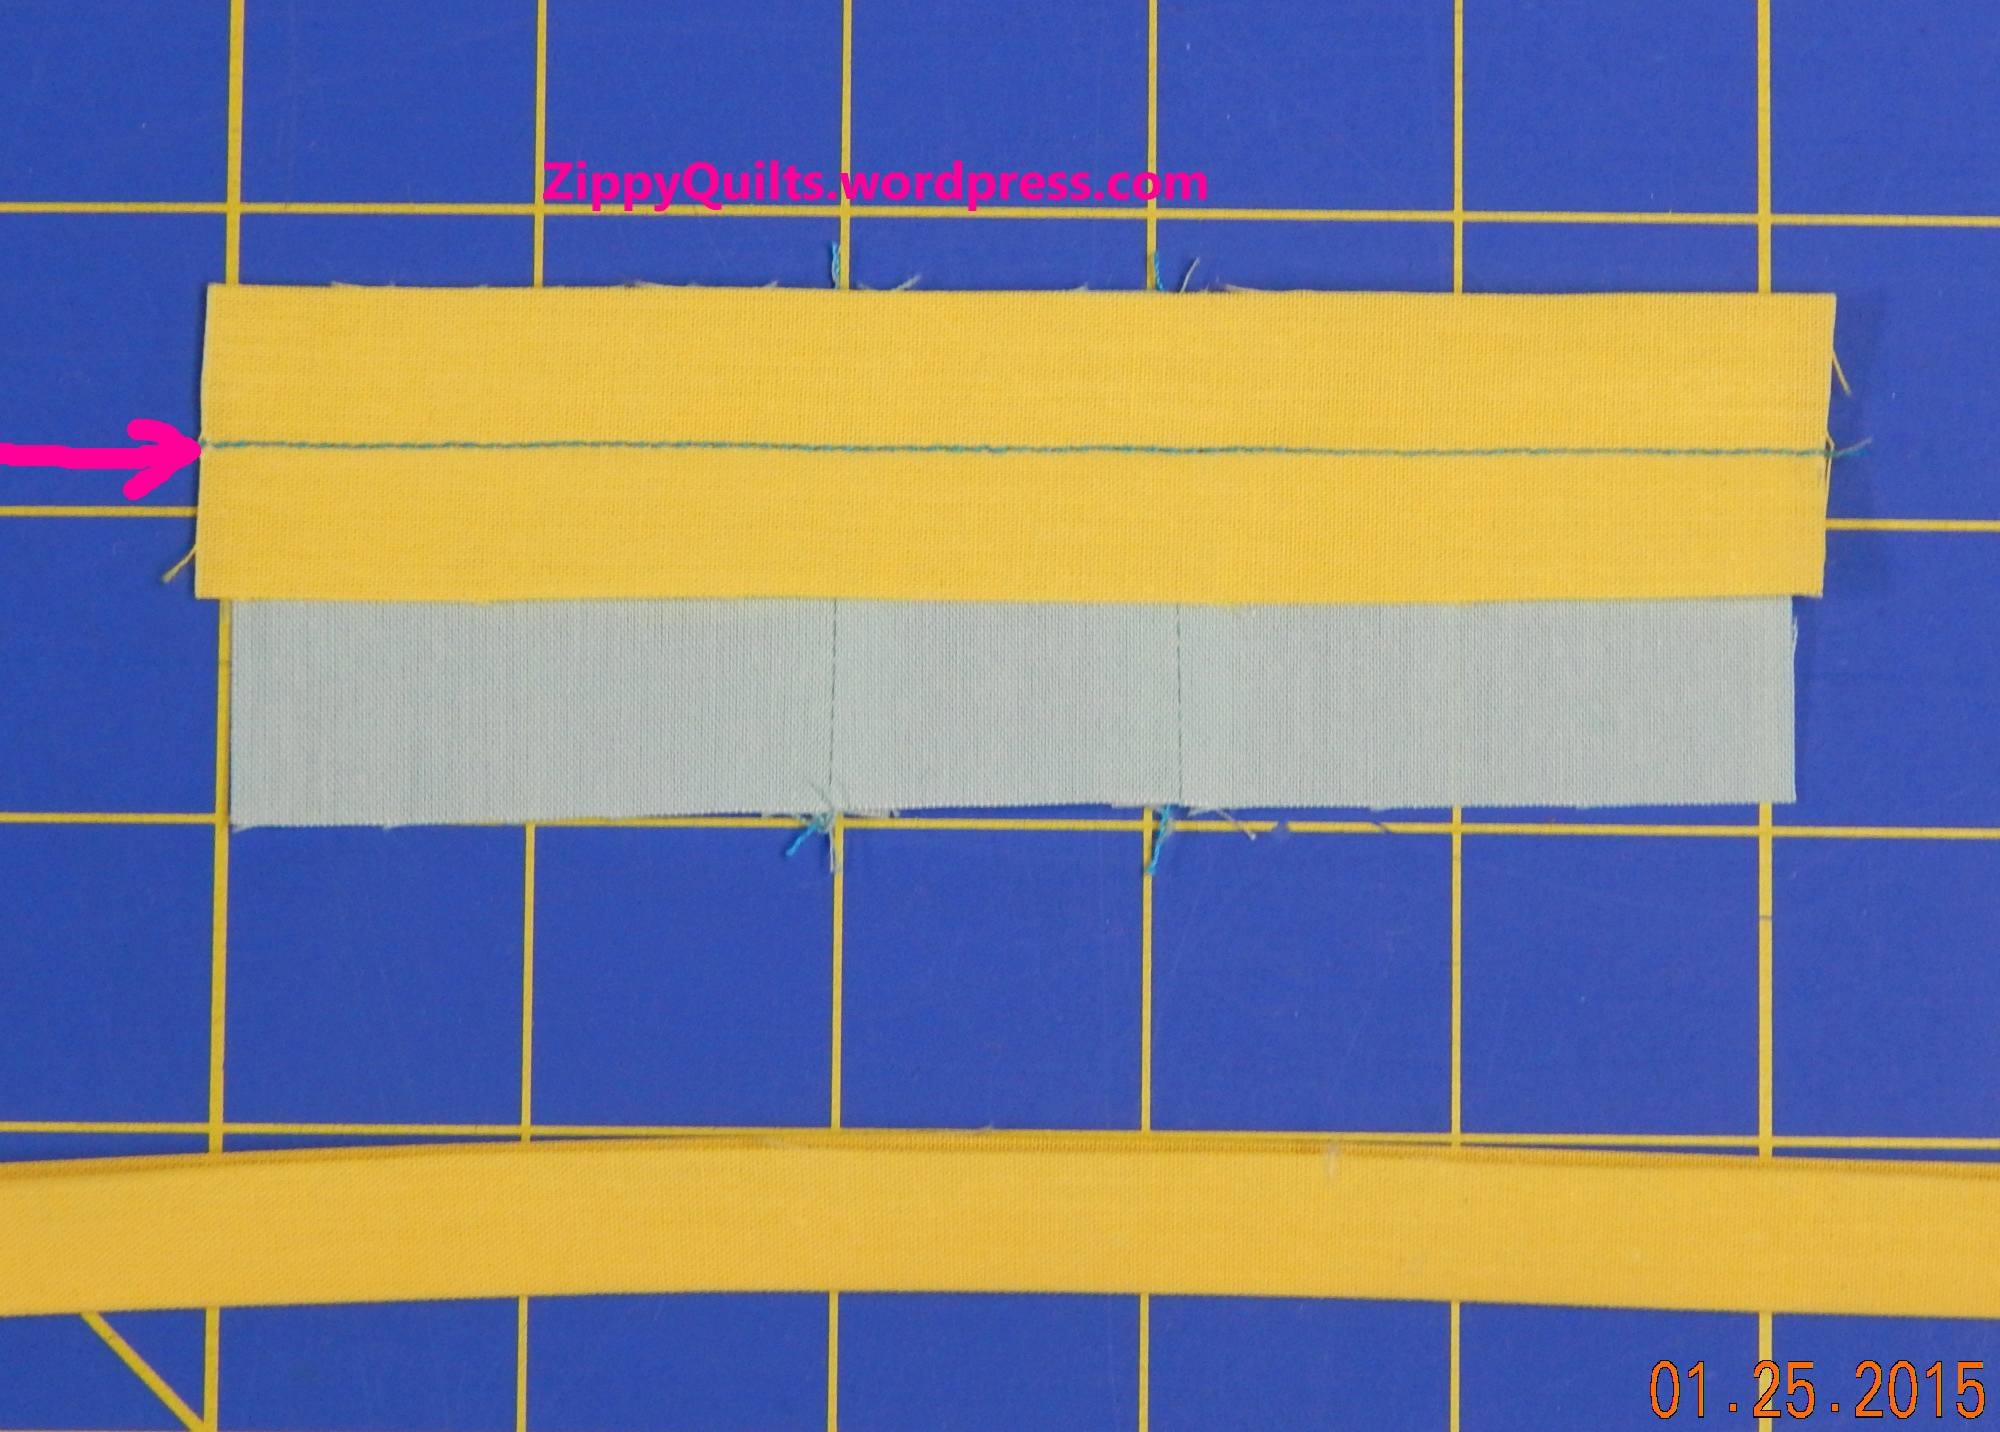
The center block has little inset strips using a technique I modified from one of Judy Niemeyer’s ideas.  To make a quarter inch inset that doesn’t “wobble”, do this:

block tutorial

Block pieces, including yellow insert

Cut a 1″ strip of fabric and lay one edge along the raw edge of the piece where you want a narrow inset. Stitch through both the strip and the quilt piece 1/2″ away from the edge, either by using the 1/2″ mark on your machine’s throat plate or by marking the center of the strip.

Quilt tutorial

The center pieces of the block have been jointed and the insert laid along the side

Fold and press along the seam-line so that you now have 3 raw edges, all lined up.

quilt tutorial

Strips have been added to all sides of the center pieces and pressed along the seam

I don’t usually trim away the extra fabric because I like the stability, but it DOES make for some weighty intersections if you choose not to trim away the bottom 1 or 2 layers.  Then assemble the block as you normally would, using 1/4″ seams.  The strip you added will show up as a 1/4″ inset.

Let me know if you try either of these blocks.  I thought they were fun!


Tessellations! By Jean Larson

As promised, my friend Jean Larson has written a tutorial on tessellation quilts.  I hope you enjoy it as much as I did!  –MJP

Tessellating designs make me happy.  Tweaking those designs is even more fun.   I want to share the joy of starting with a very, very simple design and watching it blossom.  My inspiration comes from this web site:  http://gwydir.demon.co.uk/jo/tess/

Start with a simple gridded block and create a light/dark design.  Here, I’ve started with a 3 x 3 grid.  Then re-color the same block with the lights and darks reversed

.The grid lines are only for design purposes, and each block can be constructed with a single square block with 2 corner triangles attached using any method you prefer.

Here are some design possibilities…Quilt_1A simple “cat head” quilt using only 2 colors.

Different looks can be achieved with variations in the color placement.

Blocks can be inverted and turned for even more quilt designs.

Just imagine all the possibilities with color in these!!!!!

It’s even more complex when you design with a 6×6 grid.  Here are the positive and negative versions of another block.

These blocks can be constructed using half-square triangles integrated with larger fabric pieces.  If these blocks were to finish at 6 inches by 6 inches.  The center column on each block would be a single 3.5 inch wide by 6.5 in long piece of fabric.  The side strips would include some half-square triangles.

A couple of the quilts that can be made:

Looks like spools, some gray, some white, all standing up.  Same quilt with alternate blocks turned a quarter turn yields a different  clearly recognizable tessellation.  Reminds me of tessellating doggie rawhide chews 😉

Now back to the spool quilt from above.  The “thread” areas have been colored in.  No blocks have been turned.

Jean spool 5This shows the power of color and value (lightness and darkness).   The colored part, being next to the gray and being closer in value to the gray, unites those parts of the block, and gives the illusion that we have all gray spools on a white background, some standing up, some lying down.

I hope these examples can be the seeds to sprout some design experimentation with tessellating shapes.

  1. Start with 2 square grids
  2. Create a positive design, and its negative design
  3. Alternate them in a quilt layout
  4. PLAY!
  5. And play more with color!

Happy Quilting (and Designing)!!   –Jean Larson


“Found” Designs

I took several pictures on a recent trip to illustrate “patterns and palates” I found along the way–or “designs and color schemes” if that has more meaning (though less alliteration).

The first thing I noticed is that, although I think of the Southwestern U.S. in terms of bright colors–turquoise, orange, bright blue–it really is pretty monochromatic, at least in midwinter.  And a lot of the man-made colors that started out vibrant have bleached considerably in the bright sunlight.  So here are a few patterns and color schemes I found interesting. Whether they ever make it into quilts remains to be seen!

These patterns found around the hotel definitely have some possibilities for both piecing and quilting.  And they have so much grey they must be modern 😉

These color schemes were more what I was expecting. But the colors were found more in man-made things than in nature except for the bright sky.  In that picture of the blue building, that IS the sky you see in the top right corner!

There were some beautiful patterns in nature.  The colors were lovely, but were subtle rather than bright except for that SKY!

I especially liked the strips of waterproof nylon cloth, all finished like flags, that were used to screen a construction site we passed.

Lots of great things to see, and this was just a single walk!

What have you seen lately?


Meet Lee Monroe of May Chappell Patterns

Images for this post are the property of Lee Chappell Monroe, May Chappell and used with permission.

Lee Monroe

Lee Chappell Monroe

Lee is a North Carolina quilter, designer, and teacher who came to my attention through her blog, which is titled May Chappell. Like a lot of other people, I initially thought May Chappell must be her name. Here’s her explanation of where the name of the blog actually came from:

Why May Chappell? There are always loads of questions about why the company is May Chappell and not Lee Chappell Monroe. You can read all about it here. The short version is that it is named for an awesome lady, my great grandmother.
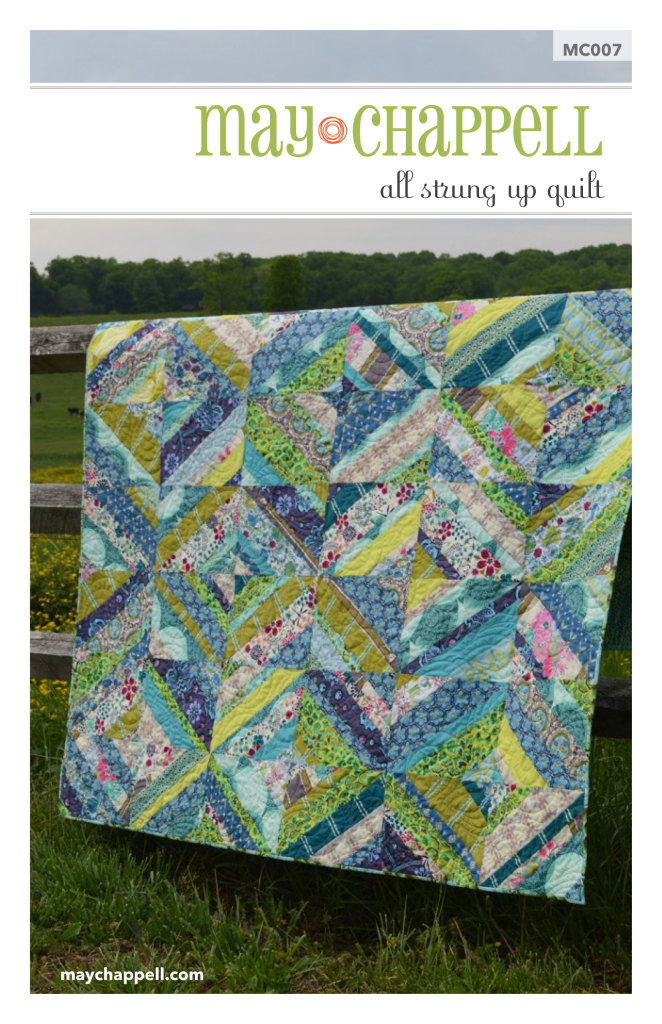
Lee designs quilt patterns and sells them through quilt shops.  She went to quilt market for the first time last year, hoping to give her patterns a wider audience.  In addition to quilts, she designs pouches and “loves all things fabric”.  Like many modern quilt designers, she is trained as a graphic artist.  Here’s one of her quilt patterns:

May Chappell quilt

All Strung Up, a May Chappell design

And here are a few questions Lee was kind enough to answer for me, as well as pictures of more of her patterns:
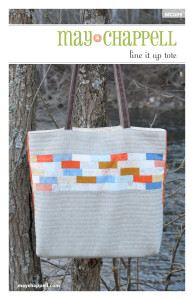
tote bag pattern

Here’s a tote bag Lee designed to use mini-charm squares

Q:  Where do you think the quilting field is going?

A: This is a toughie. I usually see trends in the questions that I get from my students. I’ve had a lot of students lately that are self taught and they’re interested in learning more about precision. I’m a big believer that there is more than one right way to do things in quilting, but there sure are some wrong ways!
Q: What about your personal quilting future?
A: I have new patterns coming for Spring Market that I’m really excited about. I’m a terrible secret keeper so I usually want to put out the design right as I draw it!
Q: I know you took your patterns to quilt market, but where could I buy them?  I don’t see them on your website [Note: They ARE on her website, at least now.  Silly me 😉 ]

Eye Candy quilt

Eye Candy, one of Lee’s quilt patterns

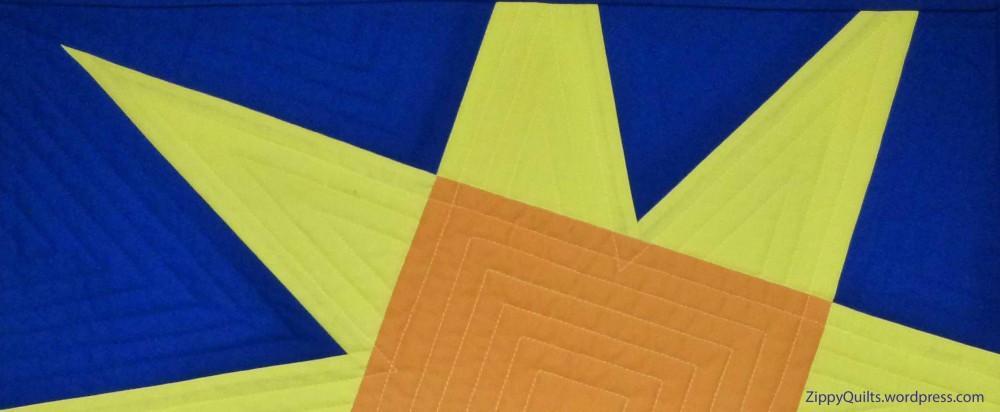
Designer star quilt

Lee’s Designer Star Quilt. If you go to her website/shop you can see a picture of the whole thing.

A:  I love designing patterns and the printed patterns are available through local quilt shops. Because I also teach quilting at local shops, I’m a huge advocate for supporting local! Quilt shops are a huge resource for the sewing and quilting community. If your shop doesn’t have my patterns, they’re available through the distributors. You can also purchase PDF patterns through my website here. I teach all over North Carolina and I’m starting to expand out across the country. Teaching is my favorite part of my job; I’m passionate about quilting and I love sharing that. You can see my teaching schedule on my website, too.

Q: Show us something pretty you’ve made lately!
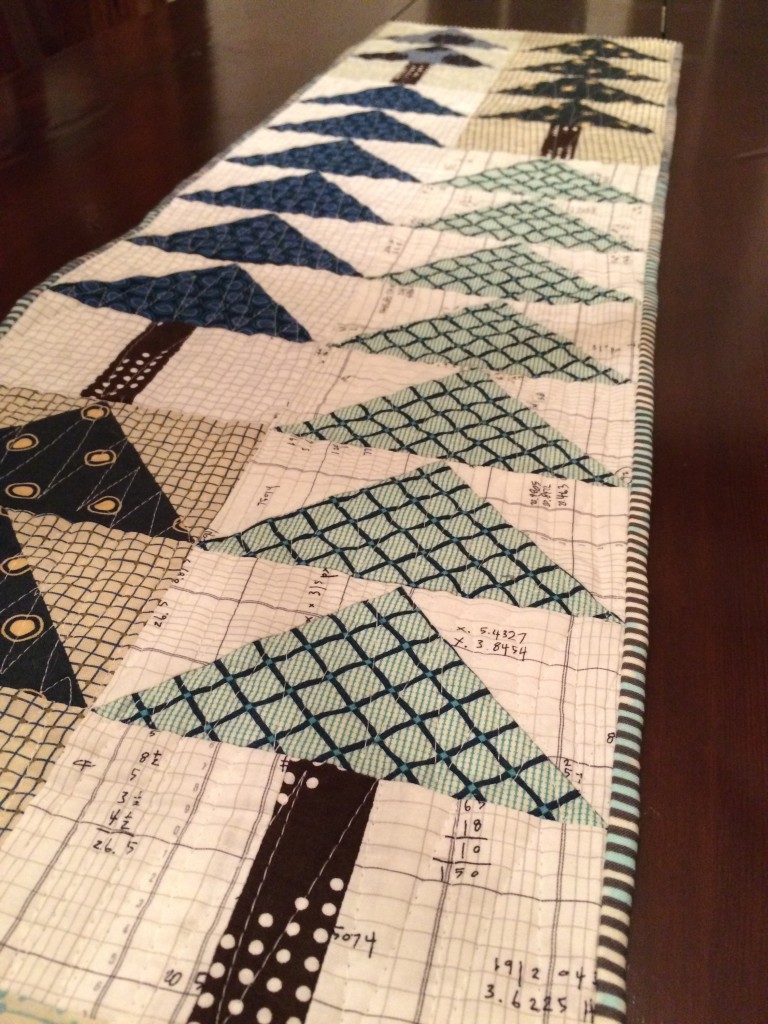
A: This is a table runner I made for my brother using my Blue Ridge pattern.
table runner quilt

Table runner by Lee Monroe

This post ran longer than usual, but that’s because I just HAD to explain a little about why Lee Monroe has a blog named May Chappell 🙂