Remember this fabric I was thrilled by?


I thought about how to use it for several weeks and finally decided on Turning Twenty Again. It’s an old pattern, but I’ve seen it made up in many different fabrics and it’s almost always spectacular and modern-looking. The fabric I bought was 8 fat quarters, and Turning Twenty Again is a pattern developed for efficient use of fat quarters, so it seemed a good match.
I needed a little more fabric and found this dot in my stash–it had the same appearance of linen texture as the original fabric and I thought it went perfectly with the others.
The next question was what else to add. After auditioning several options, I decided on this cat fabric. The eyes are sort of of dots, too, and the color coordinated well.  I made the blocks and put them on the design wall, and…
 Eek! Is it too busy? And when I see it overall, I do not like the tan fabric I added, even though it is similar to the beige-green that came with the fat quarter set!
I’ve had it on the design wall for a week trying to decide what to do. One option is to put the squares together with sashing and a border to kind of calm things down. I auditioned a dark blue fabric and a turquoise fabric for that–both are Moda grunge, so they have the same linen-look texture.


Another option is to take the blocks apart in order to add these birds from the same collection, giving a greater variety of prints. I think if I take it apart, I will remove the tan fabric I don’t like, so the birds could add variety AND get rid of the tan!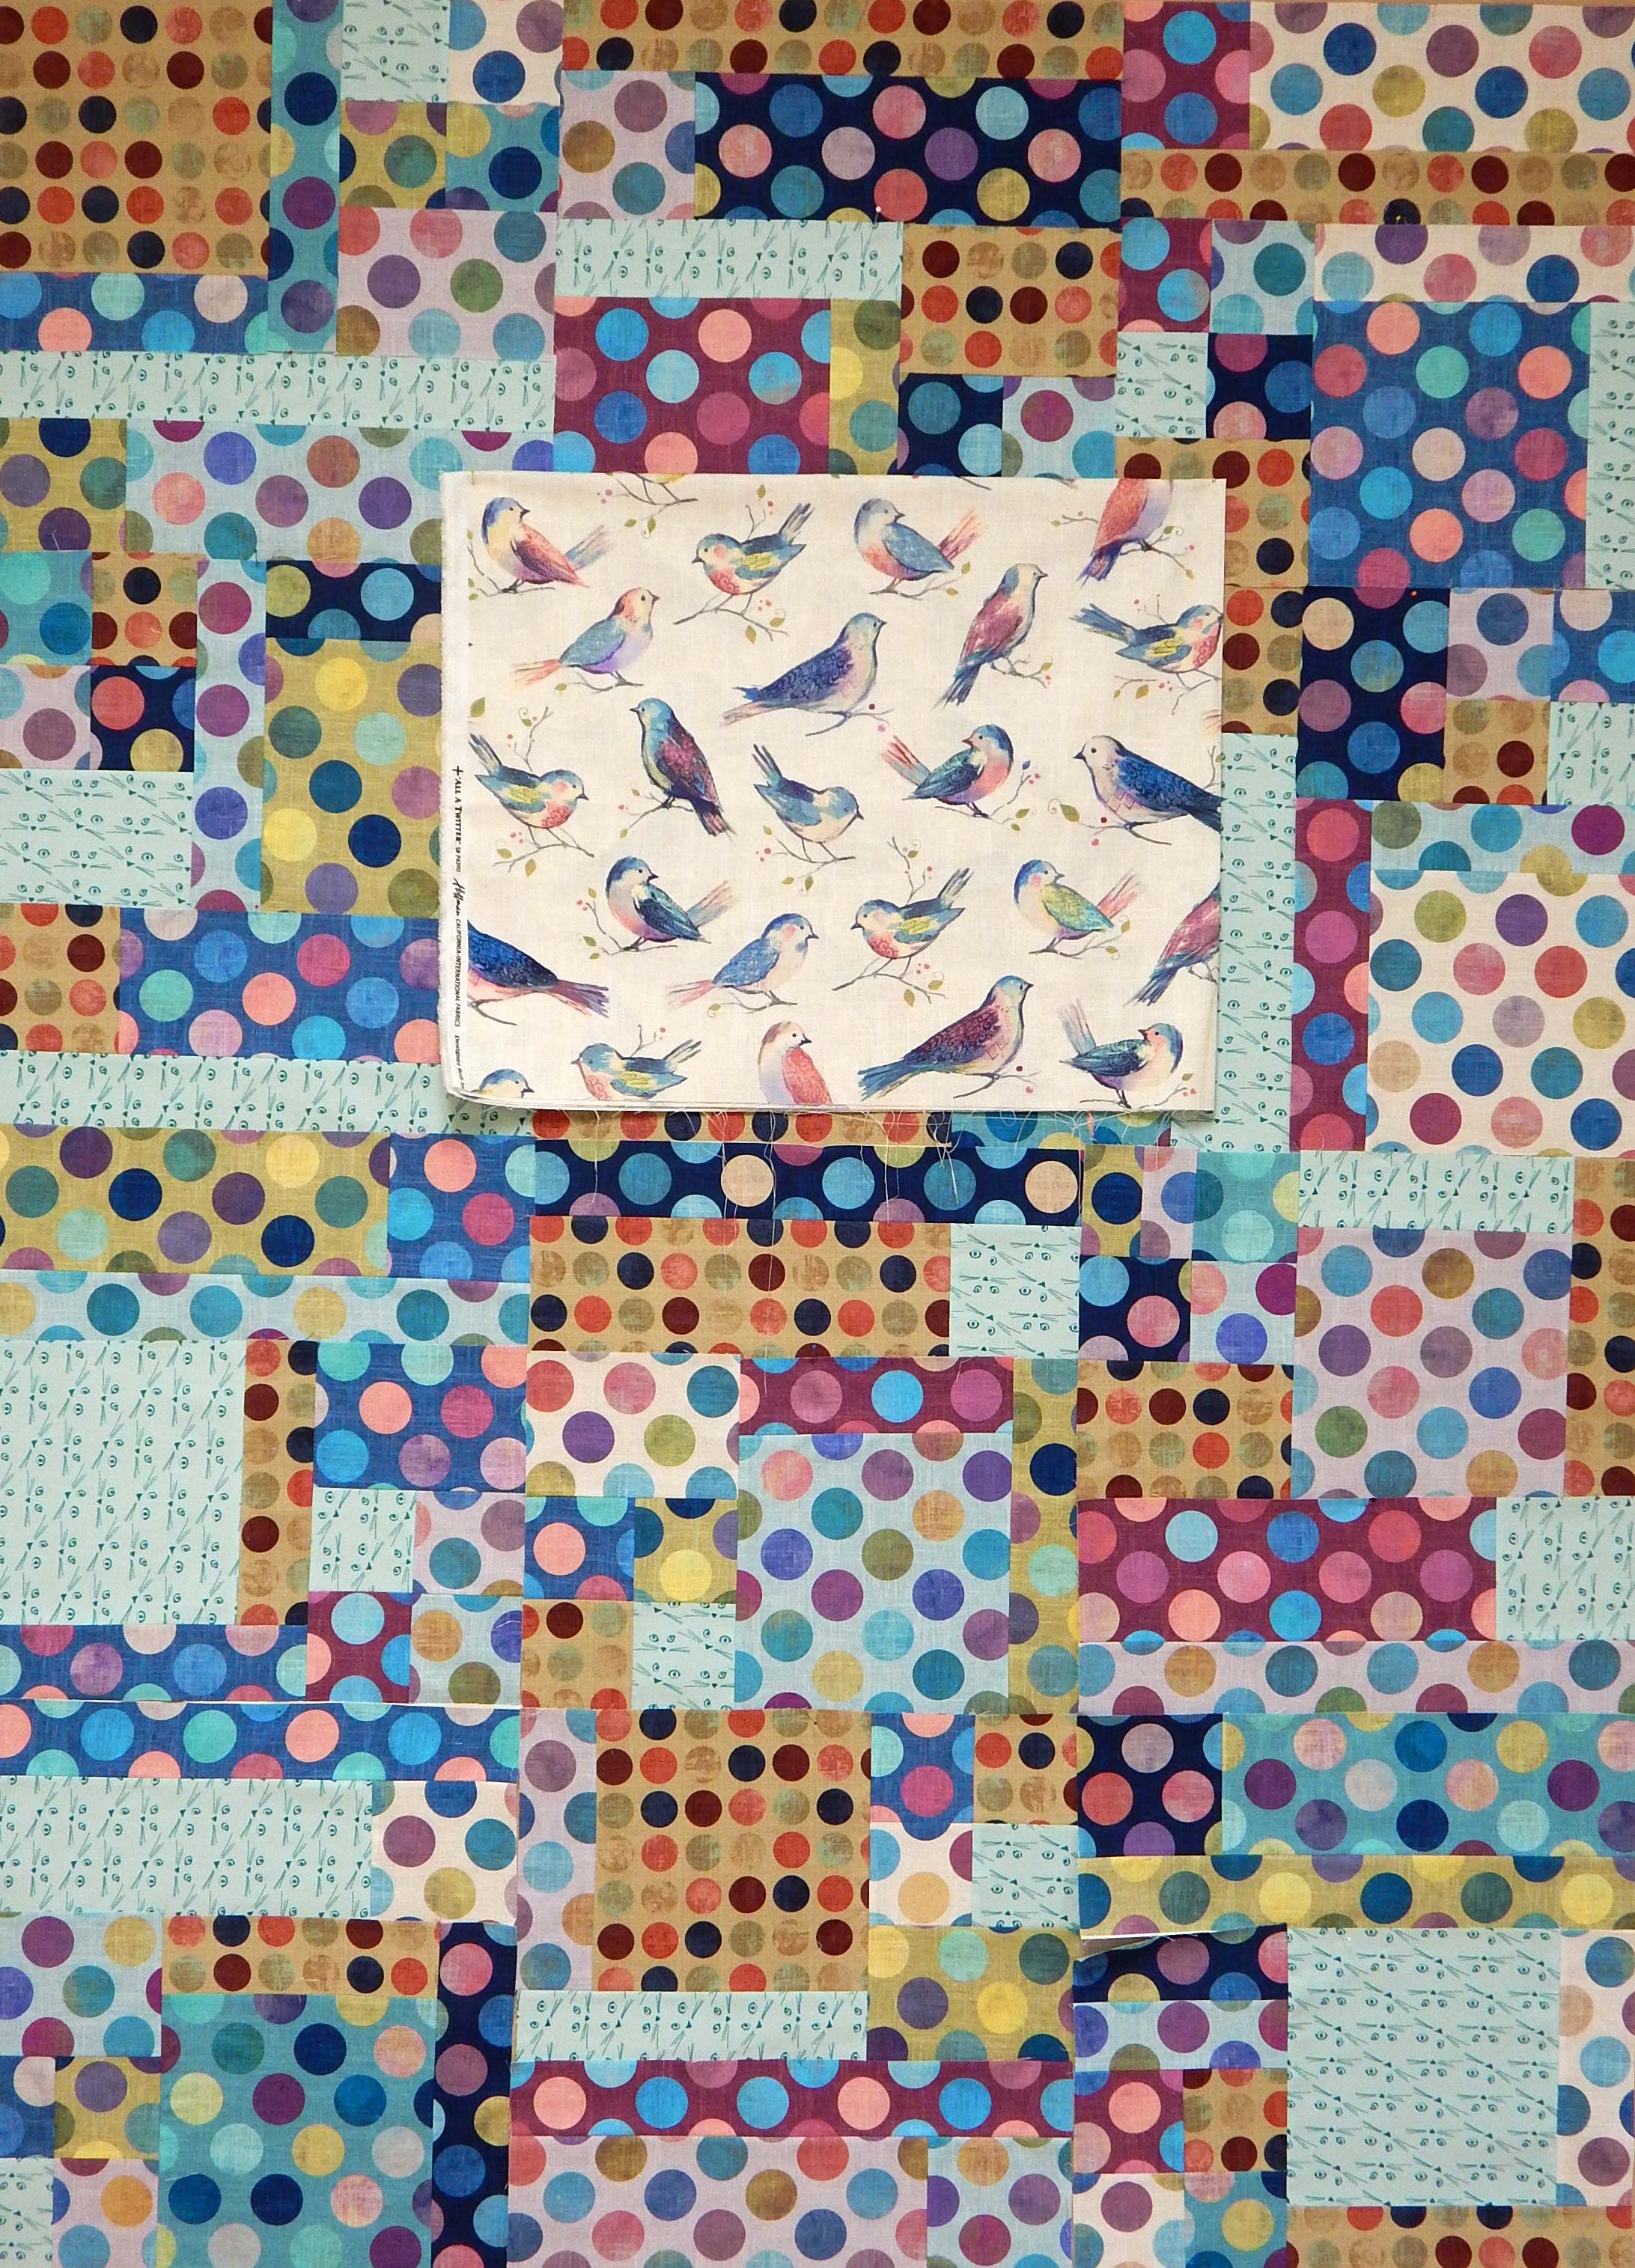
From there we go into the wild options. They are legion, and include the possibility of cutting the blocks randomly and inserting solid strips. Or I could replace some pieces with the birds and some with the turquoise grunge.
And of course there is the perennial option of putting it away for a month and then looking at it again to see what comes to mind.
Suggestions, anyone?