Winner! Online Quilt Retreat

I won a year-long online quilt retreat!  What the heck is that?

Lora Douglas of Dragonfly Quiltworks

Lora Douglas of Dragonfly Quiltworks

Here’s Lora Douglas, one of the teachers from the retreat, to explain.

This year-long on-line, quilt retreat is sponsored by “Adventure Art Retreats”, which was started by Ilysa Ginsburg and Kira Slye. They launched “Polymer Clay Adventure” as an online experience in 2015 and got about 1000 subscribers! They’re adding a quilt adventure for 2016.

There are 12 projects, one each month of the retreat. There will be classes for quilts, placemats, totes, hexies, fabric dyeing, laminating fabric and polymer clay buttons

Roxie bags made by Lara for her Quilt Adventure class

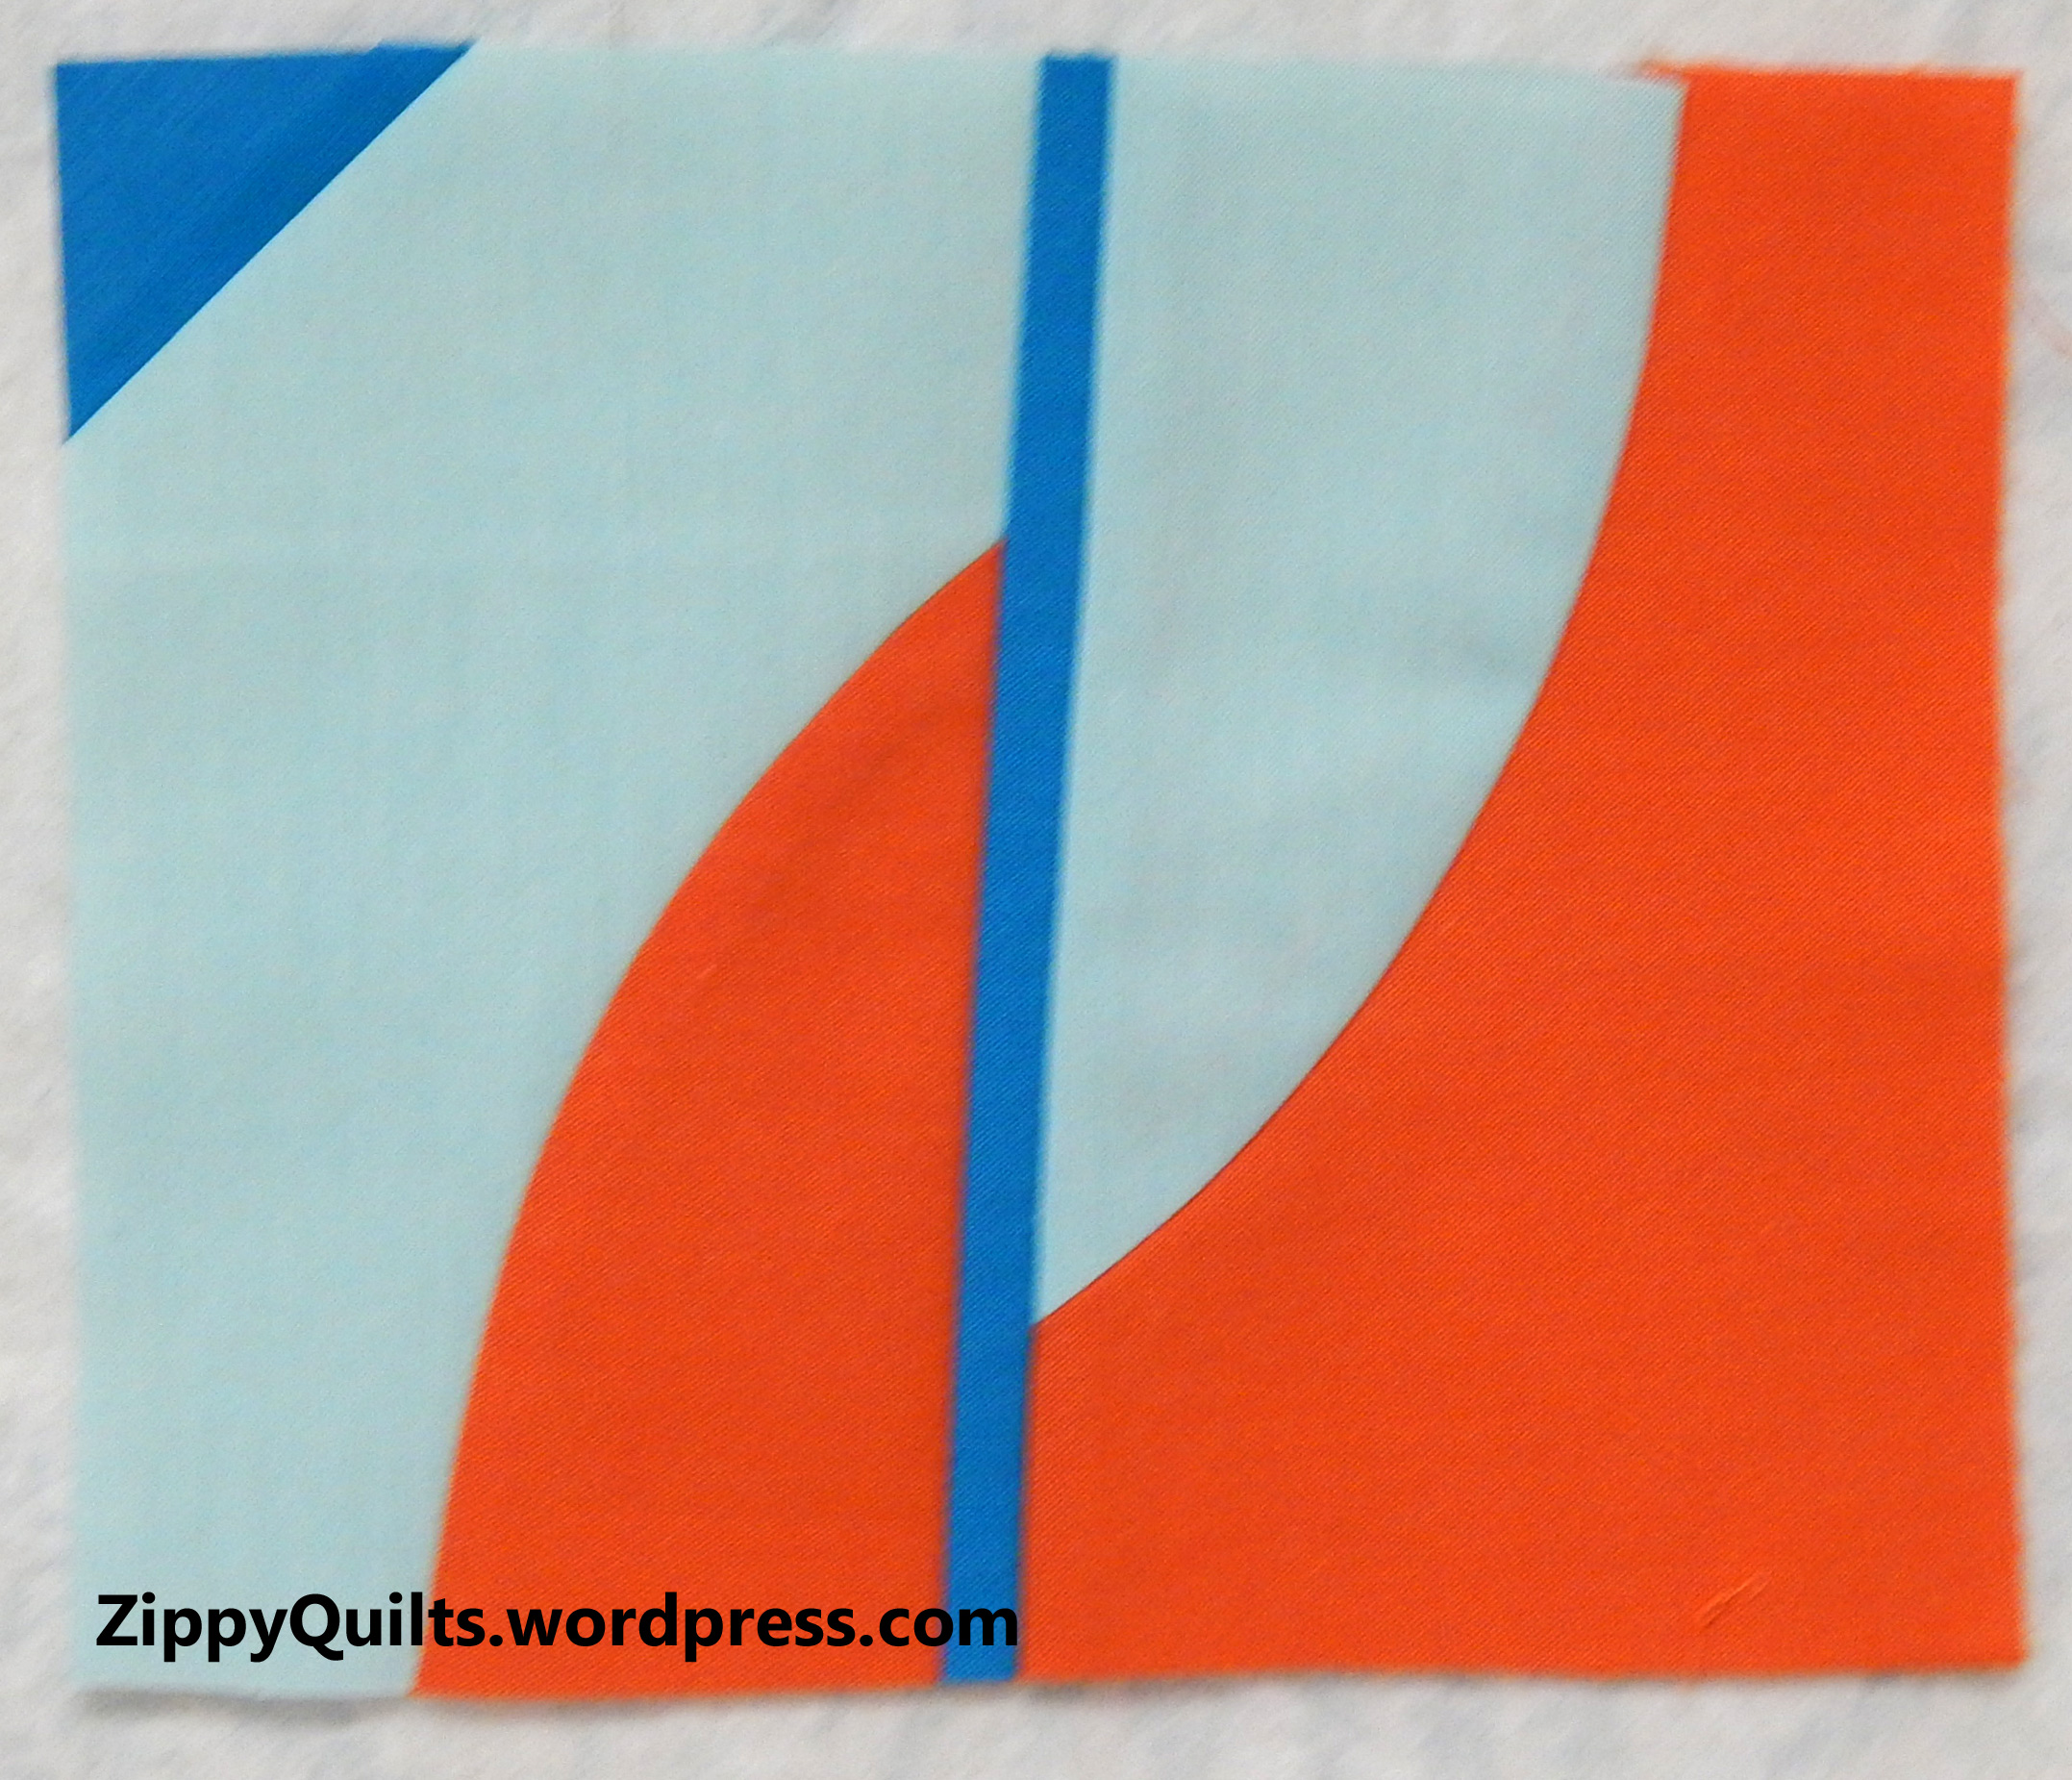
Roxie bags made by Lora for her Quilt Adventure class

.I designed the Roxie Bag as one of the monthly projects for the retreat, and I’ll be teaching it by online video. When I couldn’t find a pattern using flex frame hardware that was easy to make and looked great, I designed my own. It is perfect as a cross-body bag for carrying a cell phone and other small items.

“Quilted Adventure” is the online equivalent of a traditional quilt retreat where you meet other quilters while learning new things.  “Retreaters” can take a new class each month; participate in live-stream events with our host, Vanessa Vargas Wilson of The Crafty Gemini; receive monthly clues for a mystery quilt; and take part in swaps. There will be a newsletter to keep participants informed of upcoming events. The instructors will be available to answer questions throughout the retreat. It’s going to be fun!

Another Roxie bag--how many samples did she make???

Another Roxie bag–how many samples did she make???

I’m gathering my supplies, and I’m sure you’ll be seeing some of my projects here as I participate in the retreat.  For now, If you want to know more about Lora or the Quilt Adventure online retreat, here’s the link for her site. There’s a button there to click for finding out more about the retreat.  (Or, if you just want to buy a Roxie bag after seeing it here, her site has a link to her Etsy shop as well. I won’t tell if you want to buy it instead of making it yourself 😉

Kaleidoscope Design and More

The November UFO project was to design a quilt to use these beautiful Jane Sassaman fabrics. Here’s my “final” decision on the layout. (“Final” in quotes because It isn’t over til it’s over).

My notebook wasn't big enough for the whole layout, but you get the idea!

My notebook wasn’t big enough for the whole layout, but you get the idea!

You can see paper mock-ups of my blocks showing the fabric HERE, but here are a couple of examples.  Of course, the one with 4 wedges would have 6 if this were the real blocks instead of a paper mock-up.

I think I have enough fabric to make 4 central patches with 6 wedges each, though I’ll check before I cut (one of my husband’s favorites is, “measure twice, cut once”). Then I’ll fit in as many of the 4-patch kaleidoscopes as seems reasonable while leaving adequate negative space.

The Back-up Plan (must have one!) is all 4-patch kaleidoscopes if it turns out I don’t have enough fabric for both the 6-wedge and the 4-patch designs.  That would be fine, too, though I like the variety of sizes in the design I’ve chosen.  (Will I like it as much when I’m trying to sash those varied shapes and sizes?)

I’m thinking I’ll use soft green fabric for the background; this seems to want to be a green quilt with pink and blue accents.  The background probably will be a solid fabric, since these blocks have a lot going on.

I’ve made two more projects this month, but they aren’t quilts.  One is a crib sheet from this fun arrow fabric by Maureen Cracknell.  The other is a changing pad cover in this “Indian Summer” fabric by Sarah Watson.

There are several places on the internet to get free patterns for crib sheets and changing pad covers, and they were easy to make.

And now, ON TO THE CHRISTMAS SEWING!!!

November’s UFO

As you probably know, I’m playing along with Aunt Marti’s UFO Challenge for 2015. This month’s UFO is a group of gorgeous Jane Sassaman fabrics I’ve had for several years. I want to make a queen sized quilt, but I’ve been debating the design for a long time, since I want to make the most of these fabrics.

Need to design a quilt for this wonderful fabric

Need to design a quilt for this wonderful fabric

Luckily, a quilter who is a better designer than I came to visit this fall, and she helped me look at ways to make kaleidoscope blocks from these fabrics.  So November’s challenge is to come up with a design for the quilt.  I’m not even requiring myself to CUT any fabric, just decide on a design.Sassaman book

Jane Sassaman’s book suggests making paper copies of the fabrics to cut up in order to try designs.  I scanned the fabrics to my printer and made many copies, then cut them up to make either 4-part or 6-part kaleidoscope blocks.  Of course, that limits my trials to typing paper size pieces.Sassaman-papers

I printed at low resolution to save ink and still used up my color cartridge!  Here are a few of the trial blocks cut from paper and taped together:

Sassaman-10

Here are some blocks made from 4 squares

And here are some partial blocks made from 60 degree triangles:

Finally, here are all my trial blocks made of paper so far:Sassaman-group

Any suggestions for making the most of these prints, either with or without kaleidoscope blocks?

Artsy Table Runner

YP1I’ve been looking at lots of beautiful pictures of art quilts. Also, the monthly challenge for the Modern Quilt Guild of Franklin (NC) was to make something including prairie points.

For years I’ve had Susan K. Cleveland’s Prairie Pointer, intending to make something with prairie points “any day now”. (Raise your hand if you DON’T know how THAT goes!)Susan KThe stars finally aligned, and here is my first crack at a table runner combining all of the above.

As expected, Susan’s Prairie Pointer tool worked beautifully. I’m a big fan of her techniques, and teach some of them in my classes.  The starting squares for the prairie points ranged from 1-1/2″ to 2-1/2″ in size, so they were all pretty small.

Prairie Points

Prairie Points

I like this runner pretty well, but I just KNOW I could do better! So here goes with another idea I’ve meant to try for some time: working in a series. I’ll keep you posted 🙂

Narrow Accents!

Modern Quilts Unlimited just published my article on how to add narrow accents to your projects.  It’s a very easy method for sewing crisp, even accent strips from 1/8″ to 3/4″ wide.

Modern Quilts Unlimited magazine

Notice the Narrow Accents article featured on the cover, along with the beautiful quilt by Bev Getschel

There are so many uses for narrow accents!  Here are a few of mine:

narrow accents, Modern Quilts Unlimited magazine

This is a corner of the piece I made to illustrate the MQU article

These blocks from my modern sampler all include narrow strips:

The samples I made for my improvised table runner class all include narrow strips, as well.  Here is one of them:

modern table runner

Here is one of the samples for my improvised table runner class

modern quilt design

Here’s a Mondrian-style block I made several years ago with narrow inserts

There are options too numerous to mention!  Go get the magazine and make some accent strips, then please send me pictures of your creations.

Sandi Suggs: Finding Her Way to Modern

Sandi’s work was featured in a special display at AQS-Chattanooga, and I was lucky enough to get to interview her. I took some pictures, and if you want to see more of her work, check the links at the bottom of this post.

modern quilt, Sandi Suggs

Sandi designed this nontraditional arrangement of split 9-patch blocks

While I was waiting to interview Sandi, I heard her tell someone, “Any time I make a quilt, I do it to learn something.” My sentiments exactly!

modern quilt, Sandi Suggs

Sandi made this quilt from a pattern, adding modern colors to the design

Sandi started quilting over 25 years ago, using cereal box templates because rotary cutters weren’t yet used for quilting. She still uses templates when appropriate, but a lot of things have changed!  For one thing, she now uses freezer paper when she needs templates so she can cut several layers of fabric at once.

Quilt as You Go quilt

Sandi designed and made this quilt using her own quilt-as-you-go technique

Sandi teaches several classes, including her own version of Quilt As You Go. (I’m going to keep an eye on her website because I’d like to take that class if she teaches it anywhere near me 🙂 )

The AQS exhibit included both quilts Sandi designed herself and quilts she has made from designs by others.  This was a round robin quilt; Sandi made the final arrangement of sections and did the quilting:

modern quilt

Round Robin quilt by Sandi Suggs and friends.  Look at Sandi’s quilting!

A couple of hints from Sandi: she likes to use the multi-stitch zigzag (stitch #4 on Bernina machines) in her quilting.  She starches all her fabrics before cutting to make them smoother and less likely to fray.  She says starching also equalizes the weight of the various fabrics.  She likes to wash her quilts after they are finished to achieve a crinkly look that emphasizes the quilting.

Sandi Suggs modern quilt

Sandi does her own quilting on her home machine. This quilt is called “Roy G. Biv”

Sandi also has her own way to successfully select fabrics for a mystery quilt!  I’ve only done one mystery quilt and was unhappy with the result, so I asked her about it.  She showed the quilt below, designed by Weeks Ringle and Bill Kerr as a mystery quilt, and told me how she selected her fabrics.

Sandy Suggs

Mystery quilt designed by Weeks Ringle and Bill Kerr demonstrates Sandi’s successful fabric selection

Sandi looked at the fabric requirements for the quilt and figured the largest fabric requirement was for the background.  Once she had chosen gray for the background, she decided she would need bright fabrics to contrast with it.  I think her decisions were very successful!

You can find Sandi’s blog at: www.FrogPondStudio.blogspot.com

She has many more pictures of her quilts there, including these five posts that show all her quilts from the AQS exhibit:

Finding My Voice

Finding My Voice, Two

Finding My Voice, Three

Finding My Voice, Four

Finding My Voice, Final


10 From Chattanooga Quilt Week

Despite a change in plans, a friend and I got in a quick trip to Quilt Week in Chattanooga to see the quilt show. No time for classes this year, but we had a great time. I was especially happy that there was a large section of modern quilts. Here are 10 of my favorites.

modern quilt

Celebrate, by Jean Larson of the Chattanooga Modern Quilt Guild

Modern quilt

A Slice of Pi, by Connie Griner. This quilt has the numerical value of pi quilted into the border to umpteen decimal places!

Modern quilt show

Love in the Digital Age, by Kristin Shields

modern quilt

Motik, by Mary Ramsey Keasler of the Chattanooga Modern Quilt Guild

modern quilt show

Tiki Dilemma, by Jodi Robinson.  She says her “quilting designs were chosen to add interest without overwhelming the overall design of the quilt”.  I like that!

modern quilt show

Door Into Summer, by Joni Morgan

I see that gray backgrounds are still very popular!  (You KNOW who I’m talking to!)

modern quilt

Forgotten Chicago, by M. A. Cramer. She asks whether the object shown here is rising or falling!

modern quilt

Pink Flamingos with Lemonade, by Connie Brown of the Modern Quilt Guild of Asheville

modern quilt show

Through the Open Window, by Amy Anderson of the Modern Quilt Guild of Asheville

modern quilt

Initial Inspiration, by Vista Scruggs Mahan of Rising Fawn, Georgia (just outside Chattanooga)

Of course, we had a little time for chocolate as well, but what’s done at Quilt Week stays at Quilt week 😉

Later on, I’ll have an interview with Sandi Suggs, whose quilts were a special exhibit at Chattanooga Quilt Week.

Blocks 11 and 12, Modern Sampler

Probably  have enough blocks now for my usual size “cuddle quilt”, about 55″ X 70″. I have enough ideas and fabric for at least 2 more quilts, so the project may continue anyway.

improvised quilt block

Doodle block inspired by Sherri Lynn Wood

Block 11 was inspired by Sherri Lynn Wood’s “Doodle” quilt.  I had a couple of scraps and decided to just cut them and see what happened, and this is it.  The block is only about 6″ wide. I quit without adding anything else in an attempt not to “overdo” and make it too complex.

The next block is certainly improvised, having turned out rather different from my original idea.  It started with equal amounts of these fabrics. modern fabrics I thought I would stack them, cut arcs, and shuffle–Karla Alexander’s quilts are among my favorite inspirations.  It all started out as planned…

stack, cut, shuffle block

Arcs cut, colors shuffled

But, as sometimes happens, I felt the need to change it as I went along.  The final quarter actually was made using templates (gasp!) because I had a particular look in mind. stack, cut, shuffle block Now I surely have enough blocks for my sampler.  The question is how to arrange them.  I’ll be looking for your input in a week or so!

Happy Squares

This quilt was what I designed when I got bundles of two of my favorite collections a while back: Alissa Haight Carlton’s Modern Solids (sadly, they seem to be no longer available) and Allison Glass’s feather-like prints.

modern quilt

Happy Squares

I started with 9-patch blocks composed of 3 inch (finished) squares.  Of course I couldn’t stand to make all the blocks alike. I made some half-square triangle patches to add to the 9-patch blocks. Then I made some big 4-patch blocks from 4-1/2 inch (finished) squares so that they finished the same size as the 9-patch blocks.modern patchwork Finally, I made some 36-patch blocks from 1-1/2 inch (finished) squares to finish the same size as all the other blocks.Happy-36-patch

When it came to laying the blocks out, I separated some of the 9-patch blocks to fit the 4-patch and 36-patch blocks in at interesting places.  Finally, I inserted a 1/4″ strip before adding the last row of squares on each side to make a sort of border.modern quiltI did the quilting freehand on my home machine.  This means I did not mark the diagonals but sewed “sort of” straight from corner to corner in the squares.  I like the less-rigid feel of this technique, but it’s a good example of why it may be unwise to enter modern quilts in traditional quilt shows.  Here again, if I wanted machine-like accuracy I could hire someone to do this on a longarm or even have a machine-generated pantograph design.  In fact, I like both those techniques for some things, but I didn’t want my “happy” quilt to be too-precisely quilted.

This is bright and cheerful, so I’m calling it “Happy Squares”.  What have you been up to?

My Modern Sampler, Blocks 9 and 10

Channeling Gwen Marston, I made a couple of “liberated” quilt blocks for the sampler.  This means they were cut without a ruler and the pieces are deliberately “wonky”.

modern sampler, modern quilt block

Liberated Hole in the Barn Door blocks finish about 5″ square

Some current authors are making a big deal of cutting without a ruler, but Gwen Marston has been doing it for years.

I DID use a ruler to make the original background square.  Here are the steps:

modern quilt block

I cut the big square using a ruler, the subdivided it into a 9-patch freehand

modern sampler quilt

Corners done, time for the sides

modern sampler

Sides done using method similar to the corners: pin, check, then sew and trim

modern sampler

Ready to be sewn together!

For Block 10, I cut my scraps into strips.and lined them up.

modern quilt block

Scraps cut into strips and pieced with black and white background

The widths of the colored strips and the white strips between them are semi-random. The sashing between the columns finishes 2″, and the block finishes 12″ square.

A few more blocks and then I’ll have to decide how to set them!  Here are the previous posts about My Modern Sampler:

Block 8

Painter’s Tape Block

Humbug Star

Improv Block I

Pretty Blocks

My Own Modern Sampler–It May Take a Year!