Improv Quilt-Along Continued

I’ve already posted about the first week of the quilt-along, which was focused on strips. Here are my blocks again.

The second week’s suggestion was polygons but not triangles. I found it difficult to like most of my attempts for this, though I did finally use EQ to design a block that I paper pieced. I thought that many of the others lack focus, so there was a lot of cutting up and re-designing. Still not my faves, but here they are:

The third week focused on triangles. I still did much of my cutting without a ruler, but I stuck to simpler designs and I’m much happier with this collection of blocks.

The quilt-along is called “30 Days of Improv” so we’re only about half way through. Here’s a link to the first post for the QAL if you want to join in. I’m looking forward to next week’s prompts.

Why Does This New Quilt Count as Finishing a UFO?

I hate the recursive nature of most social media, including Pinterest. You don’t dare click on what looks like a good pie recipe, because you’ll be fed pie recipes for at least 6 months, probably longer. HOWEVER, I do remain a fan of Pinterest, where I still find a lot of fun quilt ideas. Recently I found this pattern via Pinterest and just had to have it:

The pattern is available on Etsy, here.

I had just the place for the quilt, having decided a while back I wanted to make a “summer rain” quilt to go over the stairs. We’ve had this lovely Japanese silk scarf over the stairs, but it was time for a change.

I got the blocks made. Oops, I got the blocks made following her directions and then made a number of my own design. Anyway, I liked the way they all looked together.

This is a small quilt, so I decided to use a sort of baste-as-you-go construction by sewing rows down to the batting and backing, sort of like you’d do if you were making a QAYG place mat using strips. Then I quilted it in vertical lines. Not my favorite thing to do, but it worked fine.

I think you can see the vertical quilting here. The lines were marked with blue painter’s tape, and are at pseudo-random distances apart.

Oh, and why does it count as finishing a UFO? Because I had started an improv quilt with this in mind but never finished it! I got out the blocks I had completed for that and combined them with blocks made using Maryline’s pattern, and got rid of another UFO 😀

Quilt Stats

Name: Summer Rain

Pattern: City Quilt by Maryline Collioud-Robert, plus some blocks I improvised

Made and quilted by me

Finished size: 39″ x 50″

And BTW, I recommend this pattern. It was a lot of fun!


An Improv Quilt-Along

My blogging friend Linda, over at Flourishing Palms, posted about an improv quilt-along and I got hooked in too! Here’s the link if you want to know more about it:

And here are the fabrics I selected.

The first week’s prompt is strips/stripes. I’ve already done a bunch of what Maria Shell calls “mat cut strips” when I took a class with her, so I tried this time to go beyond what I did with Maria.

Here are a few of the strips

And strip setsAnd some final blocks

To be continued…

Finish! A Really Old UFO

A number of years ago we had a guild program in which we made 3-dimensional fabric. I know I got this fabric wet and pushed it through a cake rack, but I don’t recall the details and can’t find instructions online. If you know how to do this, please tell me!

So this fabric (just the purple piece, with no beads yet), sat around for quite a while.

Then I layered it on batting and added all the rest of the stuff–beads, ribbon, side triangles, and quilting.

Then it sat around. OK, there was a lot going on in those years, but really, it just didn’t rise to the top of the “to-do” list.

Finally this week I got it out and applied binding.

Quilt Stats

Name: Shiny

Designed and made by: me

Quilted by: me

Finished size: 11″ x 11″

Whew! I’m guessing it took 5 years to make this quilt. Well, at least to get it finished 😀  What’s your oldest UFO?

Another Zen Chic Quilt

Yes, I liked this pattern so much I made it twice.The quilt shown above is the first version, more or less following the pattern.

I’ve blogged previously about the second version, made when I had the “brilliant” idea that this would be a great Quilt-As-You-Go (QAYG) project. Here it is again:Anyway, I still like both of them and plan to use them when I next teach QAYG.

Here are the stats on the latest one (with the border):

Quilt name: Bauhaus

Pattern by Zen Chic available here

Finished size (with border): 58″ x 58″

Designed by: Brigitte Heitlend of Zen Chic

Made by: me

Quilted by: Linda

Have a good week!

Some Favorite Tools

In the past year I’ve tried a number of new-to-me tools for my quilting, so I thought I’d share a few of my favorites. As always, these are not affiliate links; they are just for your convenience.

A New Table for My Sewing Machine

I’ve had in mind for years (literally) to get a table I can “drop” my machine into, but goodness! Have you looked at the prices of sewing furniture?!? Not in the budget!

However, I’ve seen a couple of people use the SewEzi portable table and both recommended it. It still isn’t cheap by any means, but it’s a lot less than “sewing furniture” and I’m very pleased with it. I got the portable version rather than the Grande because I have every intention of taking it to retreats with me. I positioned it perpendicular to my usual sewing table so I now have all the large table to the left to support the quilt when I’m attaching binding. The only drawback is that I had to wait several weeks for delivery, but of course we’ve come to expect that these days.

A New Seam Guide

I’ve had the Angler 2 seam guide so long it has turned yellow! I learned that it’s no longer made, so I’m trying Clearly Perfect Angles from New Leaf Stitches. It’s getting a good workout because my current project has about a zillion flying geese.This tool has, as advertised, eliminated the need to draw a diagonal line on the back of my squares. There’s even an auxiliary line that is used to sew the second seam needed to make those scrap HSTs that are a byproduct of the “waste triangle method”. So now I have 2 zillion HSTs….

New Non-Slip Stuff

I’ve tried multiple products, at multiple price points, to keep my rulers and templates from slipping while cutting. Most recently I found Grippy, and after trying it on one template I just lined up all the templates and rulers and sprayed the backs of all of them! On a per-use basis I think it’s the least expensive of the products, and it doesn’t leave a gummy mess on the back of the template like some of the stick-ons did. It’s my fave.

So tell me, what are your favorite tools? I’m always looking for something new to try 🙂

Return of the Fruit Ladies!

I’ll be teaching a new class in August, all because I am so excited to see the return of this fabric! (The fabric is shown on a bag I made many years ago using the original issue of this design.)

This is one I made several years ago

I had the fruit lady fabric when it came out about 15 years ago and made our daughter a quilt because she loves the beach. I made the bag shown above to go with it.

So when I ran across the re-issue of it, I was “forced” to buy some and make another quilt.

Because this quilt involves special techniques, I’ll be teaching it at Studio Stitch on August 11. Class list is here.

Quilt Stats

Name: Fruit Ladies

Pattern: Modification of “Level Up”, a pattern currently offered free here

Finished size: 49″ x 60″

Quilted by: Elisabeth Pugh

A Class and An Orphan Save

First, the class. I taught Happy Scrappy Diamonds at Studio Stitch recently. Here’s the class sample.

It’s made with the EZ Quilting Tri-Recs templates, which everyone agreed are well worth the price.

Here are some in-progress samples of what was made in class:

The templates made the triangles easy, and we all enjoyed putting scraps together to make the triangles, then some of us made the triangles into diamonds.

On the orphan block front…I have hundreds of them. Yikes! So I’ve been making them into 36″ quilts to be used over preemie incubators at the hospital.

Then I came to this, a 24″ swap block that was “wonky”. I’m sorry to say I was the one who recommended this swap block pattern, and it was anything but easy.

I decided that, rather than try to square up the block, I would add wonky borders and see what happened.

It turned out well! Umm, except maybe for that “bubble” in the left border that I hope will “quilt out”. Ha.

How has your week been?

Catching Up

I’m behind on binding quilts, so I’ll be binding one a week for a while during the catch-up.

First is Arkansas Crossroads, one of my favorites among the quilts I’ve finished lately.

When I have scraps, I cut them into strips of standard width ranging from 1.5″ to 4.5″, and store them in drawers. Therefore, there were a good number of 2.5″ strips available for this quilt and it went together quickly. There are free patterns for it on the internet, but of course I drew it in EQ8. Here’s my drawing:

Drawing done in EQ8

The good news is that EQ figures the yardage for you! I needed about 2 yards of fabric for the background, which I found in stash. The rest of the quilt top is from scraps!

The binding is black and white stripes. I buy stripes whenever I find them on sale because I love striped binding!

Quilt Stats

Name: Arkansas Crossroads

Design: Traditional, drawn in EQ8

Finished size: 50″ x 65″

Quilted by: Linda

Update on paper piecing without paper: I found featherweight sew-in interfacing, which is thin enough to see through and soft enough to make no noise at all when crumpled. Unfortunately, it is too flimsy to run through the printer and is somewhat difficult to trace on due to its softness. Also it turns out some stiffness is needed to keep small pieces from puckering when joining on a curve, and this isn’t stiff enough. So overall, not a good option. Too bad!

More Foundation Paper Piecing (Even Fewer Tears)!

There’s another alternative to real paper in addition to the dissolving paper I reviewed last week. Linda Hahn introduced me to a thin polyester sheet that works just like paper but can be left in the quilt! So here’s the scoop on it.

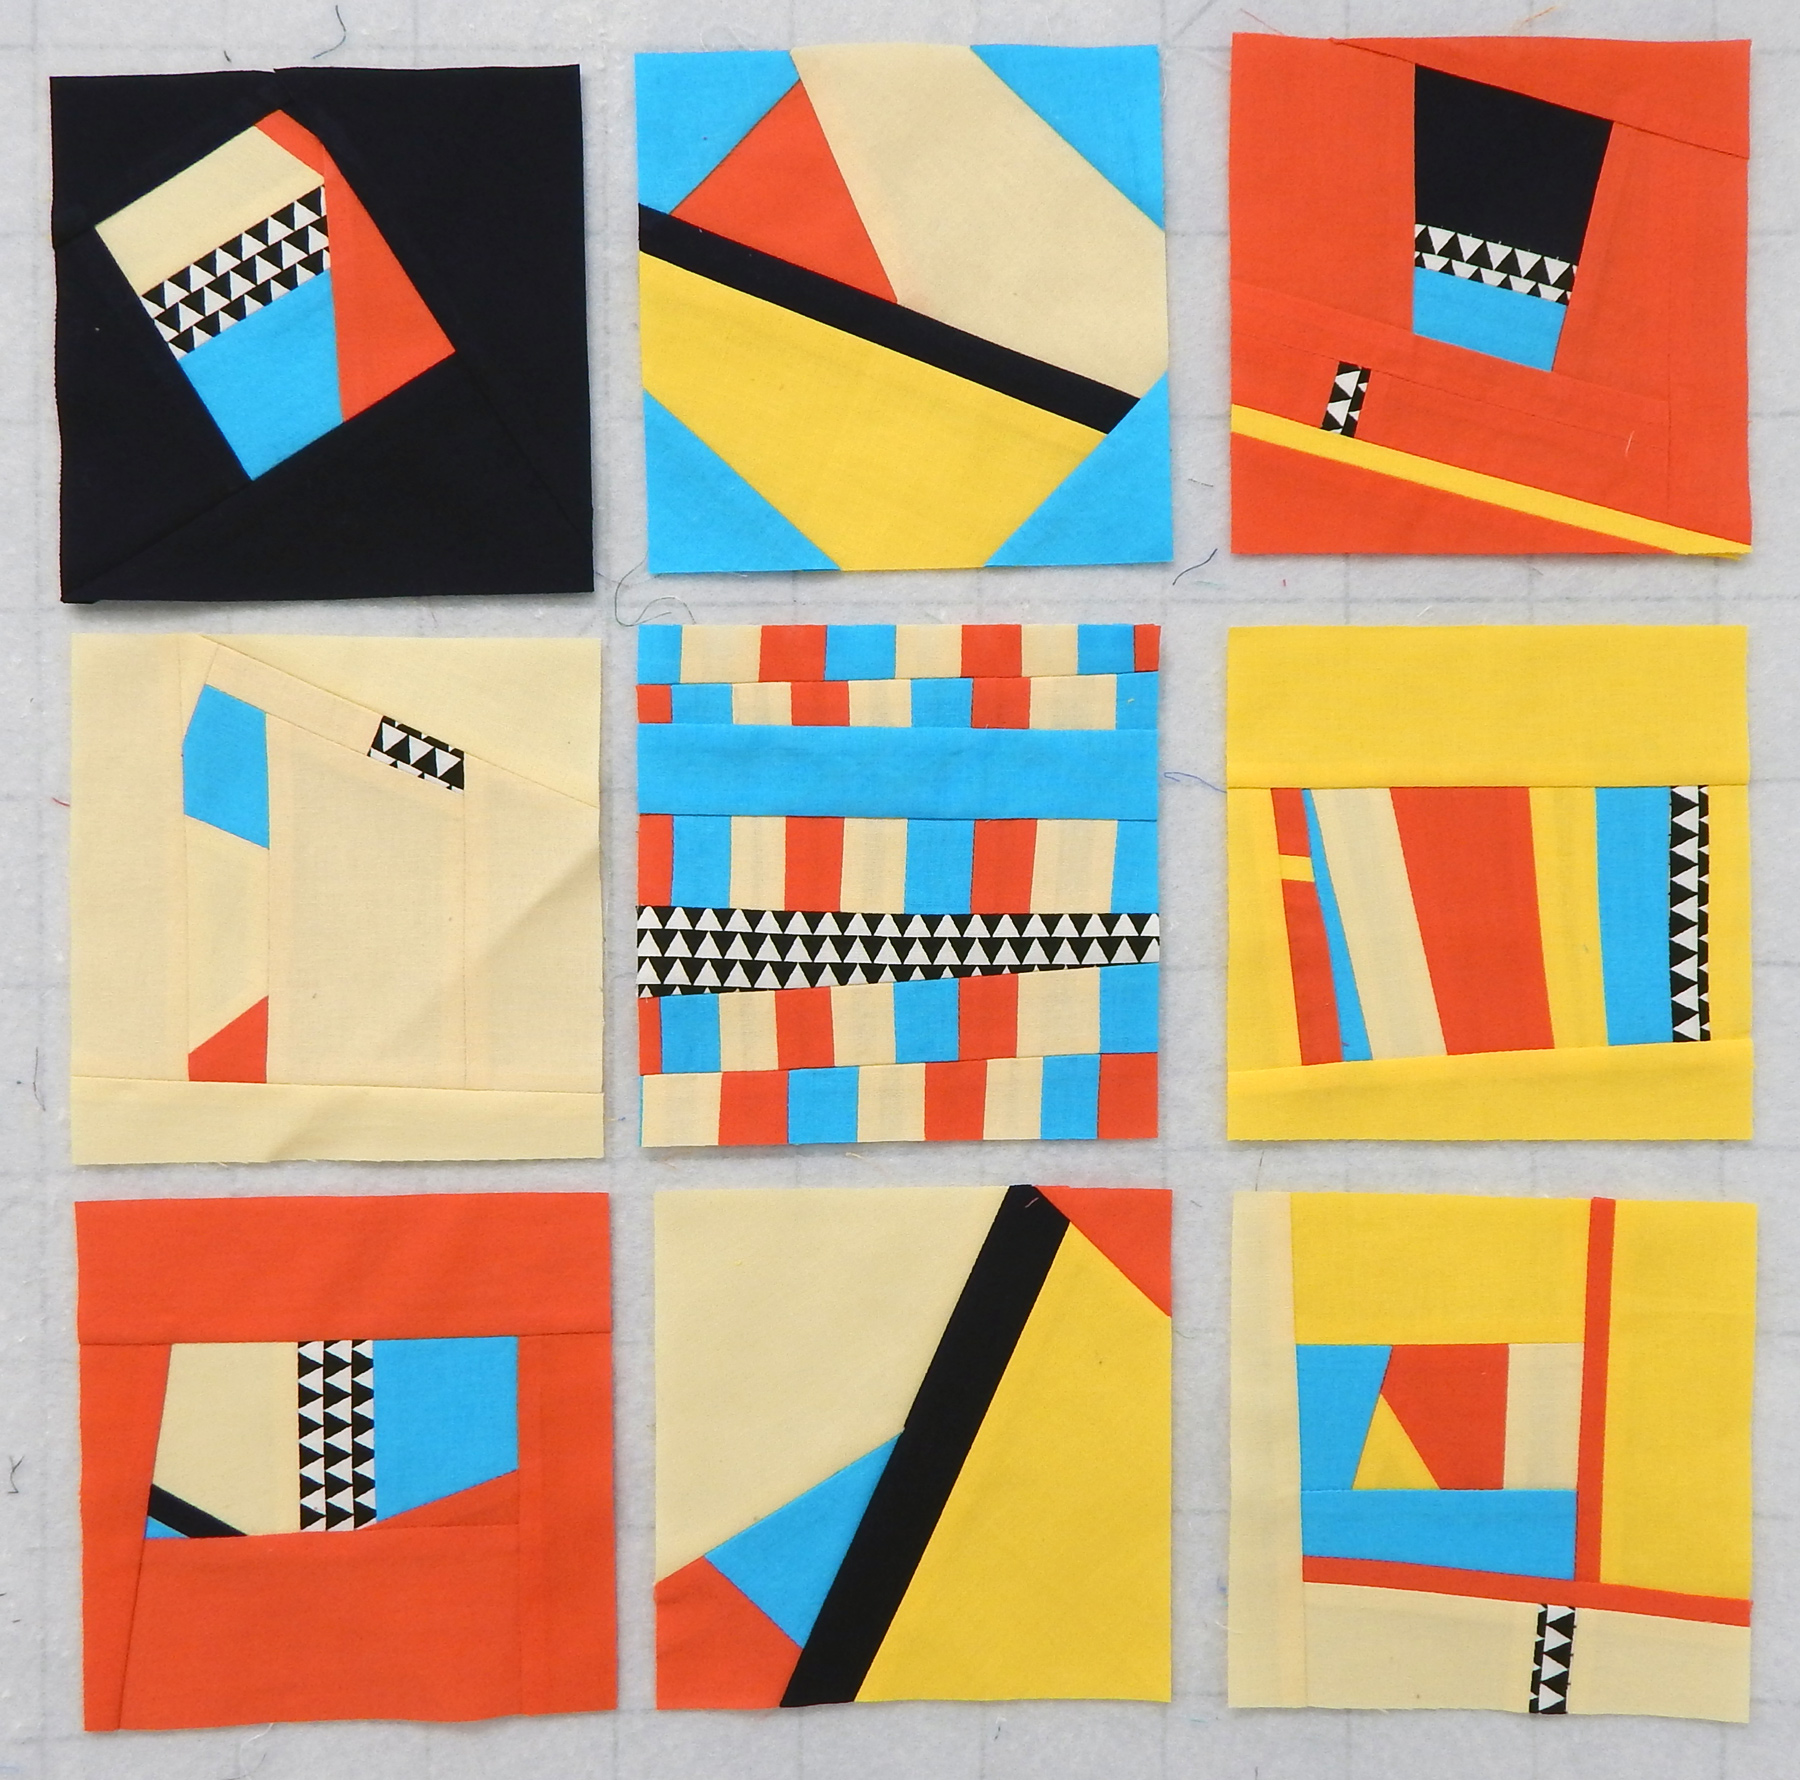
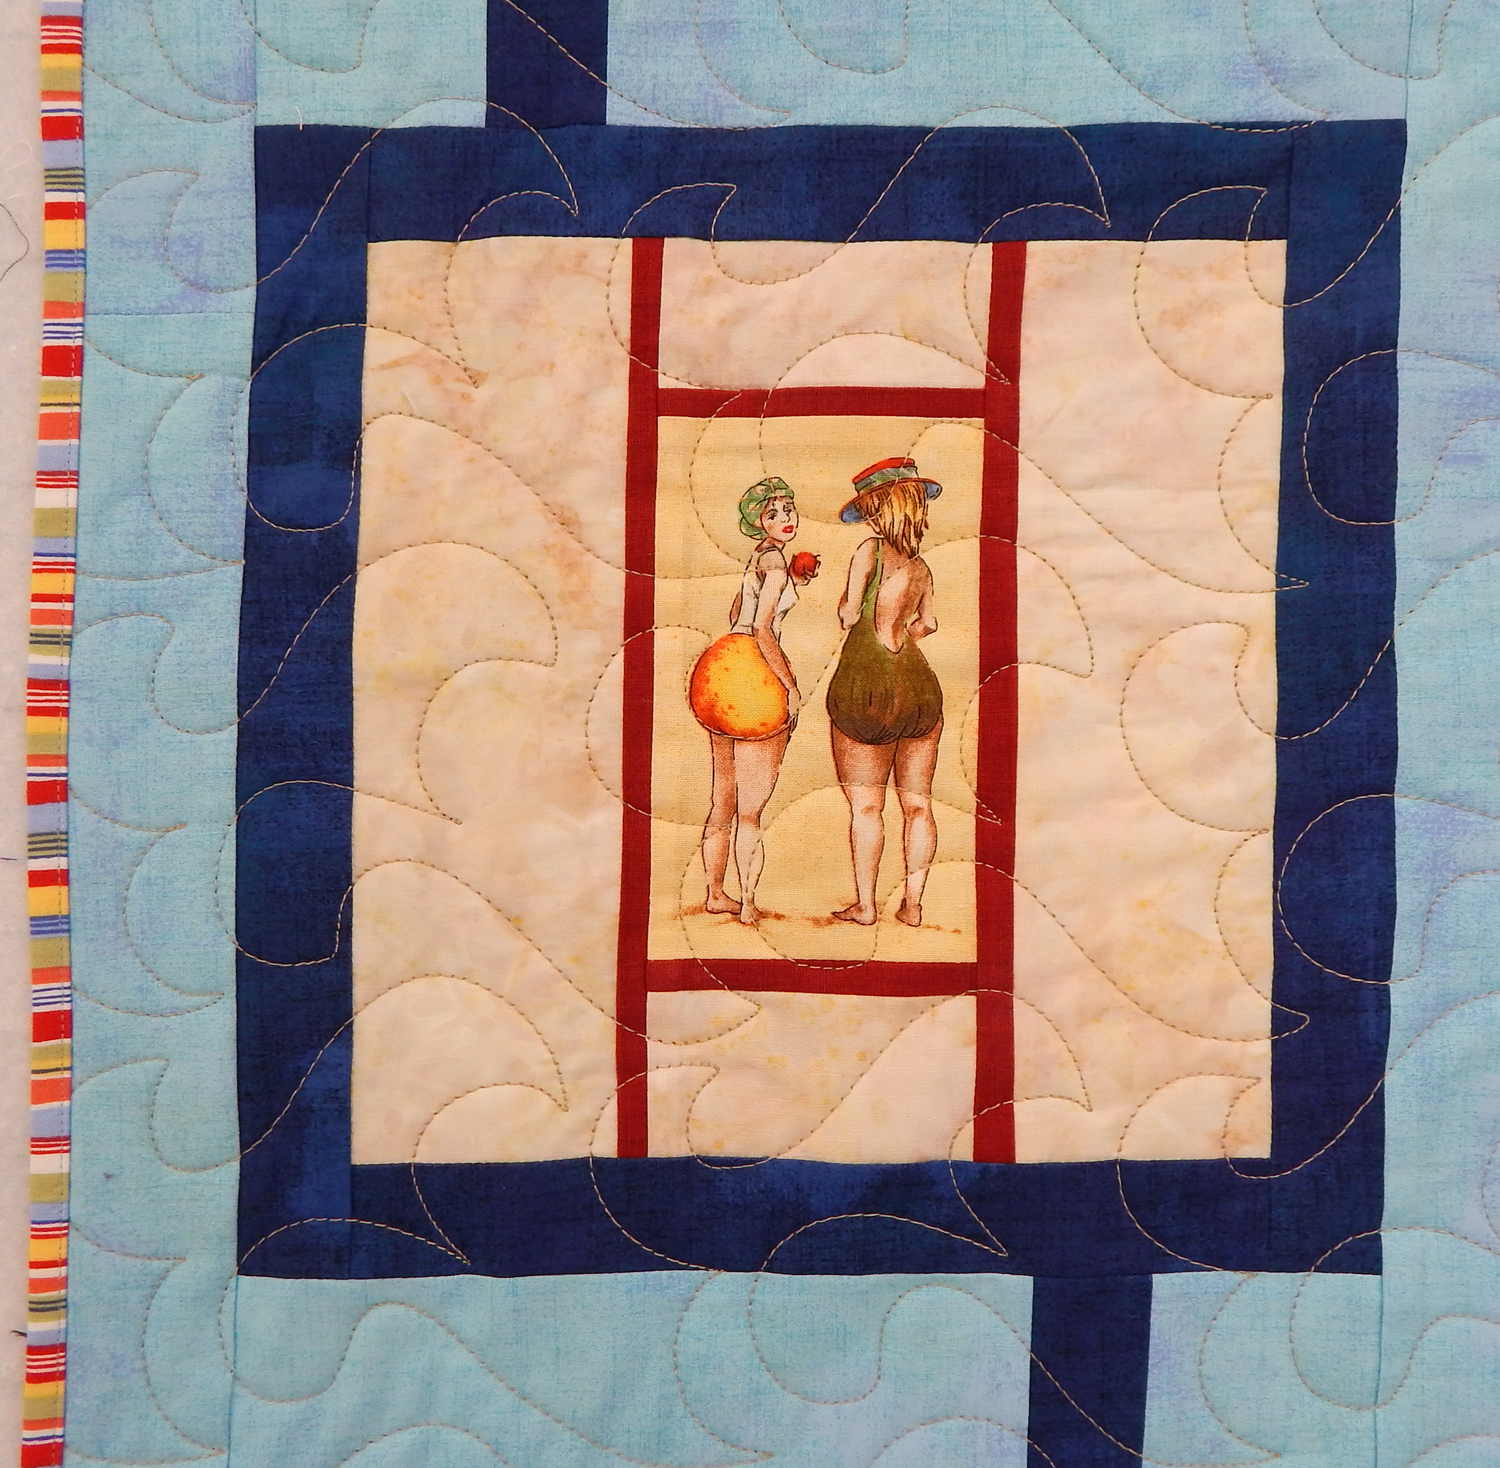
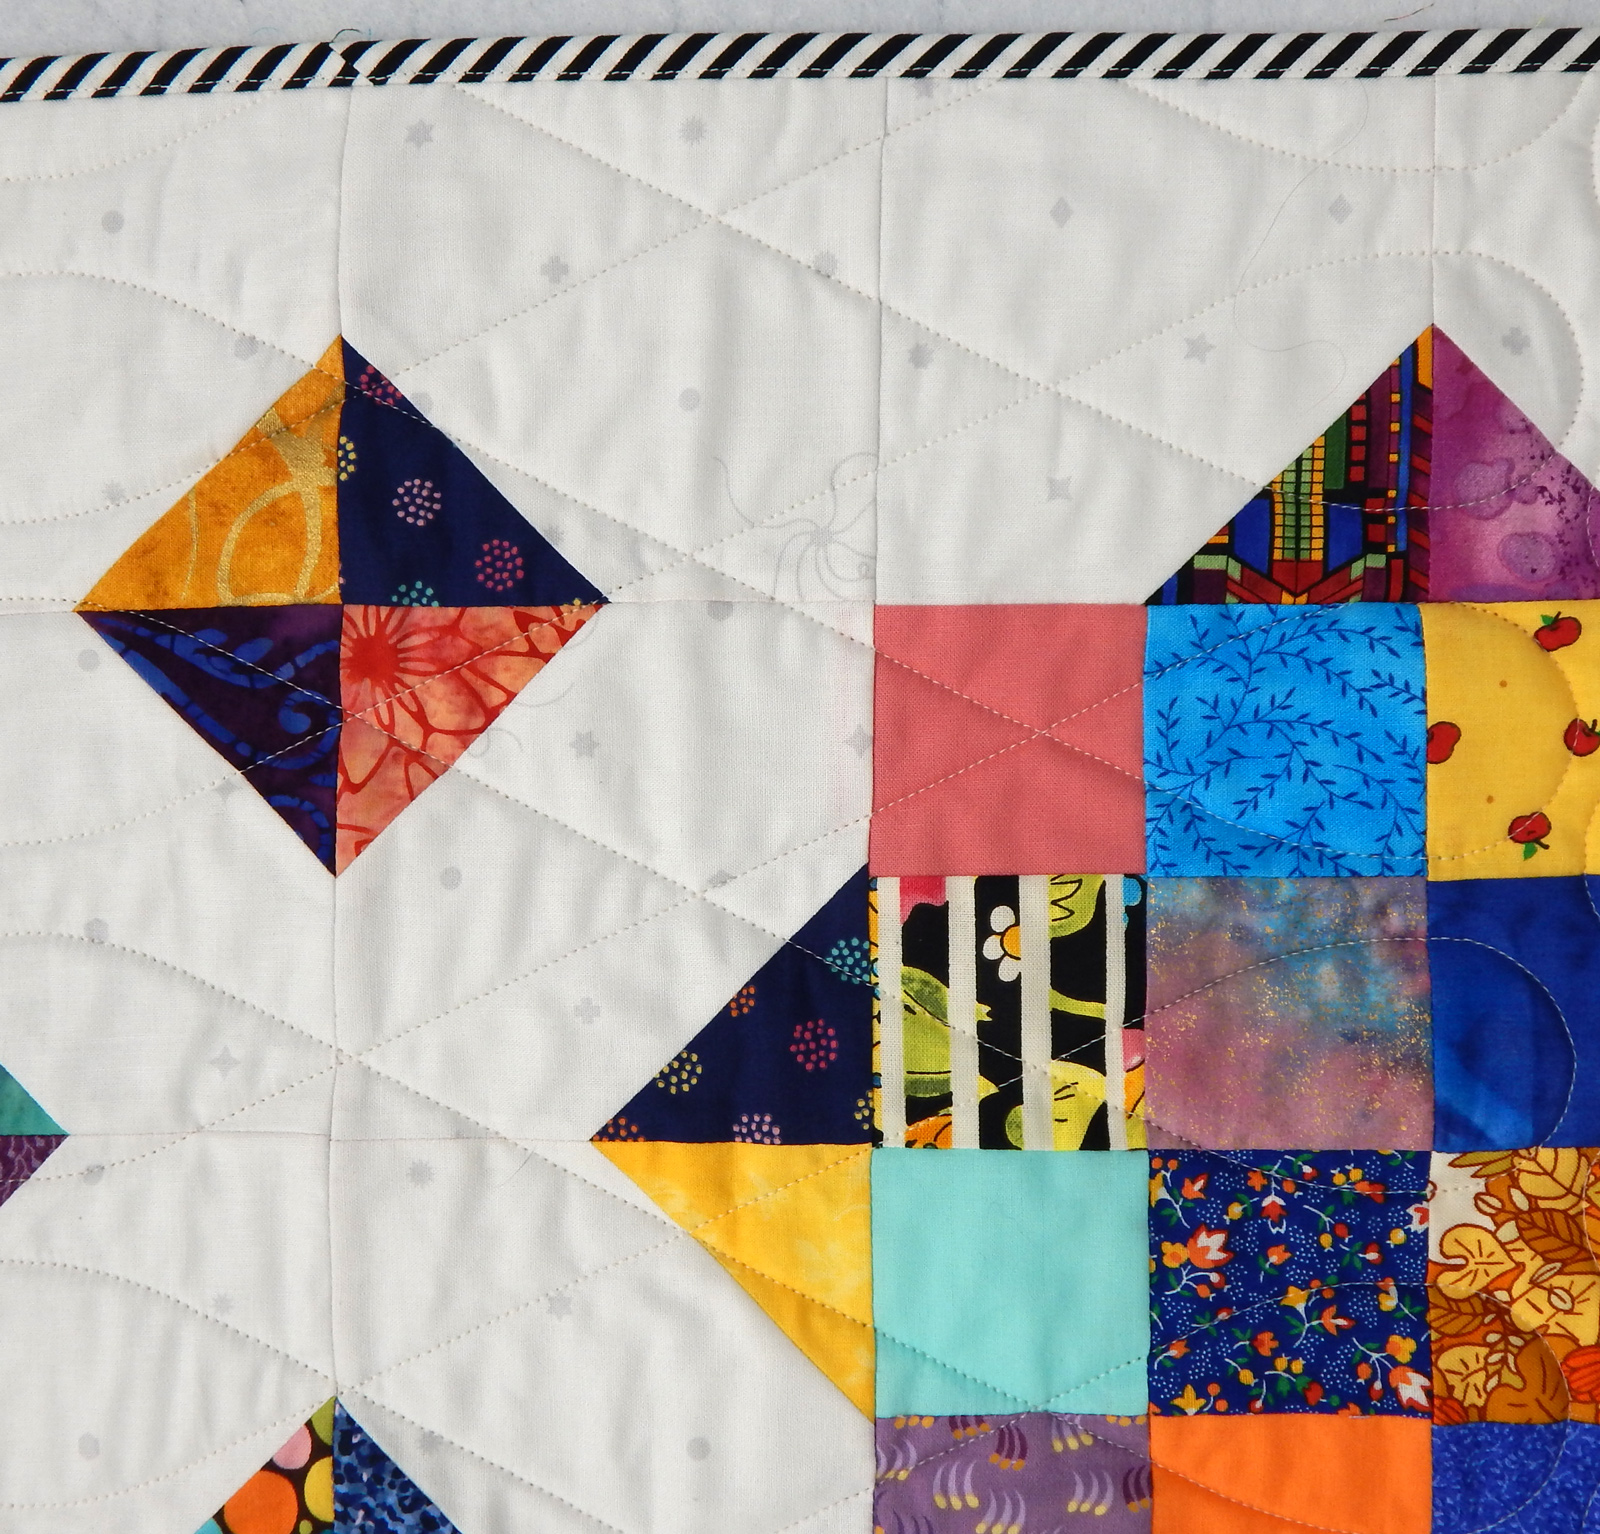
First, a view of the back of one of my blocks made with the polyester “paper”.

You probably can see that I’ve torn off a tiny bit of the non-paper in the upper right corner. I did that just to prove I could. So if you really, really want to, you can remove the foundation. (But why?)

I found a similar non-woven foundation sold by June Tailor. Linda’s are available through her website at 25 sheets for $10–considerably less expensive than the dissolving paper I reviewed last week. I found the June Tailor on Amazon at 50 sheets for about $17, an even better value.

Both these products are just a little stiff. It makes them run through the printer well and they are see-through enough to be easy to trace on.

I washed scraps of each. They didn’t appear to absorb water, and there was no change in texture, no loss of either ink from my printer or from the Pigma pen. The material came out exactly as it went in, with the exception that the washer wadded it up a bit, resulting in wrinkles.

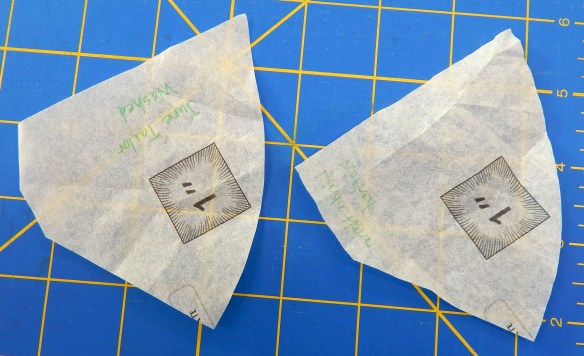
I washed the pieces with the 1″ test squares on them so I could verify no shrinkage, and it’s good on that score as well.

I searched to see if I could find a similar product in larger sheets, but the only candidate, Pellon 911, seemed heavier and stiffer.

The only potential problem with these polyester sheets is that they do crackle a little if you crunch them. I don’t think they’ll do that when they’re sewn inside a quilt, but eventually I’ll find out. I’ll let you know.

And what of the original alternative, paper for paper piecing? There are lots of opinions out there. You can buy Carol Doak’s foundation paper, which seems to me to be the same as newsprint paper, which is cheaper by the ream.

Some people swear that ordinary printer paper tears off more cleanly.

And Elizabeth (OPQuilt.com) uses 17 lb Vellum. I didn’t know what Vellum is, so I asked Ms. Google. It’s “parchment” made from calf skin. I have seen it, and it’s lovely in texture and certainly transparent enough for tracing. I expect it tears out well, since Elizabeth goes to the trouble to find it. Her only complaint is that it’s difficult to find in quantity. Well, Elizabeth, I found I could order larger quantities from one of the big box office supply stores–for just under $100 a ream!!!

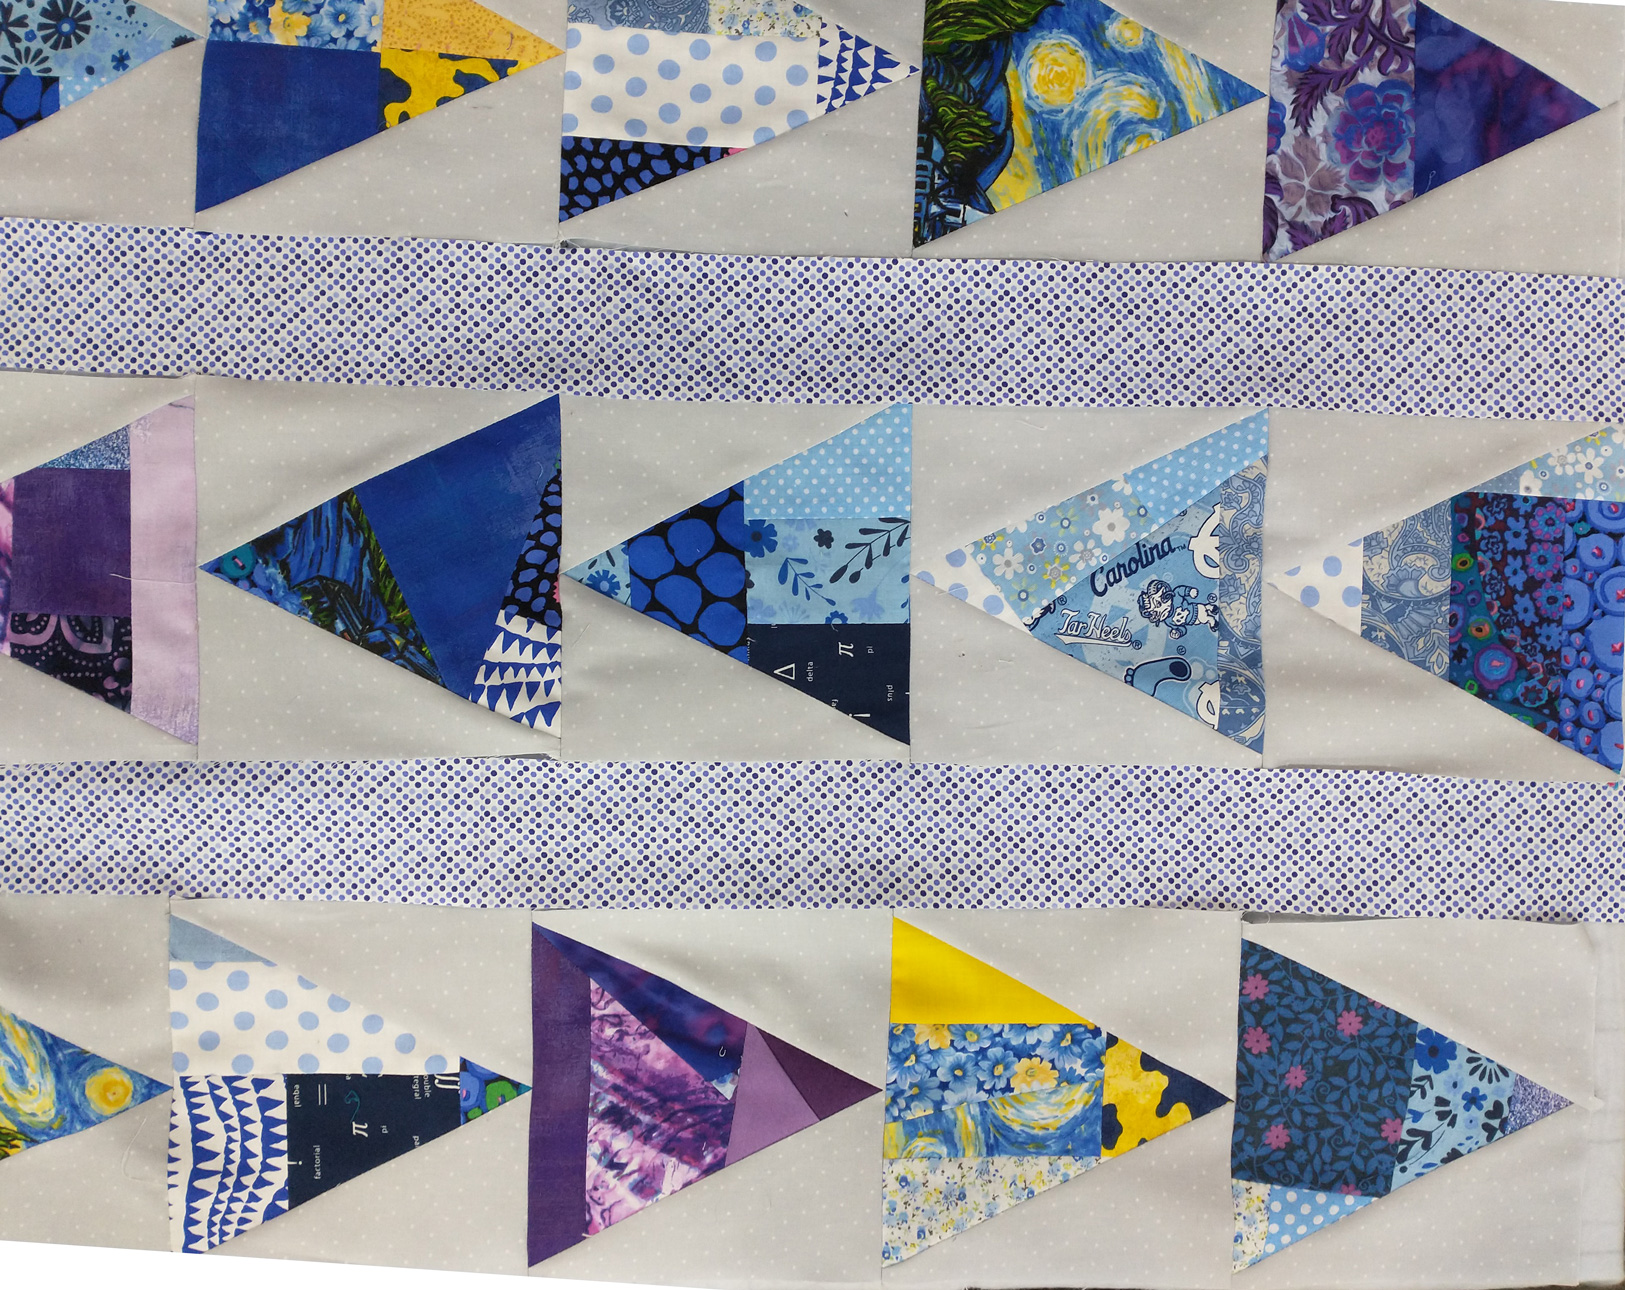
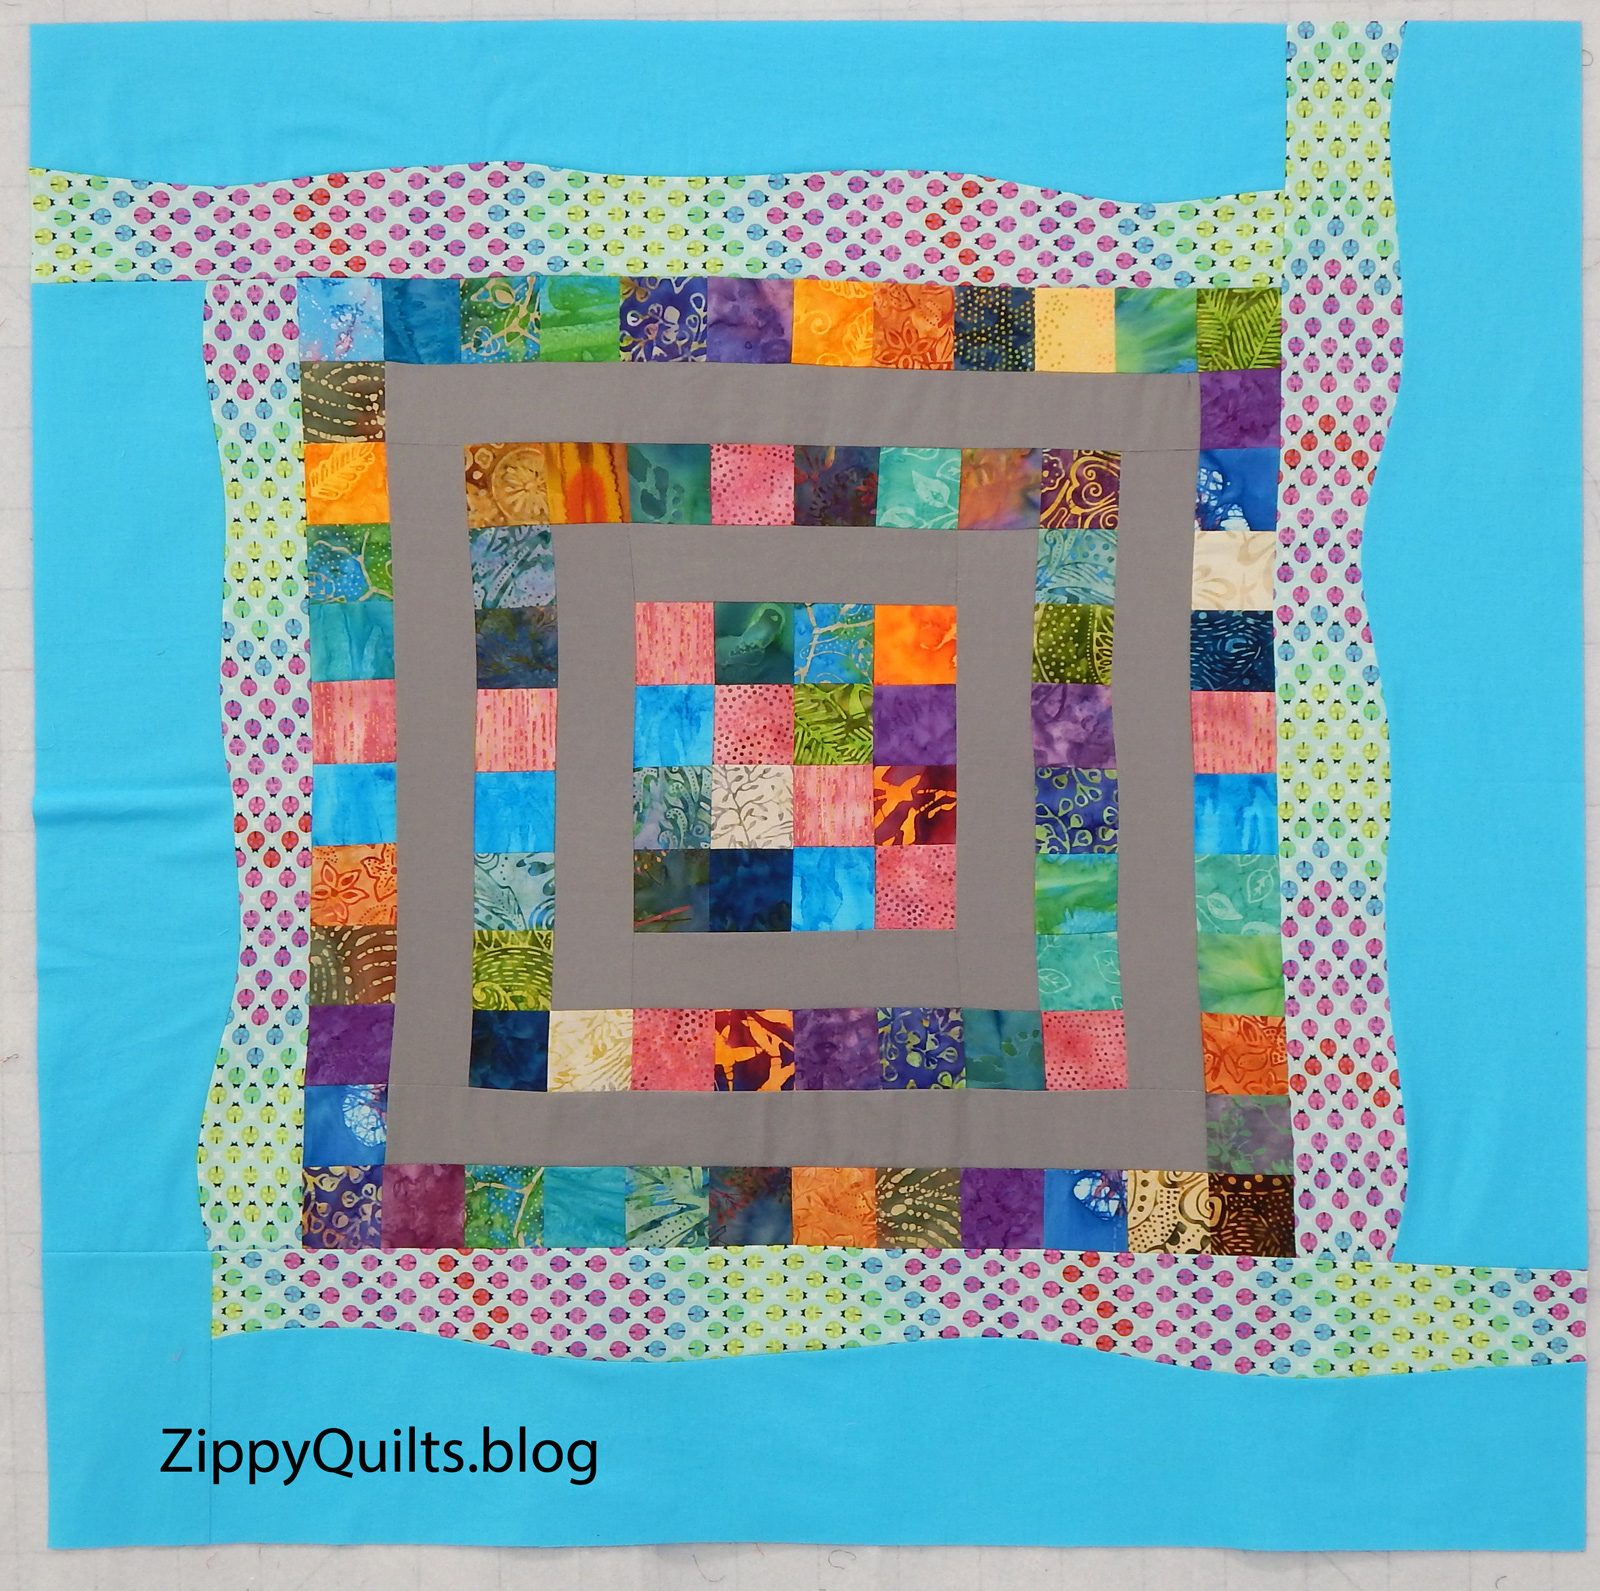
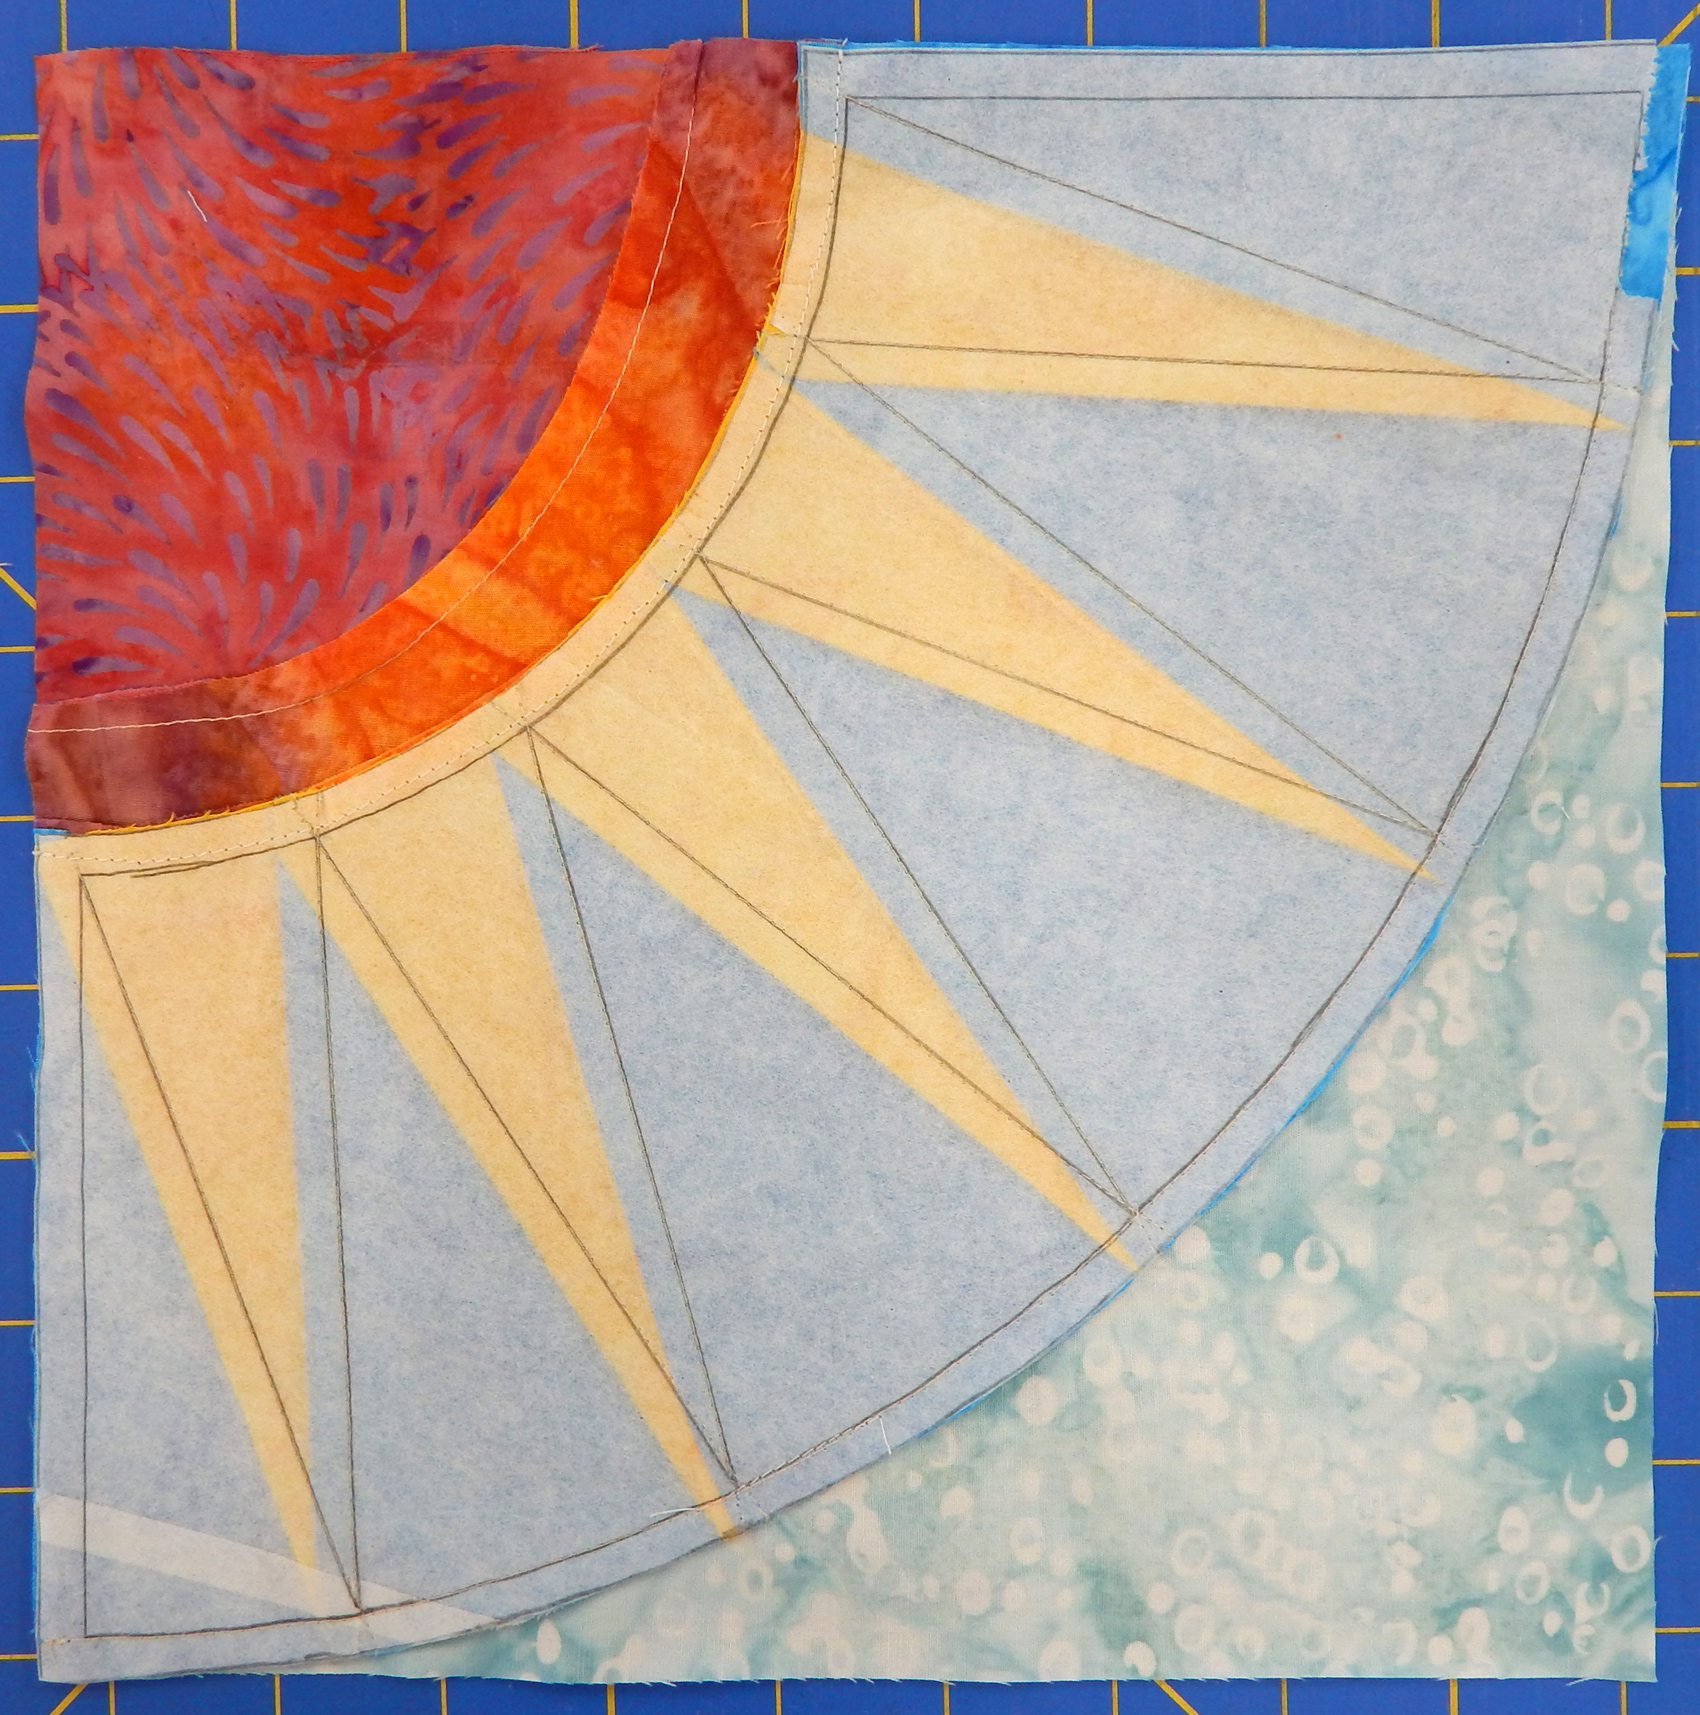
If you’re interested in the New York Beauty block, Elizabeth is continuing her series of free blocks, one each Wednesday in June. You can start at her blog or go directly to her Payhip store. But go now if you want the blocks, because I expect they’ll be combined into a paid pattern eventually.

I modified her latest block, but here’s my version: