I’m always on the lookout for ways to improve my binding (as well as my other quilting skills). Recently I ran across a video (YouTube, of course) showing how to use the Bernina #71 foot for binding. Here’s the link: https://www.youtube.com/watch?v=tpl-7L4SEzM
I have no idea who this woman is, but she’s using 2″ binding, which is my usual. I also use Quilter’s Dream Request Loft batting (the thinnest loft), which is part of why the narrower binding works.
After watching the video several times, I tried it out.
As you can see, the binding looks pretty good, and it’s still all done by machine. I achieved a more consistent width using this foot than with my usual method with the walking foot.
I did have some trouble with the corners, but I thought my binding was pretty good for a first try. (And no, I didn’t take a picture of a messy corner!)
Here’s the finished quilt, which is one of the samples for the beginning quilting class I’ll be teaching later this year.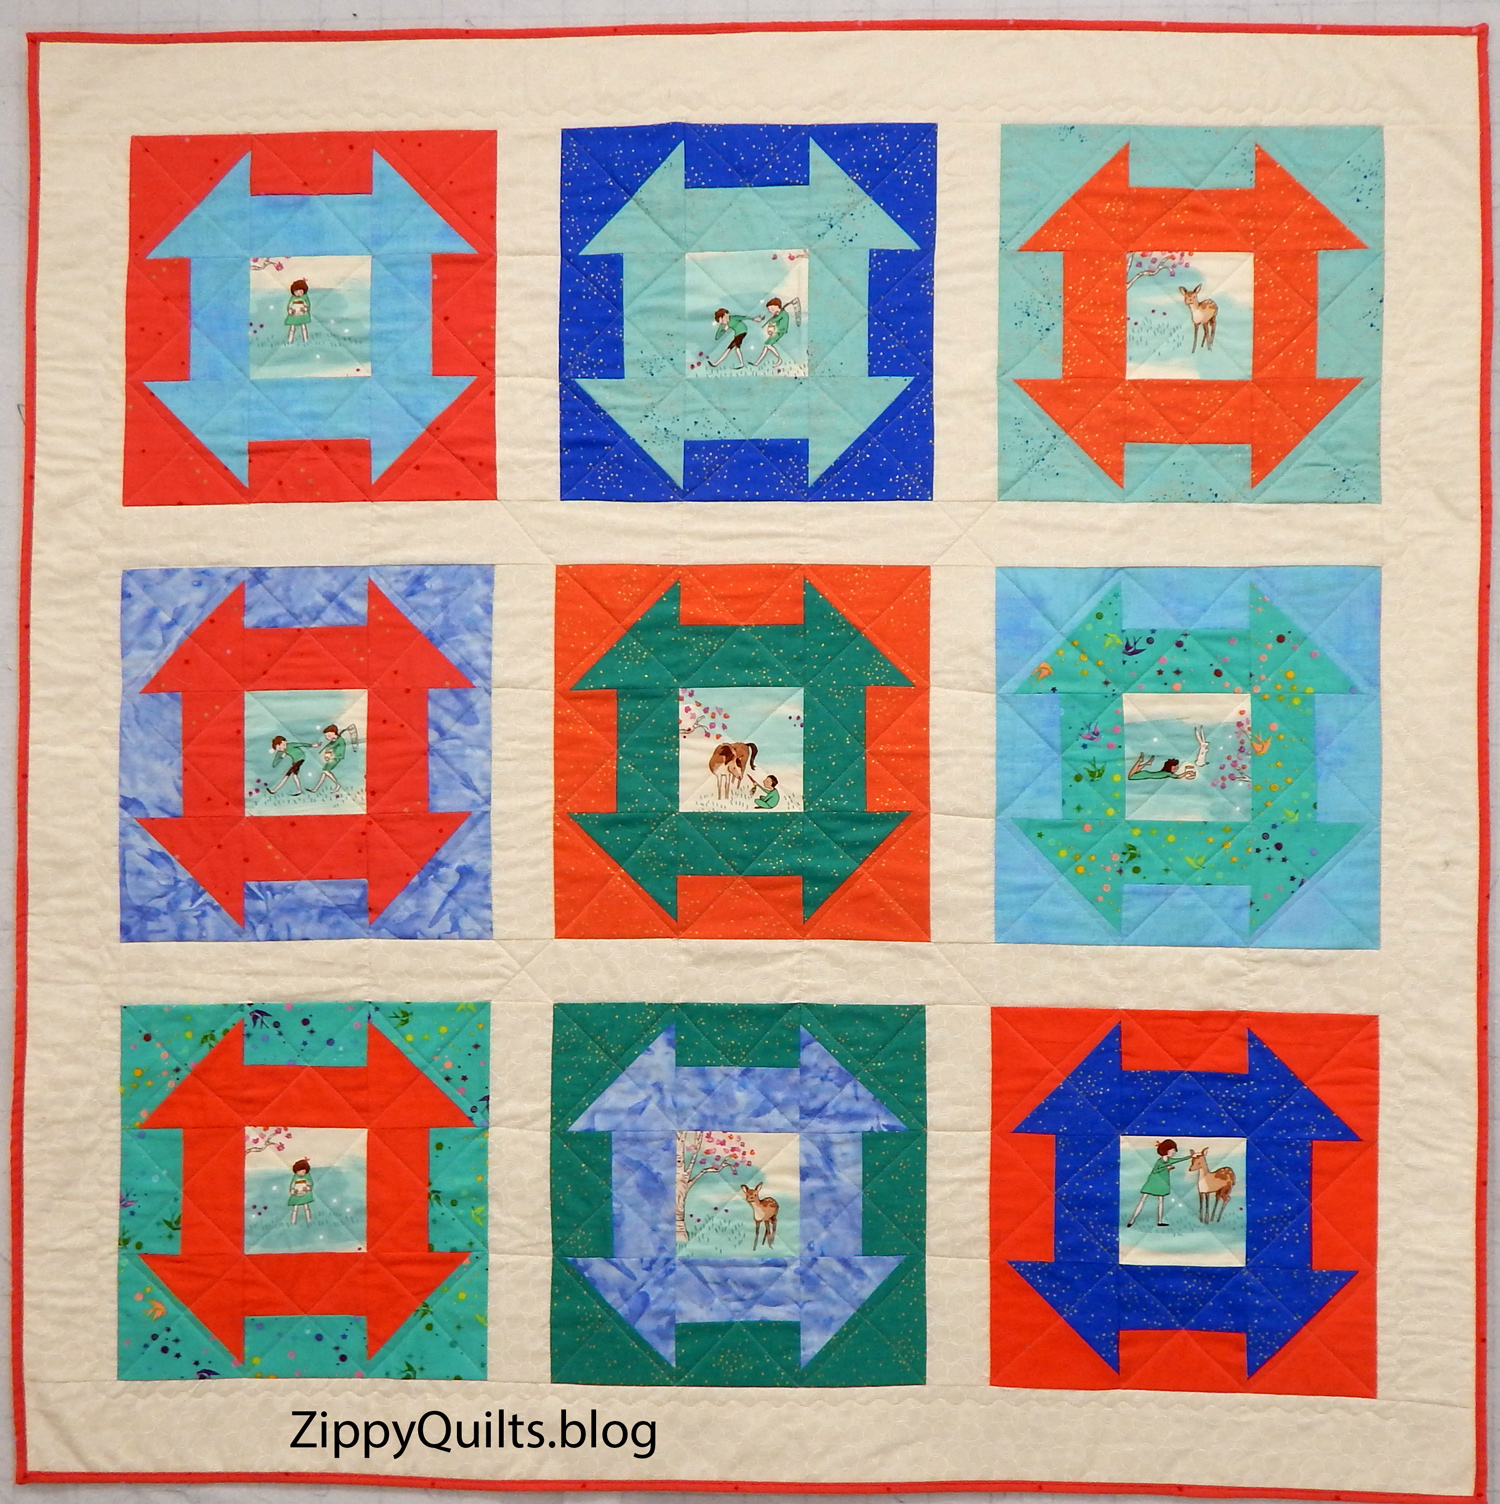 This is a pattern I modified from the book Jump Into Patchwork and Quilting. Specifically, I re-drafted it so the monkey wrenches are made with the flip-and-sew method rather than with half square triangles. This floats the wrenches so beginners will be less likely to cut off a point.

Photo courtesy of C&T
I’ll be using the book as a text for the class so students will have a written reference at home. The book is bright and modern and I think it will appeal.
It also has some easy projects students will be able to do on their own. This book costs only a bit more than a pattern, so it’s a good value. (The book is available from Studio Stitch or C&T.)
I’ll be making another sample before offering the class. Meanwhile, here’s the information on this one.
Quilt Stats:
Name: Making Waves Modified
Source: I re-drafted a pattern from the book Jump Into Patchwork and Quilting
Finished size: 48″ x 48″
Made and quilted by me.


Thanks for the video link. Oh how I love a good YouTube tutorial! Have to check if I have a #71 foot to give this method a try, as I much prefer a more narrow binding.
Also, very interested in your stitch and flip method. In the past I’ve had issues with wonky flipped corners, especially when working with tiny pieces.
Great blog for Sunday morning coffee time; I greatly appreciate you!
Thanks for visiting and commenting. Have a happy Sunday!
I admire you for continuing to build your quiltmaking techniques repertoire. I’m afraid I’m stuck in my ways, and machine-sewn binding isn’t “perfect” enough for me. Though I’ve tried a machine-sewn edge, it just isn’t good enough. So, hand stitching it is! Sarah’s book looks good, and your modification of her pattern should appeal to students. I wish you well with your class!
Thank you. I also thought of your beginning quilting book! Is it still in print?
I clicked on the video, which lead to another video which lead to…well you know how that goes! My take away: 1) try out 2 in binding as it lends itself to the machine method more naturally (I usually cut 3 in strips for binding). You are certainly a busy stitcher, these days – that in itself is inspiring!
It’s so fun to find something new on the internet, isn’t it! I have no idea how I happened on that video.
Nice job on the new binding technique. Oh no, now another Bernina foot I am going to want someday! Thanks for the video link!
Yes, another Bernina foot, but I think it was worth it 🙂
That binding is very neat and I am impressed that it is done entirely by machine. Very clever of you to design floating monkey wrenches.
Thanks, Mariss 🙂