A friend and I went to a new class last week to learn to make little pincushions. Of course, I’ve made pincushions before, as I think most quilters have, We went to the class because we are interested in having the presenter come to our guild.
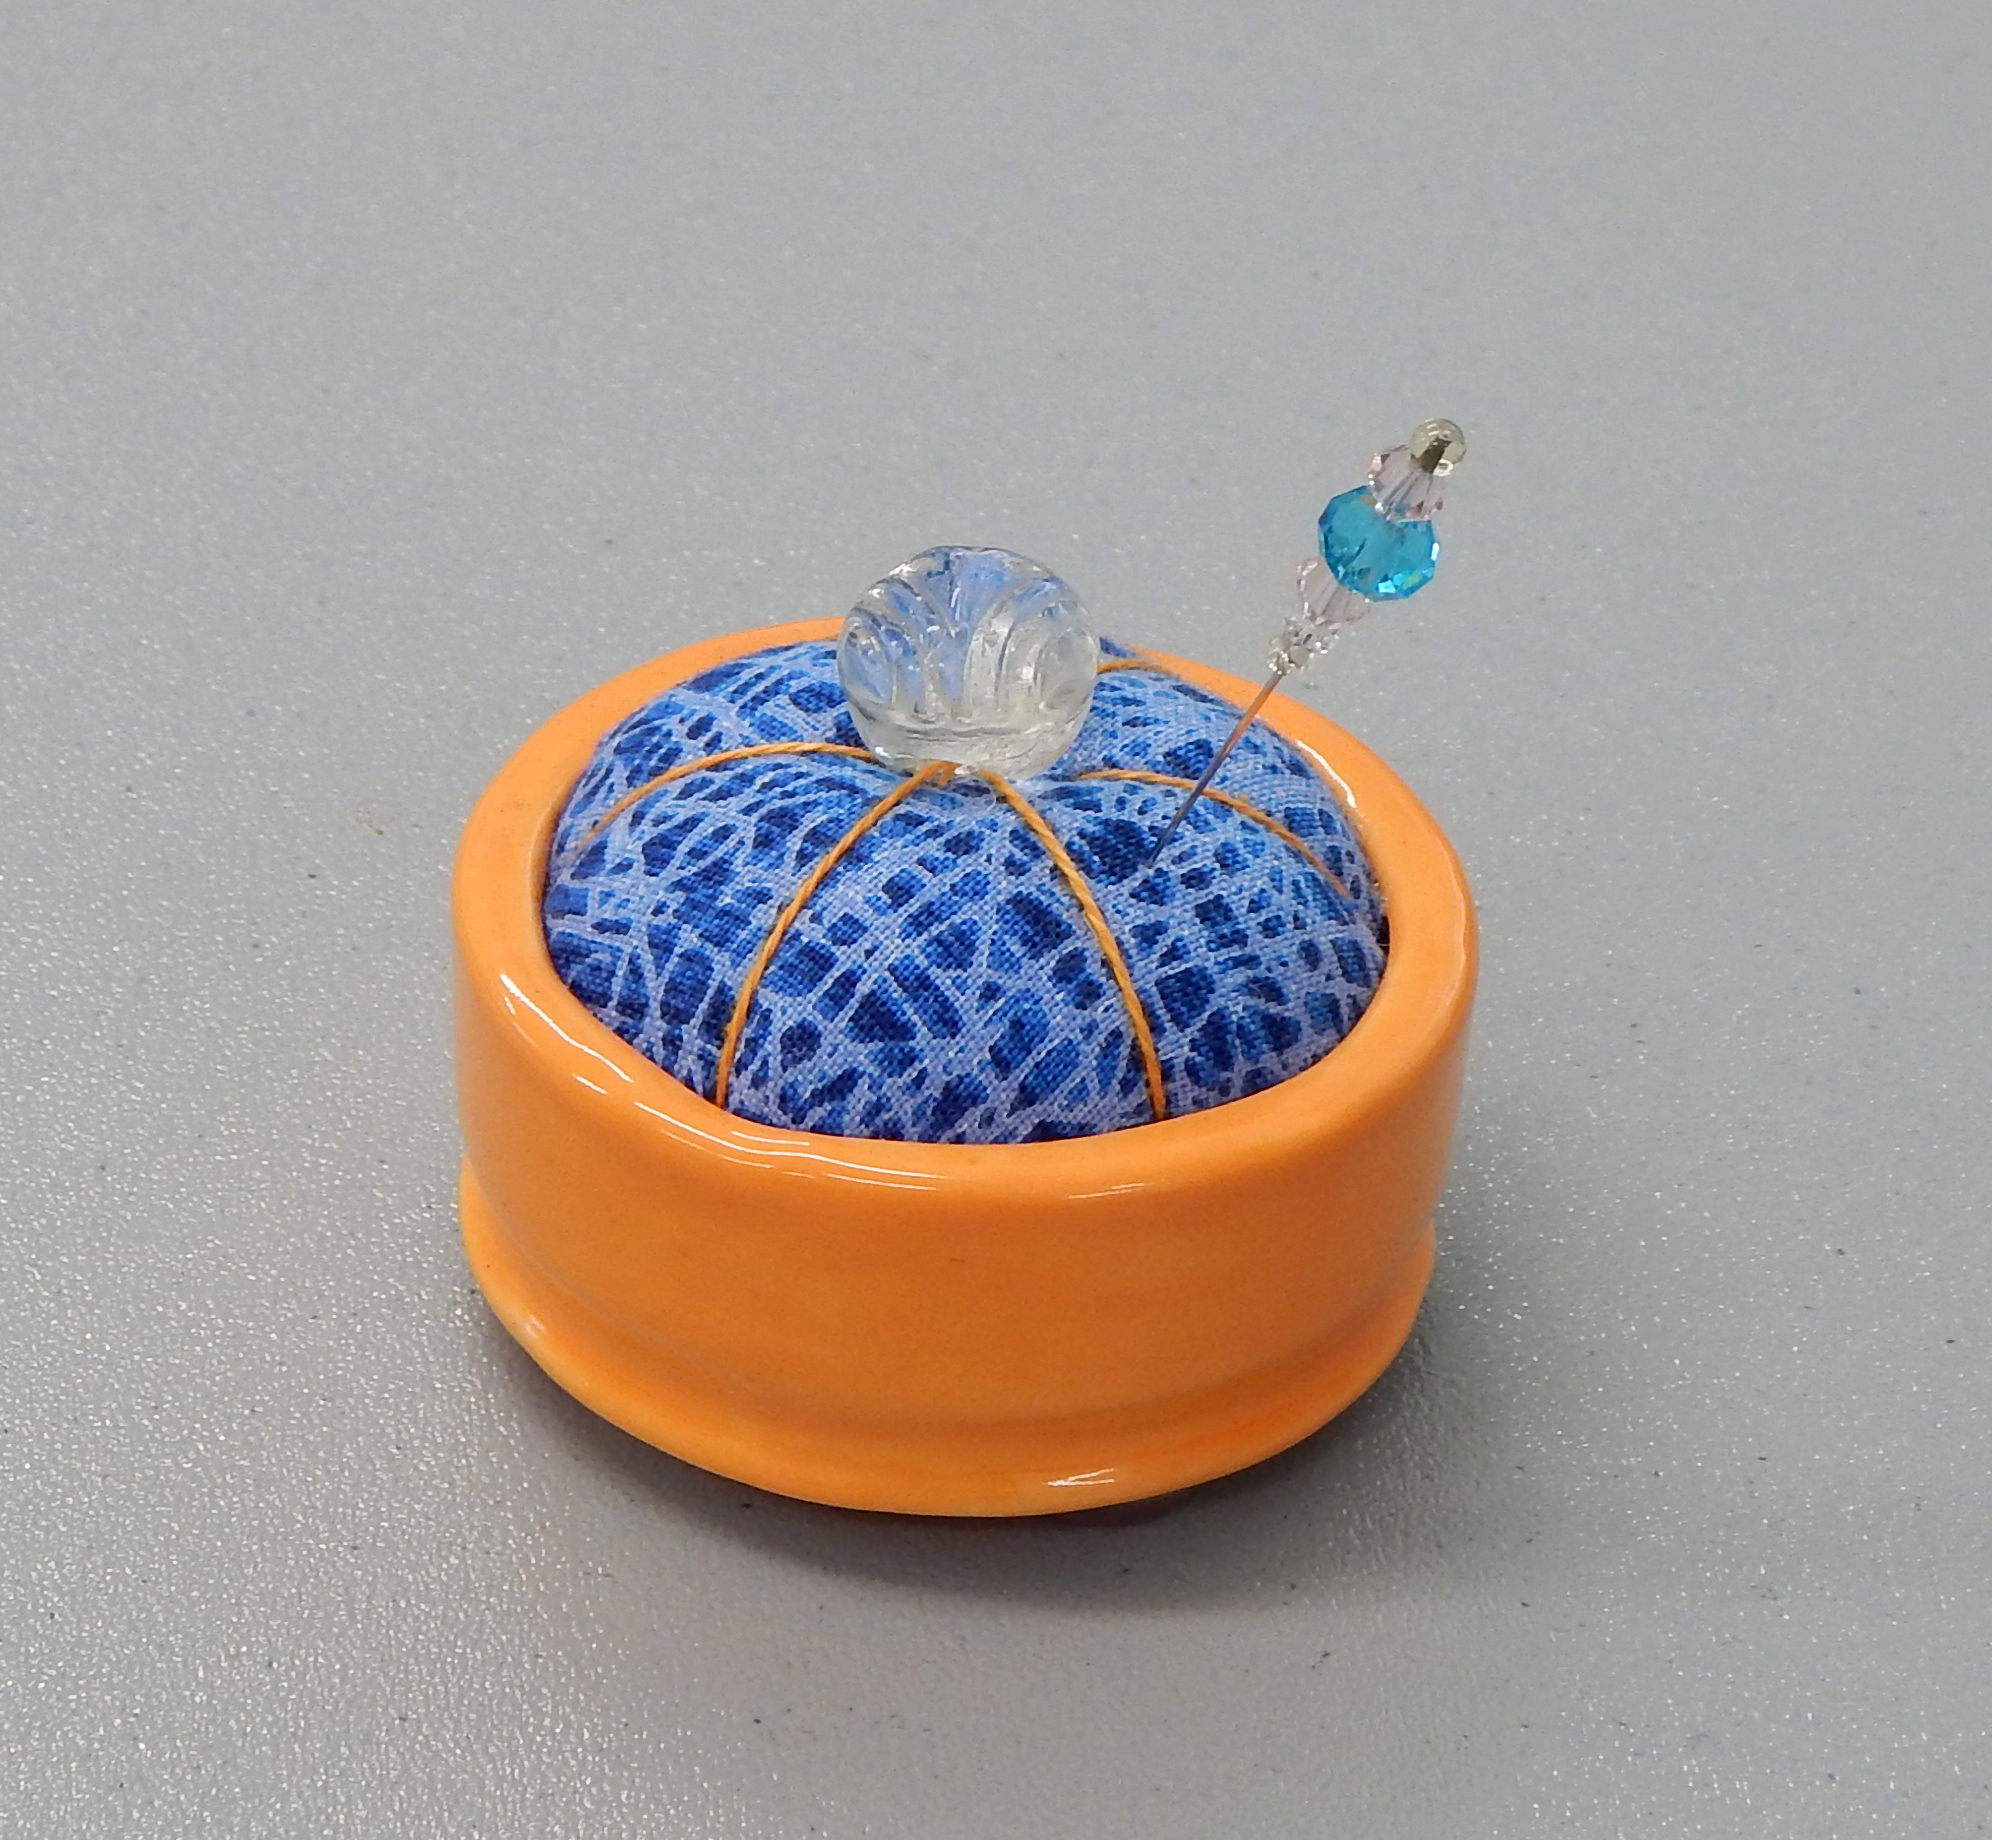
This is the pincushion I made in class
The class was held at Sew Much Fun in Lowell, near Charlotte, NC. My friend had told me it was a wonderful shop, and indeed it was.
Lesley Storts was the teacher. I’ve known of her for some time, but she used to be in Ohio and I only recently learned she had moved to North Carolina.

Lesley Storts
It looks like Lesley’s interest started with vintage glass and then she and her daughter got to making little pincushions in the vessels she collected.

Some of Lesley’s pincushions
Lesley did a great job of teaching to students with variable levels of experience. The class included someone who literally needed assistance threading a needle and others who had been sewing for years. Best of all, Lesley’s pincushion technique is totally different from mine, so I learned a lot!
And Lesley is really into this pincushion thing. In addition to her vintage vessels she has a potter make little bases especially for her pincushions. We enjoyed seeing her collection.
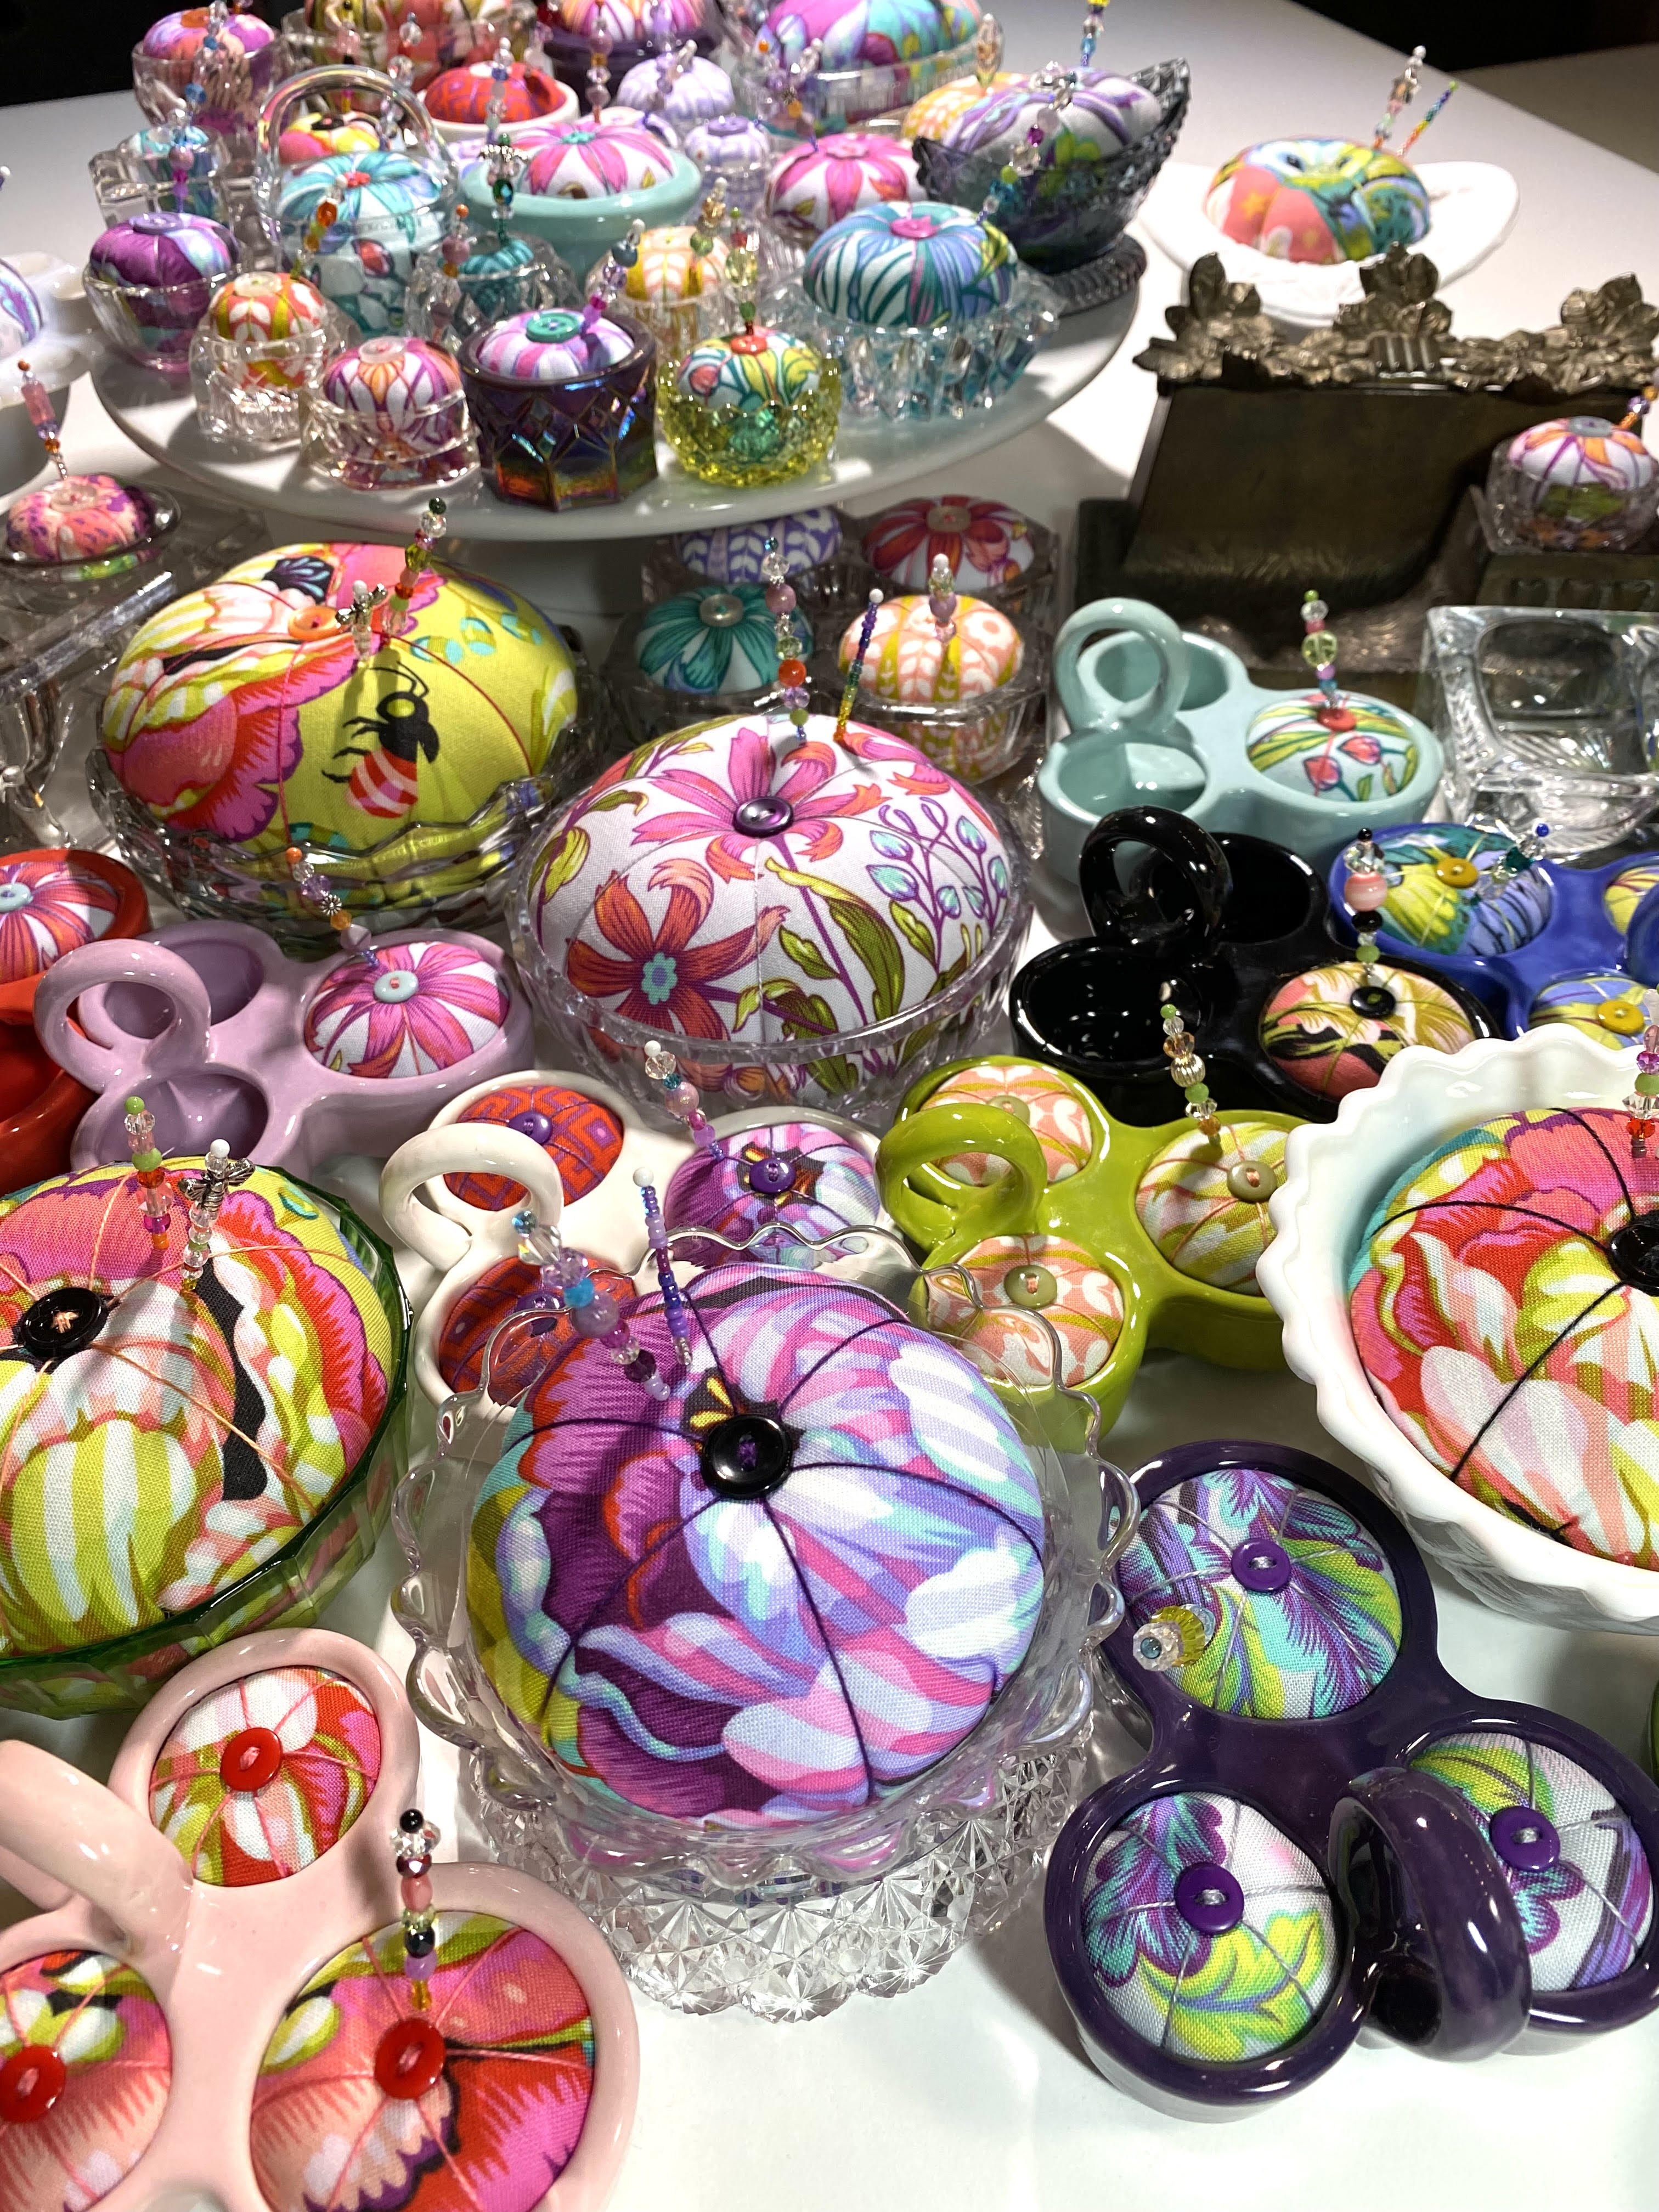
OK, Lesley is REALLY into little pincushions!
You can go to Lesley’s blog and see a number of YouTubes of her techniques. Or, if you live near Charlotte, go take a class with her. My friend and I both enjoyed it!


