While at Mid-Atlantic Quiltfest (MAQF), I took a class with Meryl Ann Butler, who was teaching “Innovative Techniques for Wearables and Art Quilts”. You can see some of her work here–scroll down past the workshop (which has already started) to see some of her creations.
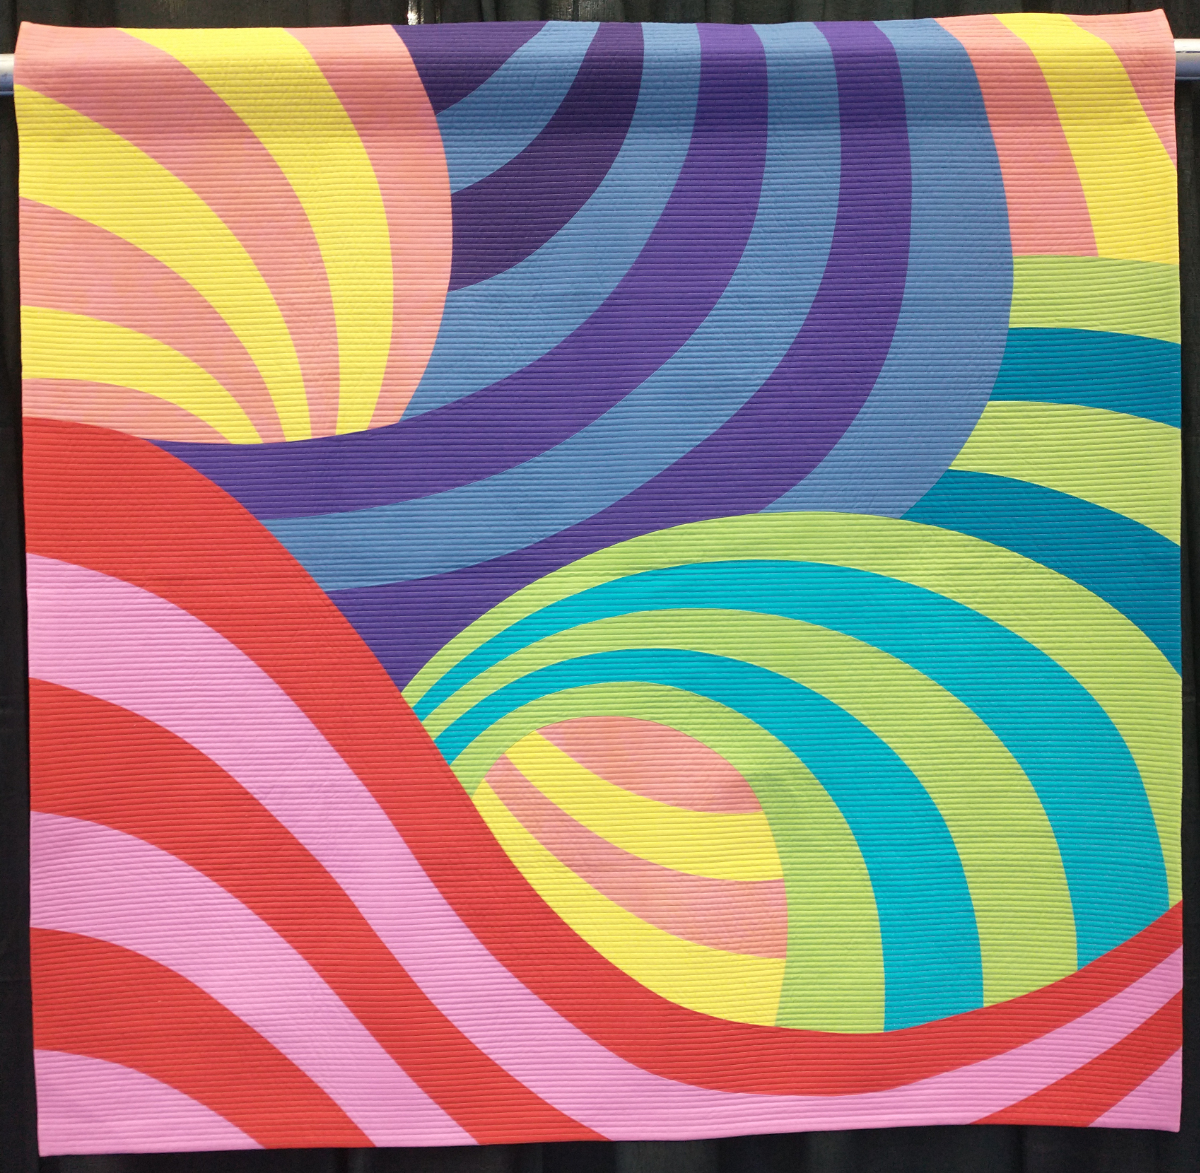
And here is a photo I took of her winning entry in the wearable category at MAQF. My picture doesn’t do it justice, but you get the idea.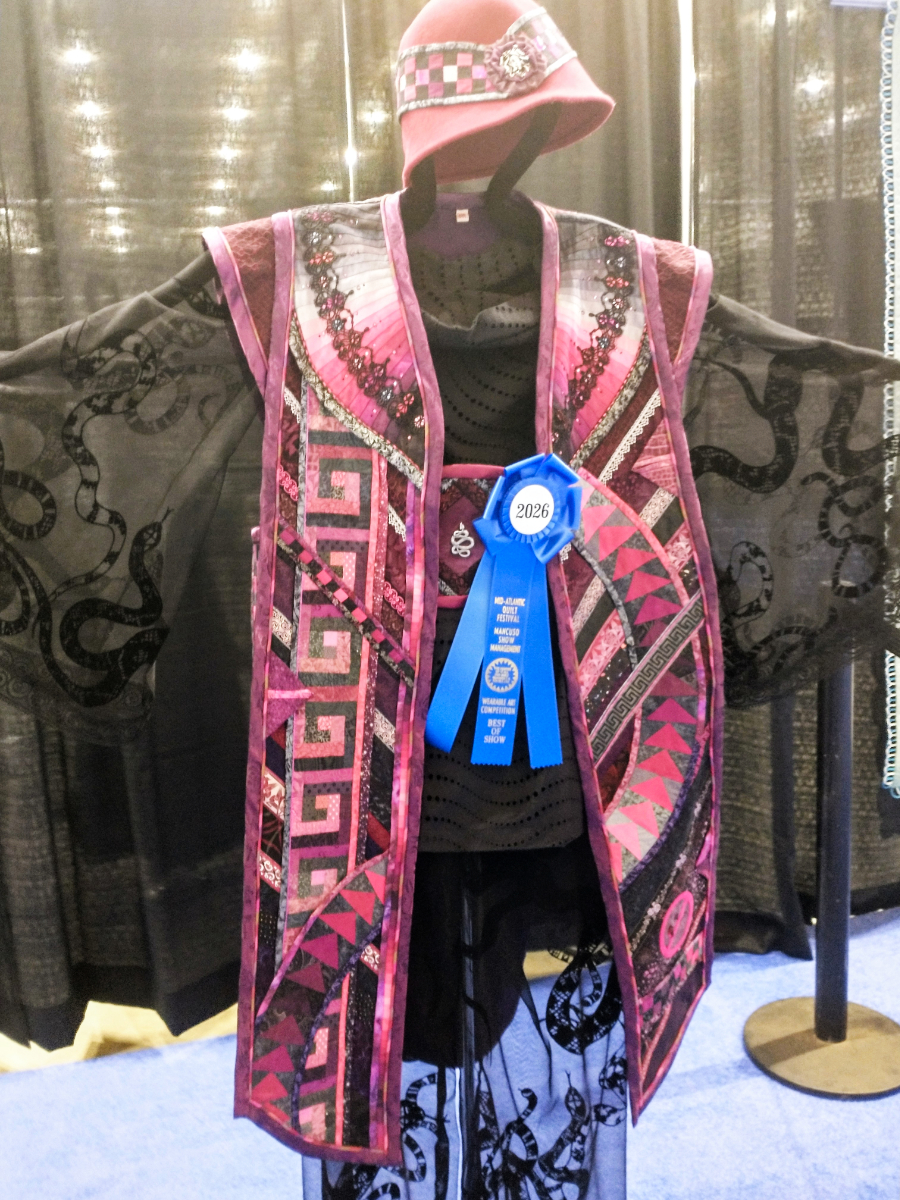
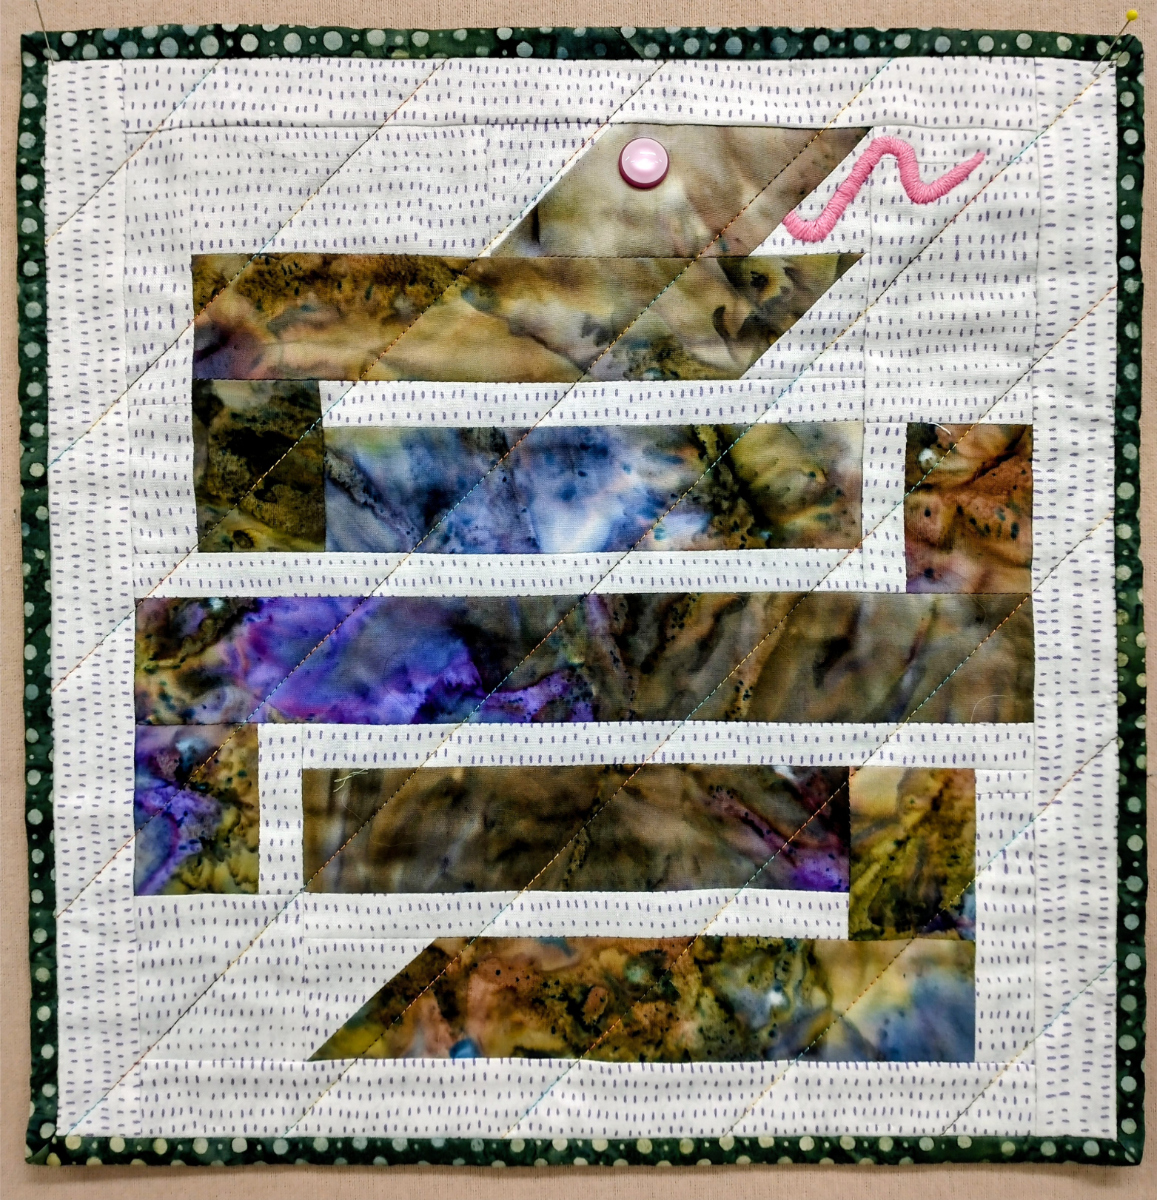
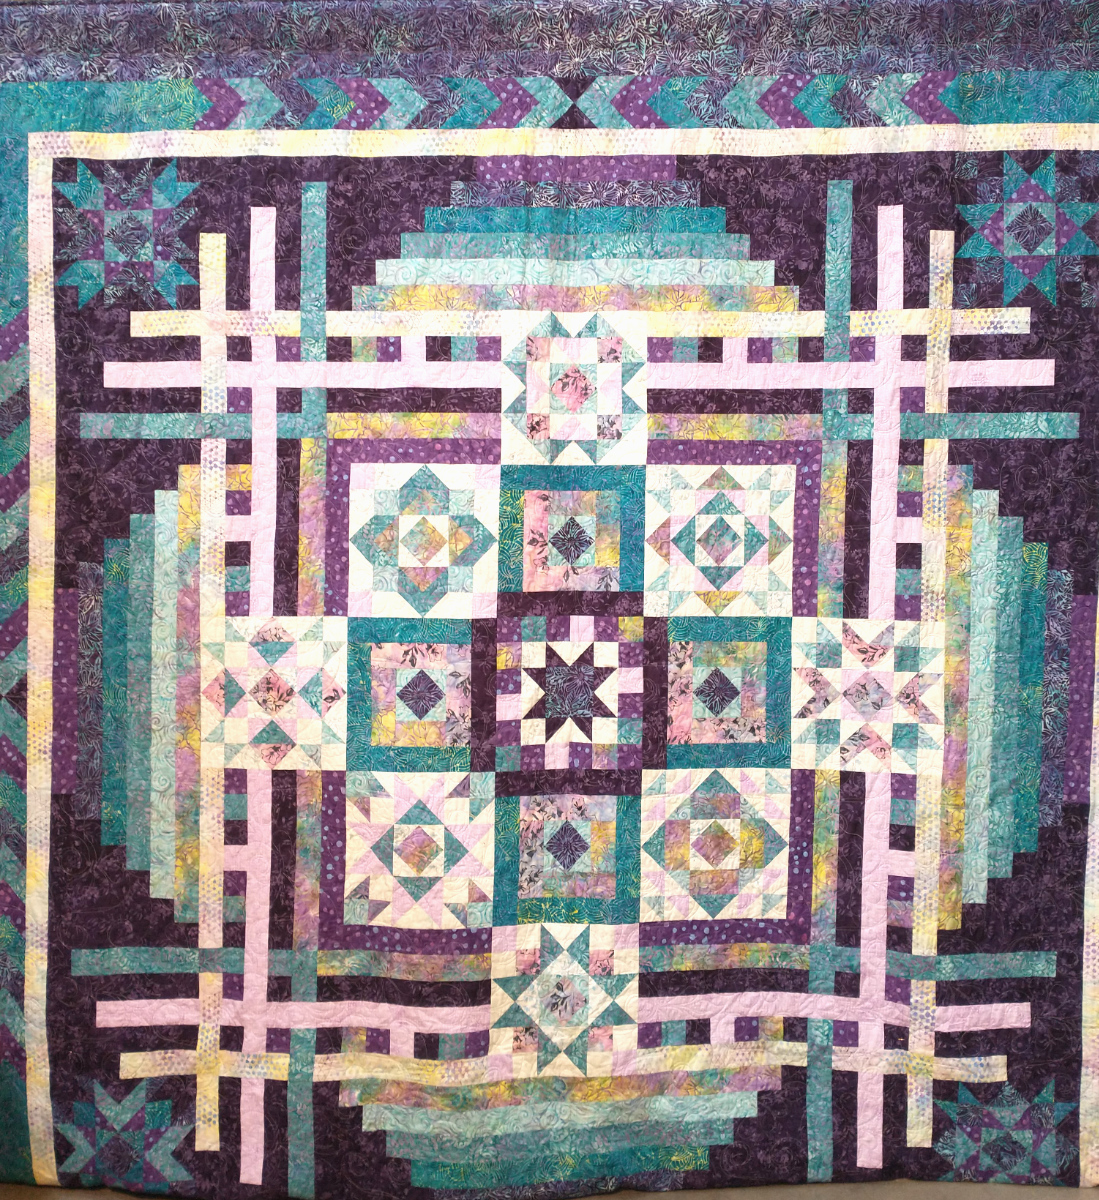
For detail, here are some pieces shown in her workshop. She has many beautiful techniques for embellishment. 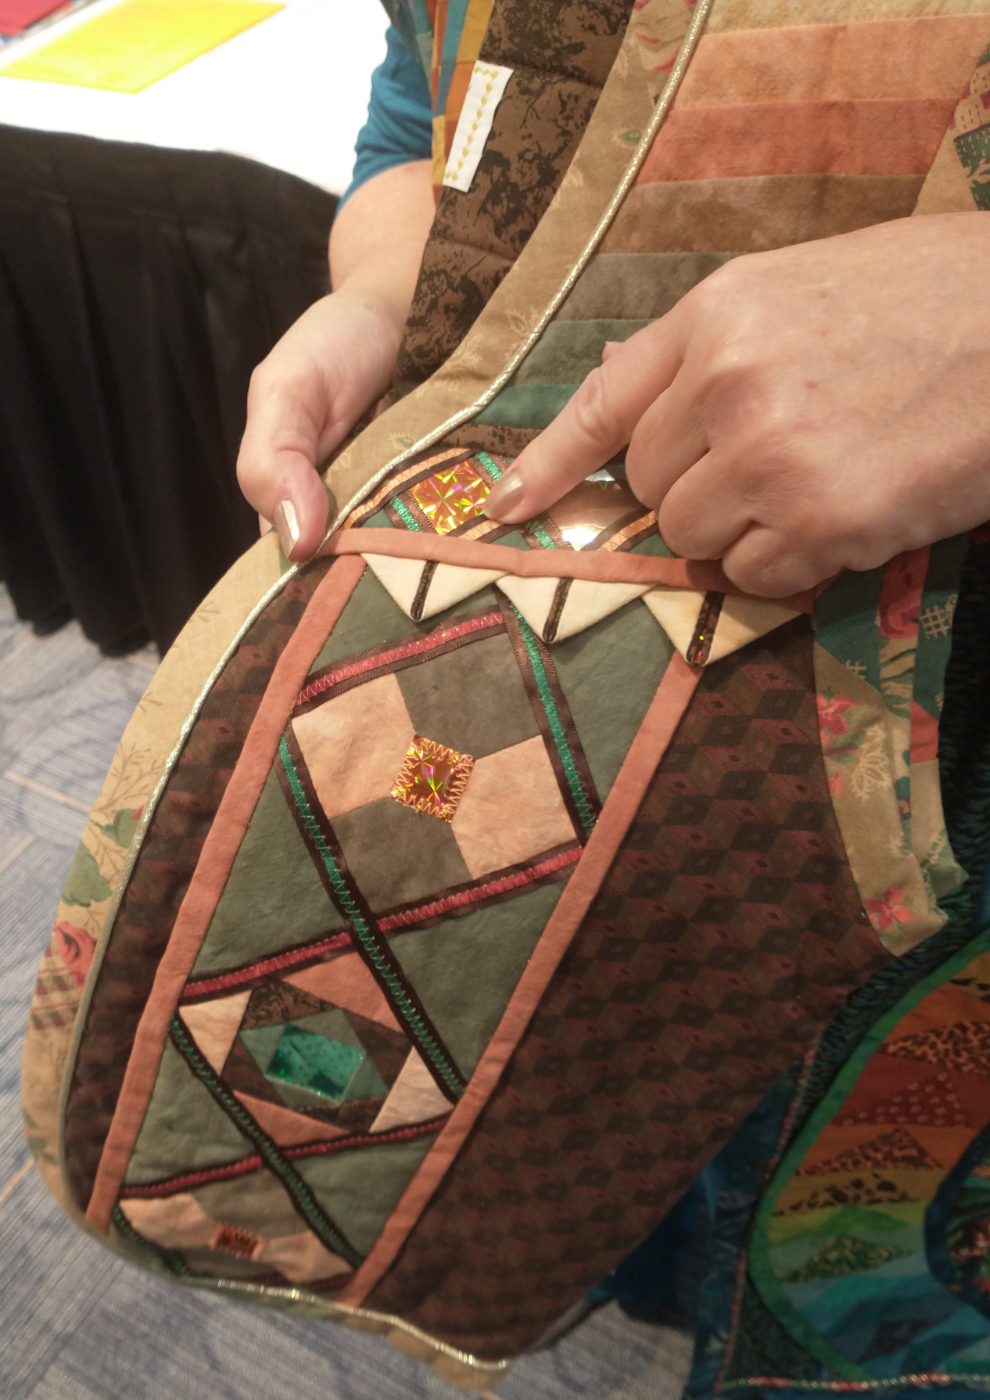
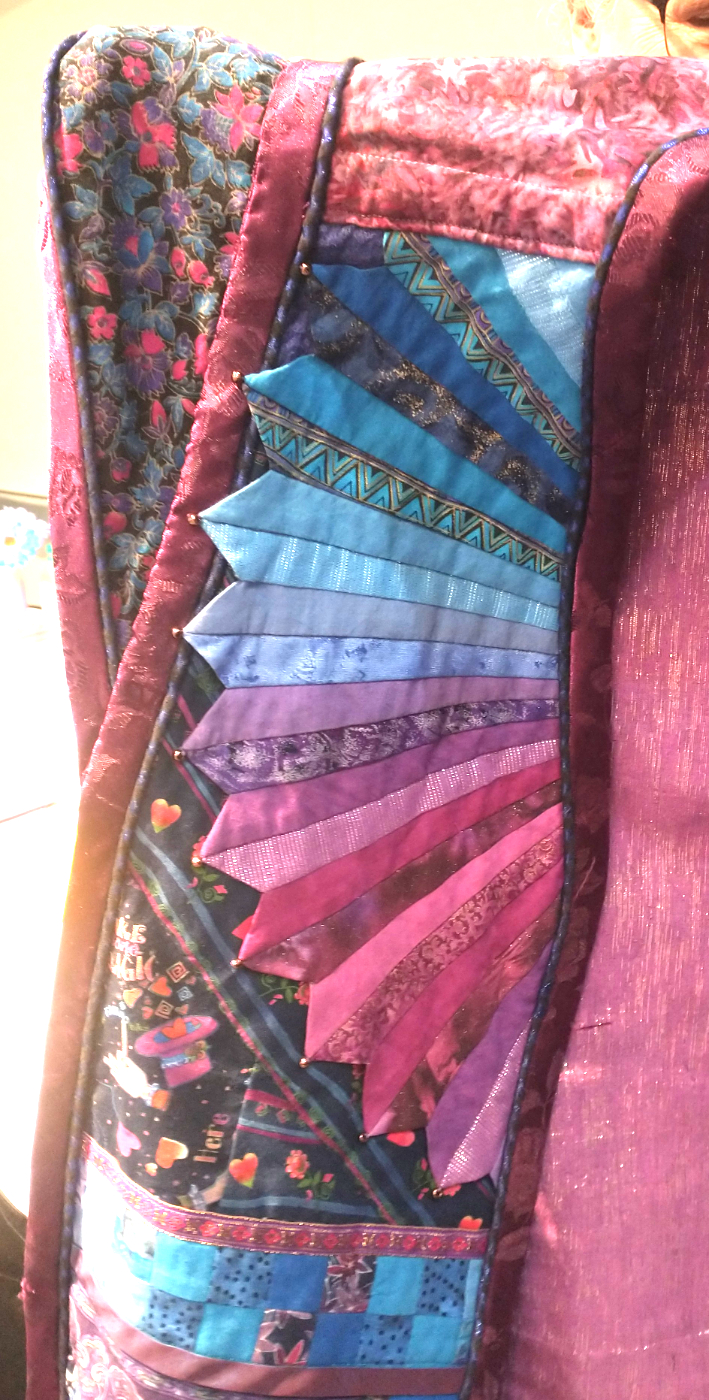
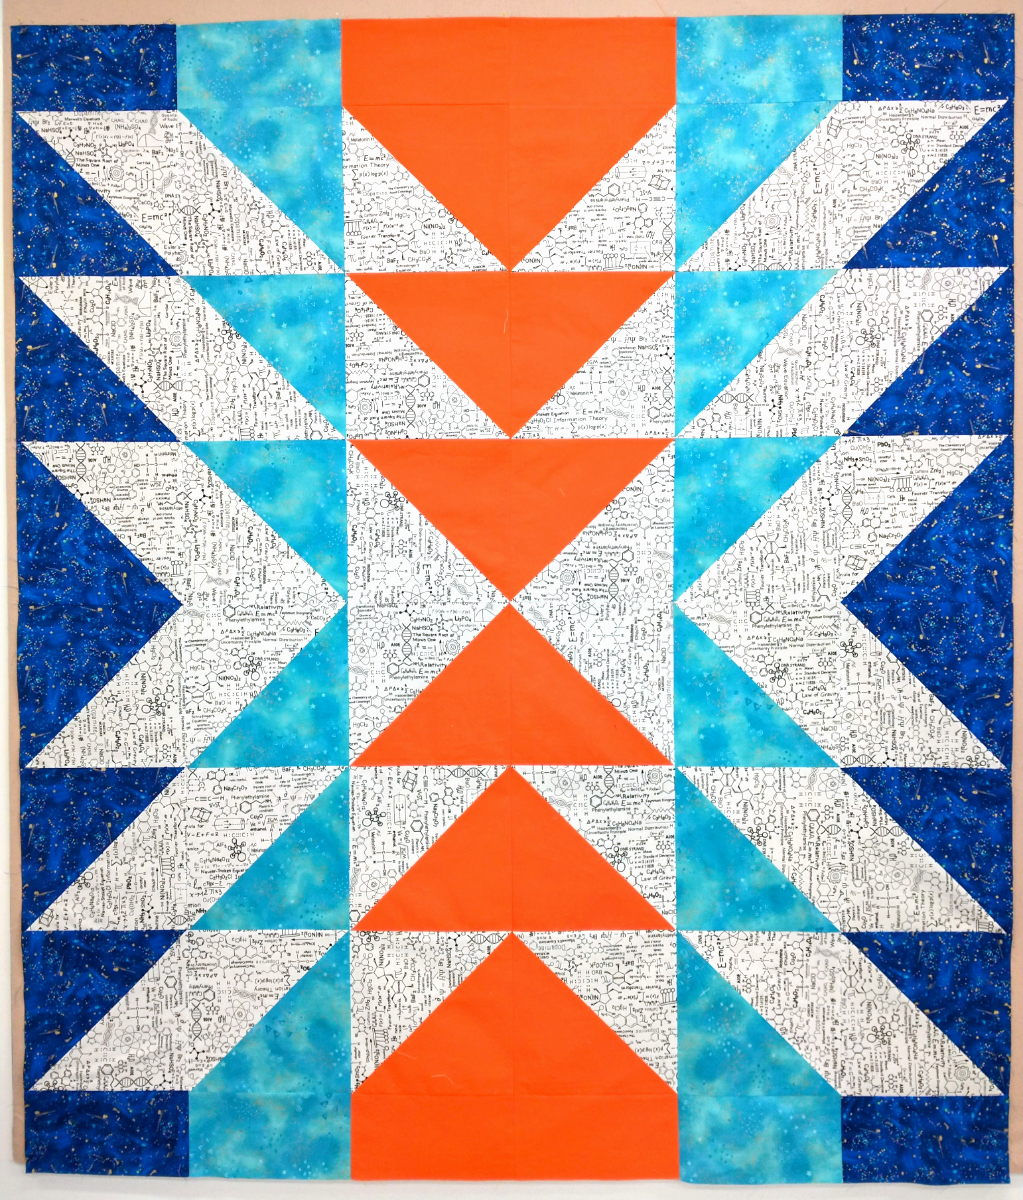
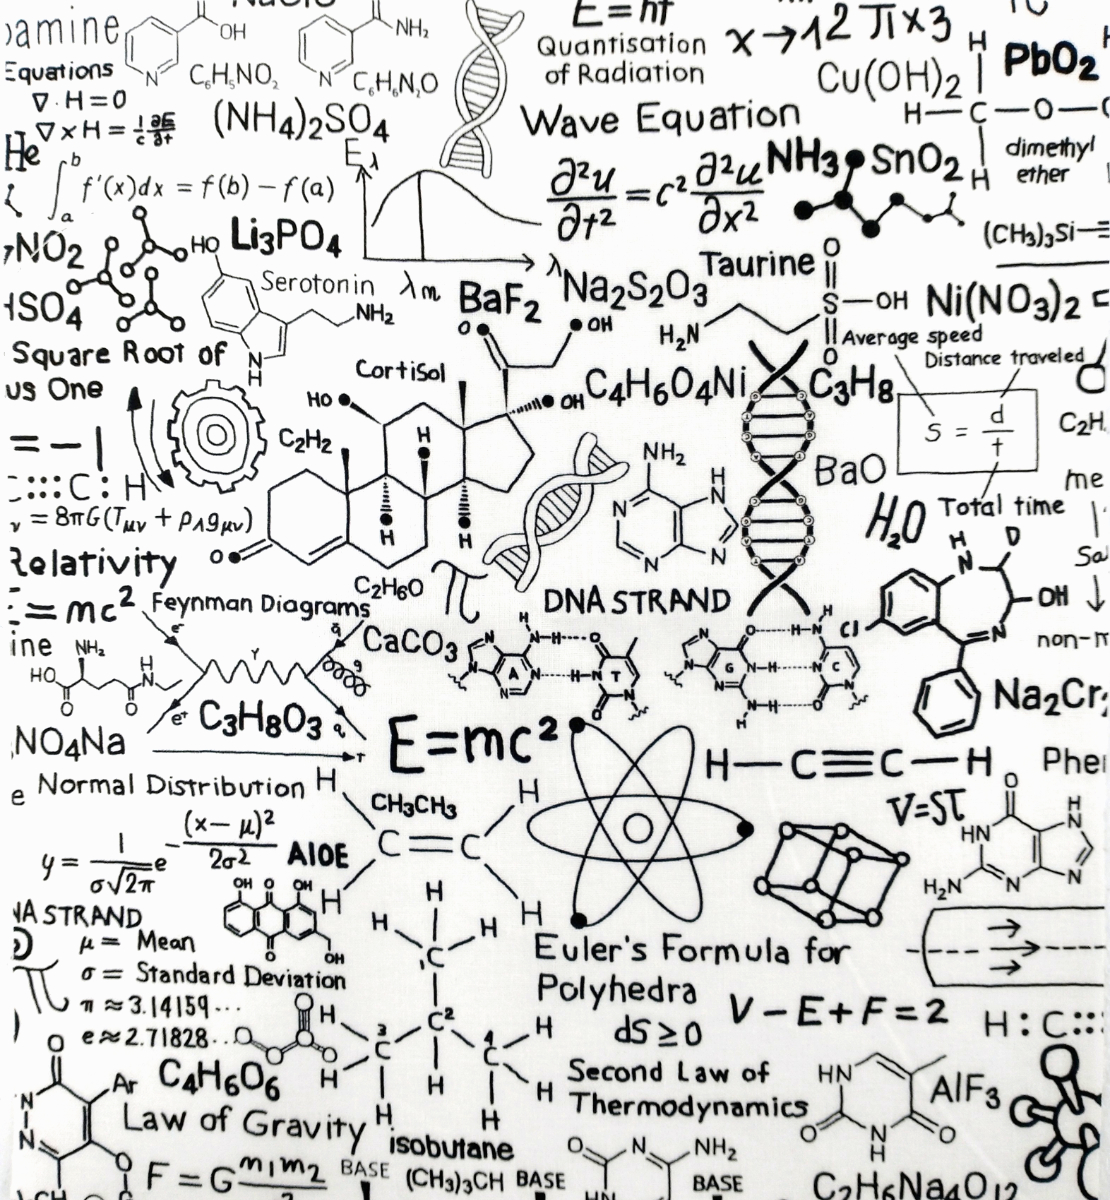
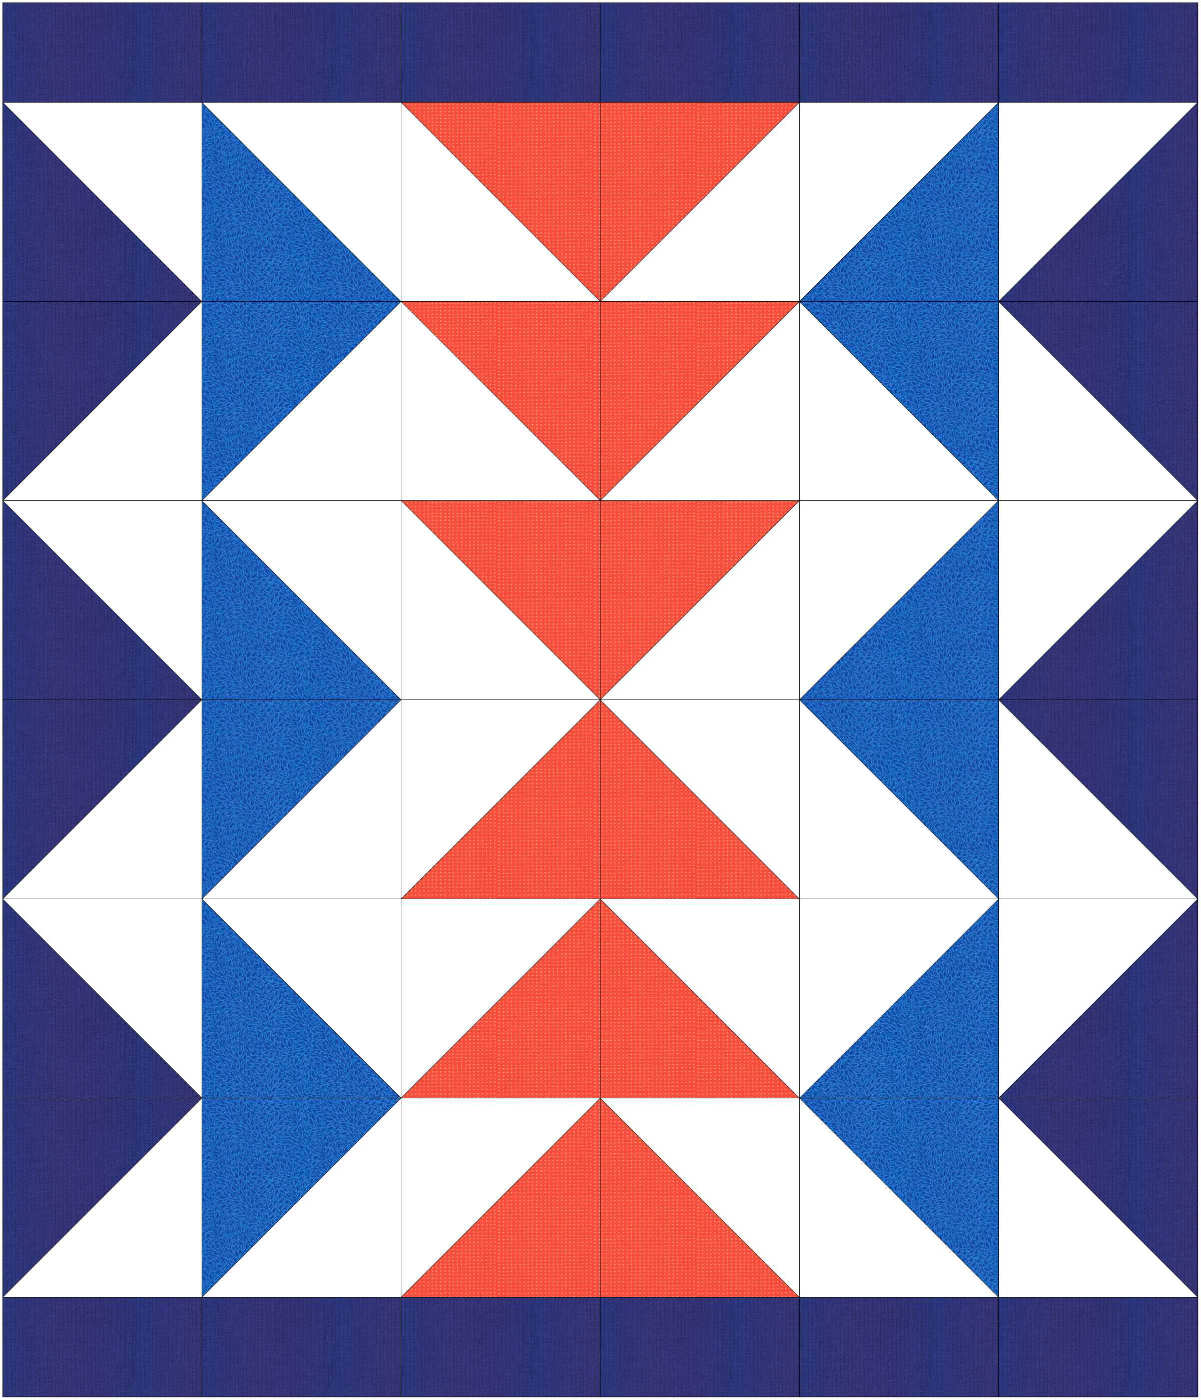
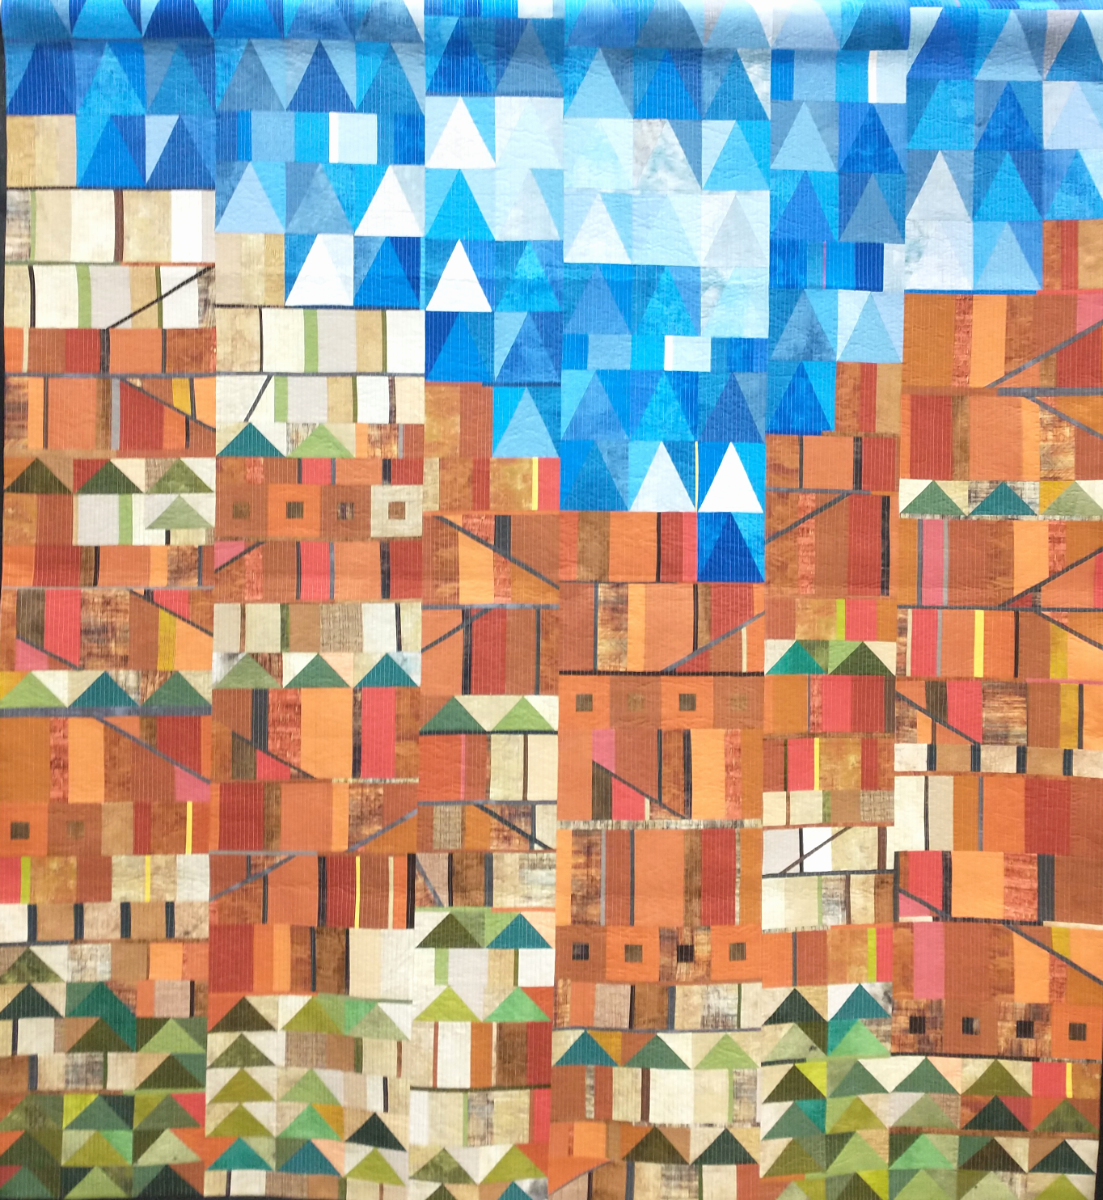
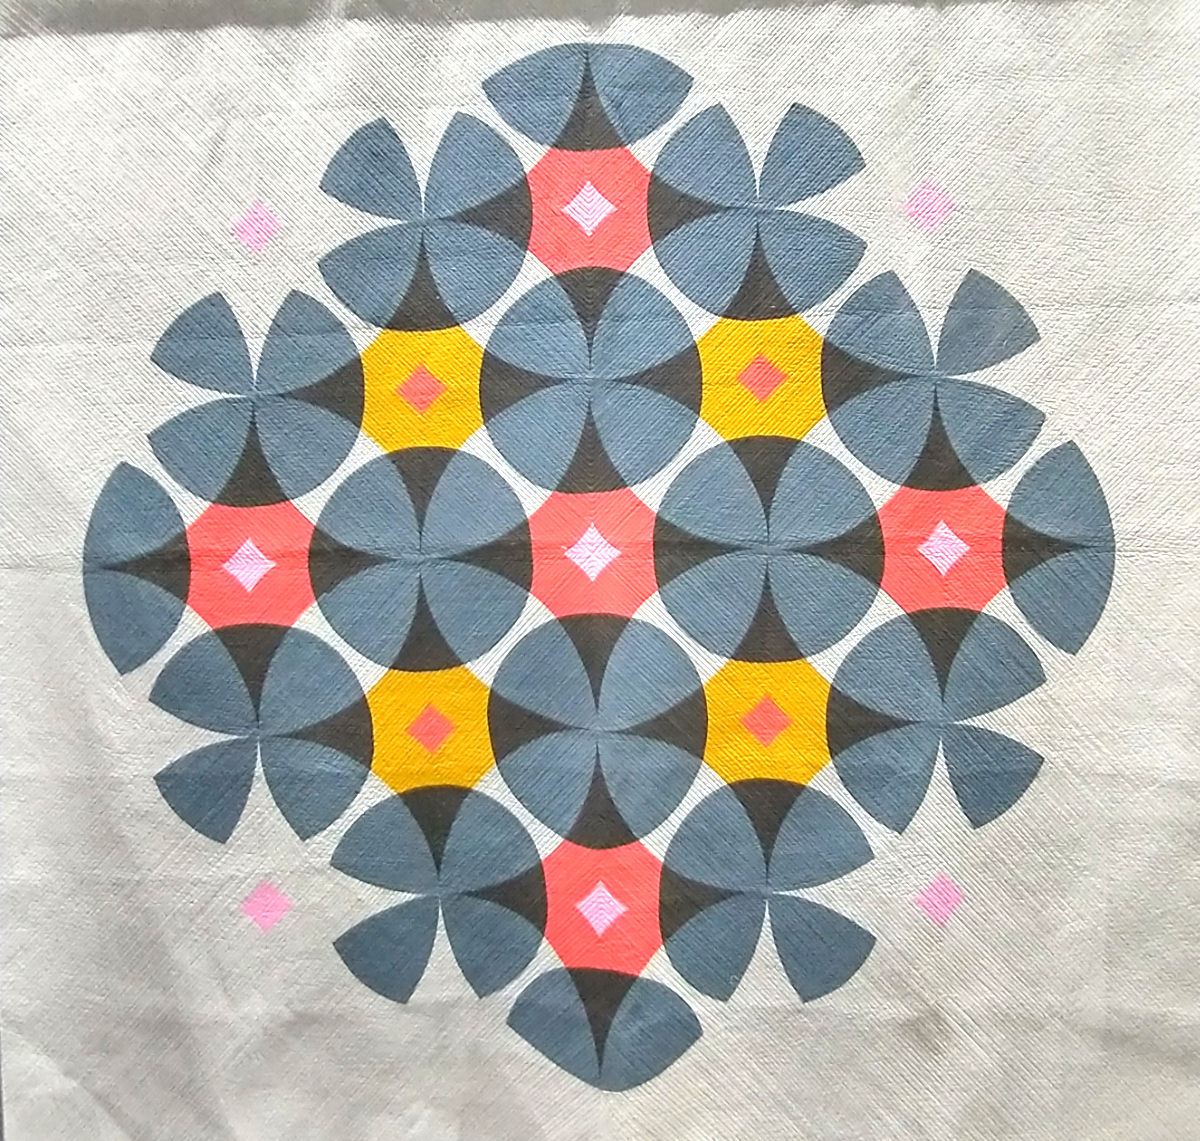
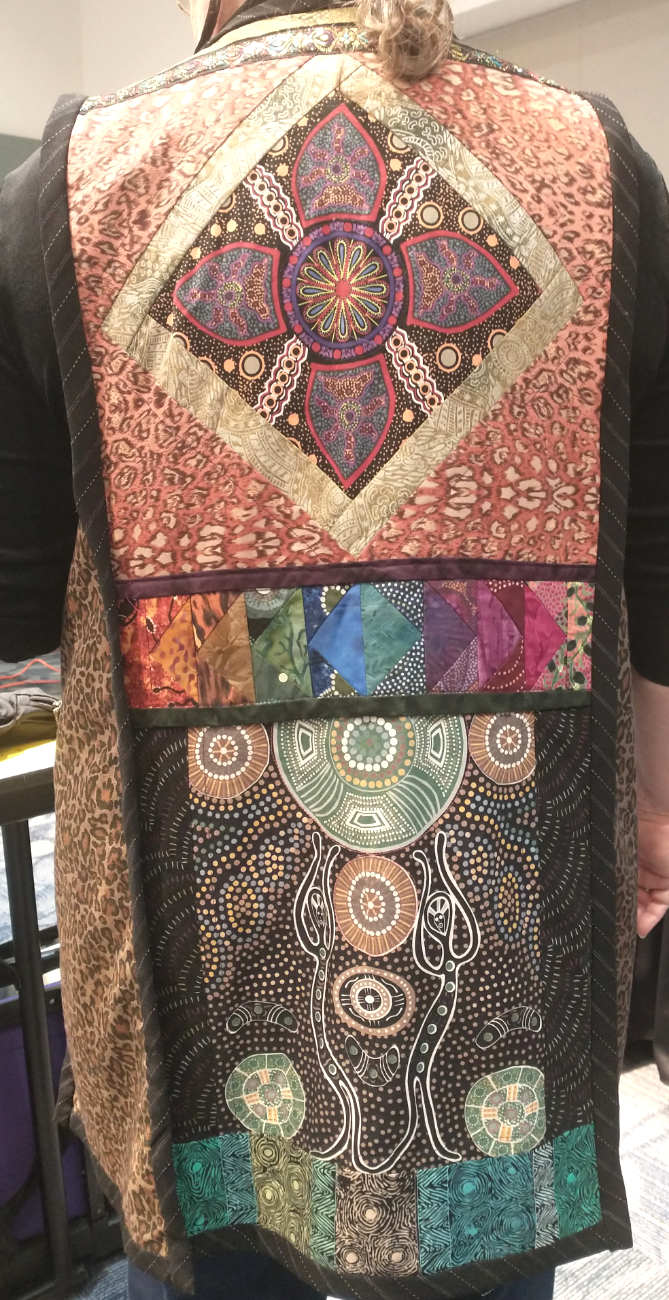
Meryl Ann makes good use of unique panels; here are a couple of examples. I believe the second one is a student creation, but I’m sorry to say I lost track.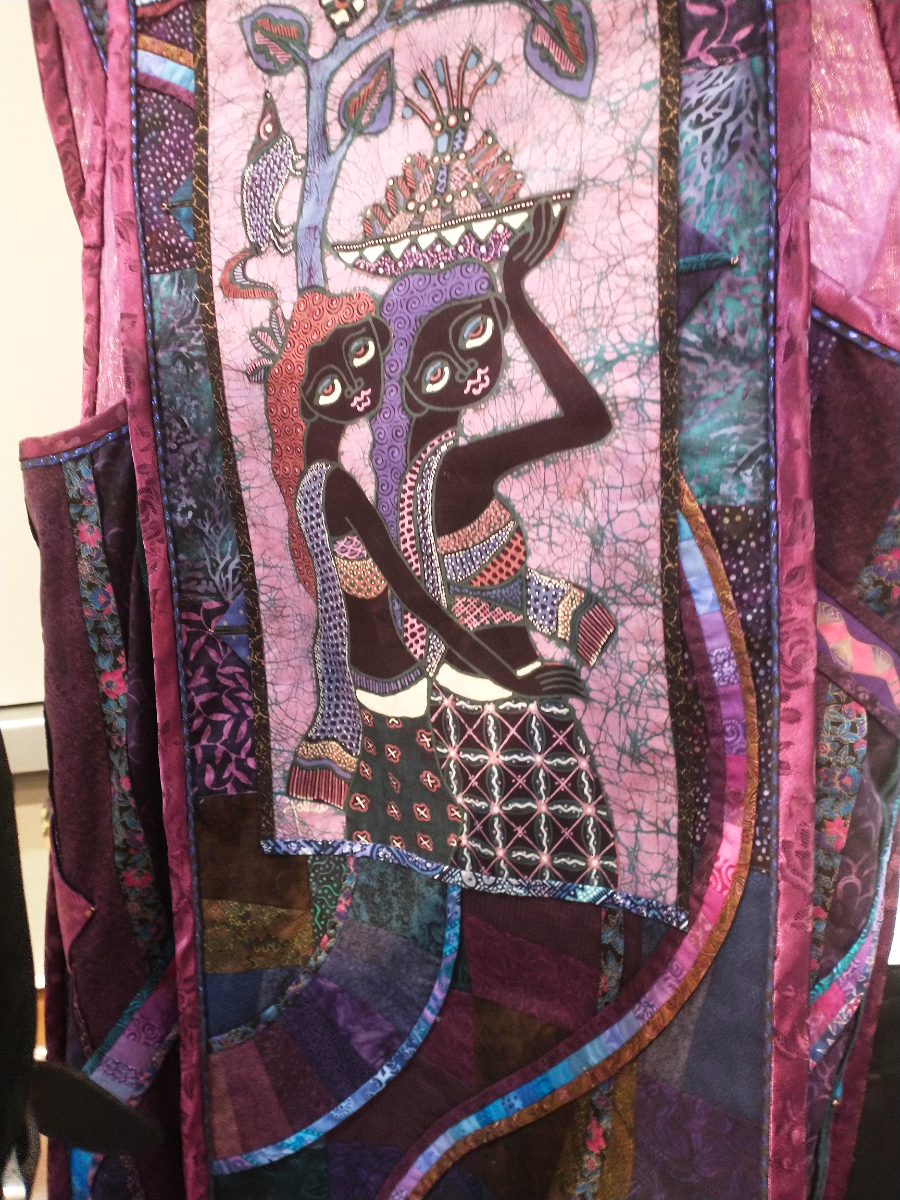
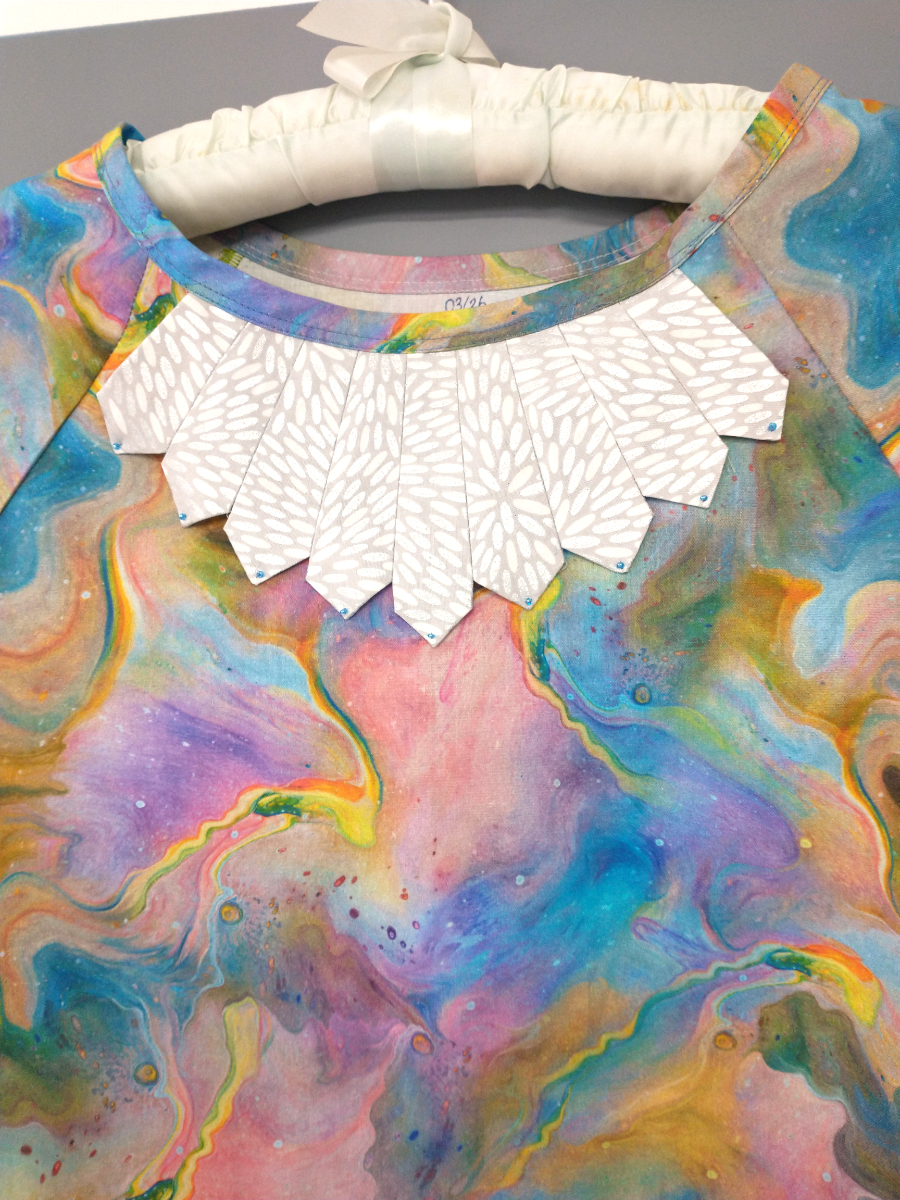
Of course I haven’t made anything as fantastic (yet), but I did come home and add a decorative collar to a shirt I had just made.
I recommend Meryl Ann’s workshops if you have any interest. She was patient and thorough, and has many, many beautiful ideas for embellishing clothing. Of course, these ideas would look great on quilts, too.