10 Quilty Secrets

Several of the blogs I read have recently revealed “10 Quilty Secrets” and I thought it sounded like fun, so I’m playing along. If you would like to see some other bloggers’ secrets, here are the links: The original post seems to have been at 13Spools.com, and the idea has been picked up by several blogs I follow, including Catbird quiltswombat quilts, and Christa quilts.

And so, here are my 10 Quilty Secrets:

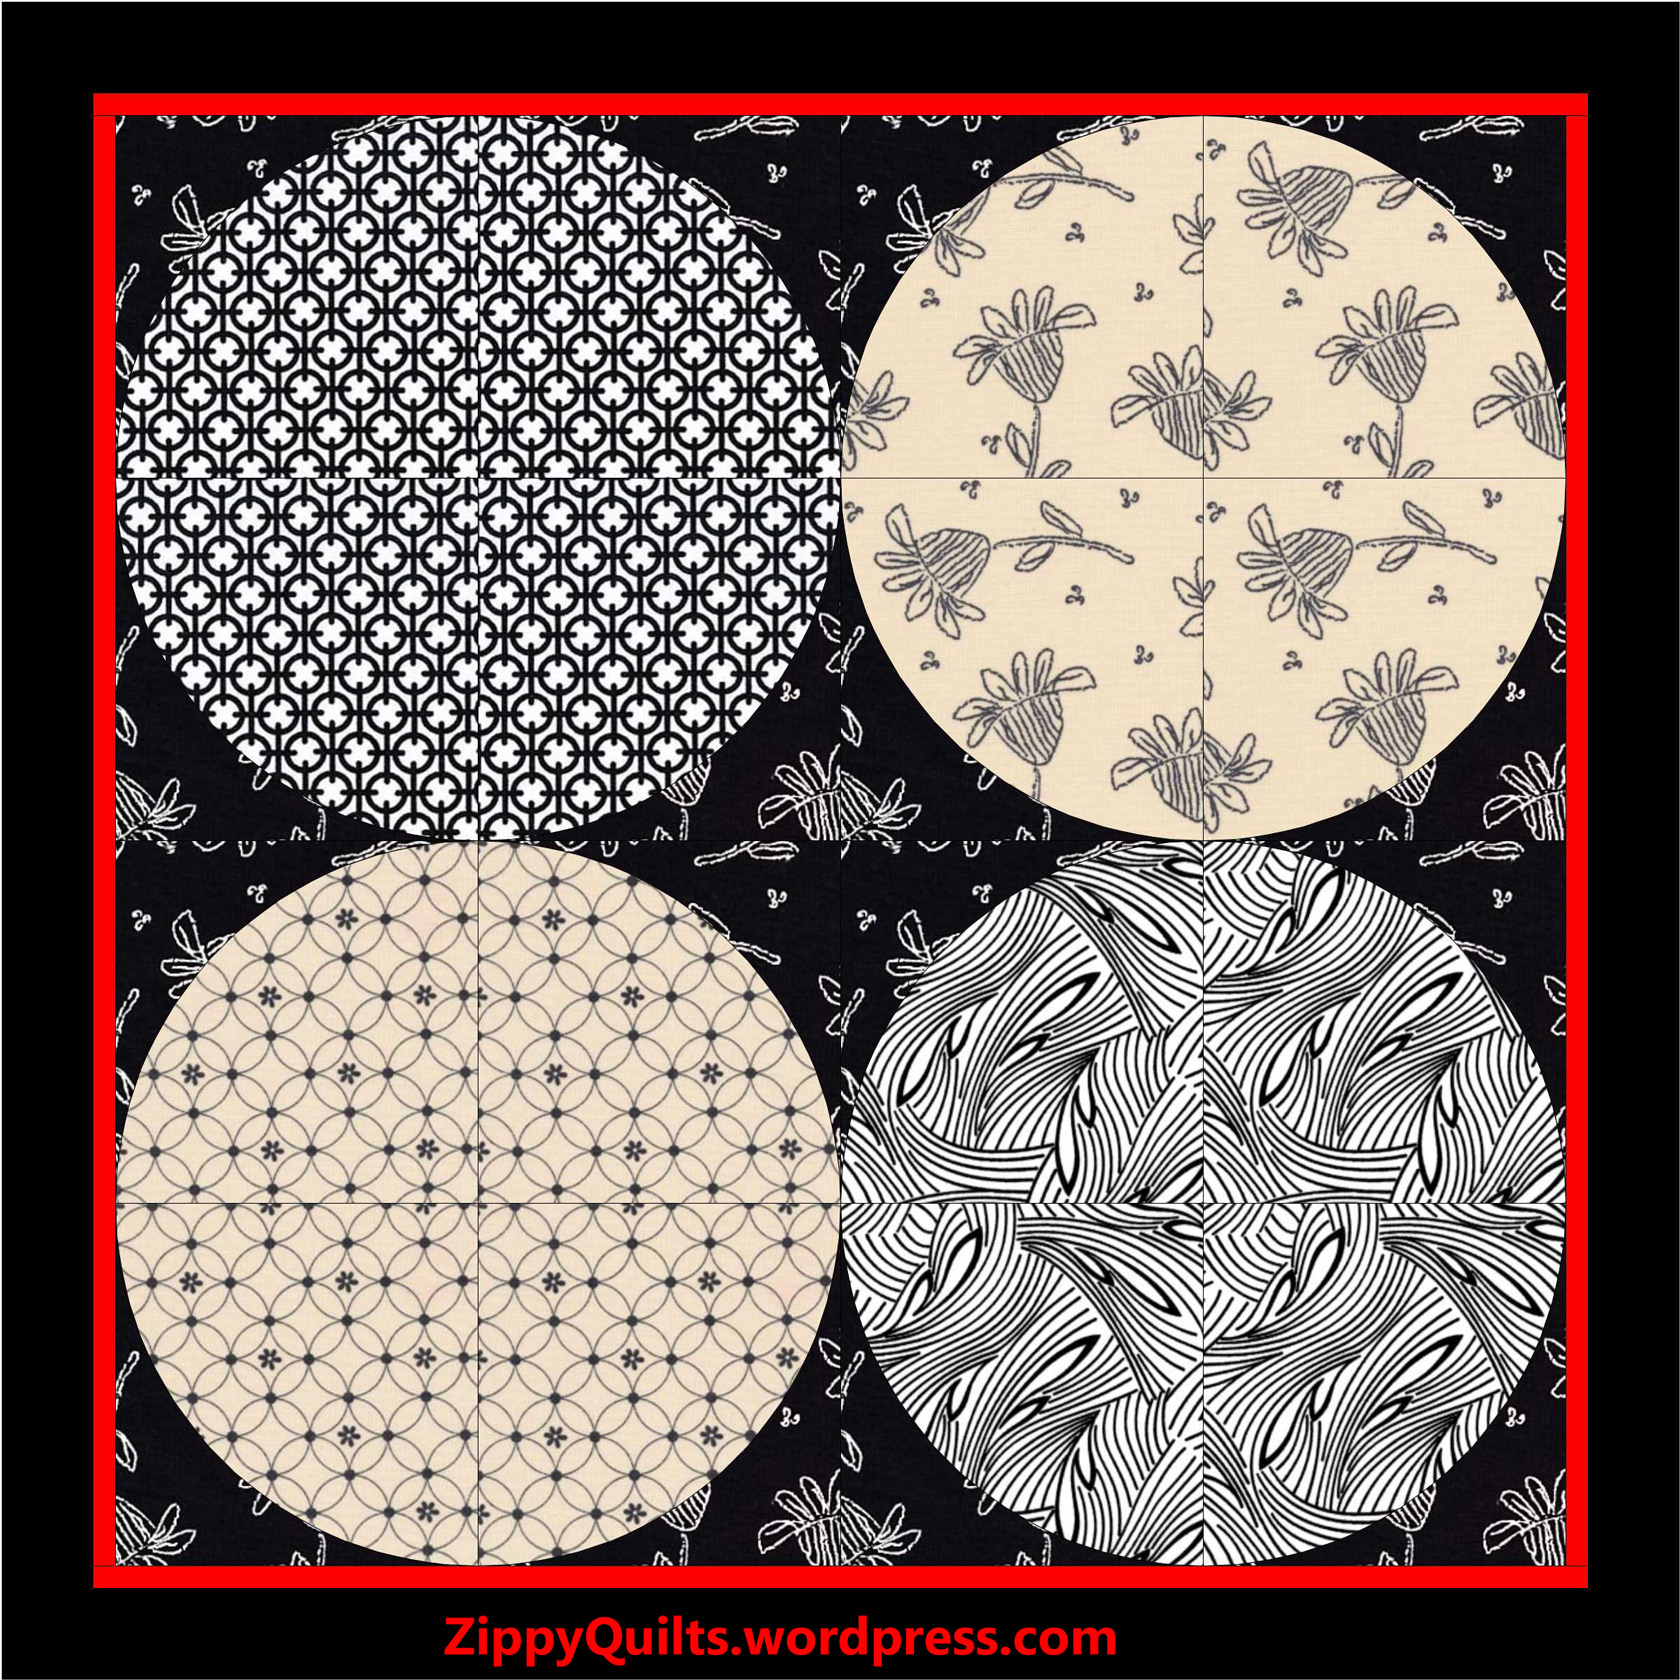
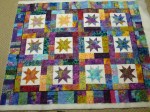
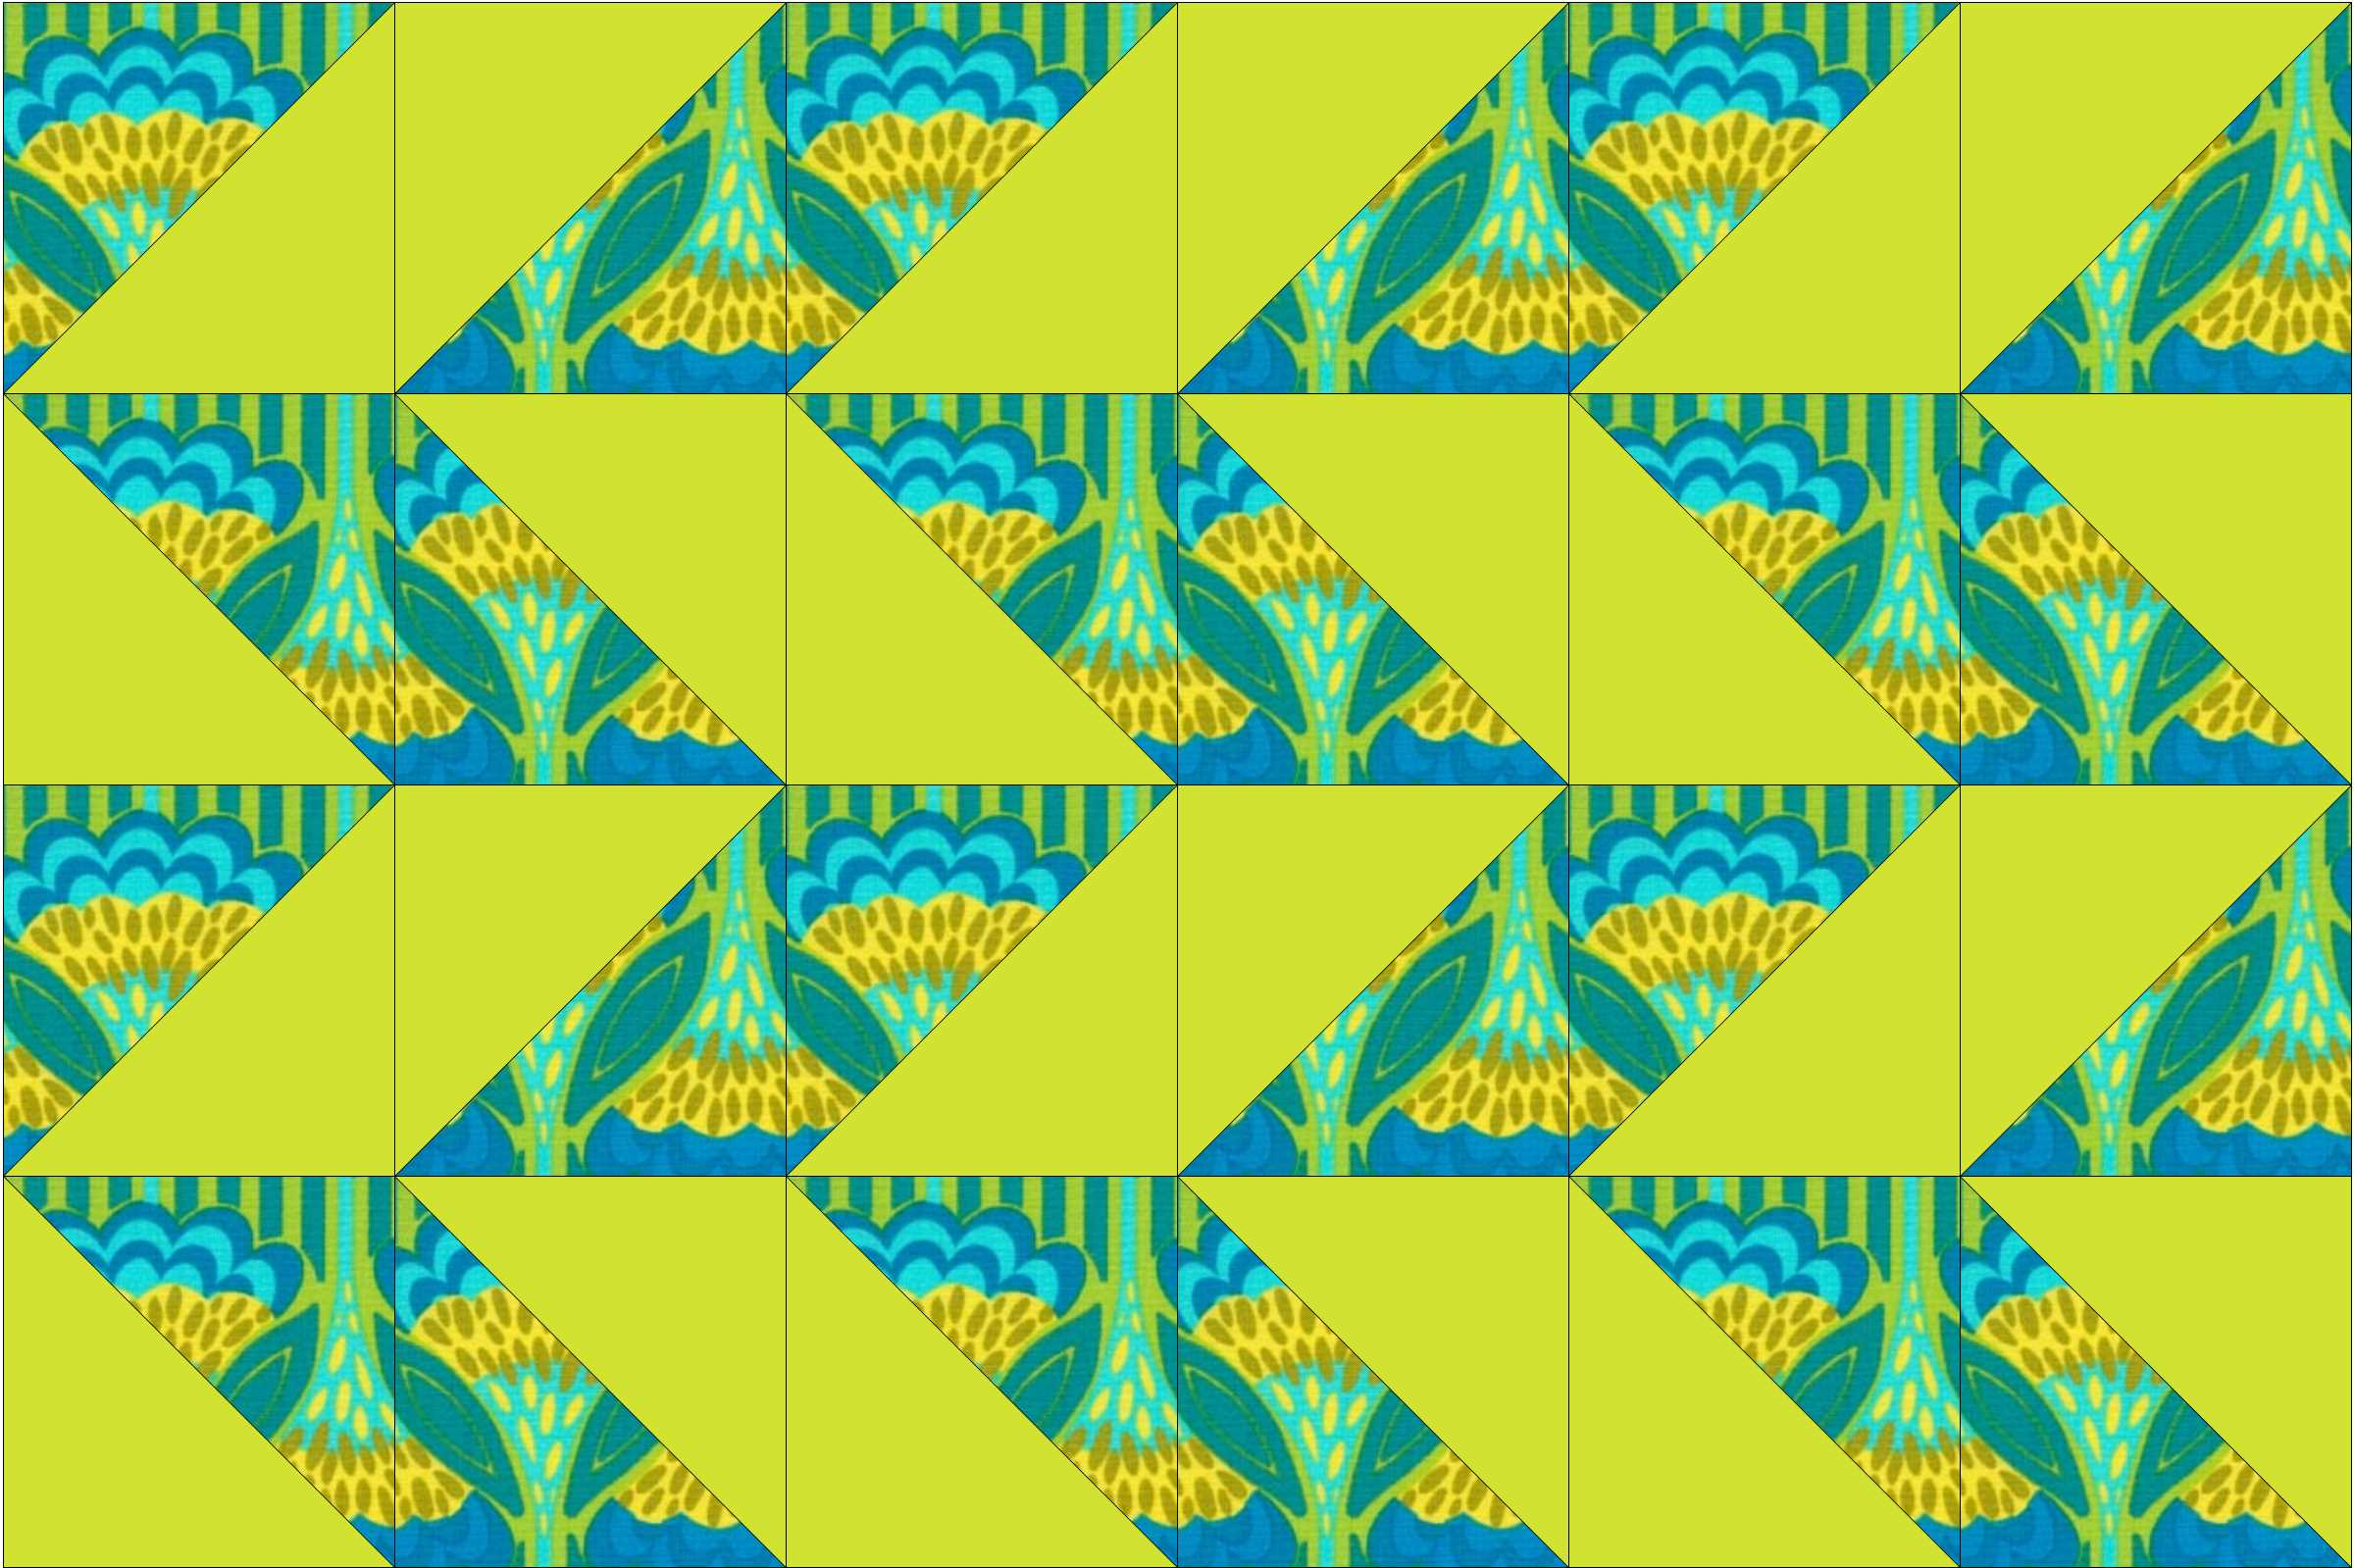
1. Although I’m participating in Marti’s UFO (unfinished object) finish-a-month this year, I had FAR MORE than 12 UFOs at the beginning of the year. Oops, still do! Here’s the August finish, a quilt for Ronald McDonald House made from orphan blocks:August-finish

2. My nearest LQS (Local Quilt Shop) is an hour away, which I take as an excuse to have a good stash at all times 😉

3. If I start a quilt and don’t like it for some reason, I abandon the plan and turn it into something else–another quilt design, a table runner, whatever.

4. And sometimes those I-don’t-like-this projects just become long term UFOs 😦

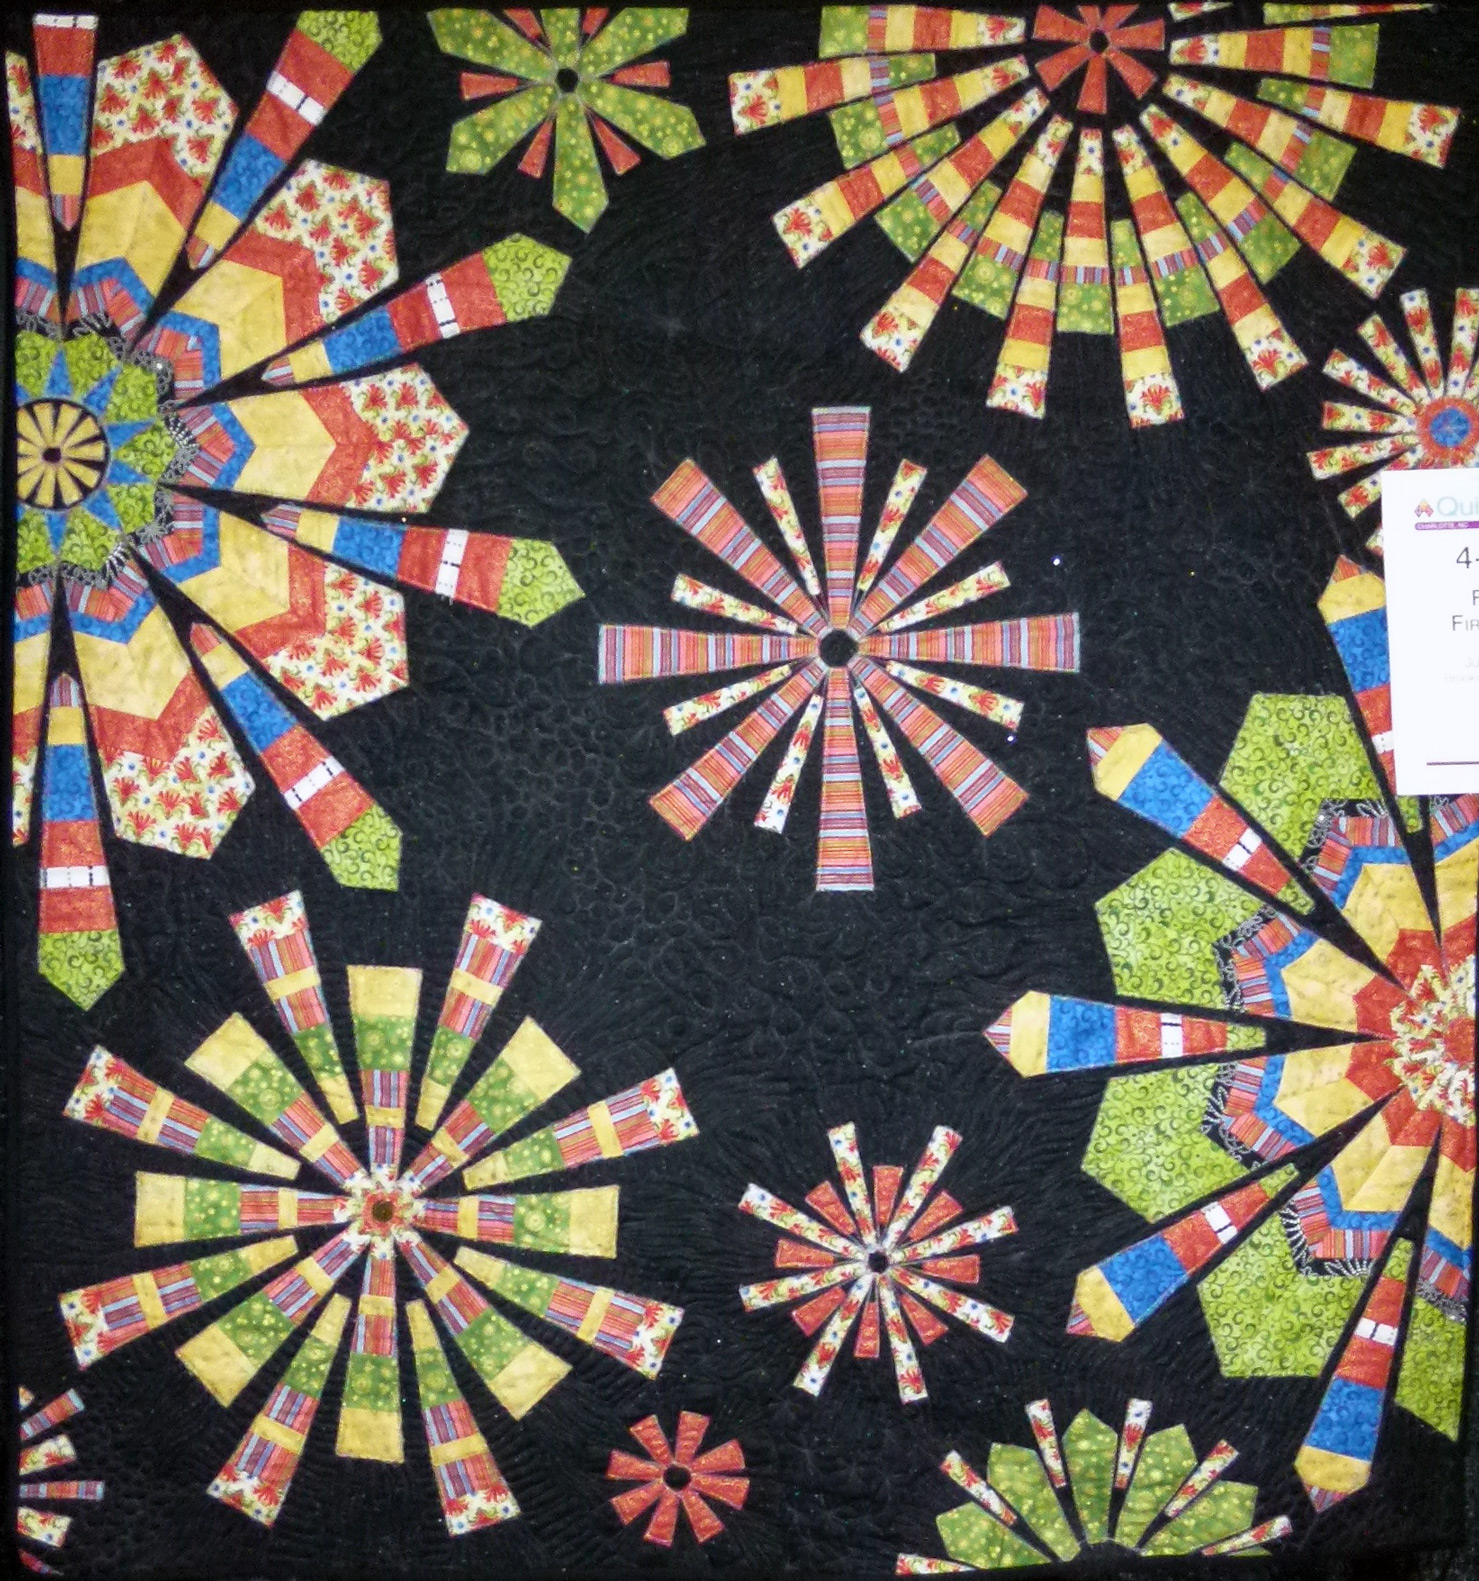
5. In my world, a good quilt is a fast quilt.  I’m not patient enough for the zillions of little hand-pieced hexies, for example.cartoon hexie

6.  For that matter, I DON’T EVEN LIKE hexies!  Yikes!

7. I value good design in quilts and in other useful objects.

8.  I LOVE to learn new techniques and try new things, so I take lots of classes  Even if they seem like stuff I could do easily without a class I always learn something.

9. We’ve moved a lot, and one of the best ways I’ve found to make new friends is to join a local quilt group.

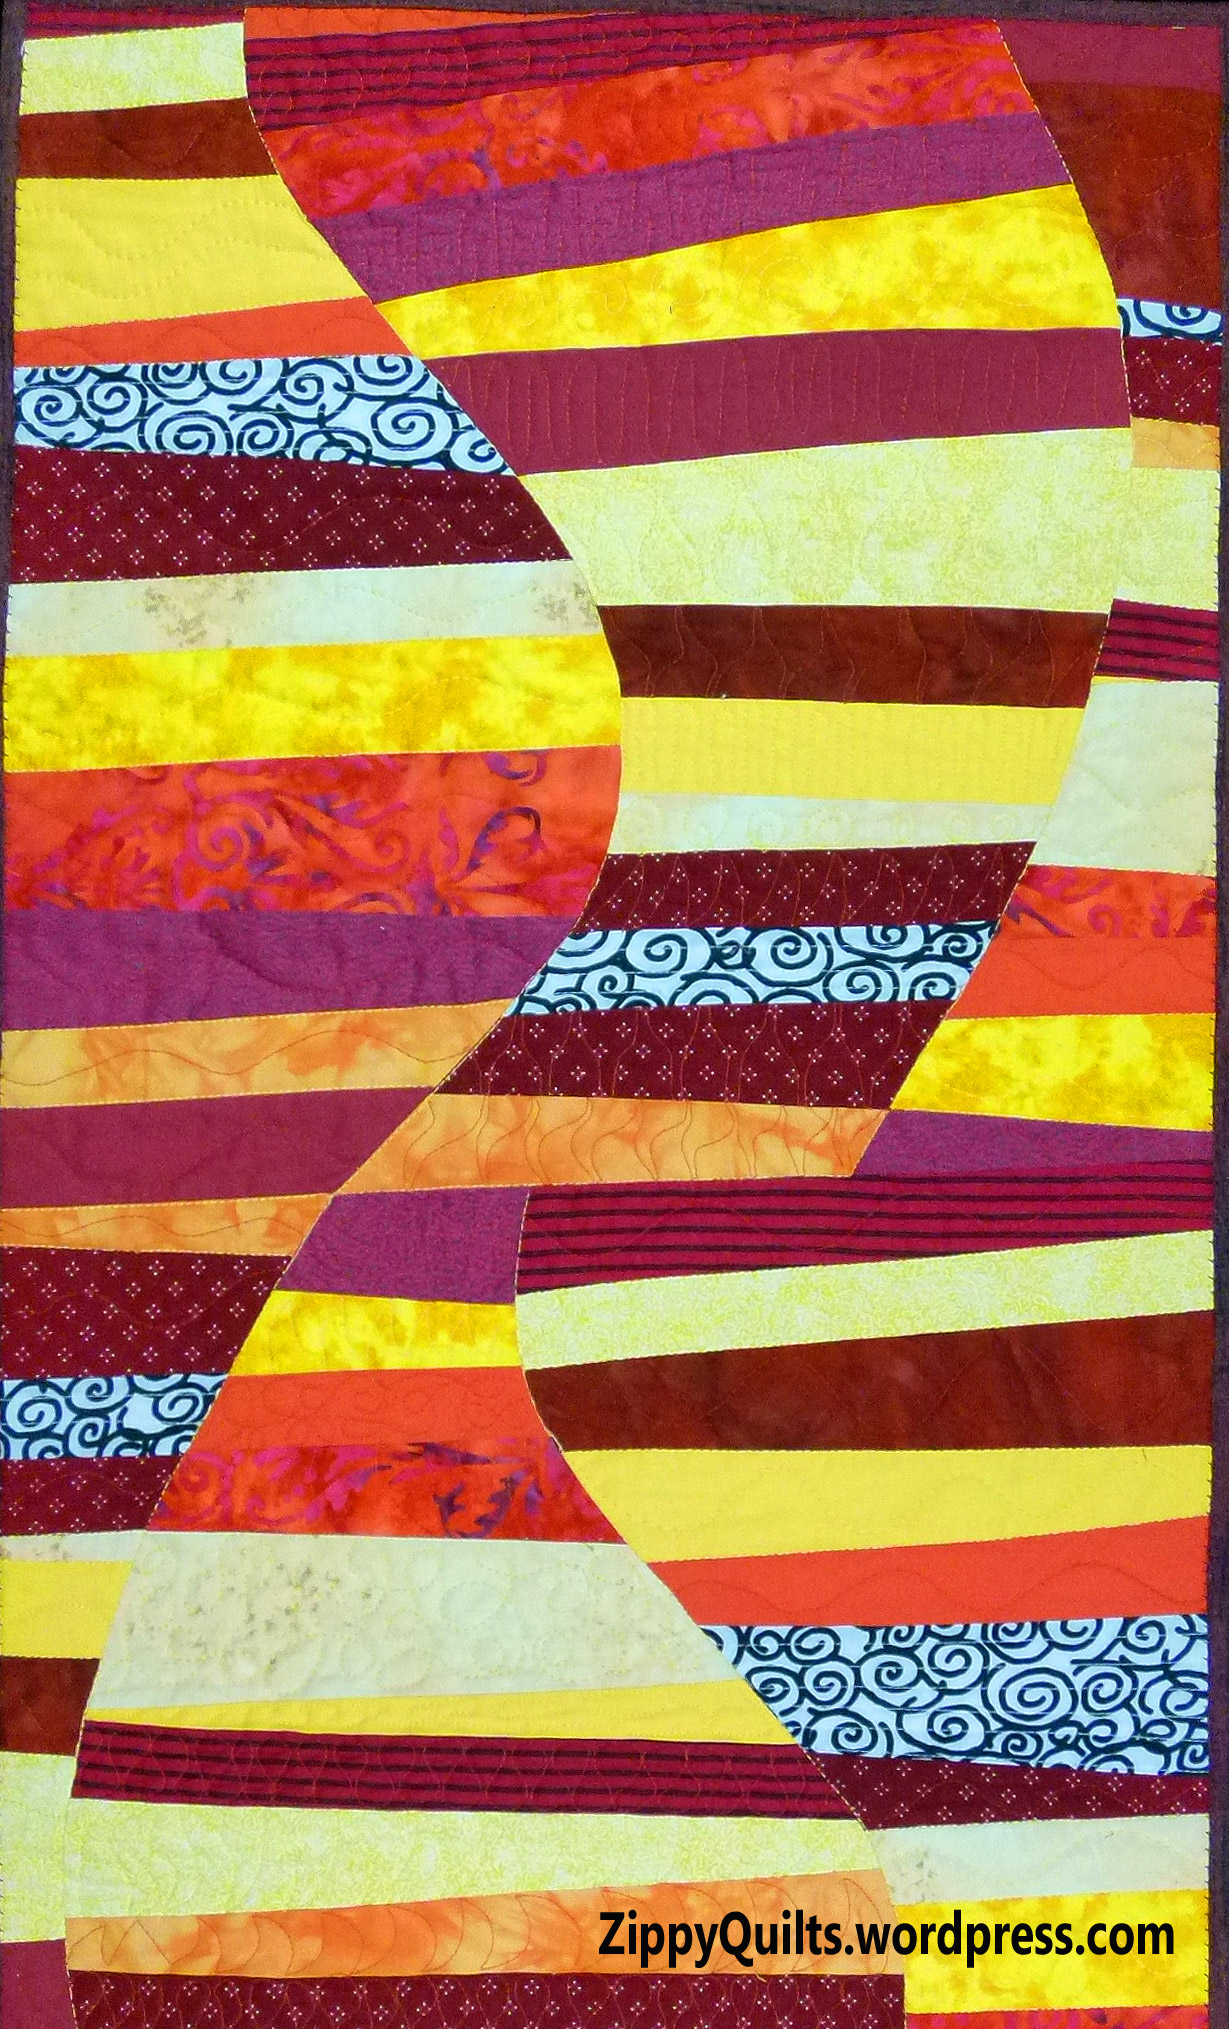
10. I think every quilt needs a little purple!

So, what are some of YOUR quilty secrets?

3 Perfect Ideas

Pieced quilt, circles

The Perfect is the Enemy of the Good

1. The perfect is the enemy of the good.

I made this quilt a long time ago to practice circles, and the quotation that inspired it came to mind recently when I was debating which quilts are “good enough” to be submitted to juried shows.  It probably is obvious that the design above is more interesting than the “perfect” one shown below:

pieced quilt, circles

Perfect Isn’t So Good

2. “Perfect” is well enough done that you are satisfied when you look at it, but not so over-worked that you’re sick of quilting by the time you finish it.

To make a perfect quilt, It helps to start with:

  • The right pattern for your skill level
  • Fabric you love
  • Techniques you enjoy (e.g., paper piecing, applique, whatever)
  • The right tools, well maintained

3. You may be more capable of “perfect” than you think.  It helps to have friends who keep you honest!  I recently had trouble making my seams line up on a medallion-style block and my friend Jerri said, “You’re too good a quilter for that!  You just don’t want to bother!”  Oops, she was right.

And here’s a book that helped me with “perfecting” my blocks:  

Sneaky Piecing by Beth Ferrier

I found this book with lots of tips on how to improve piecing accuracy and got a lot better with just a little practice!

I recommend the book if you want to improve some of your skills, too.

pieced quilt block

Swap Block–88 little squares!!!

And look at this lovely swap block with the corners all matched up!  It isn’t perfect, but it’s good enough 🙂

11 Favorites from AQS Charlotte

The quilts at AQS in Charlotte were inspiring, and there were more modern ones than at most AQS shows. Here are 11of my favorites. They aren’t necessarily the judges’ favorites; those are available on the AQS website here.  I judge mainly on innovative or attractive overall design; the judges have another set of rules.  I hope you enjoy my choices!

quilt AQS Charlotte

Joy, by Peg Collins of Colorado

The Modern Design Challenge had loads of great quilts, but I only took pictures of my very, very favorites:

modern quilt AQS

This quilt by Jean Larson won the Original Design award

modern quilt, AQS Charlotte

The Market is Up, another quilt by Jean Larson

quilt AQS Charlotte

Mid-Century Modern II, by Serena Brooks, won the Improvisation award

modern quilt AQS Charlotte

Canopy by Helen Garland

There was a display of art quilts, including this one by an art quilter whose work I really like:

art quilt AQS Charlotte

Artfabrik, by Laura Wasilowski

And I liked this quilt by Miriam C. Coffey, who is in one of my guilds:

quilt at AQS Charlotte

This, That, and the Other, by Miriam C. Coffey

And there was a big display of quilts from the Tentmakers of Cairo.  I’d heard about them (from you, Bert!) so I was glad to see some of their work:

Tentmaker of Cairo quilt

quilt by Haissan Kamal

And finally, some quilts I just liked for various reasons:

Dear Jane variation at AQS Charlotte

Jane As A Teenager, by Anya Tyson

art quilt at AQS Charlotte

Out of my Box, by Kathy McNeil

quilt at AQS Charlotte

Fiesta Fireworks by Julia Graber

10 Favorites from Vermont Quilt Festival

I really enjoyed the Vermont Quilt Festival in Burlington the end of June.  I expected a traditional quilt show, and there were some traditional quilts, but there were many modern quilts as well.  Here are 10 of my favorites for various reasons.  That fantastic quilting on the first one was done by Carrie Zizza of Zizza Machine Quilting (http://www.itsazizza.com/).

quilting detail

Look at the quilting on Love Those Liberties by Laura Clements!

pieced quilt

Rainbow Bricks by Melissa Rolfe–this was her second quilt ever!

pieced circle quilt

Full Circle by Rebecca Rohrkaste

pieced quilt

Patch of Swiss Chard by Ann Feitelson

quilt detail

Detail of Patch of Swiss Chard

pieced quilt

This quilt by Ruth Eissfeldt was all shiny metallic fabrics

applique quilt

These fish by Velda Newman were SO realistic!

pieced quilt

Tied Together by Timna Tarr–a modernized bowtie quilt

pieced quilt

Circles of Hope by Sylvia Einstein

pieced quilt

Kaleidoscopic XX by Paula Nadelstern

pieced quilt

Fill the Void by Cinzia Allocca–my FAVORITE!

detail of quilt

Look at her beautiful quilting!  I love this quilt!

Excitement x 3!!!

Woo! It’s been an exciting week!
My entry in the Quilt Alliance “Inspired By” Challenge won 3rd place! Here’s a picture of it, and below that is a link that will take you to a short video showing all the winners! I am SO excited!

modern art quilt

Whirlwind, my 2015 Quilt Alliance challenge quilt

And HERE is a link that will show you all the winners in a very short youtube video.

The quilt will now tour with the other entries and will be auctioned on Ebay next fall to benefit the Quilt Alliance.

And here’s a picture of the second excitement: [photo] I finally finished my quilt for the Michael Miller challenge.  It’s a packet of flower seeds with the new scanning code I now see on items at the nursery, composed of multiple colored triangles.  I don’t think you can scan mine; I designed it based on the code but didn’t copy exactly.

Michael Miller challenge quilt

Packet of Posy Seeds

Finally, I had a “very significant birthday” and my husband gave me a new Bernina

Bernina 550QE

Bernina 550 QE

for the occasion! I’ll be reviewing it after I’ve used it for a while. For now I’m just enjoying trying out all the features!
So, as they used to say on the radio, listen in next week…I’ll have pictures from the Vermont Quilt Festival, which was really good.

Quilt Design 4: Choosing your color scheme

Of all the things people think they need help with, color is mentioned most often. Indeed, color can be complicated if you want to make it that way, but my preference is to make it simple. So here goes…

quilt design

Example 1: Purple Quilt

A good starting place is your favorite color. You don’t have to think too much about what that is. So start with your favorite color and then add colors that you like to see with it. Never mind that stuff about analogous color schemes being restful and complementary color schemes being lively. Yes, they are true, but if you do it that way you’re likely over-thinking it. If YOU like the color scheme, then go for it!  I love purple, so that’s what I chose for this first example.  I like gold with it, and the thought process was “I like gold with it so I’ll use it” rather than, “Gold is complementary to purple so I’ll use it.”  However, if knowing it’s complementary helps you, by all means use that framework.  I chose a grey background fabric because grey is “good this year”, as my Mother would have put it.

But let’s assume you want a color scheme kind of worked out in advance.  A common piece of advice is to pick a print as your feature fabric and then choose your coordinates from the colors in the feature print. That works fine, but it assumes you want a multi-color print as the focal point of your quilt.

One of thousands of color schemes all ready to use at Design-Seeds.com

One of thousands of color schemes all ready to use at Design-Seeds.com

There are lots of other ways that work at least as well. Color schemes are everywhere you look, and they’ve already been worked out by many design experts, from Mother Nature to New York City advertising specialists. Flip through a favorite magazine and choose an ad with colors that appeal to you. Take a snapshot of something pretty and use the colors you see there. Go to design-seeds.com to view thousands of color combinations.  You can subscribe to a free daily e-mail featuring some of them. Start a Pinterest board where you save color combinations that appeal to you. Above all, have confidence in your own judgment: If YOU like it, that’s good enough!

modern quilt

Color scheme is from a visit to southern New Mexico

Now, go practice by finding some color schemes you like and designing quilts with them. As always, designing on paper counts!  And if this wasn’t enough information about color to suit you, don’t worry–I’ll be saying lots more later!

The year so far…

Oops!  It’s the end of June already, so half way through 2014!  Therefore, here are pictures of a few of the things I’ve done so far:

scrap quilt

Quilt Alliance Challenge 2014

Dotty-Stripes-Detail

Detail of a quilt I submitted to an IQF contest

Next is the June “finish”.  I’ve been sending a finish every month to Aunt Marti at 52quilts because I need the motivation of her challenge to get some of my UFOs (Unfinished Objects) cleaned up!  As you can see, this is pieced but not quilted; Aunt Marti let’s YOU decide what qualifies as “finished”!  And after 2 years staring at these HSTs (half square triangles), I think putting them together into a top for a donation quilt qualifies as “finished”!  So if you need motivation to finish some of your UFOs, click the link above and head over to her blog 🙂

pieced quilt top

Donation quilt top is the finish for June!

improvisationally pieced quilt

In Fairyland, entered in the Vermont Quilt Festival

improv pieced quilt

Improv 9 Patch for Ronald McDonald House

As always, 20% of the projects took 80% of the time!  So it’s good to have the little pouches and swap blocks to be done relatively quickly!  What have you been up to?

Two Favorite Quilt Patterns

I love designing quilts and making my own designs, but I also enjoy making quilts from outstanding designs by other people.  I thought I’d list a couple of my favorites, and I hope you’ll let me know (in the comments) what some of your favorites are, too.

star quilt

A floral quilt made from Lucky Stars by Atkinson Designs

A favorite quilt pattern for me should be striking in appearance, should have foolproof instructions [because I certainly could be a fool on any given day ;-)], and should be something that makes me say, “I wish I’d thought of that!”

Lucky Stars by Atkinson Designs.  This is the first quilt pattern I ever bought, though far from the first quilt I made.  When I started quilting, I just decided what I wanted, drafted the pattern,and then made it.  Buying this pattern was a revelation!  Such great instructions!  Such great results!  And so little effort compared to what I’d been doing!  I’ve made this pattern several times, and the recipients have loved every one of these quilts.  I’ve also used this to teach “Make Your Second Quilt” for advanced beginners, and the students loved it, too.

I LOVE any quilt with concentric boxes, and having them in multiple sizes and bright colors is just the BEST!  This quilt pattern is Outside the Box, by Rose Mason.  I put 4 of these together to make a queen quilt for a friend’s daughter when she got married, and it worked out really well.

Outside the Box, pattern by Rose Mason

Outside the Box, pattern by Rose Mason

 And even that didn’t wear me out on concentric boxes!  I’ve made many more, both from patterns and my own designs. 

Please leave a comment telling me what your favorite patterns are, and I’ll pass along the love in a later post.

Happy Plaids is my own design, but there are MANY similar quilts out there

Happy Plaids is my own design, but there are MANY similar quilts out there

Personal labels 3 ways

quilt back and binding

The first quilt to have my new label on the back!

I’ve been thinking for some time that I’d like a “standard” Zippy Quilts label to sew into the binding of my quilts in addition to the usual label I put on with the name of the quilt and the date.  I’ve seen several such labels and think they look cool.  They make me think the creator takes herself and her work seriously enough to have a professional label.

I collected a bunch of ideas for making labels on my Pinterest page, here, if you want to look.  Pinterest is great for gathering idea from around the web and organizing them all in one place.  I also got some of those ideas by doing a search within Pinterest for “fabric labels”, which lead me to things other people had discovered.

It boiled down to just a few good options in 3 categories:

1.  Print your own labels, sort of like I do my labels with the quilt name/date/etc.  This would be fairly economical despite the cost of printable fabric, because the labels are small.  However, the washability of some of the printable fabrics was in question, and there would be the need to finish the edges in some way to avoid fraying.  Nevertheless, there’s a very nice tutorial on how to do it here, on the Emmaline blog.

2.  Get commercially-made labels, either woven or printed, from specialty companies that make them.  There are lots of companies that offer lots of different labels, from laundry tags like you sew into your kids’ clothes before they go to camp to really professional woven labels.  The cost varies a lot, too.  The main drawback was that, for the better looking ones, you have to order an awful lot.  What if I had 1000 labels I didn’t much care for?

3.  Design your own at Spoonflower and have them printed up on fabric for you to cut apart into labels.  There’s a tutorial on how to do it here, on a nice blog called “While They Snooze”.  This is what I ultimately decided to do.  They’ll print either a sample or a fat quarter (FQ) for you, so I ordered FQs of 2 different layouts to see if I liked them.

Spoonflower labels

Spoonflower labels–first layout

I cut them apart with pinking shears to avoid a hard edge and sewed a little hem around each one to prevent fraying.  I think another time I’d make them a little smaller, but this is a good start.  The Spoonflower site is easy enough to use that I never even had to contact them for help.

Spoonflower label

The second layout

My second layout left space below my name on each label so that I could cut out the label, hem the sides only, and then fold it in half, inserting the remaining raw edges in the binding.  This avoids the need to sew it down separately on 4 sides.  I may like this better, but I haven’t had time to try them much yet.  The first one is going on my Quilt Alliance donation quilt, which I’m still binding.  I think I’ll go back and put them on all this year’s projects.

If you get some labels made for your projects, write and let me know what you did and how it worked out.

Spoonflower label

Label on Quilt Alliance quilt back

Your Inner Designer, Part 2: Many block arrangements

In our last exciting episode (as they used to say on the radio), we took a traditional-type quilt pattern and tweaked it 3 (or more) ways to make different quilt designs.

pieced quilt design

Large blocks, with the intersections lined up

pieced quilt design

Now we’ll take some combinations of blocks and arrange them to make new designs. As before, your new designs can be drawn on graph paper (or with a computer program like Electric Quilt). It’s your choice whether to make them in cloth or not.

1. Combine two easy, familiar blocks.The usual advice is to combine blocks such that their seams will line up,like that first one on the left. This has the advantage of making more secondary patterns when you look at the combination overall, and the disadvantage of making the construction more tedious. Try it both ways.  My personal preference is for the second design on the left.  The different sizes of the pieces in the blocks make the quilt more interesting; I really don’t notice that the seams haven’t lined up.

.

.

2. Take a quilt made of just one block, or even just one patch, and color it different ways. Here’s one of my favorites.  It starts as the traditional tumbling blocks pattern, but can also be stars, chevrons, or many, many other things. There is LOTS of room for experimentation here.

Some folks make an outline drawing then copy it several times so they can color it different ways.  I can see this going on for weeks if you attend lots of boring meetings where you can take your sketchbook 😉

3. Pick an asymmetric block, make lots of them (on paper or in fabric) and rotate them into different combinations. There are almost endless variations with HST (half-square triangle) blocks, for example.

These options should keep you busy for a LONG time. I suggest you buy a graph paper notebook and some colored pencils so you can keep your designs all together. Next thing you know, you’ll have more quilt designs than you could make up in a lifetime! You can just pick your current favorite next time you want to make an original quilt.

The next blog on designing your own quilts will be the first Sunday in June.  Meanwhile, remember that it can be fun to try out a design by making just a small quilt.  You could make a lot of HSTs and combine them in 4 different ways for a set of 4 placemats, for example.  Have fun!

pieced placemat

This is made from HSTs that finish 3″ square, set 4 x 6 so that the mat is 12″ x 18″

pieced placemat

The same HSTs have been rearranged here

pieced placemat

Using the same fabric in different arrangements is a fun way to make a unique set of placemats

pieced placemat

I recently saw this arrangement touted as an “easy herringbone quilt”