As always, I’m taking part in Aunt Marti’s UFO challenge. The August UFO was actually finished back in February as a donation quilt:
February donation quilt. This started out entirely different, but I failed to take Before and After pictures.
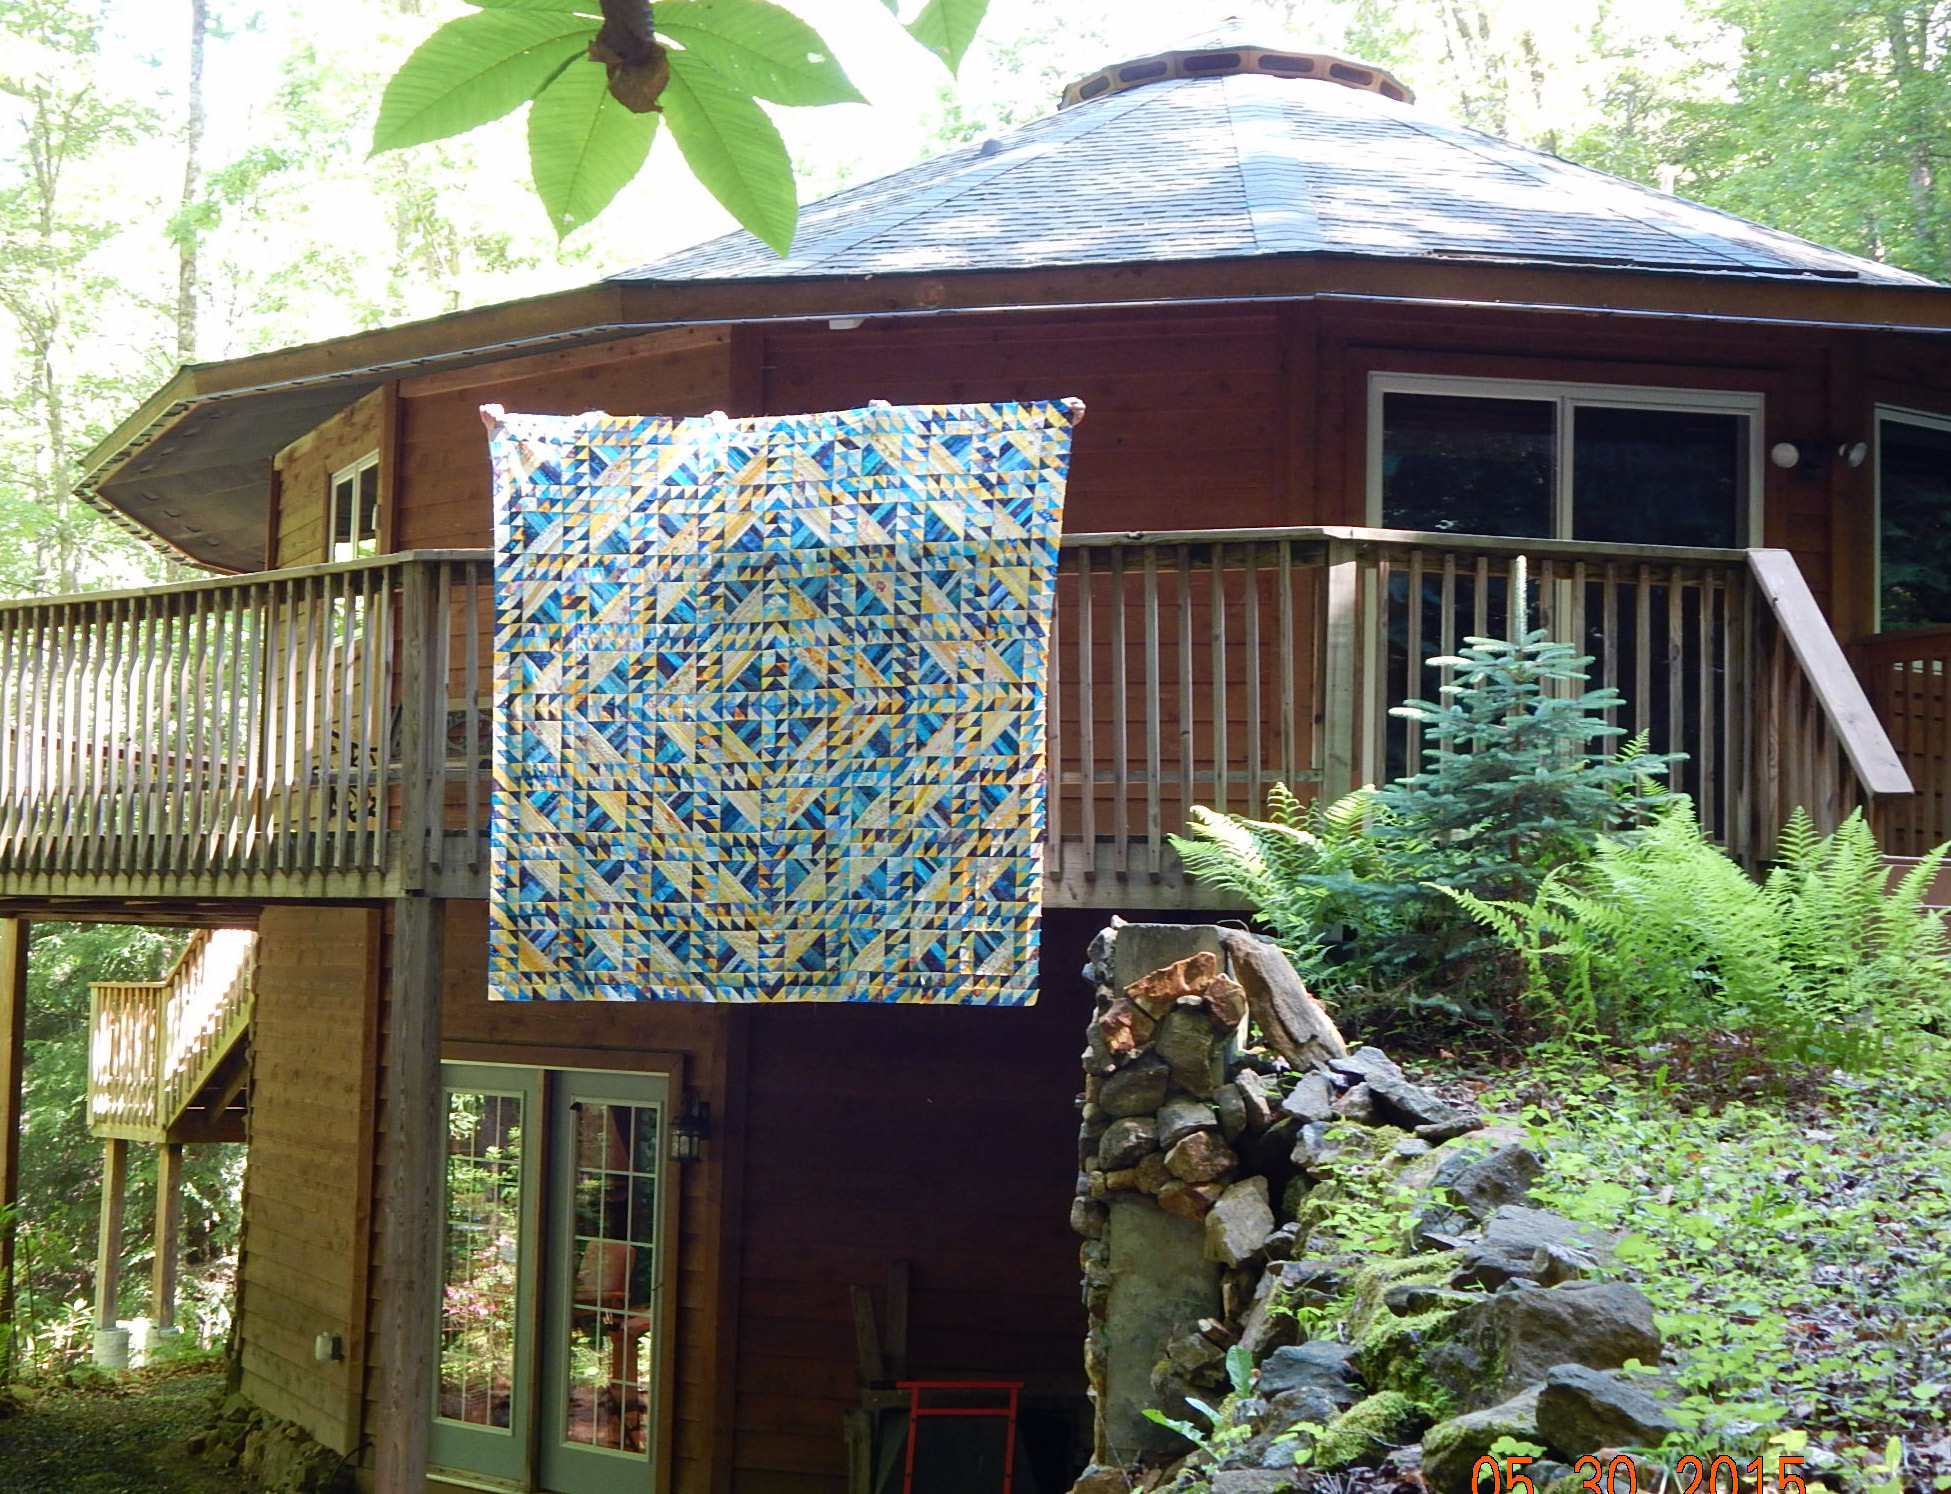
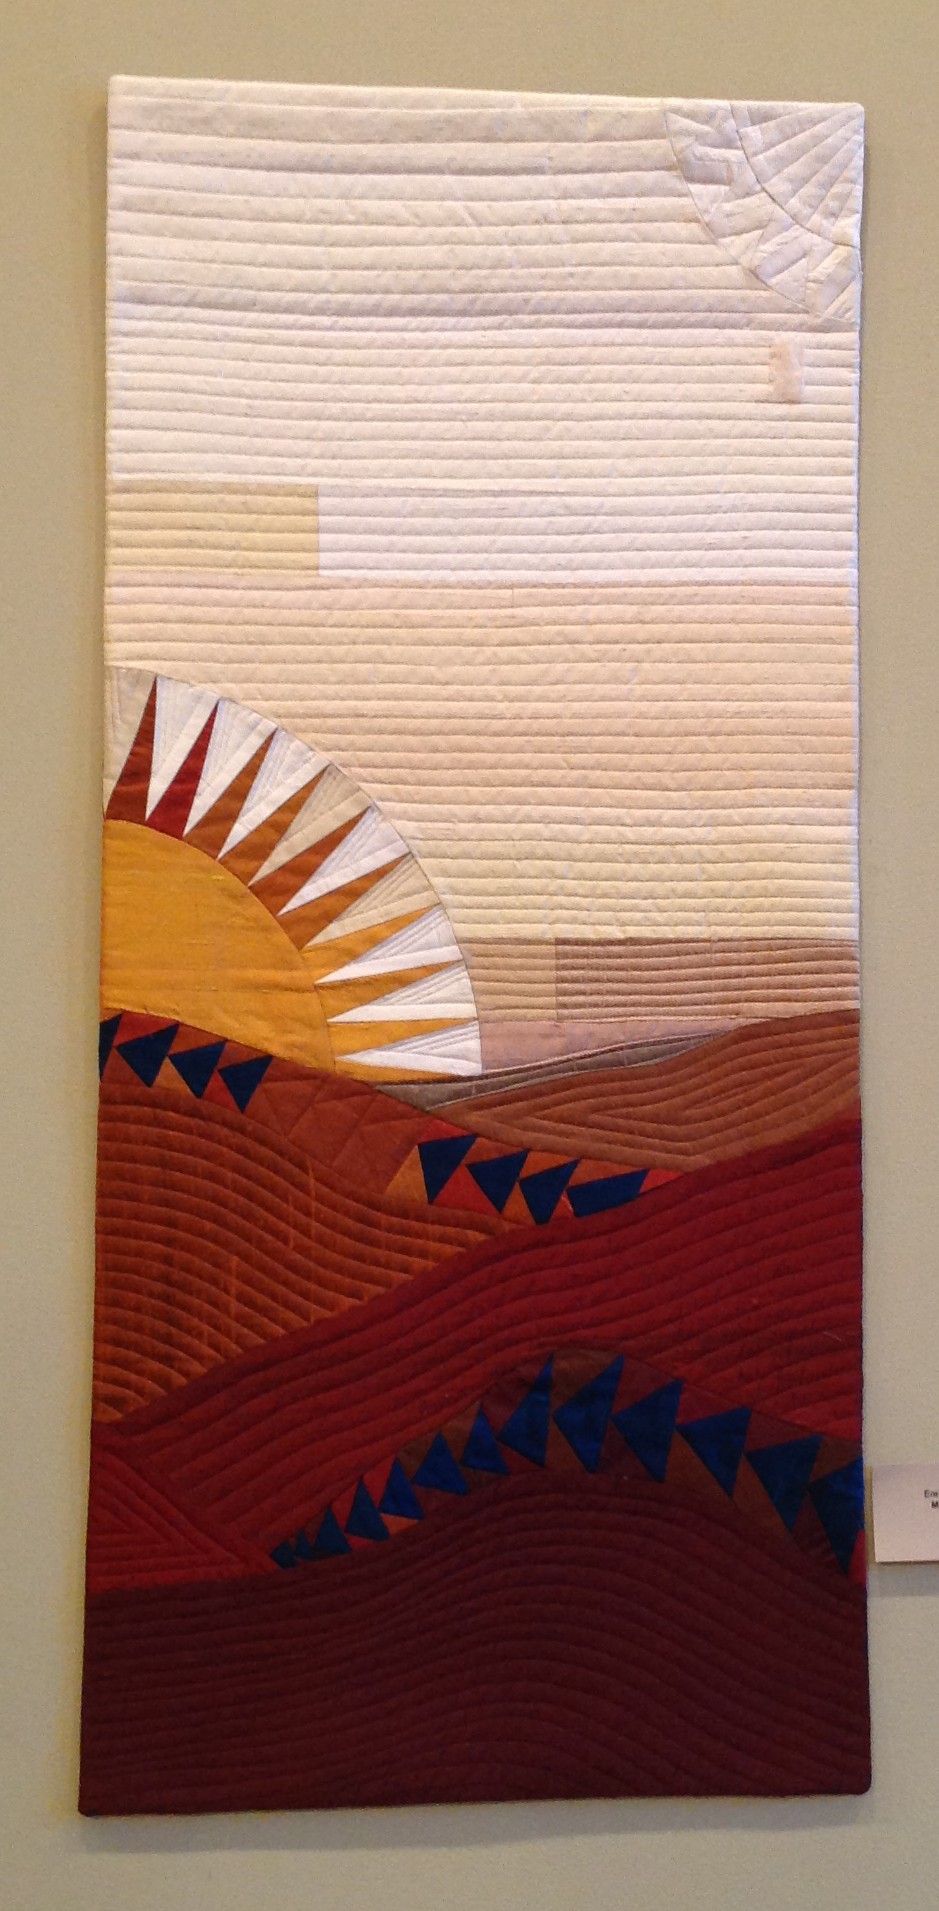
That gave me all of August to work on quilting another UFO, my Swim quilt. It’s completely quilted, but I’m still thinking about whether to add more fish, some beads, or more quilting before I bind it.

“Swim” is about 50′ x 50″. I quilted wavy horizontal lines all over it.
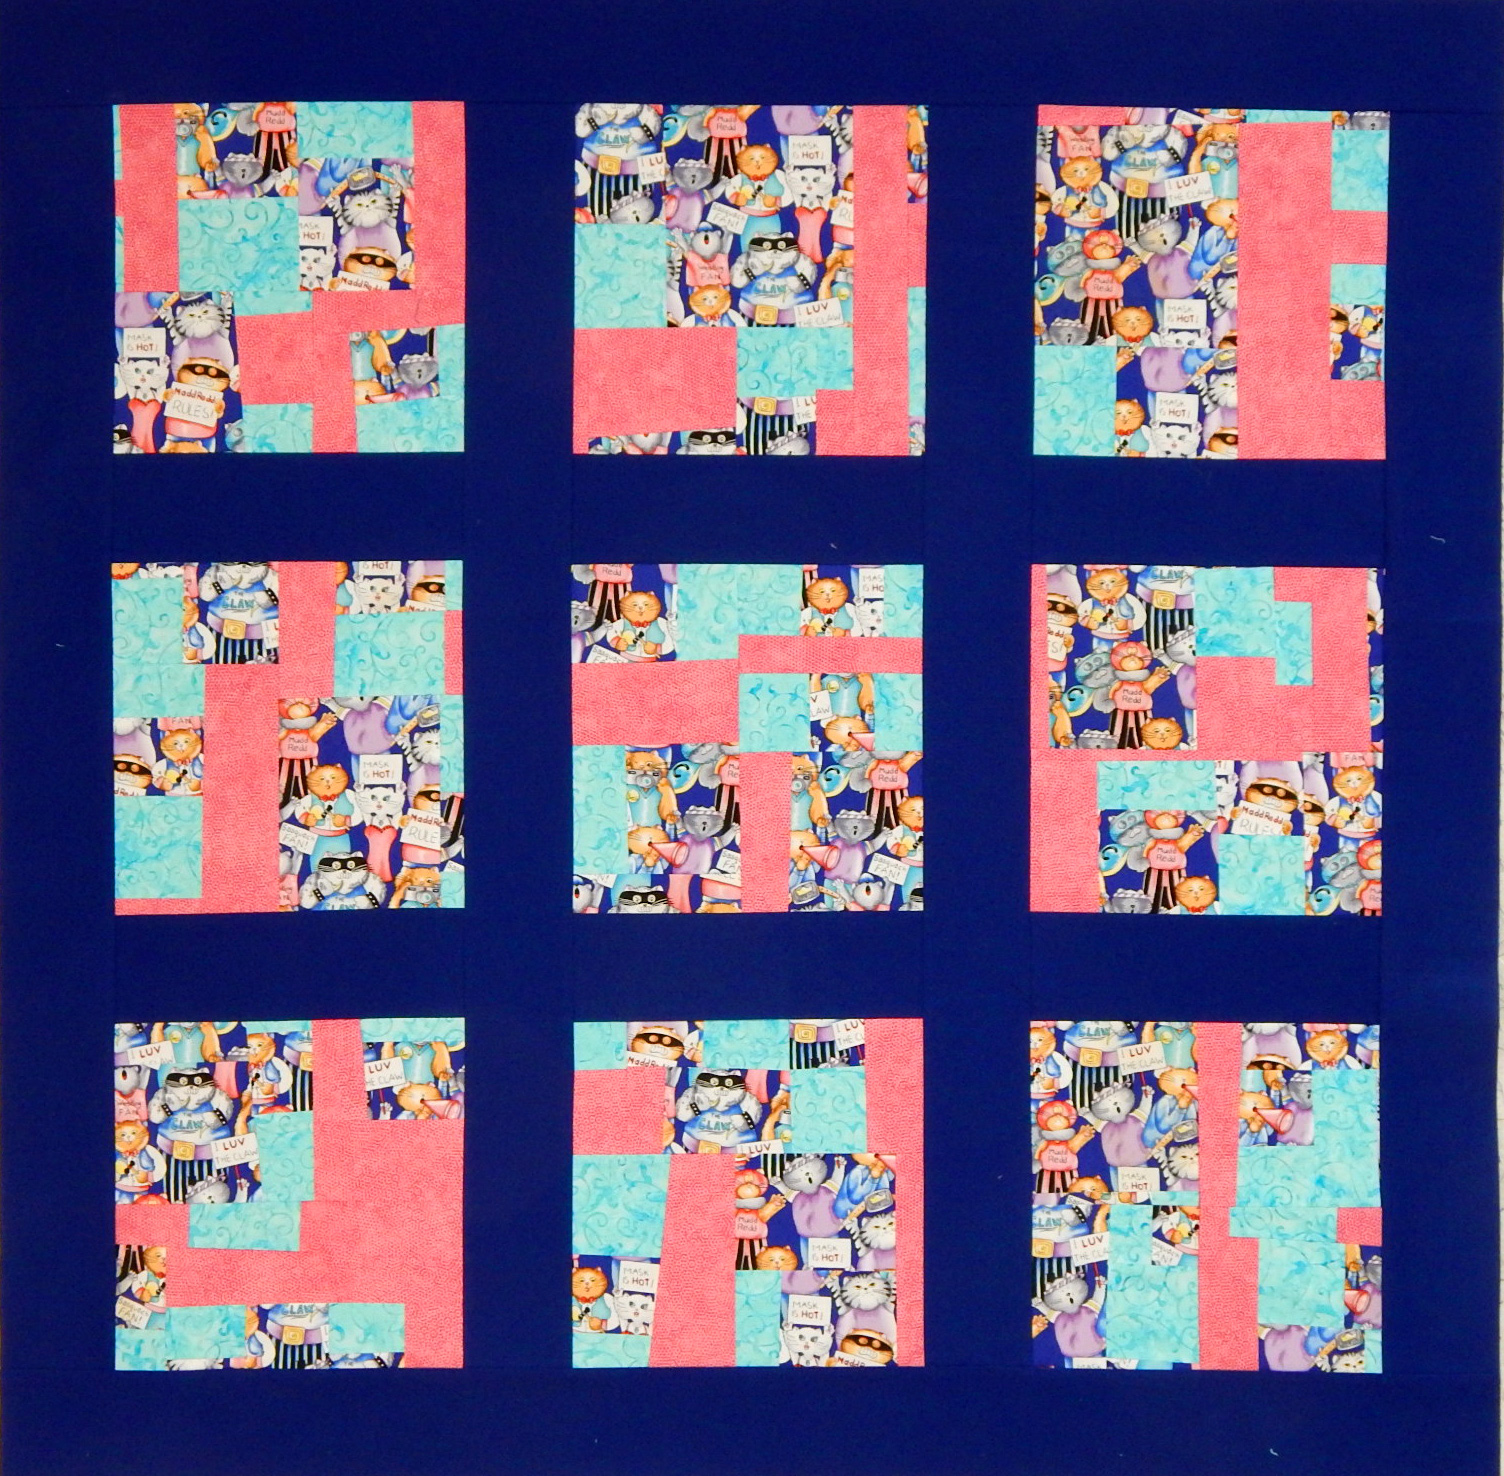
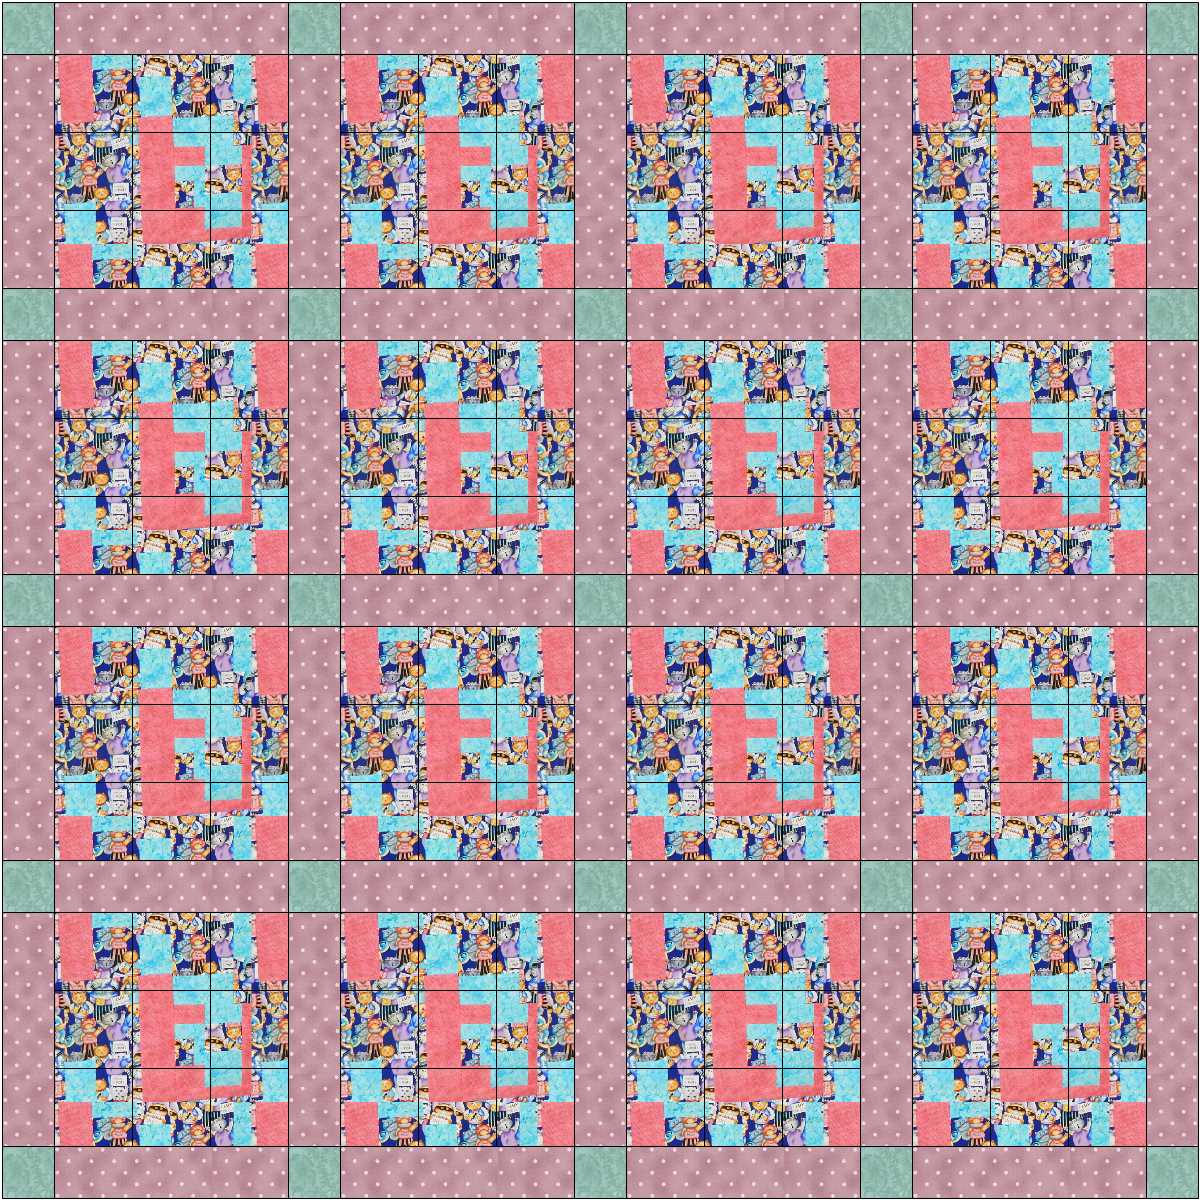
I’m caught up on making quilt tops for donation. My goal is a quilt a month, and I made 3 tops in August. They still need to be quilted, but I’ll have a one-woman quilting party and get it done. They are 40″ x 40″, so not difficult to do on a home machine.


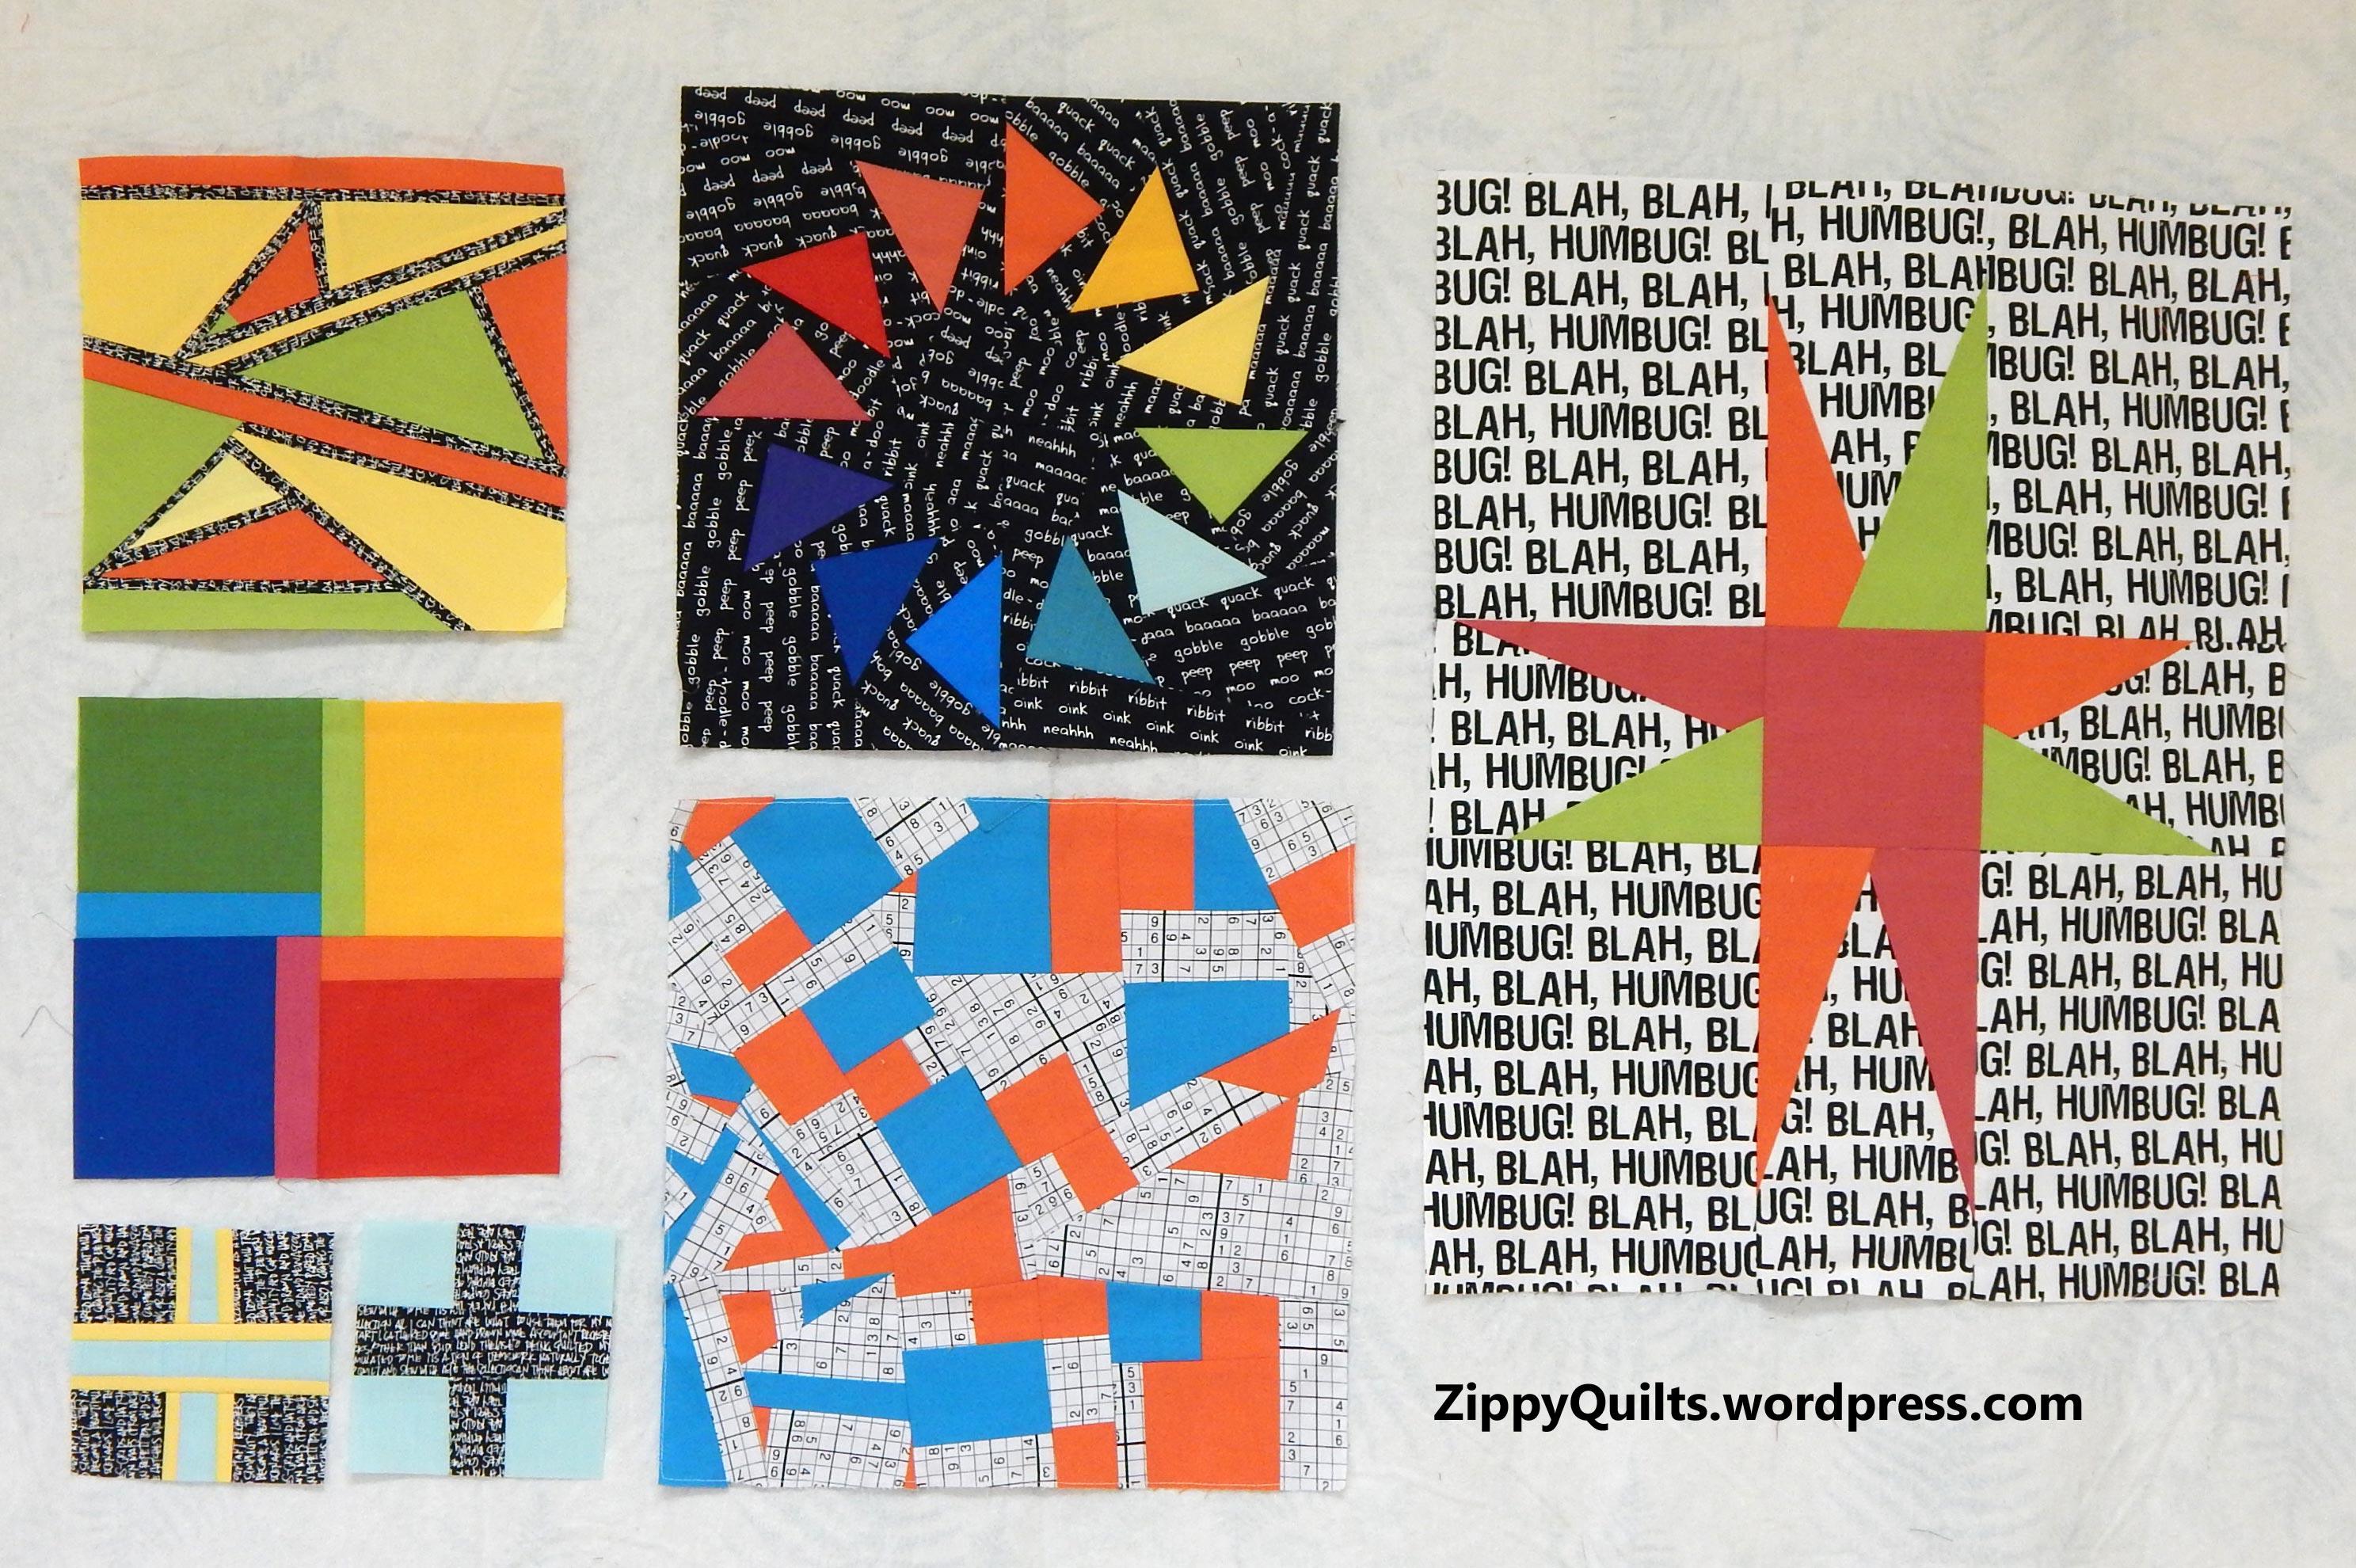
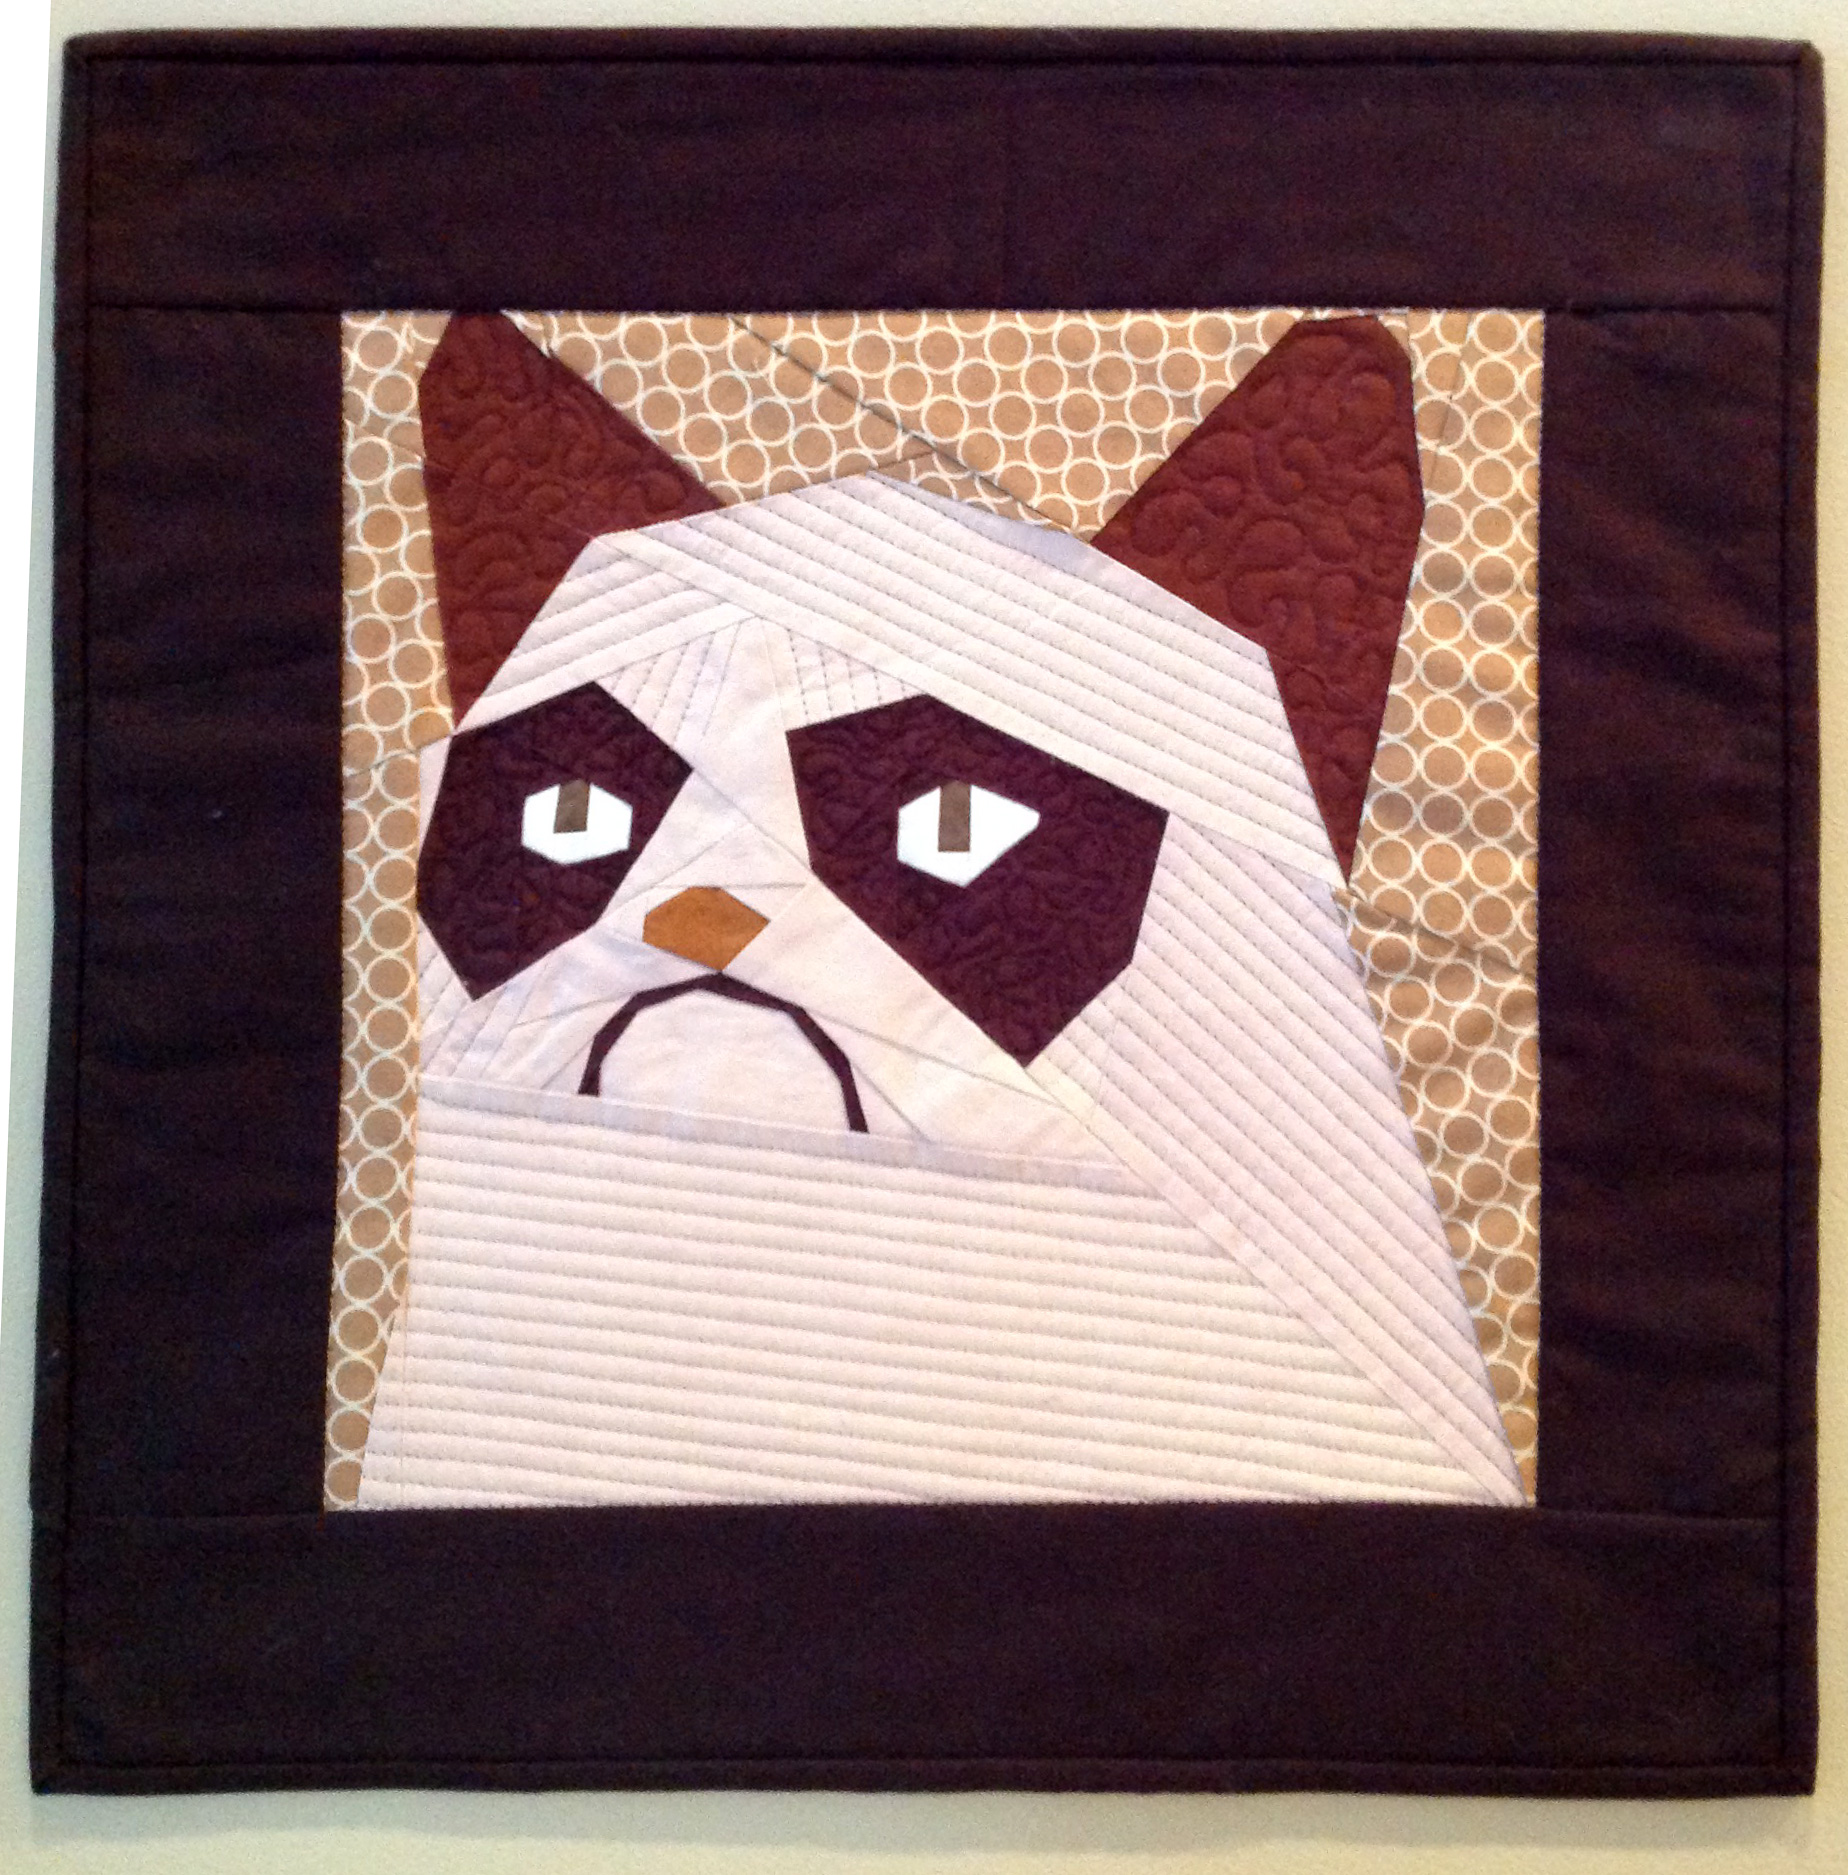
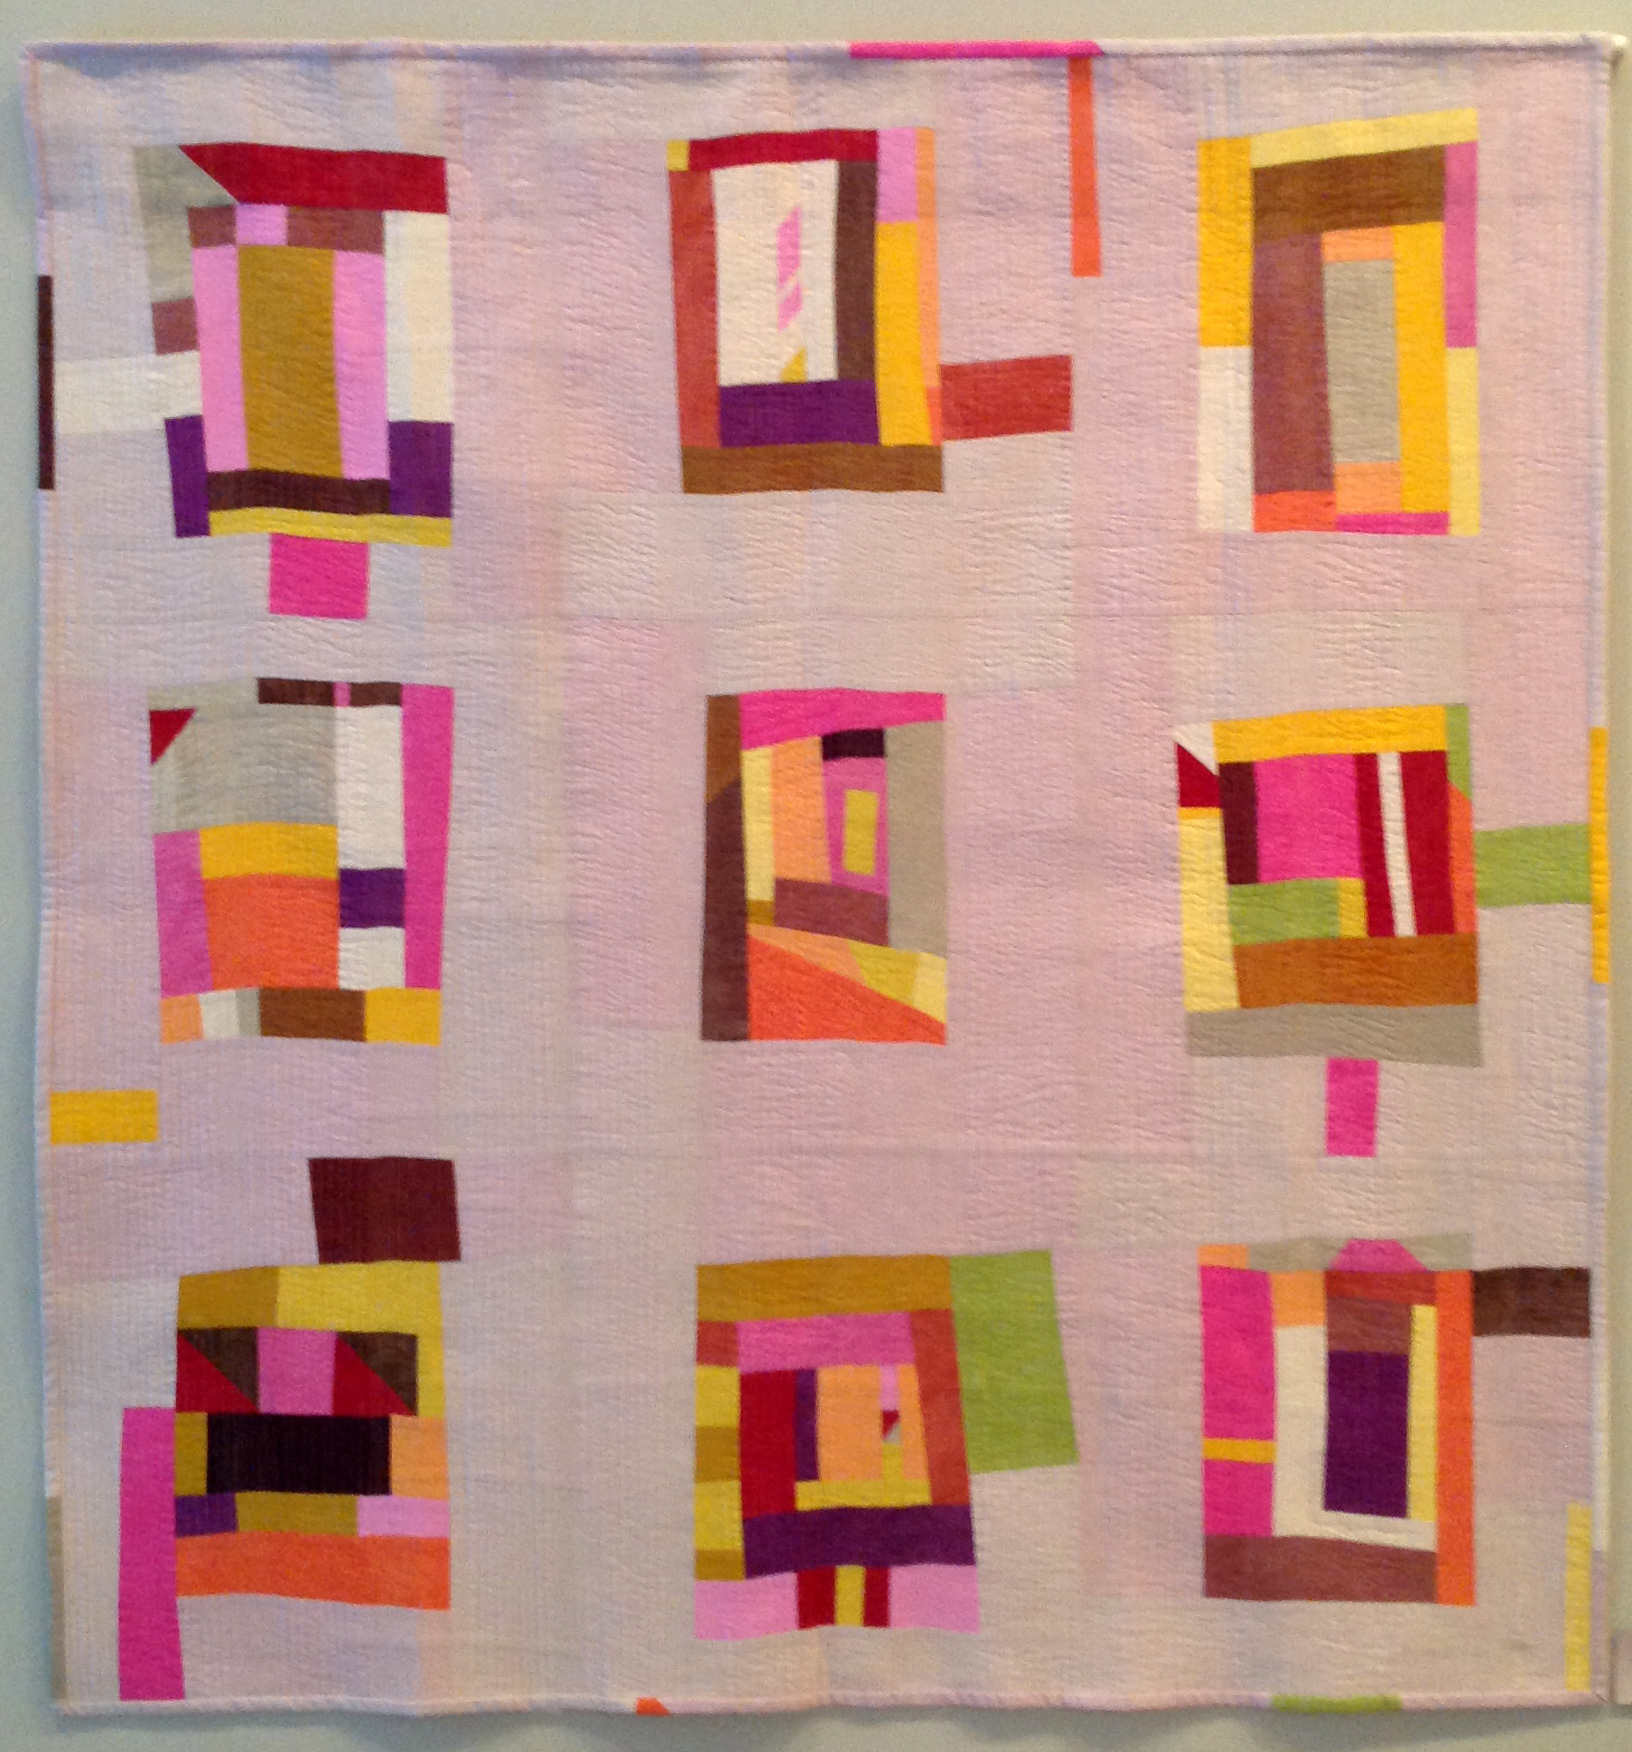
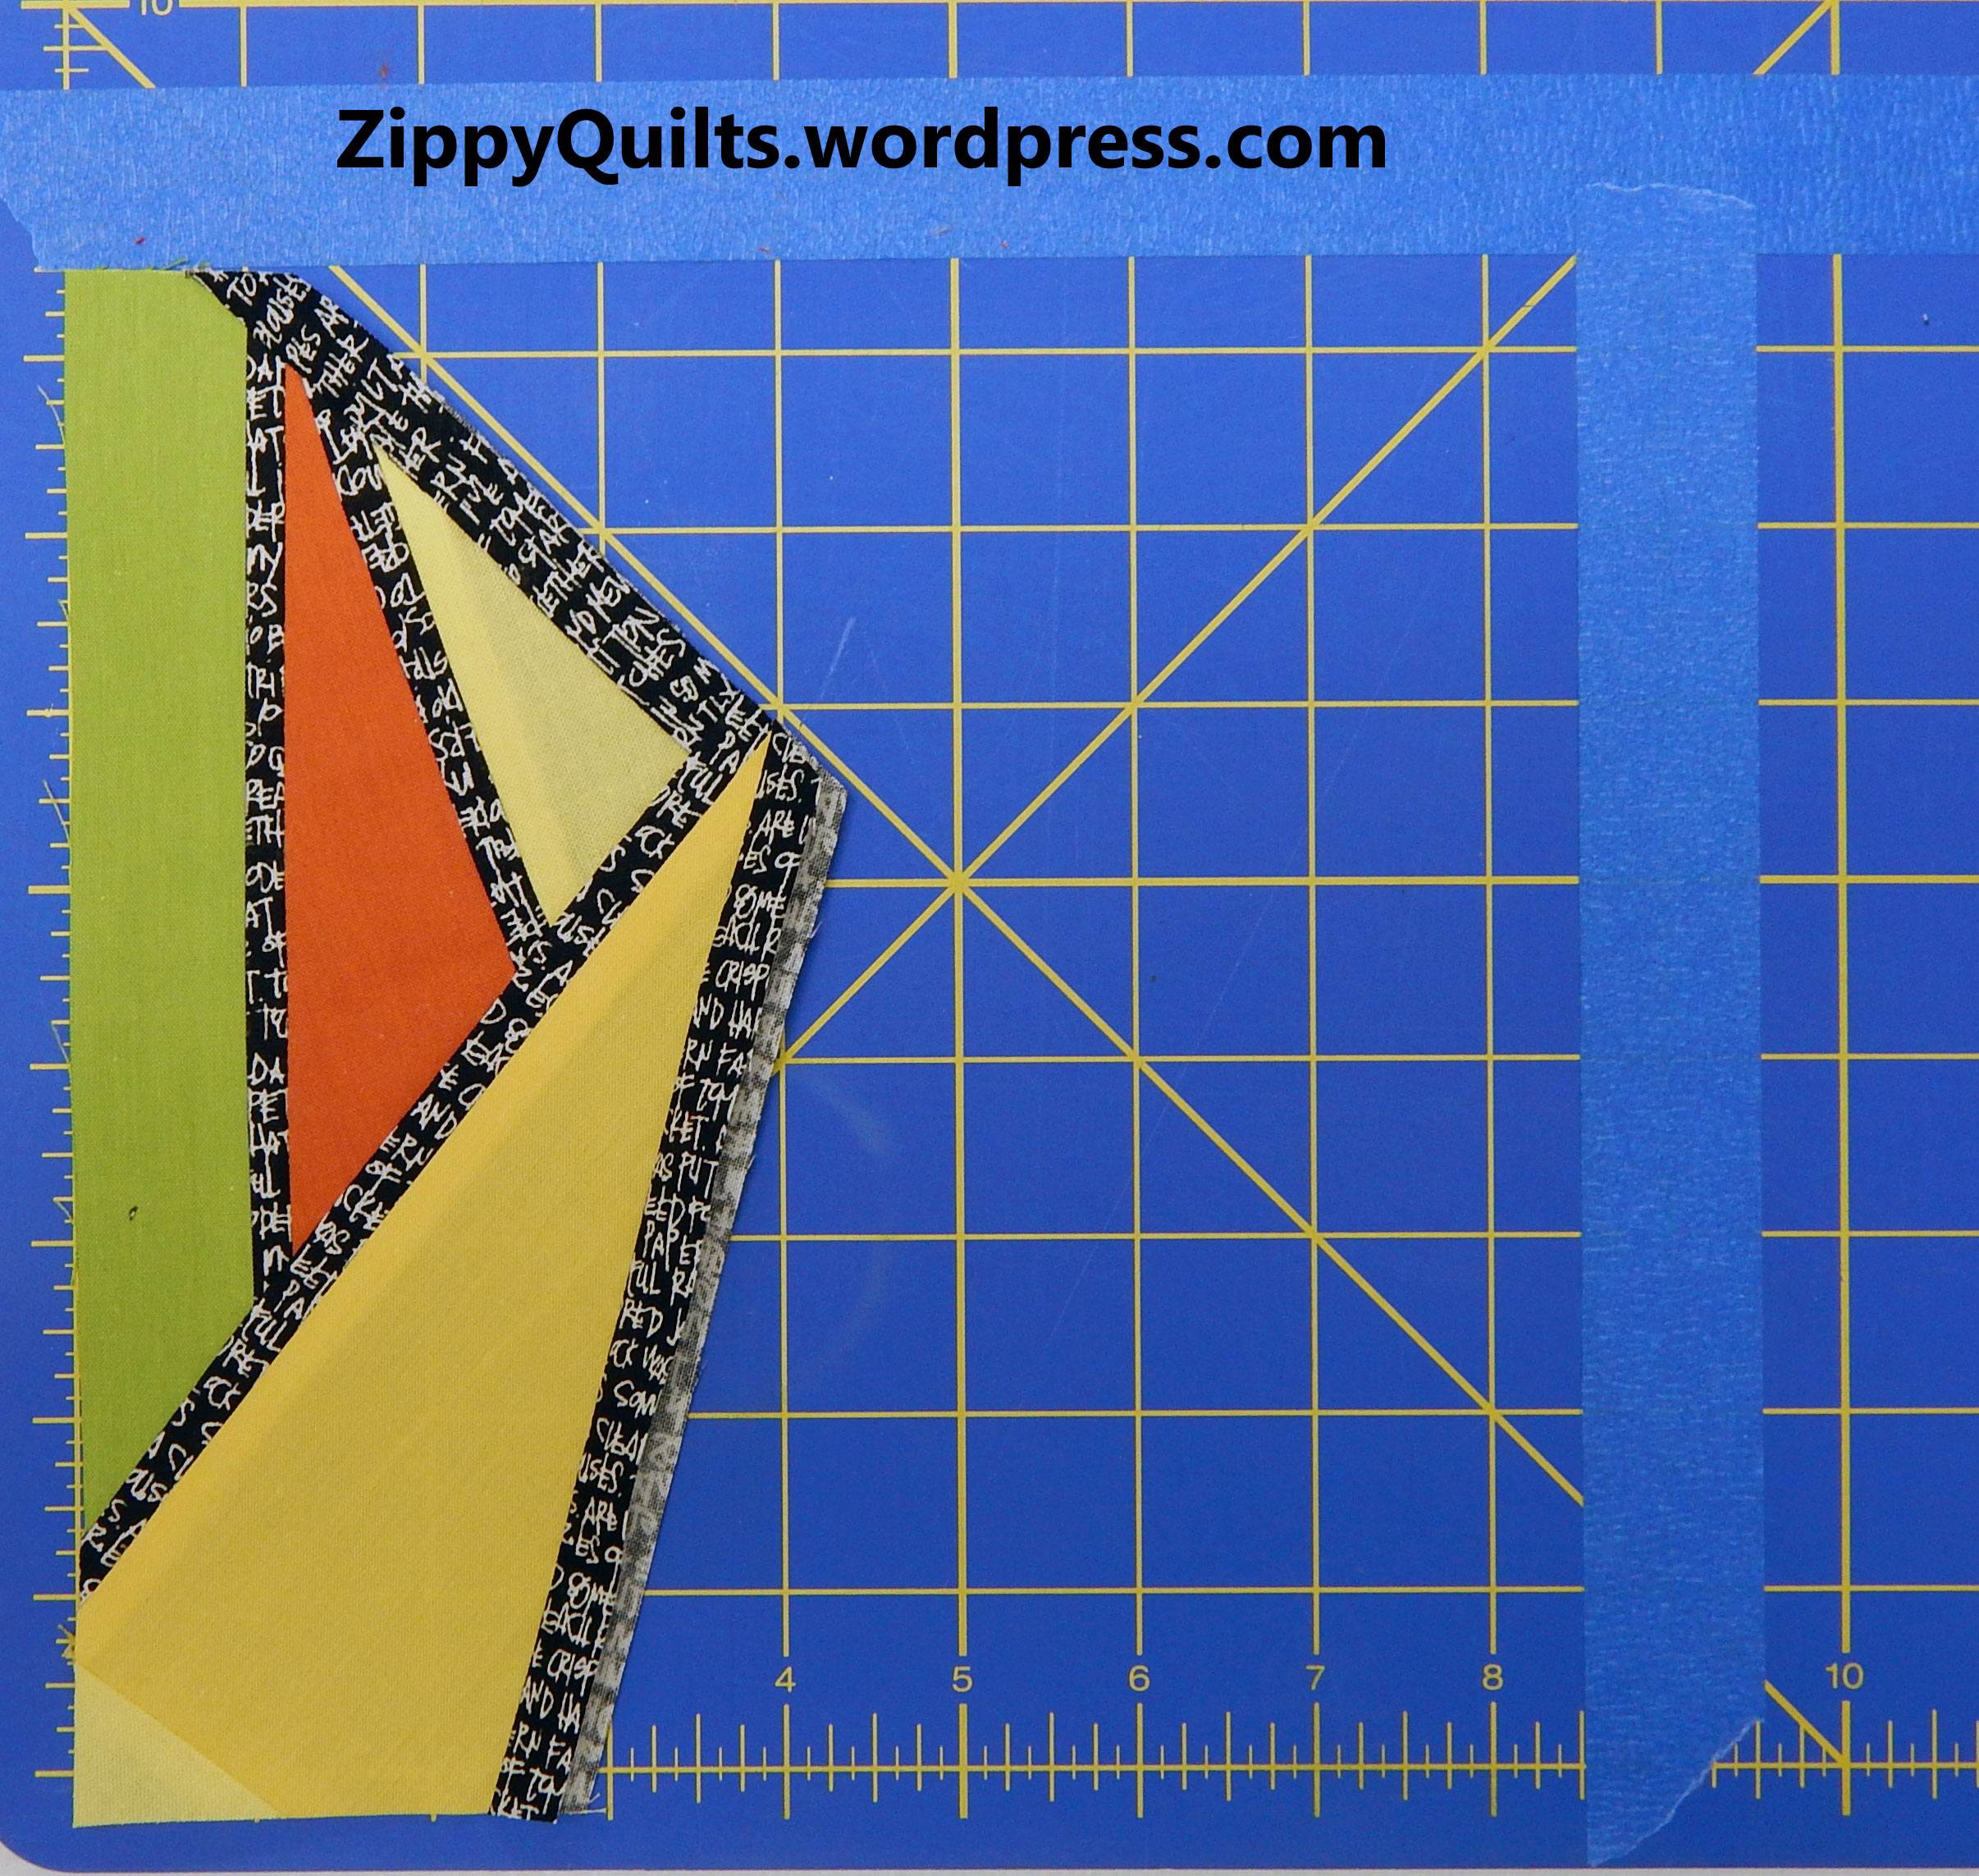
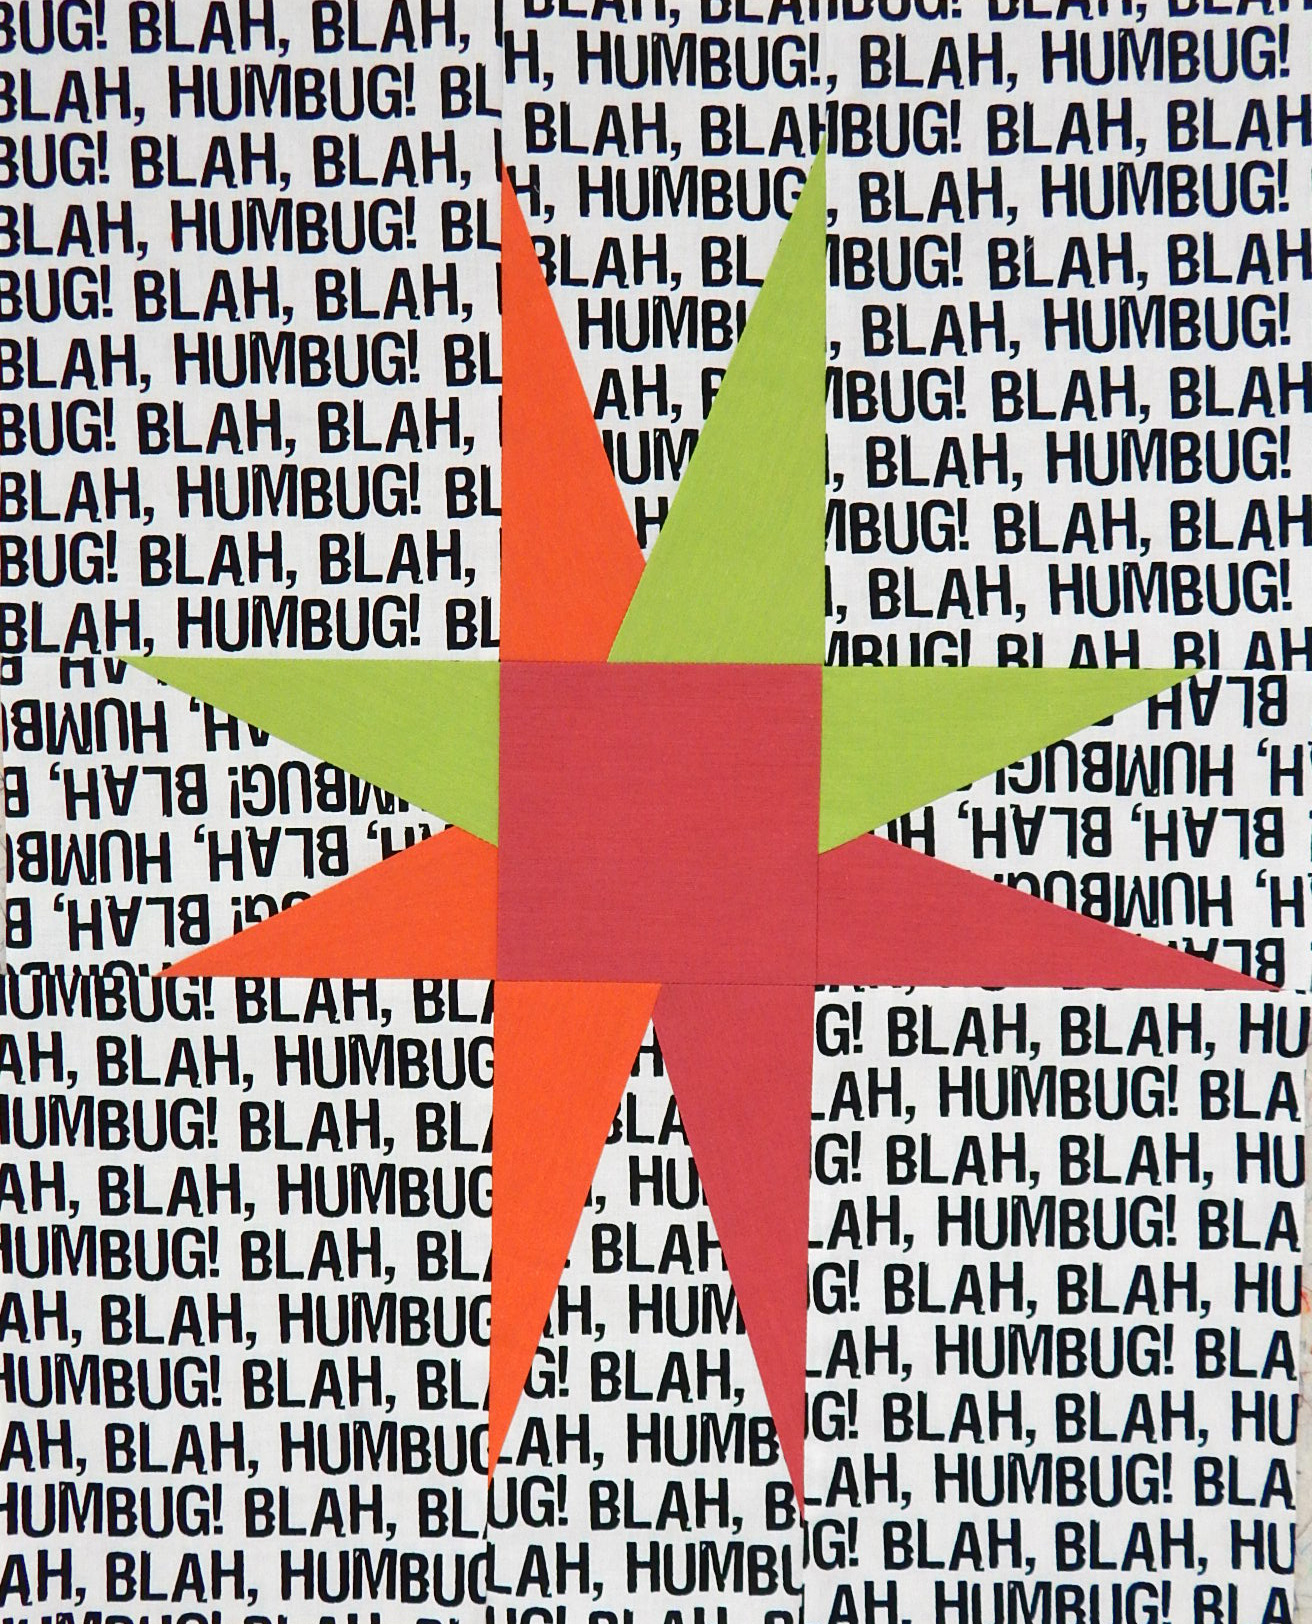
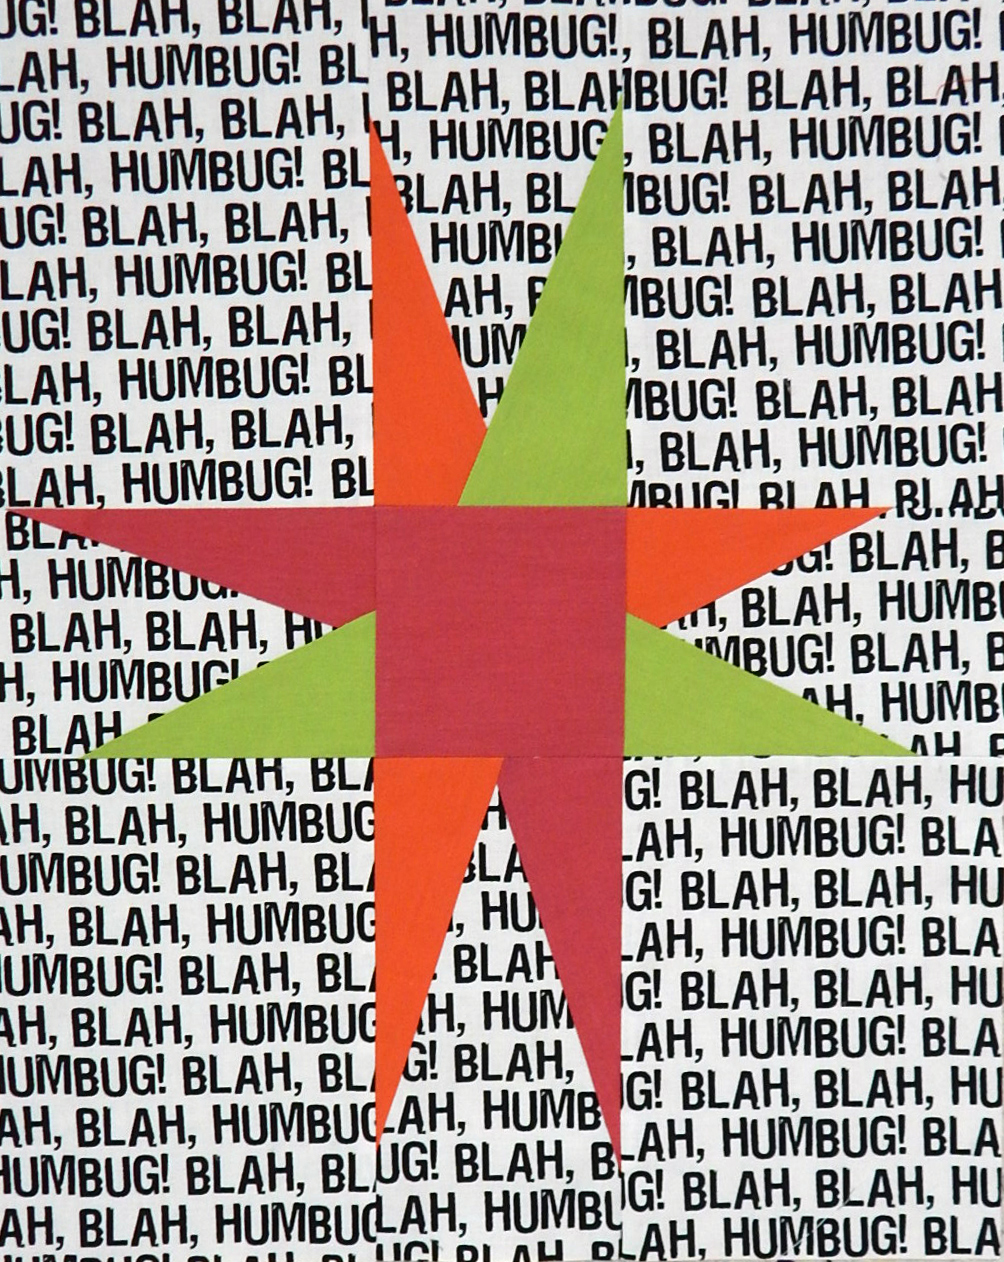
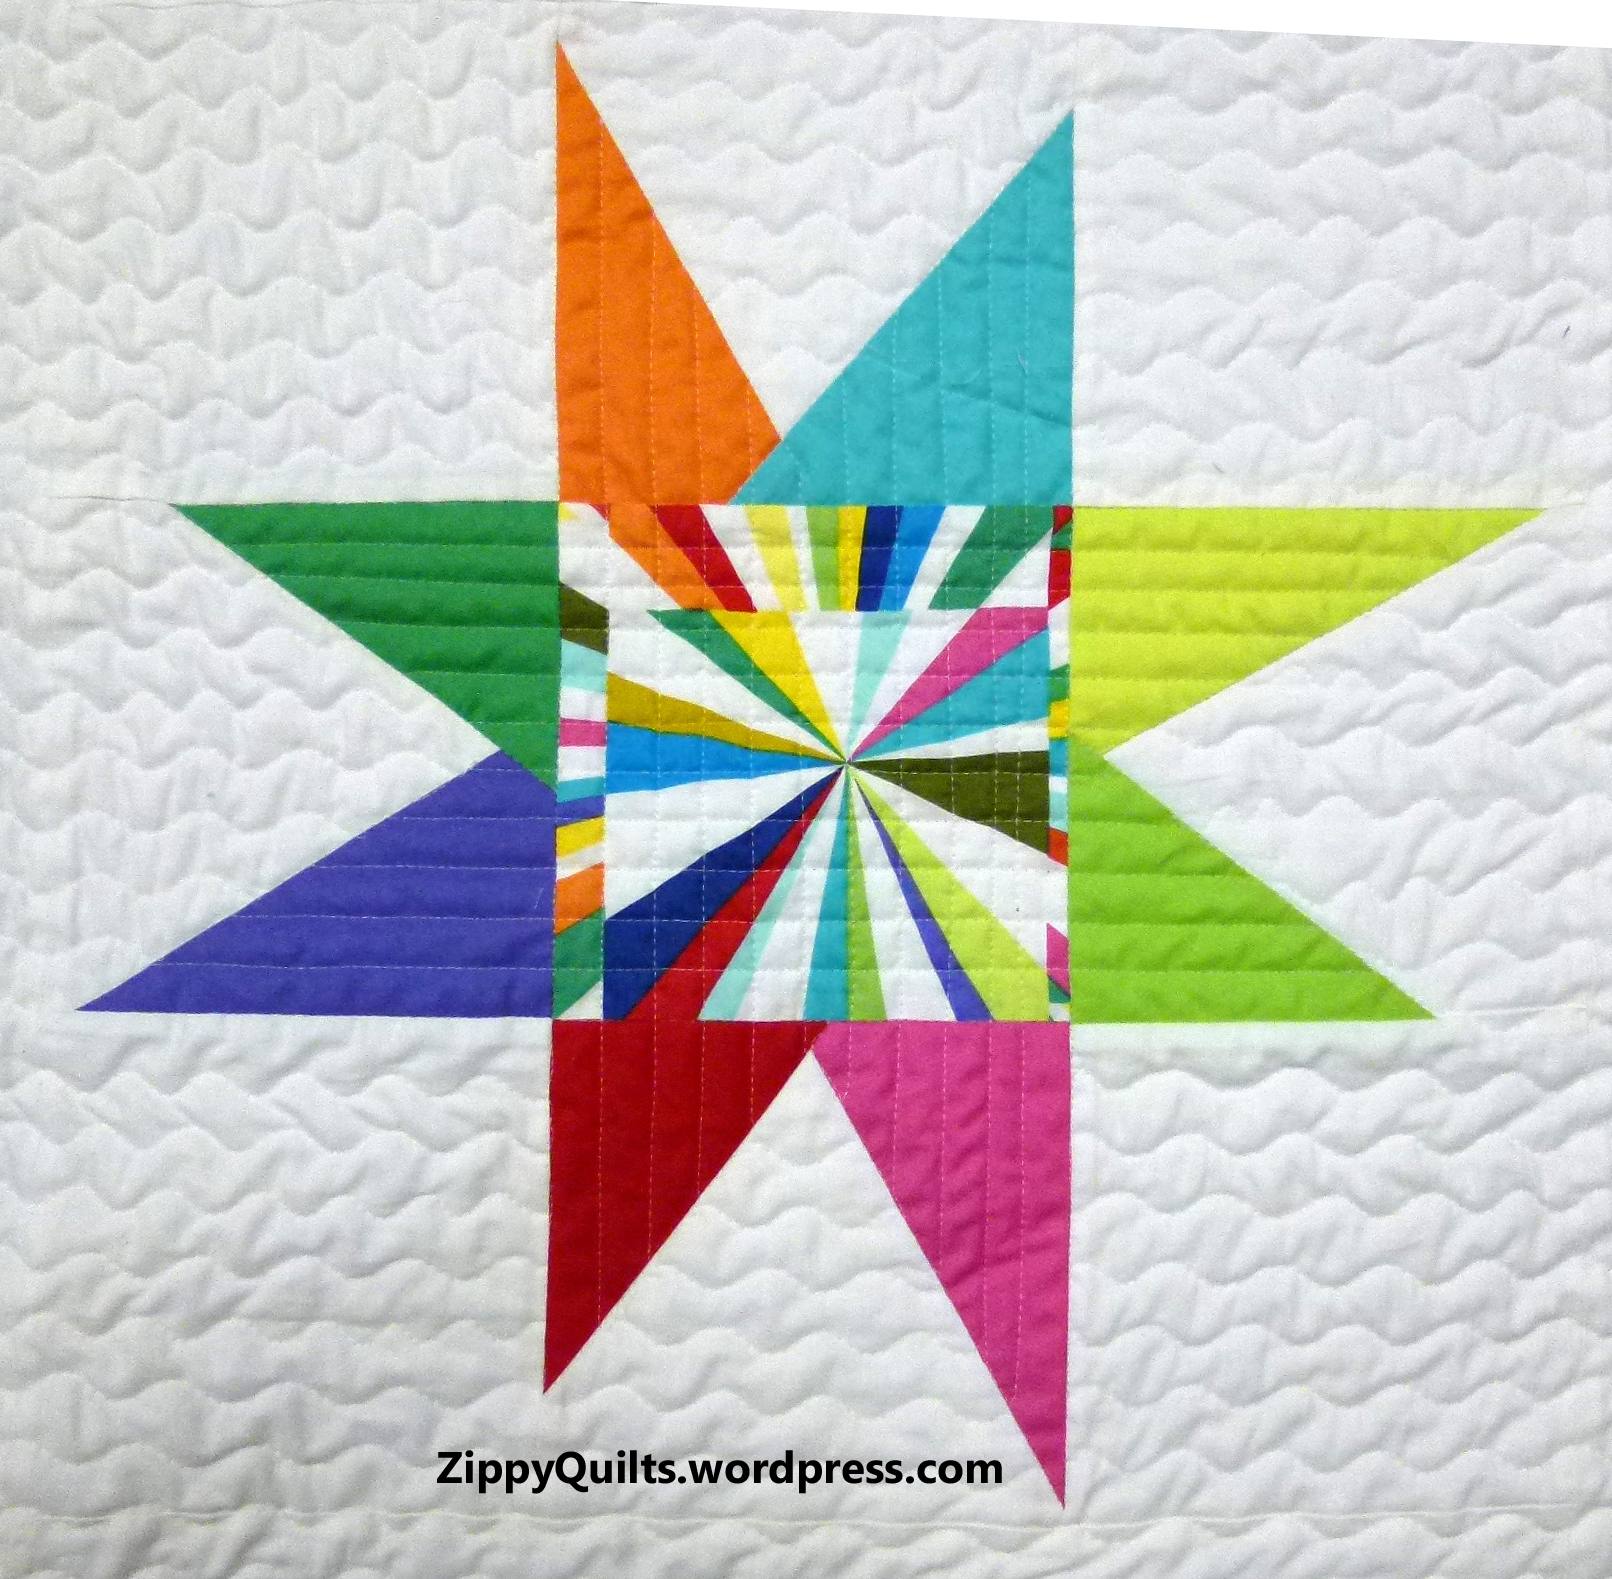
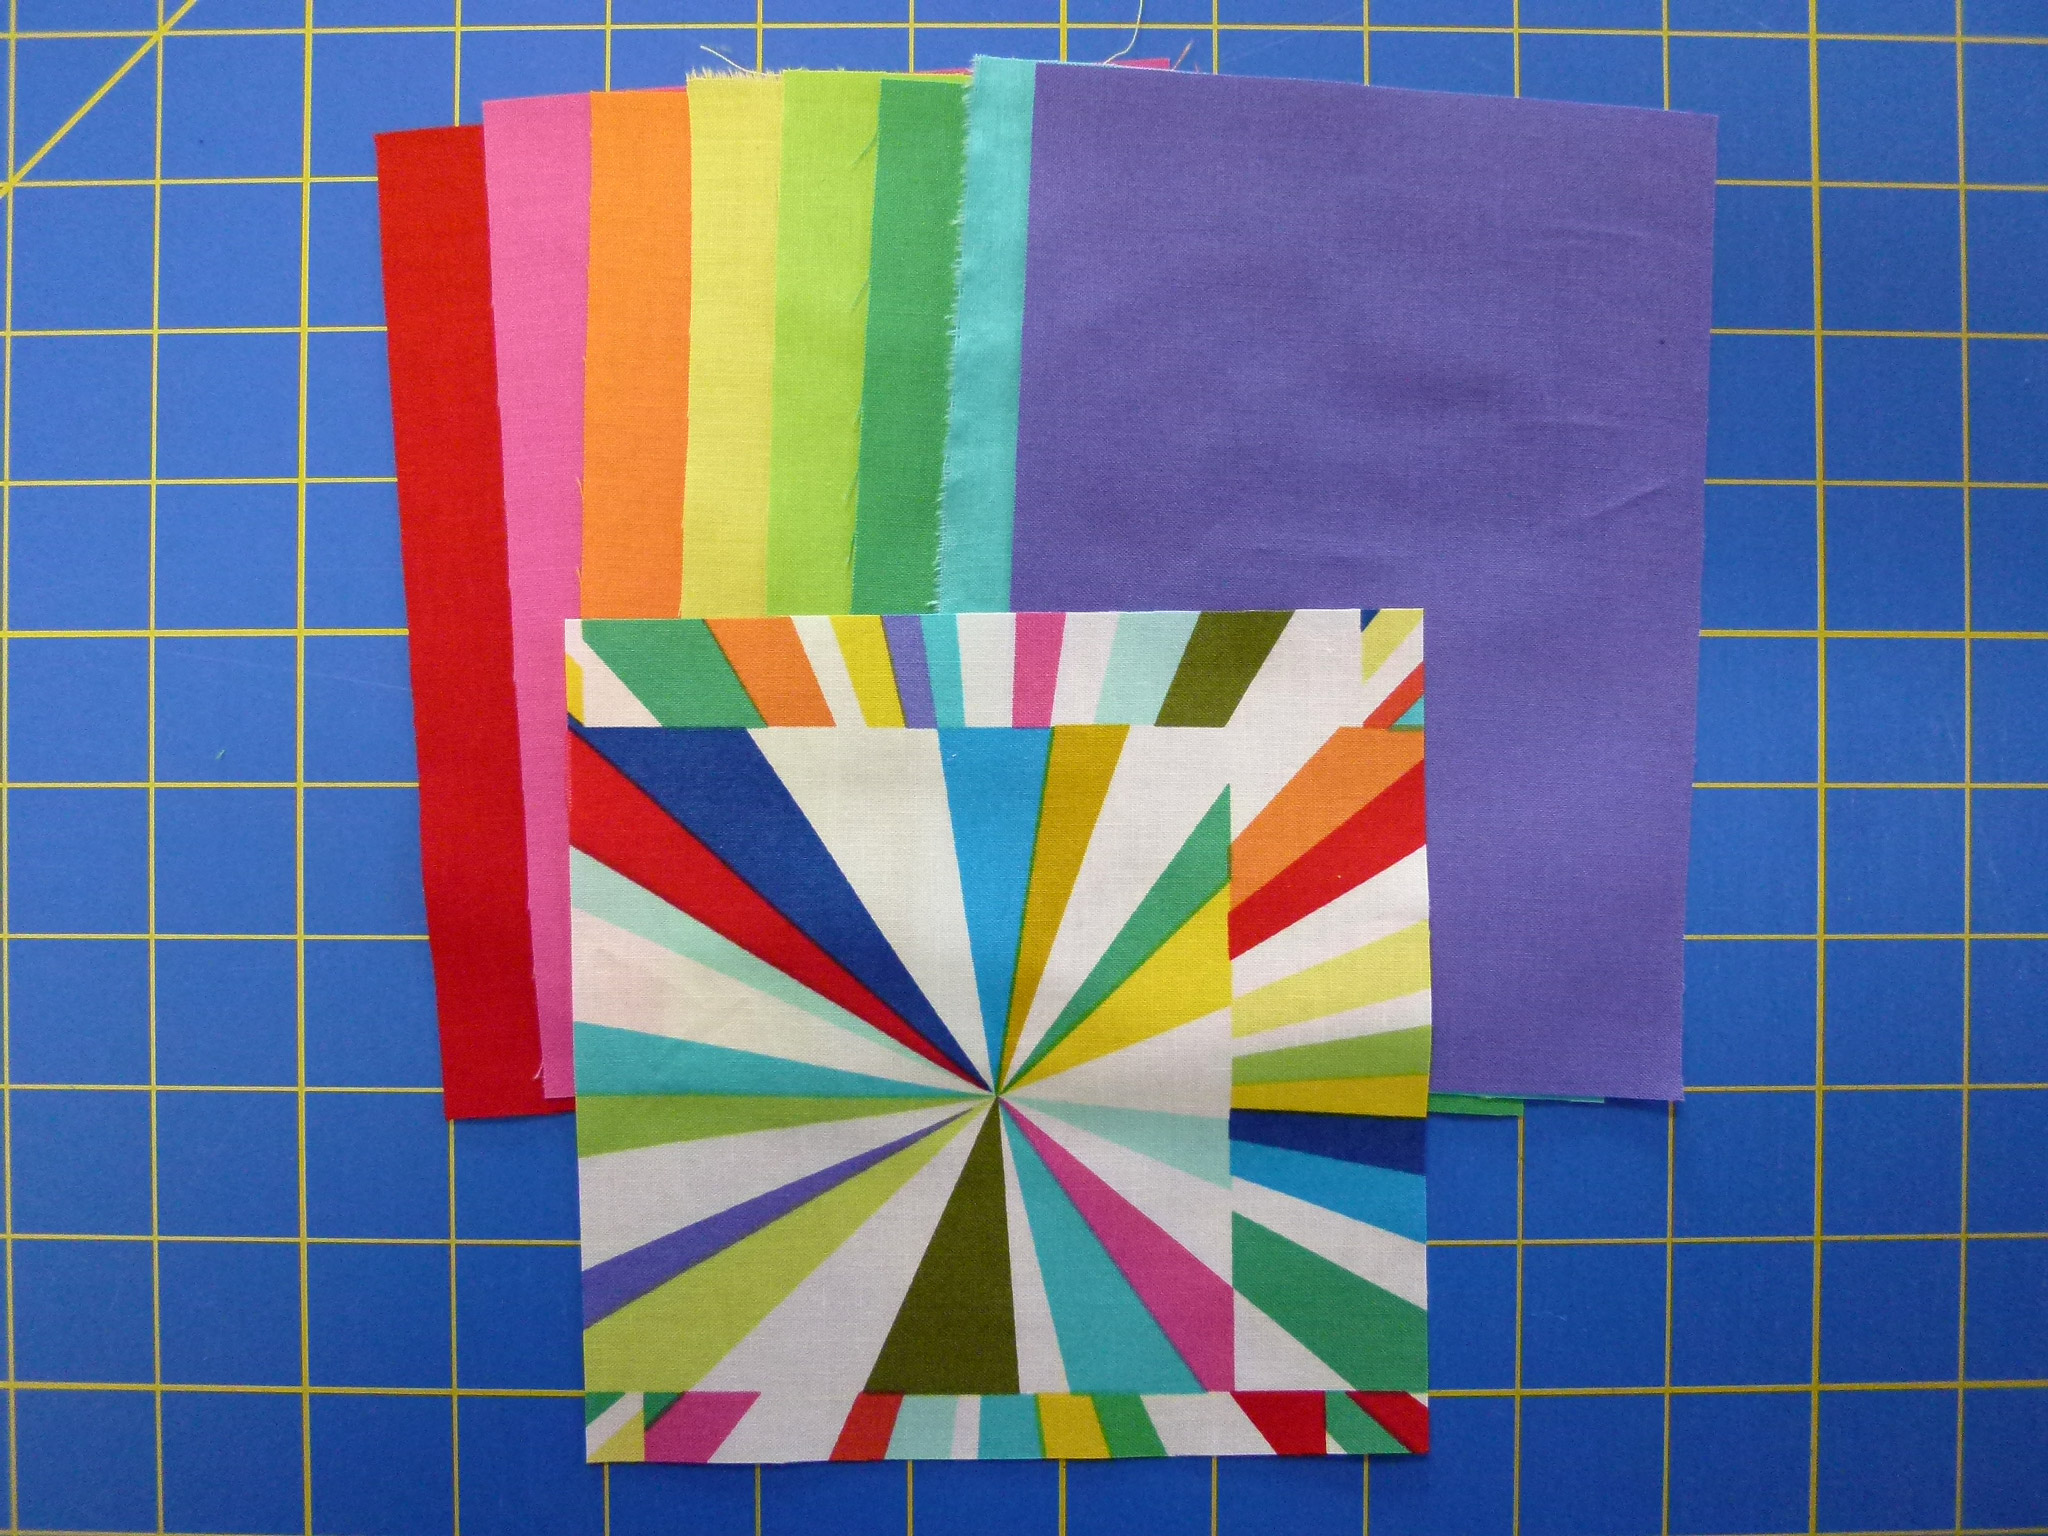
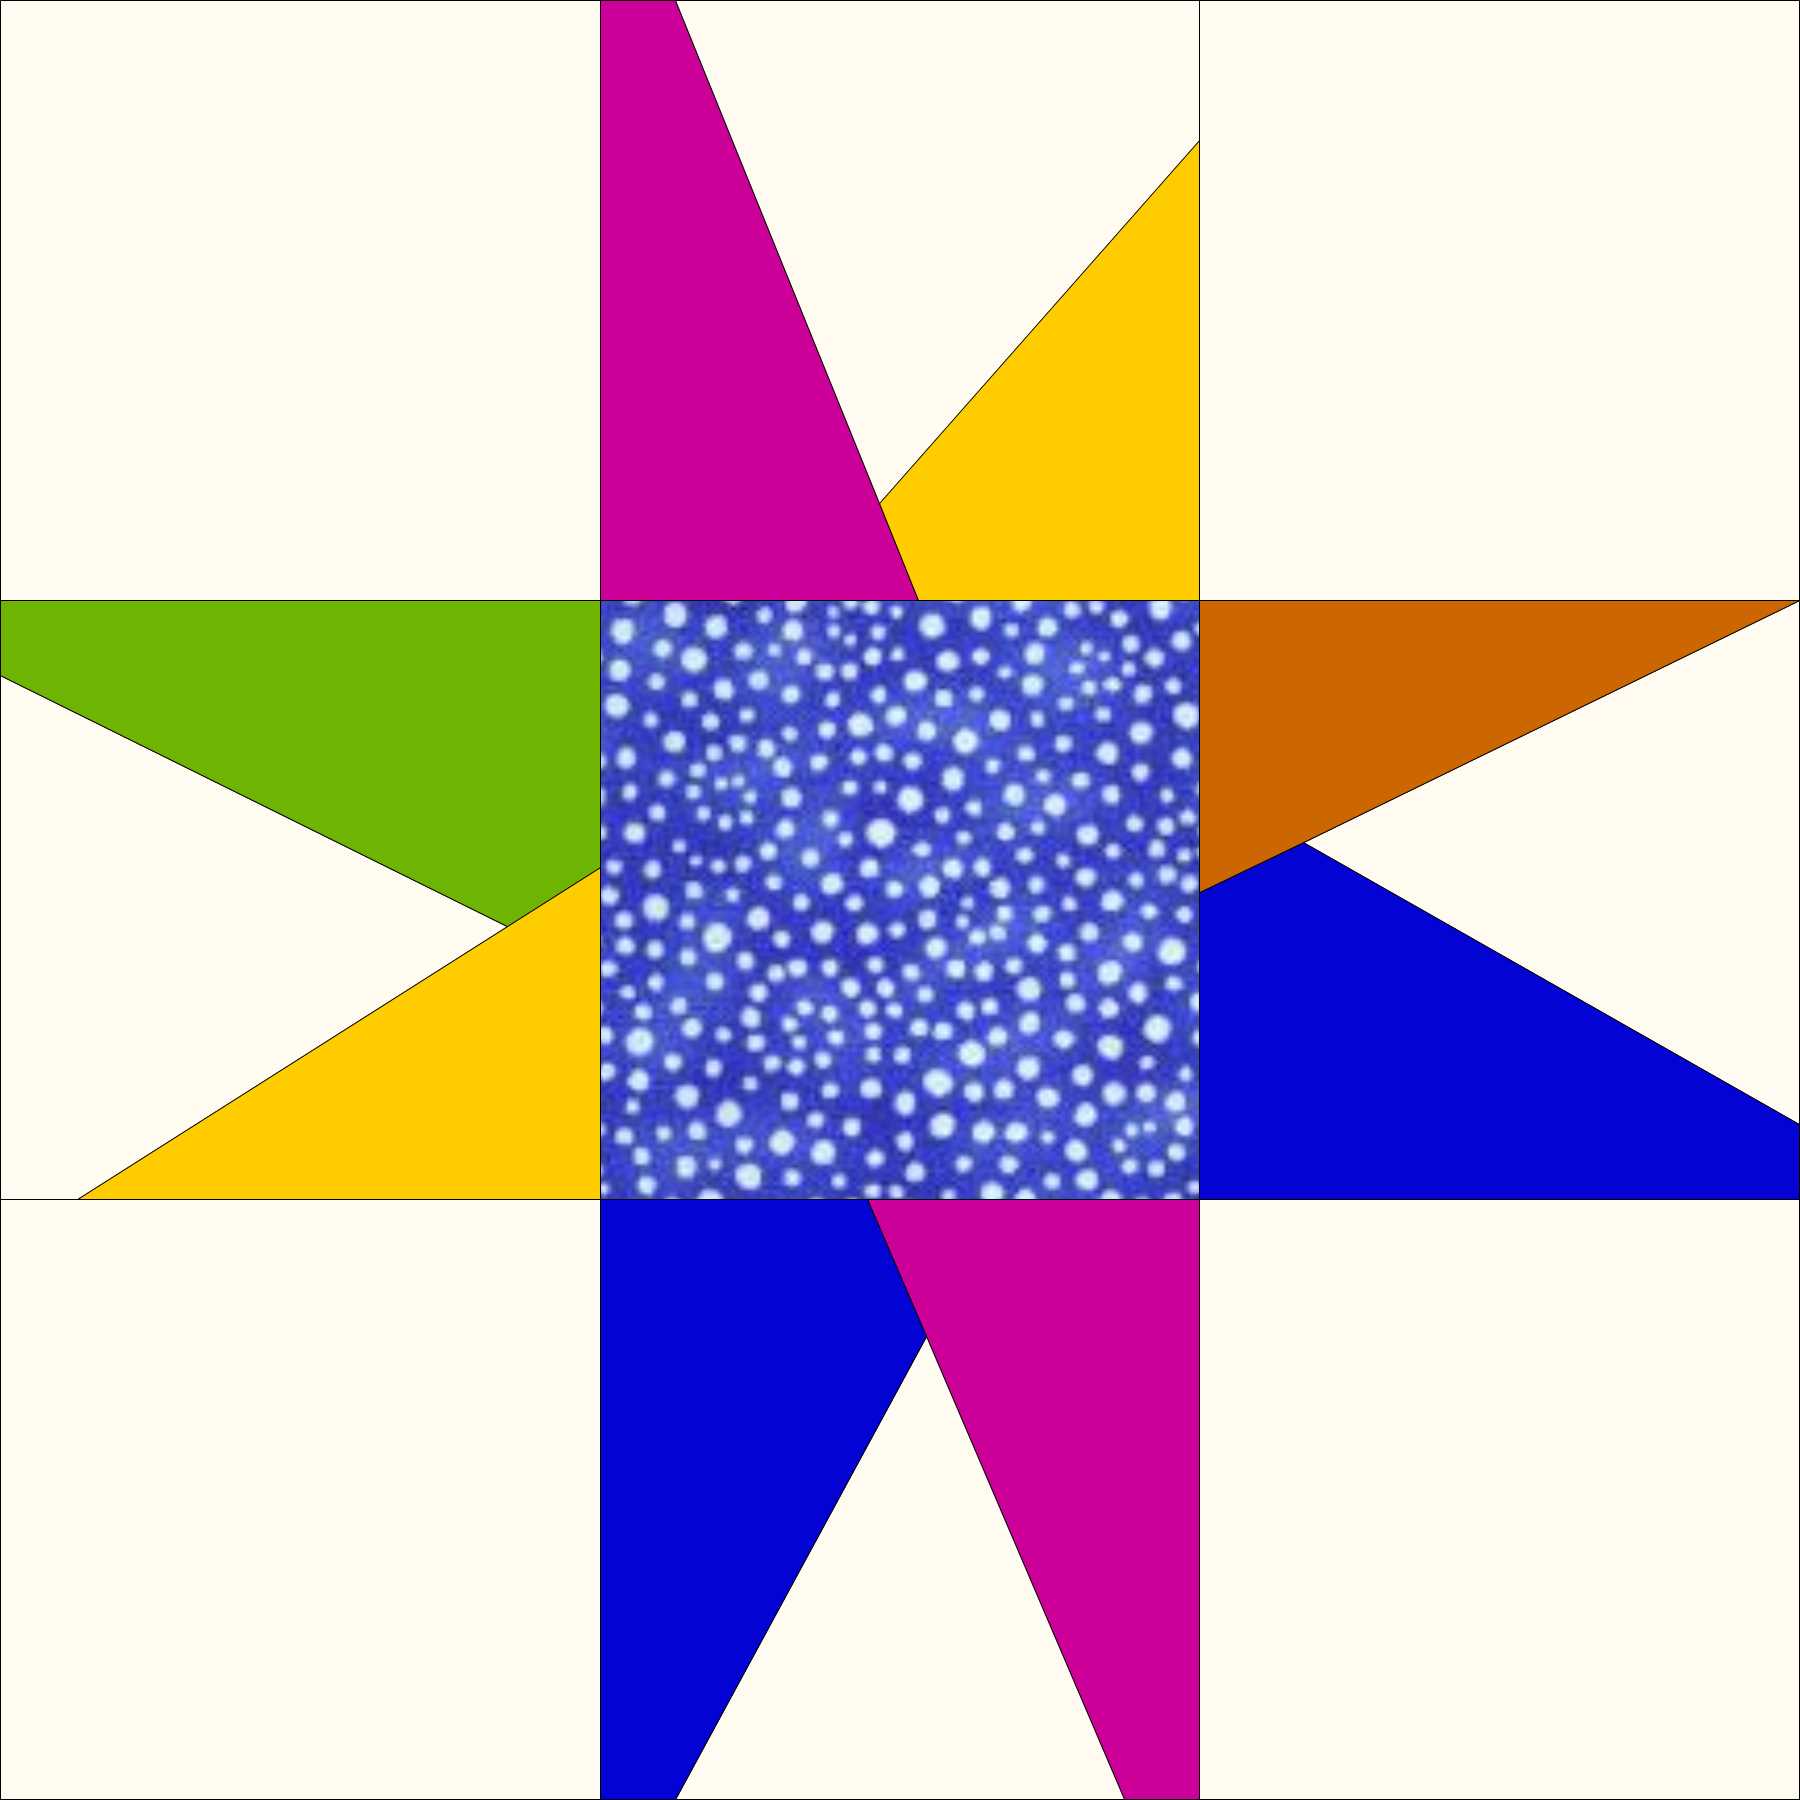
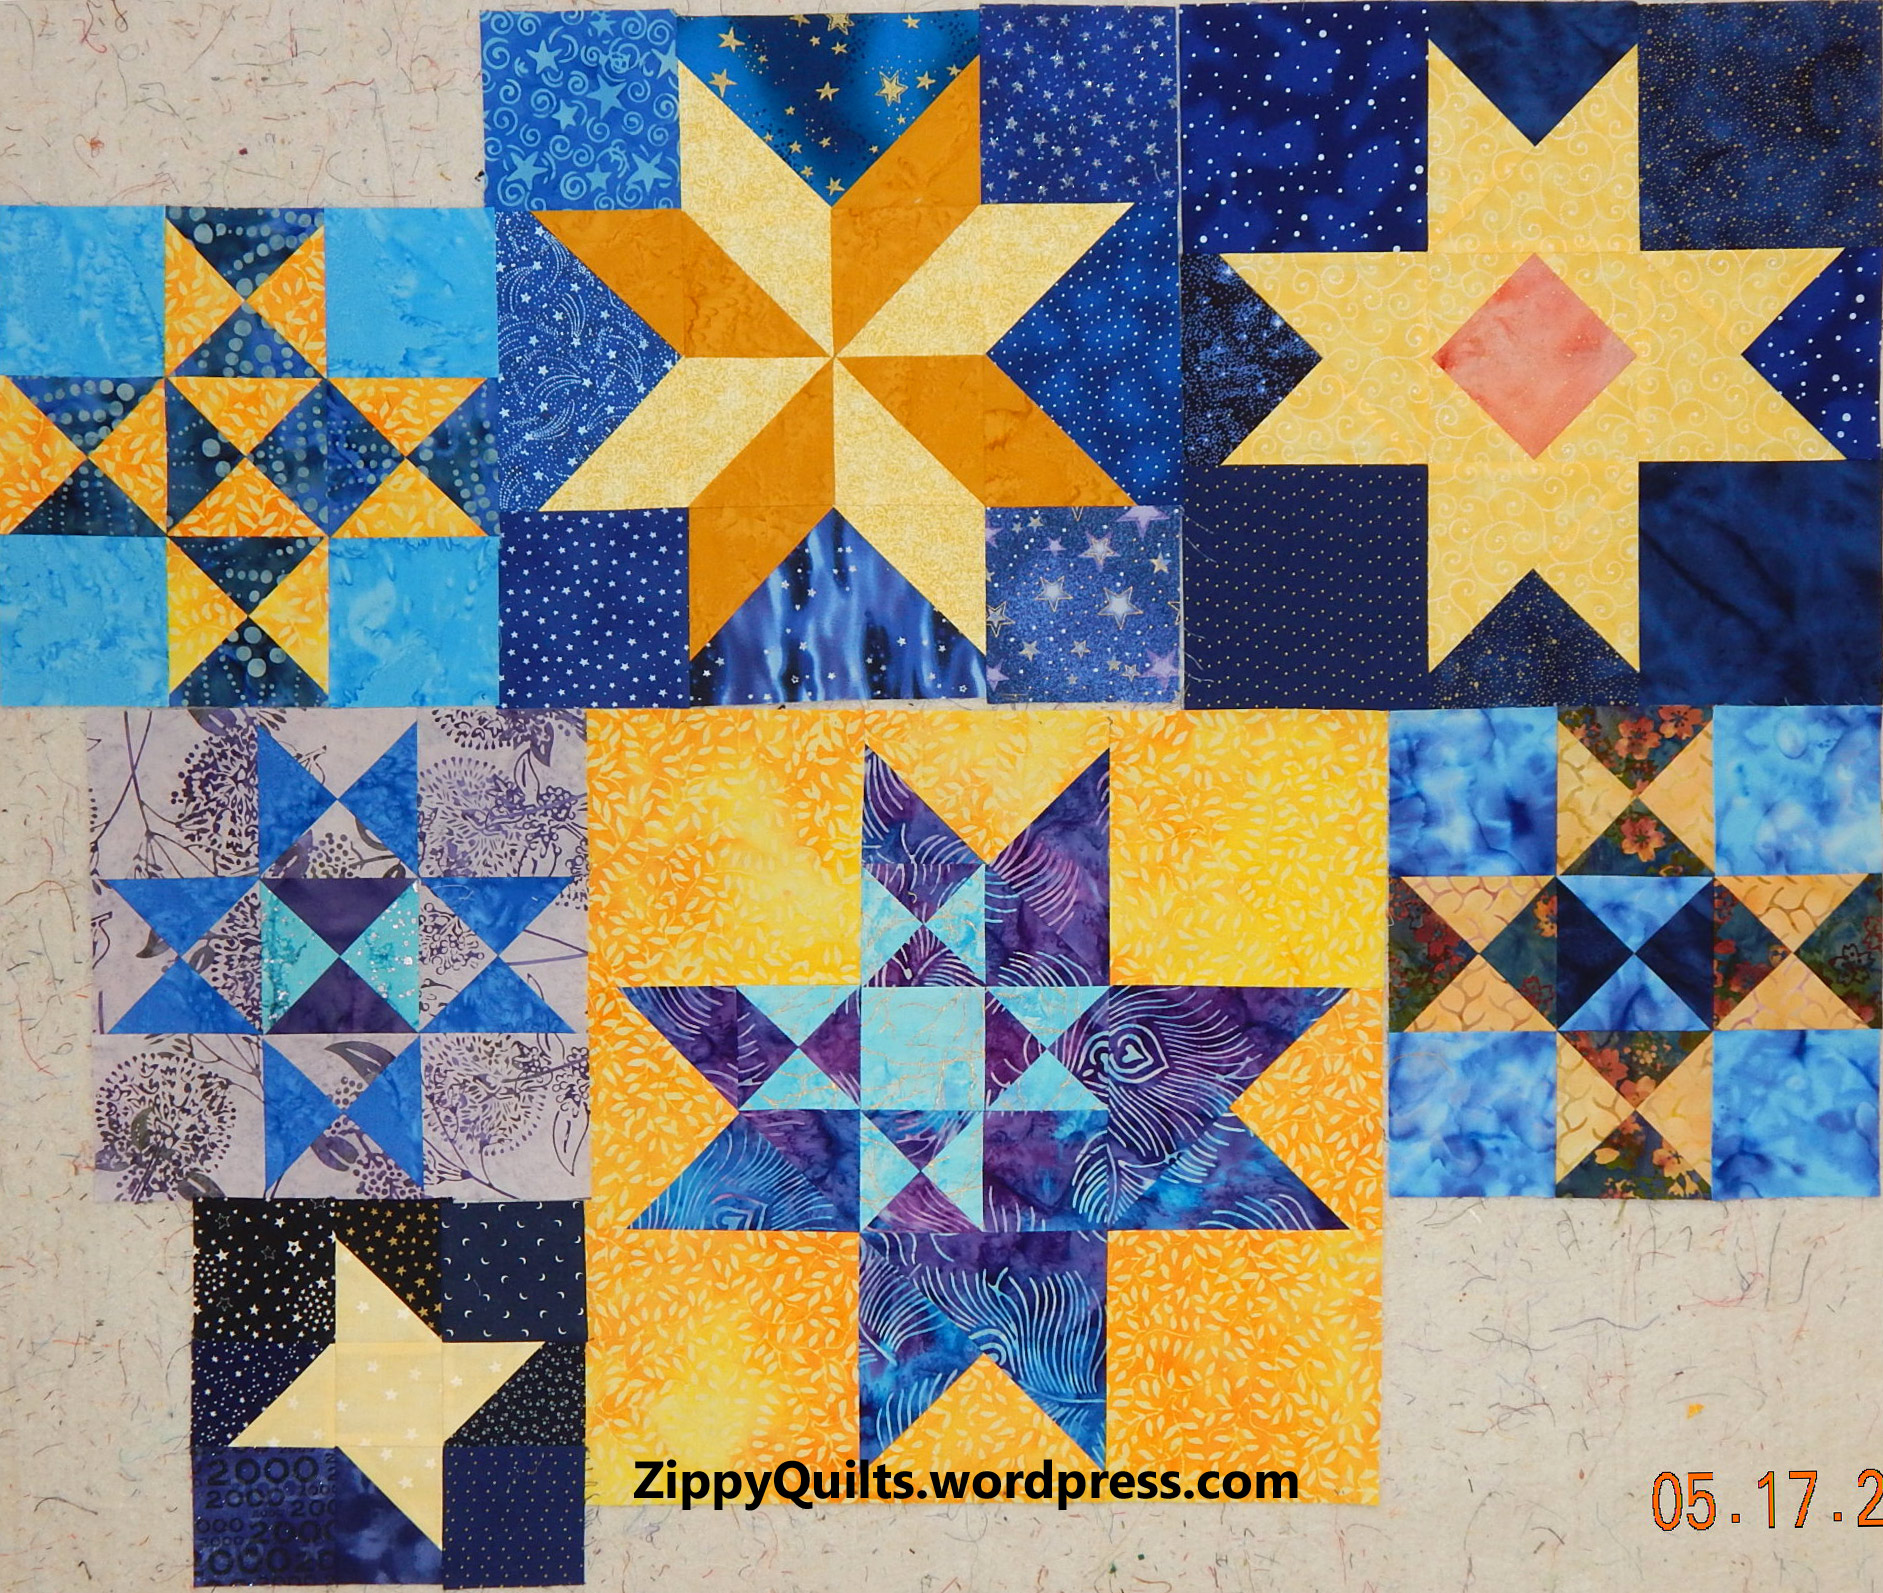
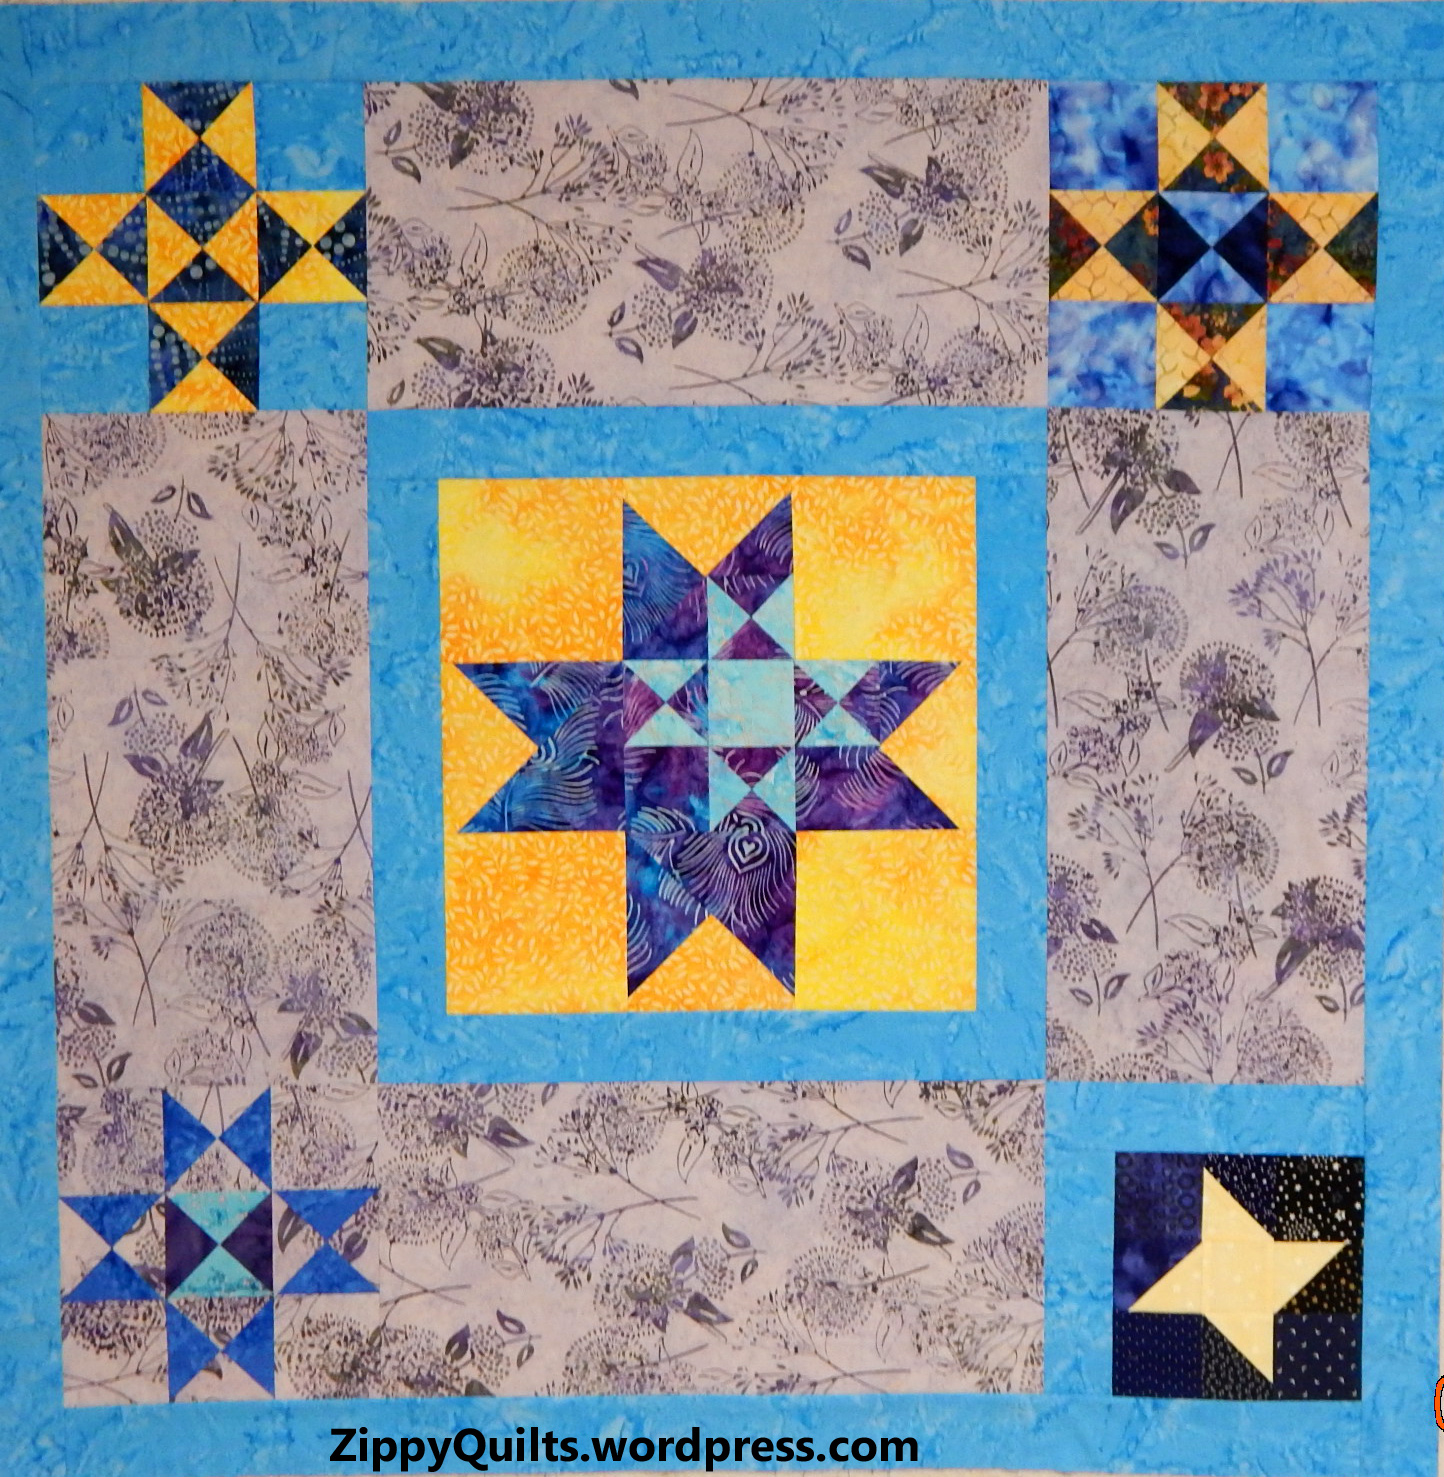
Finally, I made several new blocks for My Modern Sampler. You can read about the one below here, and I’ll be blogging about the others in the coming weeks.
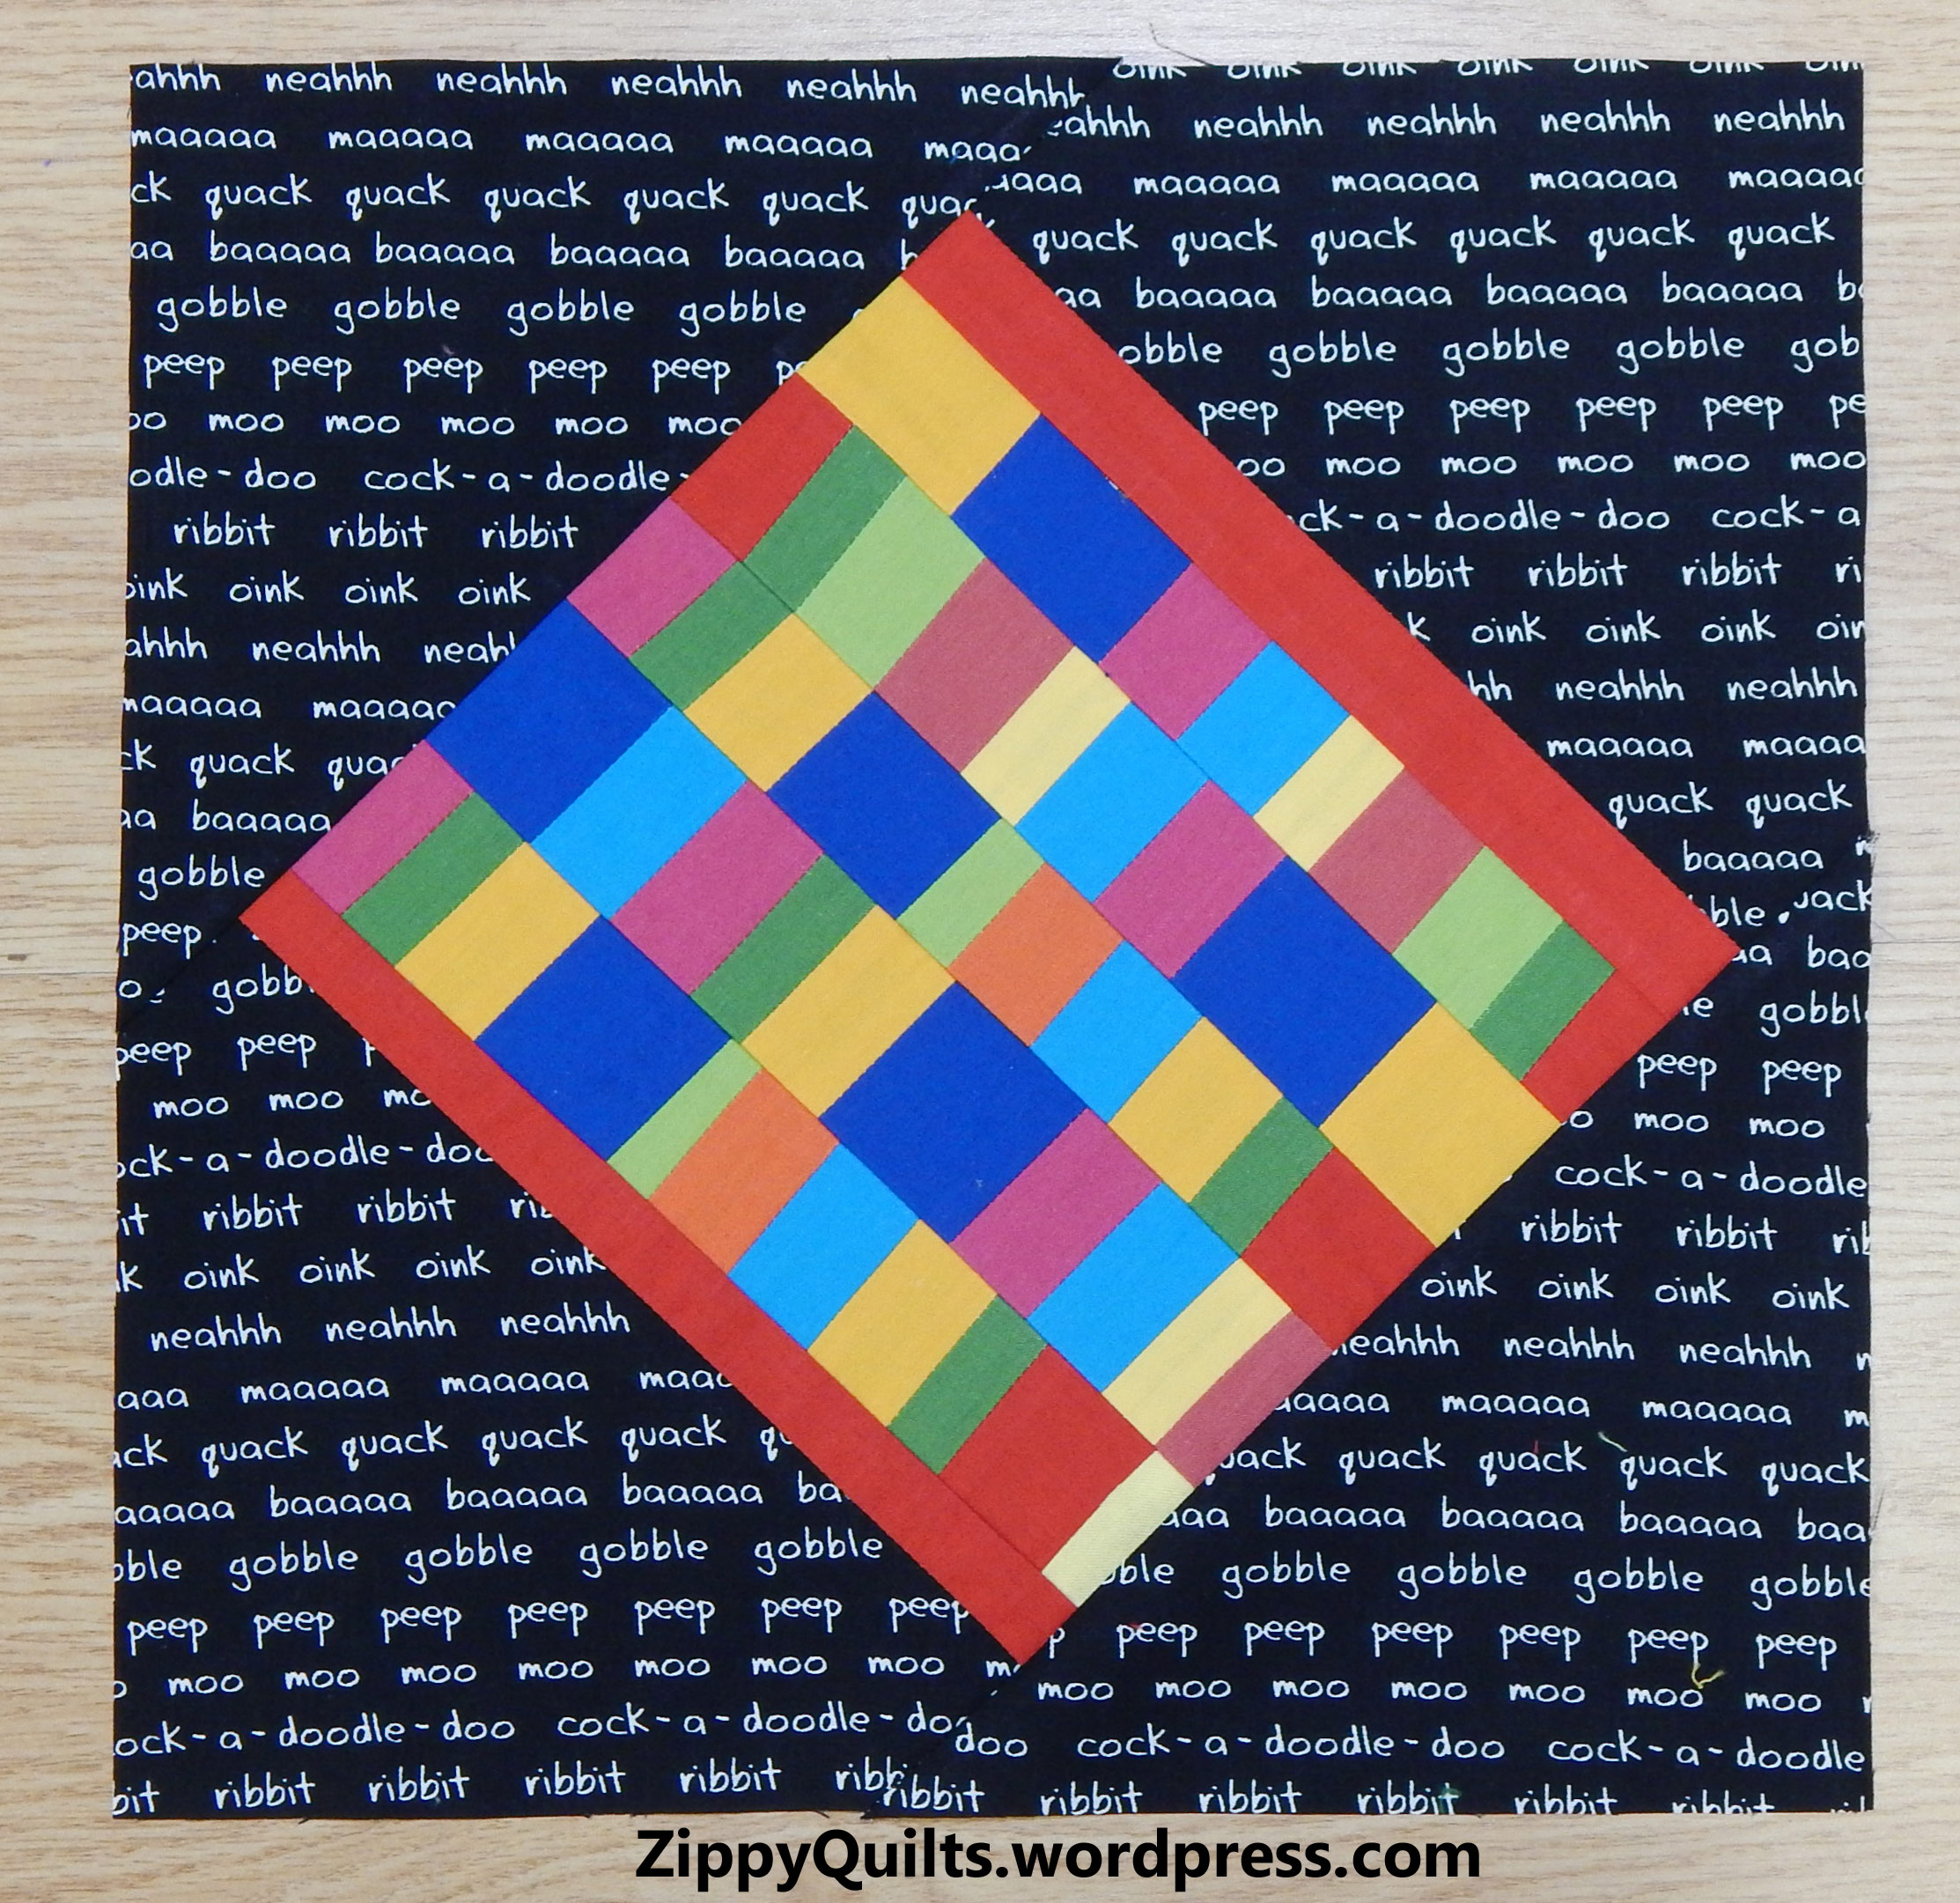
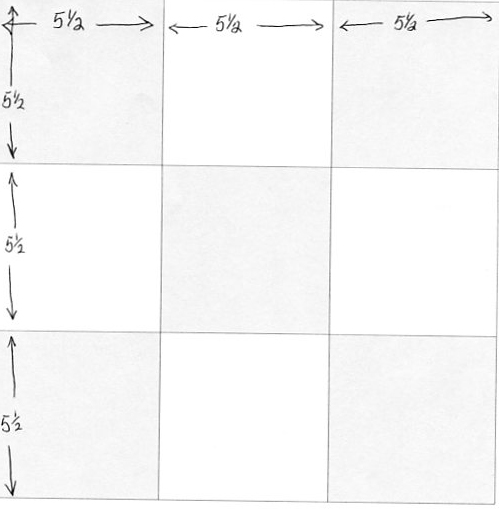
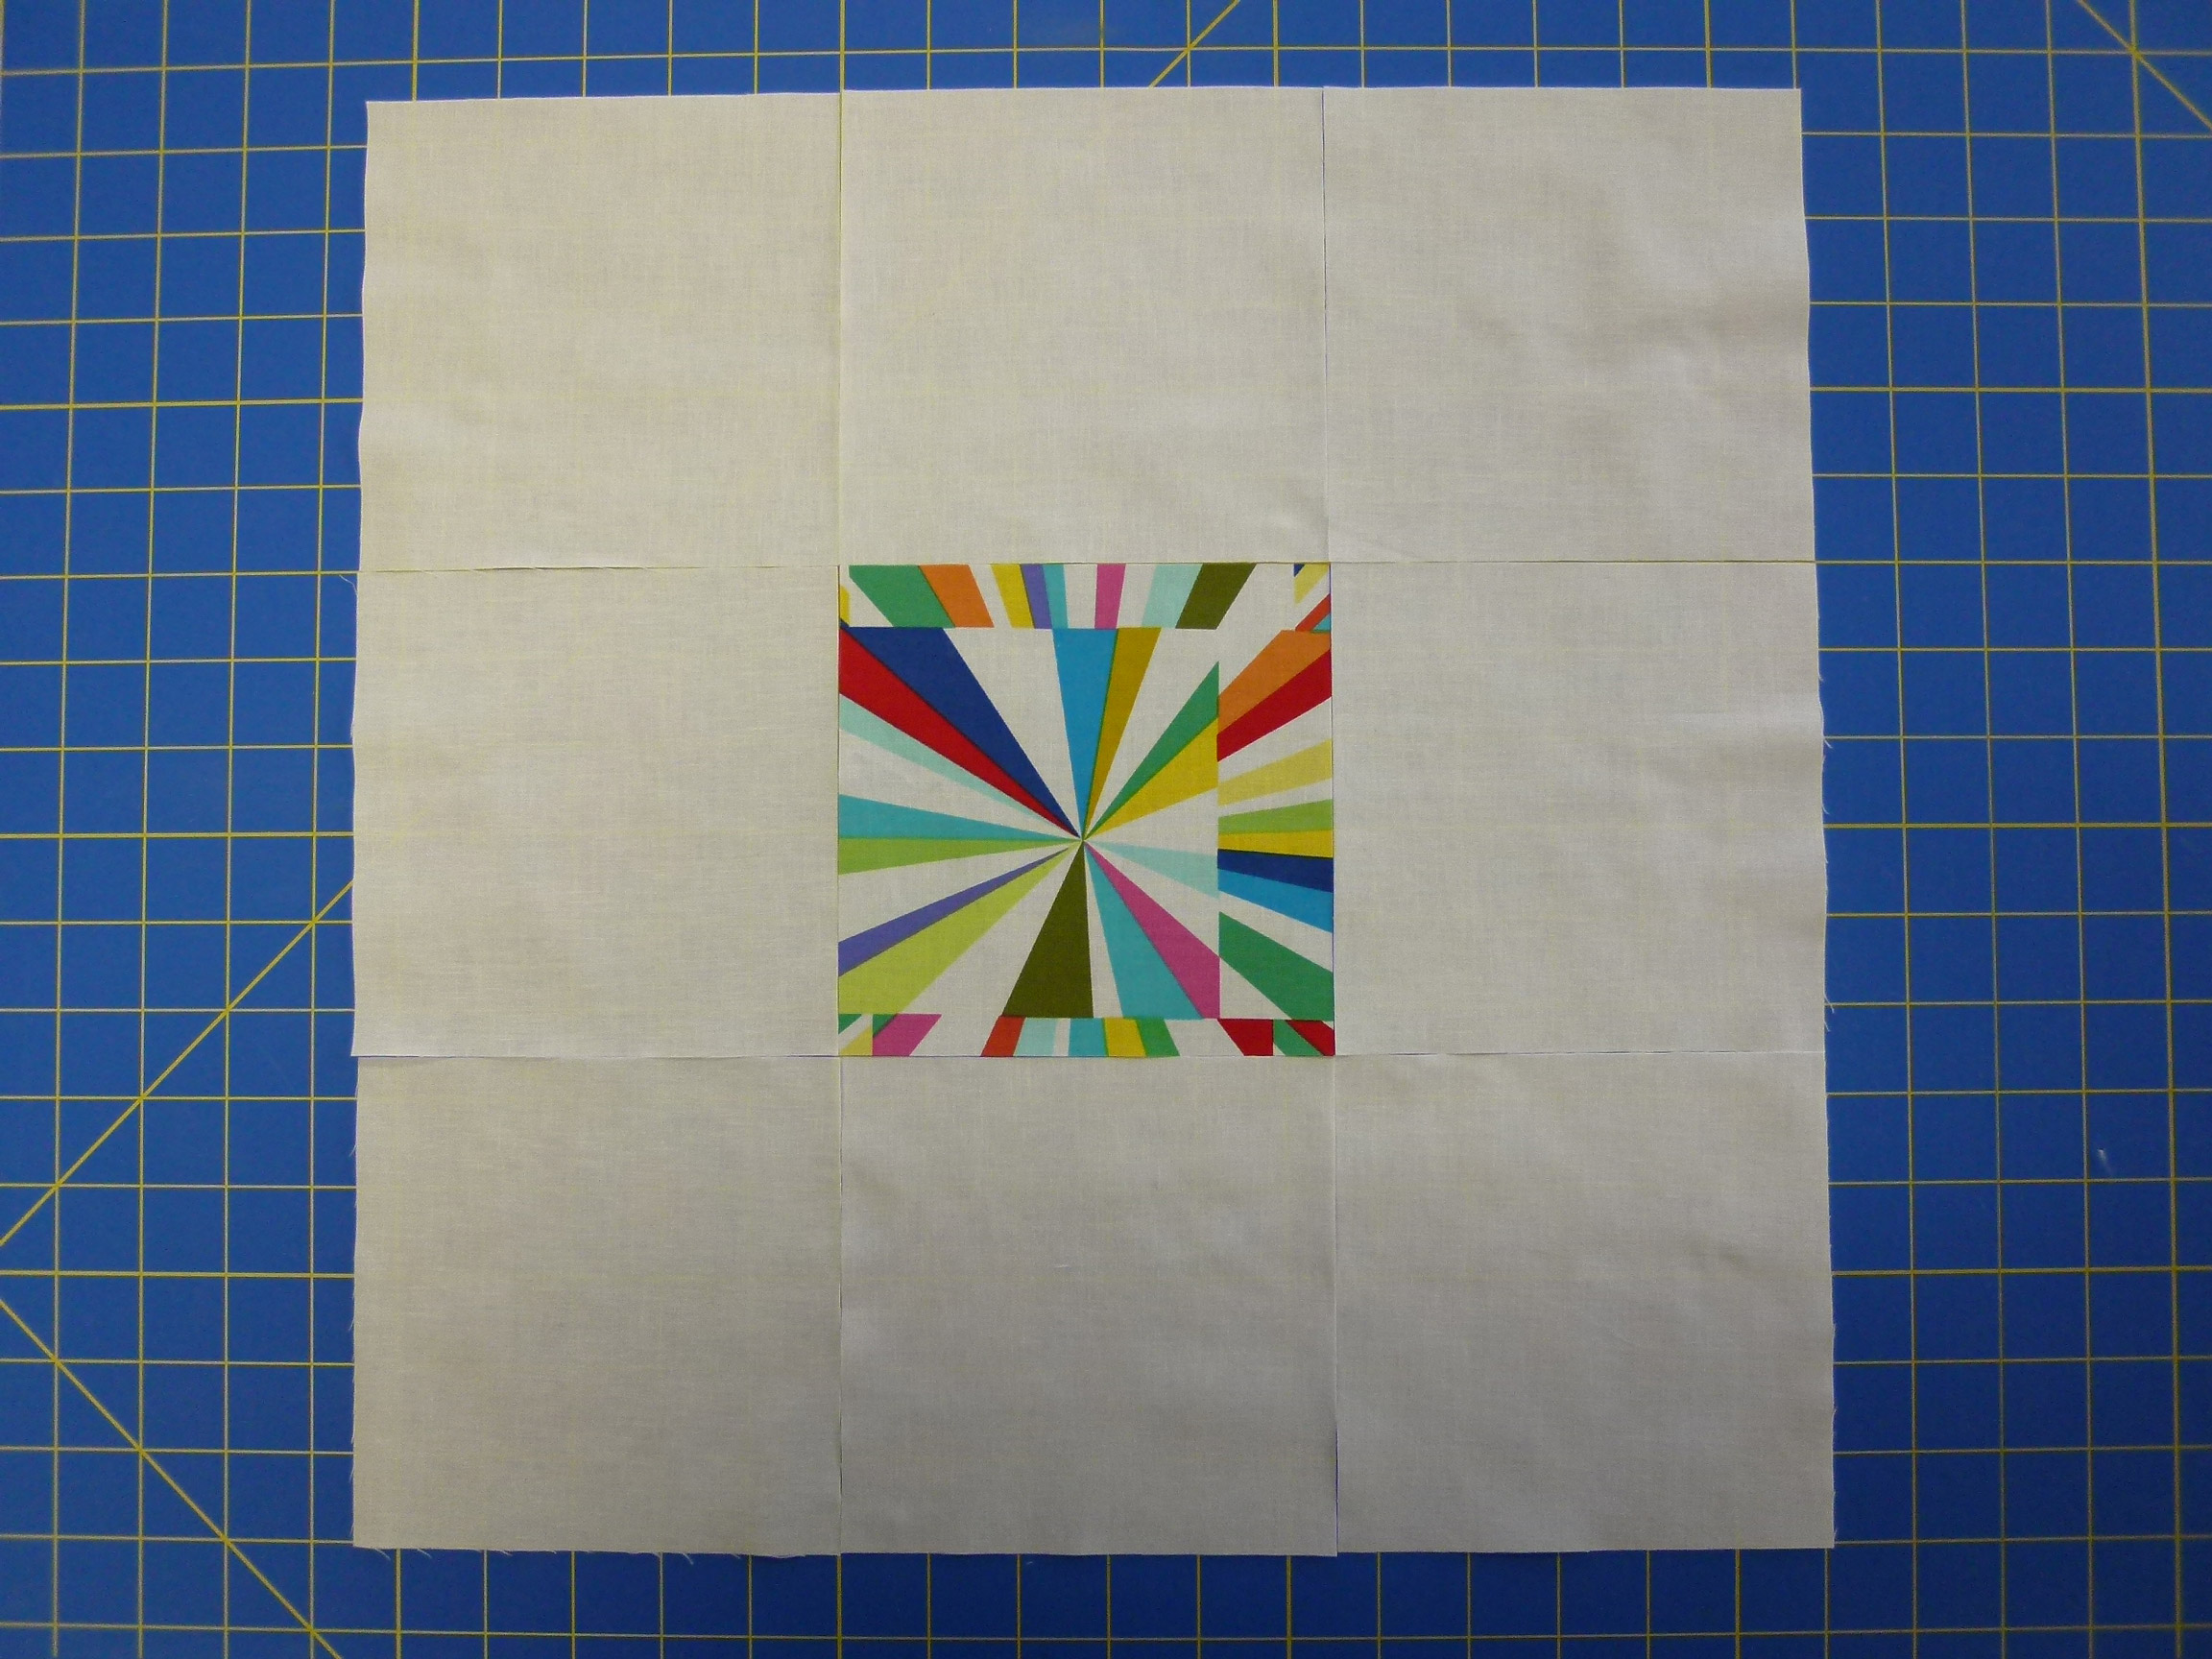
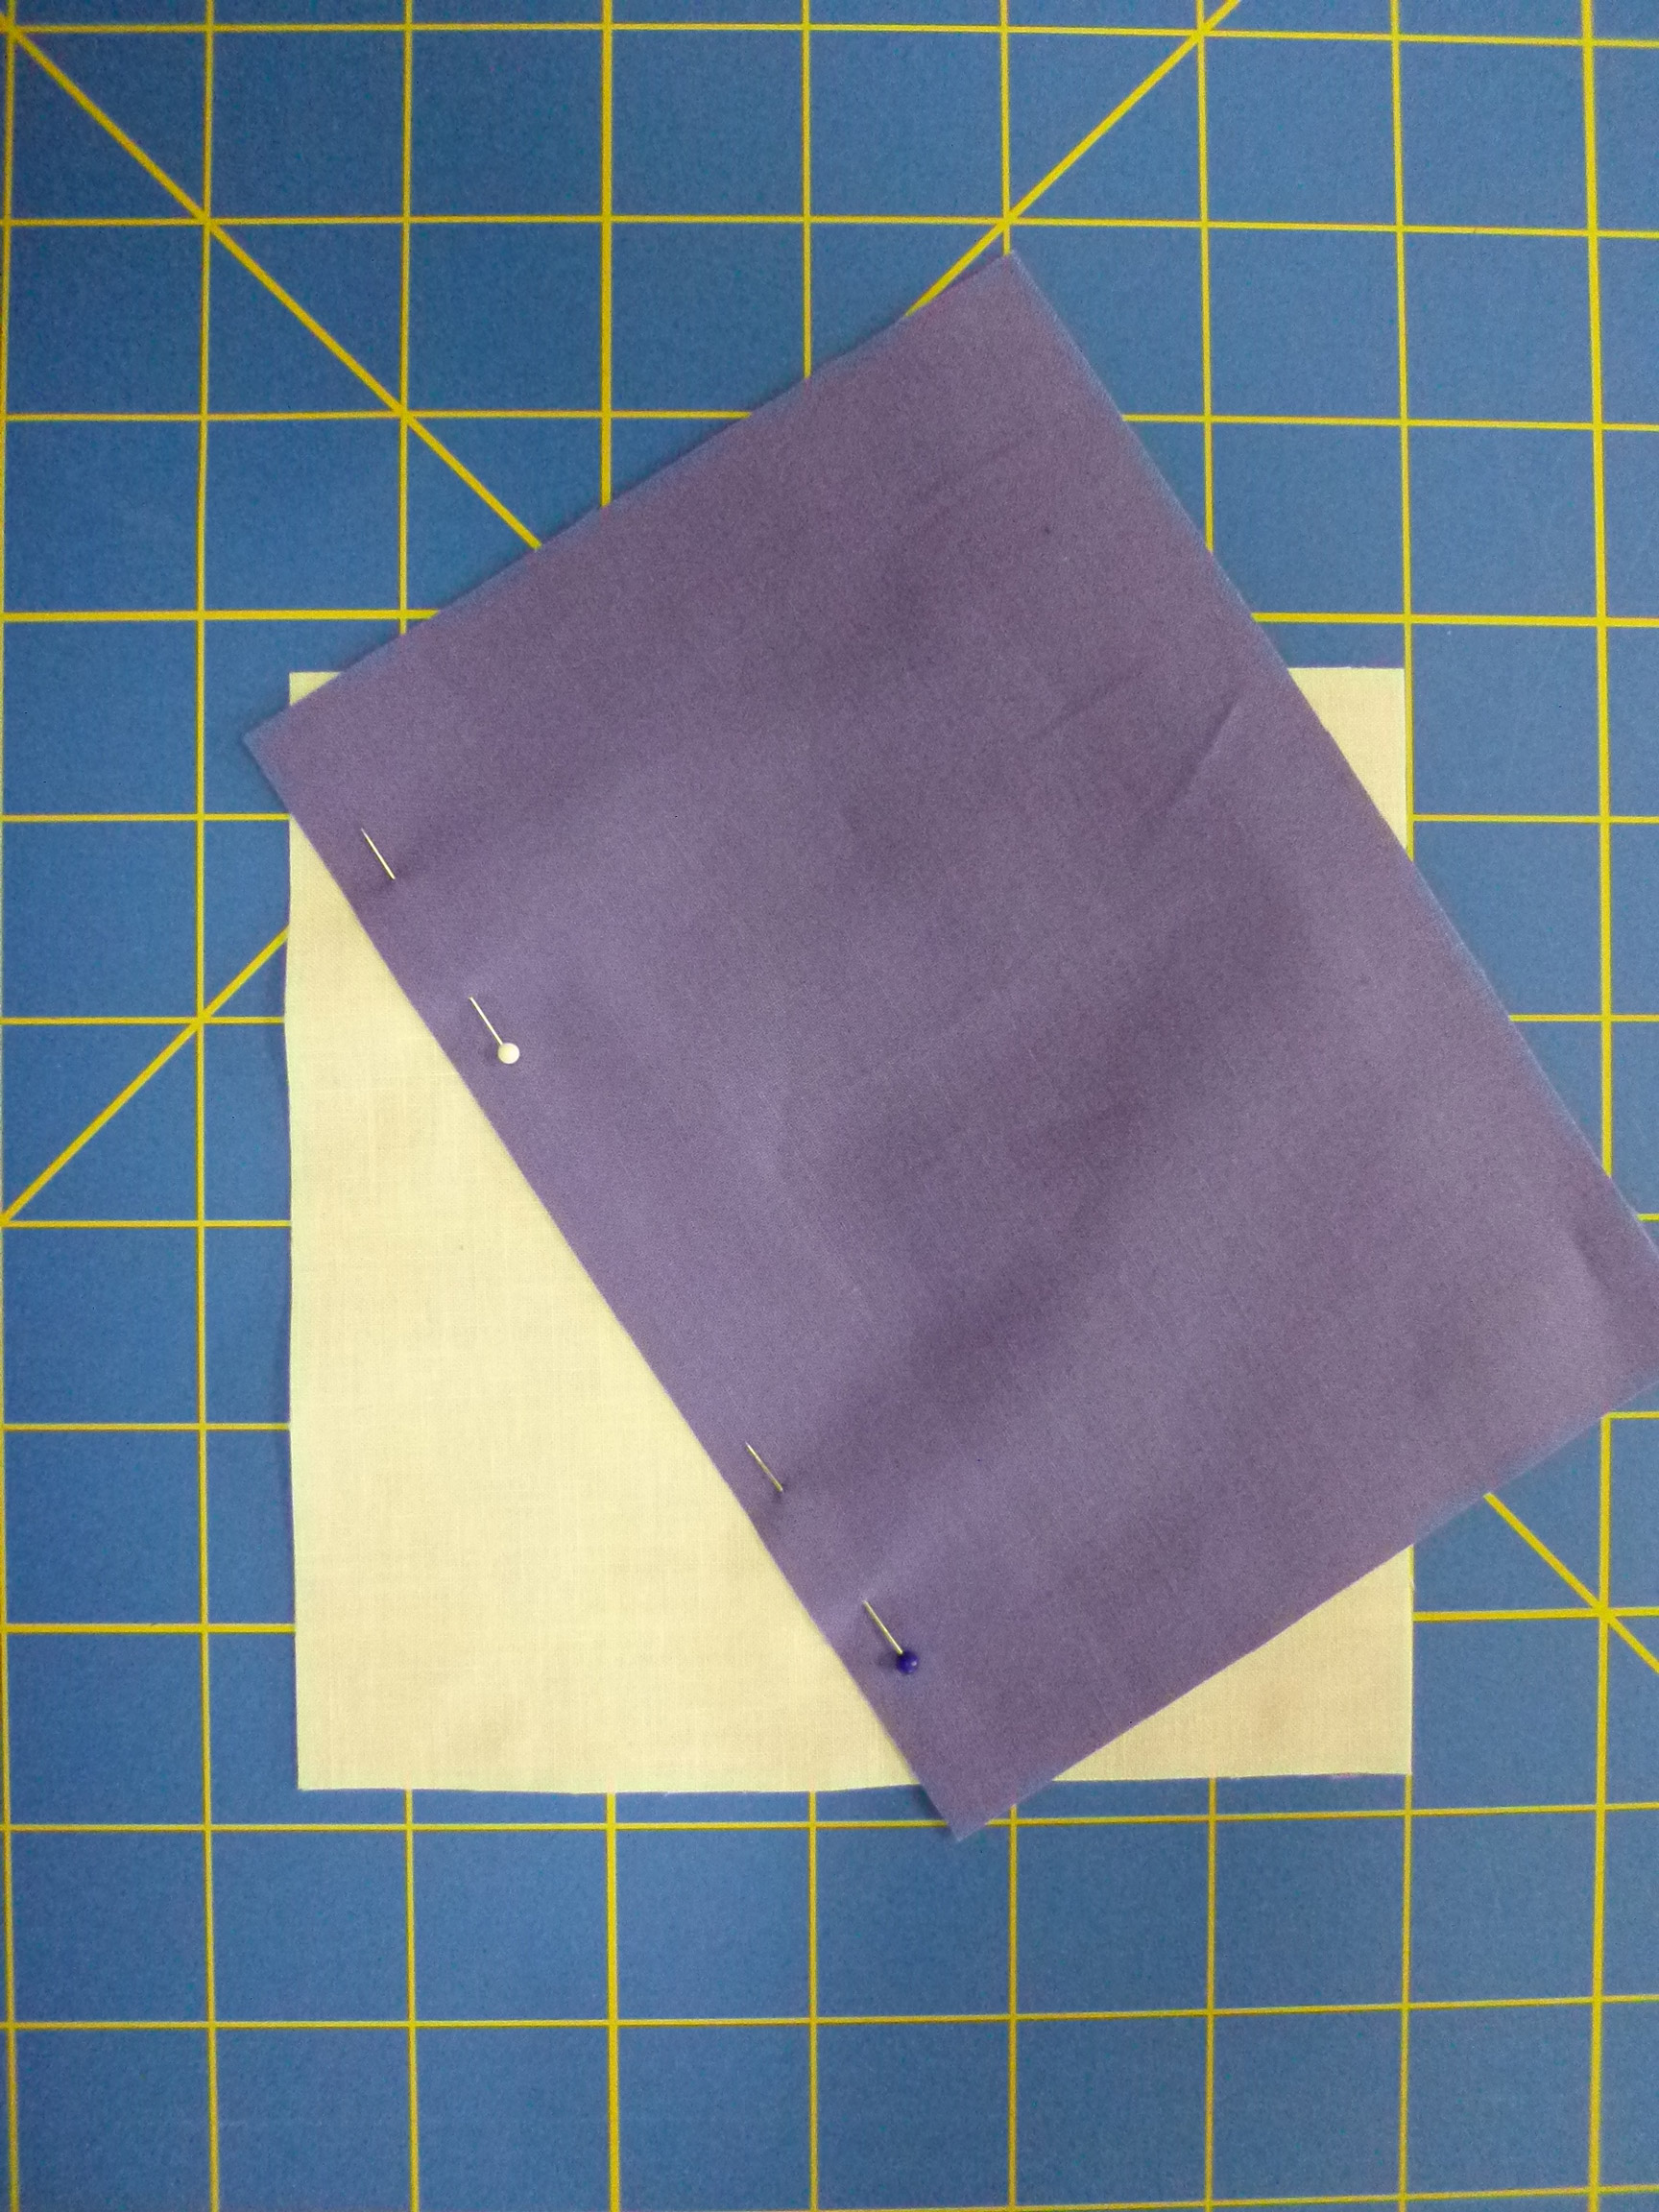
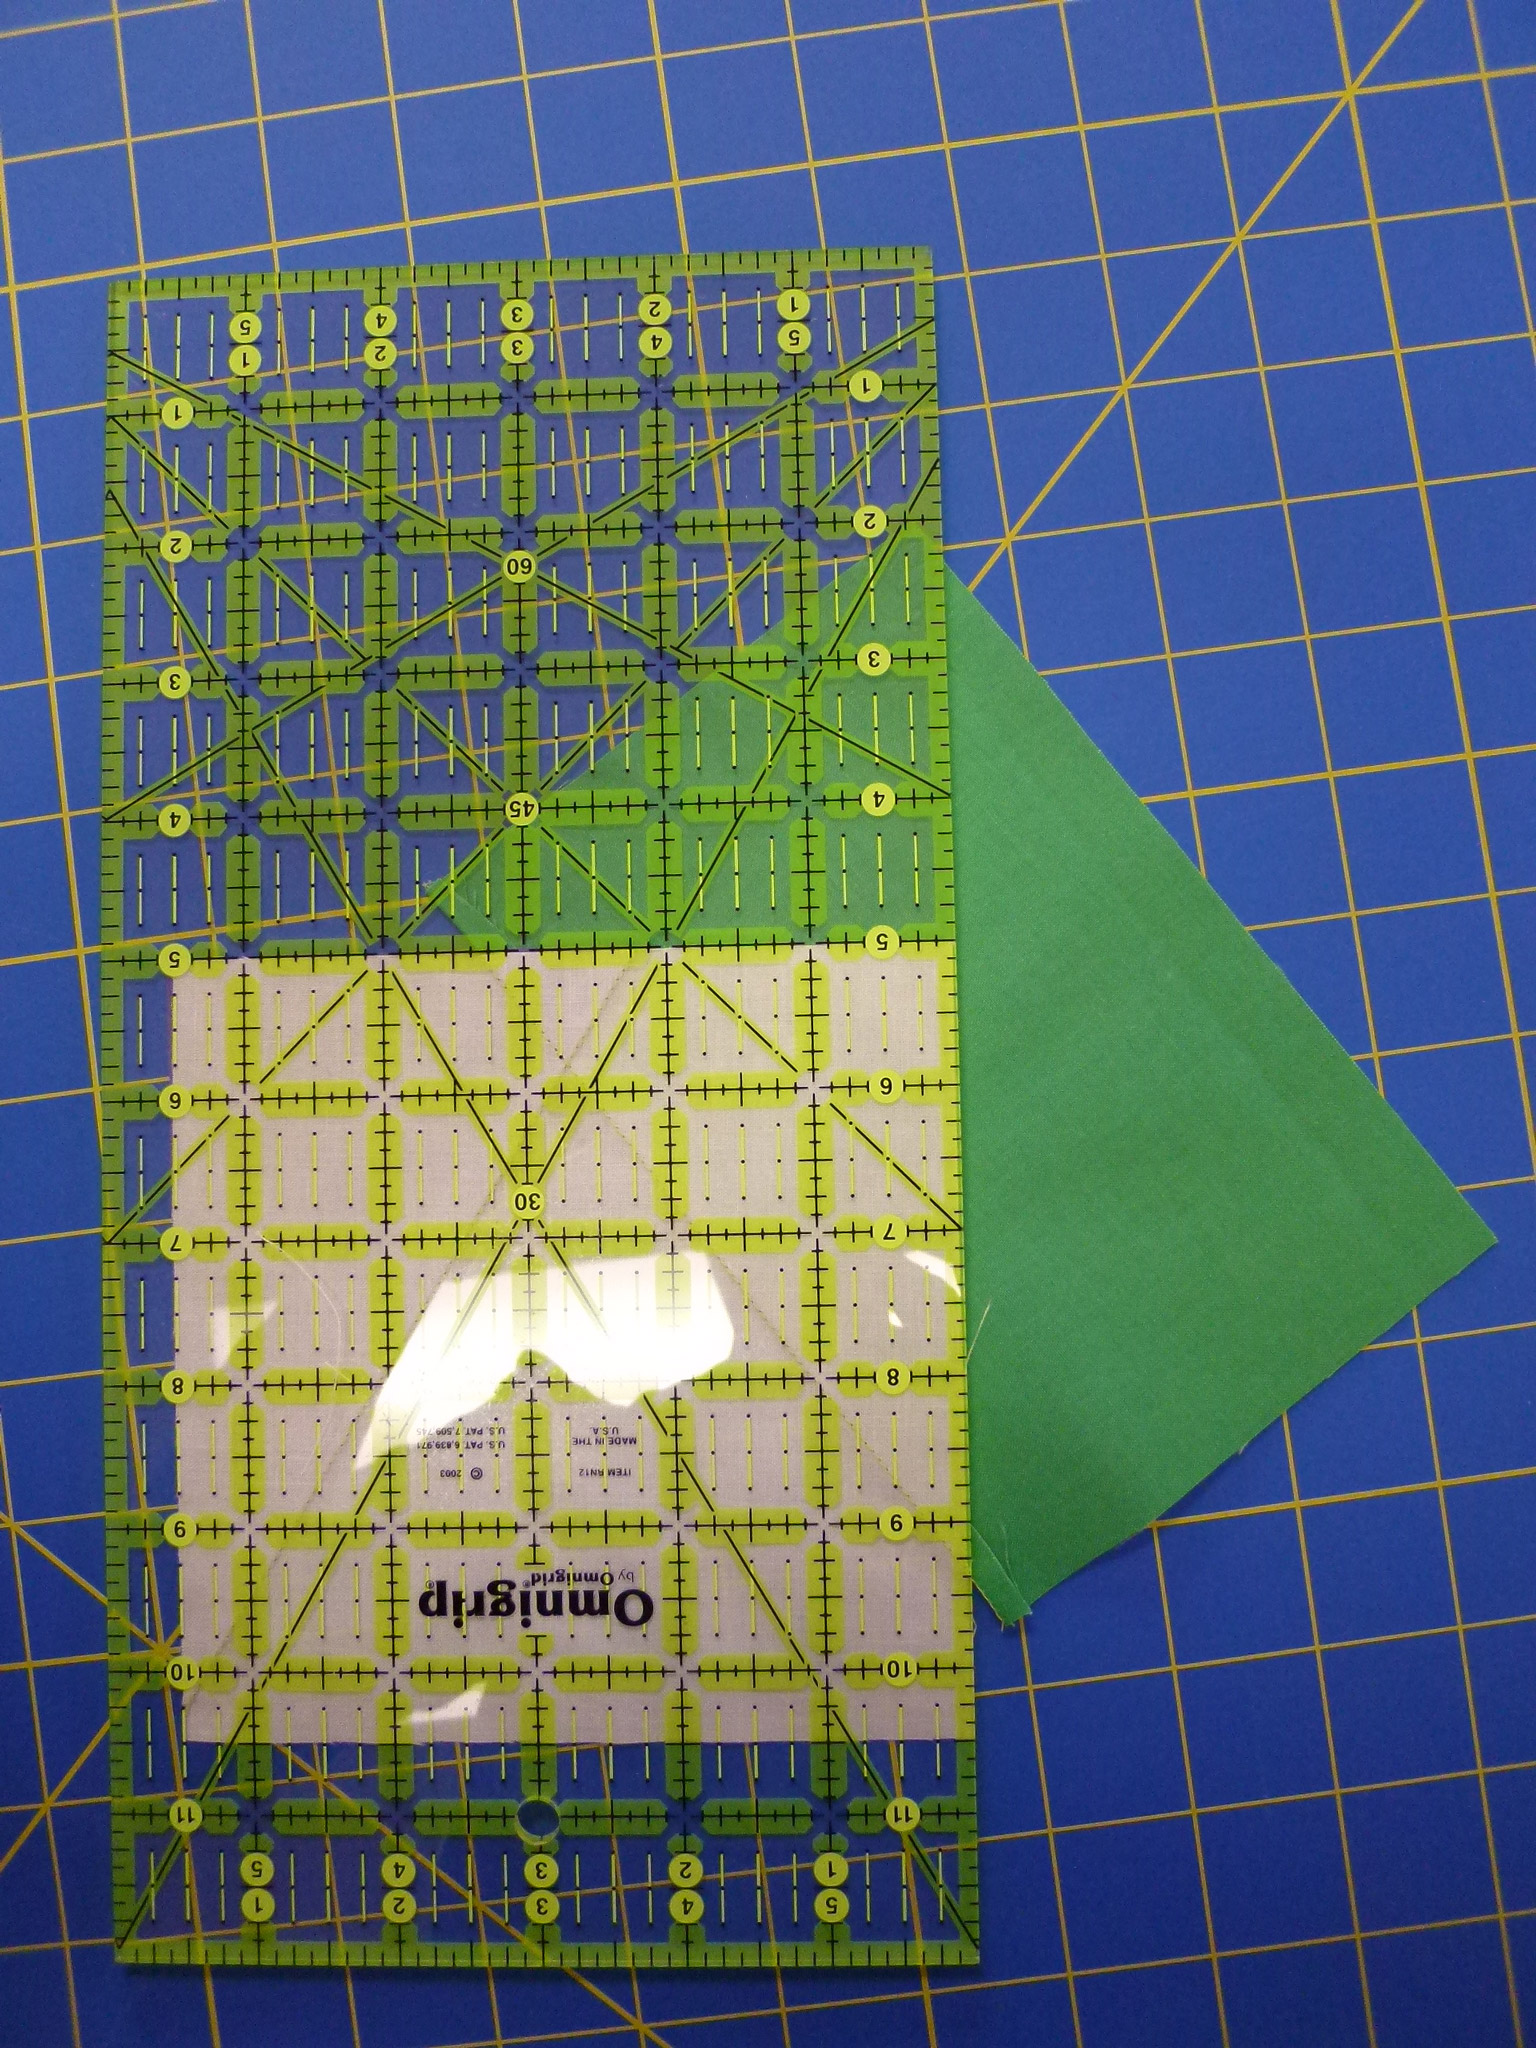
The Modern Scrap Block will finish 12 inches square
And a good thing August was so productive, because every weekend in September is scheduled! Yikes!