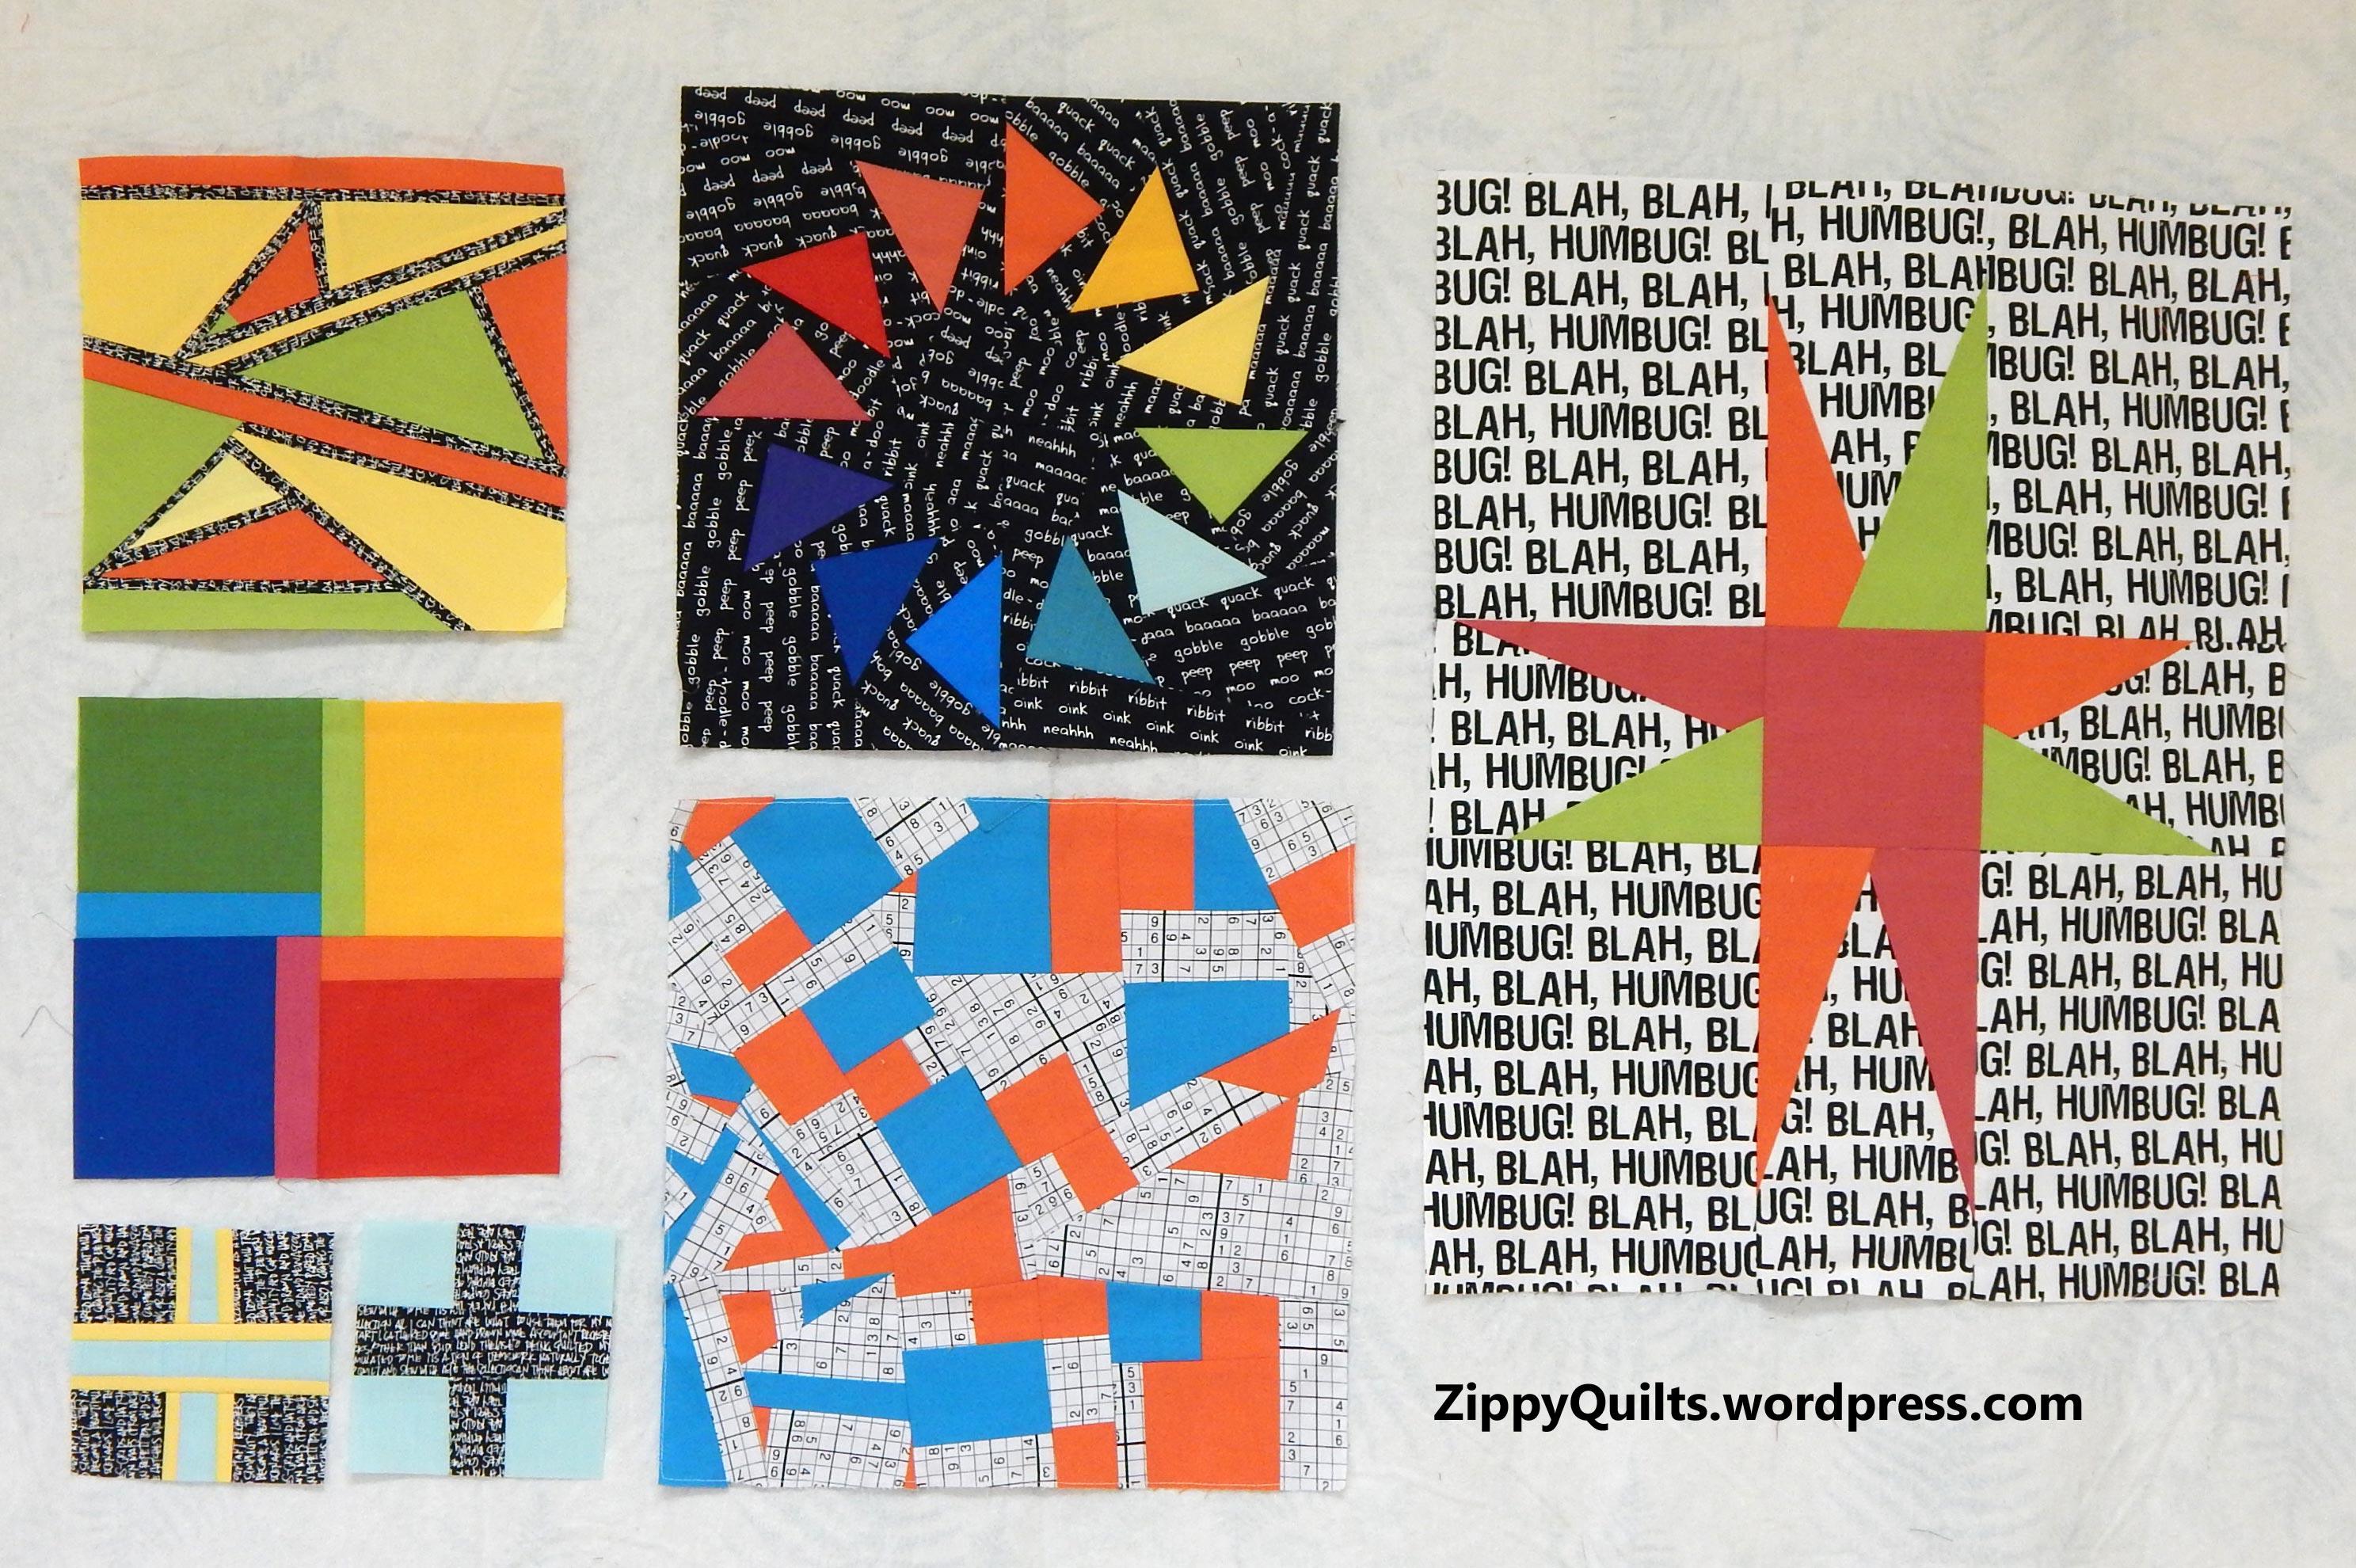
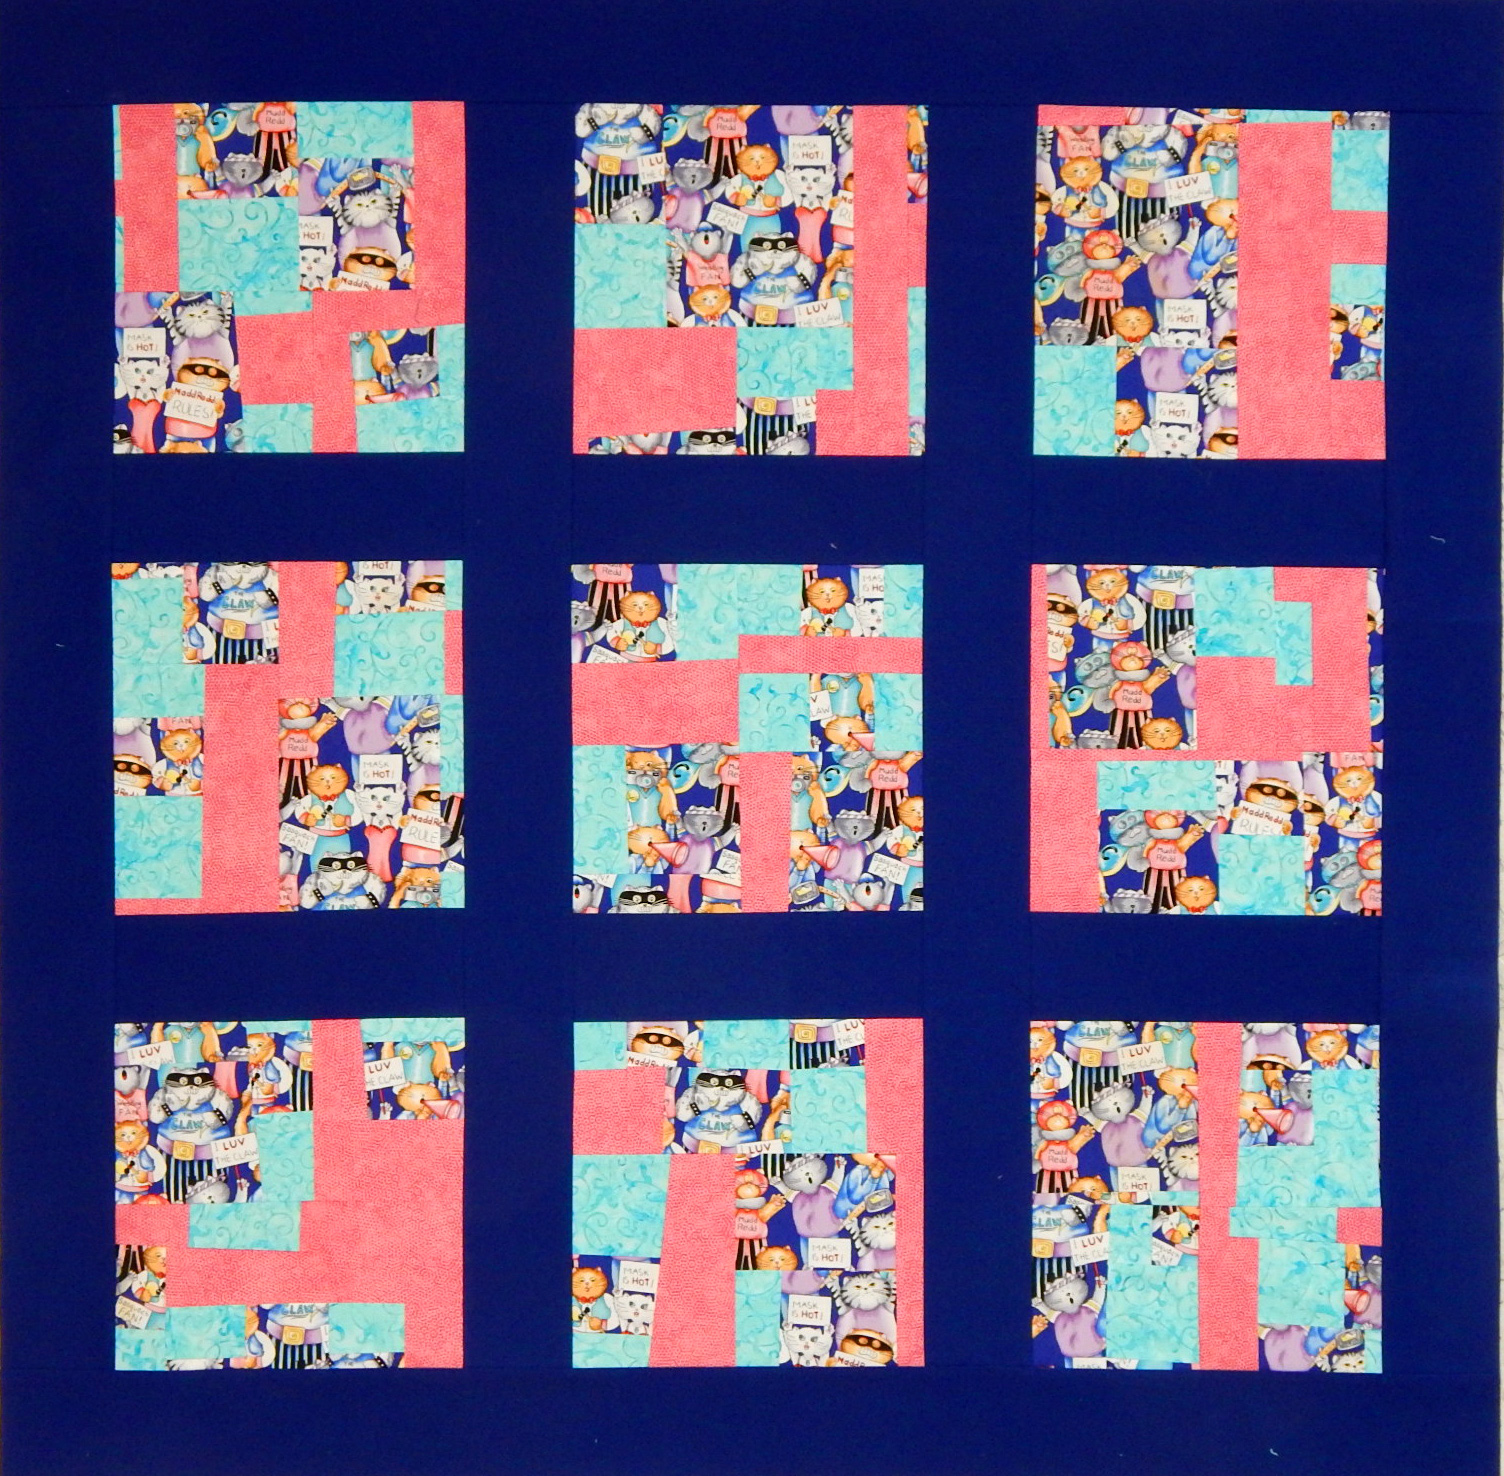
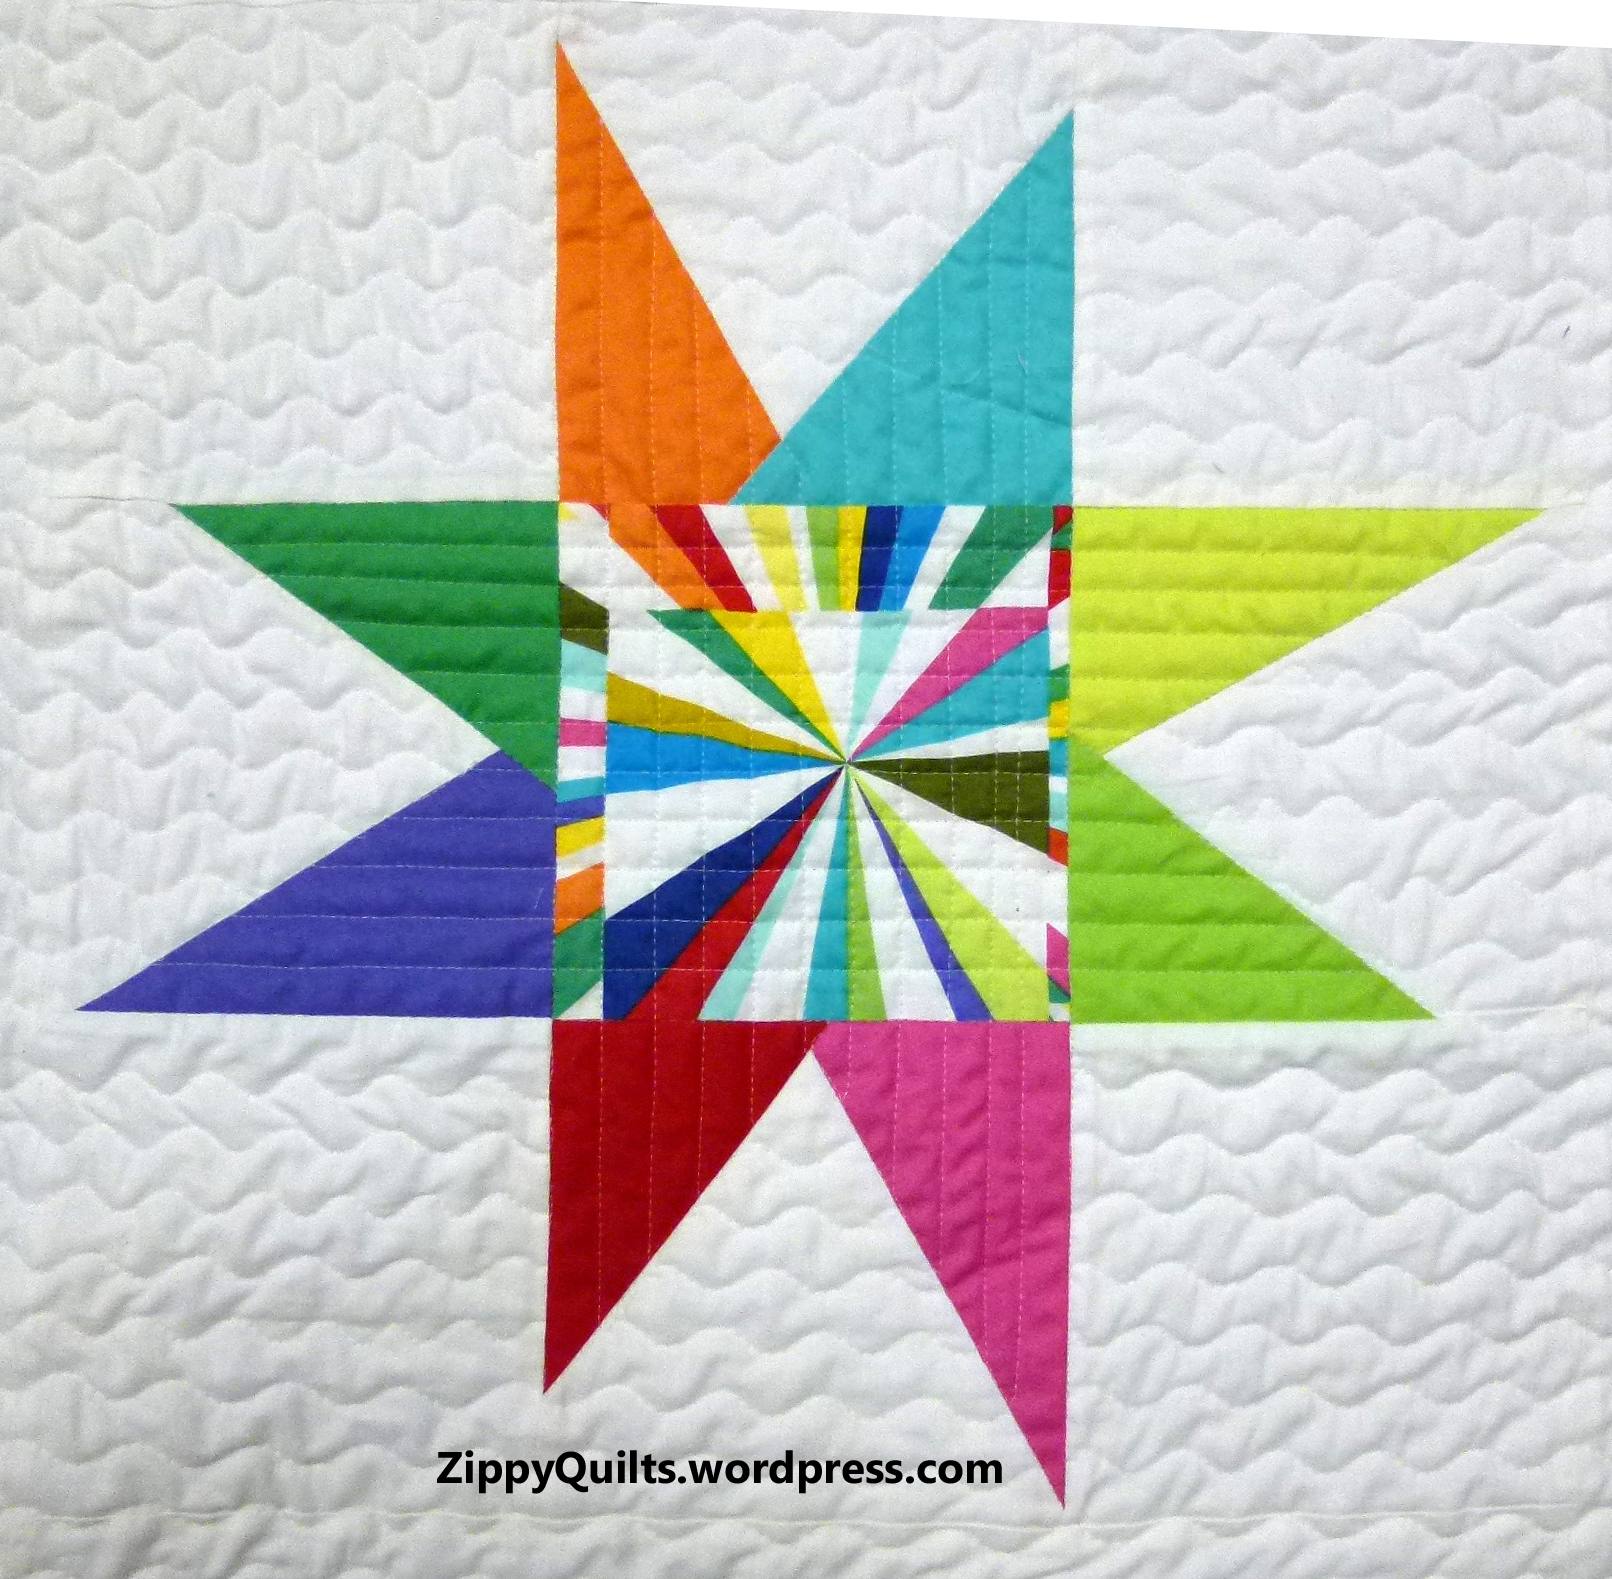
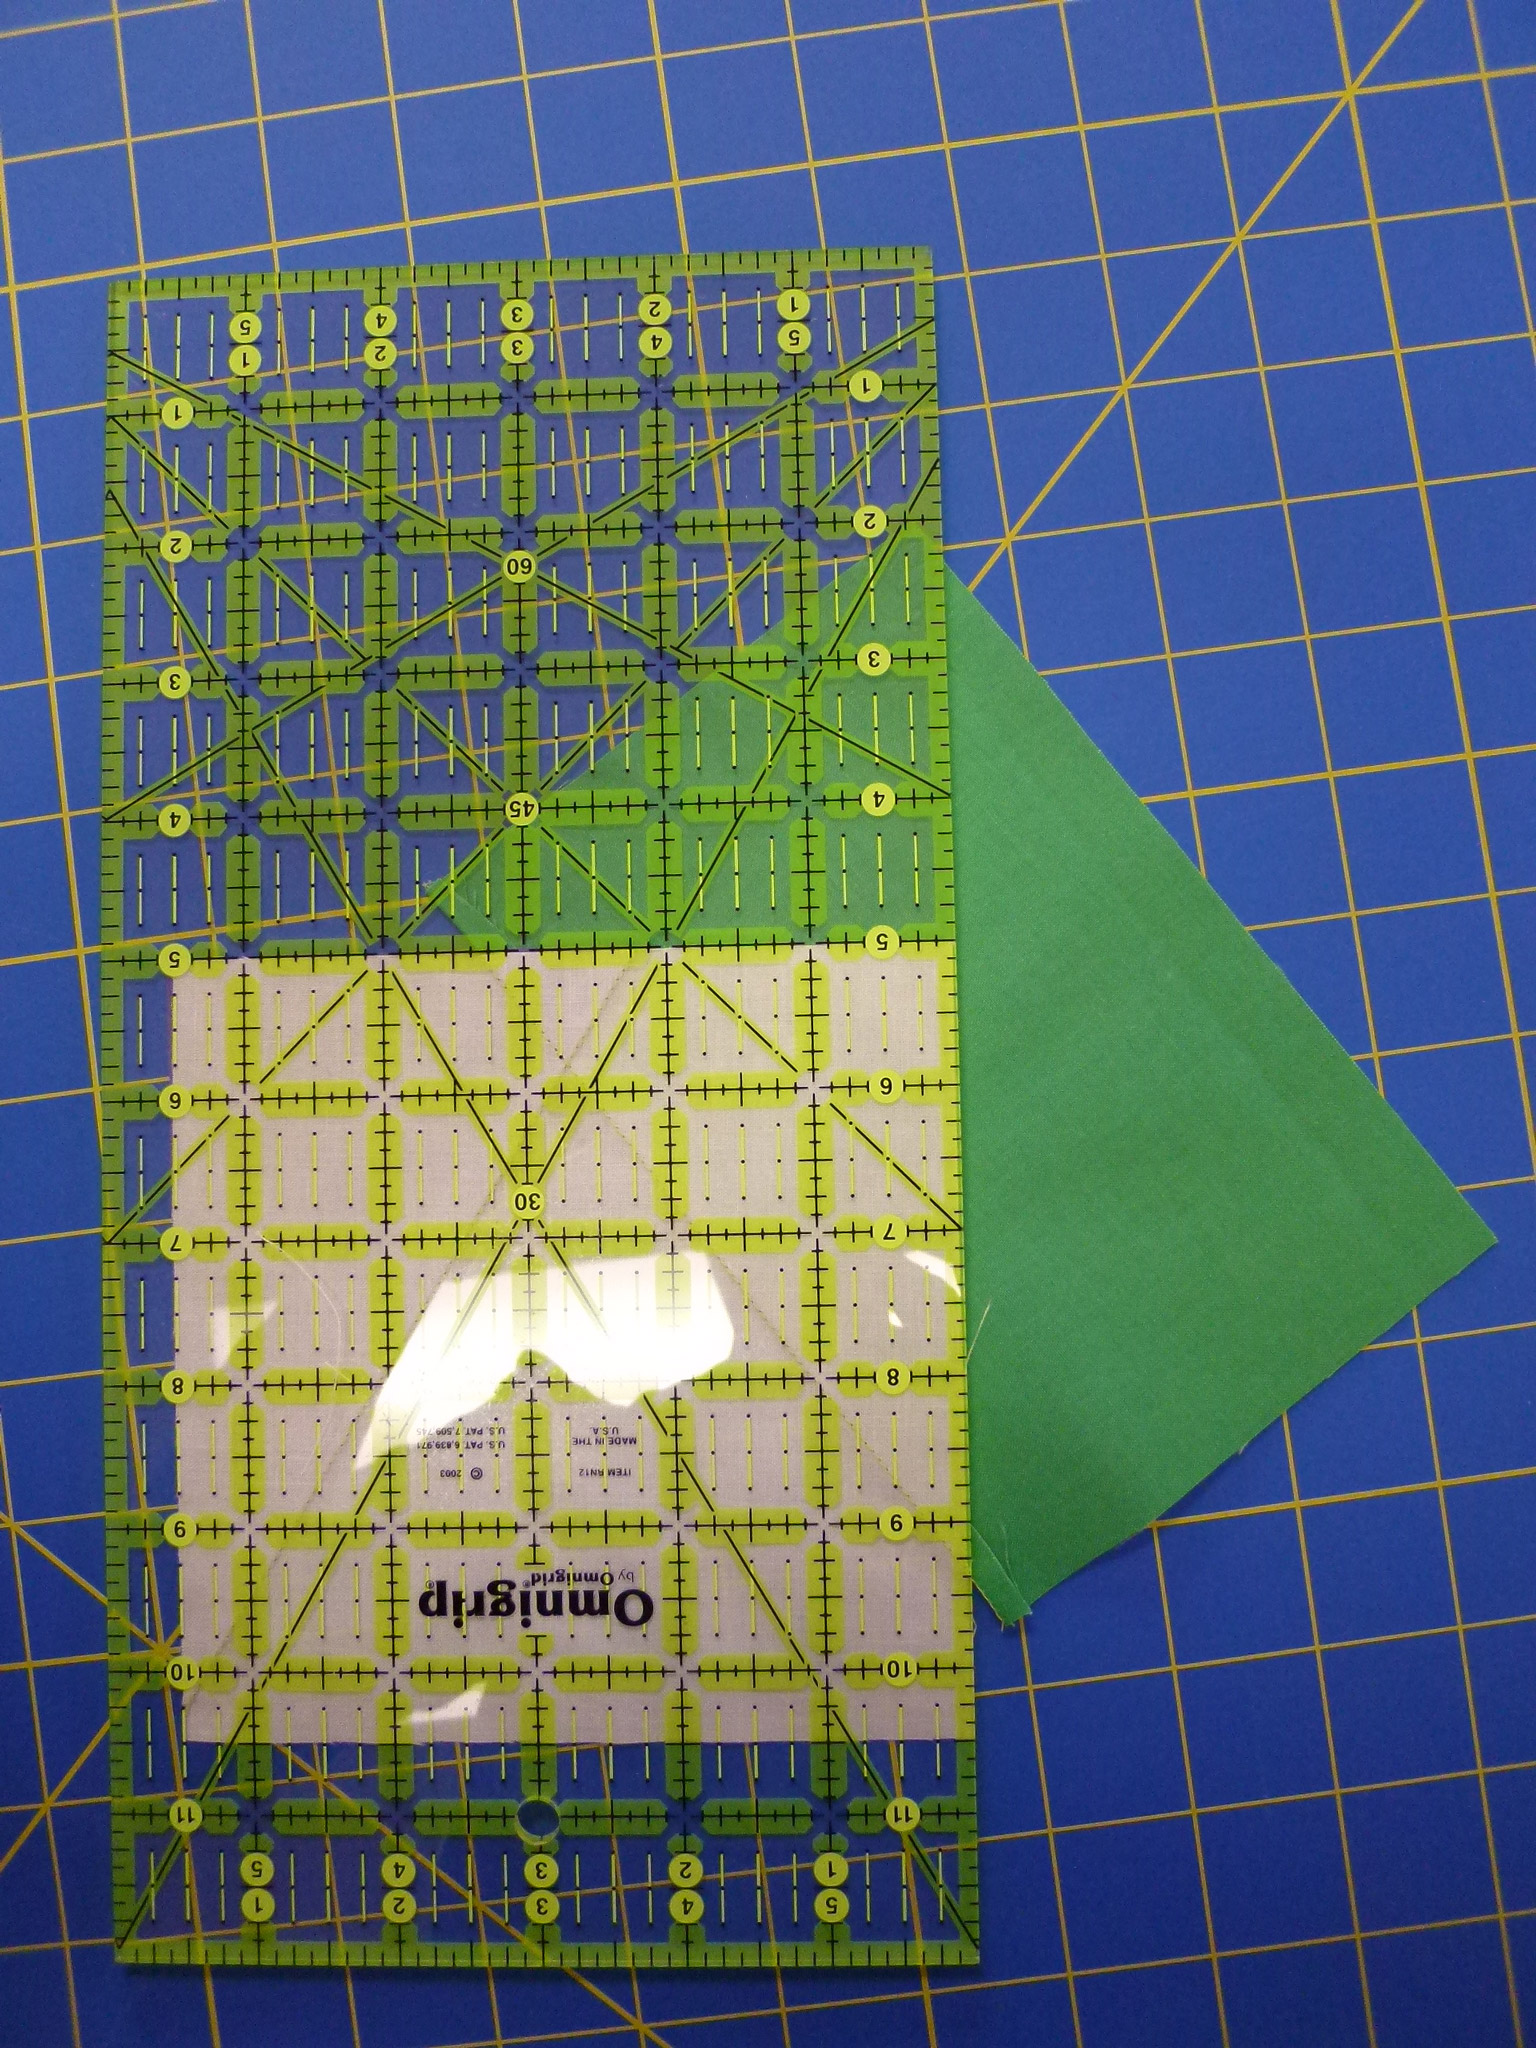
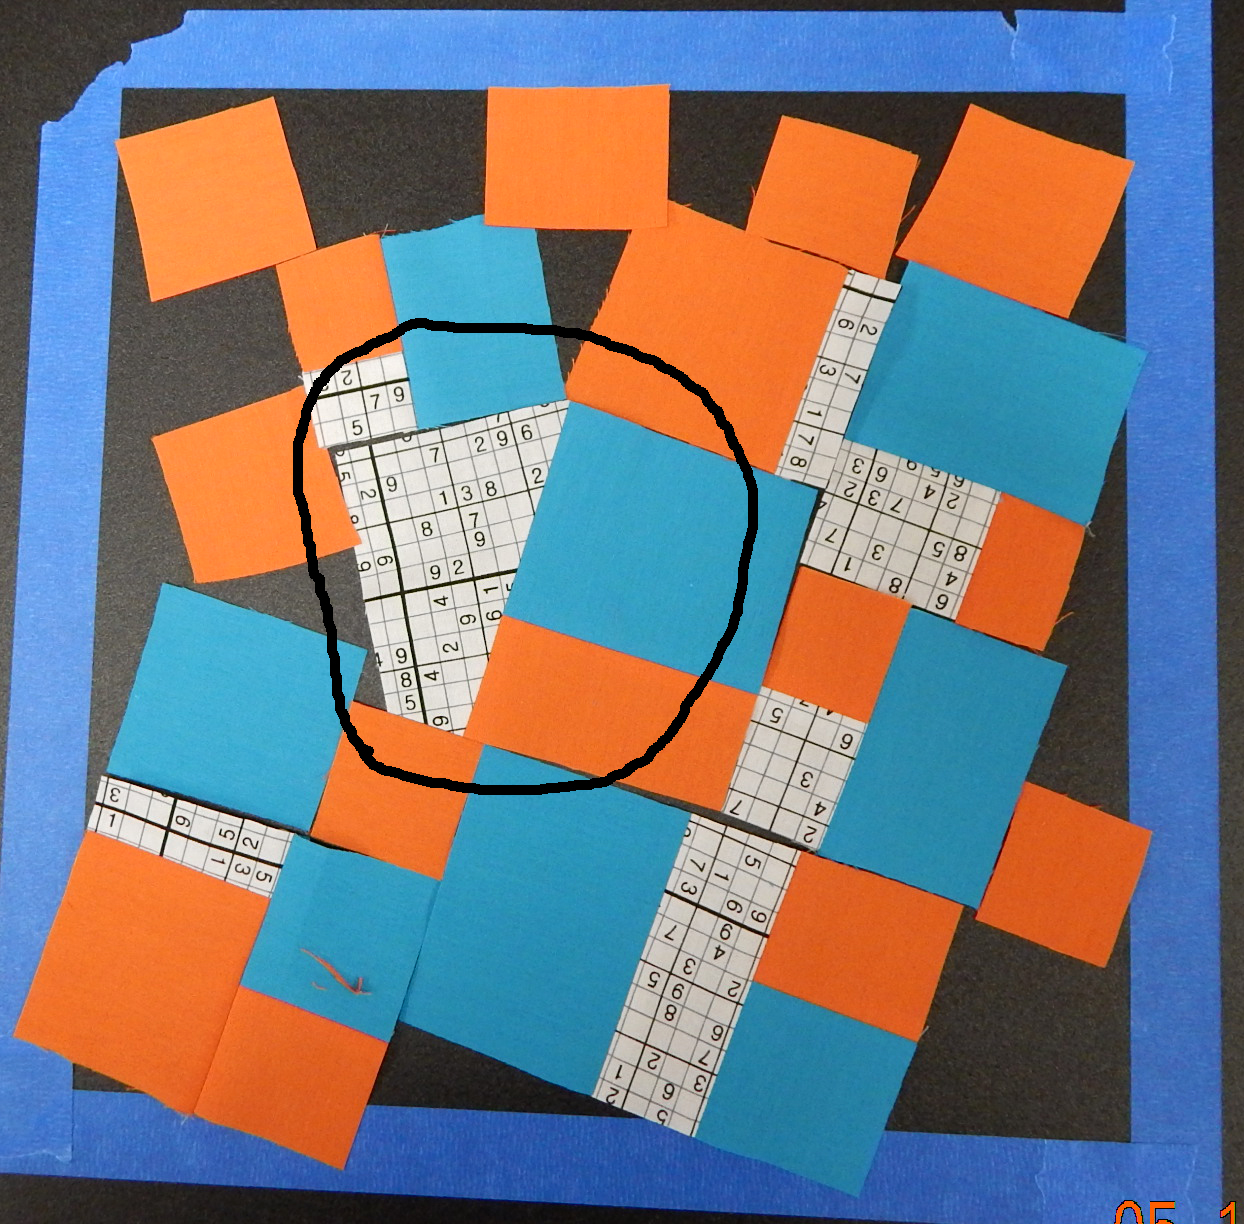
Channeling Gwen Marston, I made a couple of “liberated” quilt blocks for the sampler. This means they were cut without a ruler and the pieces are deliberately “wonky”.
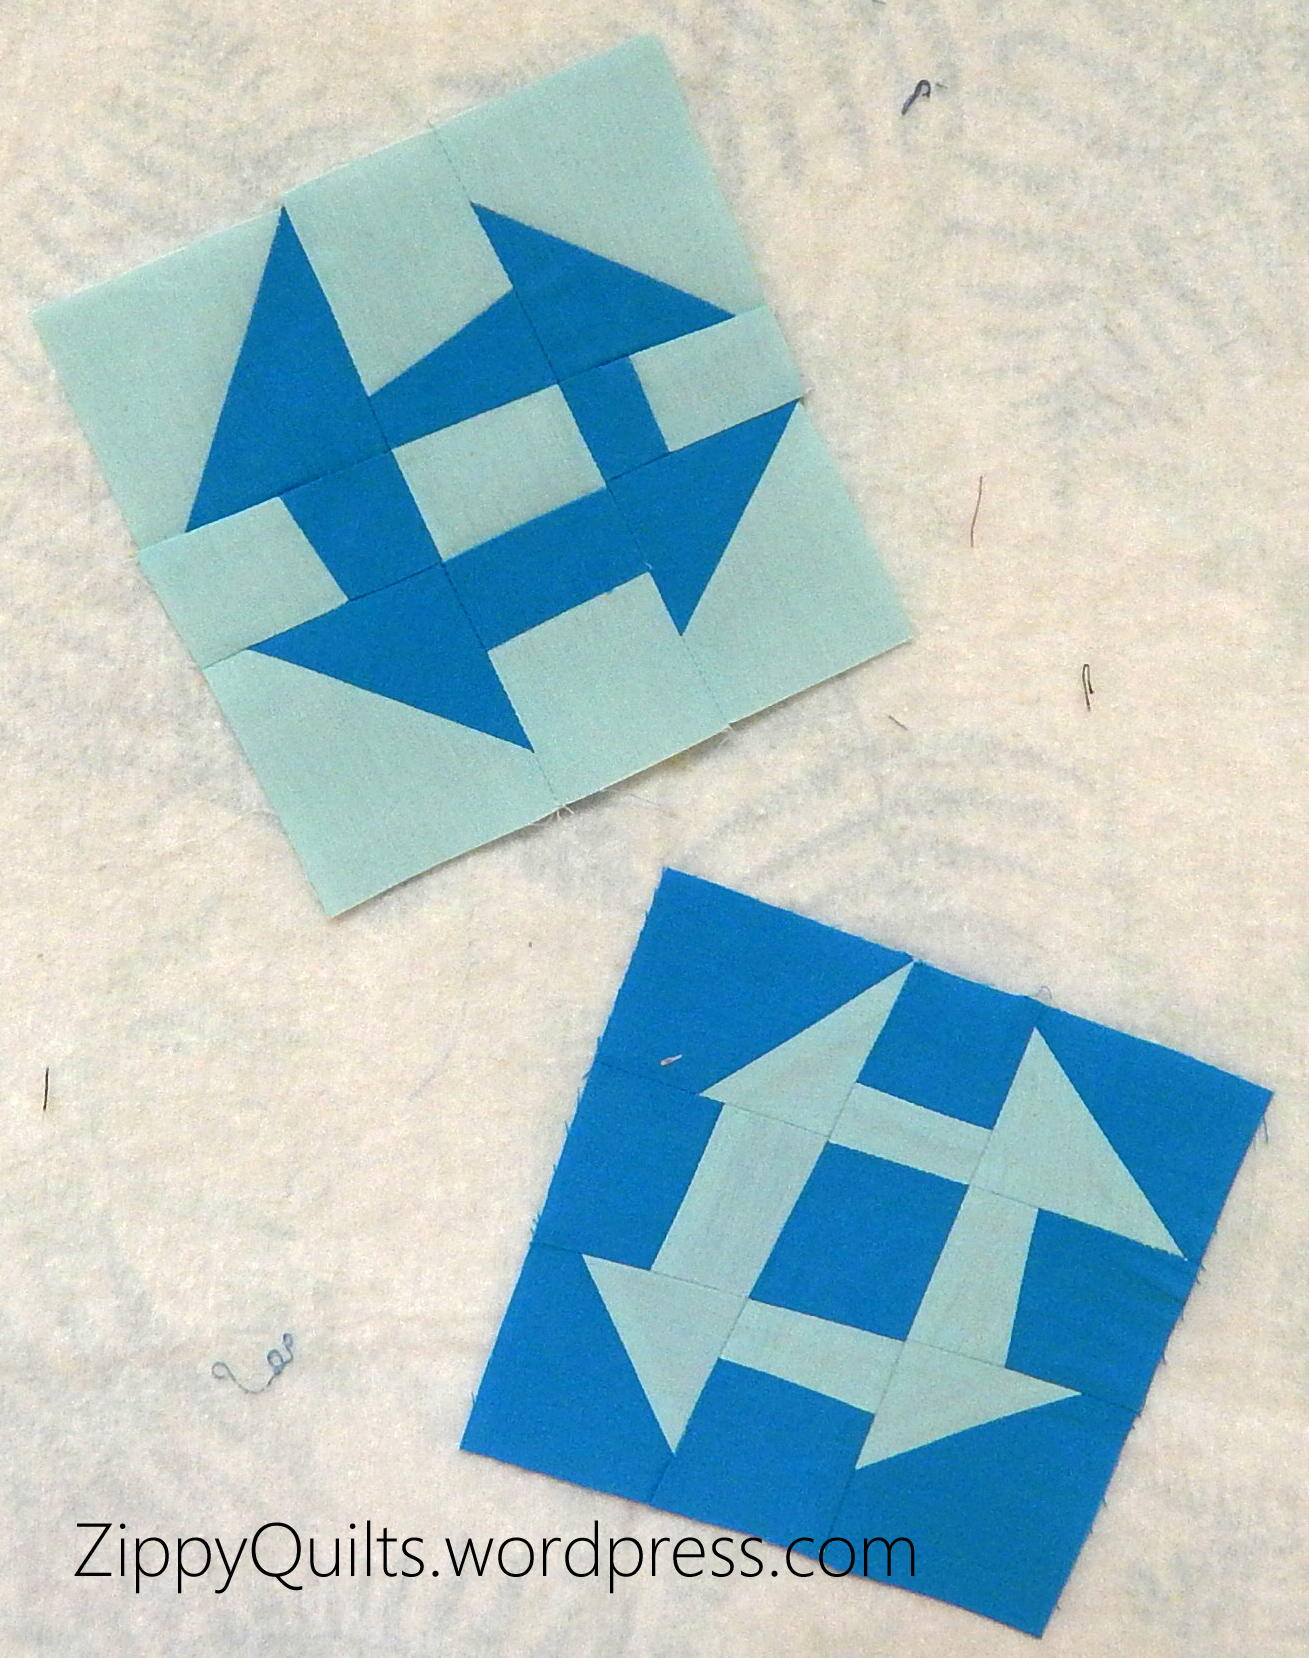
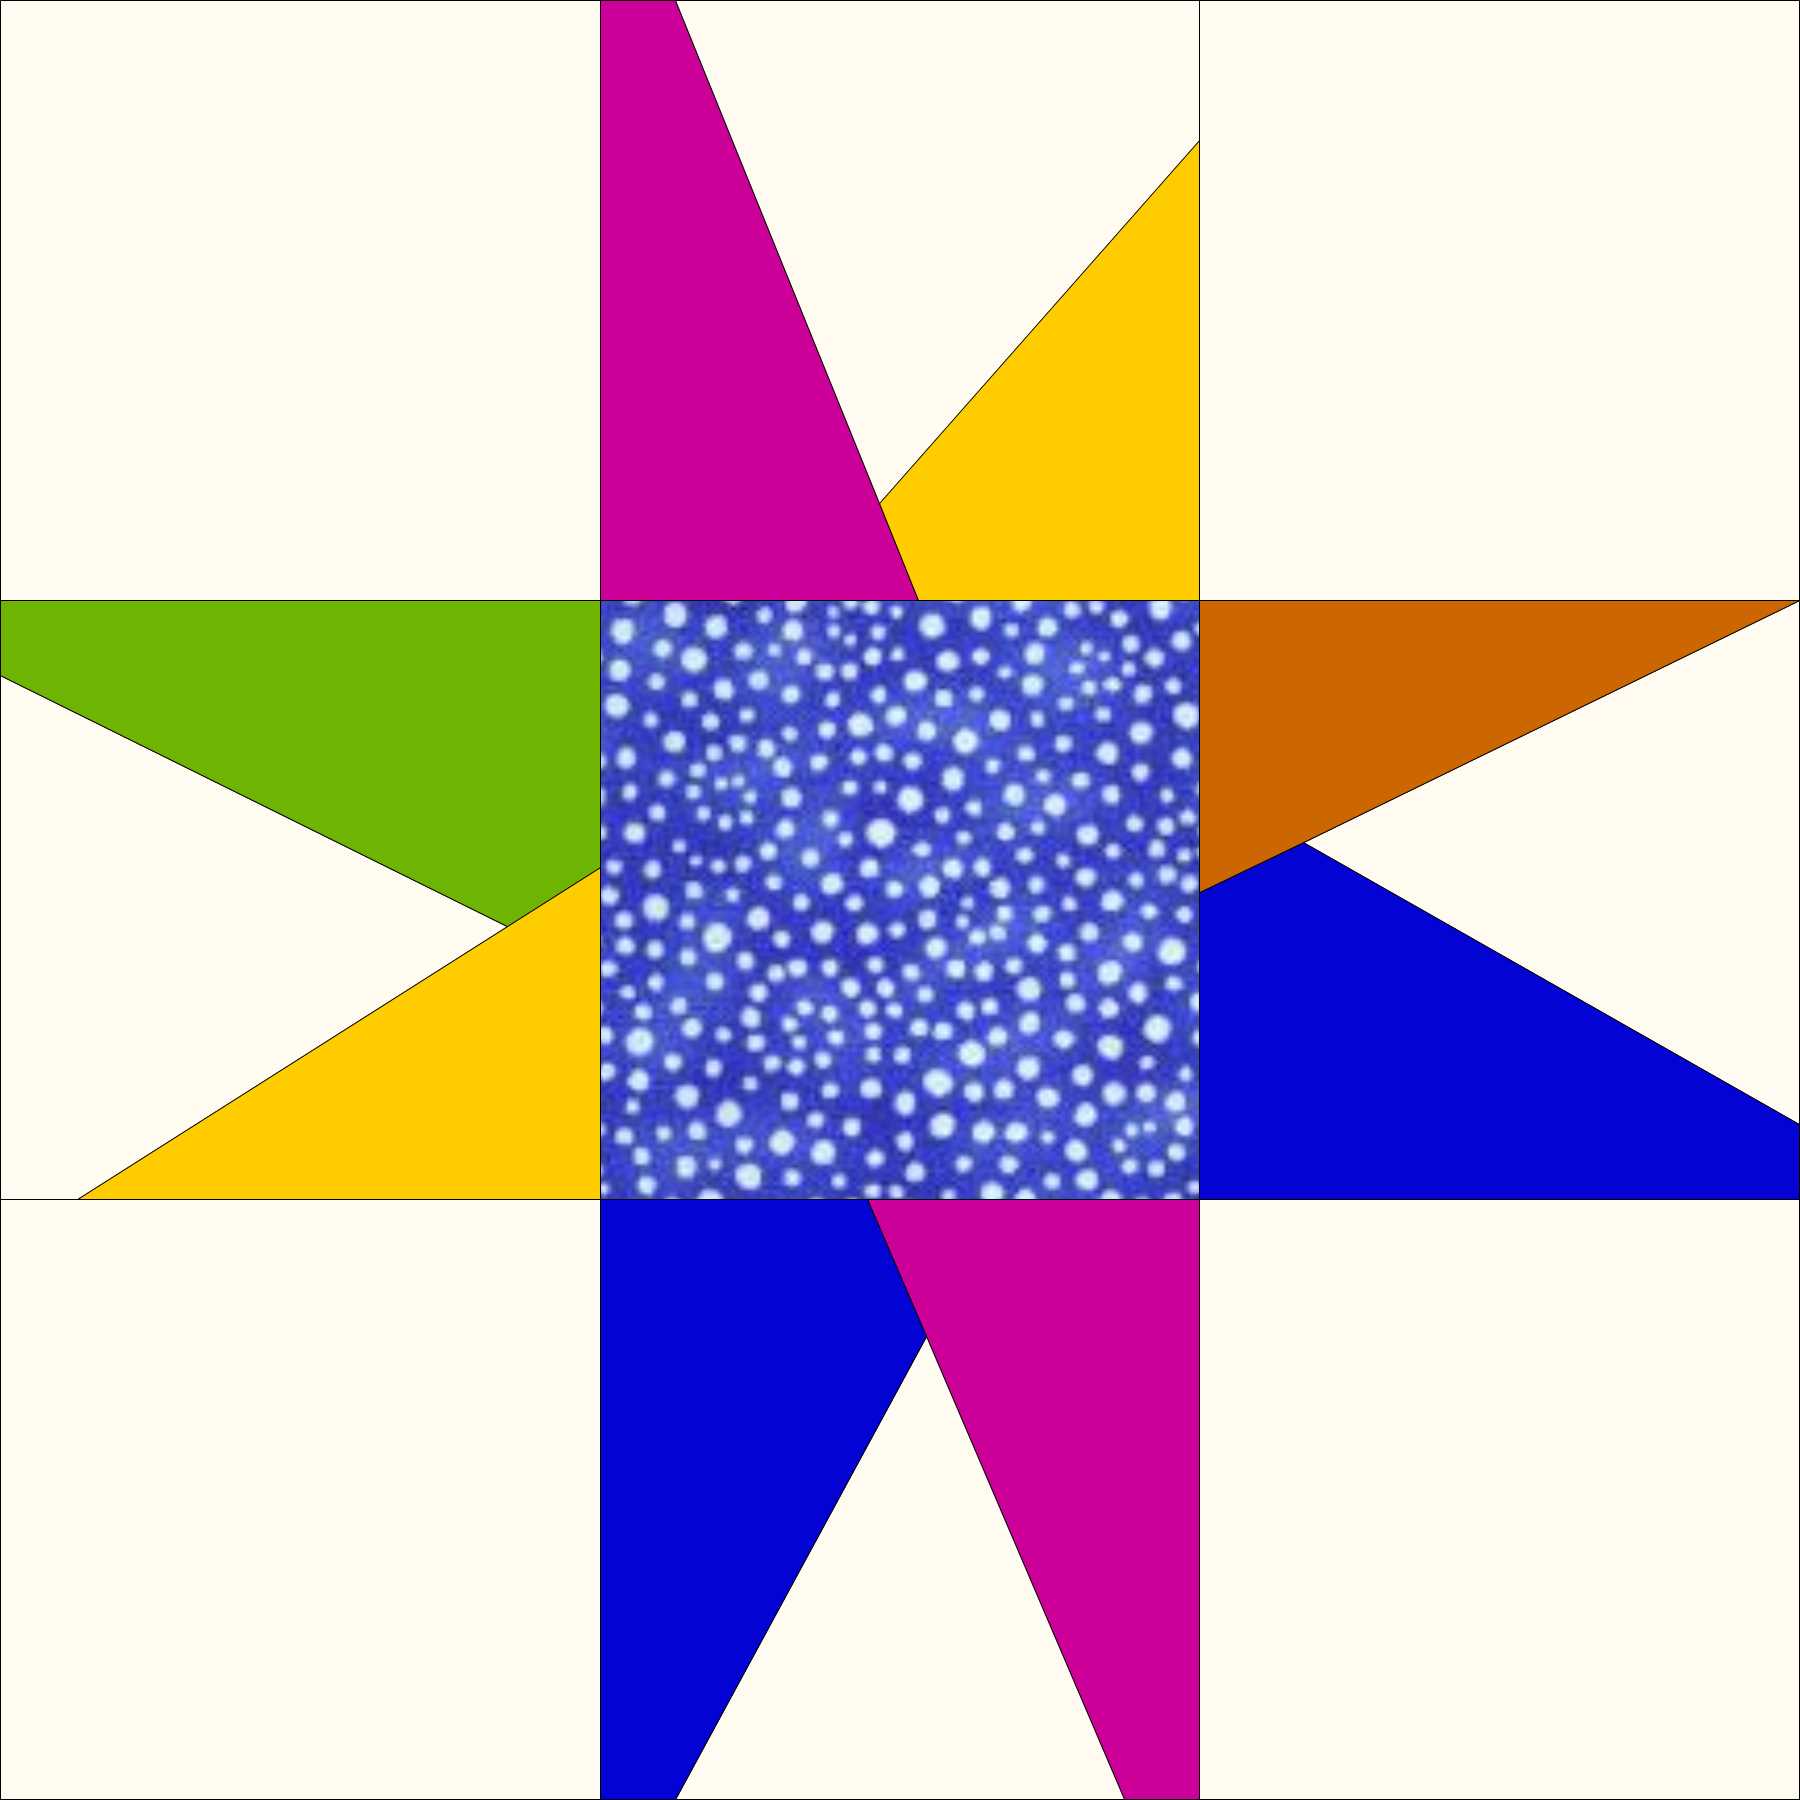
Liberated Hole in the Barn Door blocks finish about 5″ square
Some current authors are making a big deal of cutting without a ruler, but Gwen Marston has been doing it for years.
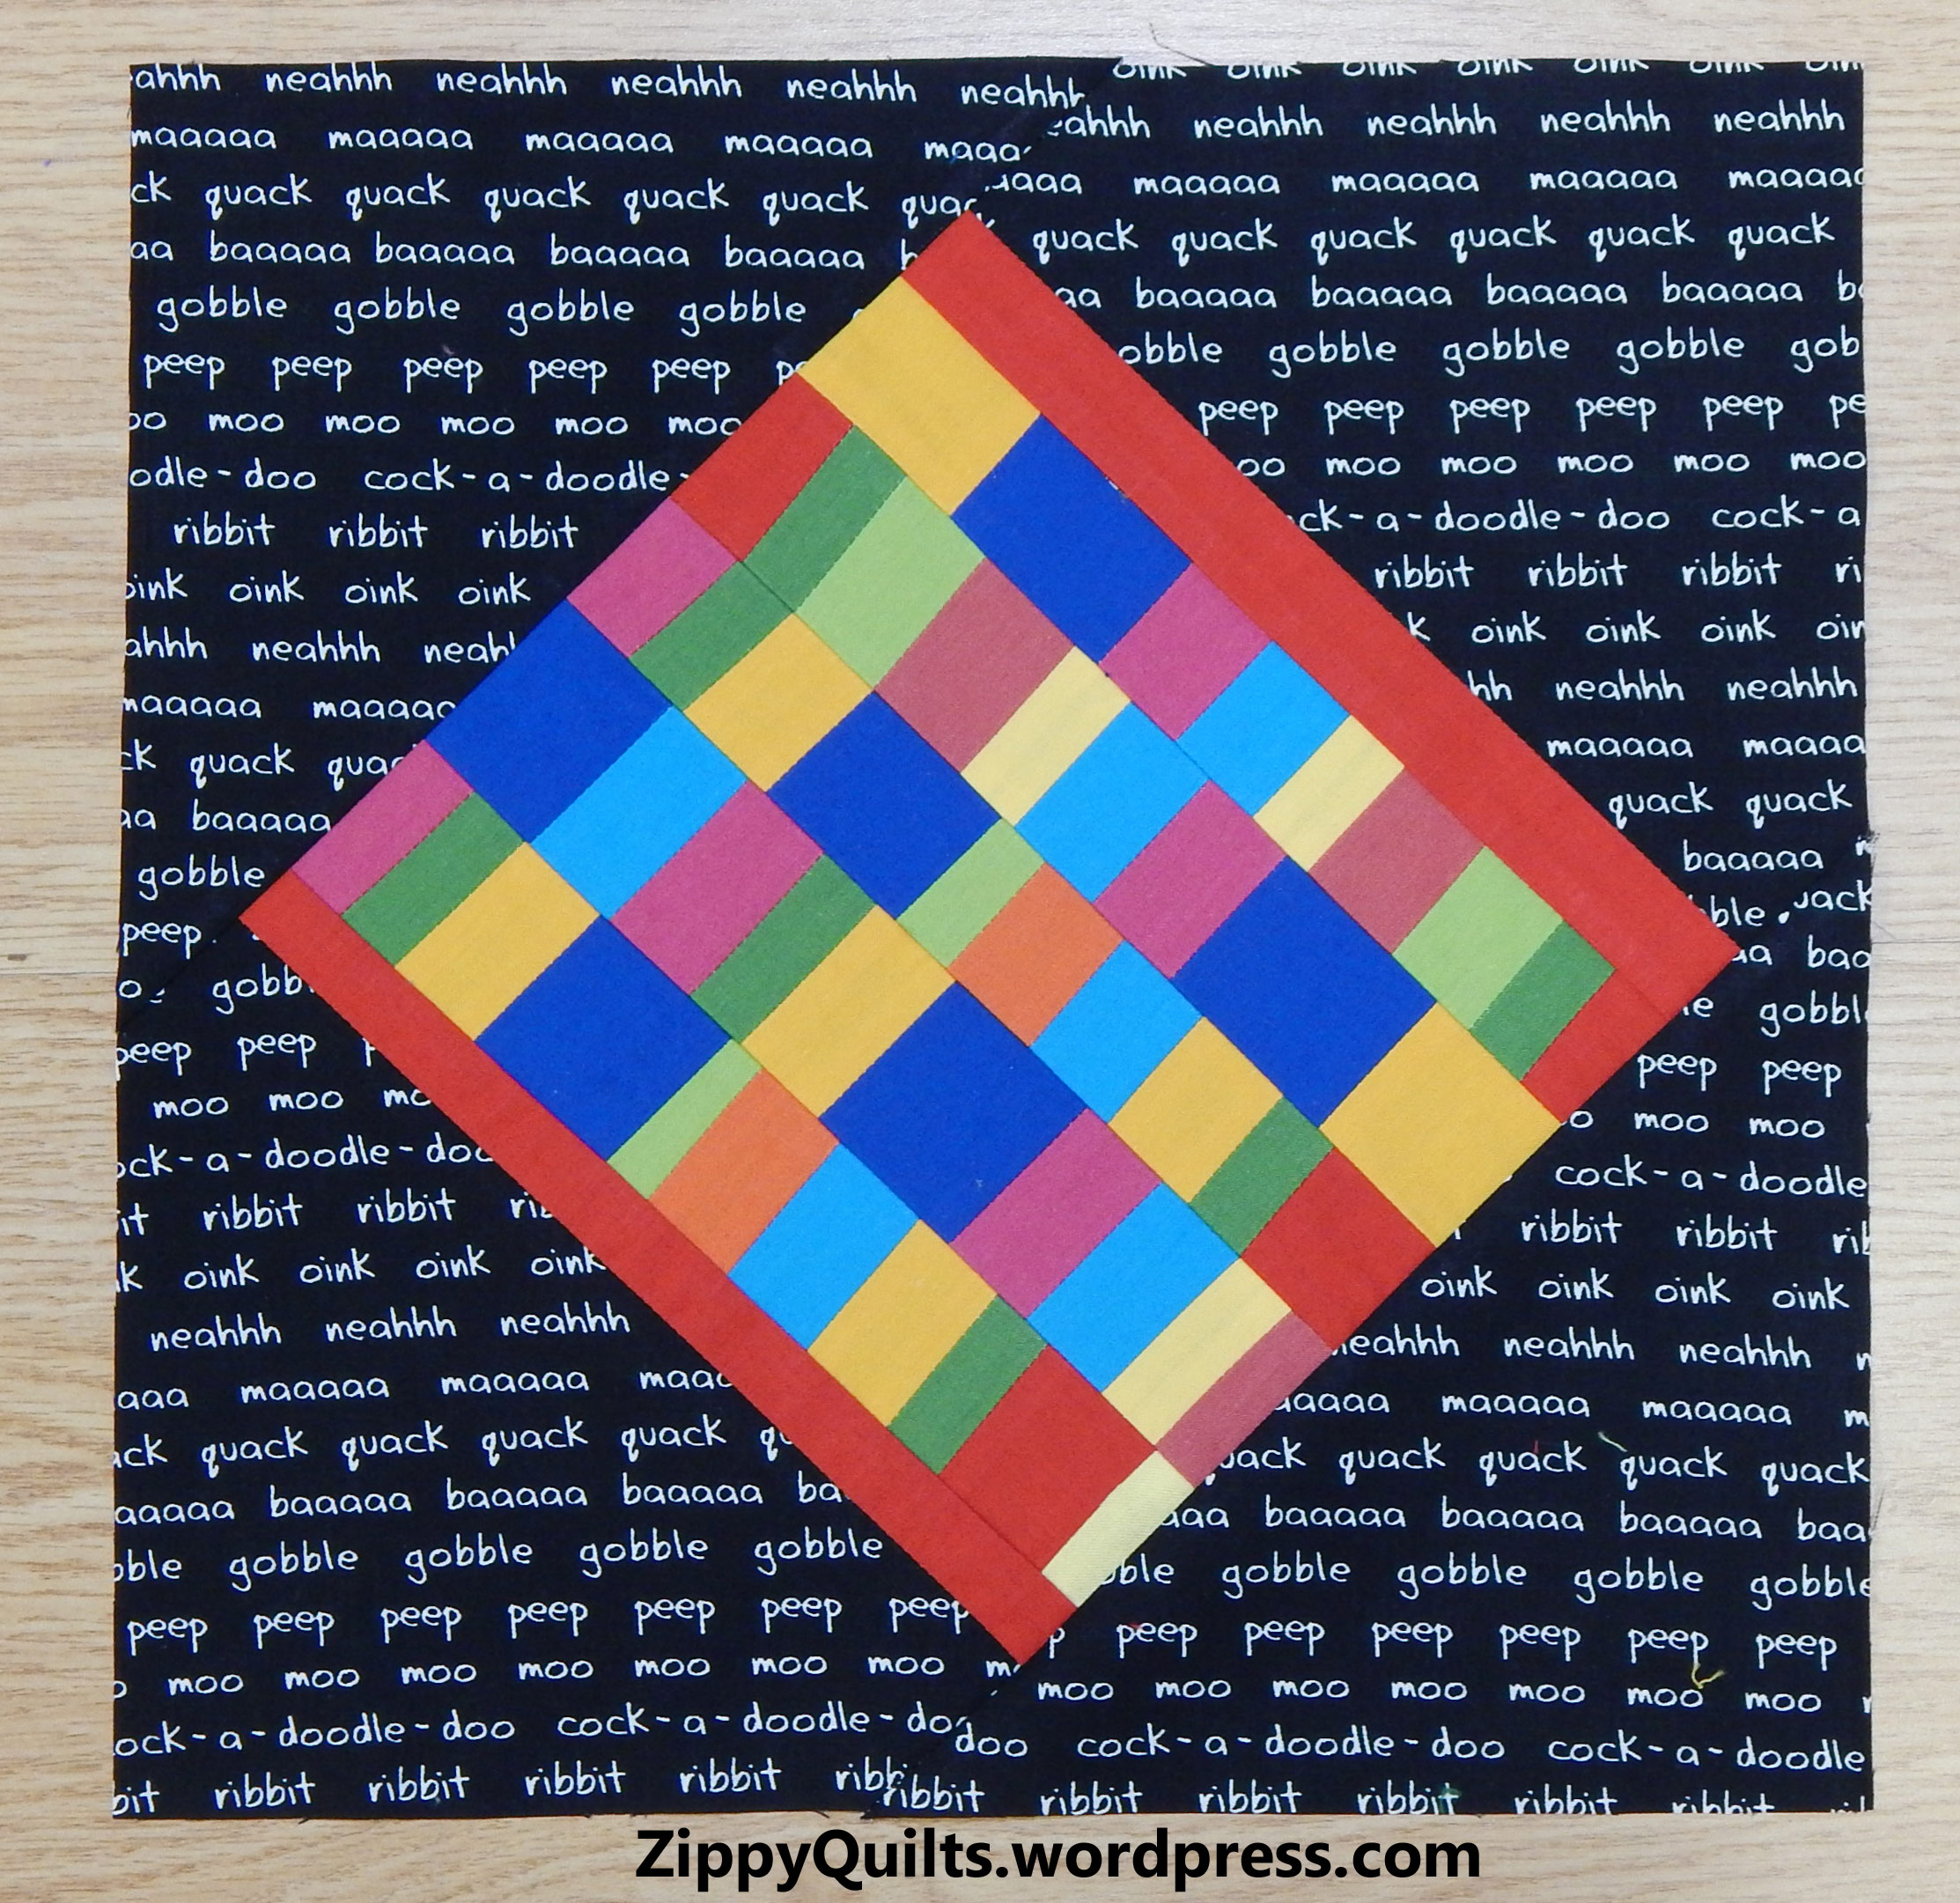
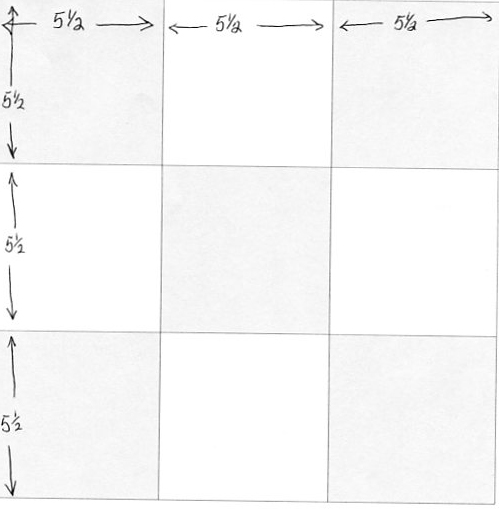
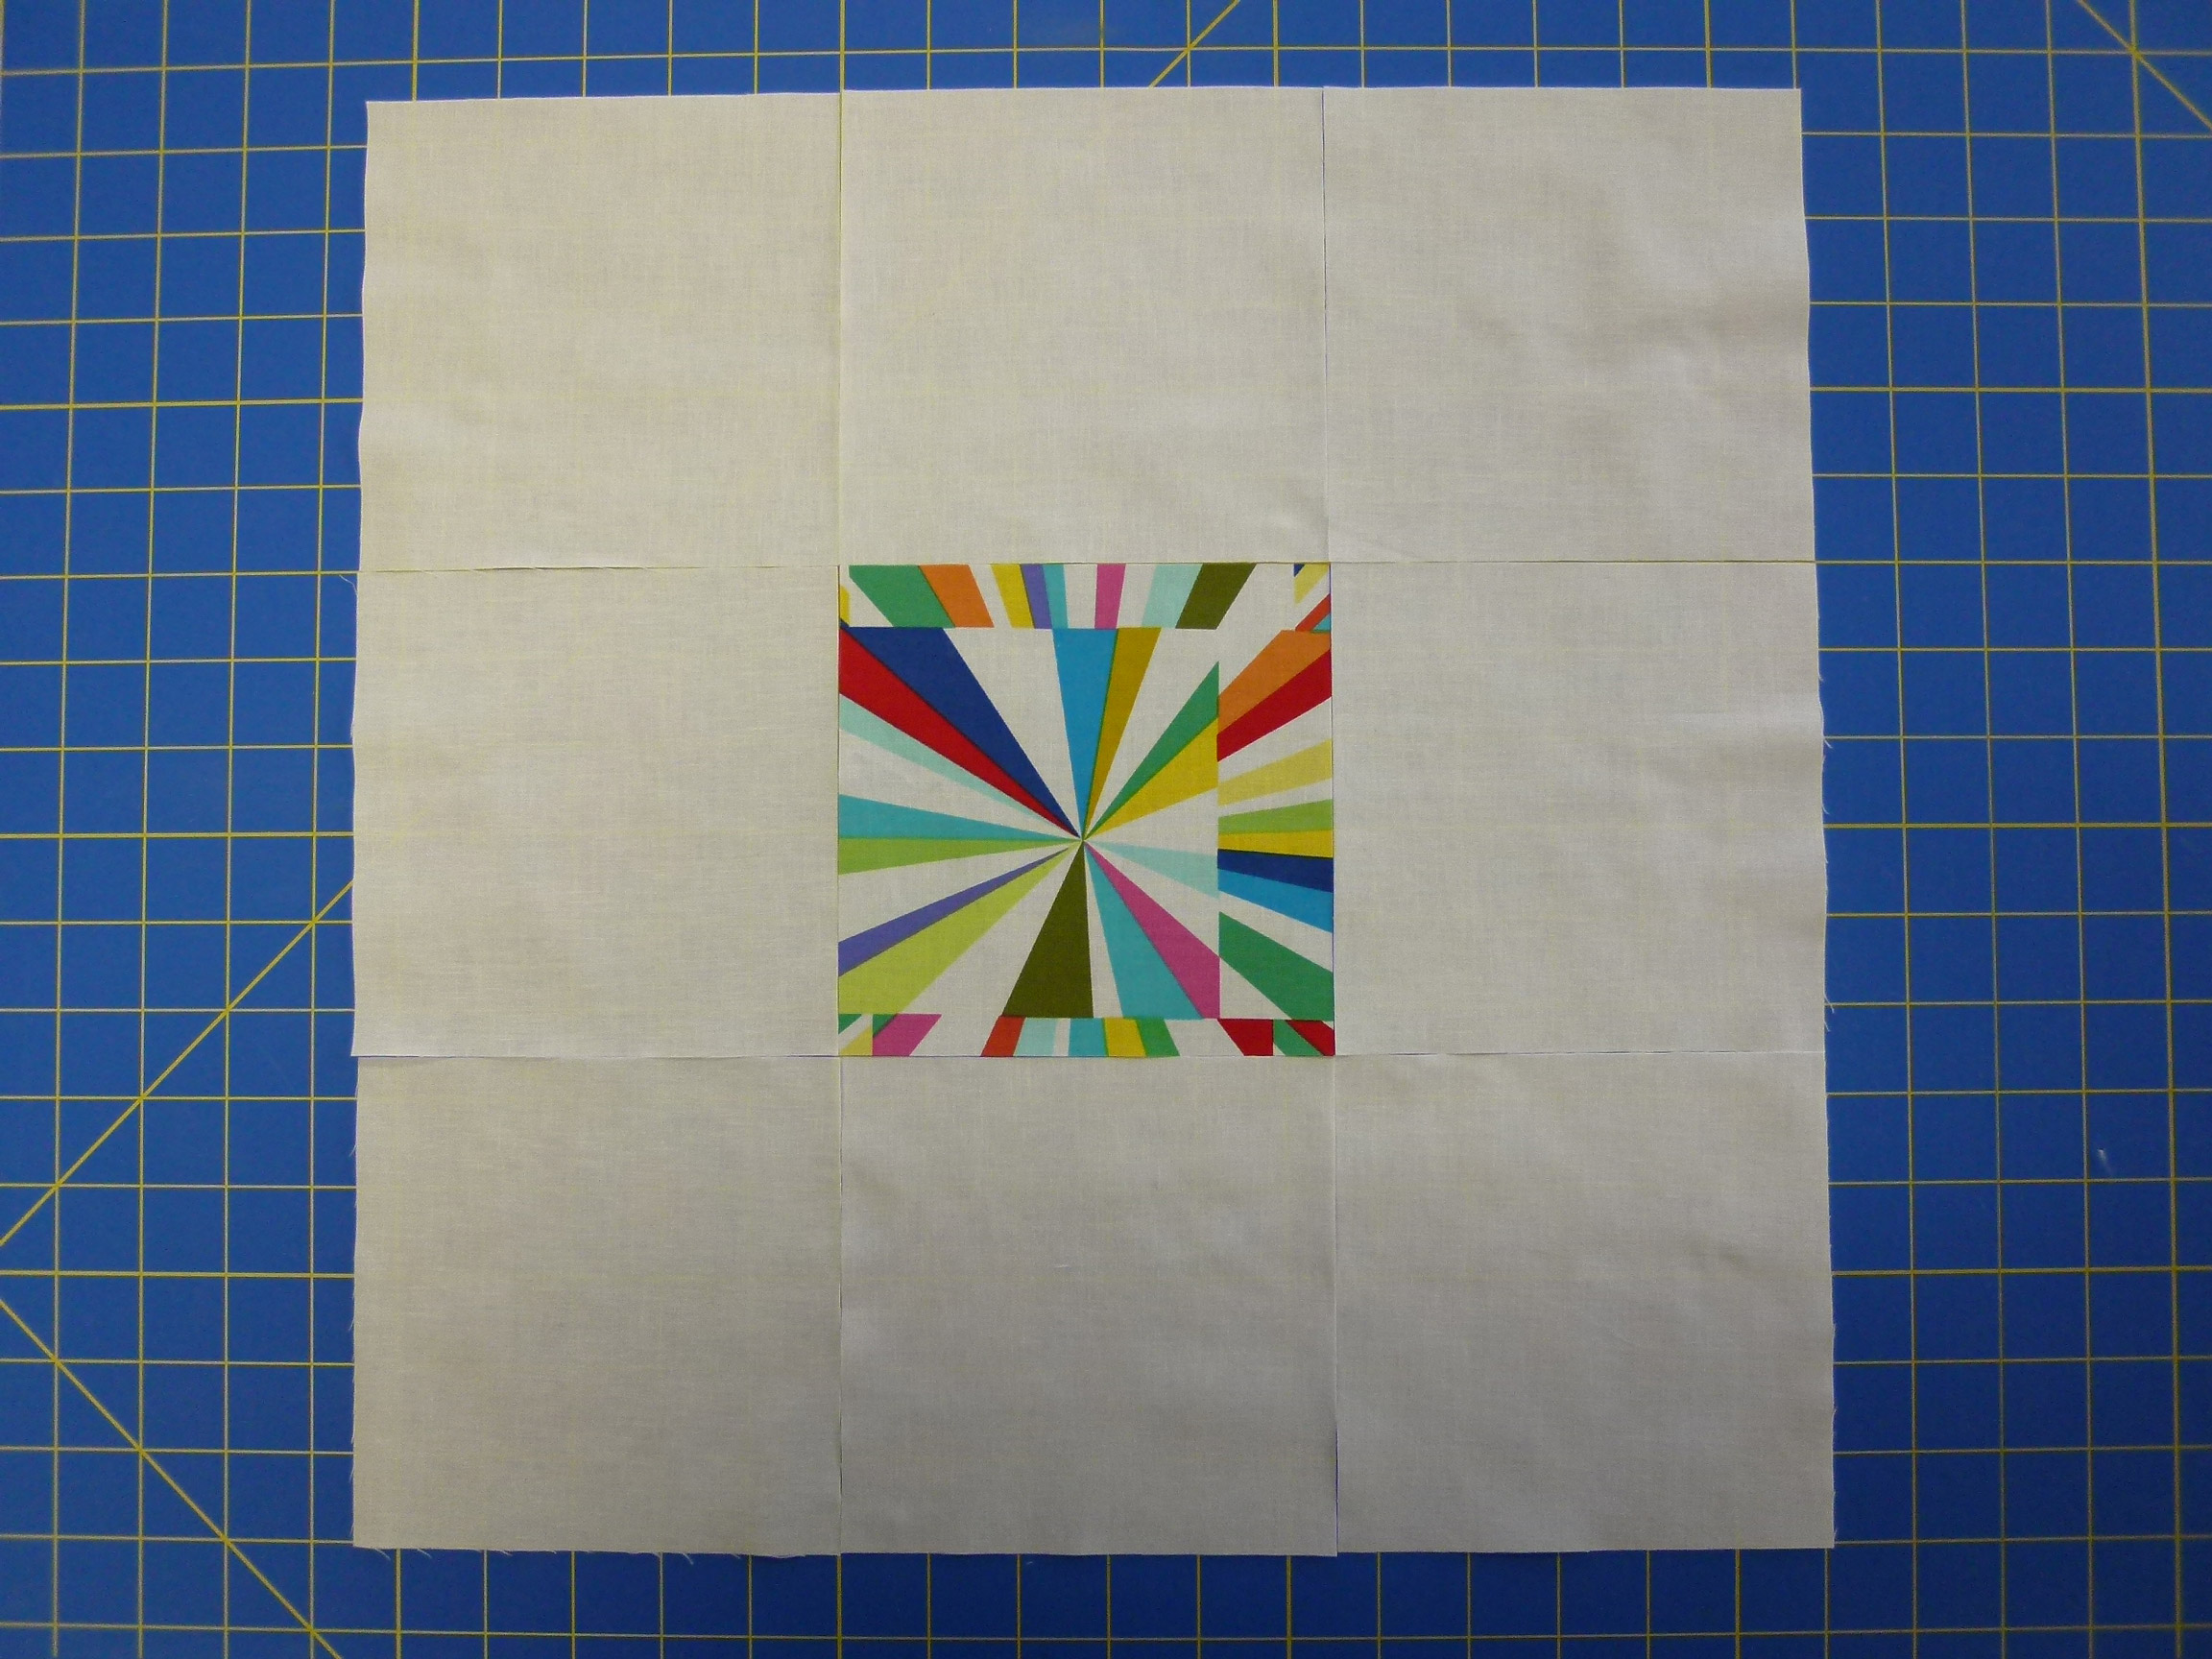
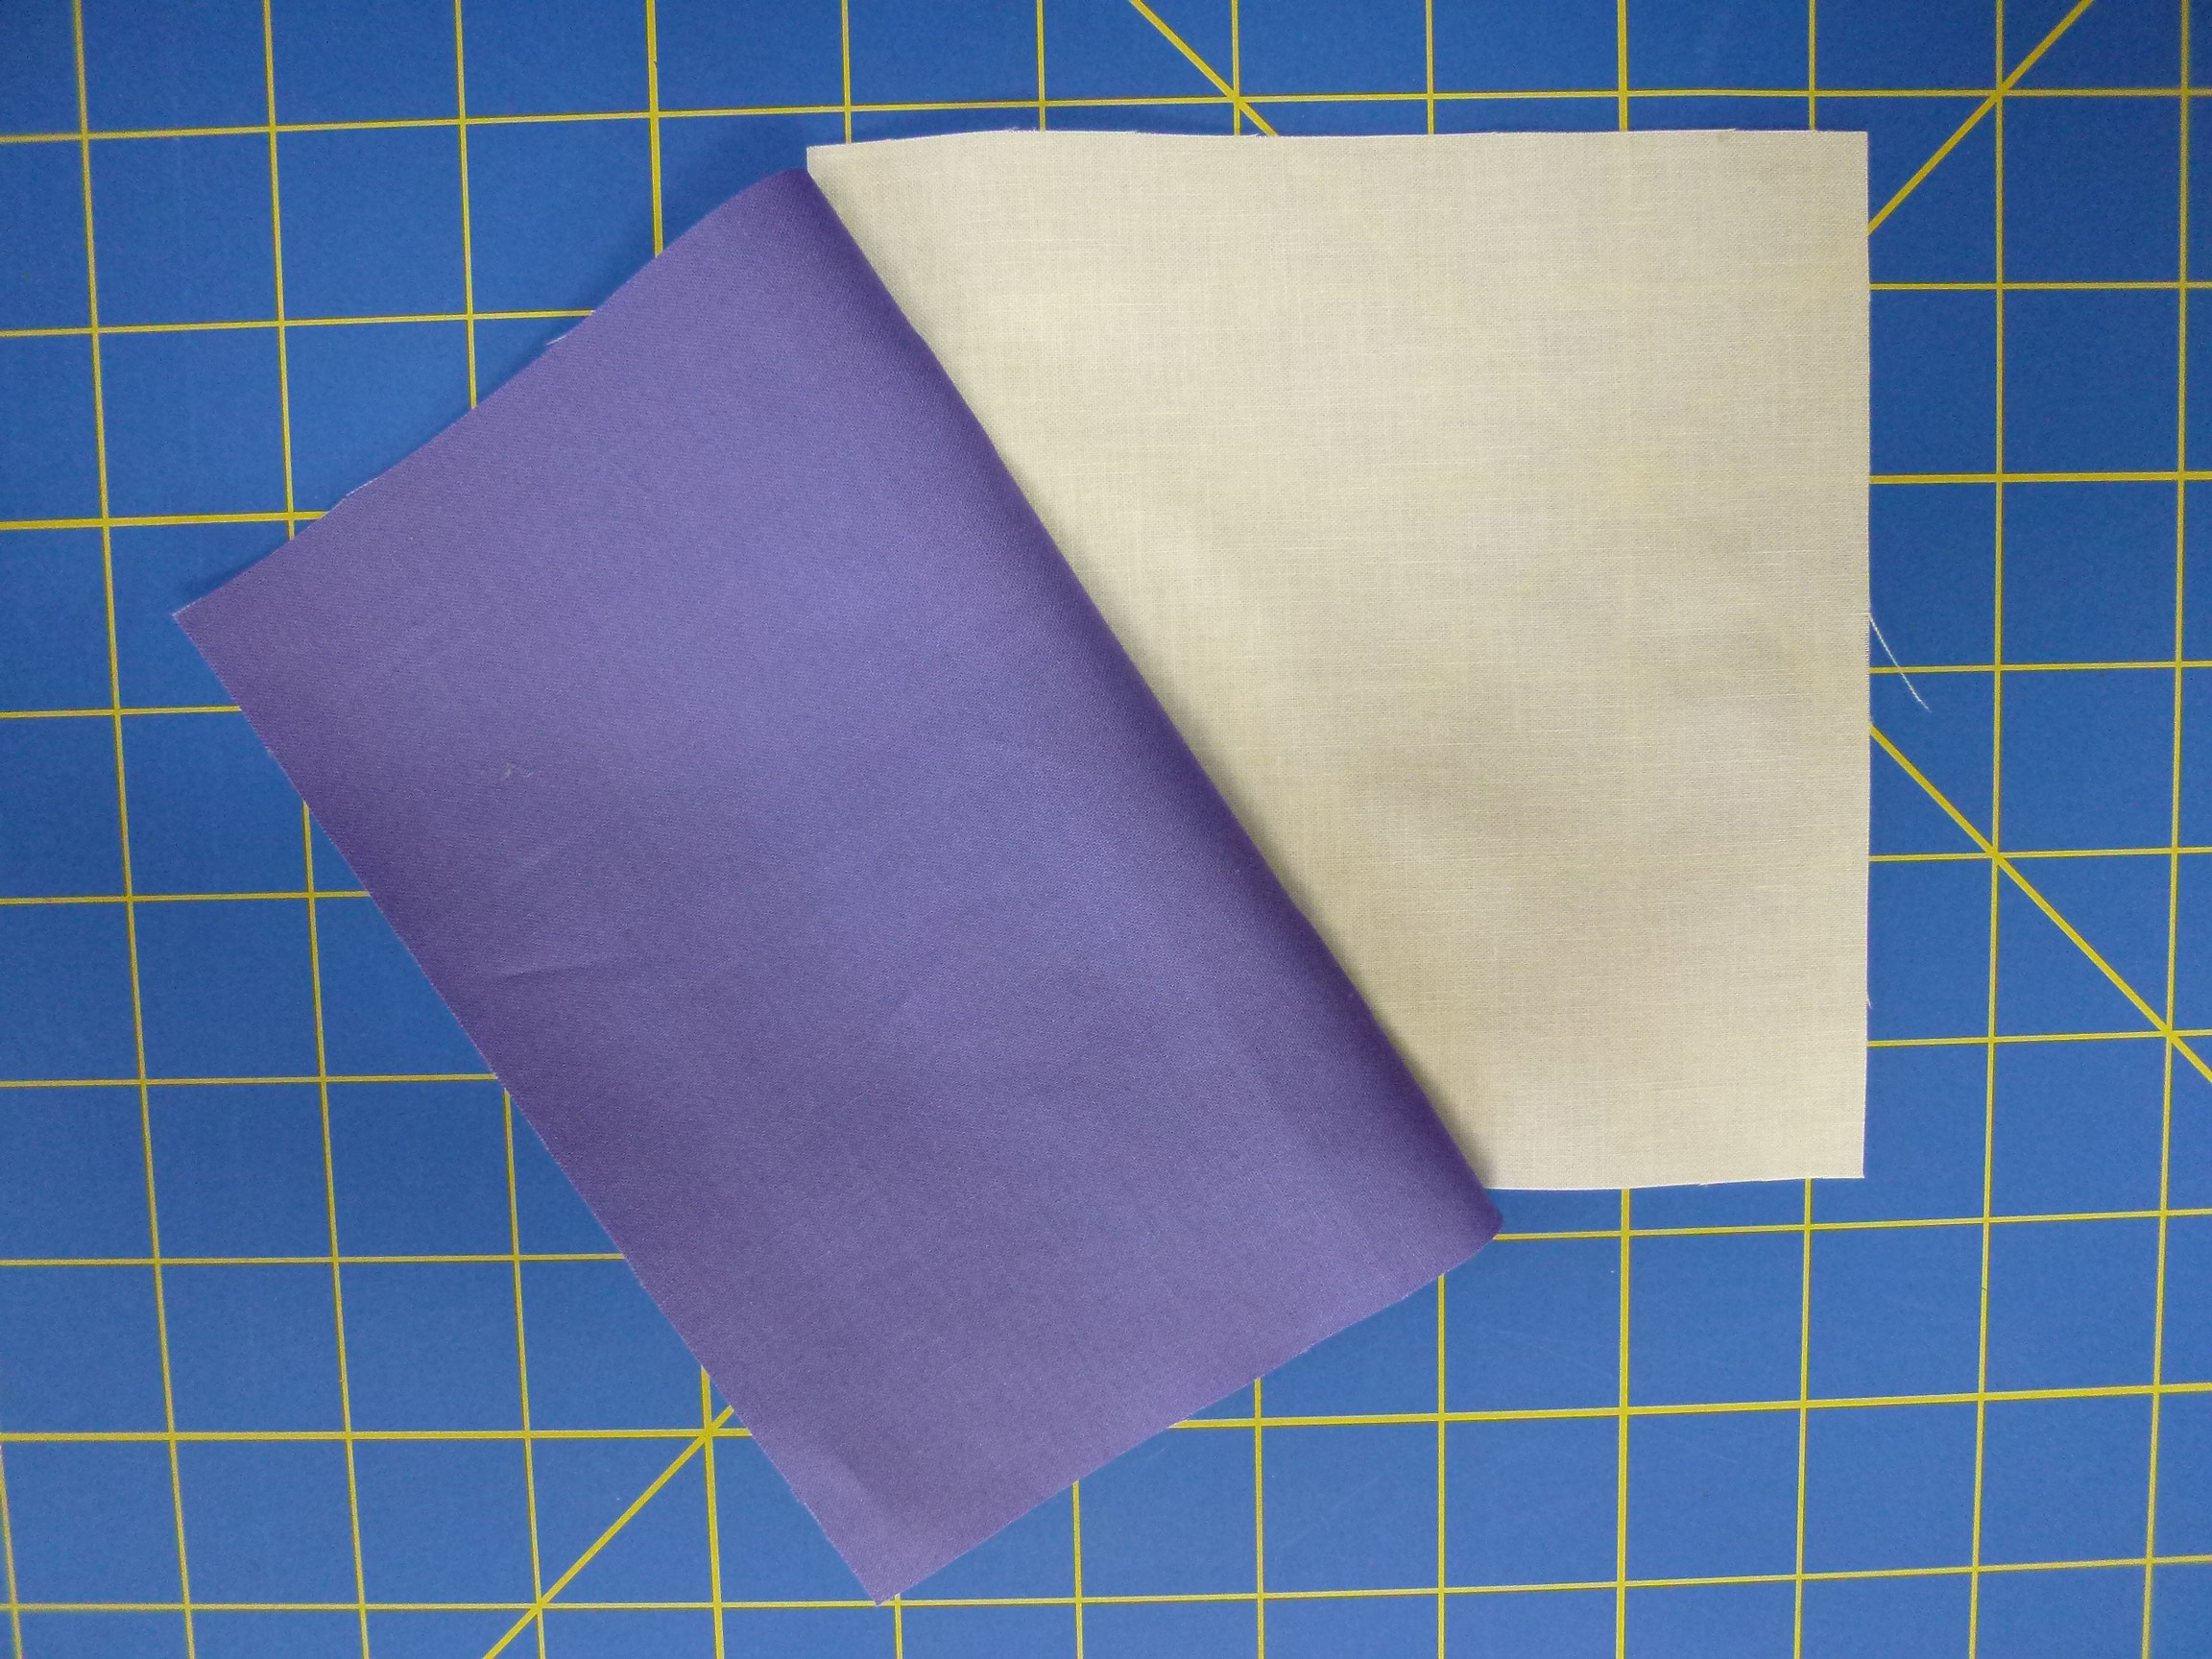
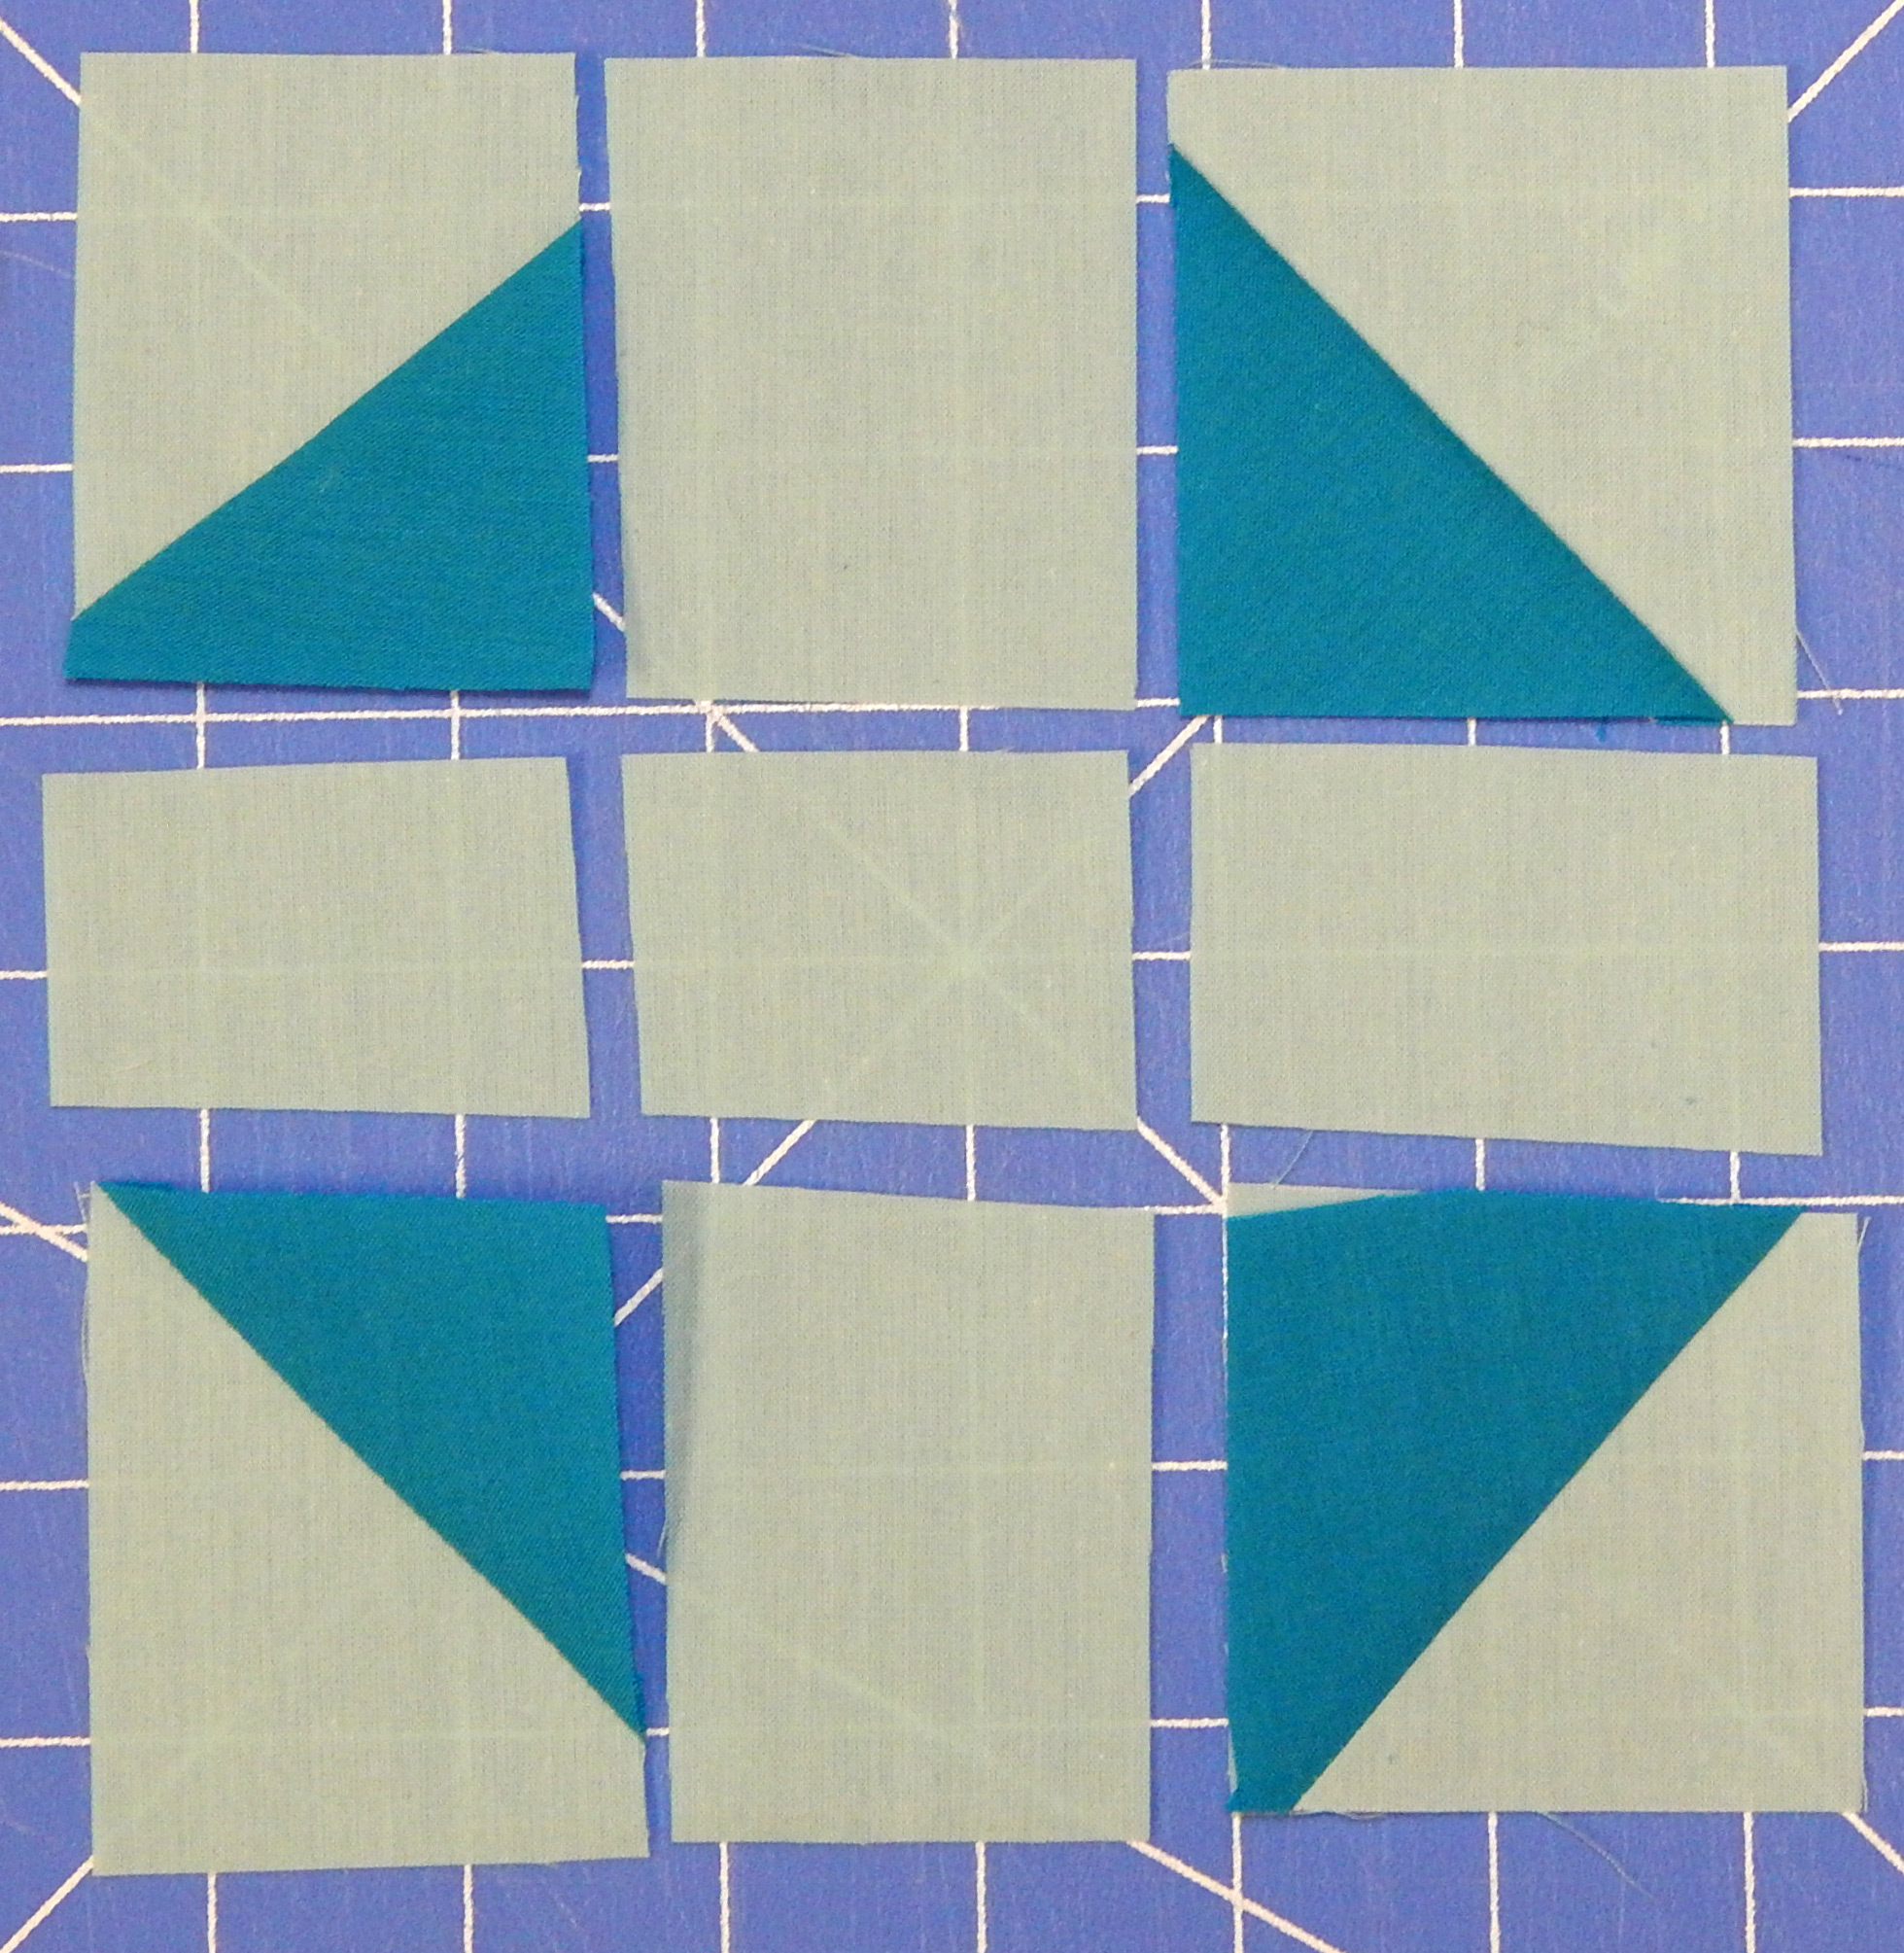
I DID use a ruler to make the original background square. Here are the steps:

I cut the big square using a ruler, the subdivided it into a 9-patch freehand


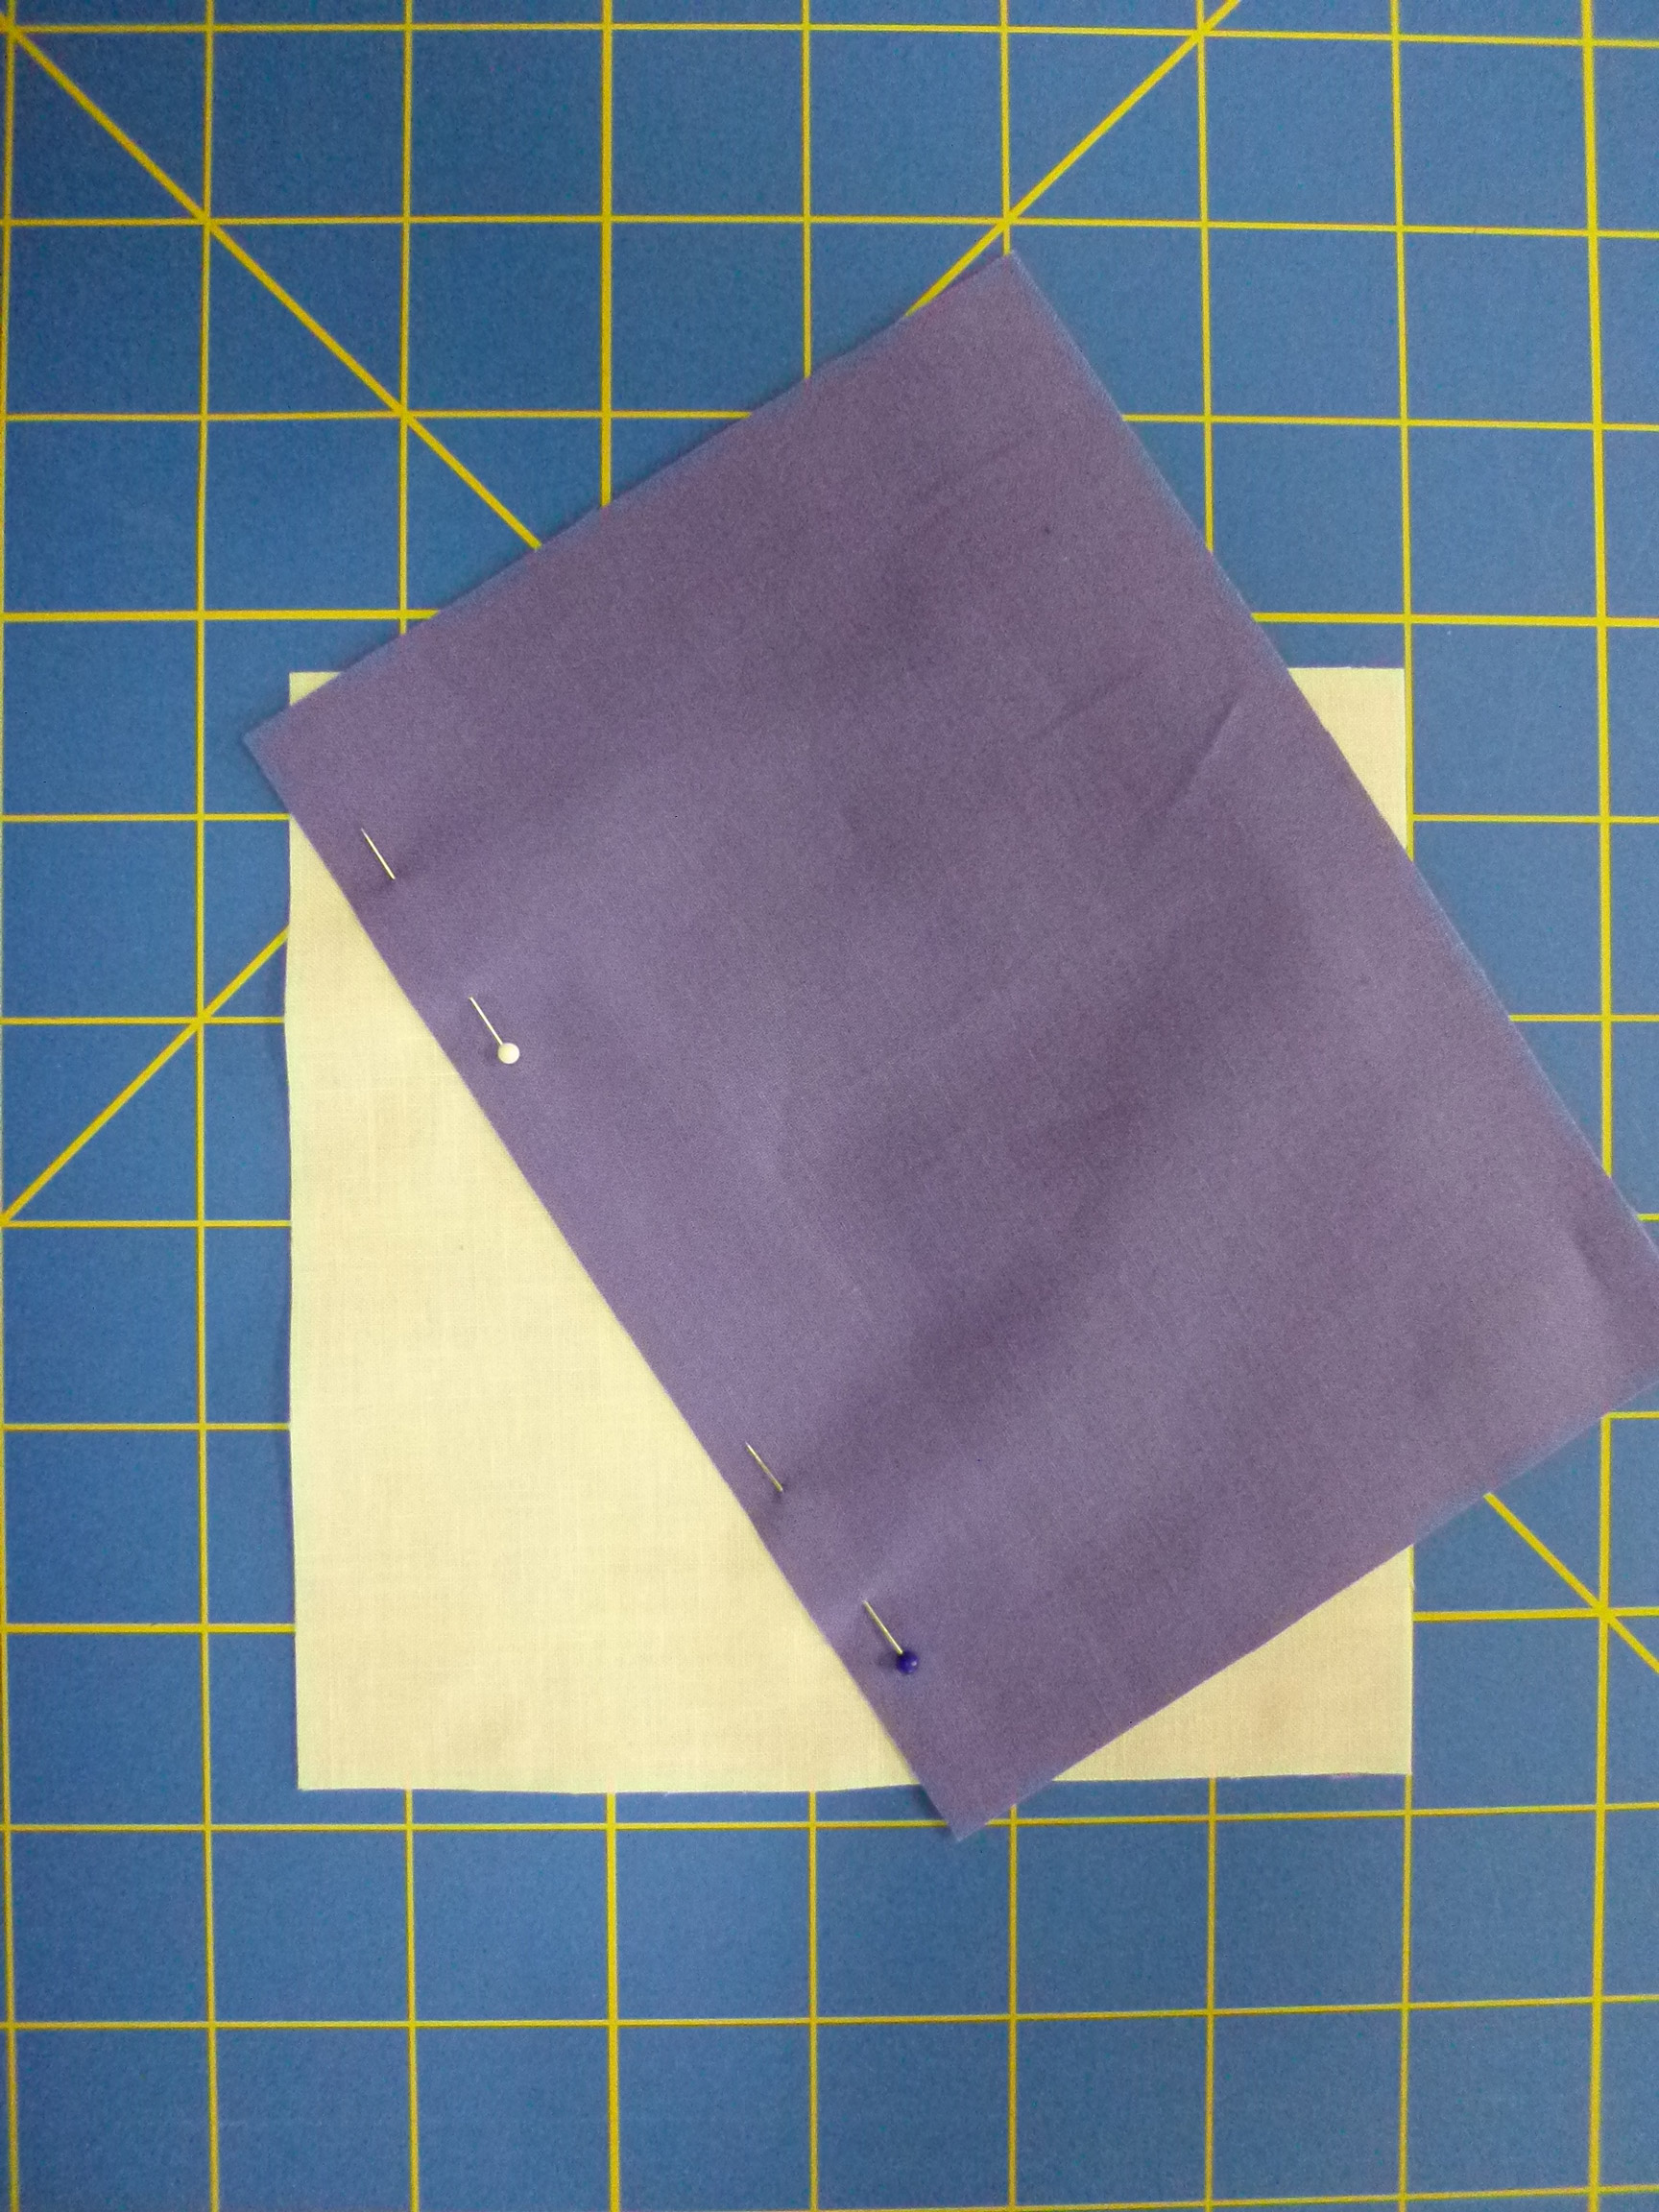
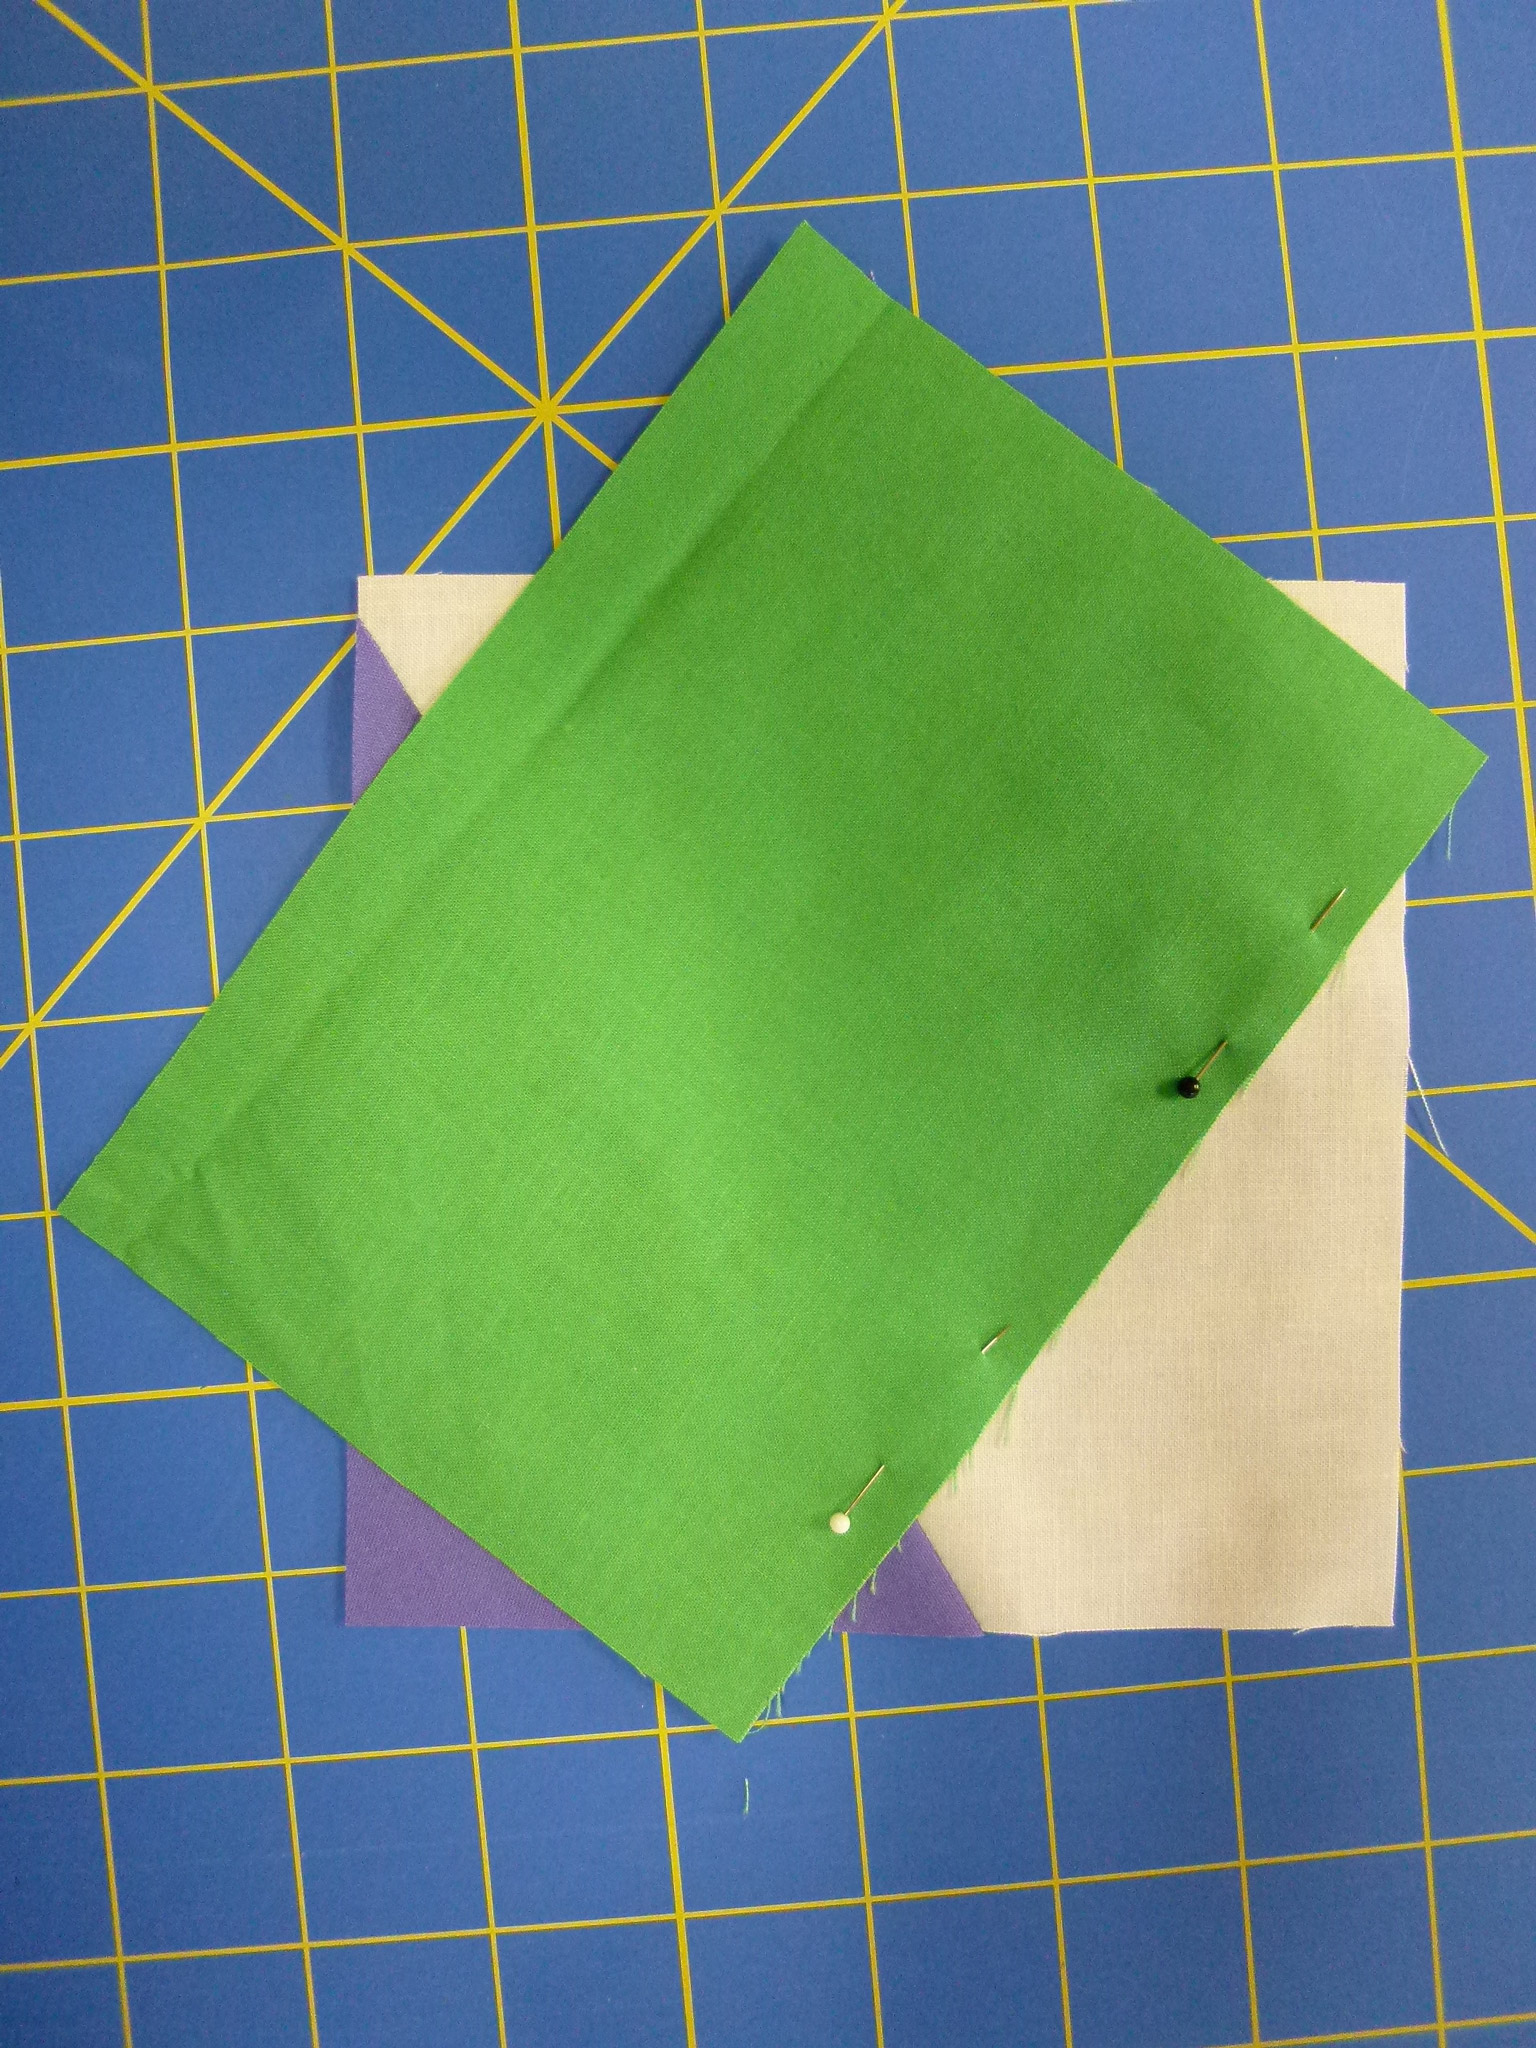
Corners done, time for the sides
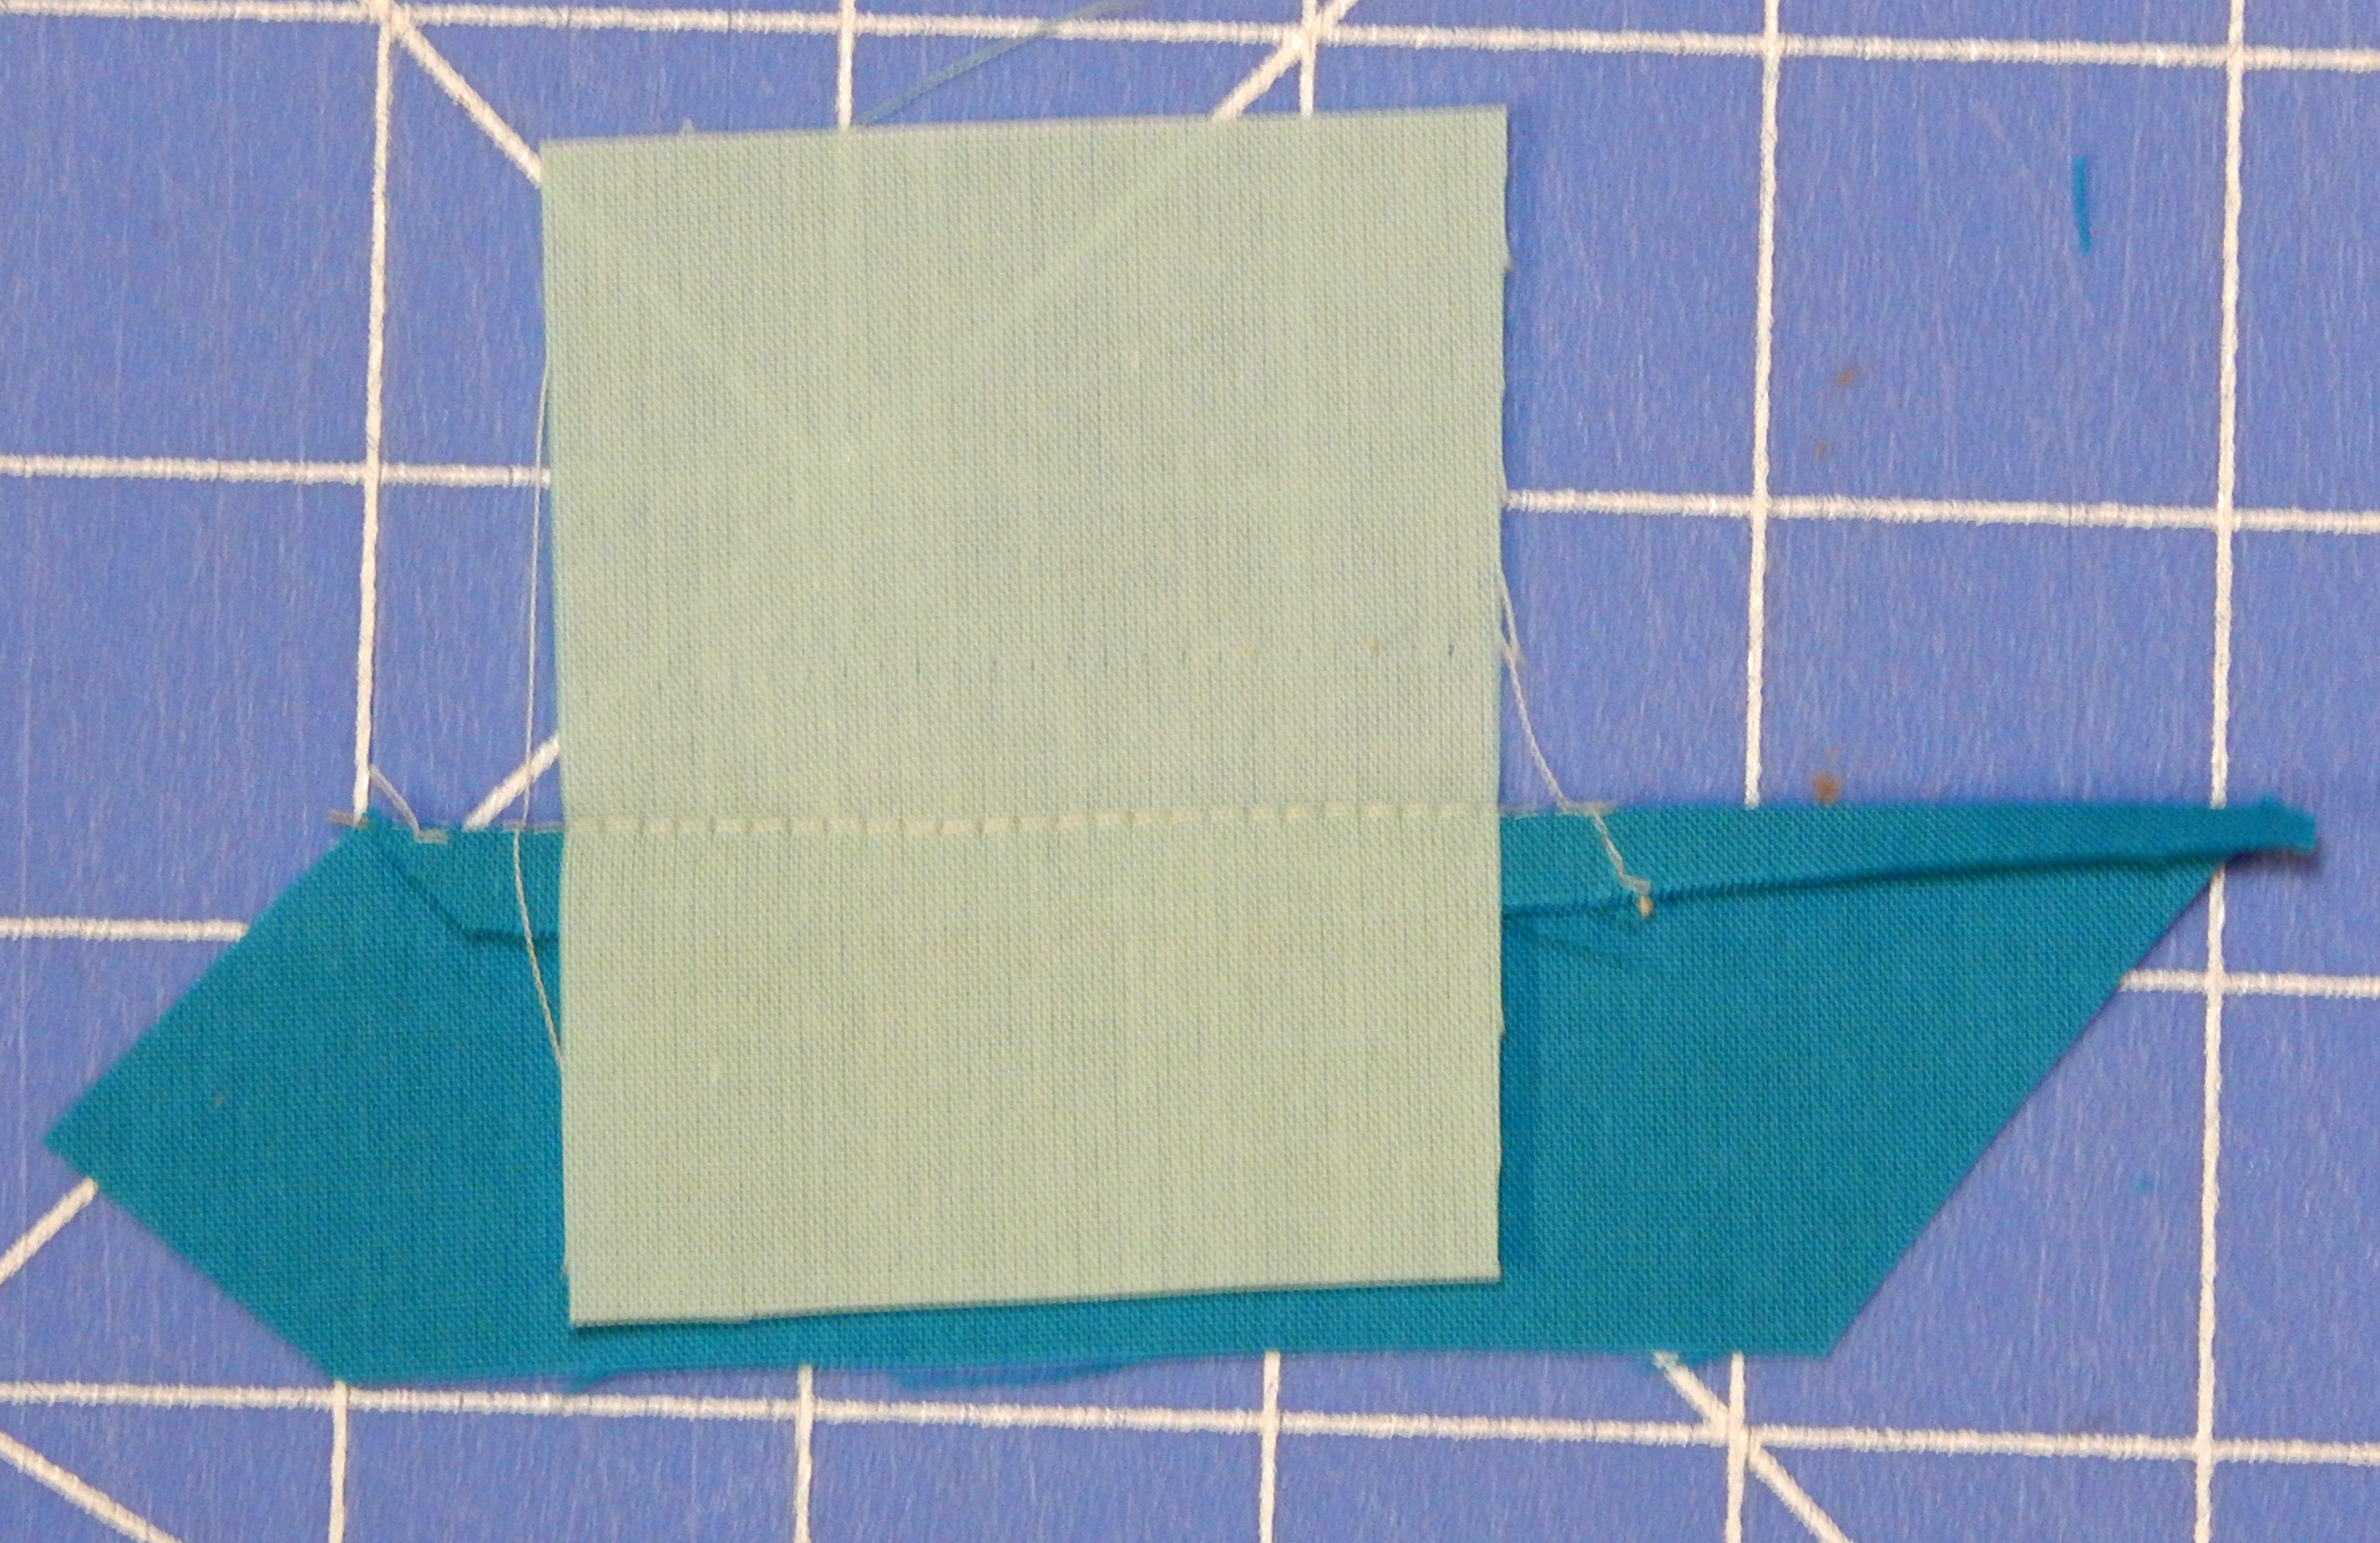
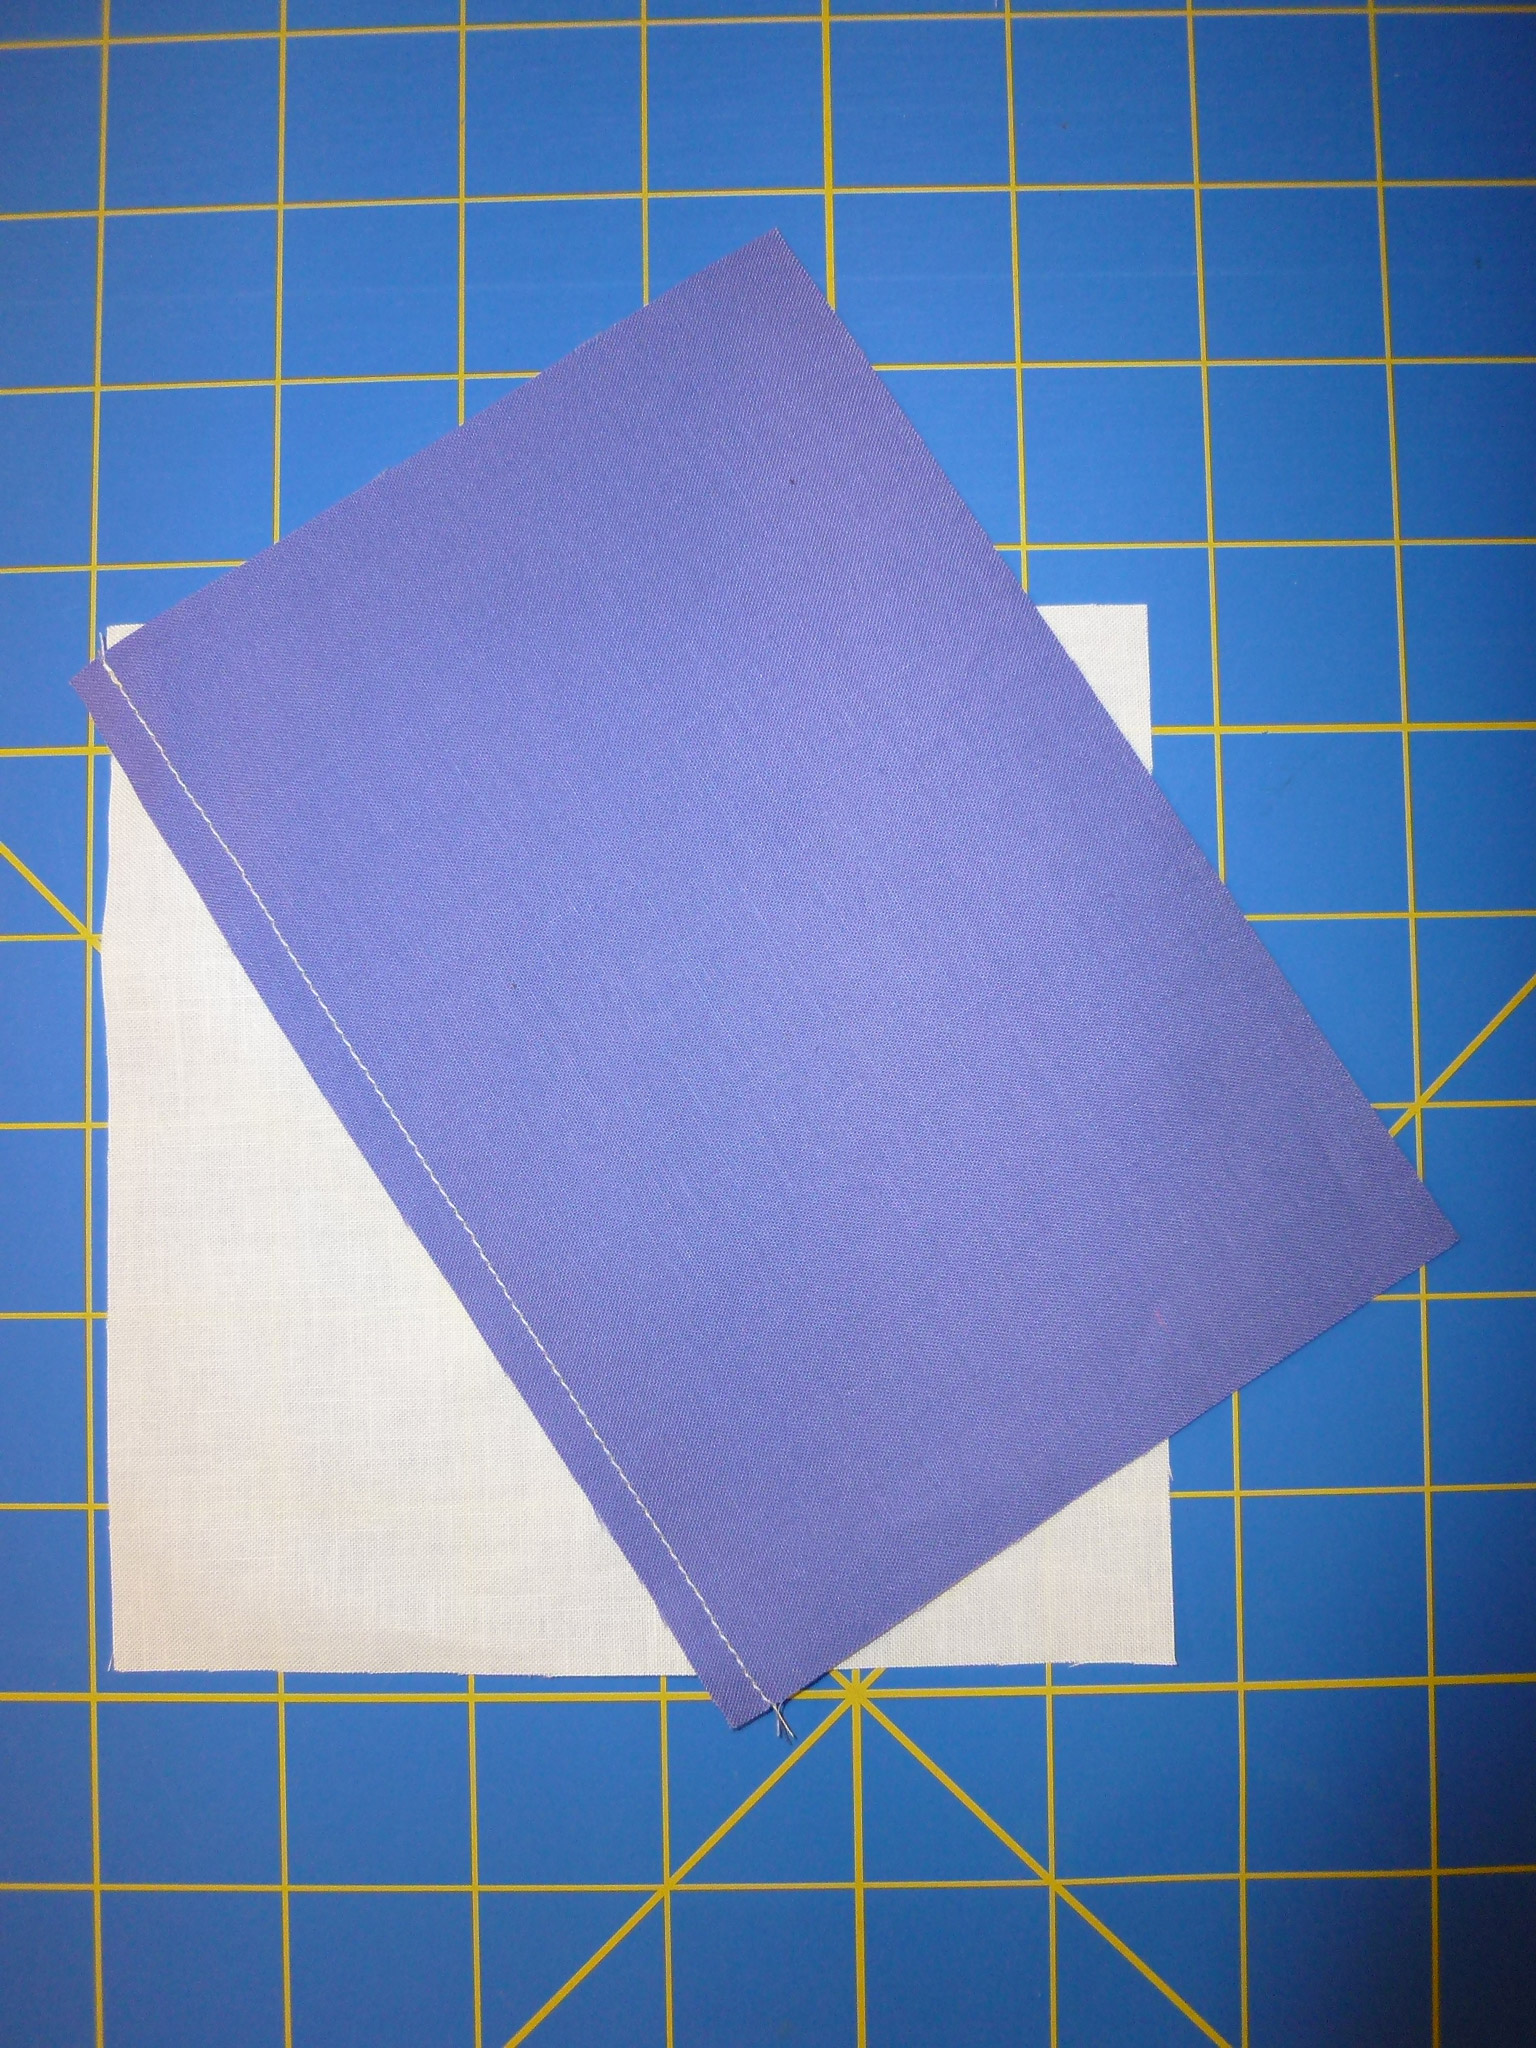
Sides done using method similar to the corners: pin, check, then sew and trim
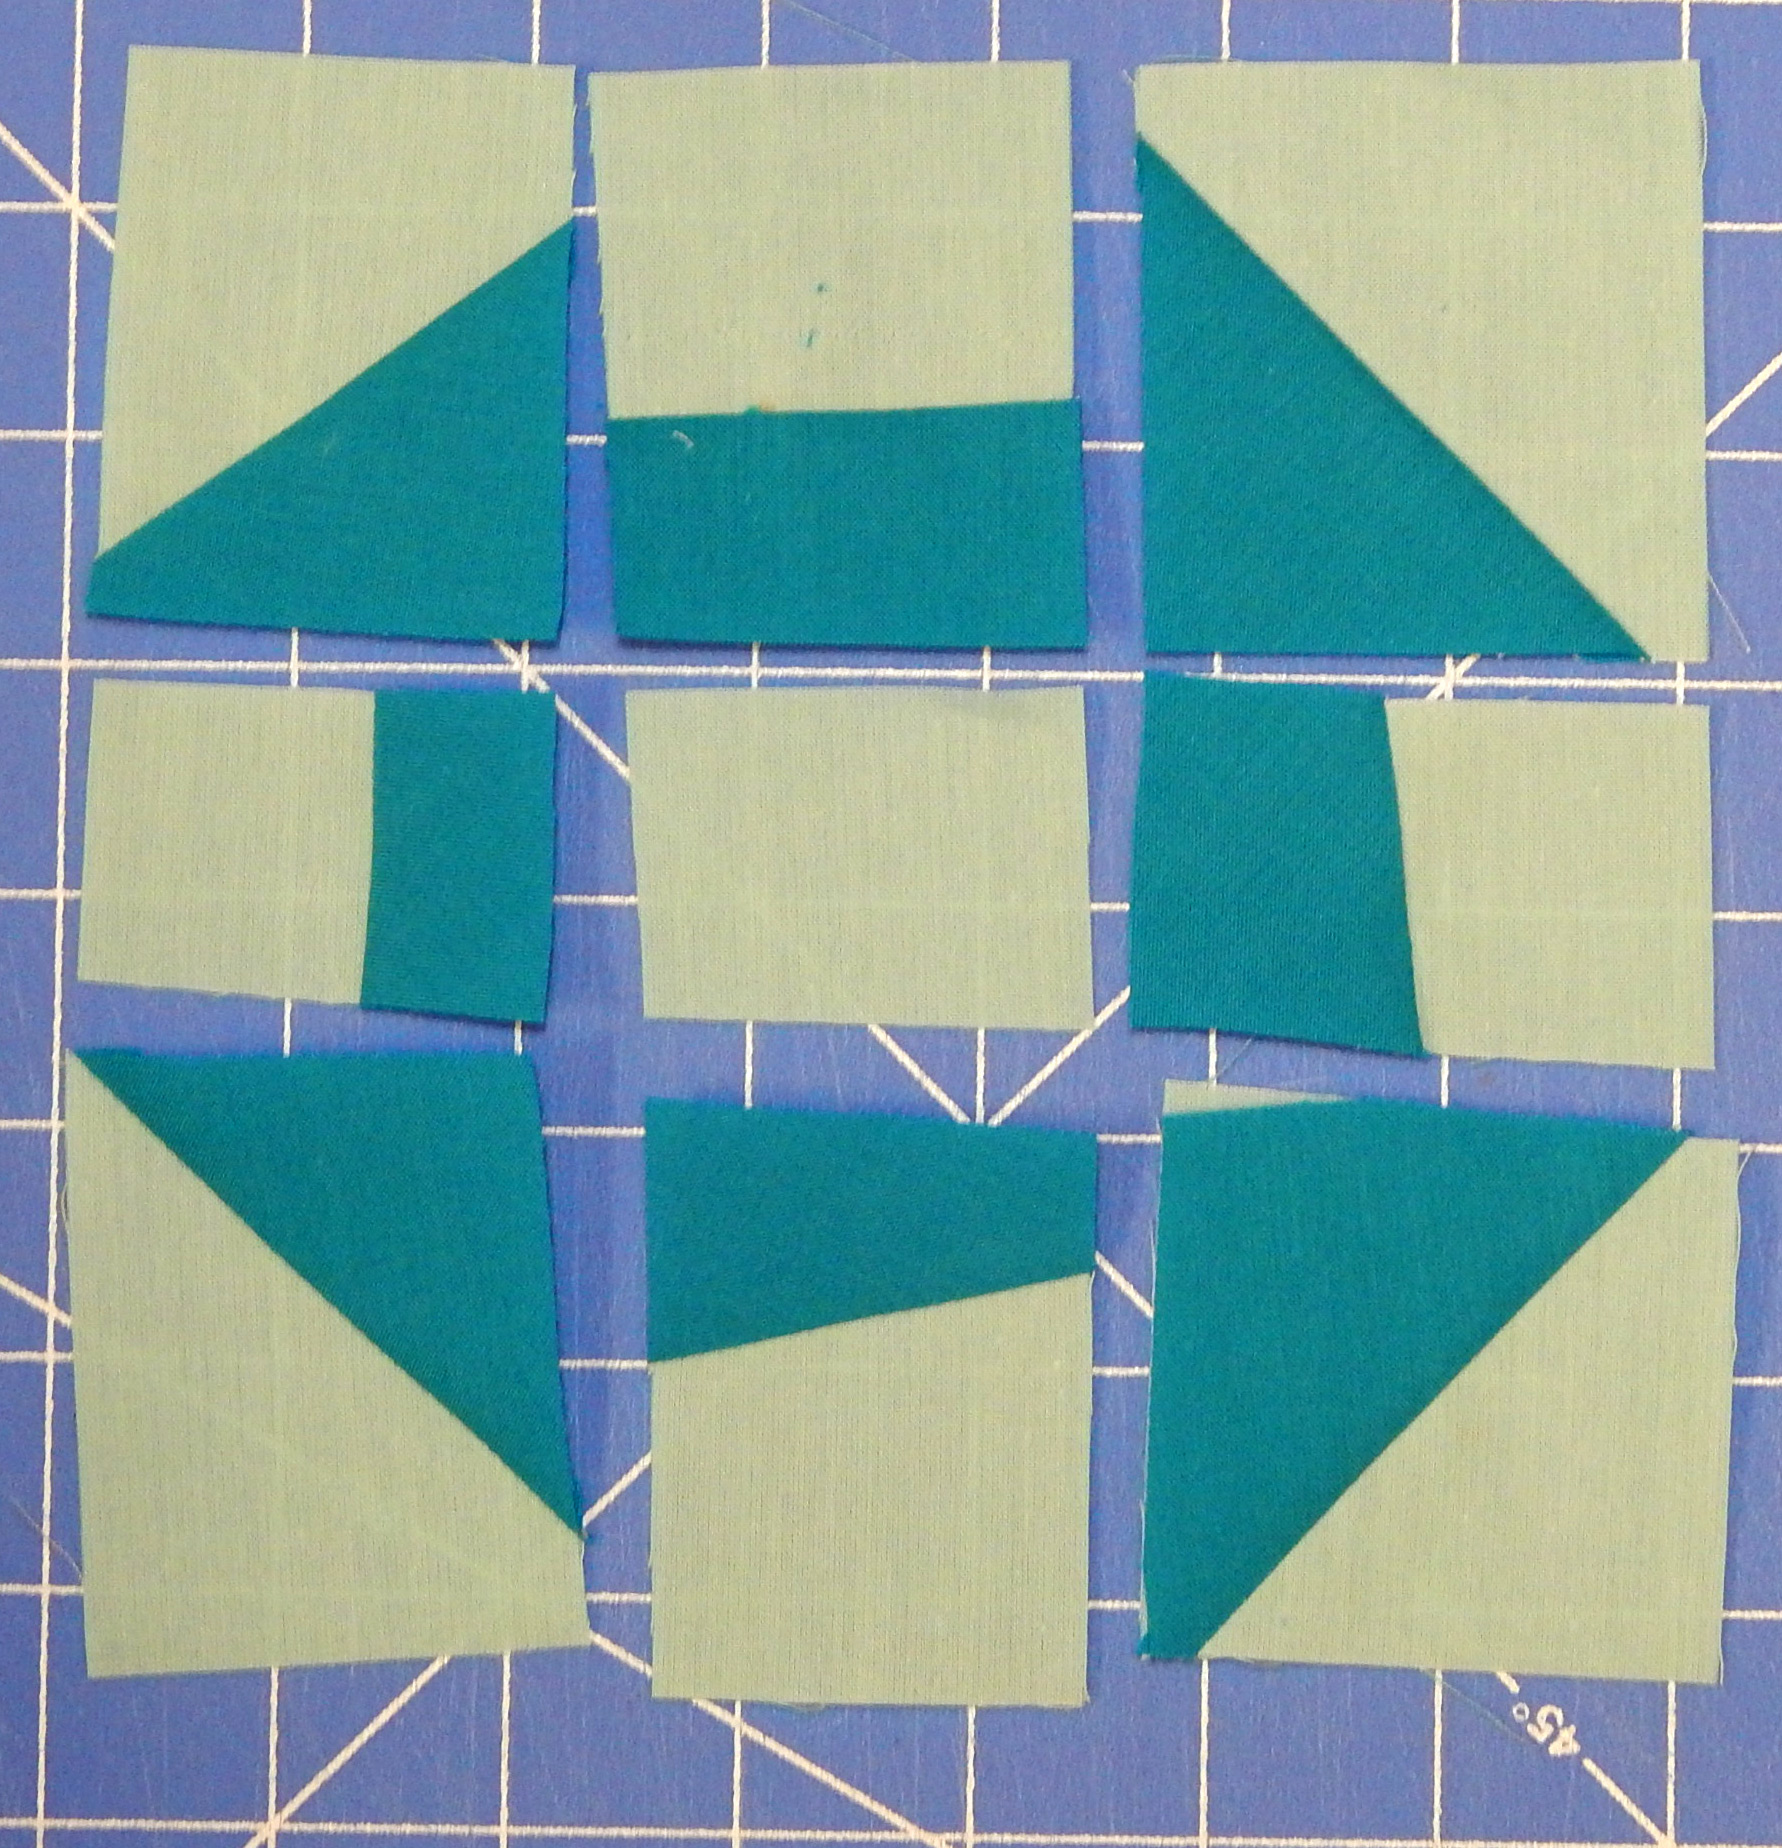
Ready to be sewn together!
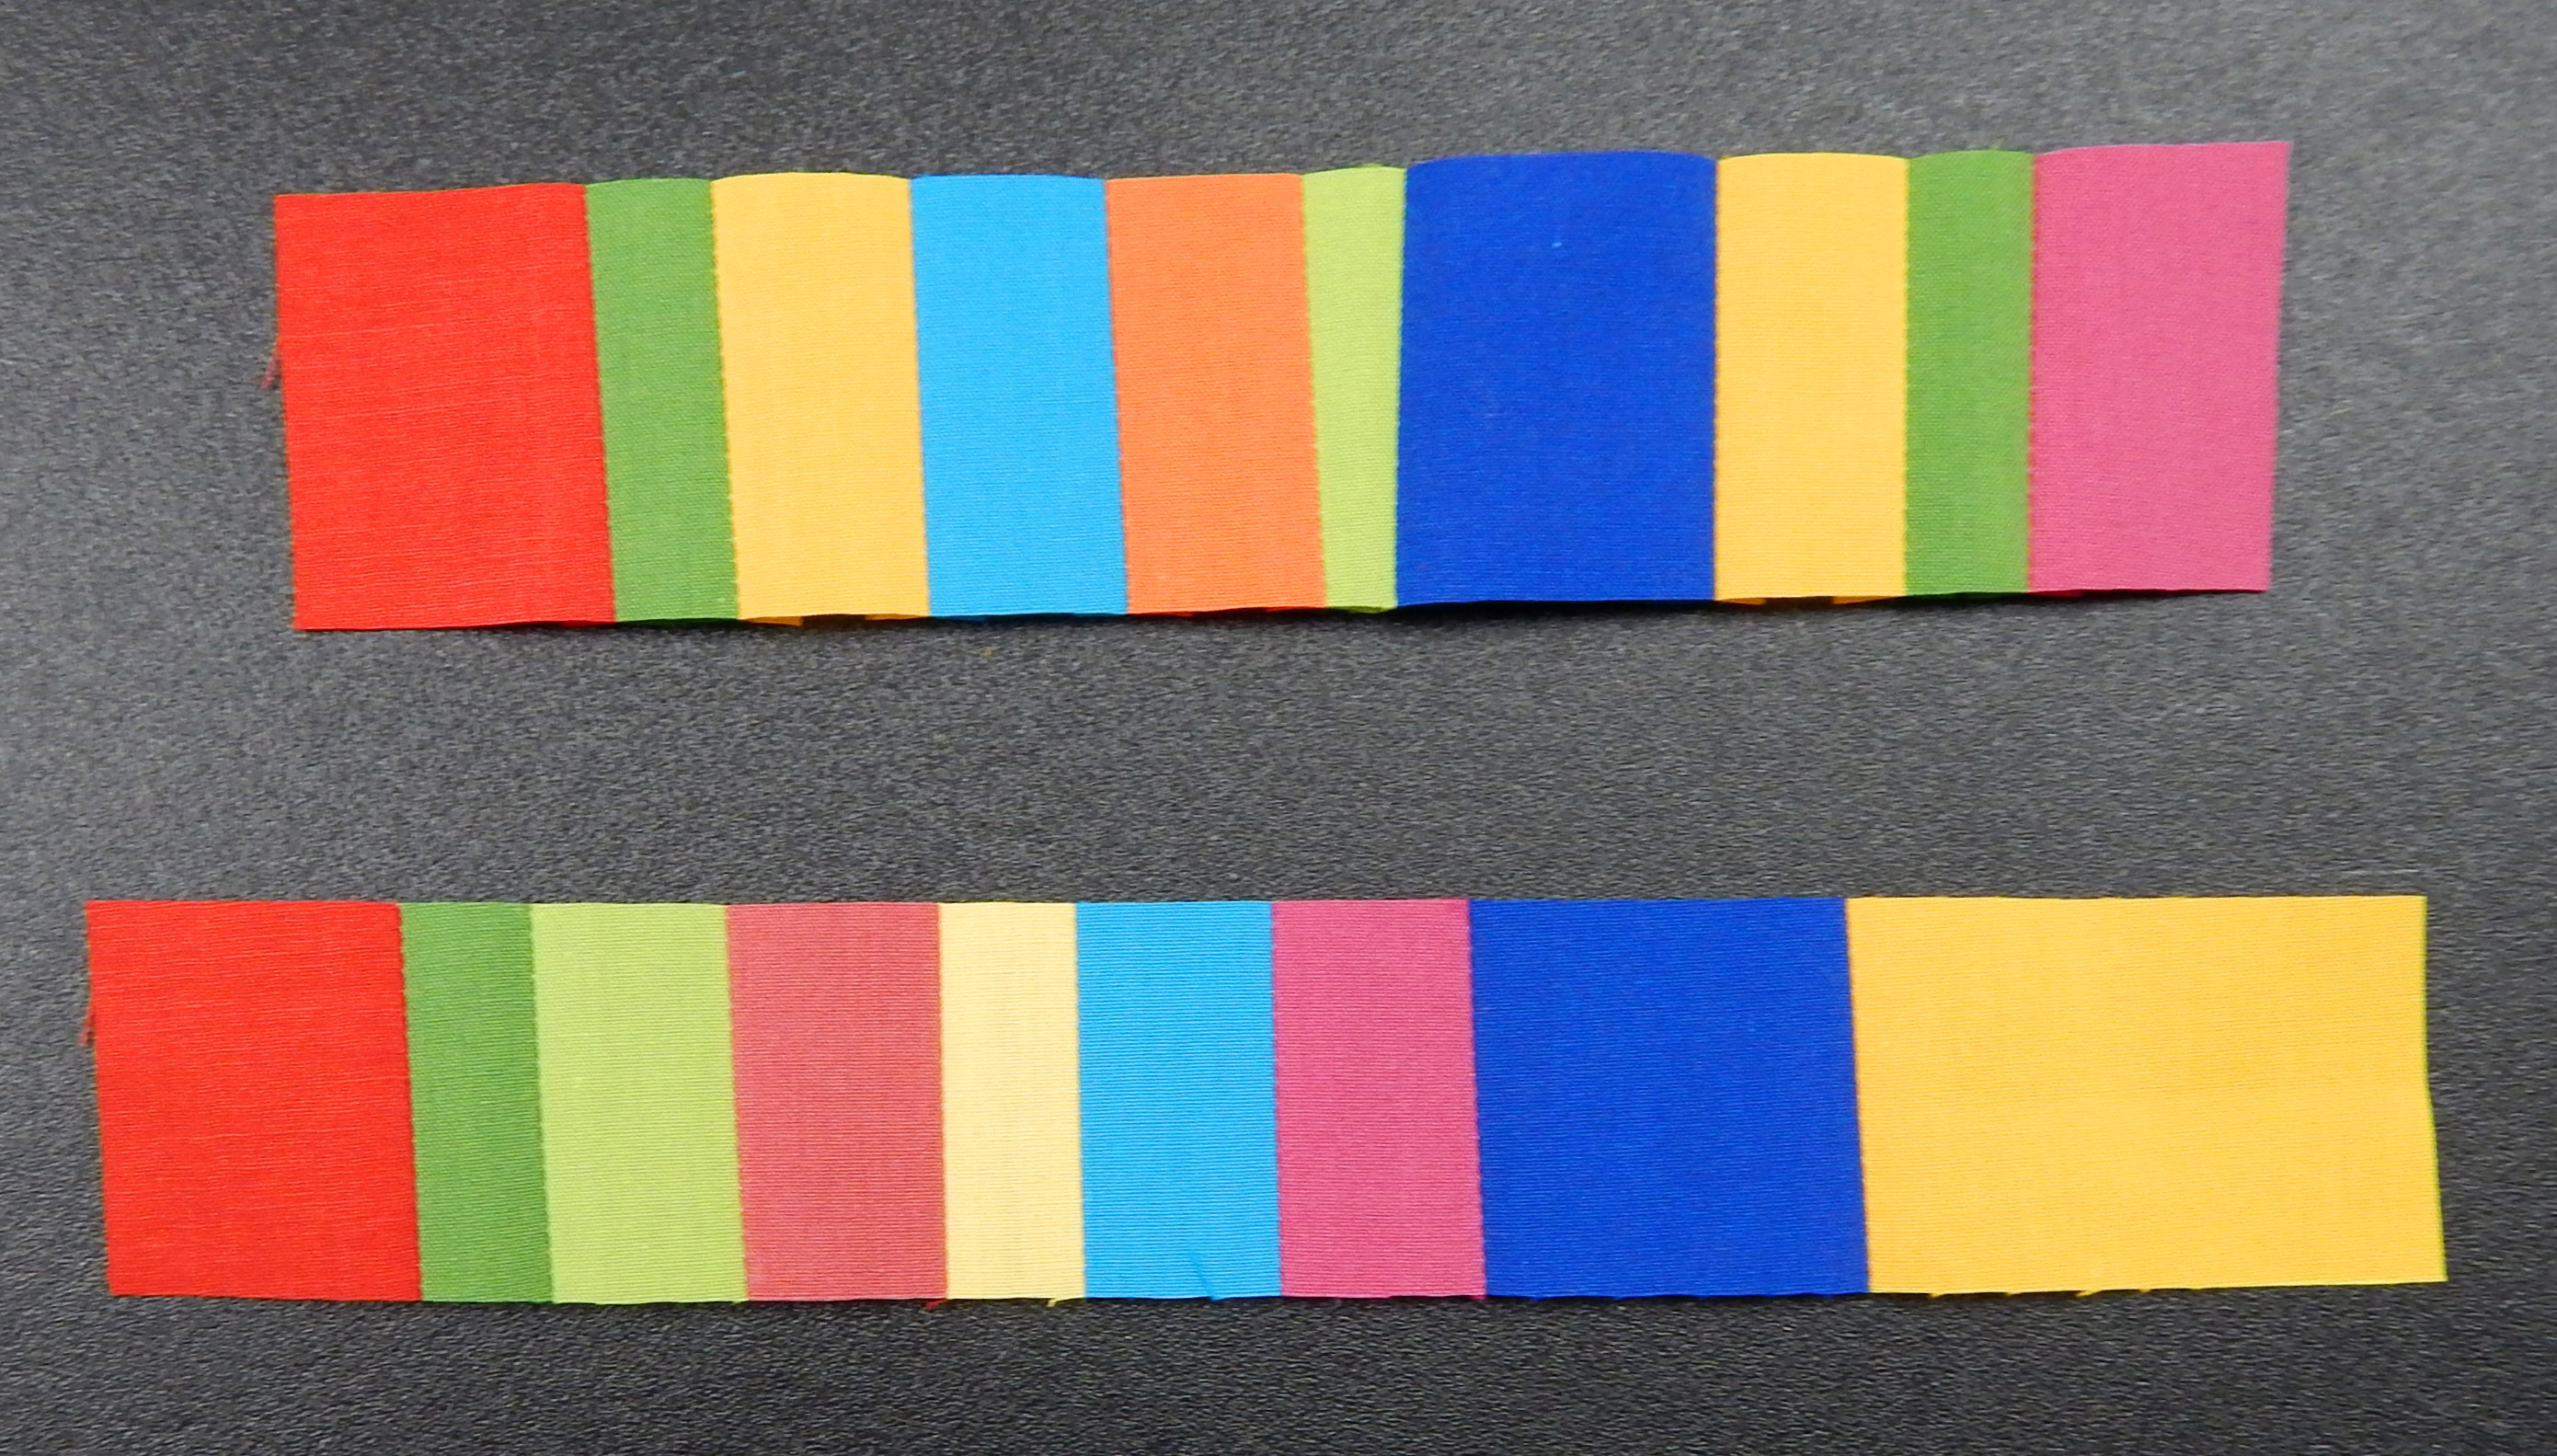
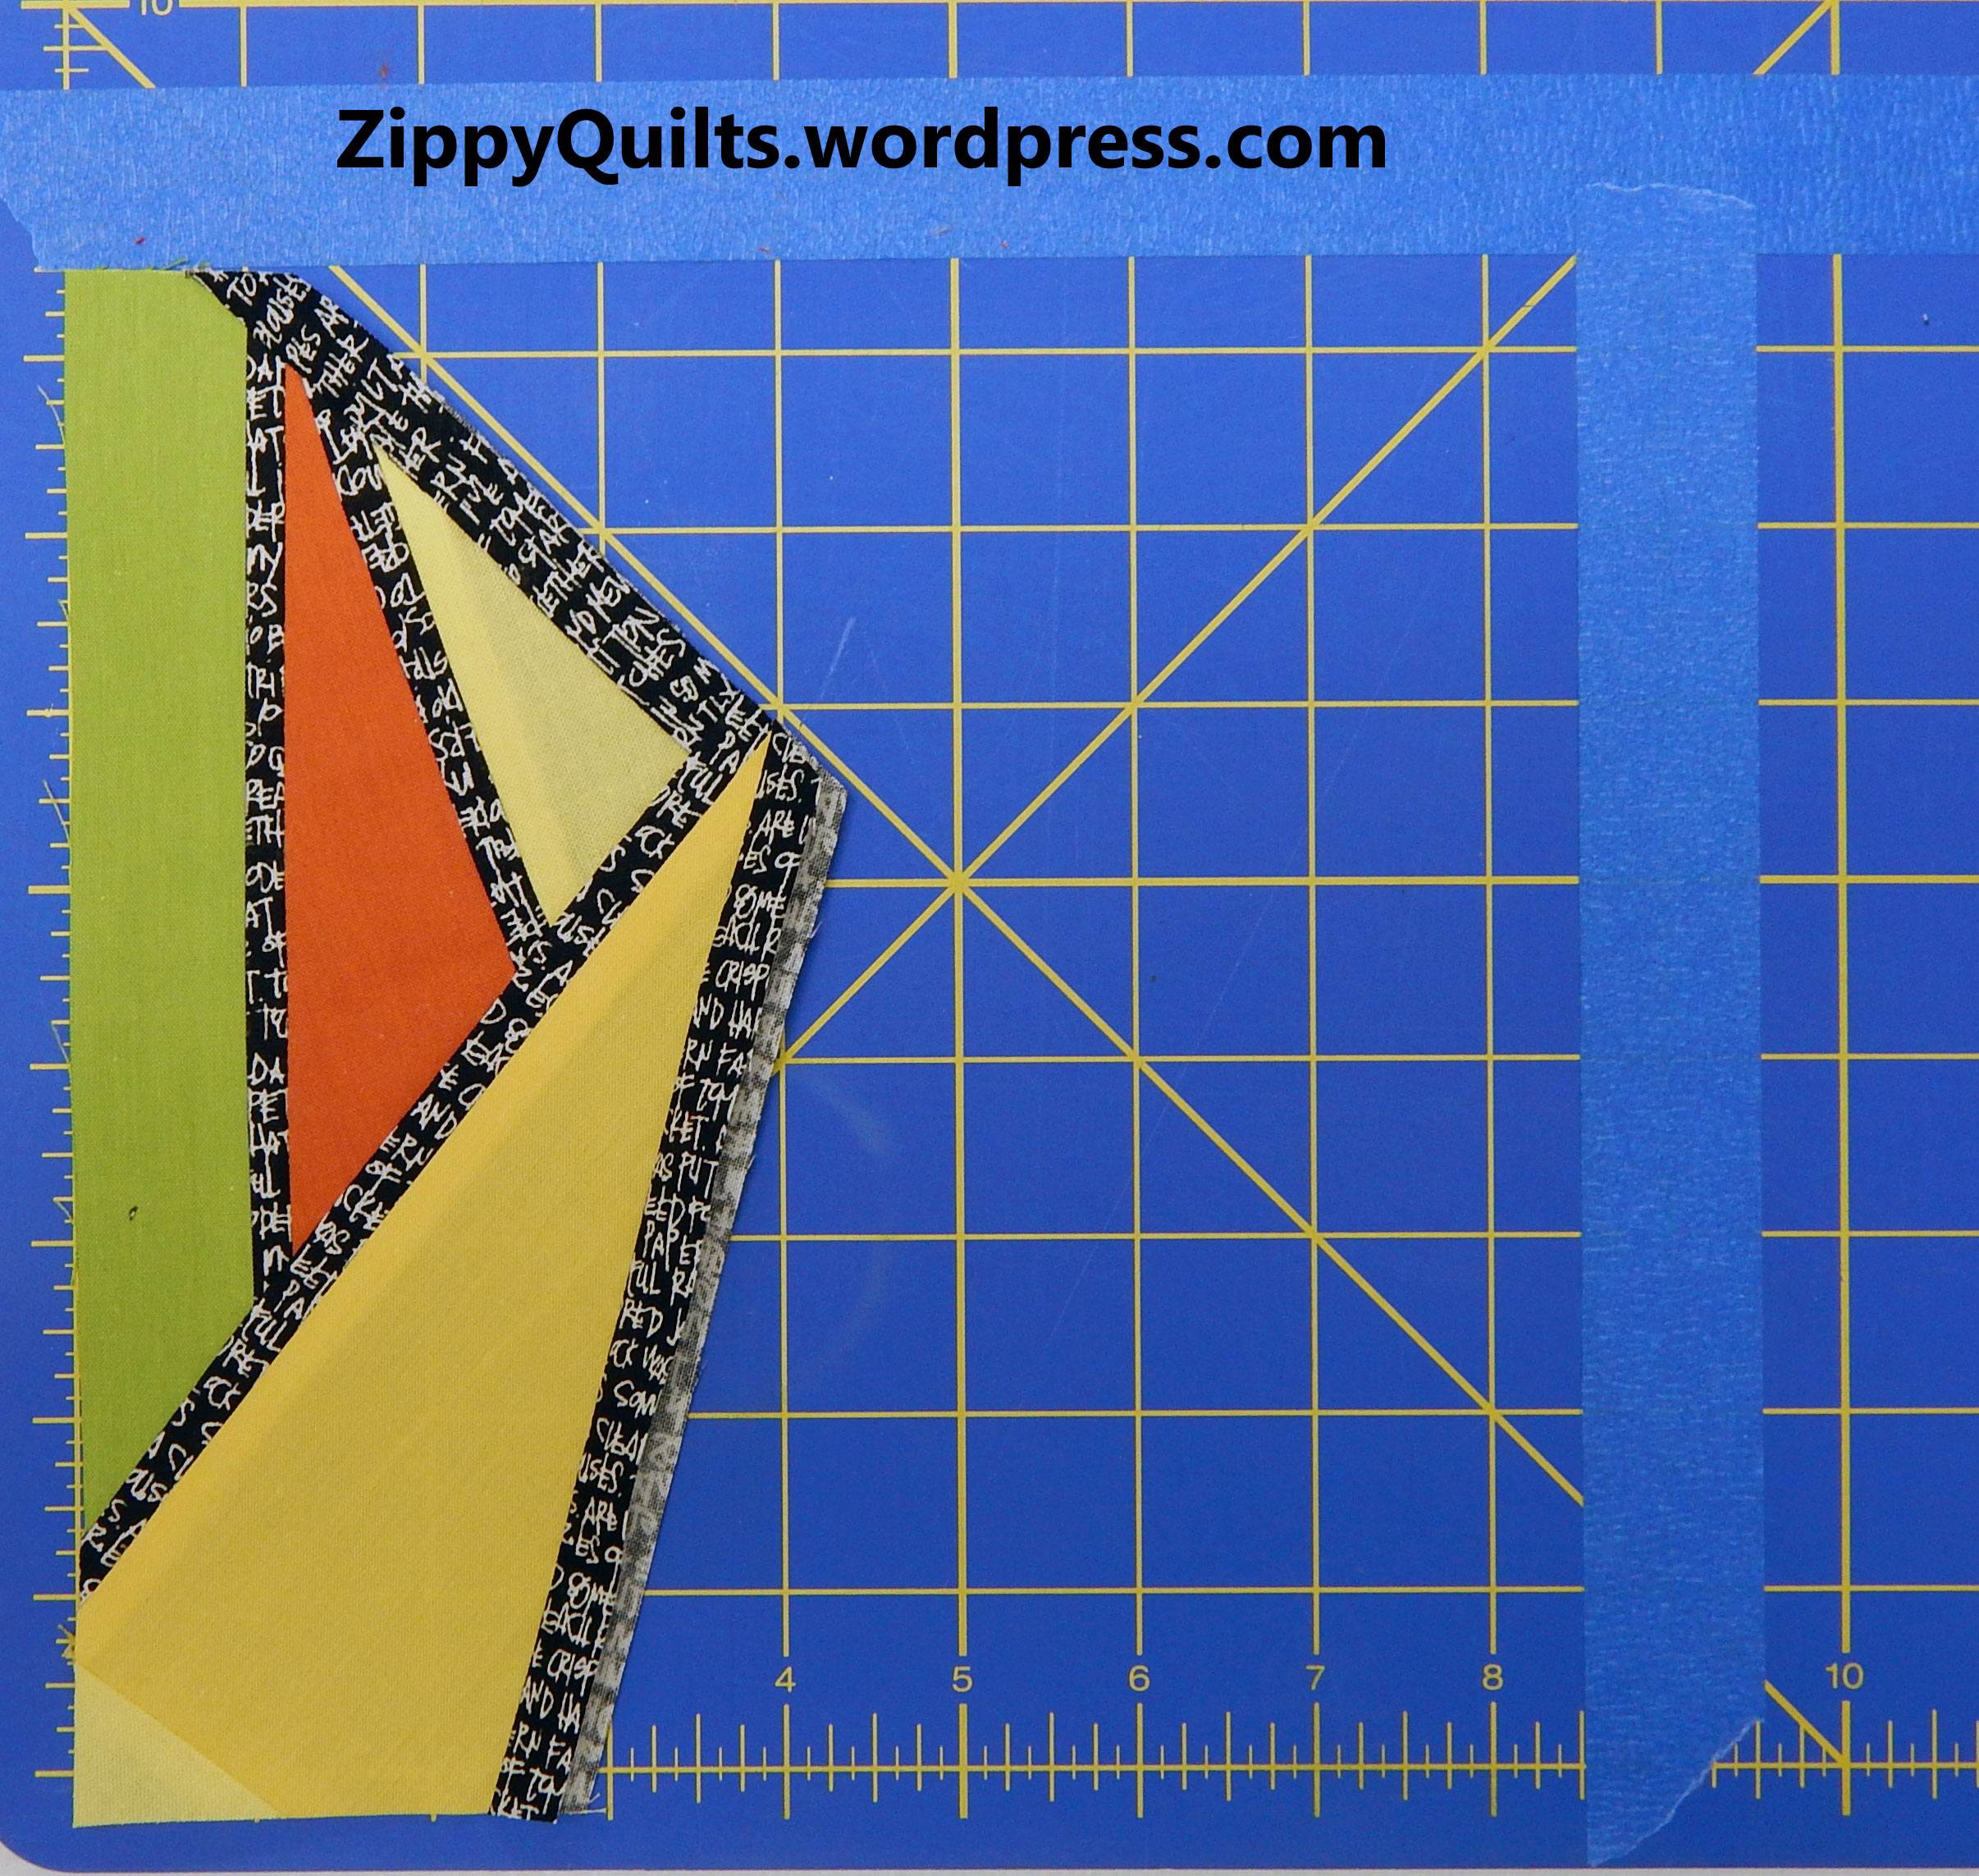
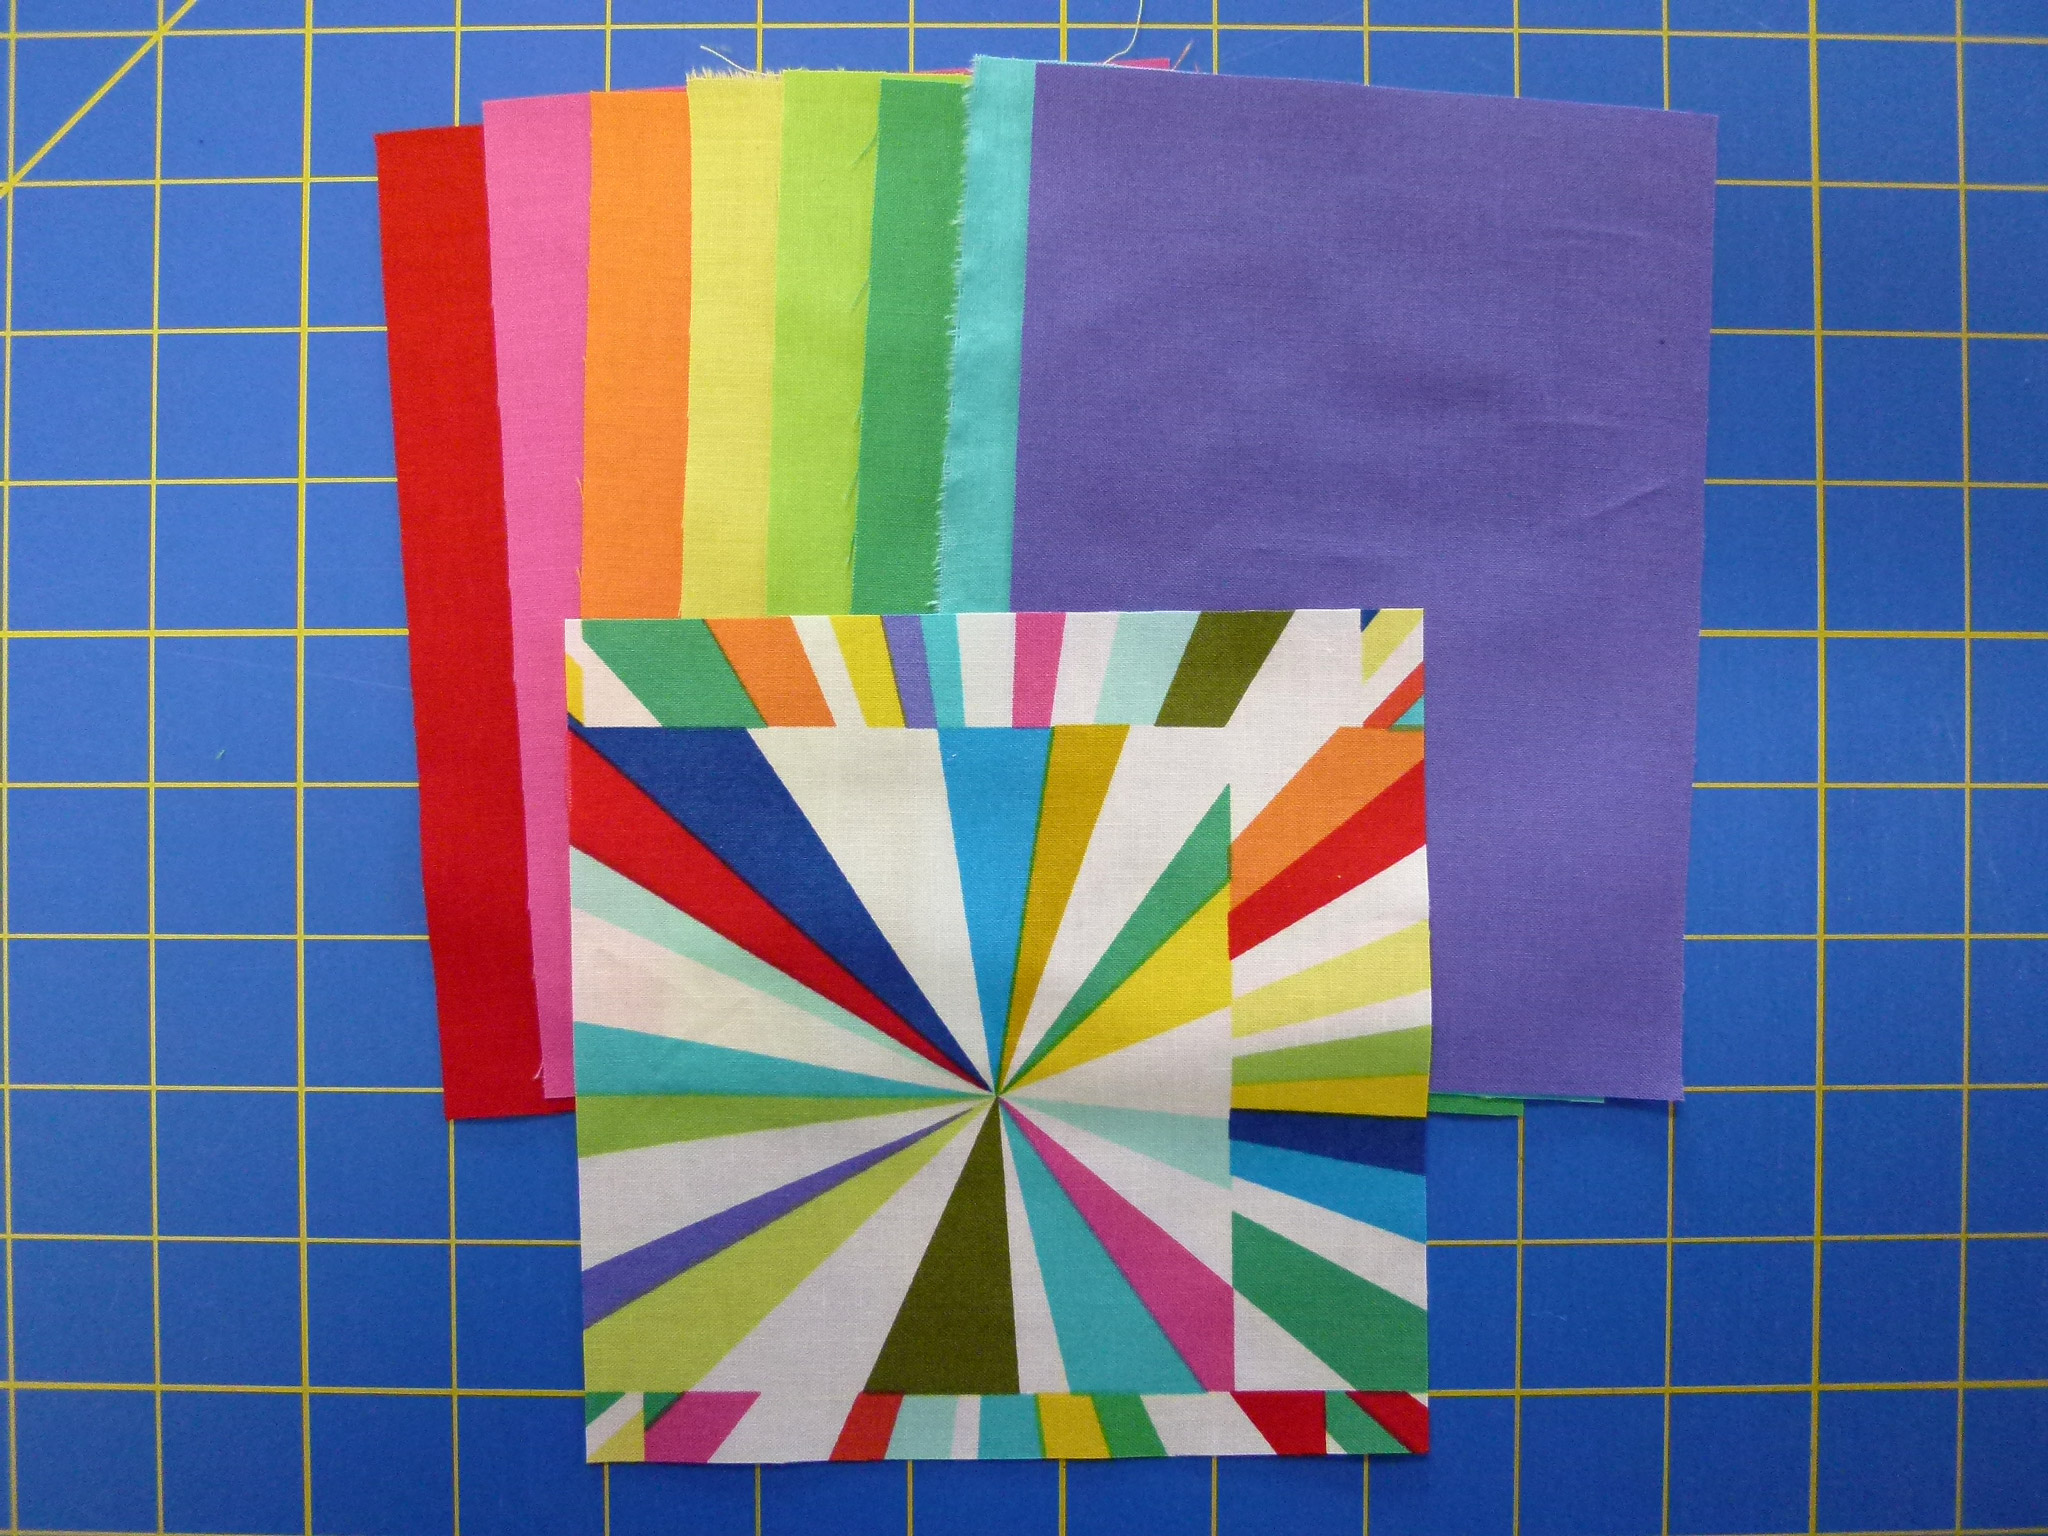
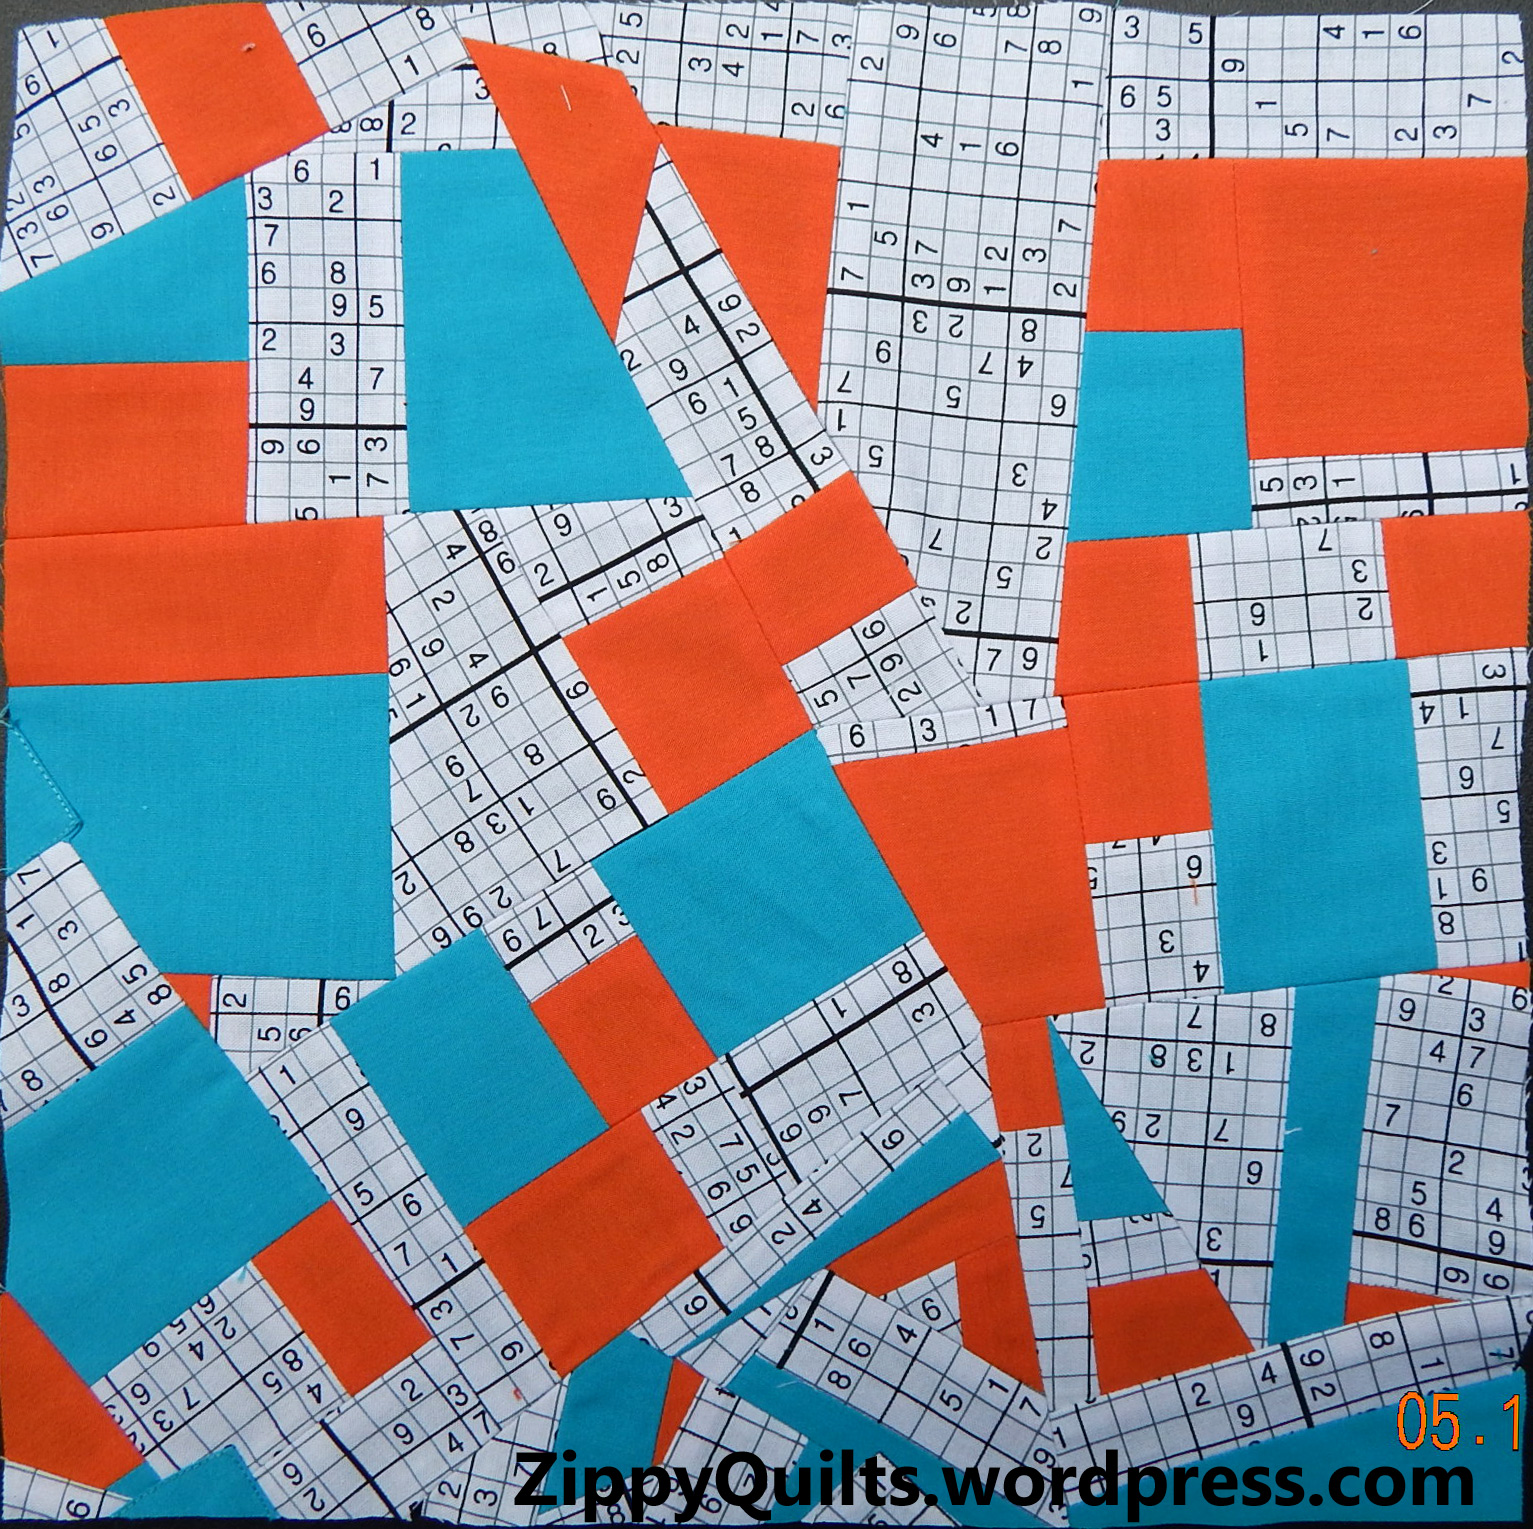
For Block 10, I cut my scraps into strips.and lined them up.

Scraps cut into strips and pieced with black and white background
The widths of the colored strips and the white strips between them are semi-random. The sashing between the columns finishes 2″, and the block finishes 12″ square.
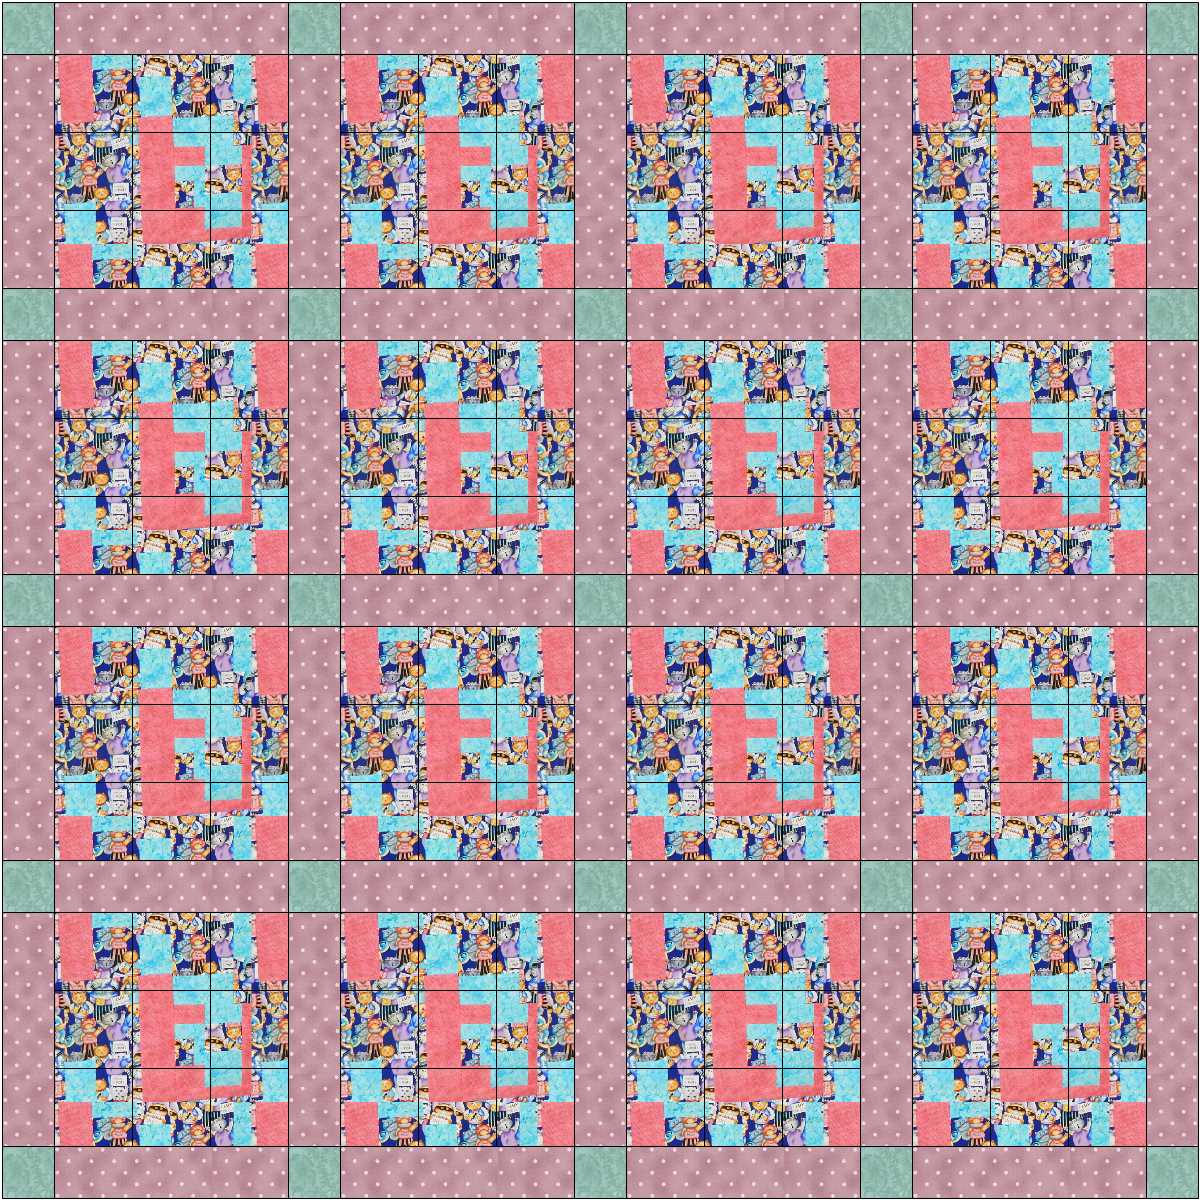
A few more blocks and then I’ll have to decide how to set them! Here are the previous posts about My Modern Sampler:
My Own Modern Sampler–It May Take a Year!