Fall Classes

Studio Stitch has published the fall class list. Of note for those of you with embroidery modules, there are some new embroidery classes that look like fun.

For quilters, here are the classes I’ll be teaching!

In September it’s basic binding. This is something many quilters struggle with and I promise to make it easier.

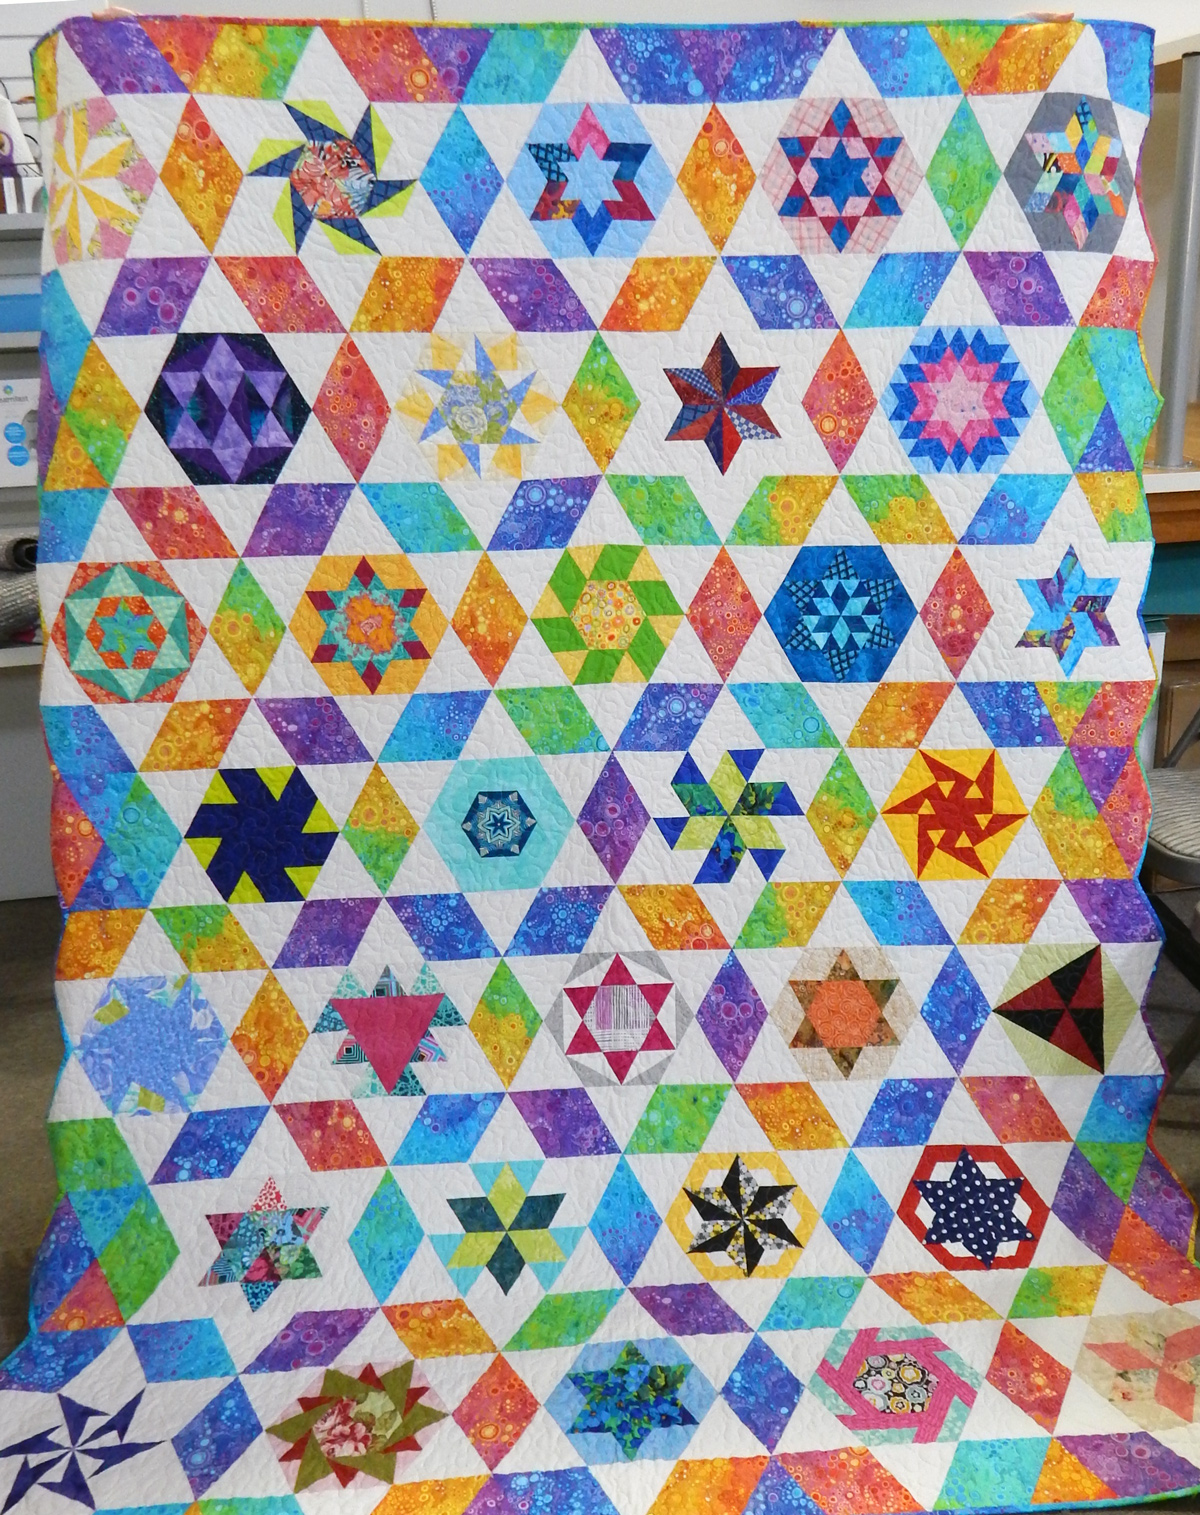
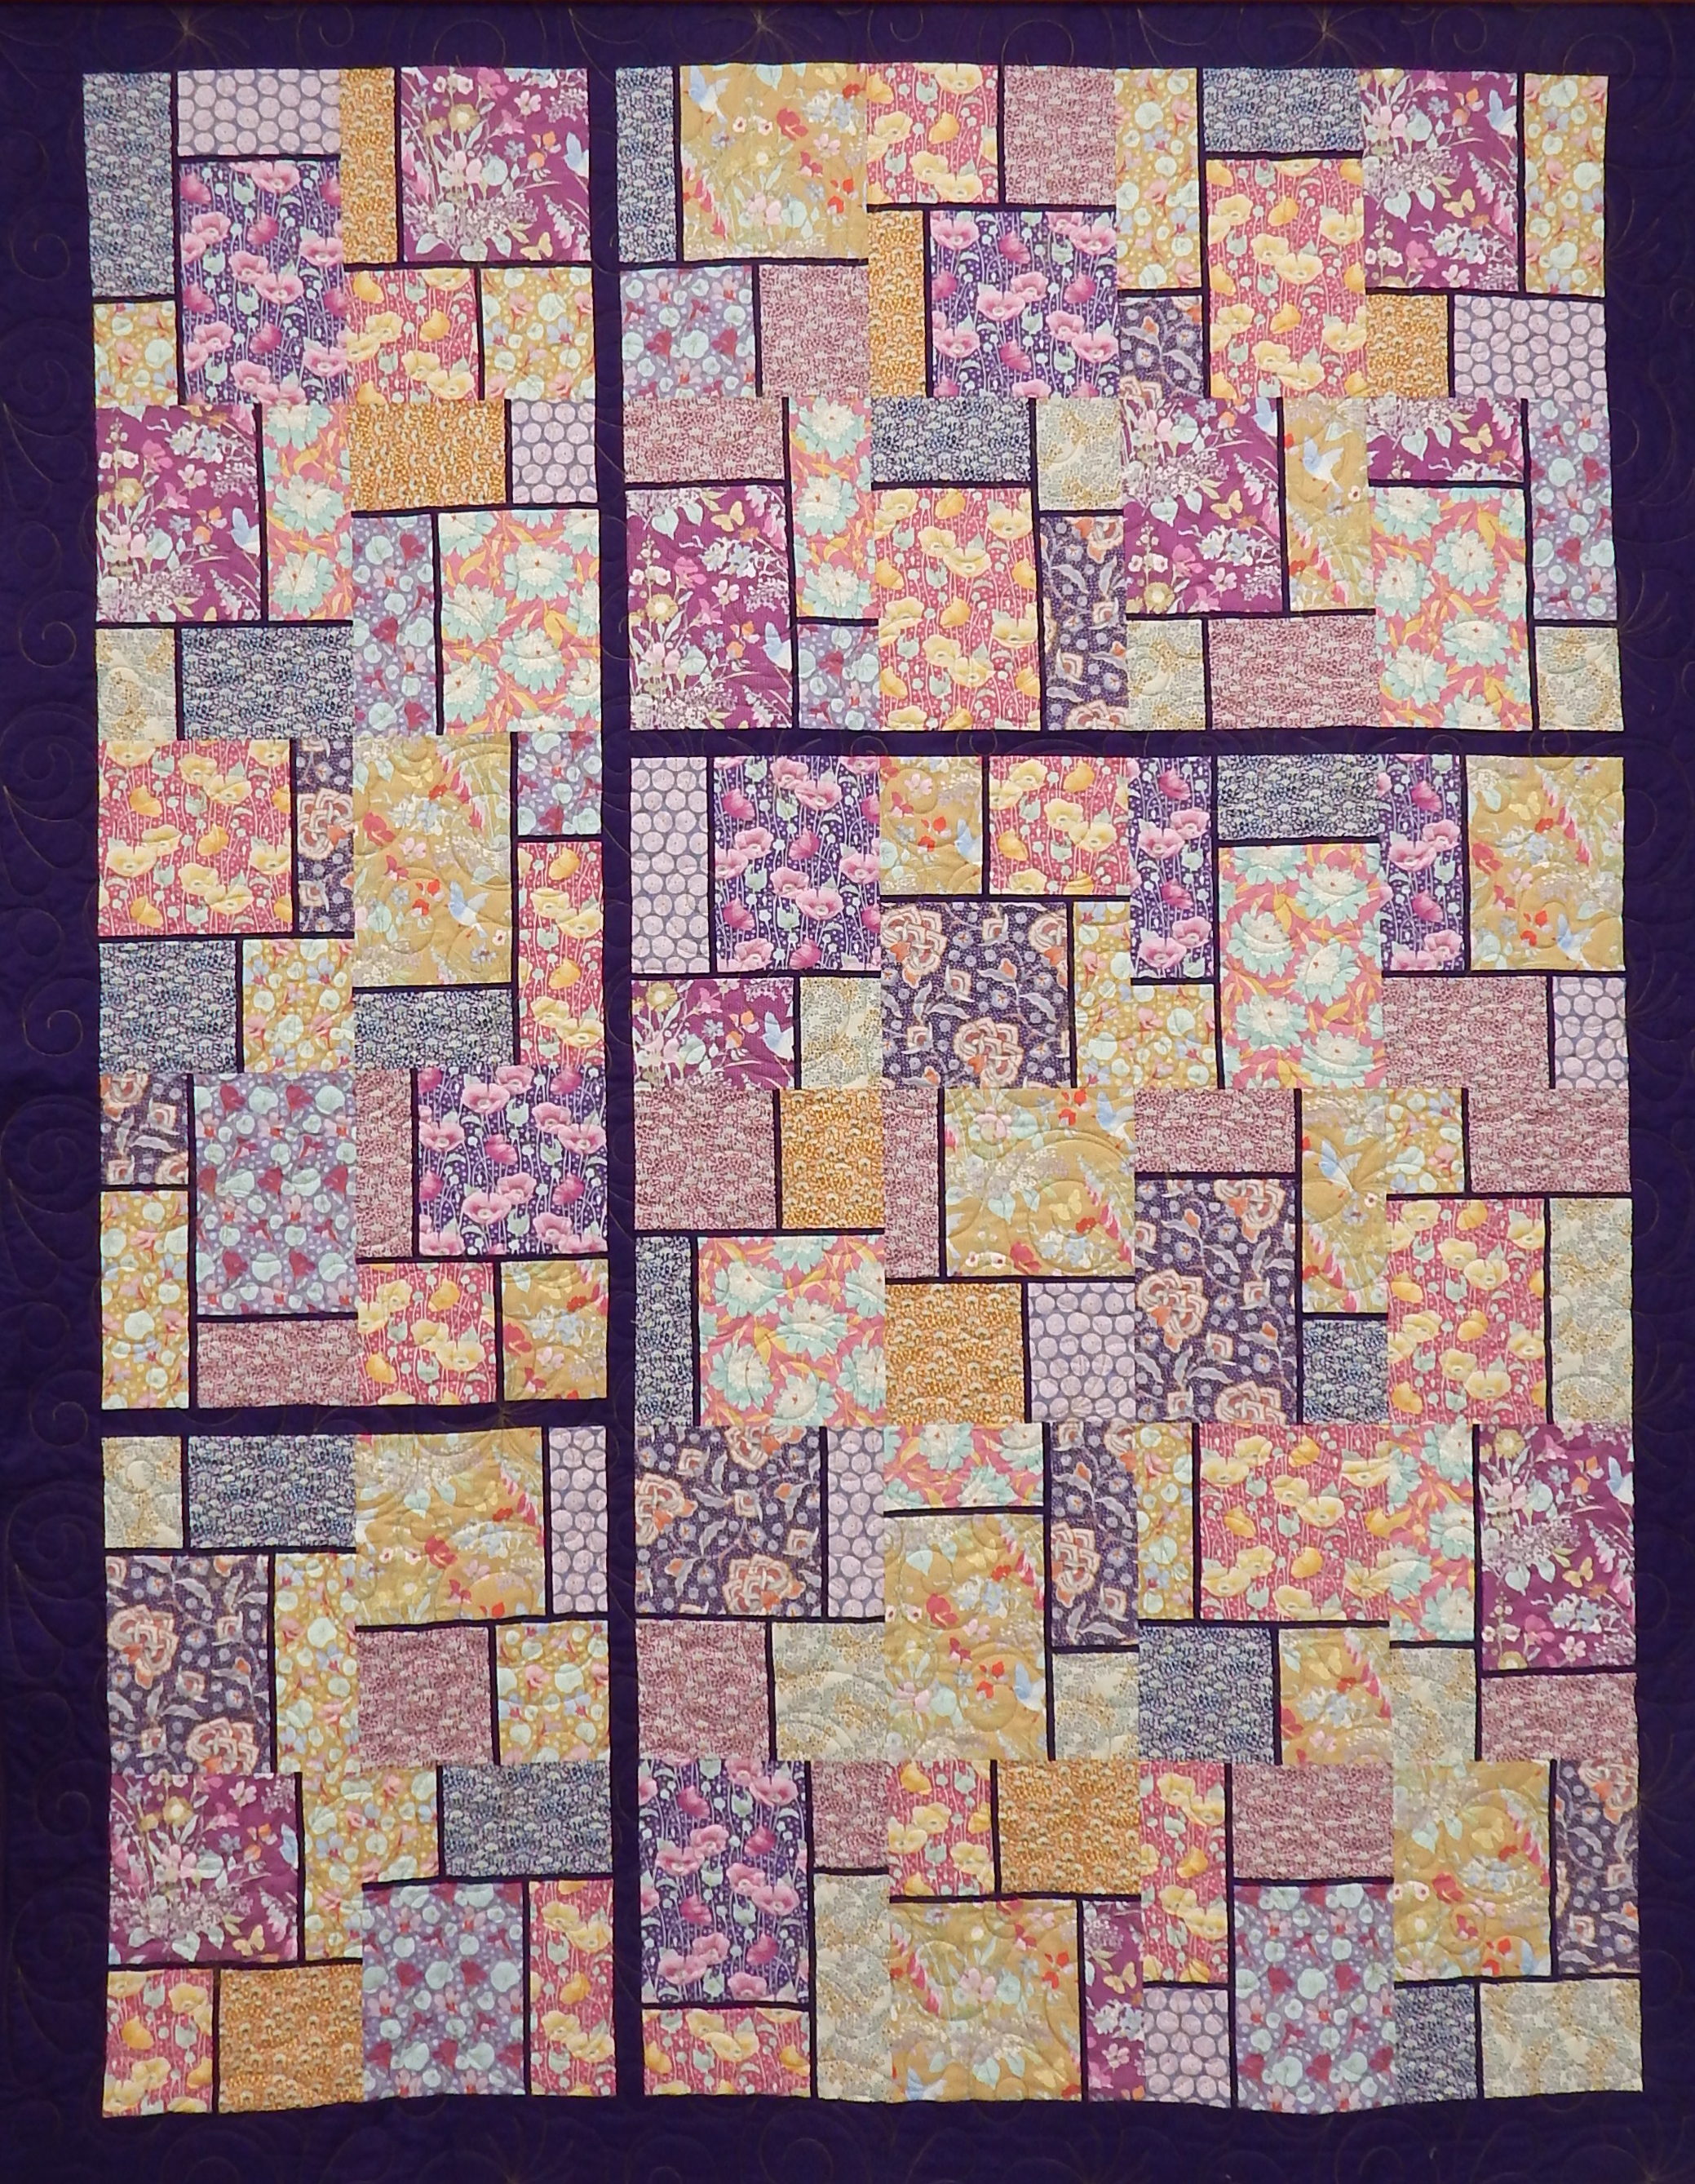
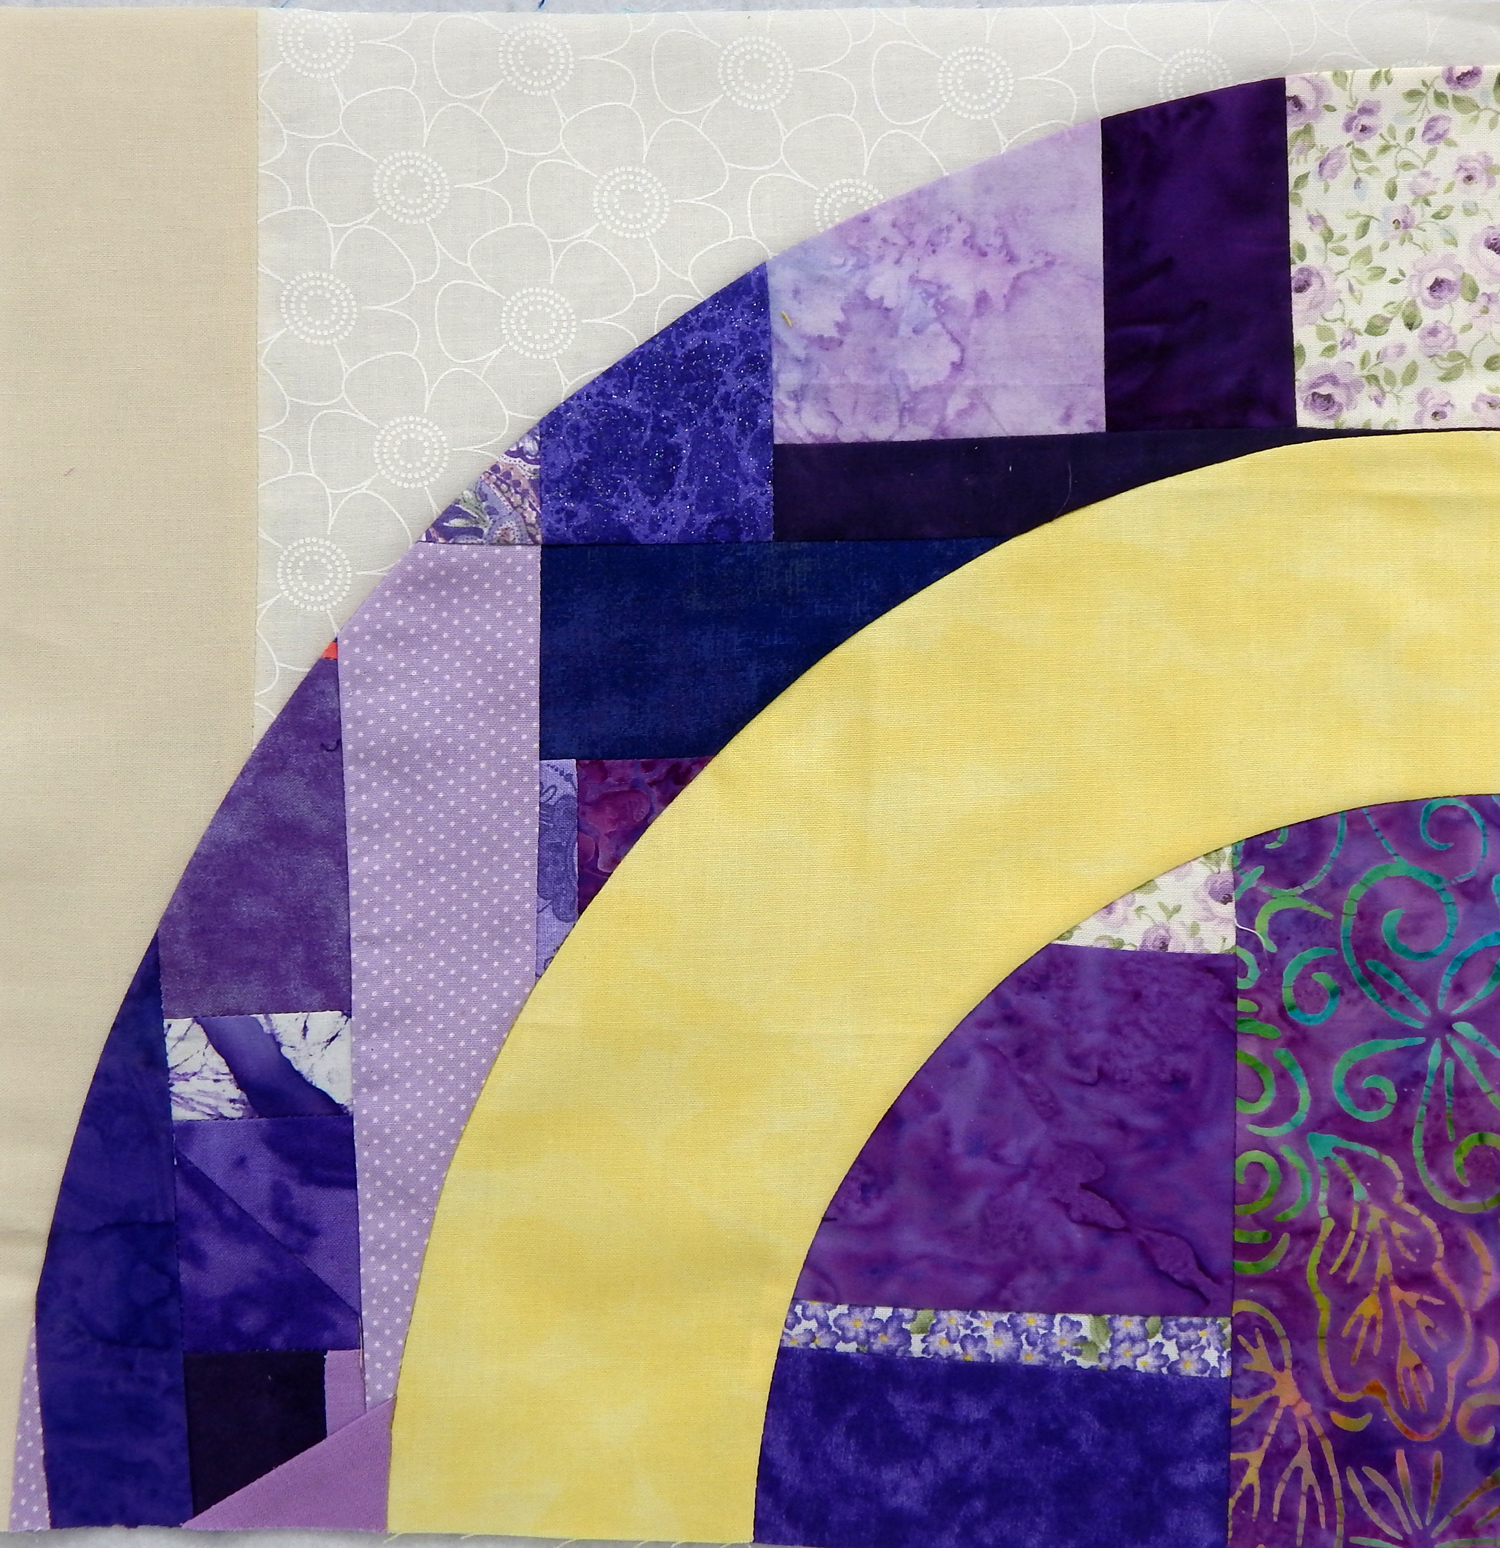
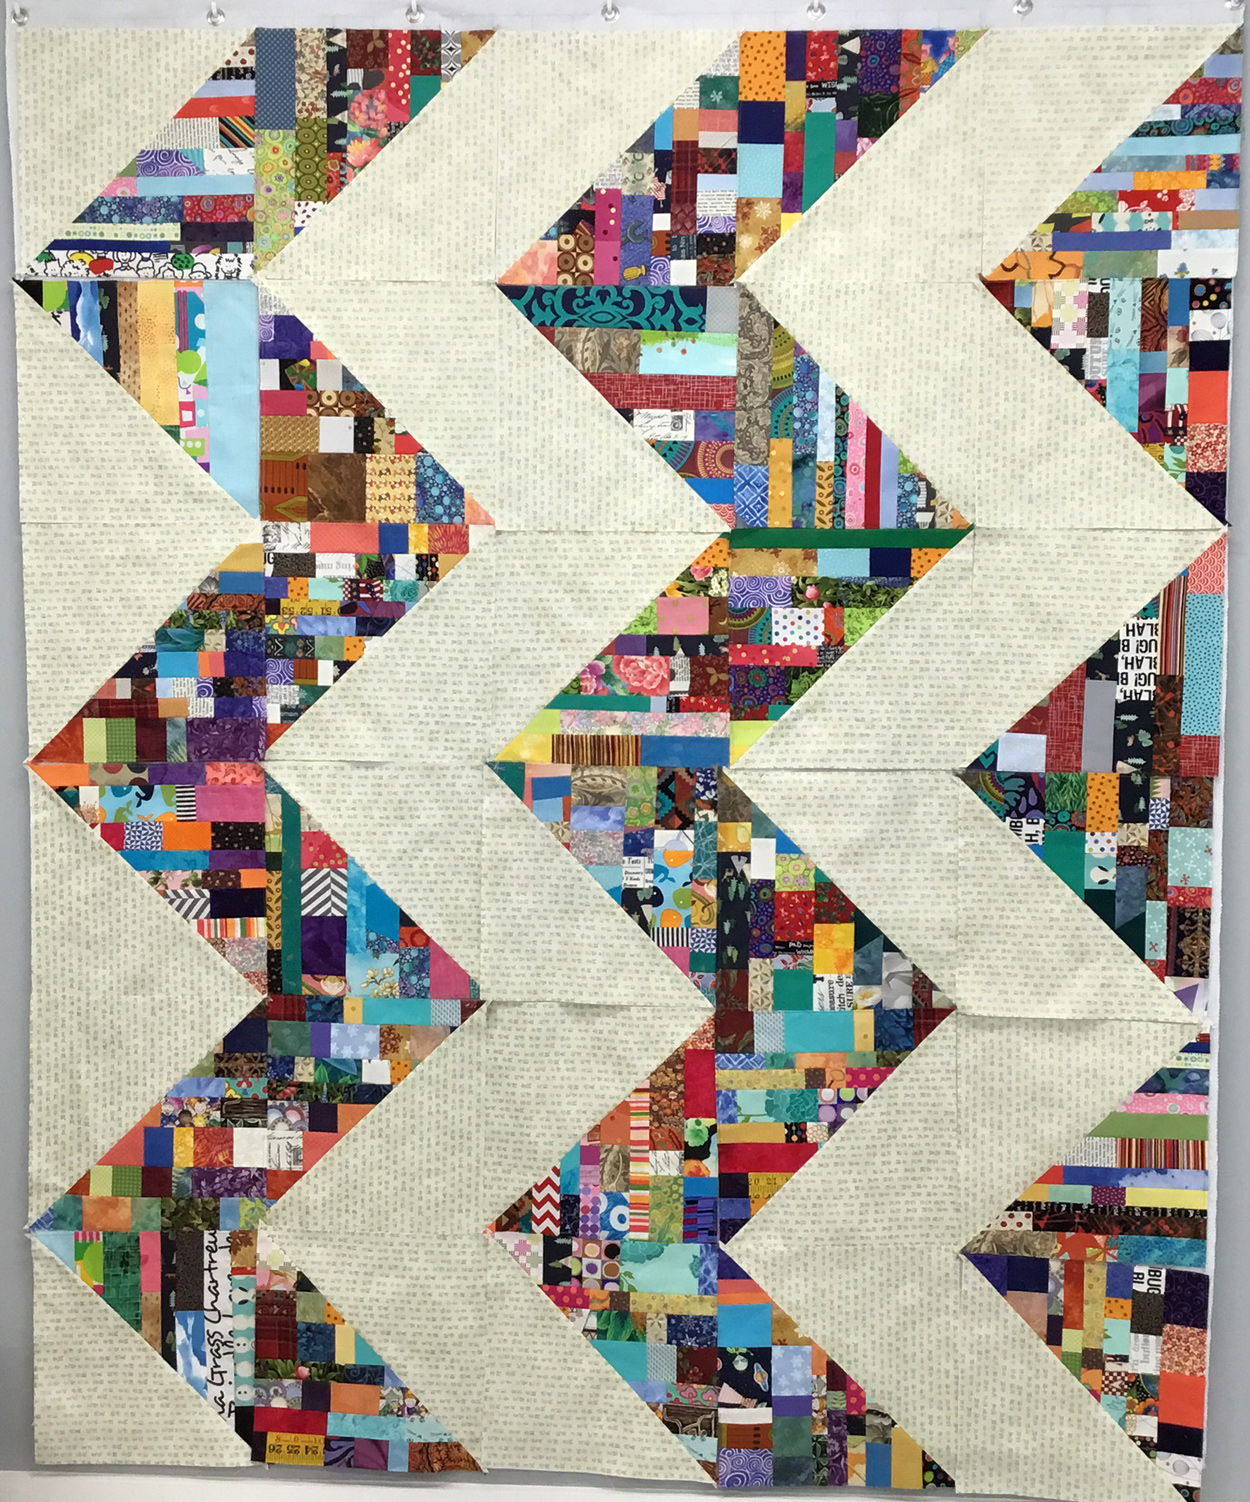
Also in September I’m teaching a class to rescue some orphan blocks! As I’ve mentioned, I have a lot of those and I suspect other quilters do, too. Here’s the quilt for the class:

And note that the blocks do not have to be all the same size/shape/etc. We have work-arounds!

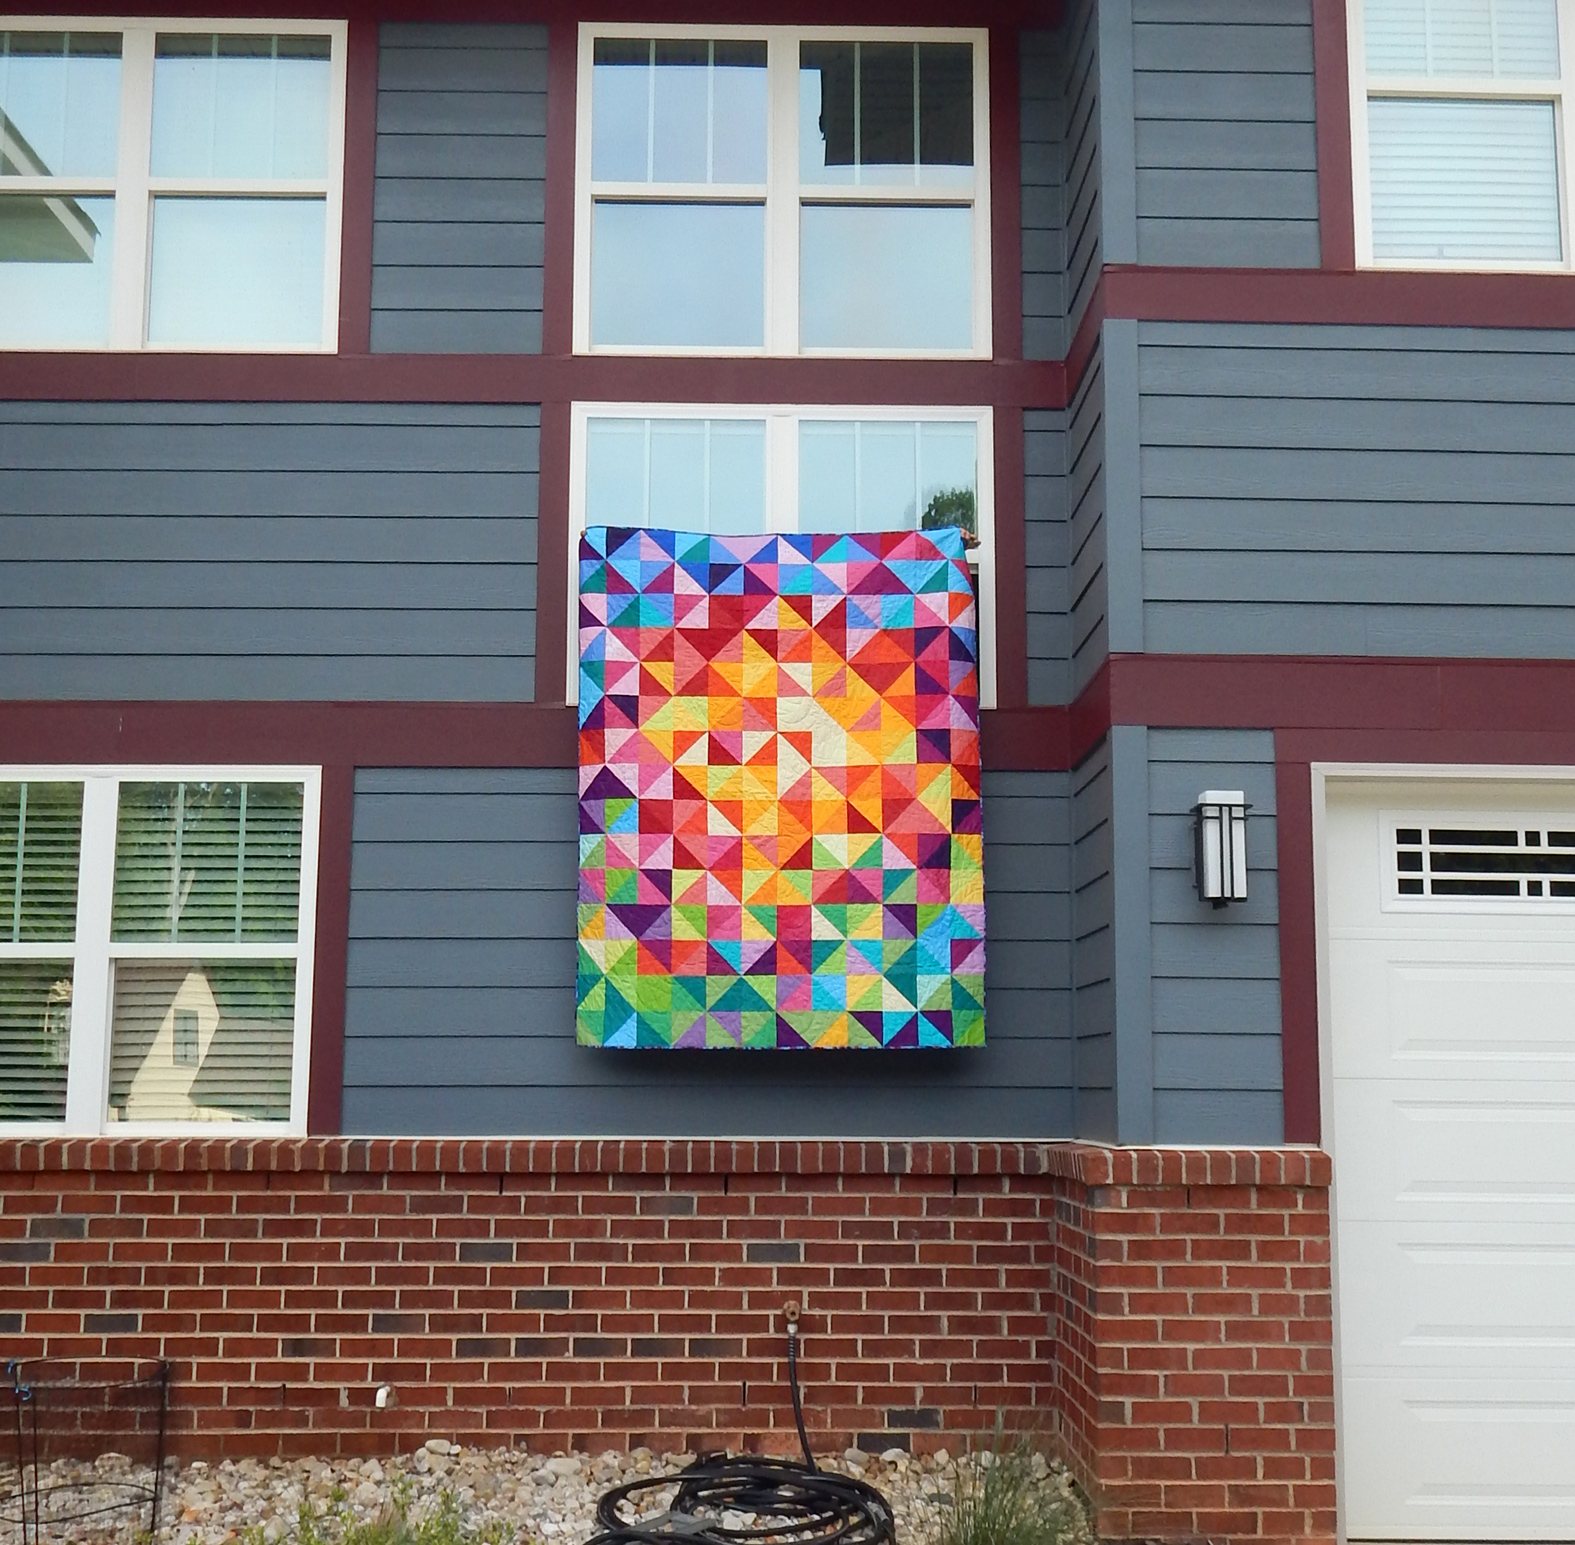
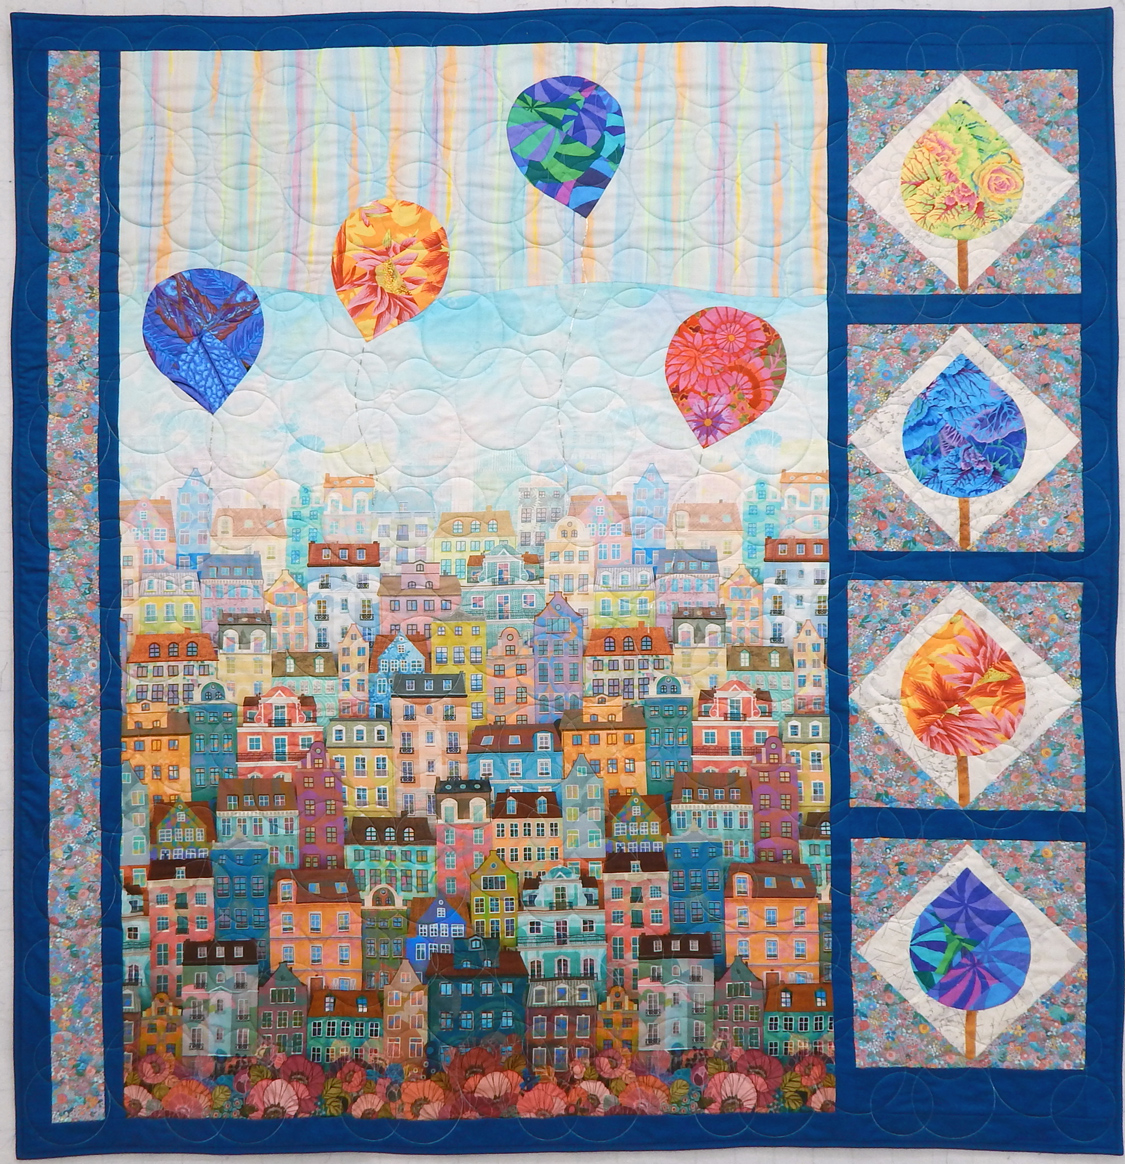
In October I’ll be teaching two quilts (but at different times!). The first is Weathervane. 
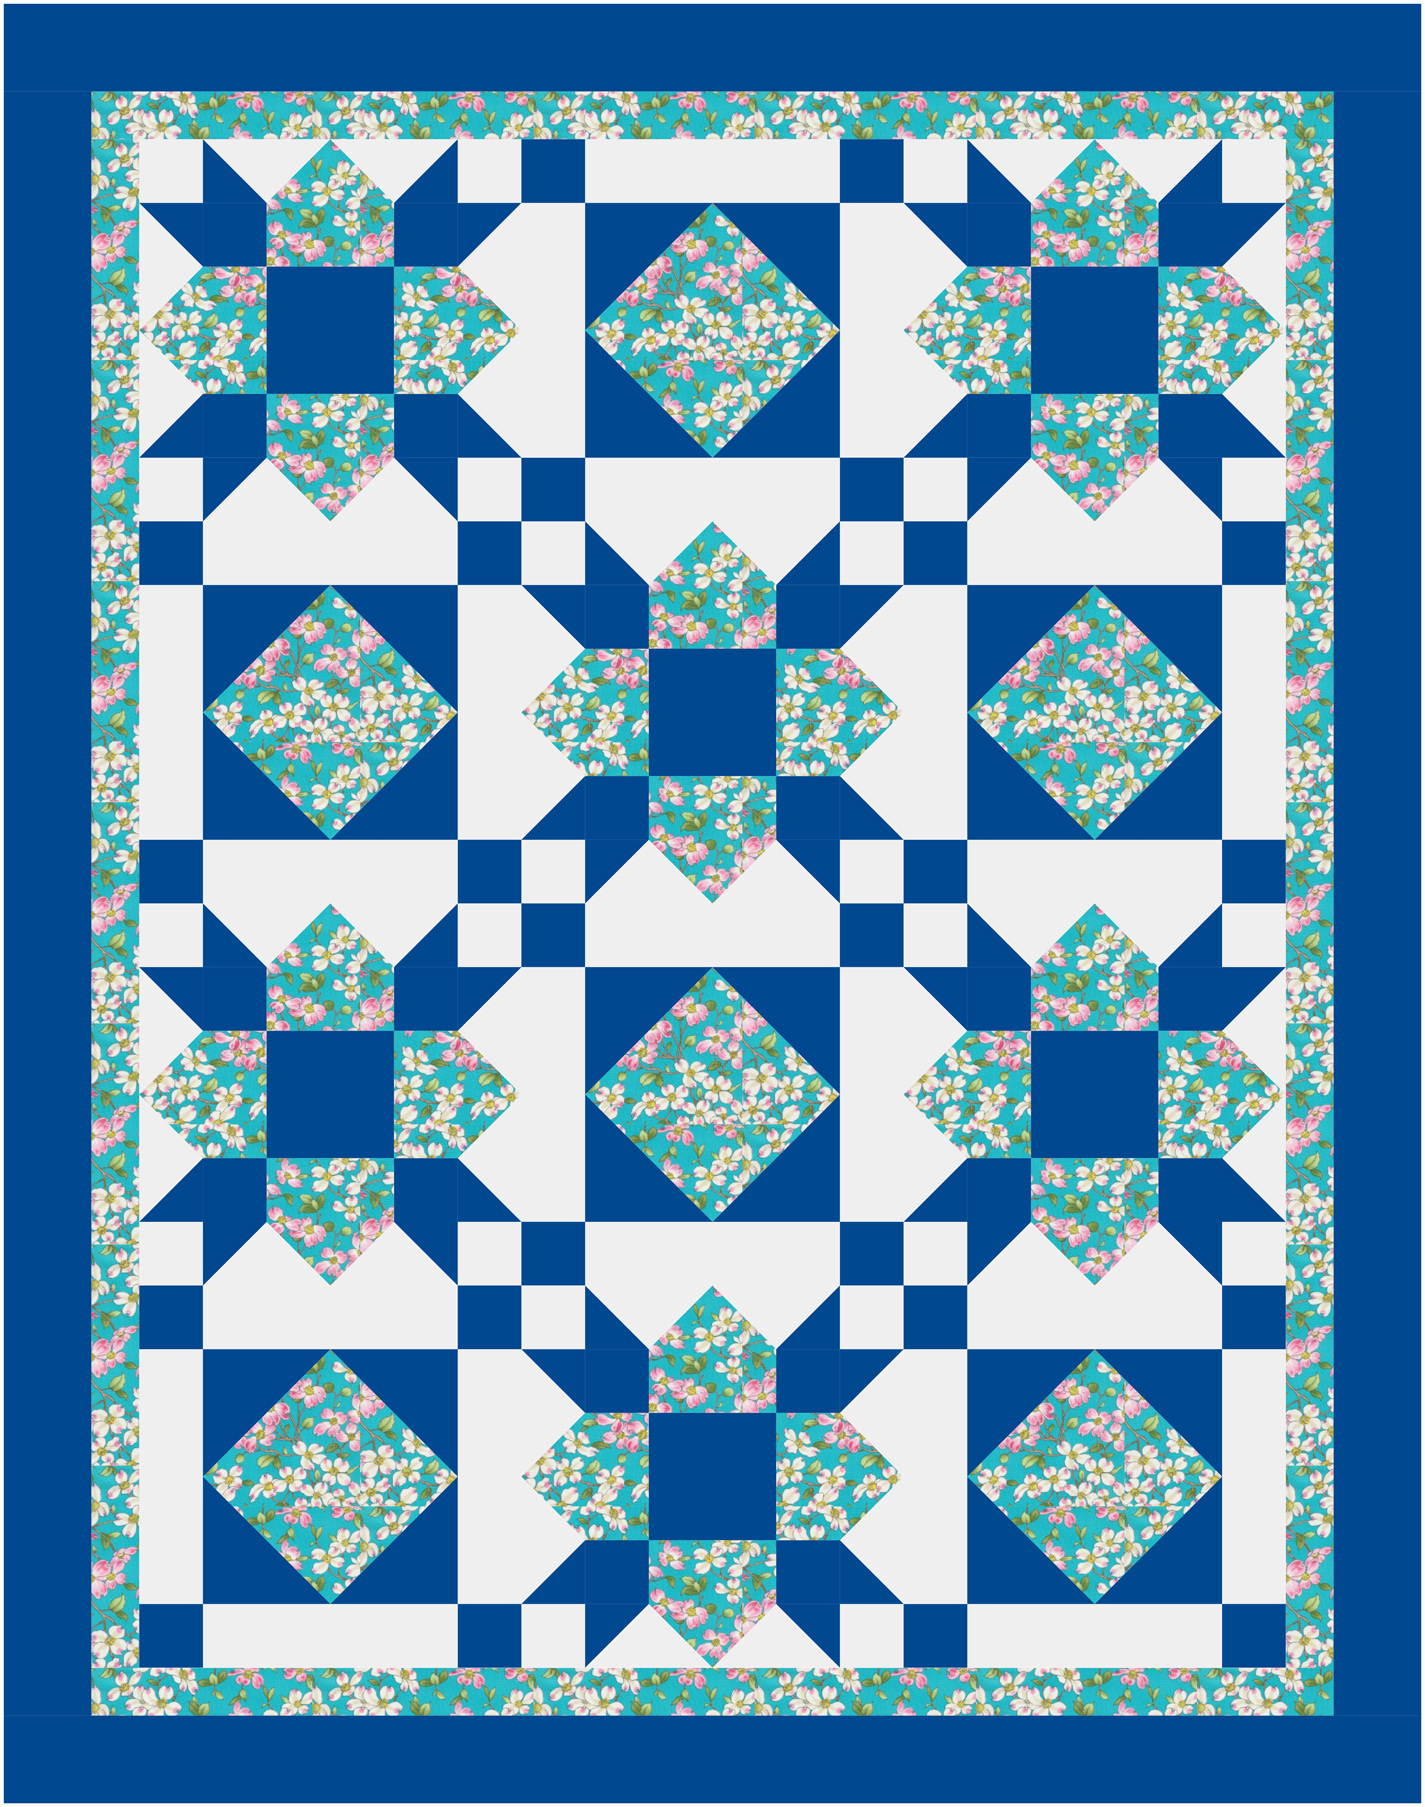
There’s a kit for Weathervane available at Studio Stitch or you can just bring the pattern (also available at the shop) and your own fabric. (There’s a discount on the class if you’re using the kit from the shop, plus of course you get 15% off the kit since it’s for a class. Just sayin’–double discount!). This is a good quilt for perfecting your half square triangles.

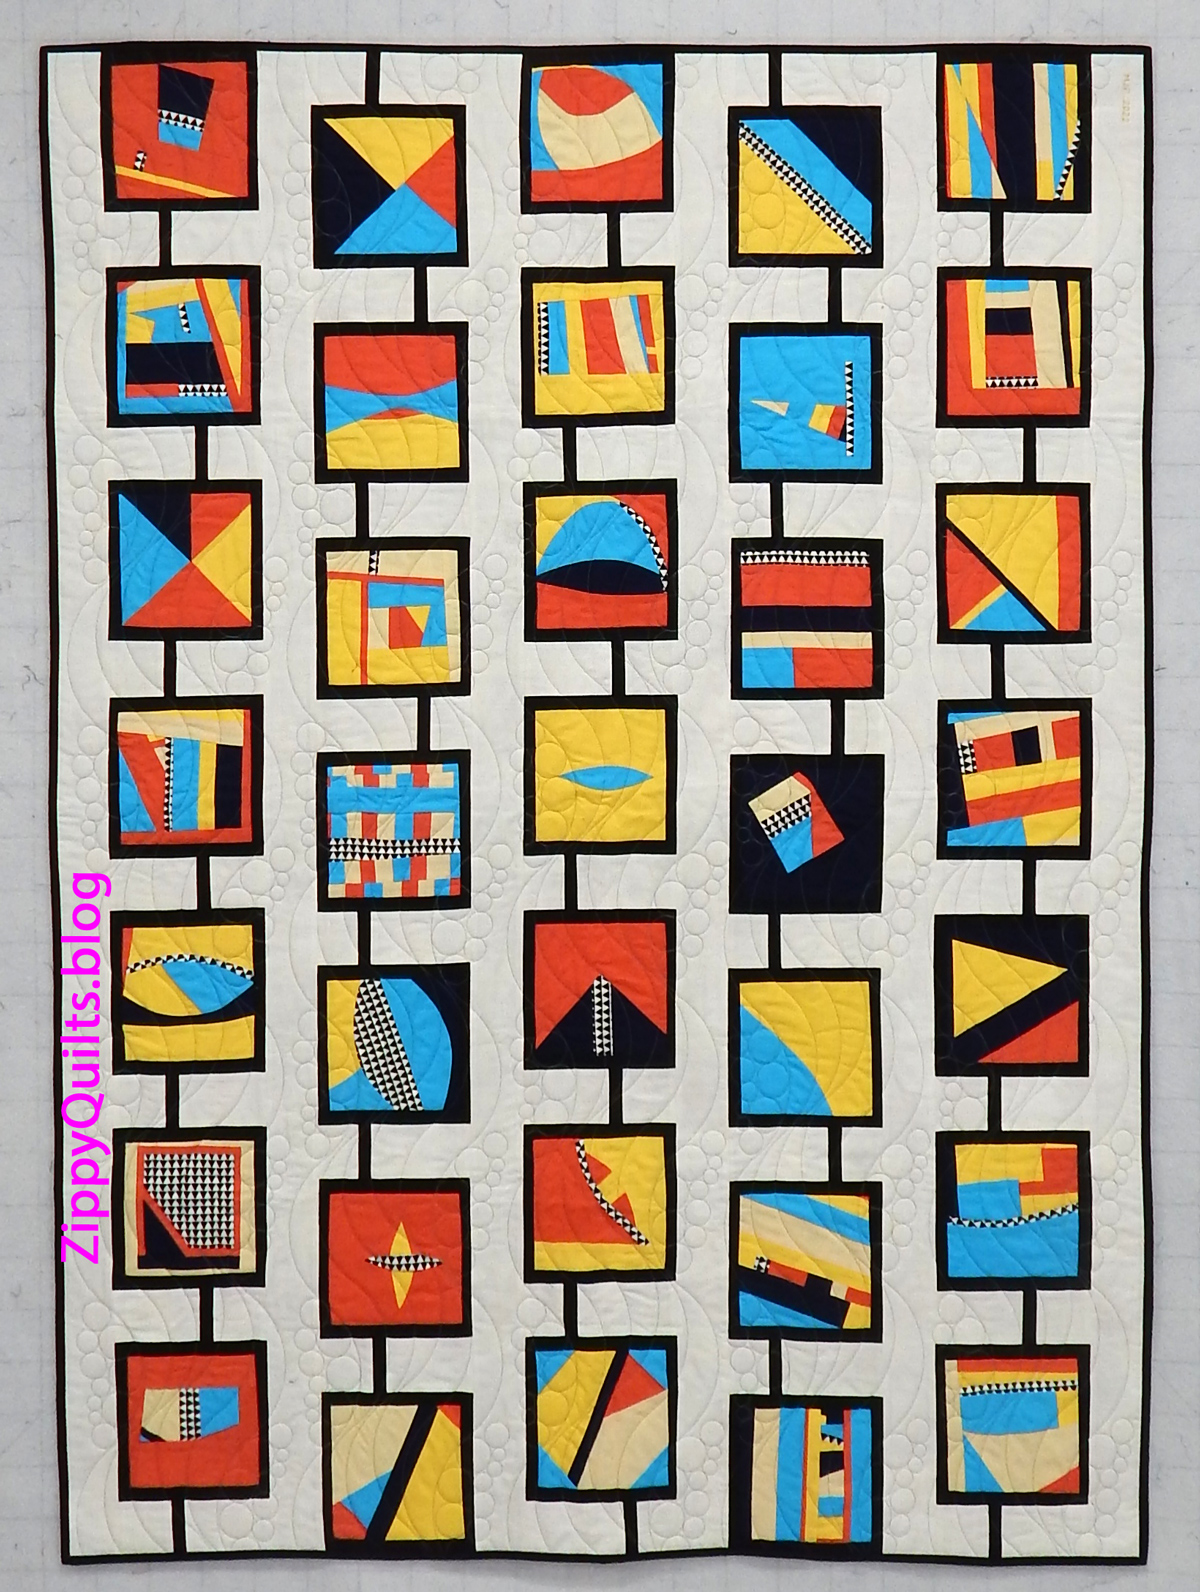
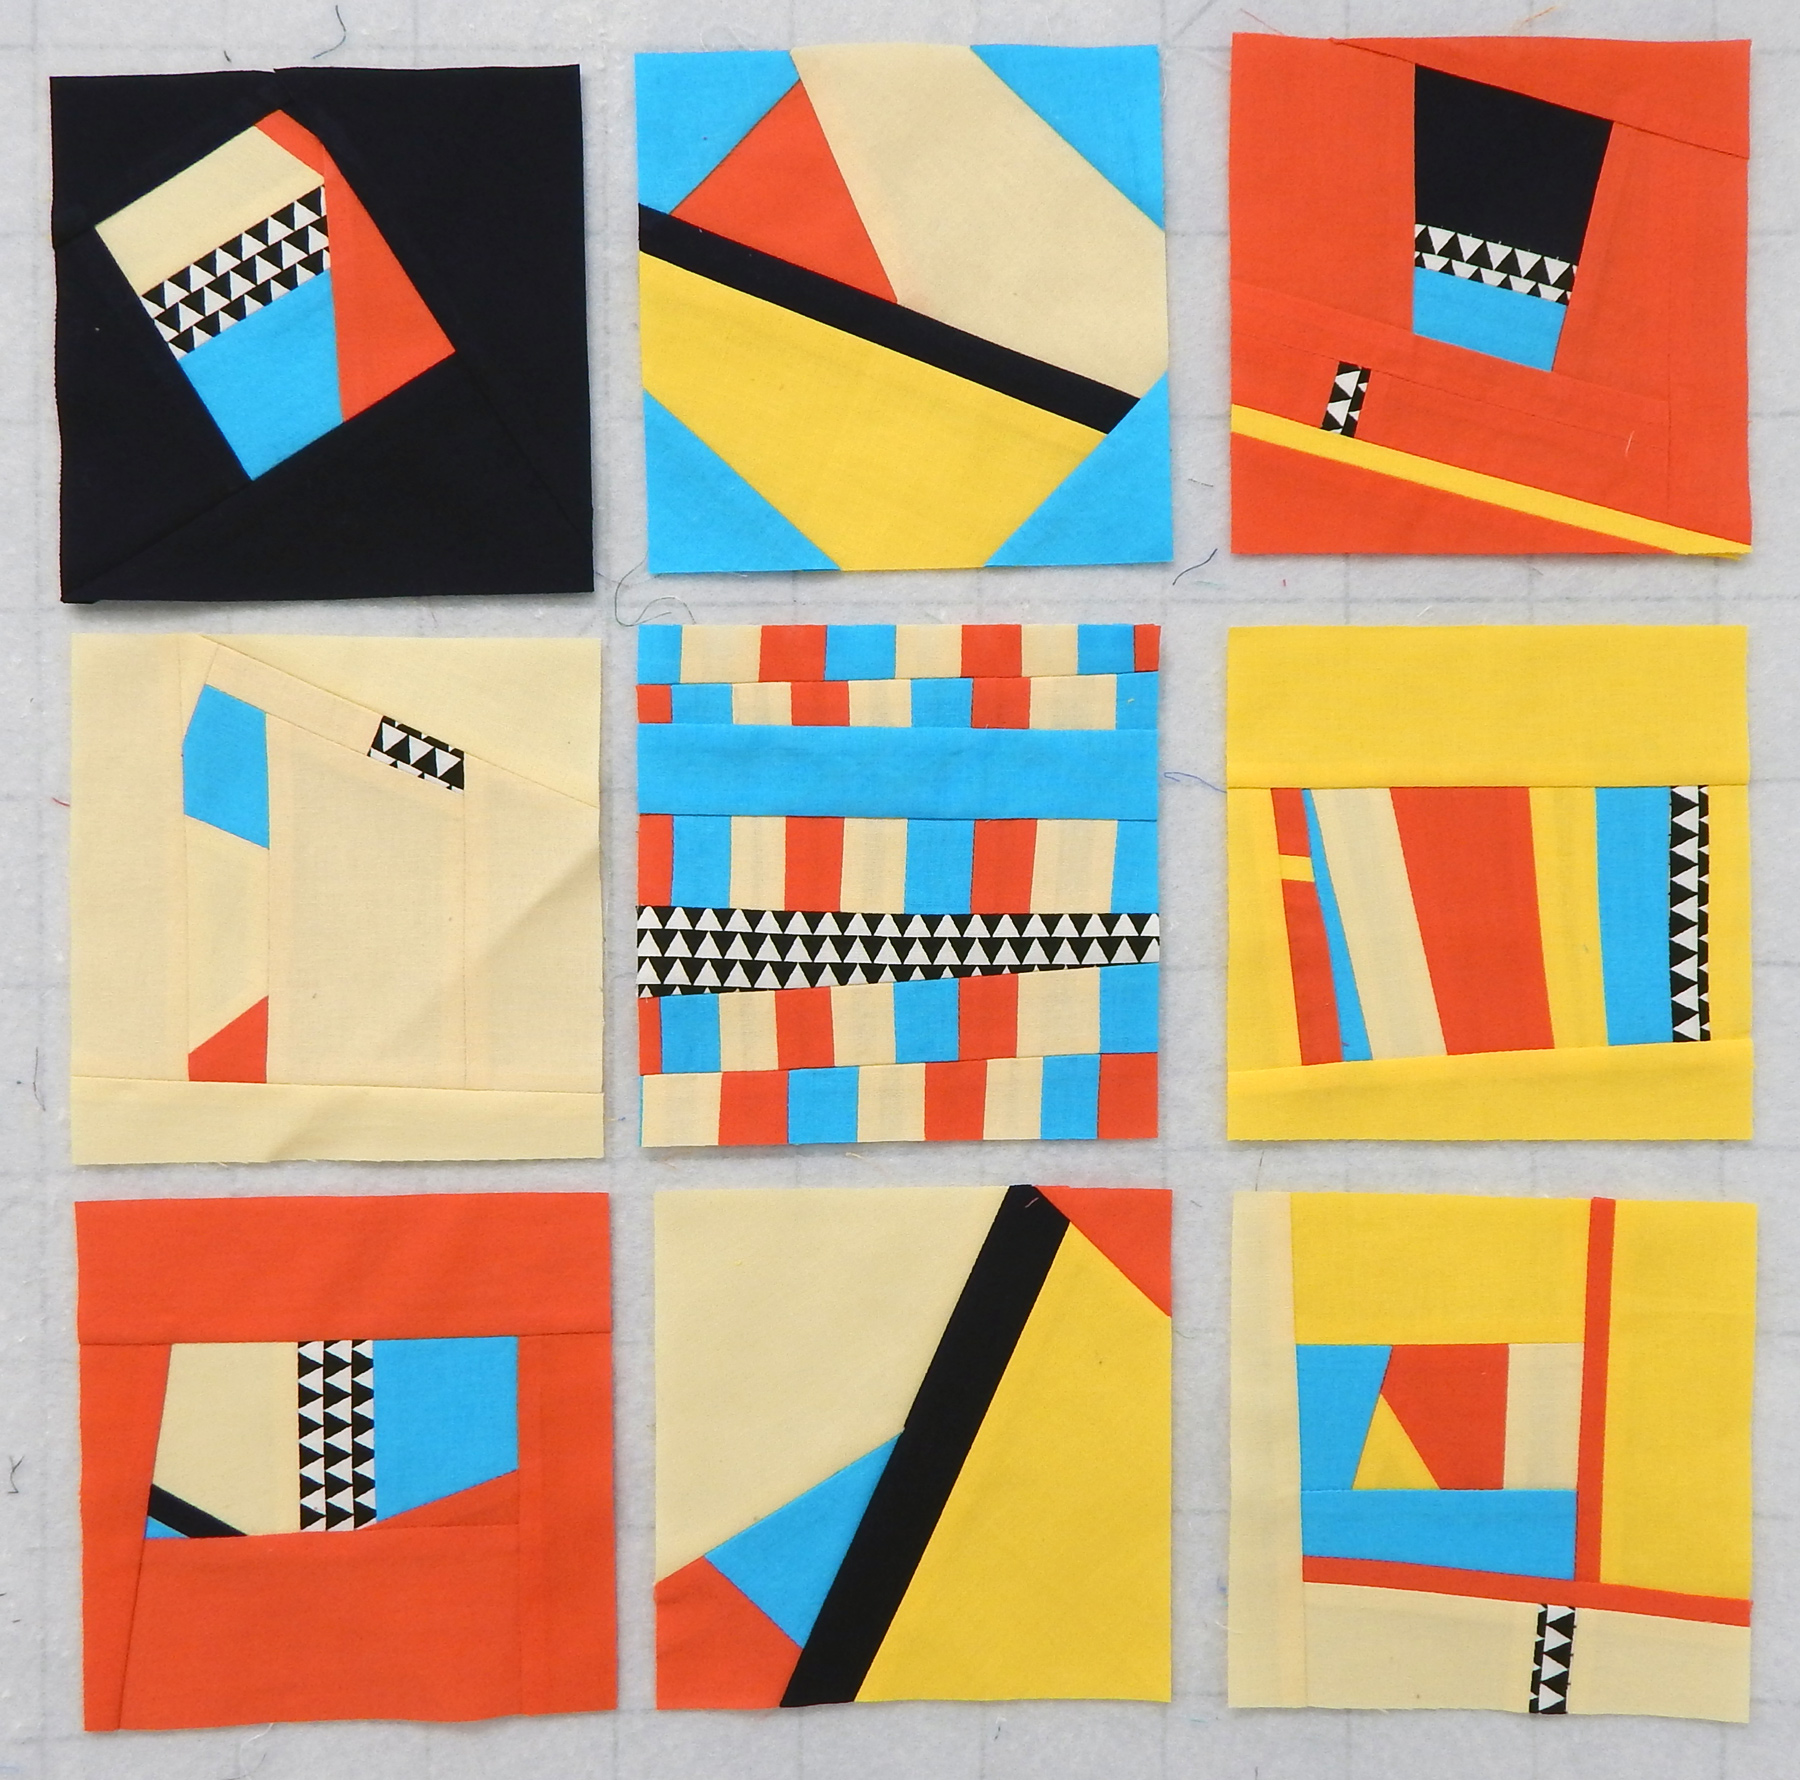
Then later in October I’m teaching Wish, a pattern from which I made this Quilt of Valor.

There are fun classes by other teachers as well. You can hop on over to the shop’s website to check them out.

If you’re local I hope to see you soon!


Hello, Holly!

Holly Alloway’s work first came to my attention when Studio Stitch featured this quilt as the 2022-2023 Block of the Month (BOM).

Quilt (c) Holly Alloway, designed and made by her

You can see why I took notice! Holly recently agreed to talk with me and show me some of her quilts.

Holly designed this BOM several years ago using Deb Tucker’s rulers and techniques. Quilt design (c) Holly Alloway

Like many of us, Holly has been sewing all her life, though she started making quilts “only” about 40 years ago. She has lived various places around the country and has found both guilds and classes useful in her development as a quilter.

Another BOM using Deb Tucker rulers. Quilt design (c) Holly Alloway

Holly has a particular affinity for specialty rulers and a significant talent for designing with them.

This crate contains part of Holly’s collection of specialty rulers

She loves Deb Tucker’s rulers and has done several previous BOM designs using them.

When I asked how she came to design the elaborate quilt shown at the top of this post, Holly said, “Well, Jaybird Quilts came out with those rulers.” She had already designed some modifications of English Paper Pieced (EPP) quilts so she could machine piece them.

Using the Jaybird Quilts rulers, Holly set about making many more EPP designs by machine.

Eventually she had re-designed enough EPP blocks for three quilts! The first is at the top of this post; here are two more.

And that’s not all! Holly is also a fan of strip piecing. I especially enjoyed seeing these two quilts.

And here’s the most unique thing: I originally asked to interview Holly because of her UFO management strategy. She allows herself only as many ongoing projects as she has years of life left! She has asked her family to give her a set of papier mache numbers each year representing how many projects she’s allowed to have!

I won’t tell you how many that is right now–I didn’t ask and she didn’t tell 😀  She does admit to being “over budget” presently due to several projects she has going. I just love this idea! We all need to get realistic with our quilting plans.

This bag is a current UFO for Holly.

Holly has made many more beautiful quilts than I could include here. I’m sorry to say she doesn’t publish her patterns, but we have enjoyed having her daughter teach some of her blocks in the BOM program at Studio Stitch.

Please note that all original blocks or quilts in this post are (c) Holly Alloway, various years.


Swedish Sunrise

I first mentioned this quilt when I spent a lot of time cutting squares of very particular colors for the Postcard From Sweden pattern. (Here, if you want to read that post.)

Photo is from the front of the Postcard From Sweden pattern

My arrangement of colors originally cut for the Postcard From Sweden pattern

After cutting all the squares and looking at the layout in the pattern, I decided to change it up. I put more of the blue at the top, green at the bottom, yellow in the middle, with the idea of imitating a sunrise.

I made a quilt with a similar idea a couple of years ago. I chuckle about it because some people call it “perseveration” when you repeat an idea like this, but if you’re an artist it’s called “working in a series” 😀

Here is the previous quilt:

Sunrise, 75″ x 50″

And here are some close-ups of Swedish Sunrise.

Quilt Stats

Name: Swedish Sunrise

Finished size: 61″ x 76″

Designed and made by me, using the colors suggested in the Postcard From Sweden pattern

Quilted by: Linda Nichols


Tilda, and a Forgotten Finish

A few months ago I was caught by the Tilda craze. The fabrics were just too beautiful to leave in the store, so an assortment came home with me.

Turned out they were all medium values.

I played with various options and finally decided to use my little inserted strips to bring some definition to the blocks. I’ve used these strips for years to add structure to various quilts.

And inserting this picture reminded me that I probably never blogged about the quilt shown above. More later.

Now back to Tilda: the little strips helped the individual blocks, but more was needed.

I inserted big strips to make the whole quilt echo the individual blocks.

And that’s it for the Tilda quilt.

Quilt Stats:

Name: Tilda

Finished size: 64″ x 82″

Designed and made by: me

Quilted by: Linda Nichols

And now a full view of the quilt I made from improv blocks done last year:


Daisy Aschehoug Workshop

A friend and I were lucky enough to attend a “giant circles” workshop with Daisy Aschehoug when she was in the U.S. recently. Daisy is from the U.S. but married a man from Norway, and they eventually decided to move their family back to Norway. She is taking full advantage of living in Europe, teaching in various countries and having exhibitions all over the place. What an adventurous lady!

Anyway, after teaching at QuiltCon, Daisy agreed to come to North Carolina to teach a workshop and give a lecture, and I attended both. I showed a couple of her samples previously, but here are some more.

These circles finish 24″ in diameter–she isn’t kidding when she says giant circles!

Finally, here is my finished quilt:


Quilt stats:

Name: Giant Circles

Finished size: 68″ x 56″

Designed and made by: me, using templates designed and made by Daisy Aschehoug

Quilted by: Linda Nichols

This is one of my faves so far this year! And I recommend Daisy’s workshop if you have a chance to take it.

City Park: A Panel Quilt

This quilt started when I saw the central panel at Studio Stitch and it was just too pretty to leave there. It’s actually yardage, not sold as a panel, but of course can be used as a panel.

The fabric is Robert Kaufman “Happy Place”, so I consulted the website of the manufacturer for design ideas. One of their designers had made a wall hanging from this fabric, so that was a good starting place. The trees and balloons were inspired by Jen Kingwell’s “The Avenue” pattern, though I used my own templates rather than hers.

I love the way the print fades from vibrant at the bottom to ethereal toward the sky, so I added additional striped sky. I then put balloons in the sky, with their silver tape strings hanging down into the house area.

Finally, I put a strip of coordinating fabric from the collection on the left side of the panel to balance the design.

Hopefully you can see the lovely bubbles used to quilt the piece. Quilting was done by Linda Nichols. I love this cheerful quilt.

There are a lot of beautiful panels out there now, so I’ll offer a class to “design your own quilt using a panel” at Studio Stitch in June.

Quilt Stats

Name: City Park

Finished size: 56″ x 58″

Designed and made by me, with inspiration from the Robert Kaufman website

Materials: Happy Place fabric by Robert Kaufman, except a leftover scrap for the upper sky and Kaffe fabrics for the balloons and trees. Balloon strings are YLI metallic braid, couched onto the fabric.

Quilted by: Linda Nichols

Trying a Couple of Things

A few weeks ago two events occurred serendipitously: The final challenge for Project Quilting was “Conquer A Fear”, and a friend helped me try ruler quilting.

Practicing on a piece of fabric where mistakes can’t be seen!

In fairness, I tried ruler quilting a couple of years ago and decided it wasn’t for me–seemed like just FMQ (free-motion quilting) with complications. So maybe I was scared because I wasn’t immediately good at it?

Anyway, after some instruction from my friend I made several practice pieces, then this round quilt for Project Quilting.

It’s not perfect. Not even close. But good enough for now.

And then something else interesting happened. I had recently cut some striped binding at 30 degrees instead of 45 degrees and found that I got the same diagonal stripe effect with less of the stretchy-wobbly-crawly stuff that happens with true bias binding. It worked very well on this quilt:

So I had a little of that striped binding left and decided to use it on the Project Quilting circle. Turns out a 9″ circle really could have benefitted from fully bias (45 degree) binding.

Just look at all I learned in a 9″ circle 😀  Mission accomplished!

And one more thing…finding that striped binding reminded me that I never showed one of my favorite quilts from 2022:

Quilt Stats

Name: Rock Star Granny

Source: Rock Star Granny pattern from Crystal Manning, available here

Finished size: 62″ x 62″ (smaller than the pattern size)

Made by: me

Quilted by: Linda Nichols

A Chair Is A Chair

This is coming to you a day early because part of this post is an entry in Kim Lapacek’s Project QUILTING. The current challenge is Sew Not A Square.

But first a little background. On Monday of this past week, I was happy to attend a workshop with Daisy Aschehoug, who calls her business Warm Folk. I didn’t realize until I got to the workshop that I had reviewed a book she wrote with Heather Black a few years ago.

Photo courtesy of C&T

Anyway, Daisy was presenting her Giant Nested Curves workshop and it was within easy driving distance, so a friend and I went for the day!

When Daisy says “giant” curves, she isn’t kidding! Her templates for this project make a circle that finishes 24″ in diameter!  Here are some pictures I took of her class samples; keep in mind that these are 24″ circles.

And here’s the quarter circle I got made during class.

Which leads me to the project for the Project QUILTING challenge: The assignment this time was to make a finished quilt with NO SQUARES! Since I had just been making circles, I started with the smallest template, which makes a quarter circle finishing 2″.

Making a curve that small was a “challenge”, as we like to call it 😀

So I made a second curve, on the end of a rectangle, and combined the two blocks into a chair. I thought it looked like a mid-mod chair, or maybe a Bauhaus chair, so I decided it could be a chair for Gertrude Stein. Which is why the quilting says over and over, “A CHAIR IS A CHAIR IS A CHAIR”. And taking a cue from a friend who recently sent me a quilted postcard, I zigzagged the edges rather than binding–much more practical for a postcard sized quilt.

Quilt Stats

Name: A Chair for Gertrude

Finished size: 3.5″ x 6″

Designed, made, and quilted by: me

Fabrics: cotton, front and back

Batting: Felt

Thread: Superior So Fine

Quarter circle template from Daisy Aschehoug


Scrap HSTs

HSTs (half square triangles) are the basis of lots of dynamic quilt designs, so of course they’re even better if they’re scrappy. For those who may not know, here’s a half-square triangle block. Each half of the square is a triangle, and of course it helps that they contrast.

Block drawn in EQ8

So after I had made a whole bunch of scrappy squares, I decided to cut them in half diagonally to make scrappy HSTs. I had the perfect white fabric with metallic gold oriental writing to use as contrast.

Of course I tried numerous layouts for the blocks and consulted friends about which to use.

This arrangement was voted out

Eventually I chose the arrangement below because I like the “double twist” effect you get in the center if you look from a distance.

The finished quilt

Quilt Stats

Name: Ziggy Scraps

Designed and made by me

Finished size: 58″ x 78″

Quilted by: Linda

I’m developing a talk about making successful scrap quilts. If you have any ideas I should include, let me know!

Improv Quilt-Along Continued

I’ve already posted about the first week of the quilt-along, which was focused on strips. Here are my blocks again.

The second week’s suggestion was polygons but not triangles. I found it difficult to like most of my attempts for this, though I did finally use EQ to design a block that I paper pieced. I thought that many of the others lack focus, so there was a lot of cutting up and re-designing. Still not my faves, but here they are:

The third week focused on triangles. I still did much of my cutting without a ruler, but I stuck to simpler designs and I’m much happier with this collection of blocks.

The quilt-along is called “30 Days of Improv” so we’re only about half way through. Here’s a link to the first post for the QAL if you want to join in. I’m looking forward to next week’s prompts.