Flying Horse Farm Quilts

Please note if you live in Central North Carolina: One of the guilds I belong to is having a quilt show soon!2024 card.JPEG

One of my other quilt groups makes quilts for Flying Horse Farm, a camp for children with serious illnesses. Here are my contributions for this spring.

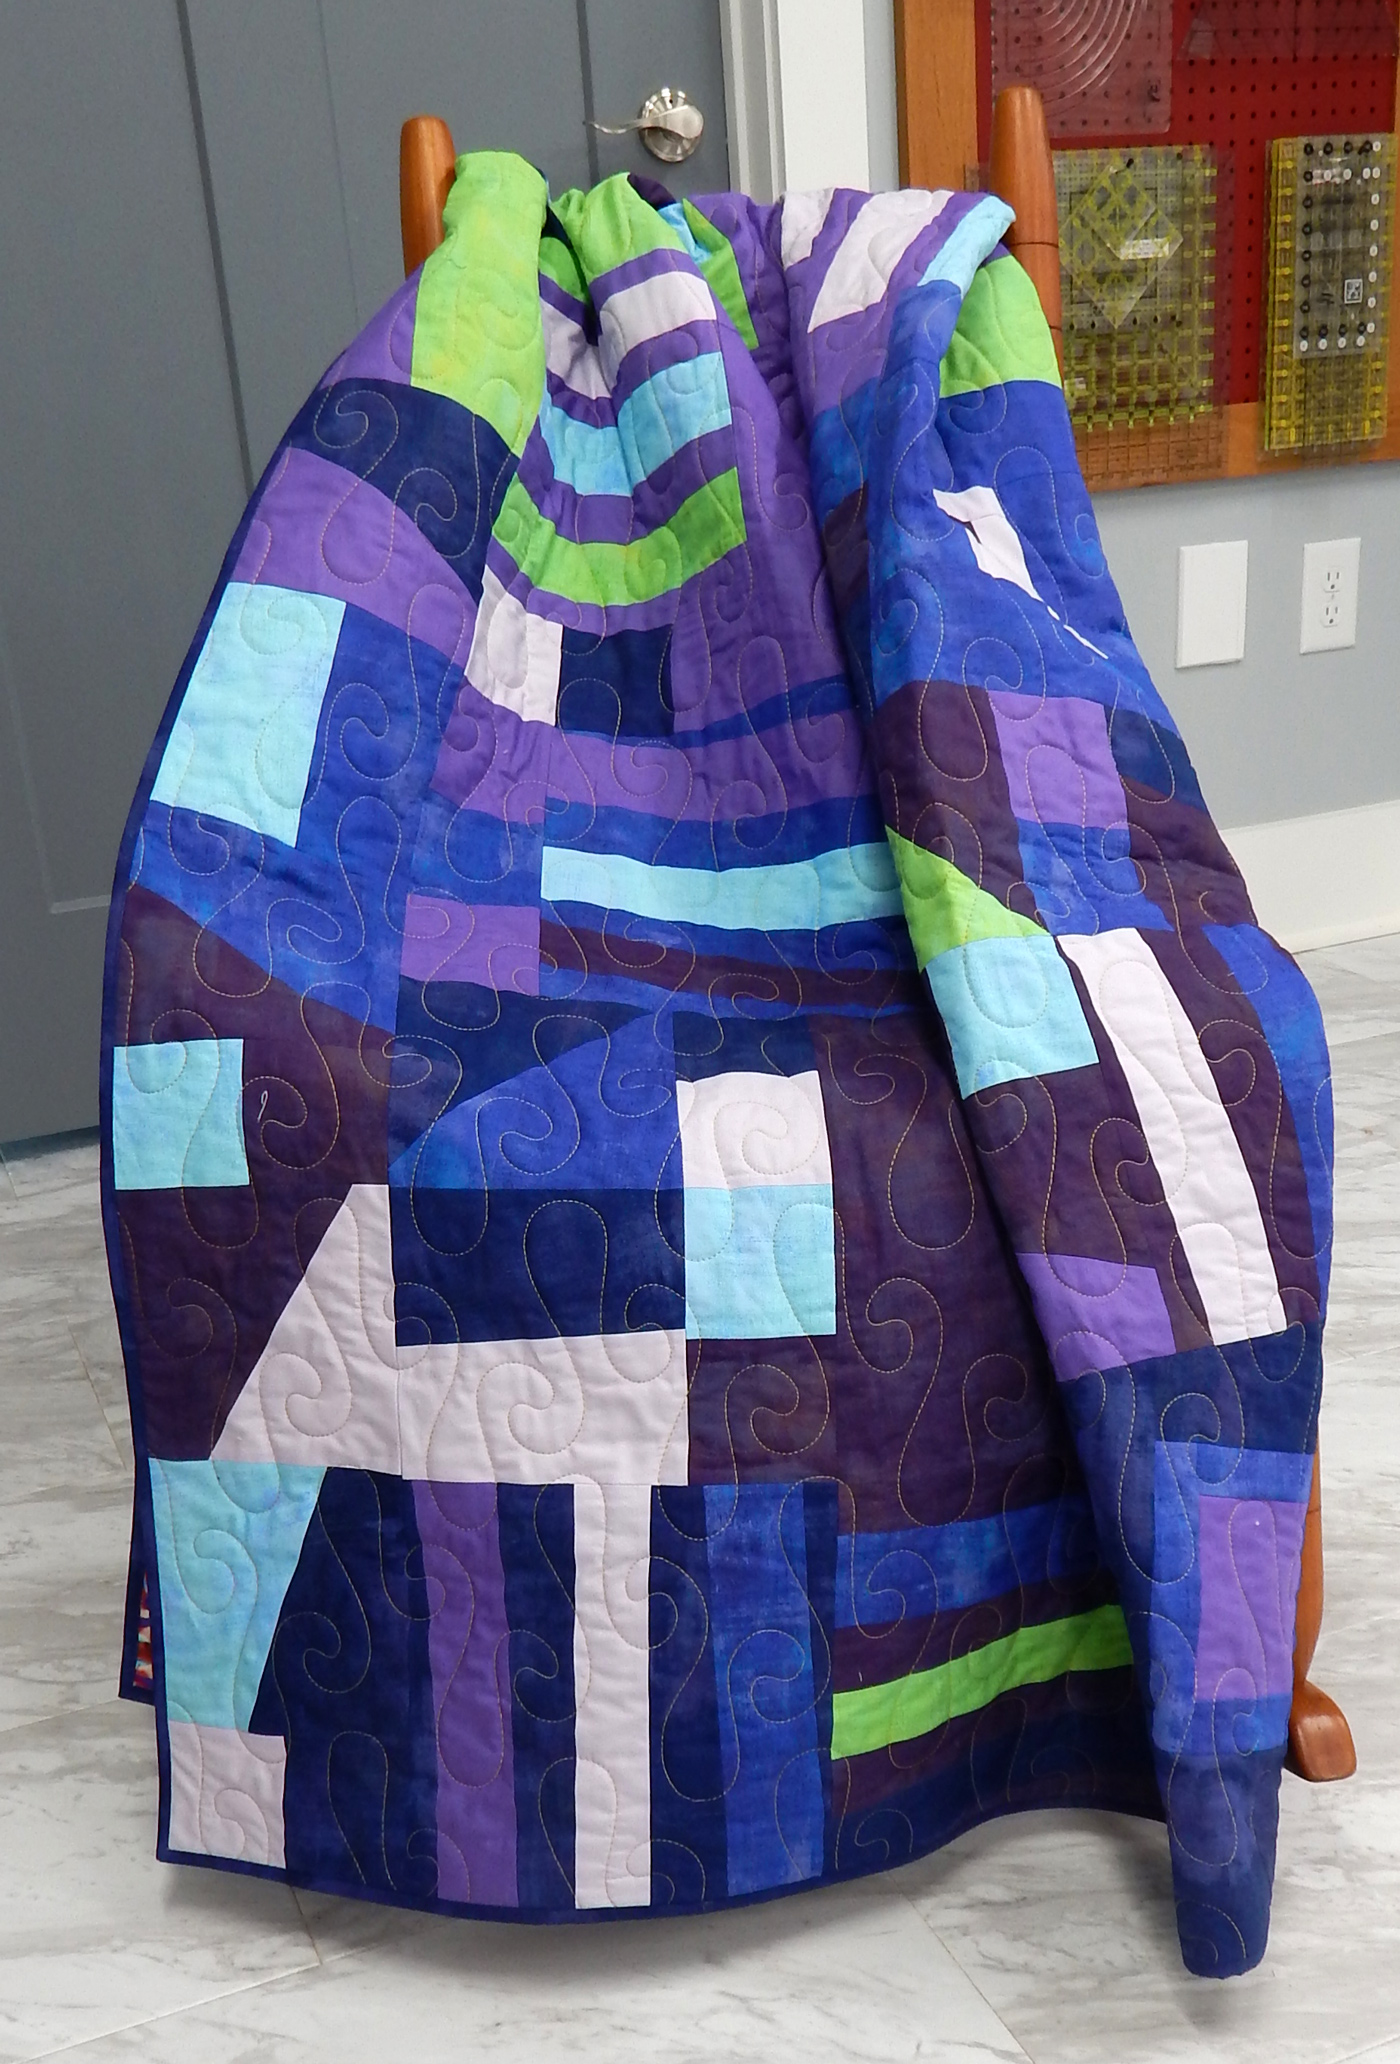
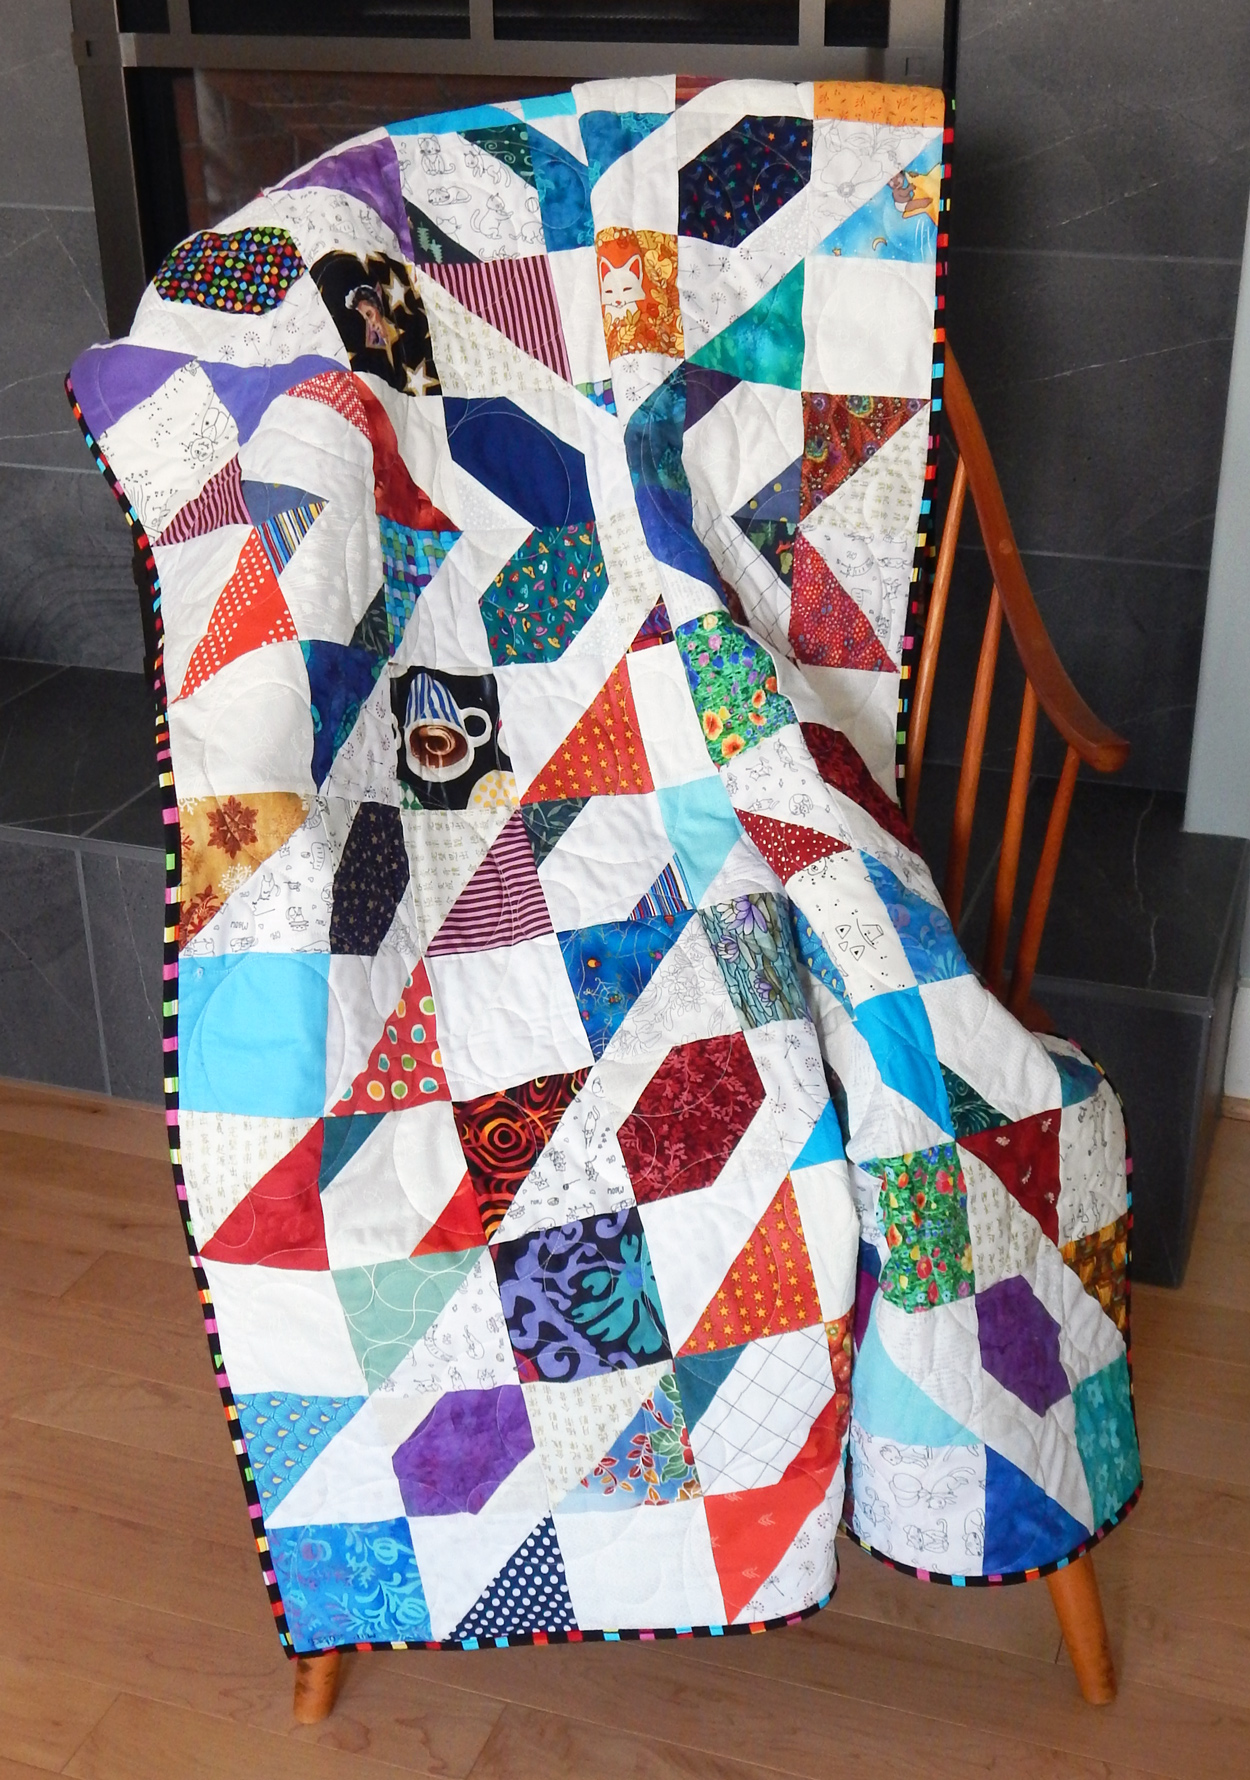
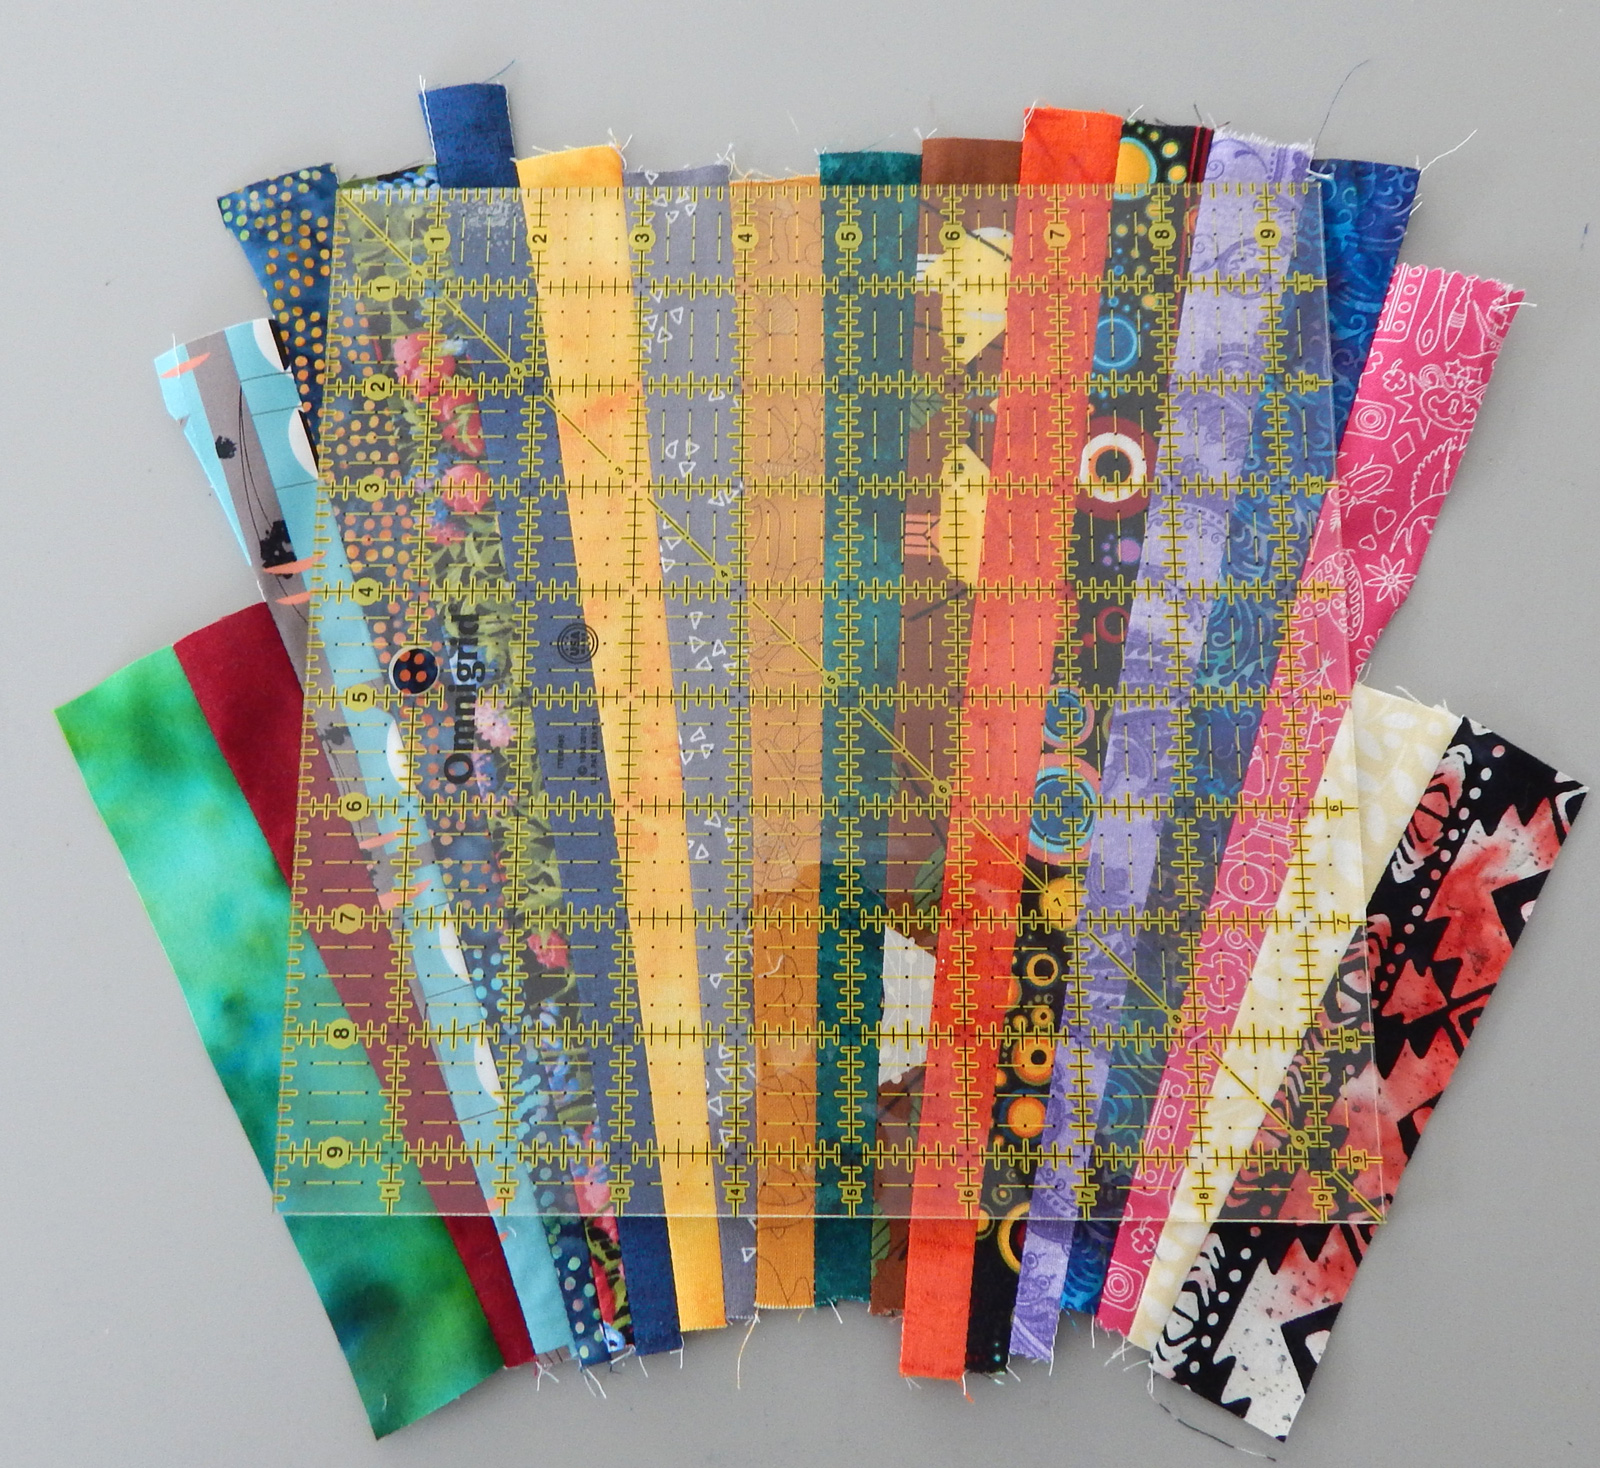
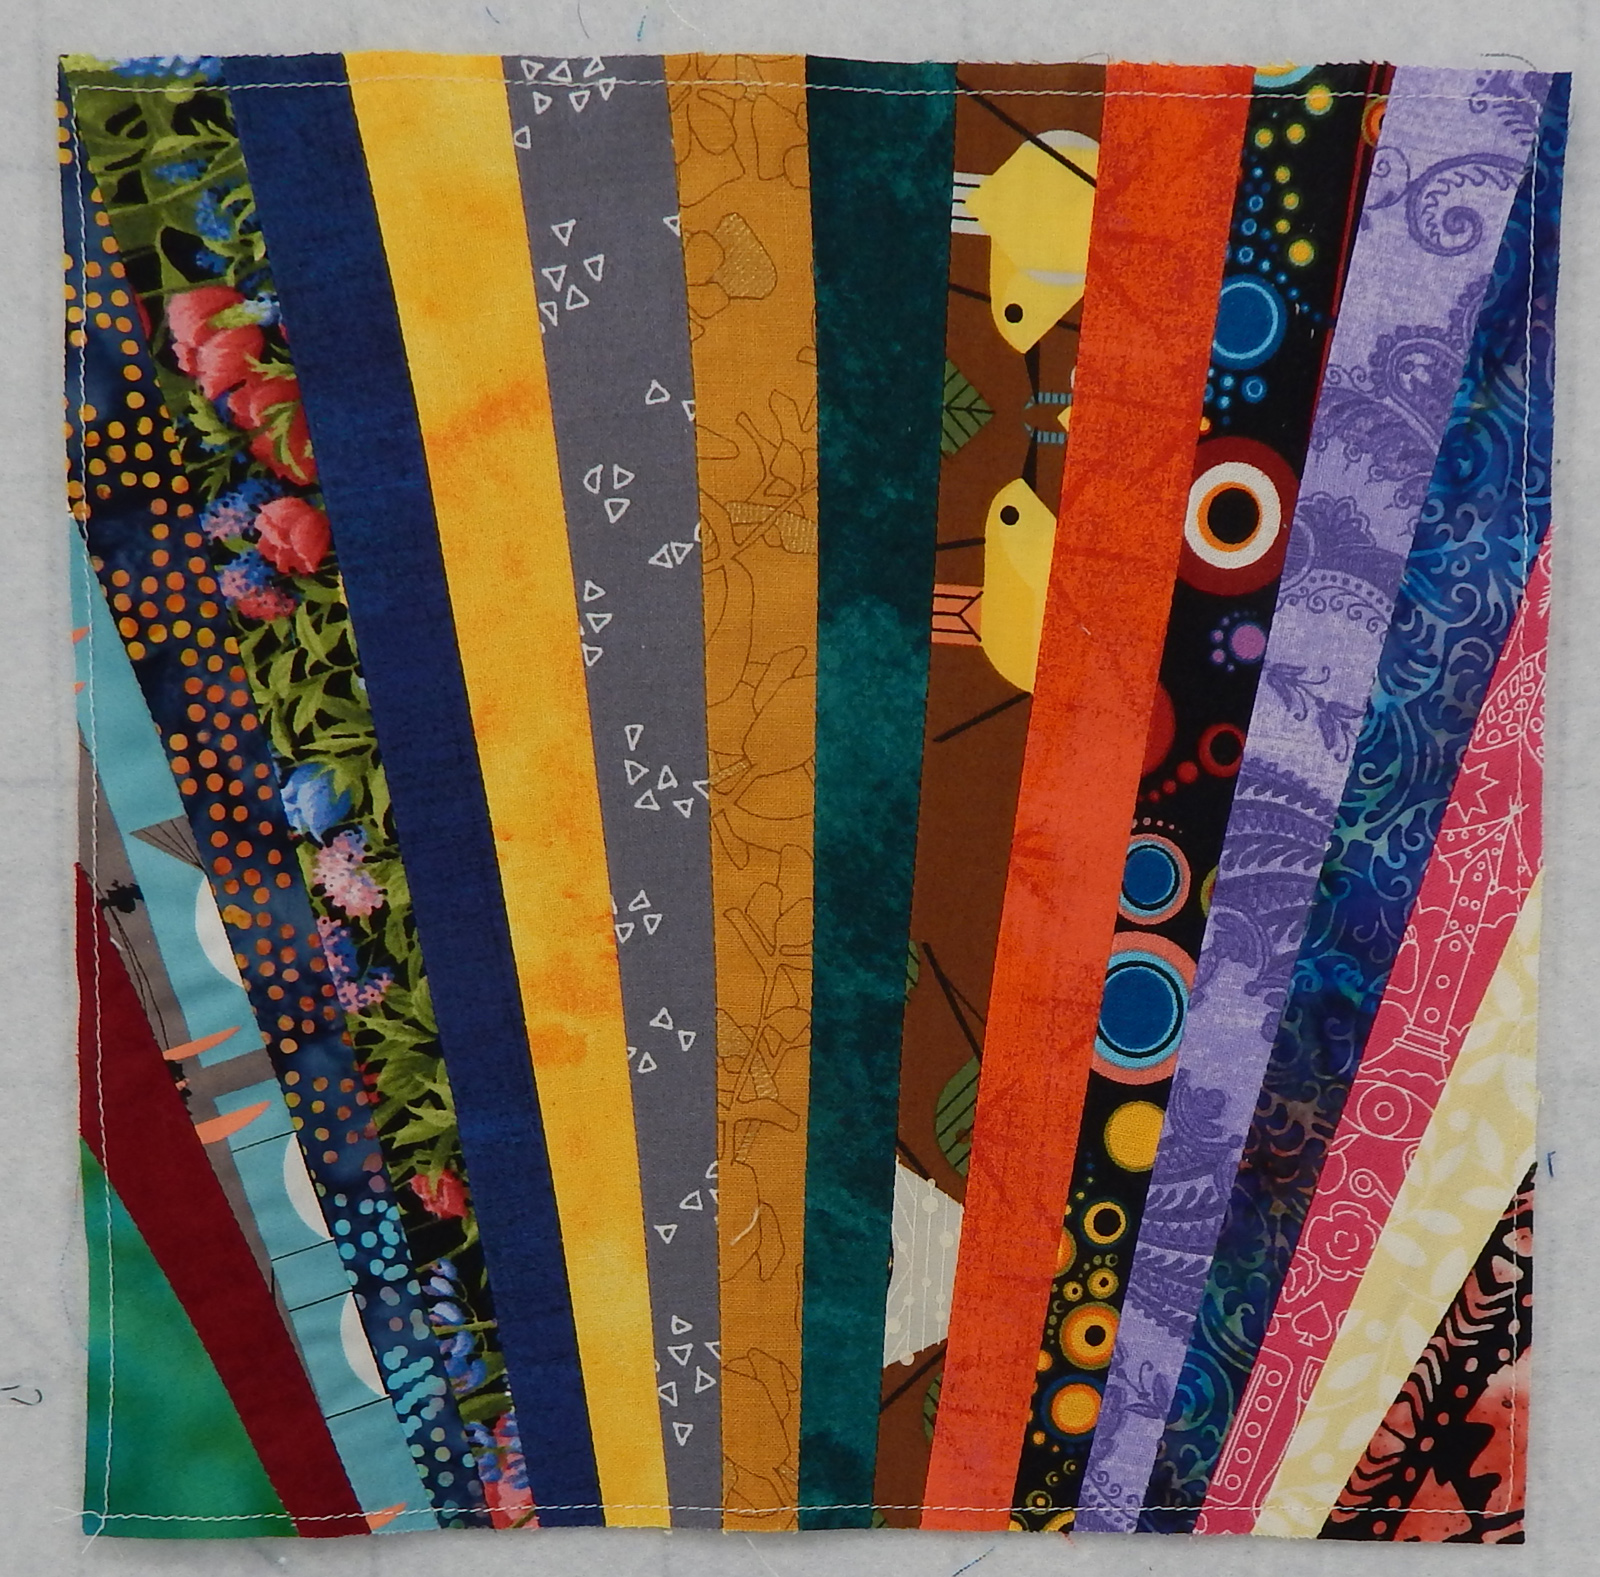
This quilt was inspired by Maryline Collioud-Robert’s Carnival Quilt, in which she mixed many striped fabrics with her scraps. I didn’t use her pattern, just her idea of including lots of striped fabric. However, here’s the link to her pattern if you’re interested.

Quilt Stats

Name: Strips with Stripes

Finished size: 60″ x 72″

Designed by: me, with inspiration from Maryline Collioud-Robert

Made by: me

Quilted by: Linda Nichols


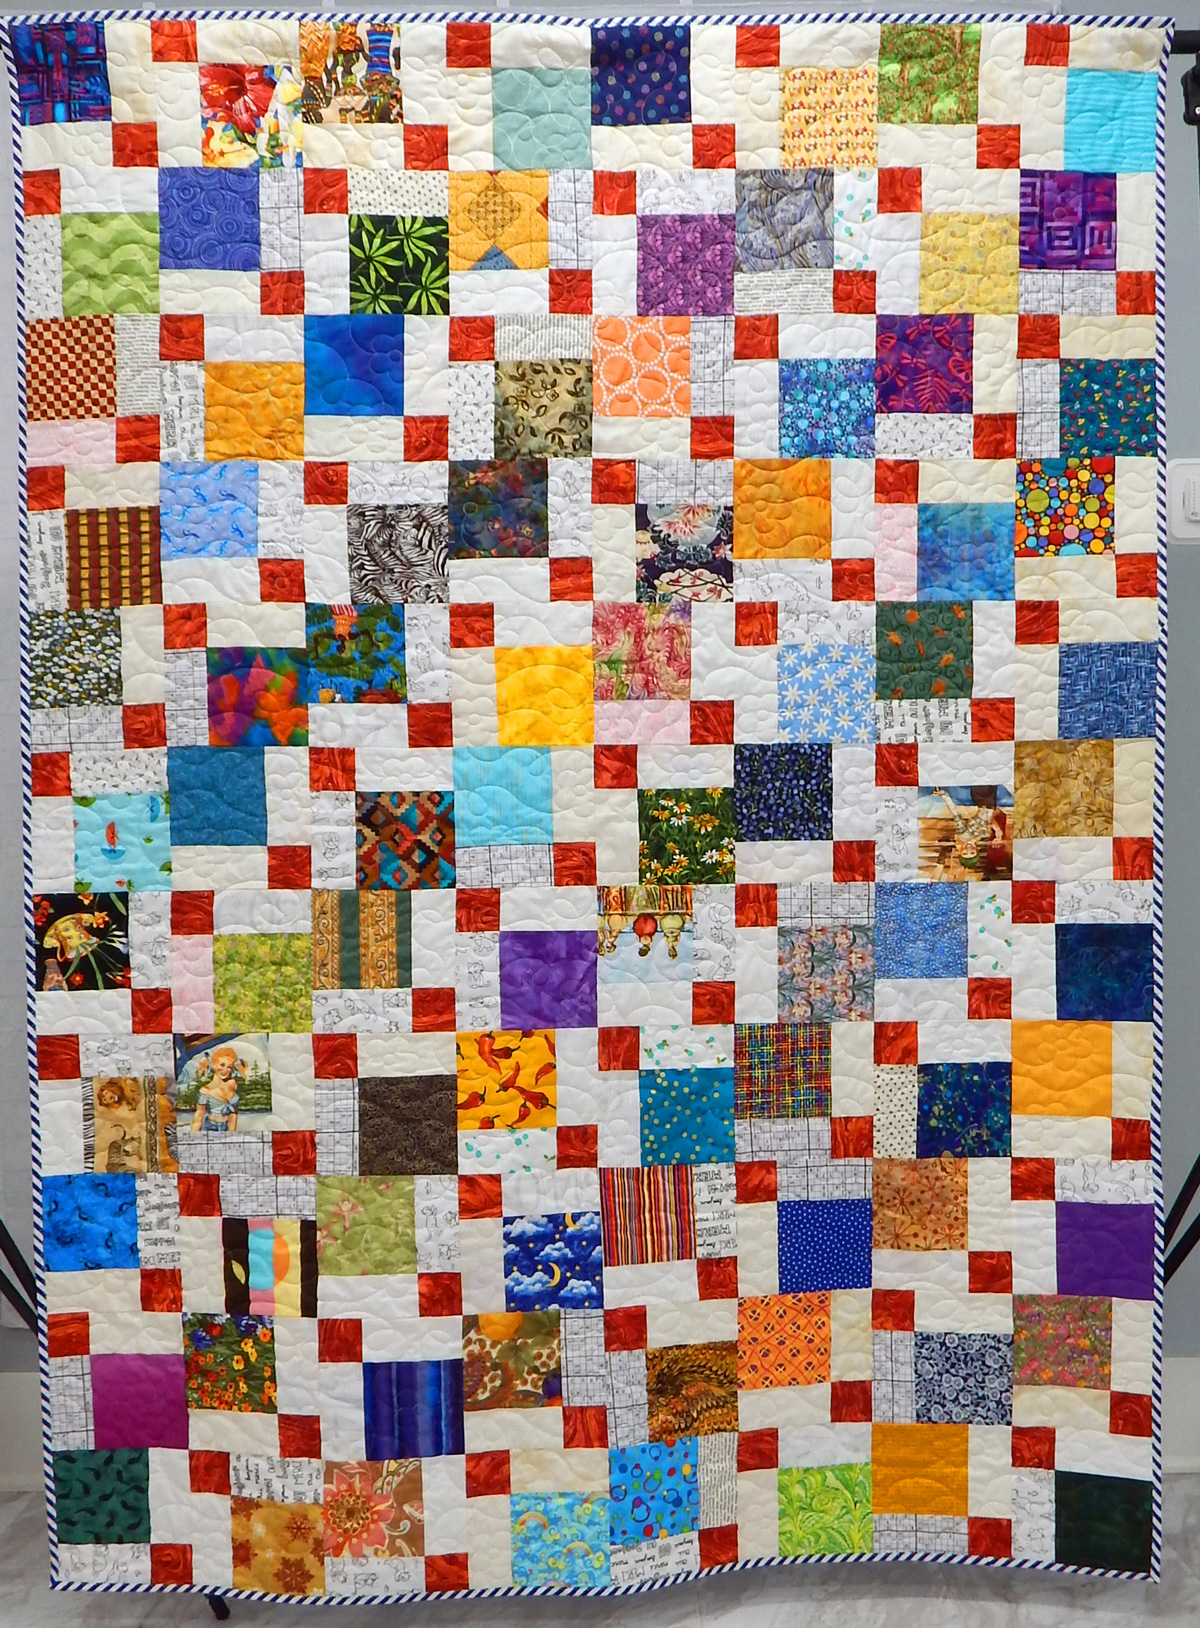
Here is the second Flying Horse Farm quilt:

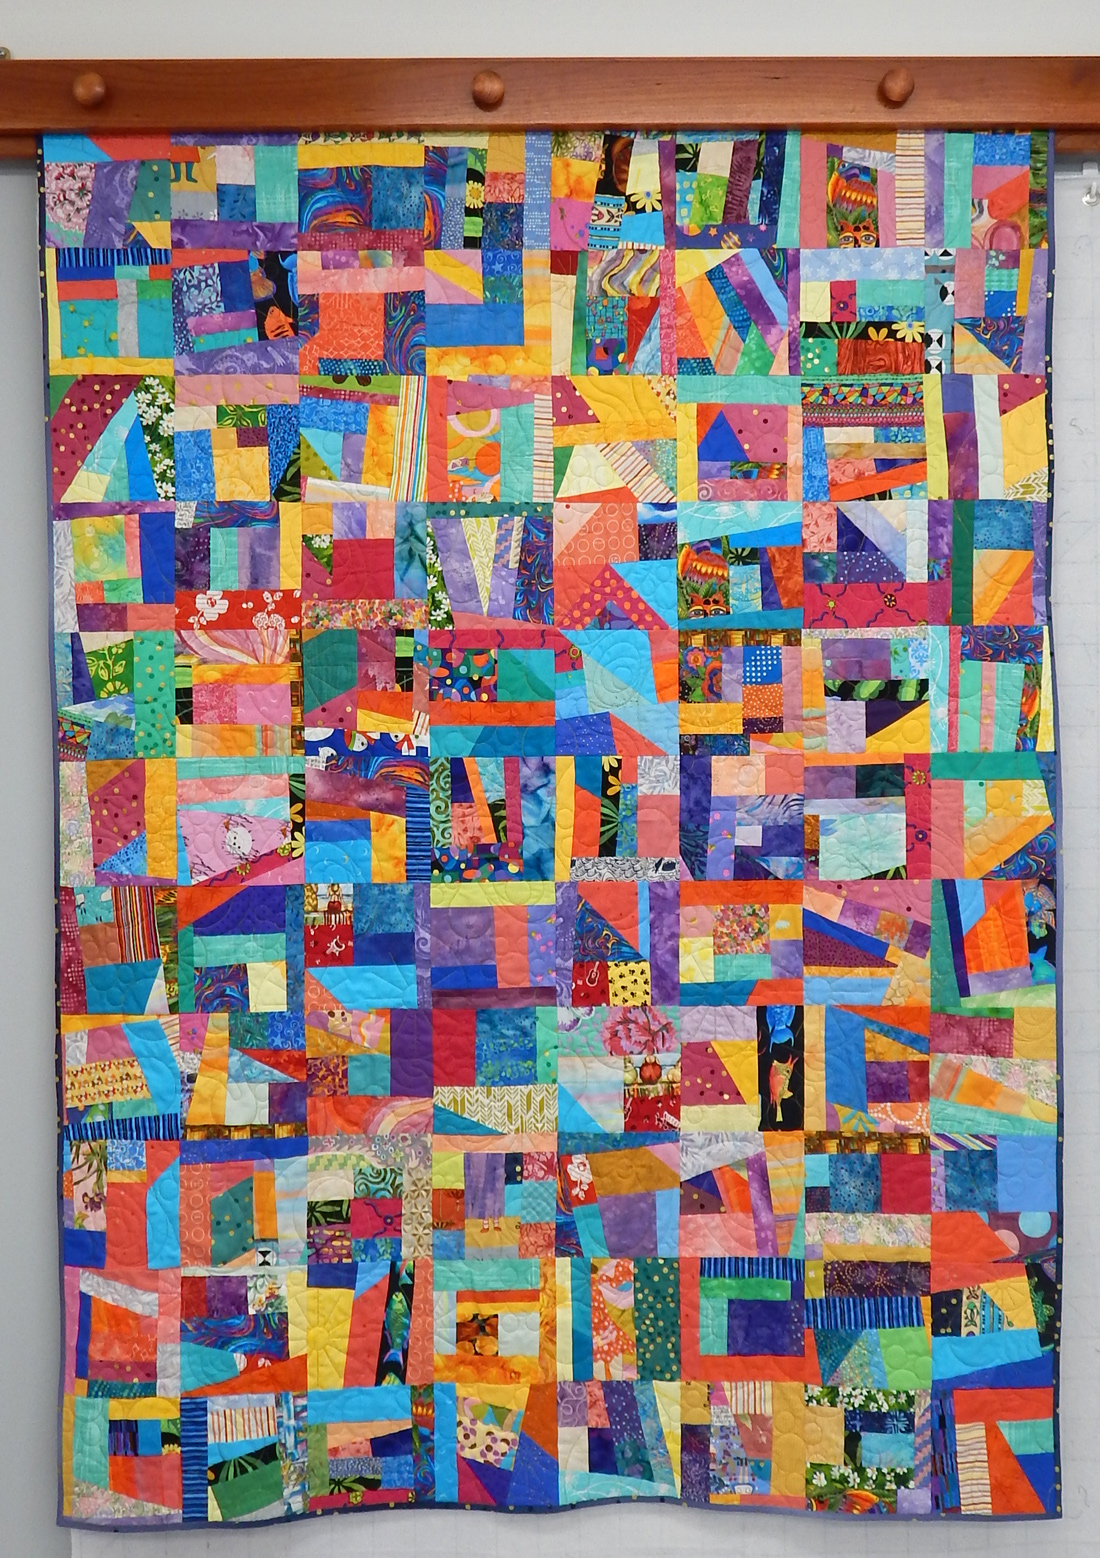
This quilt is inspired by the Bento Box pattern I had years ago and made several quilts from. The pattern has been re-issued and I bought it, but I do not like the new instructions at all! Therefore I completely re-designed the construction process and made this my way.

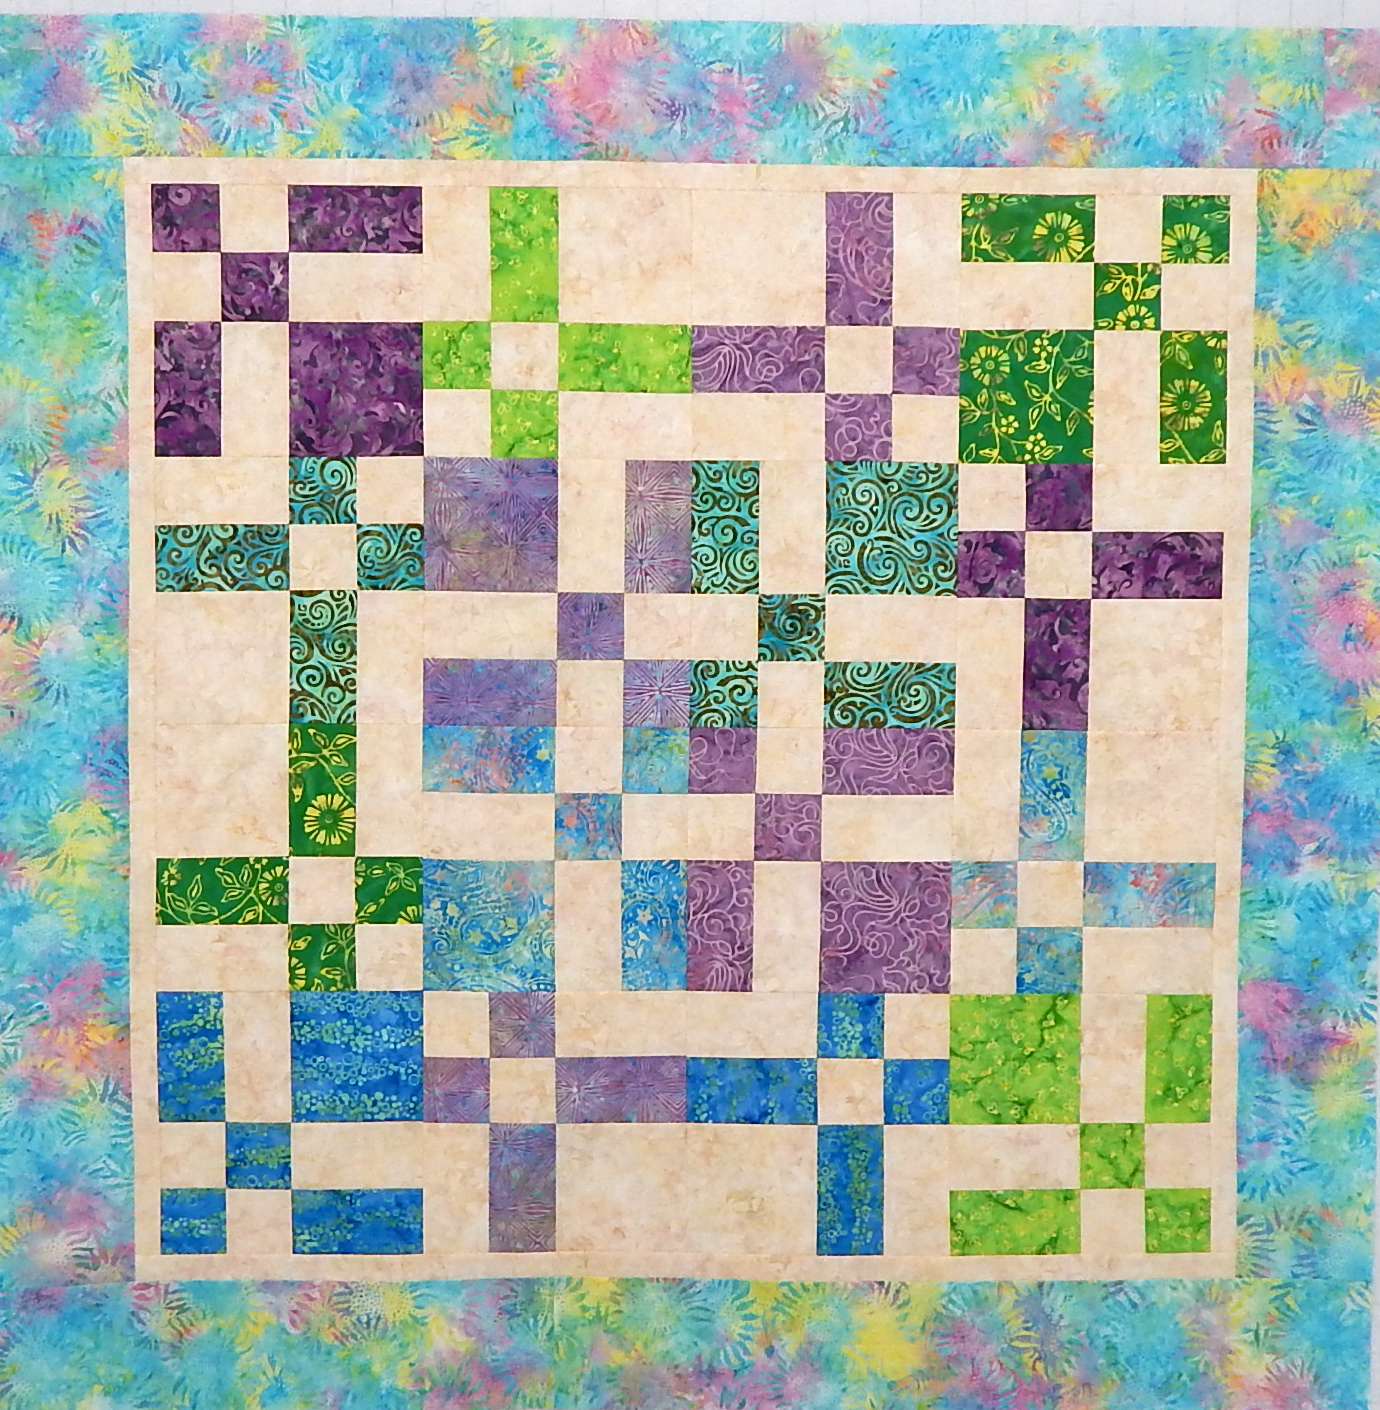
And here’s a peek at the back of the quilt–more scraps used!

Quilt Stats

Name: Bento Box Revised

Finished size: 60″ x 72″

Designed by: me, with inspiration from the original Bento Box pattern

Made by: me

Quilted by: Linda Nichols

These were both fun, easy (as revised by me) quilts. I used the scrappy one at the top as leaders-and-enders and it came together quickly.


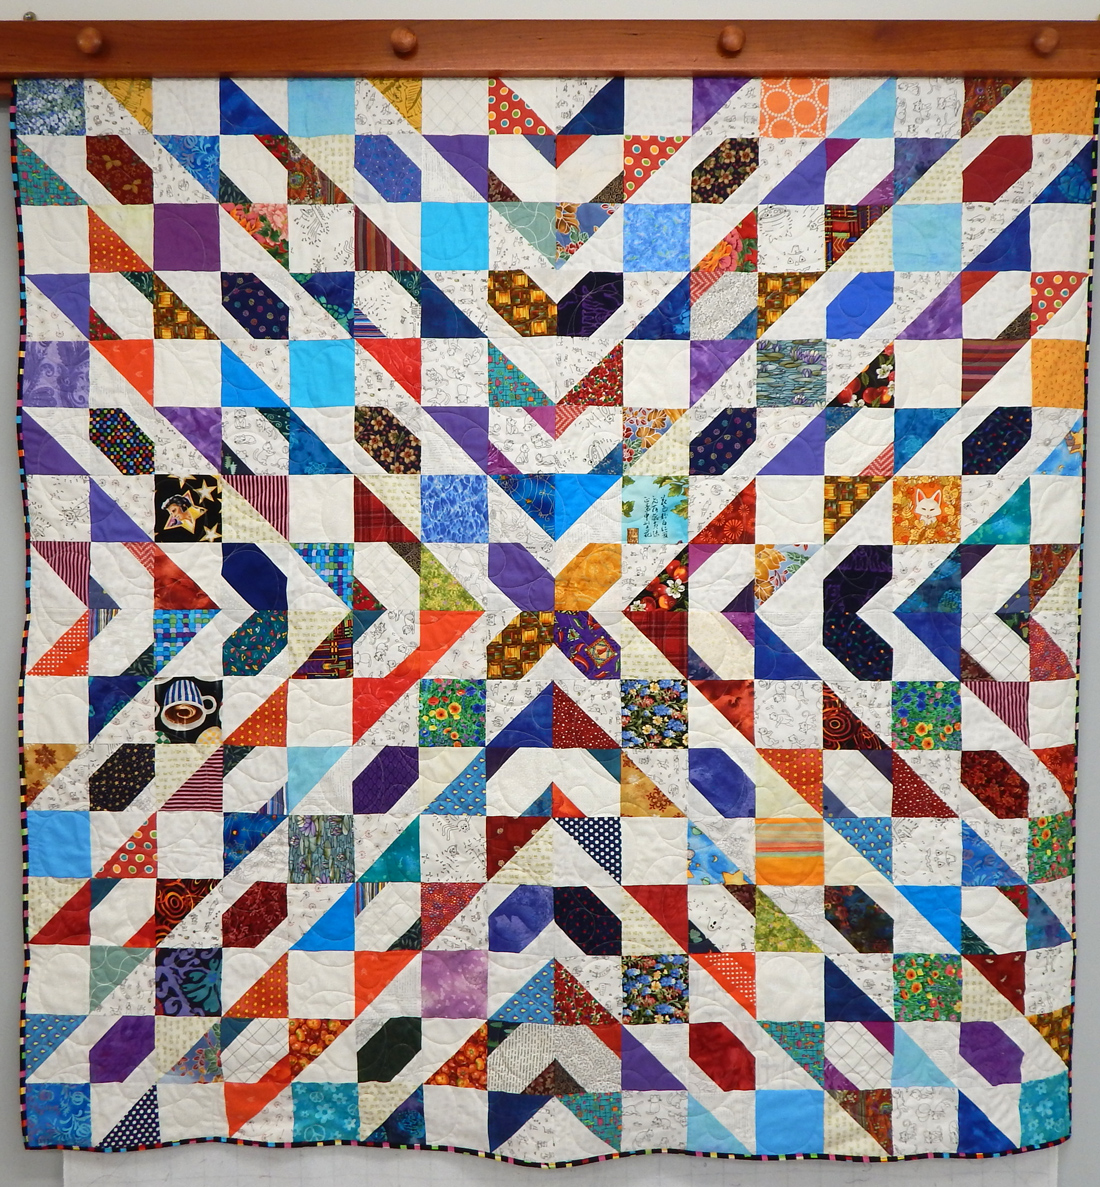
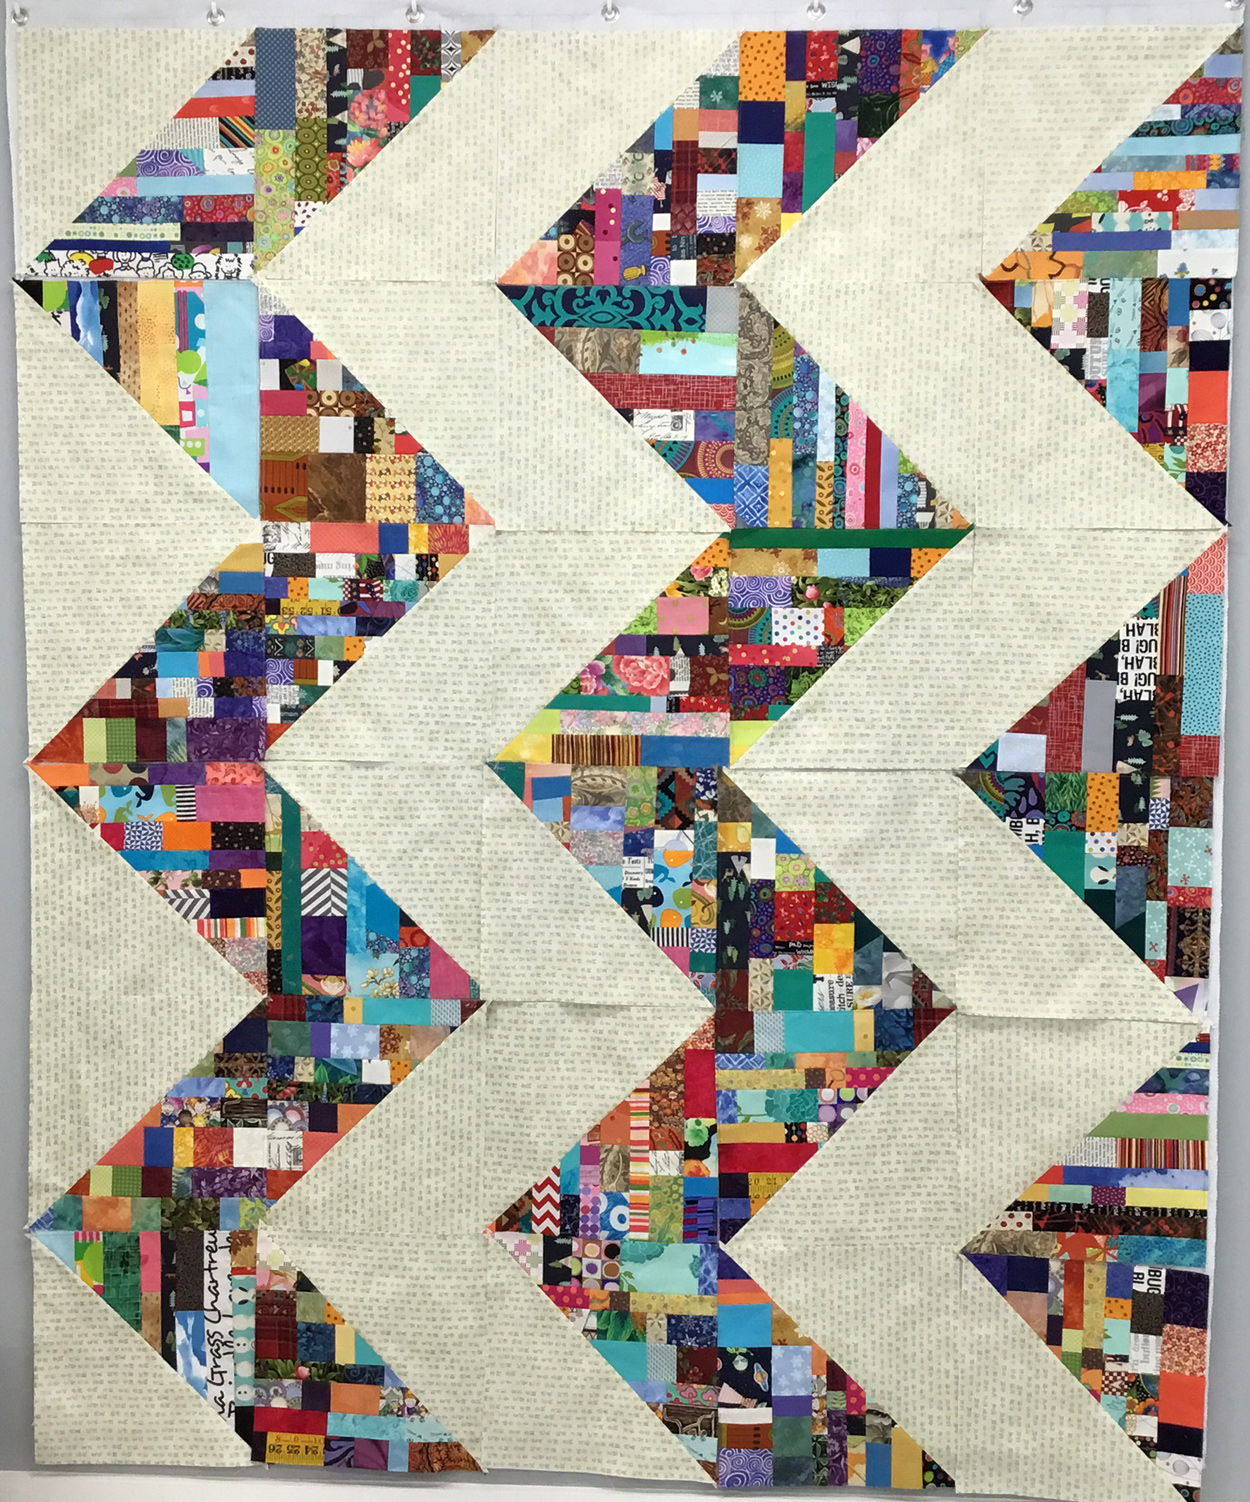
Finally, here is a scrap quilt called “Blue Sky and Sunshine”–my husband says the name is corny but I like it 😀

Quilt Stats

Name: Blue Sky and Sunshine

Finished size: 61″ x 73″

Designed by: me, using up orphan blocks

Made by: me

Quilted by: Linda Nichols


Happy quilting!

Off to Ronald McDonald House

If you’ve been wondering what I DO with all the quilts I make, you’re not alone!

Made from the “Tilted Tiles” pattern by Charles Cameron for the MQG

I’ve been holding a number of quilts for some programs I did on scrap quilting, but those are finished now so these quilts are off to Ronald McDonald House. The larger ones are for patients and families at the house; the smaller ones are sent to the NICU to put over incubators.

Made from Tula scraps because I always wanted to make a quilt that looked like the squares overlapped

Modification of the “Turning Twenty Again” pattern made crib size

Modification of a pattern by Sherry Shish

My arrangement of the “disappearing 9 patch” blocks

From a pattern by Sherry Shish

Quilt I designed to use a layer cake. No pattern available.

My arrangement of scrappy HSTs

scrap quilt

Scrap quilt made with strips that finish 1″ wide; no pattern available

Modification of something I saw online; no pattern available

My original design for a crib-size quilt; no pattern available

Modification of a design in “Jump Into Patchwork and Quilting” by Sarah Ashford

My husband said, “Those are some really nice quilts you’re giving away”. Yes, they are; I do not make quick versions of quilts for donation, nor do any of the people with whom I work on donation quilts.

Consider the quilts that have come to light recently after having been sent to the UK during World War II. I think they were valued for their usefulness, but also for their beauty in a difficult time.

Will our donation quilt be worth saving that long? I do want them to be used, but I hope they are beautiful enough to be cared for as well.

Wild Geese: Another Finish

It may seem like I’m finishing a quilt every 15 minutes, but the truth is that I’ve gotten waaaay behind on binding. Since I don’t count a quilt as finished until I bind it, catching up on binding makes me look very productive 😀

This quilt is from a pattern, Wild Geese by Natalie Barnes. It’s available on Etsy here, though I’m sure there are other sources as well.

I’m not entirely sure how I came across this pattern, but I was so impressed with all the interesting angles and bright colors that I bought the pattern and made it immediately. I enjoyed pulling out all the bright scraps!

The pattern was quick and easy to follow. This was a fun quilt to make and I think it’s fun to look at, too.

And BTW, I’ve just learned from Laura, a fellow blogger, that a project that jumps ahead of other things in the queue is called a squirrel! Am I the last to learn that term? Anyway, it’s a good one because most quilters I know have studios full of squirrels, as do I.

Here’s a picture showing the backing and binding.

OK, that backing fabric. I bought it with the idea of cutting it up for an easy kaleidoscope quilt, where the MJ wouldn’t have been quite so obvious! Oh, well.

Quilt Stats

Name: Wild Geese

Designed by: Natalie Barnes of Beyond the Reef

Finished size: 52″ x 71″

Quilted by: Linda Nichols


Did Someone Say Scrap Quilt?

I modified this from multiple quilts I have seen because I liked the idea of turning squares into those elongated hexagons as well as the idea of pointing everything toward the center.

Not incidentally, it also used some more of my (many, many) 5″ squares.

It’s sometimes important for Elvis to make an appearance 🙂

I wasn’t sure about this binding, but I think it worked out OK. That’s not my usual type of backing, but it was available on short notice!

Quilt Stats

Name: Really? Another Scrap Quilt?

Finished size: 65″ x 65″

Designed and made by: me, with inspiration from multiple other quilts I’ve seen

Quilted by: Linda Nichols

The Smallest Scraps?

Wordspress claims to have published this, but nobody got it, so I’m trying a workaround. I have left out some of the pictures hoping that will help. Computers!*%$***

What to do with the scraps that are really, really too small to sew into a quilt? Options include:

Put them in the compost pile. I haven’t tried this, but they are 100% cotton, so I think they should compost just fine. And most of us should be composting anyway, so why not!

I have a couple of friends who say they make dog beds for the animal shelter and stuff them with the tiny scraps. You might think that would take a while, but if it does so what, and I think I might be surprised with how fast the dog bed fills. I wasn’t sure about whether the shelters take these, but a friend in one of my guilds assures me that the shelters here not only take them, but wash them and re-use them. She says she makes the “shell” out of upholstery fabric, which I can often find at thrift shops for almost nothing, so the bed really wouldn’t cost much to make. If you’re interested, there are nice instructions at National Quilters Circle, here.

One of my quilt groups is making blocks by putting the tiny scraps on a fabric base and then sewing over them to hold them in place. They’re holding the scraps with glue (from the ubiquitous glue stick) until they sew. After the pieces are stitched down, the block is trimmed to size. They plan to piece these blocks together for a donation quilt.

I made one of these blocks (above) with the assistance of one of my grandsons. Instead of just stitching the fabric to the backing, I layered and quilted the block, then cut it to size as a resting pad for our crystal bell. The grandsons like to ring all the bells, and I thought this might remind them to put the crystal one down gently.

And then there is the actual confetti quilt option. These usually are art quilts, not meant to be washed. The tiny pieces are placed on a background fabric and the whole covered with mesh, such as tulle. Some people attach the tulle with a very light weight fusible, some rely on quilting over the tulle to hold everything in place. There’s an example here, with details on how it was done.

So what do you do with tiny scraps? Any other ideas?

A Scrappy Finish

When the scrap bins get too full (or more too-full than usual!), I make a scrap quilt. This one was inspired by the wonderful Tim Holtz fabric shown in the center below, so was a green and gold quilt with some purple accents.

Yes, there were plenty of scraps in each of those colors! The back includes a few leftover blocks, since I am trying not to add to the orphan block collection.

And the wonderful quilting pattern is one of the “Aboriginal” designs from Nancy Haacke of Wasatch Quilting. The quilting was done by Linda Nichols, who is patient and helpful when I want to select particular quilting designs.

Quilt Stats

Name: Strips and Squares

Finished size: 60″ x 72″

Pattern: If this was a pattern, I can’t find it now! Perhaps I just got the idea on Pinterest. They’re surely all traditional blocks in any case.

Made by: me

Quilted by: Linda Nichols


Scraps Galore

For a couple of years I made scrap blocks whenever I was between projects. The method was to combine any bright scraps of whatever size/shape, then trim the block to 6.5″ unfinished. When I had 88 blocks I decided it was time to quit playing around and make them into a quilt, so here it is.

Quilt Stats

Name: 616 Scraps

Designed and made by: me

Finished size; 48″ x 66″

Quilted by: Linda Nichols

Of course the scrap pile has only grown larger, so I’m off to start another round of scrap blocks.

Scrap HSTs

HSTs (half square triangles) are the basis of lots of dynamic quilt designs, so of course they’re even better if they’re scrappy. For those who may not know, here’s a half-square triangle block. Each half of the square is a triangle, and of course it helps that they contrast.

Block drawn in EQ8

So after I had made a whole bunch of scrappy squares, I decided to cut them in half diagonally to make scrappy HSTs. I had the perfect white fabric with metallic gold oriental writing to use as contrast.

Of course I tried numerous layouts for the blocks and consulted friends about which to use.

This arrangement was voted out

Eventually I chose the arrangement below because I like the “double twist” effect you get in the center if you look from a distance.

The finished quilt

Quilt Stats

Name: Ziggy Scraps

Designed and made by me

Finished size: 58″ x 78″

Quilted by: Linda

I’m developing a talk about making successful scrap quilts. If you have any ideas I should include, let me know!

Tossed 9 Patch

The other day I considered what to do with my large stash of 5″ squares.

Bin of 5″ squares from a variety of sources

It occurred to me that I might be the only quilter in the world who hadn’t yet made a tossed 9 patch quilt.

Just on the off chance you haven’t made one yet, here’s the drill.

The 9-patch block was 15.5″ with raw edges. Drawing done with Electric Quilt 8.

Start by making a 9 patch (duh). I cut a bunch of light colored 5″ patches and enough red 5″ patches for 22 nine-patch blocks, then used various 5″ squares from my bin for the four corners.  (Yes, that only got rid of 88 5″ squares. Still…)

I included some old favorites from the 5″ bin:

Blueberry fabric bought in Maine, one of the Moda wildflower fabrics, the fruit ladies from Elizabeth’s Studio, and some of my favorite metallic dot fabric.

After assembling the 9 patch blocks, I cut them in quarters, resulting in 88 blocks like this:

This is one quarter of the original 9-patch block. Drawing done with Electric Quilt 8.

When all my 88 blocks were made, I played with layouts until I had one I liked. There are a lot of different ways to cut the 9 patch block, and even more ways to lay out the resulting blocks, so it took a while.

After it was quilted, I decided on a blue and white striped border, which I cut on the bias.

And here’s the finish:

Quilt Stats:

Name: Tossed 9-patch

Designed and made by: me, though of course there is nothing new under the sun, This idea has been around forever.

Finished size: 51″ x 71″

Quilted by: Linda

Super Fans Tutorial

When I showed this quilt last week, I promised a tutorial on how to make the blocks. So here goes!

The first (most important?) step is to choose a block size for which you have a square-up ruler in your collection. This makes the whole process easier, as you’ll see.

No my ruler isn’t a trapezoid, but I had to take the picture at an angle to avoid reflections!

Then choose a couple of strips that are about 2″ longer than the square-up ruler. My ruler trims to 9.5″ (for a finished 9″ block), so I chose strips about 11.5″ long. You can either cut wedges for your strips, or join the strips and then trim the edges to make them wedge-shaped. I had a bunch of 1.5″ strips, so I did the sew-and-trim way.

Continue to add strips to each side, alternating sides. Alternating sides makes it easier to keep the block symmetrical. It isn’t necessary to use 1.5″ strips–you can use any width from about 1″ on up.

Press all seams open to decrease bulk. And when you trim seams to make a wedge, leave at least 1/2″ of width at the narrow end to avoid extra bulk when adding the next strip.

The seam that is circled at the bottom just meets because the strip was narrowed to 1/2″ at that end

The piece will, of course, tend to curve. To counteract that tendency, I sometimes add longer strips to correct for the way the edges want to angle down at both ends.

Here’s a longer strip I added to be sure the edges weren’t curving too much.

Keep checking to be sure the block is outside the edges of the ruler at both the top and bottom of each strip.

And finally comes the happy day when the block is as wide as it needs to be at the top!

From here on you can add shorter strips. Align them at the bottom of the block to start sewing. Keep checking, and when the piece is wide enough, trim all edges with your square-up ruler.

When trimming, I pick a line near the middle of the ruler and lay it along a seam near the center of the block to get everything as even as possible.

I stitched about 1/8″ from the edges

Stay stitch all edges! This is important because you really, really don’t want those seams to start coming undone, and because there are many bias edges.

DONE!

You may notice that the last strips (bottom corners) are a bit wider than the others. That is done to avoid the possibility of having a seam in the block come at a corner when joining to other blocks.

Quilt Stats

Name: Super Fans

Designed and made by me, with inspiration from Pinterest

Finished size: 47″ x 65″ (5 x 9 blocks, 9″ each, with 1″ border on all sides)

Quilted by: Linda

There are 18 pieces in the sample block above. That means the finished quilt has approximately 810 strips. Thank goodness I didn’t calculate that until now!!!