I’m always looking for better ways to quilt, and recently I learned several things online that I think you may like, too.
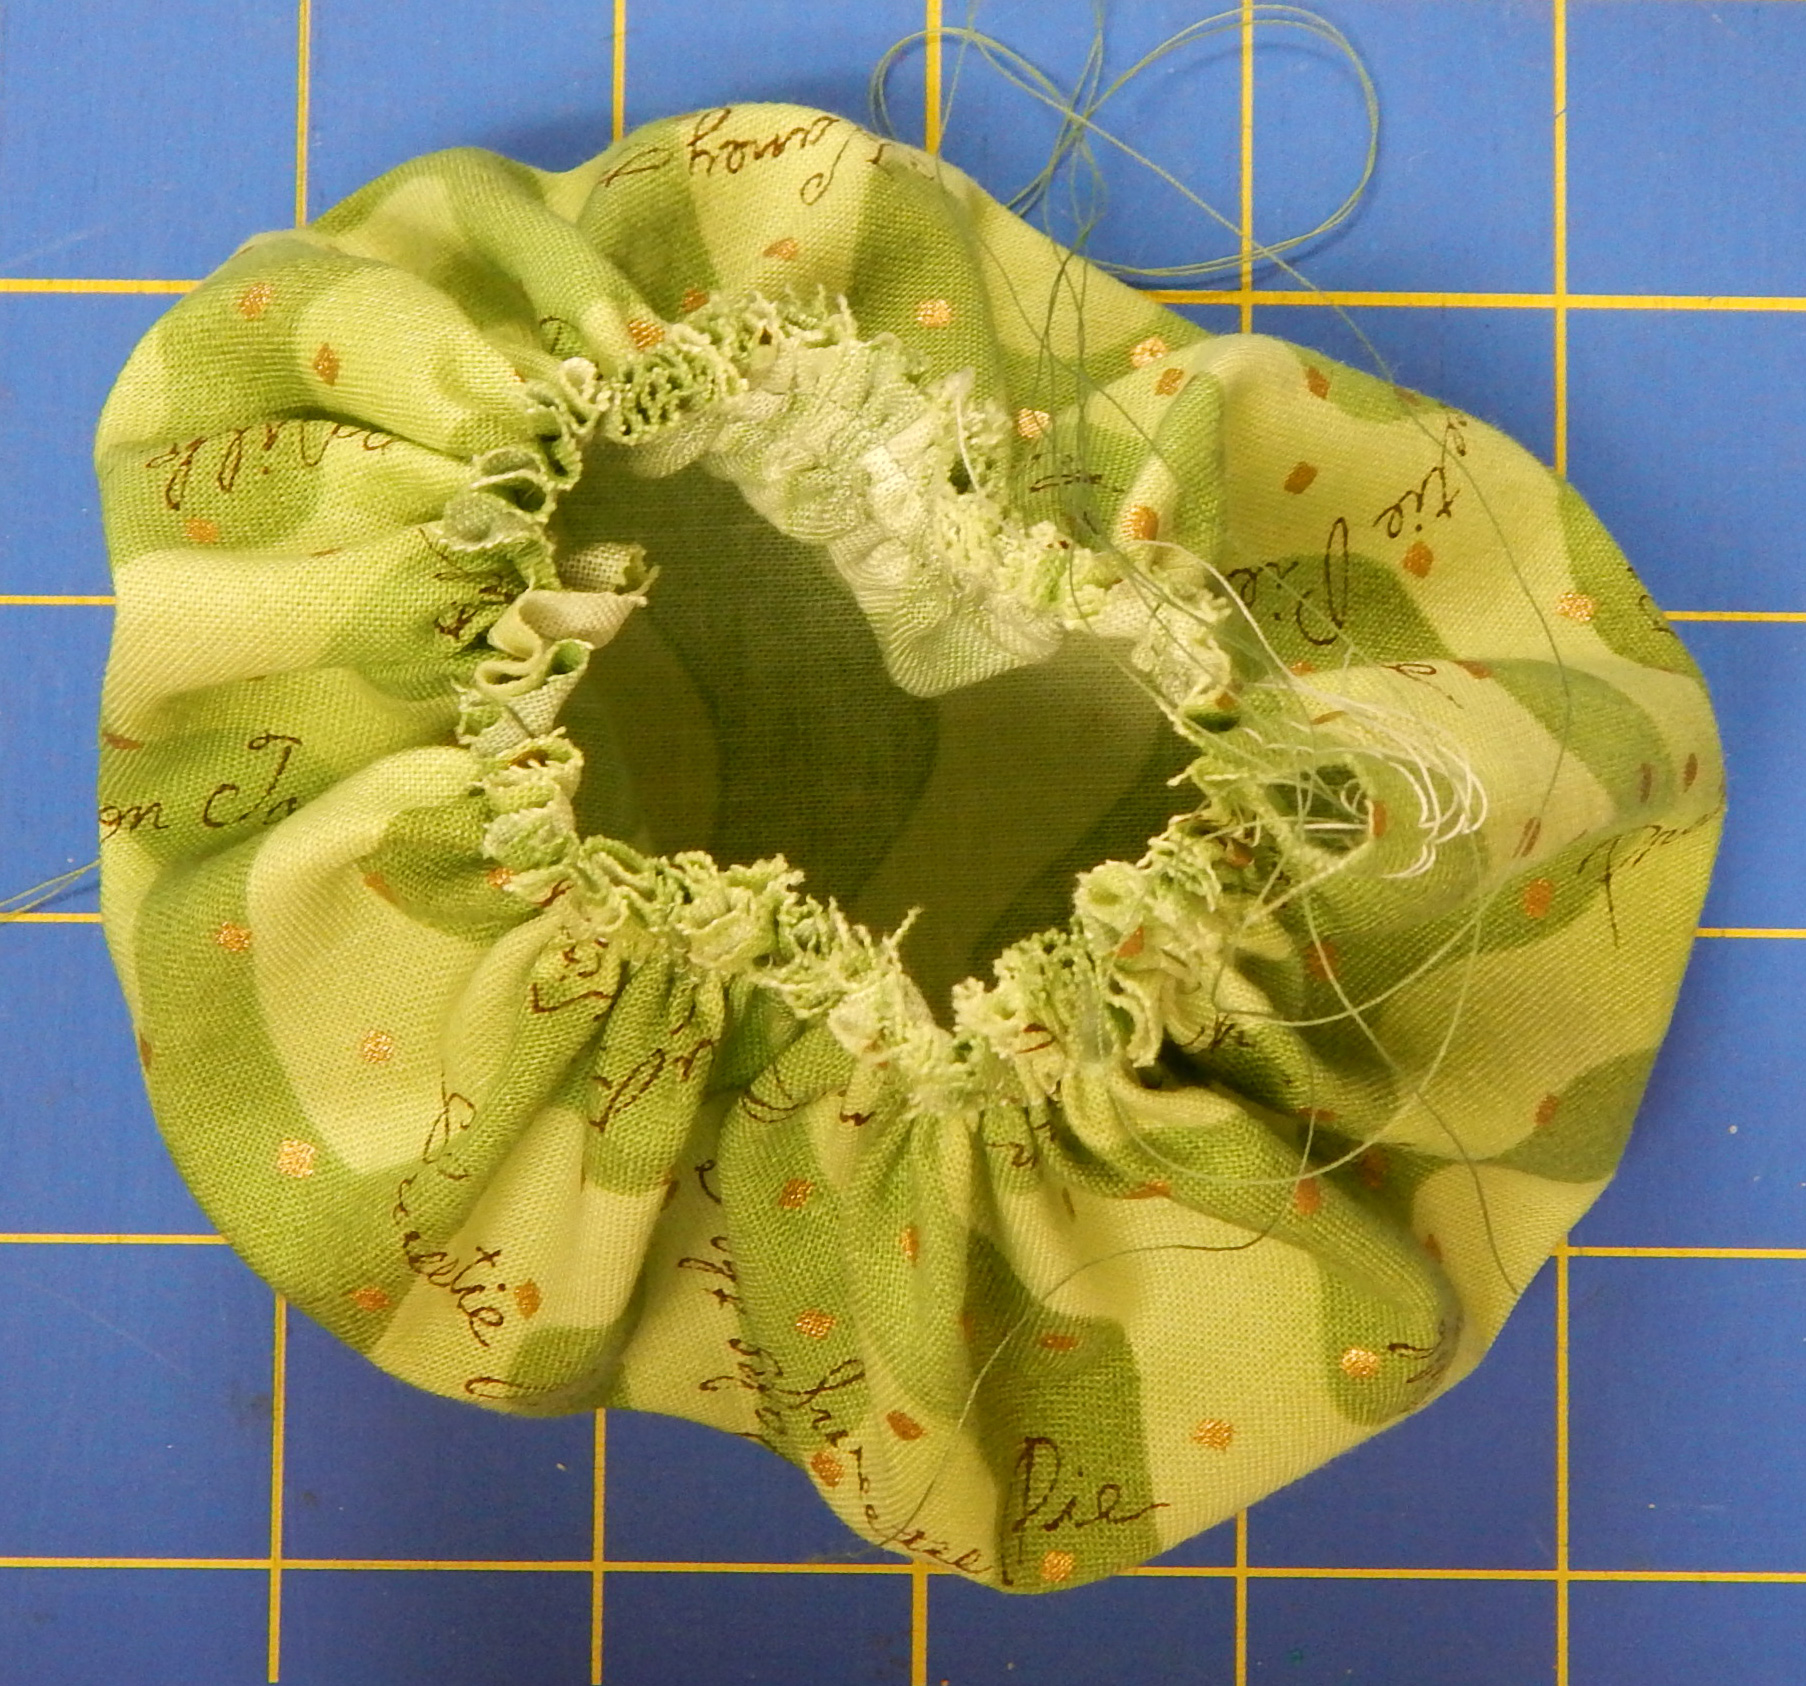
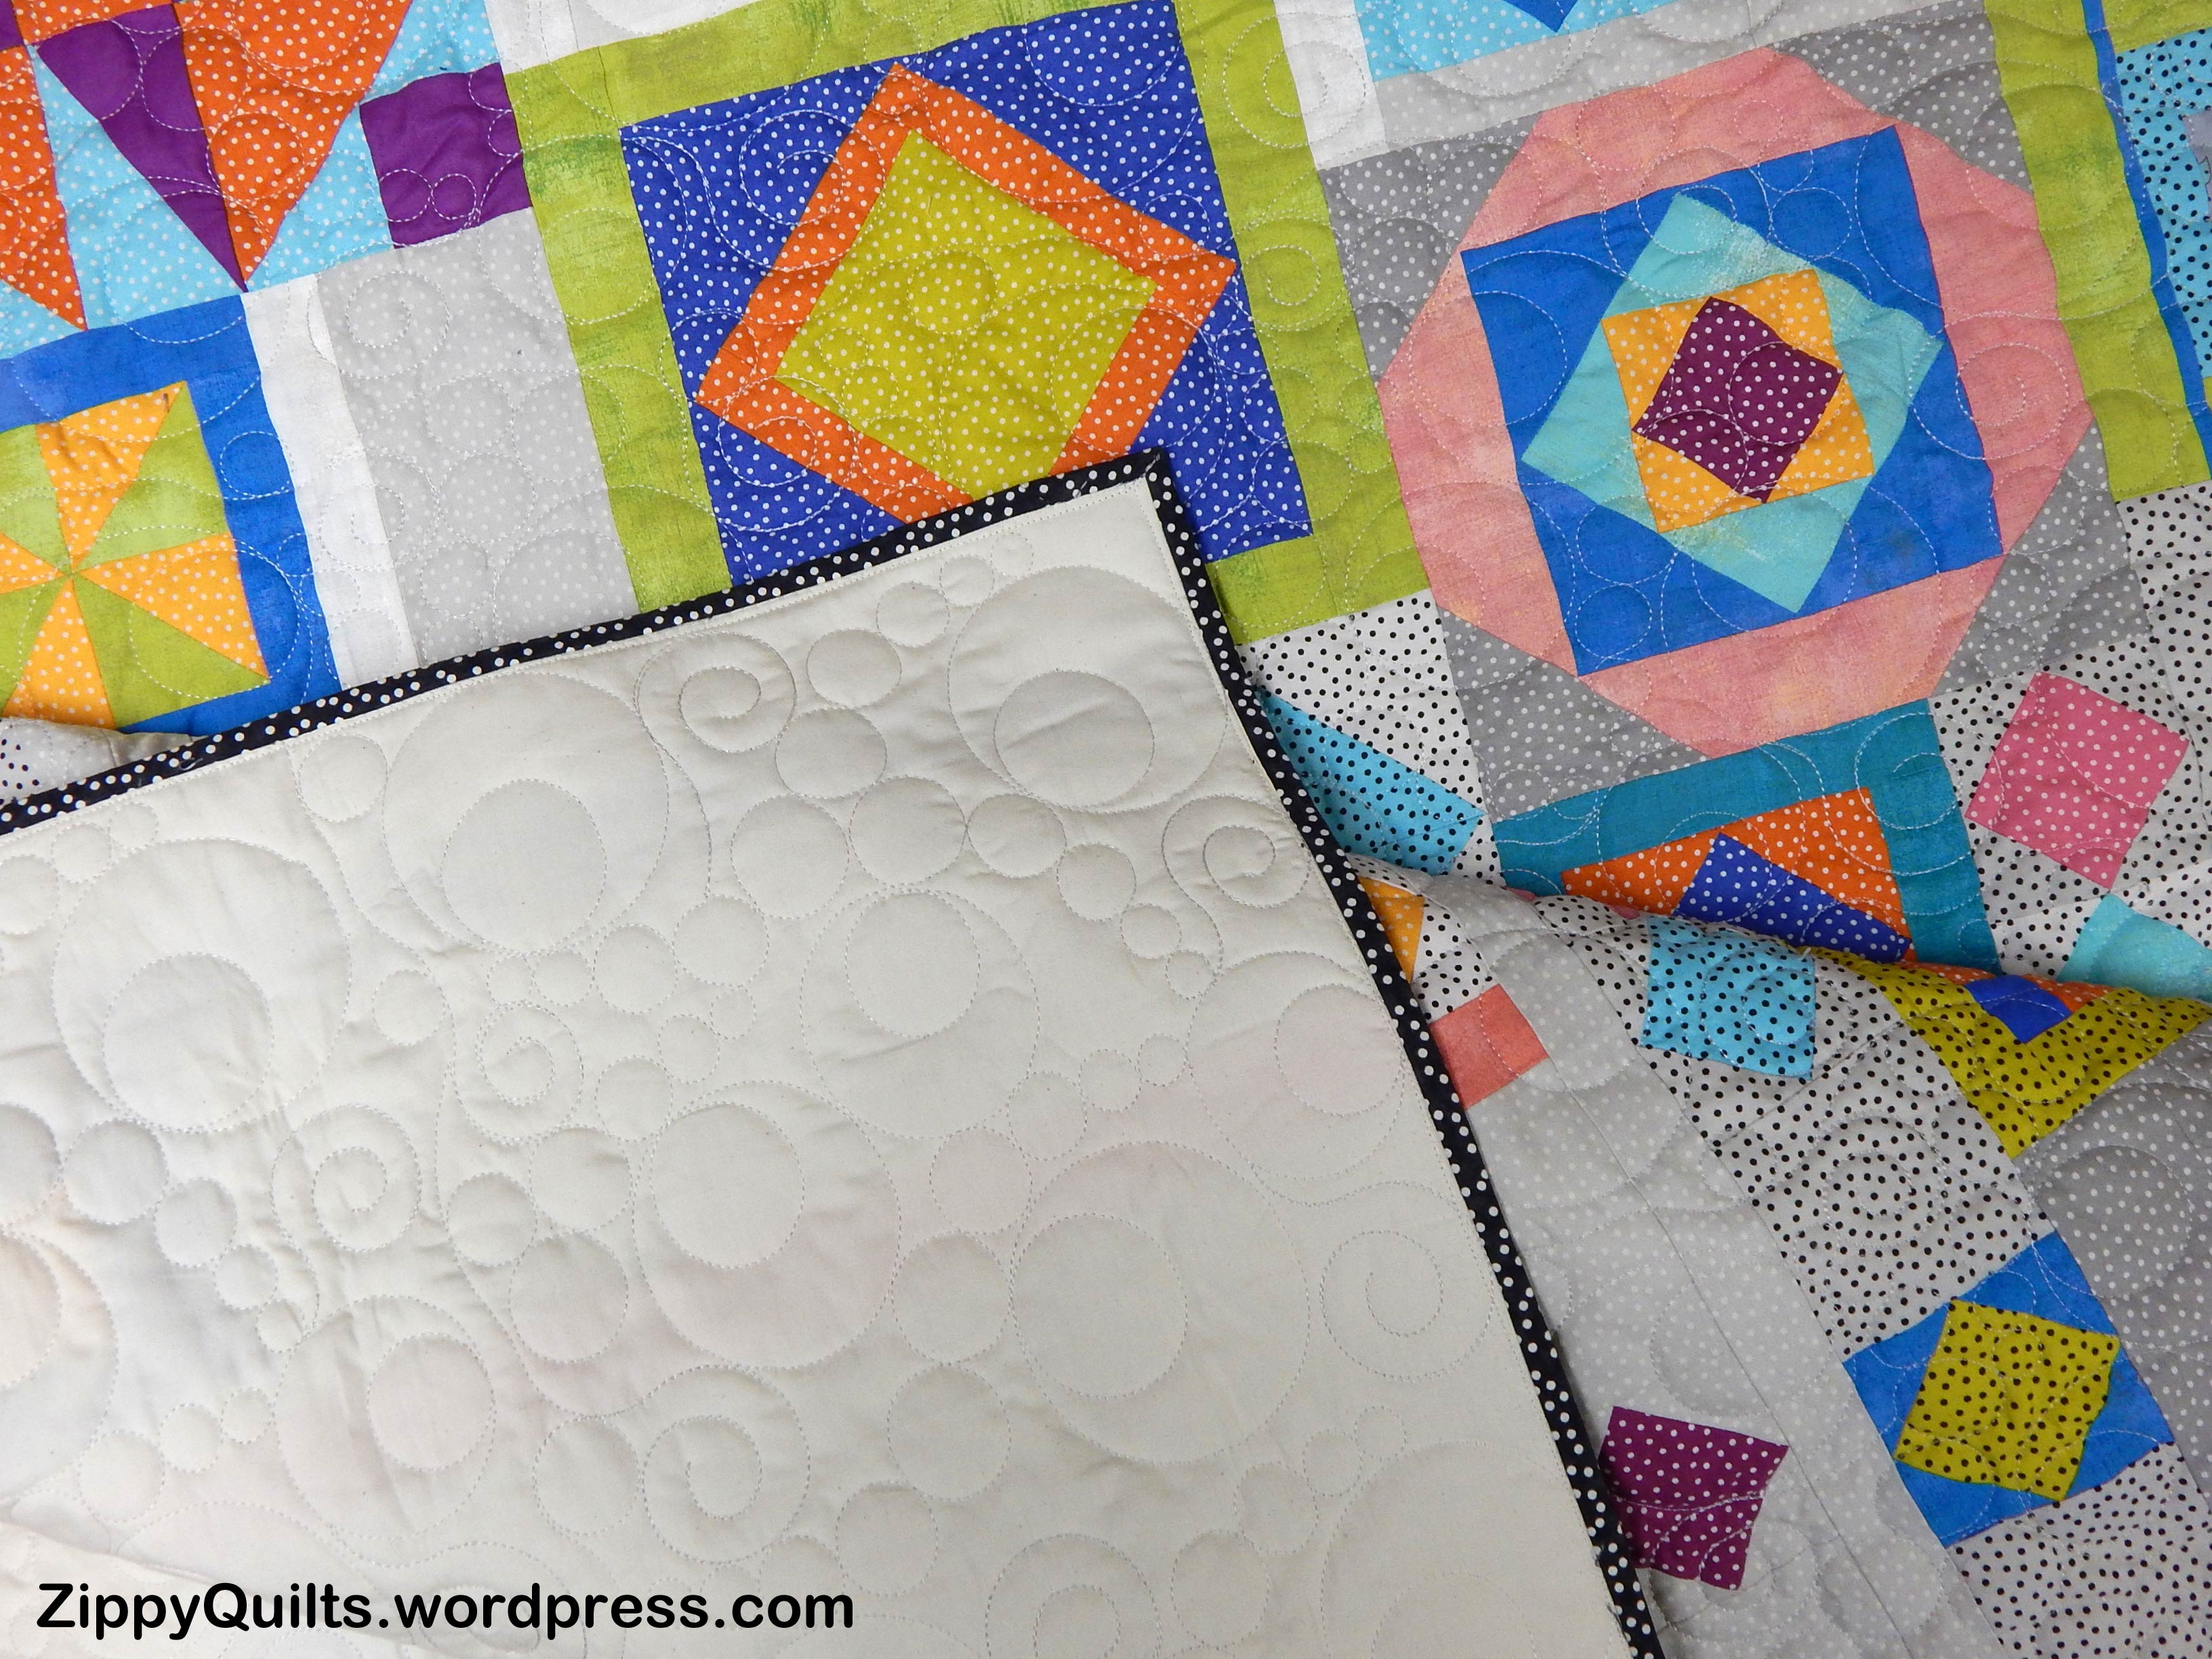
First, I just finished an art quilt that I wanted to face rather than bind. I’ve faced quilts before with variable success, but I wanted a refresher on just how to do it, so of course I did an internet search. I found this great tutorial by Terry Aske and followed it. The quilt came out MUCH better than my previous attempts! The secret is in NOT sewing around the corner and then trying to turn it. Here’s one of my corners.

Look at that nice, sharp corner!
But wait! Aren’t those spots on my new art quilt? Why yes, they are! For the first time in many years of using it, 505 basting spray made spots on the front of my quilt! UGH! After failing to find a satisfactory remedy in a web search, I wrote to the manufacturer of 505 and got a prompt reply: Try Dawn dish liquid, and if that doesn’t work have it dry cleaned. I’ll let you know…
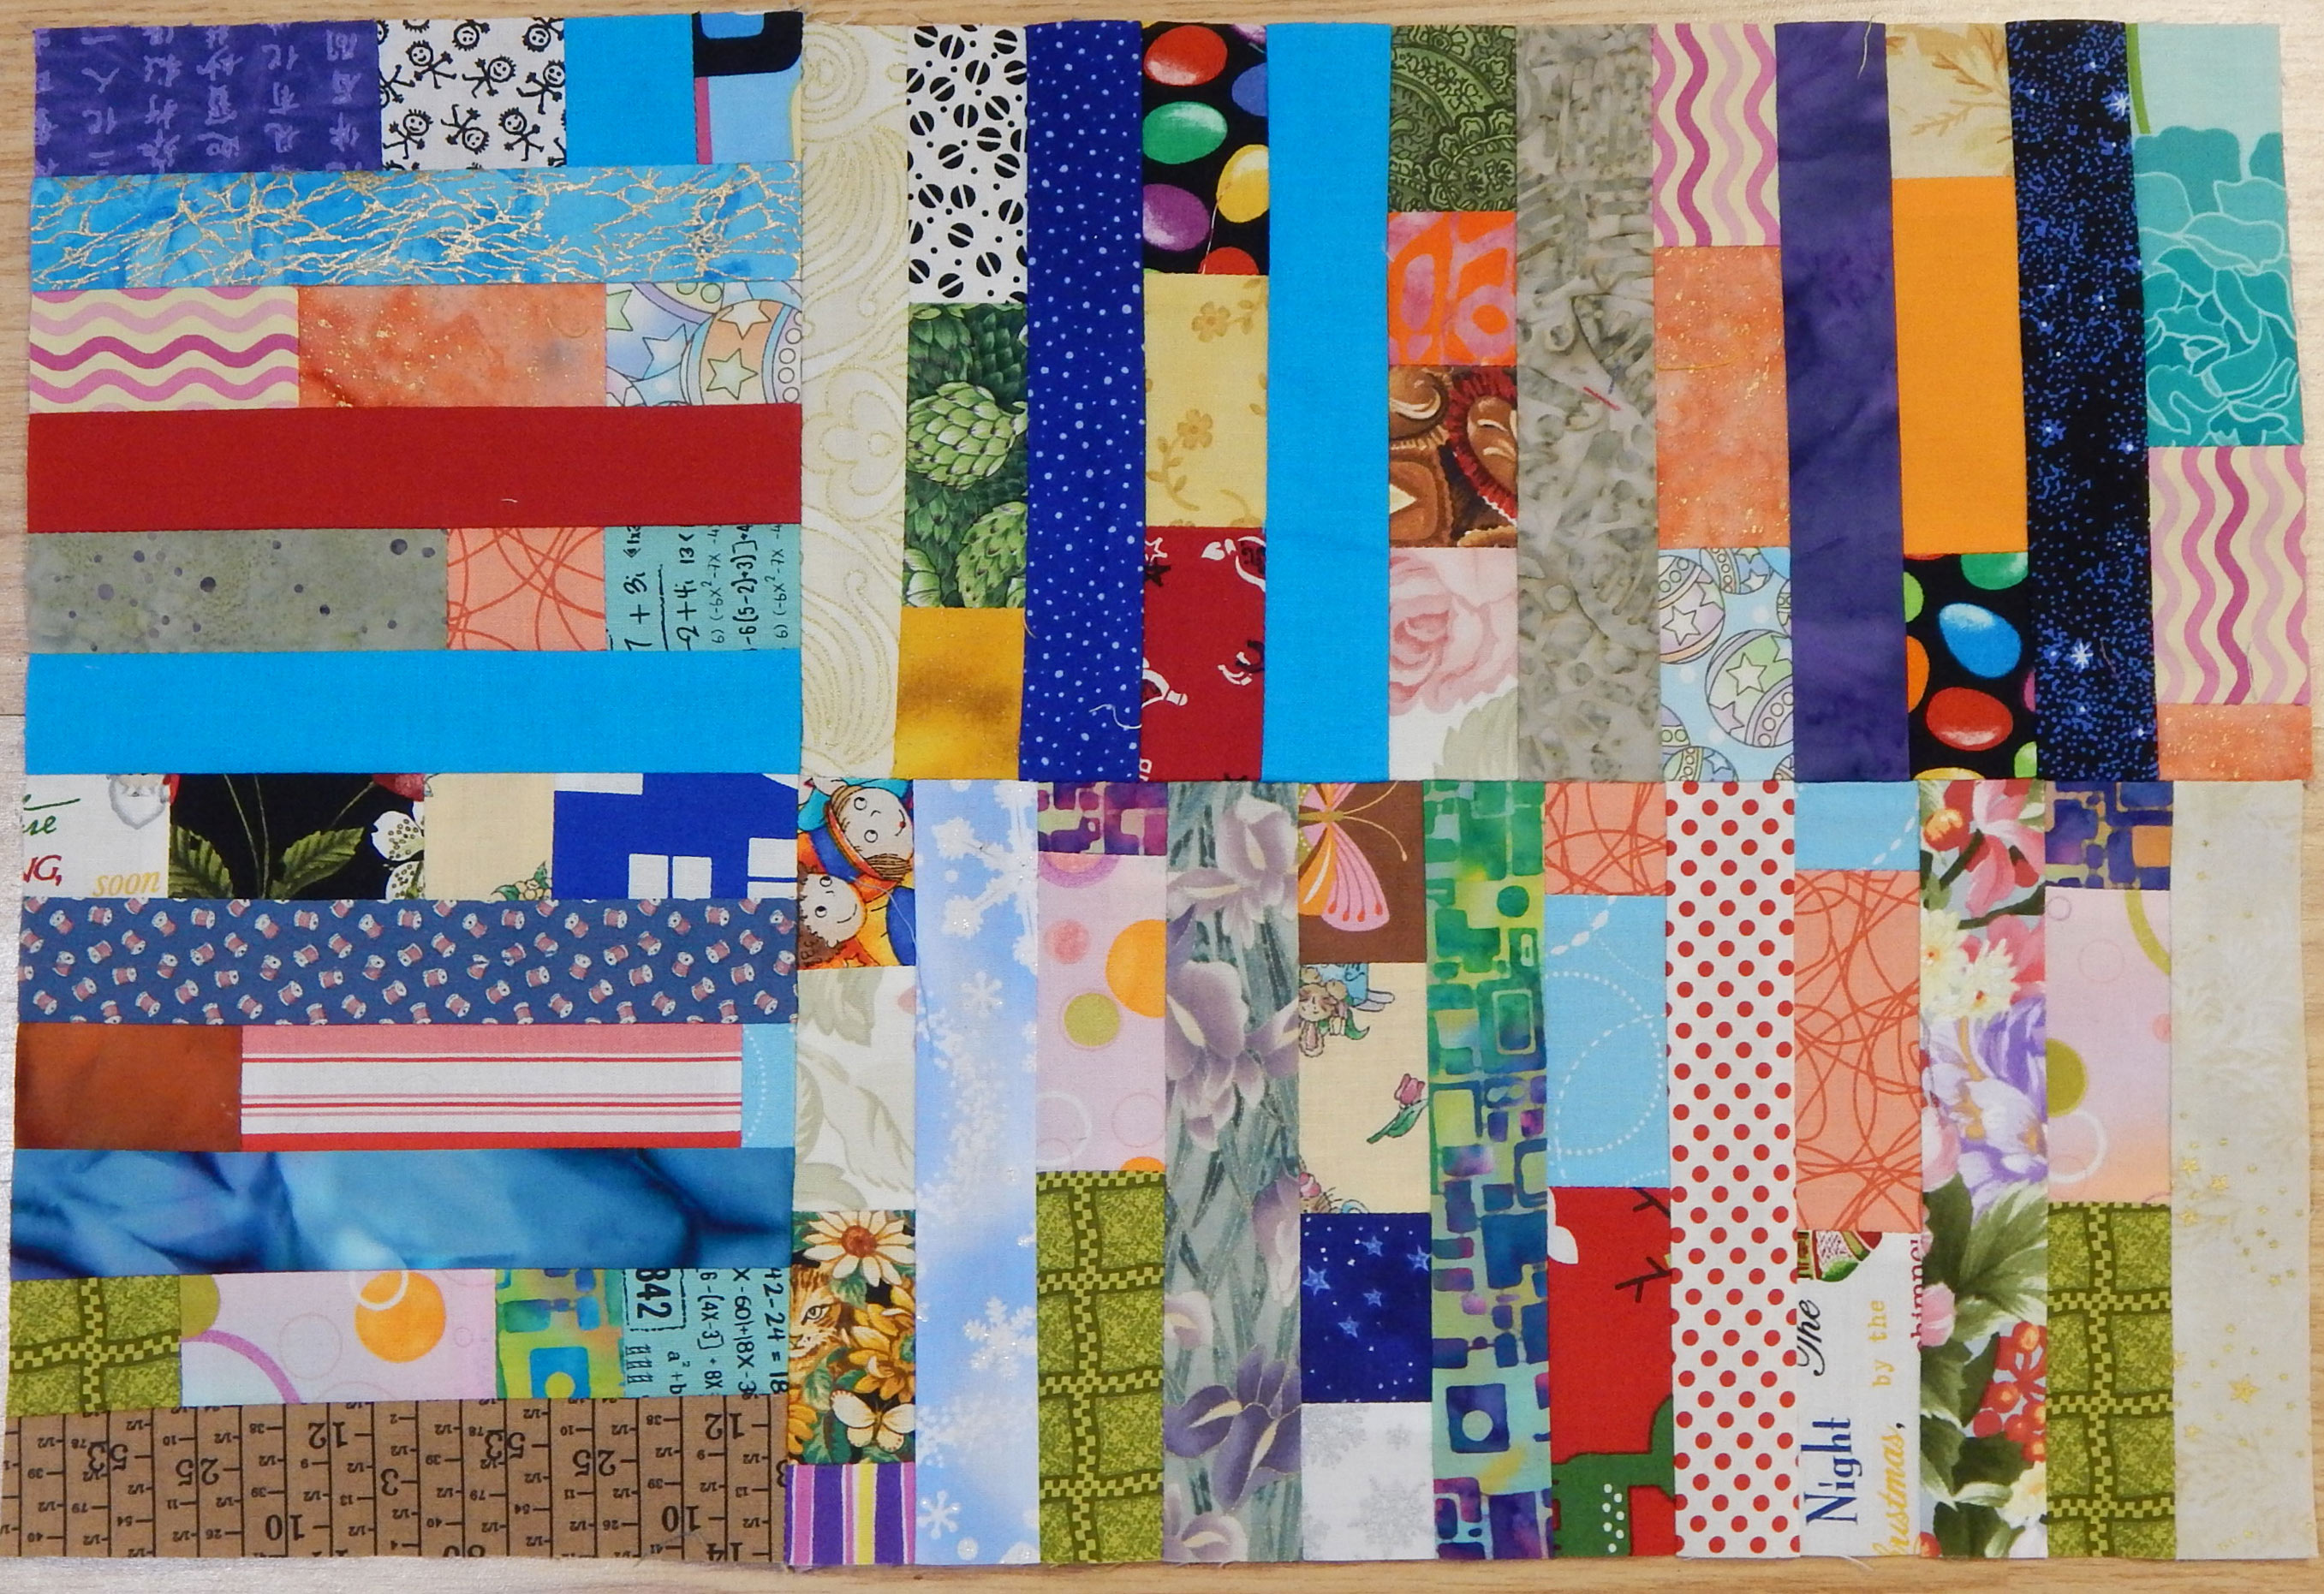
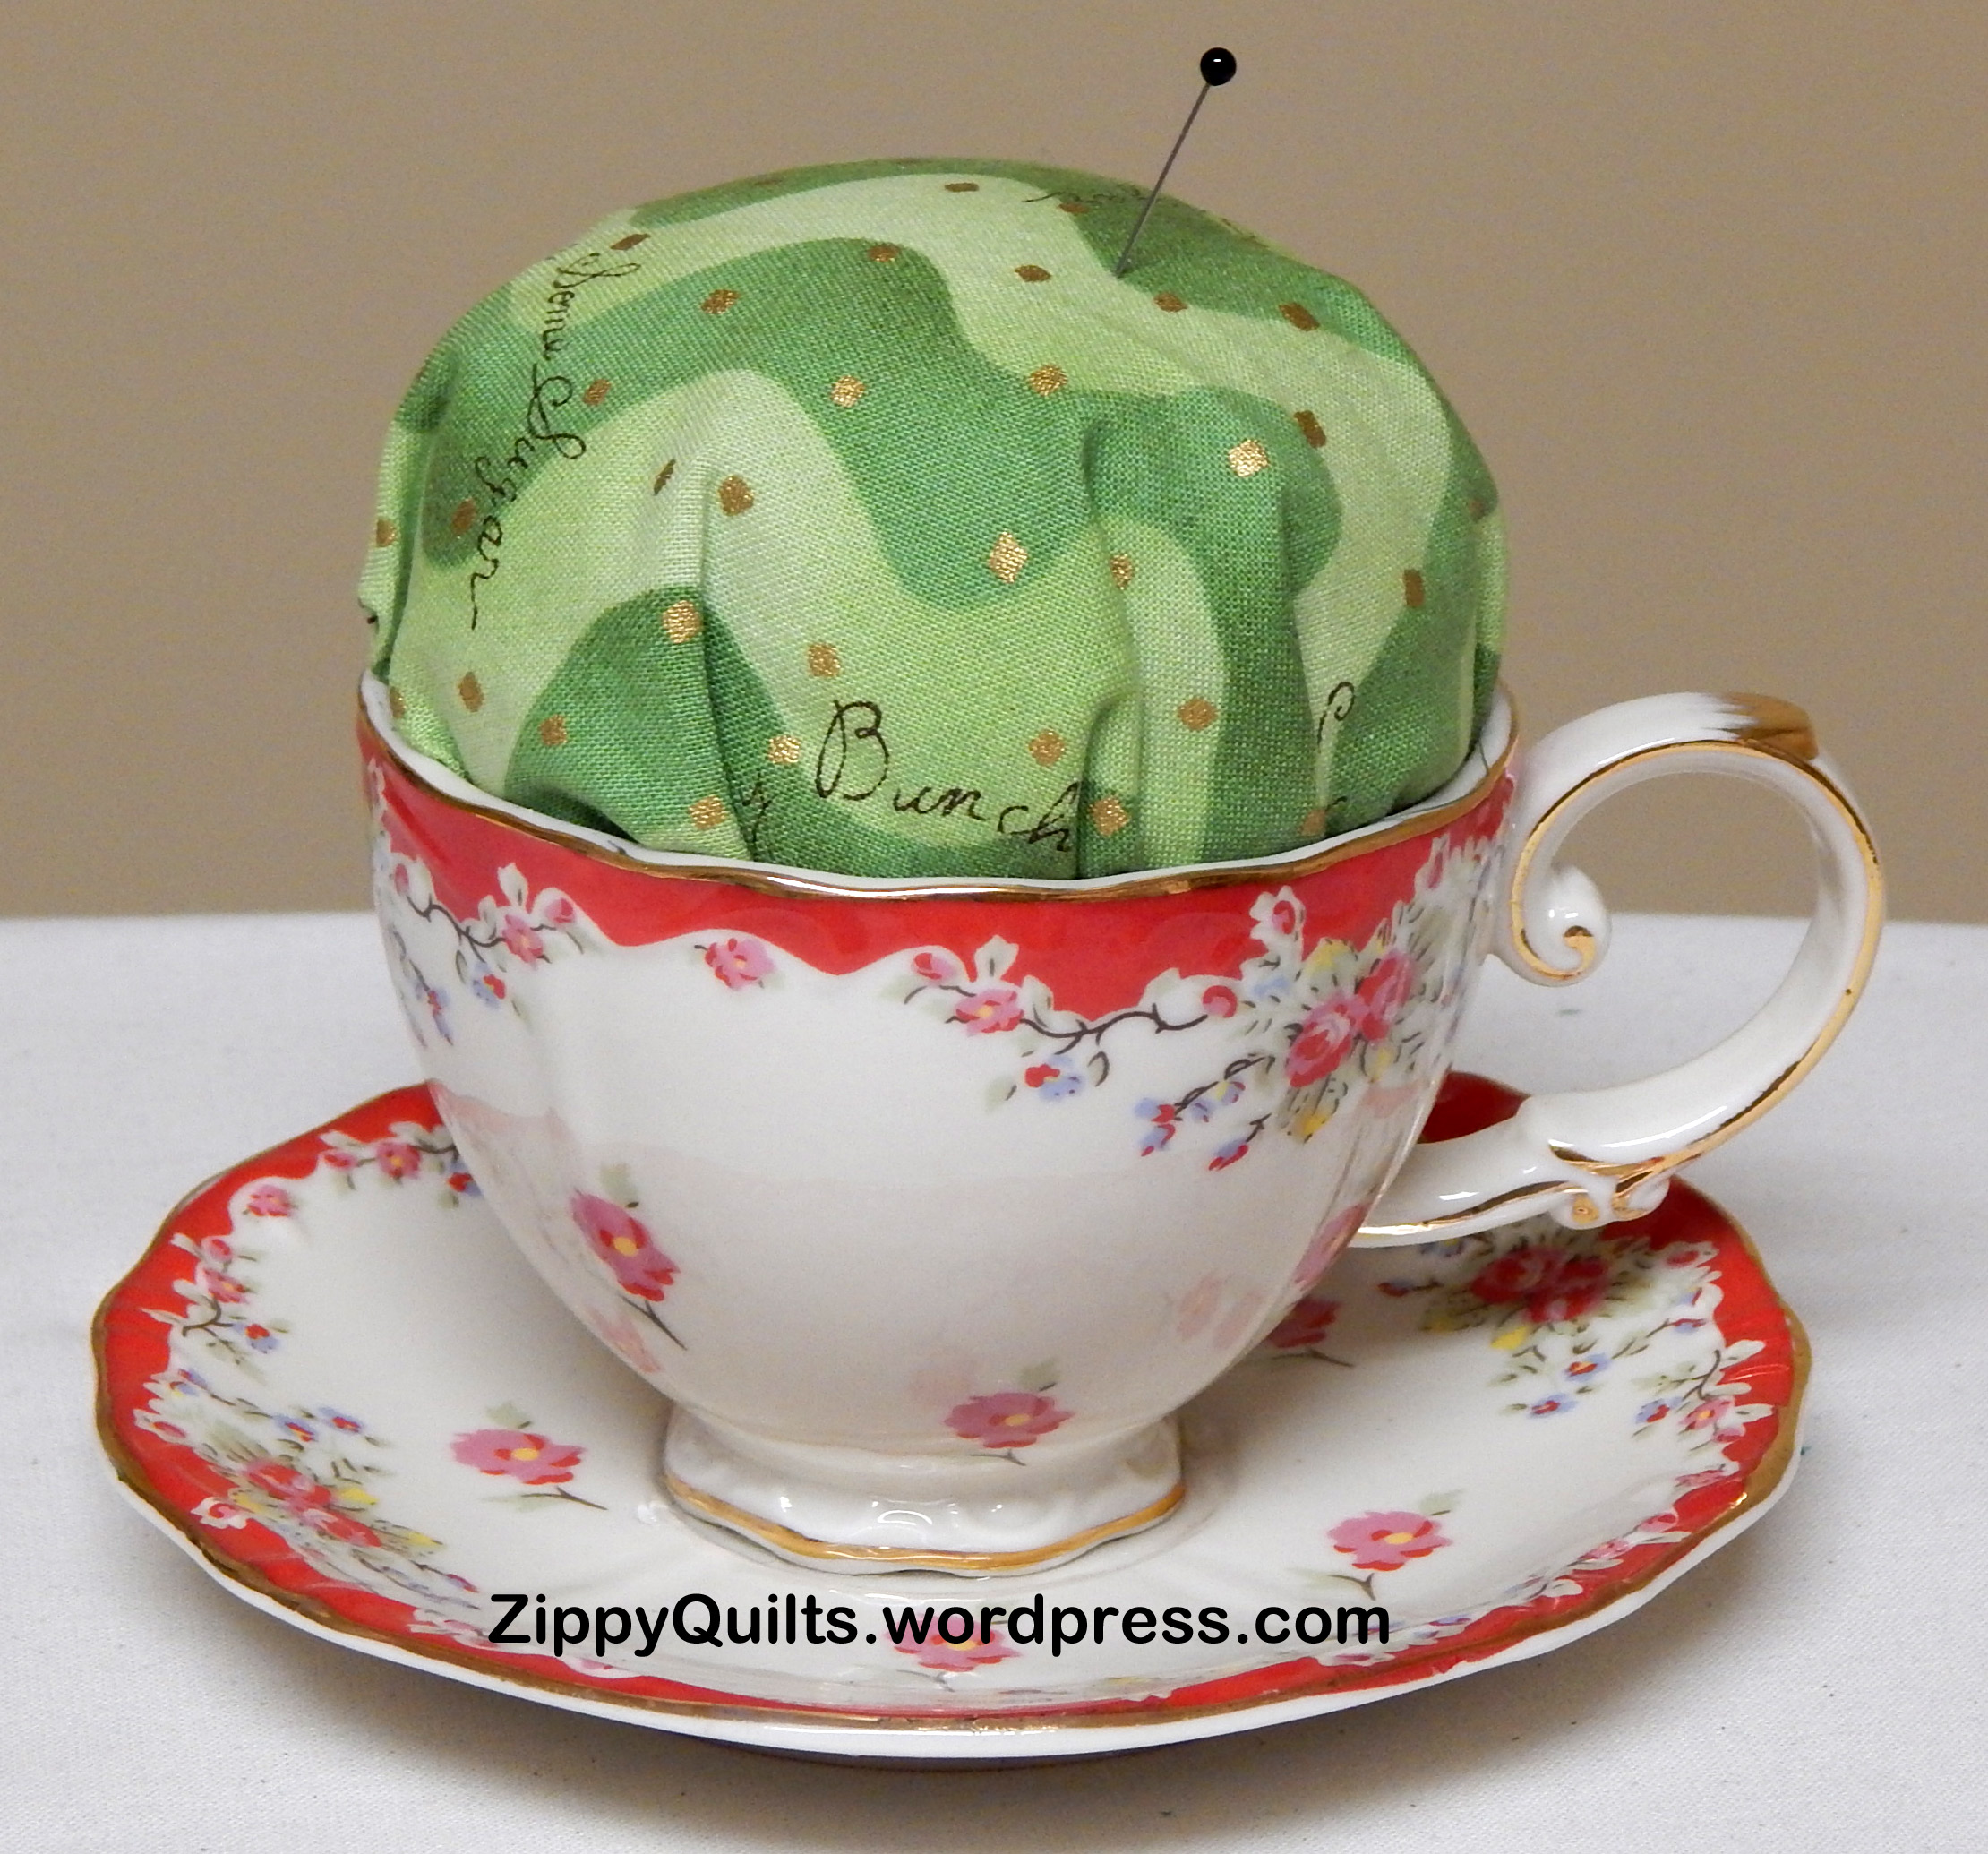
Sandy and Cindy at Gray Barn Designs mentioned putting scraps in a “starters and enders bowl”. I call those little scraps “bridges”, but the idea is the same: we need scraps to sew onto and off of when we chain piece in order to save time and avoid having the machine “eat” the thread when starting a new seam at an edge. I thought it was a great idea and I’m putting a bowl for such scraps in my studio right now! No more digging through the trash when I need a scrap to start or end a seam (yes, I know why they call bridges “starters and enders”).

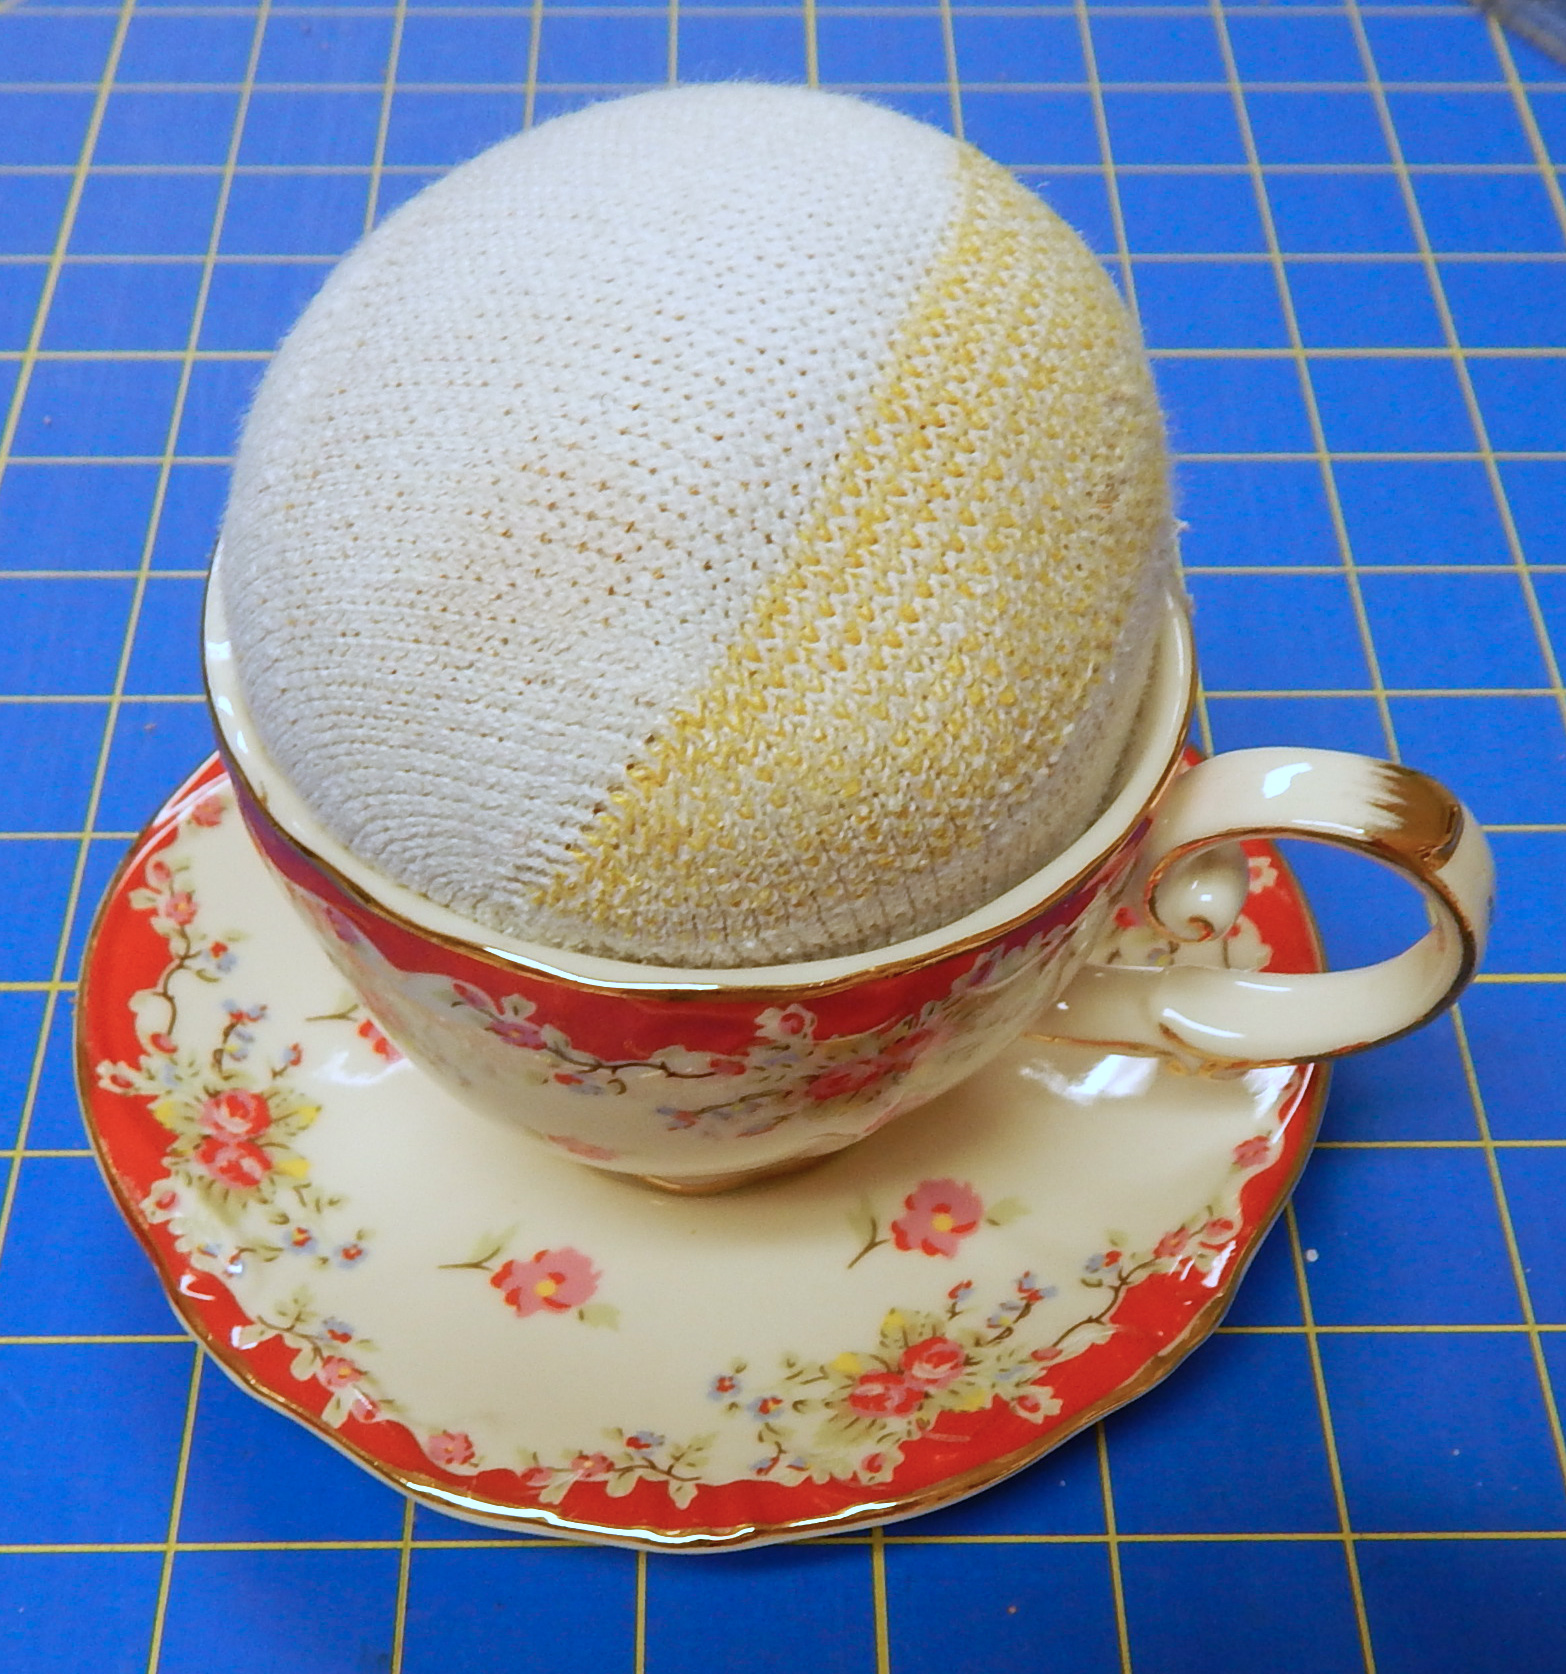
I made this bowl myself in a previous life, so I especially enjoy having it in my studio
Finally, I ran across this article, by a quilter in Romania, suggesting that quilts be washed and blocked BEFORE they are bound! I had never heard of this idea, but in a lot of ways it makes sense. I have not tried this, but if I ever decide to make a show quilt that needs to hang smoothly, I probably will do so. The only thing I can’t figure out is how/where I would lay it out to block it. Somebody must have more open floor space than I do, or make smaller quilts!
So I simply must know: Has anyone reading this tried washing and blocking a quilt before binding? I can see how it might make sense, but eeeek! The extra work!