Love Panto Quilting and KonMari Update

The two quilt tops I finished last month are back from the quilter already!  I’ve used the same quilter for a long time because she does wonderful work.  I choose panto designs rather than custom quilting, in part because of the great variety of designs of available and in part because it is so much more affordable.

panto quilting

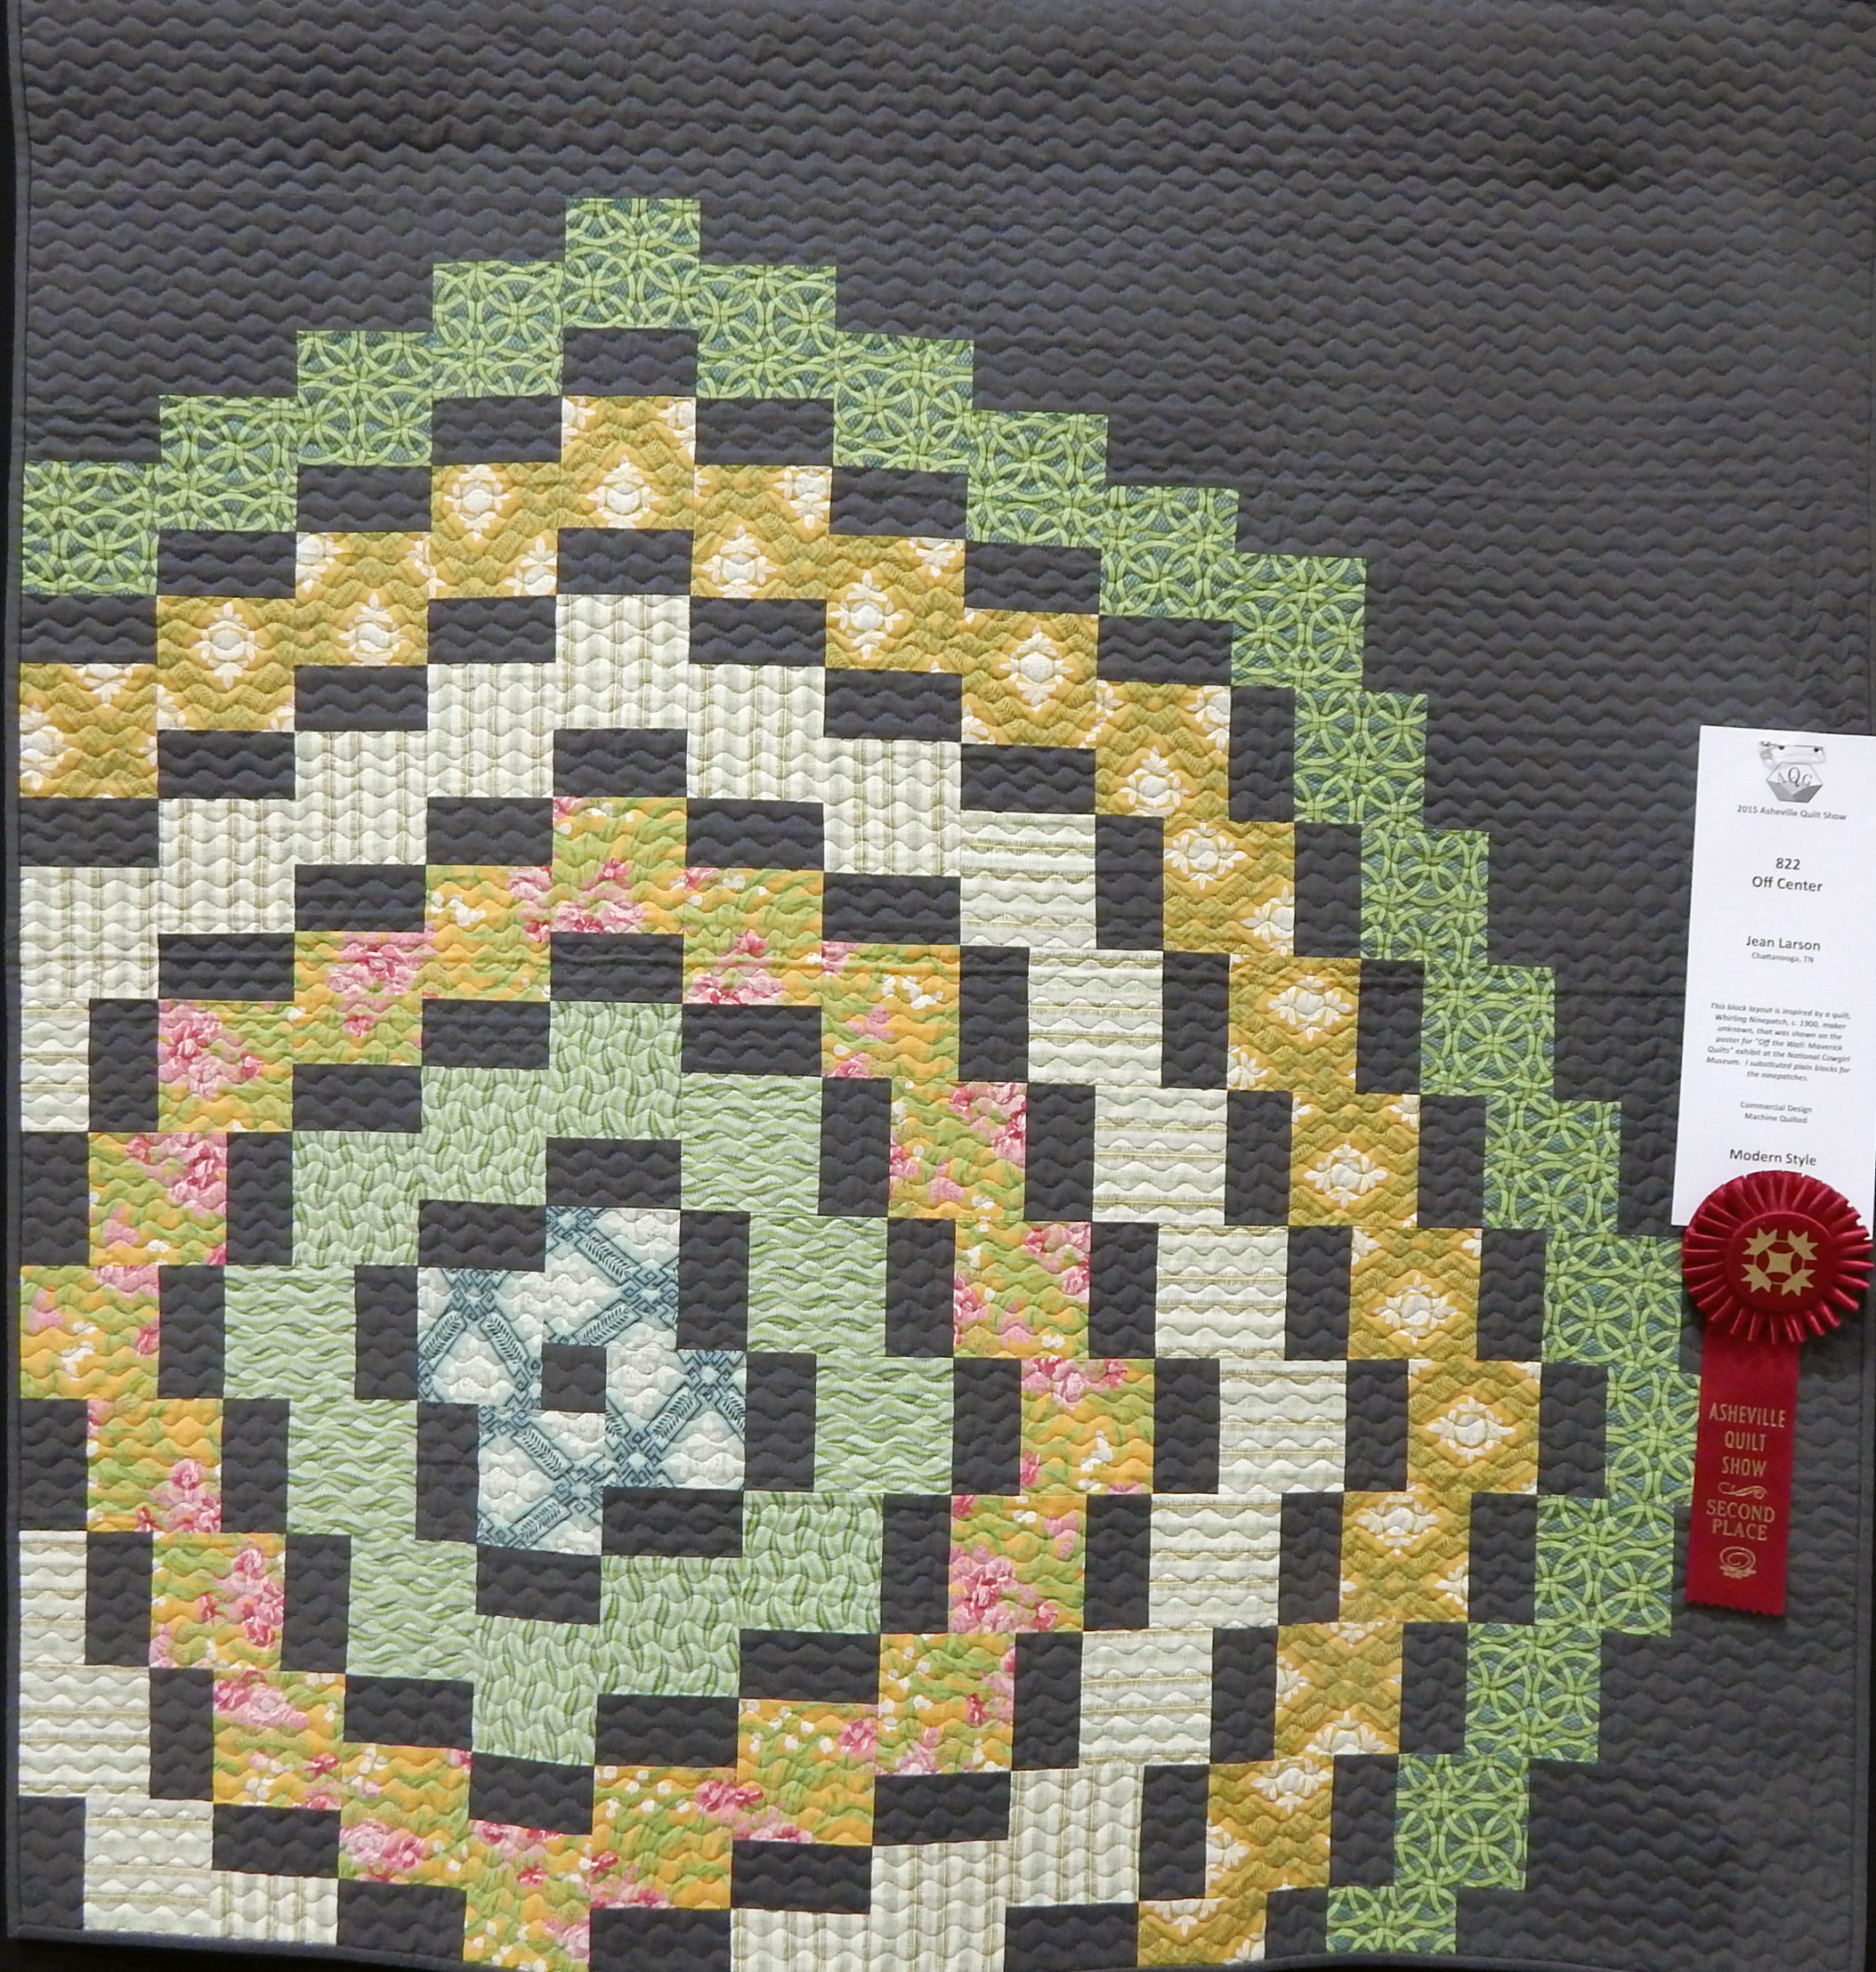
Panto design of circles on a block from my modern sampler

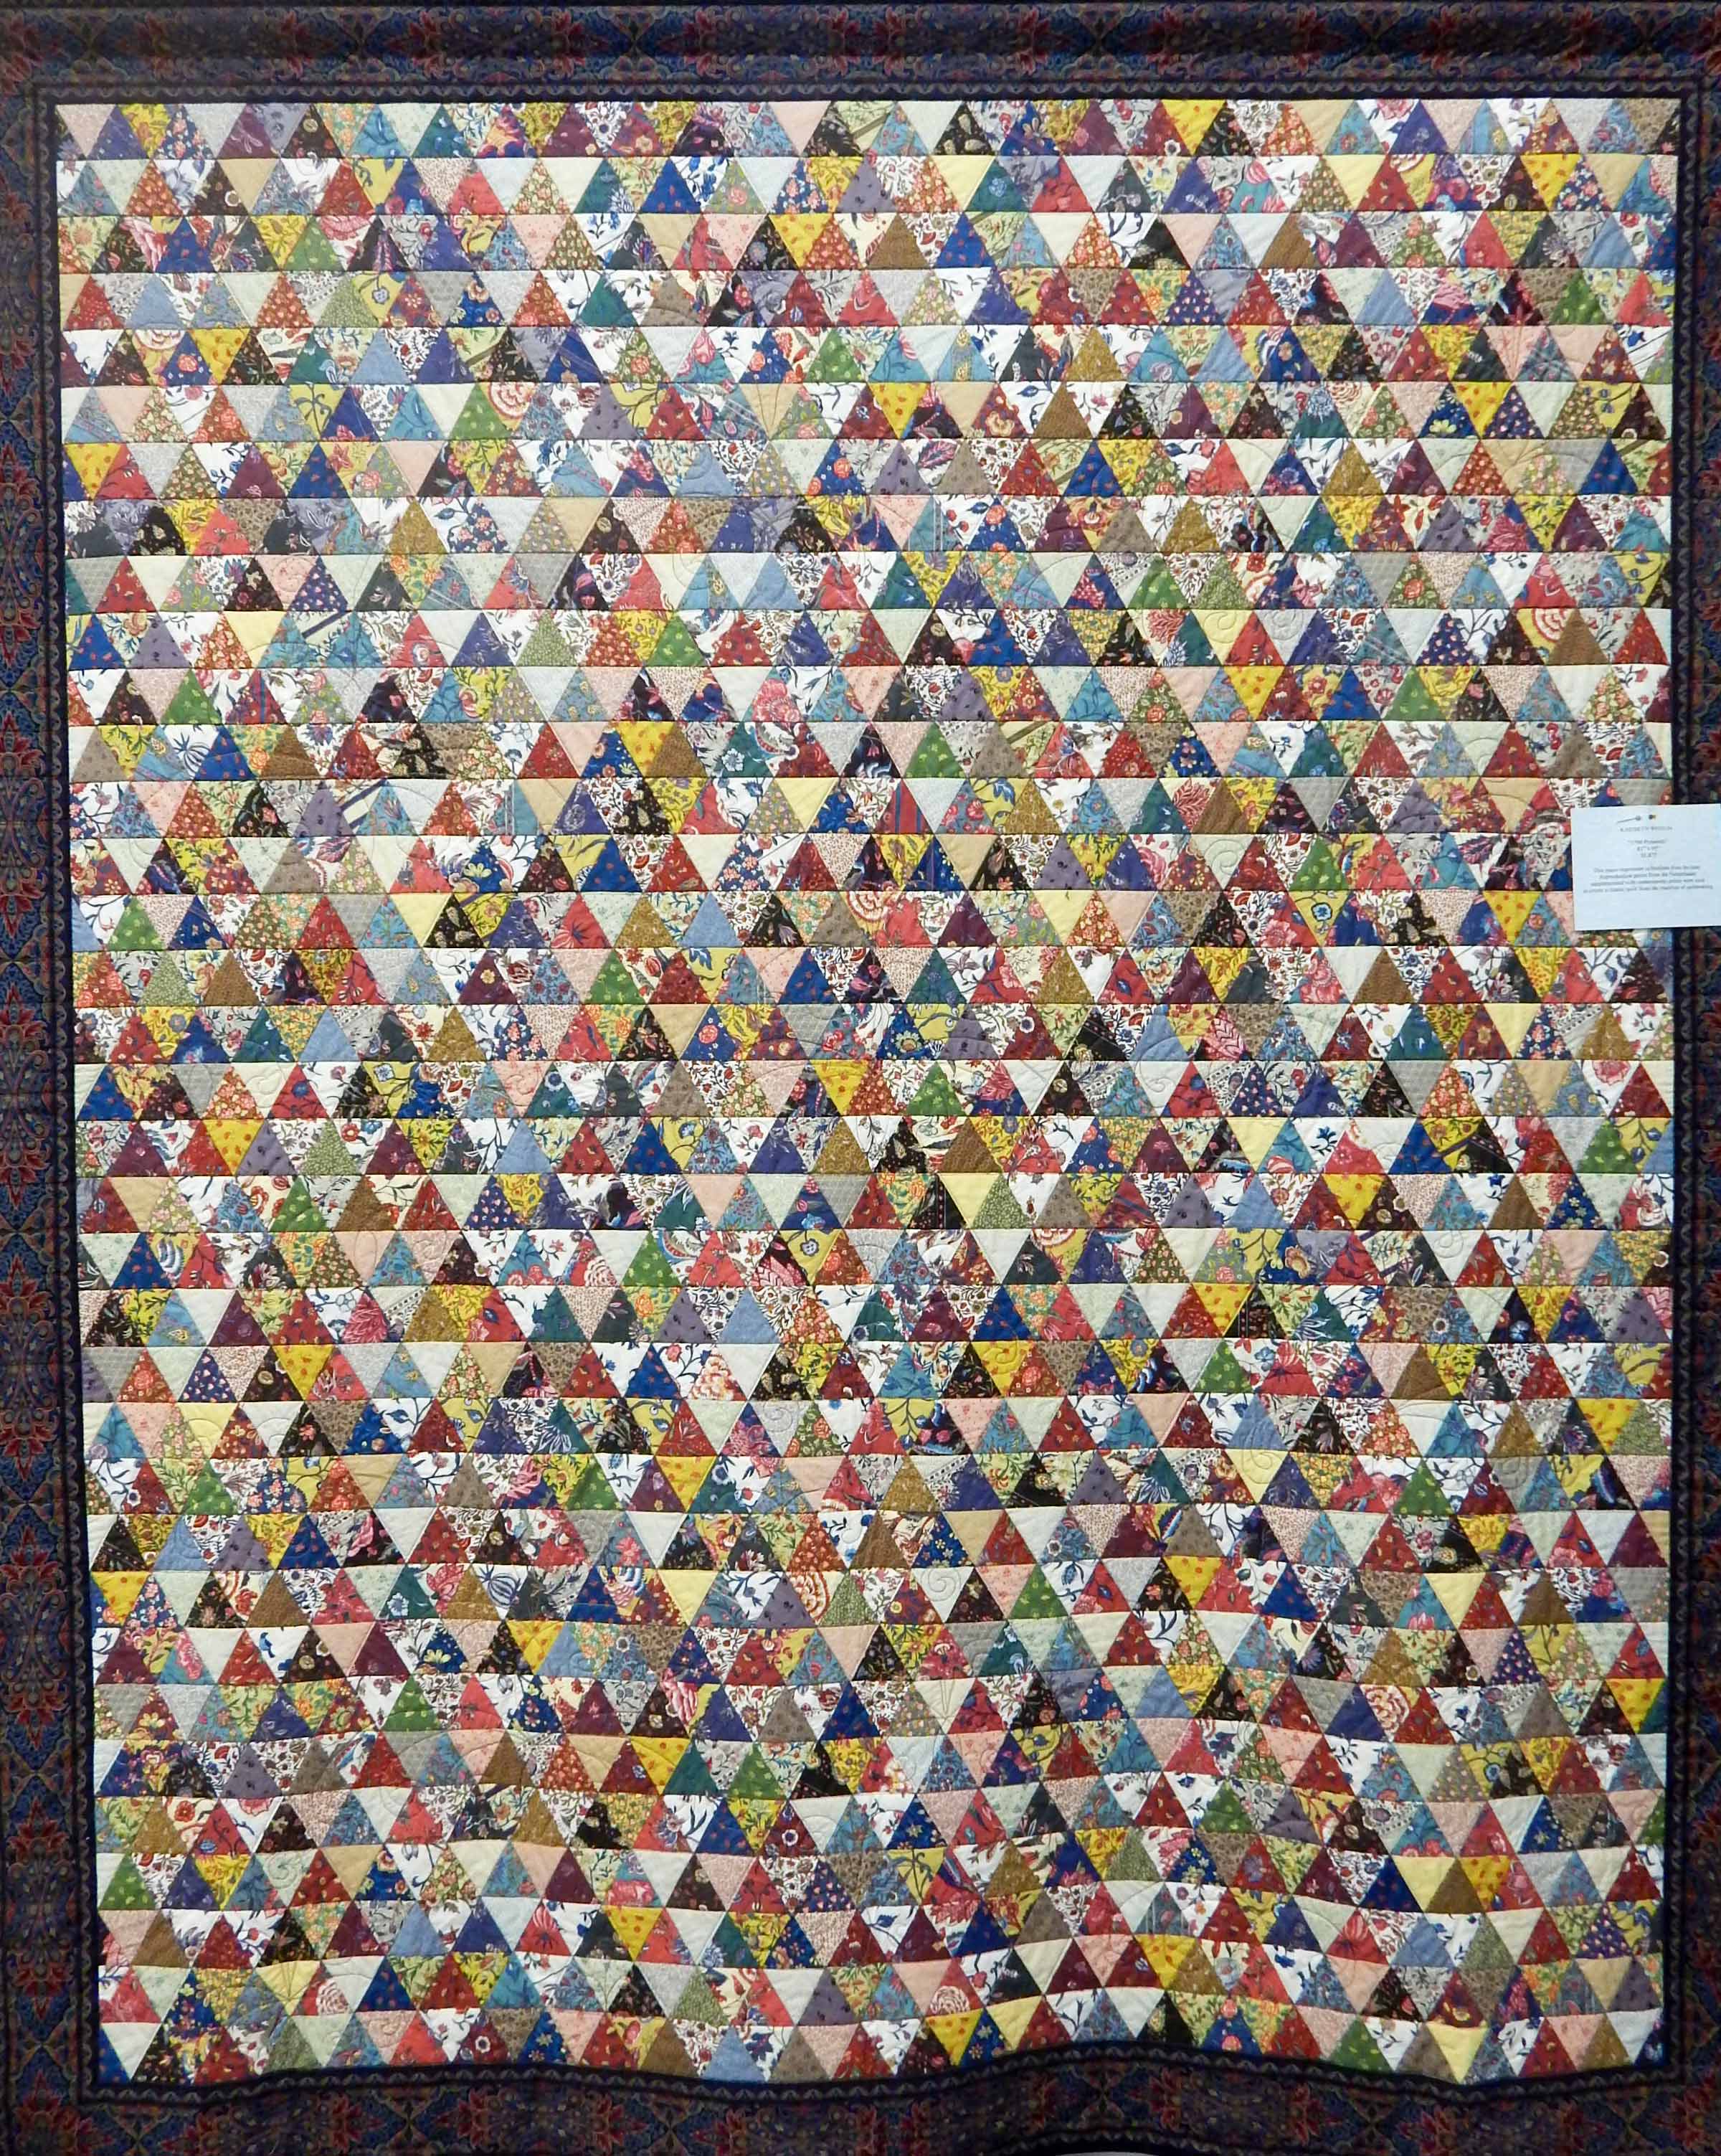
Just look at these cute circles on the Modern Sampler Quilt:  Yes, that is an edge-to-edge panto design!  I have done those doggone circles on my domestic sewing machine, and they were a PAIN.  I am so thrilled to have someone do them for me at a reasonable cost!

modern sampler, panto quilting

Another block from my modern sampler showing all those circles in the panto design

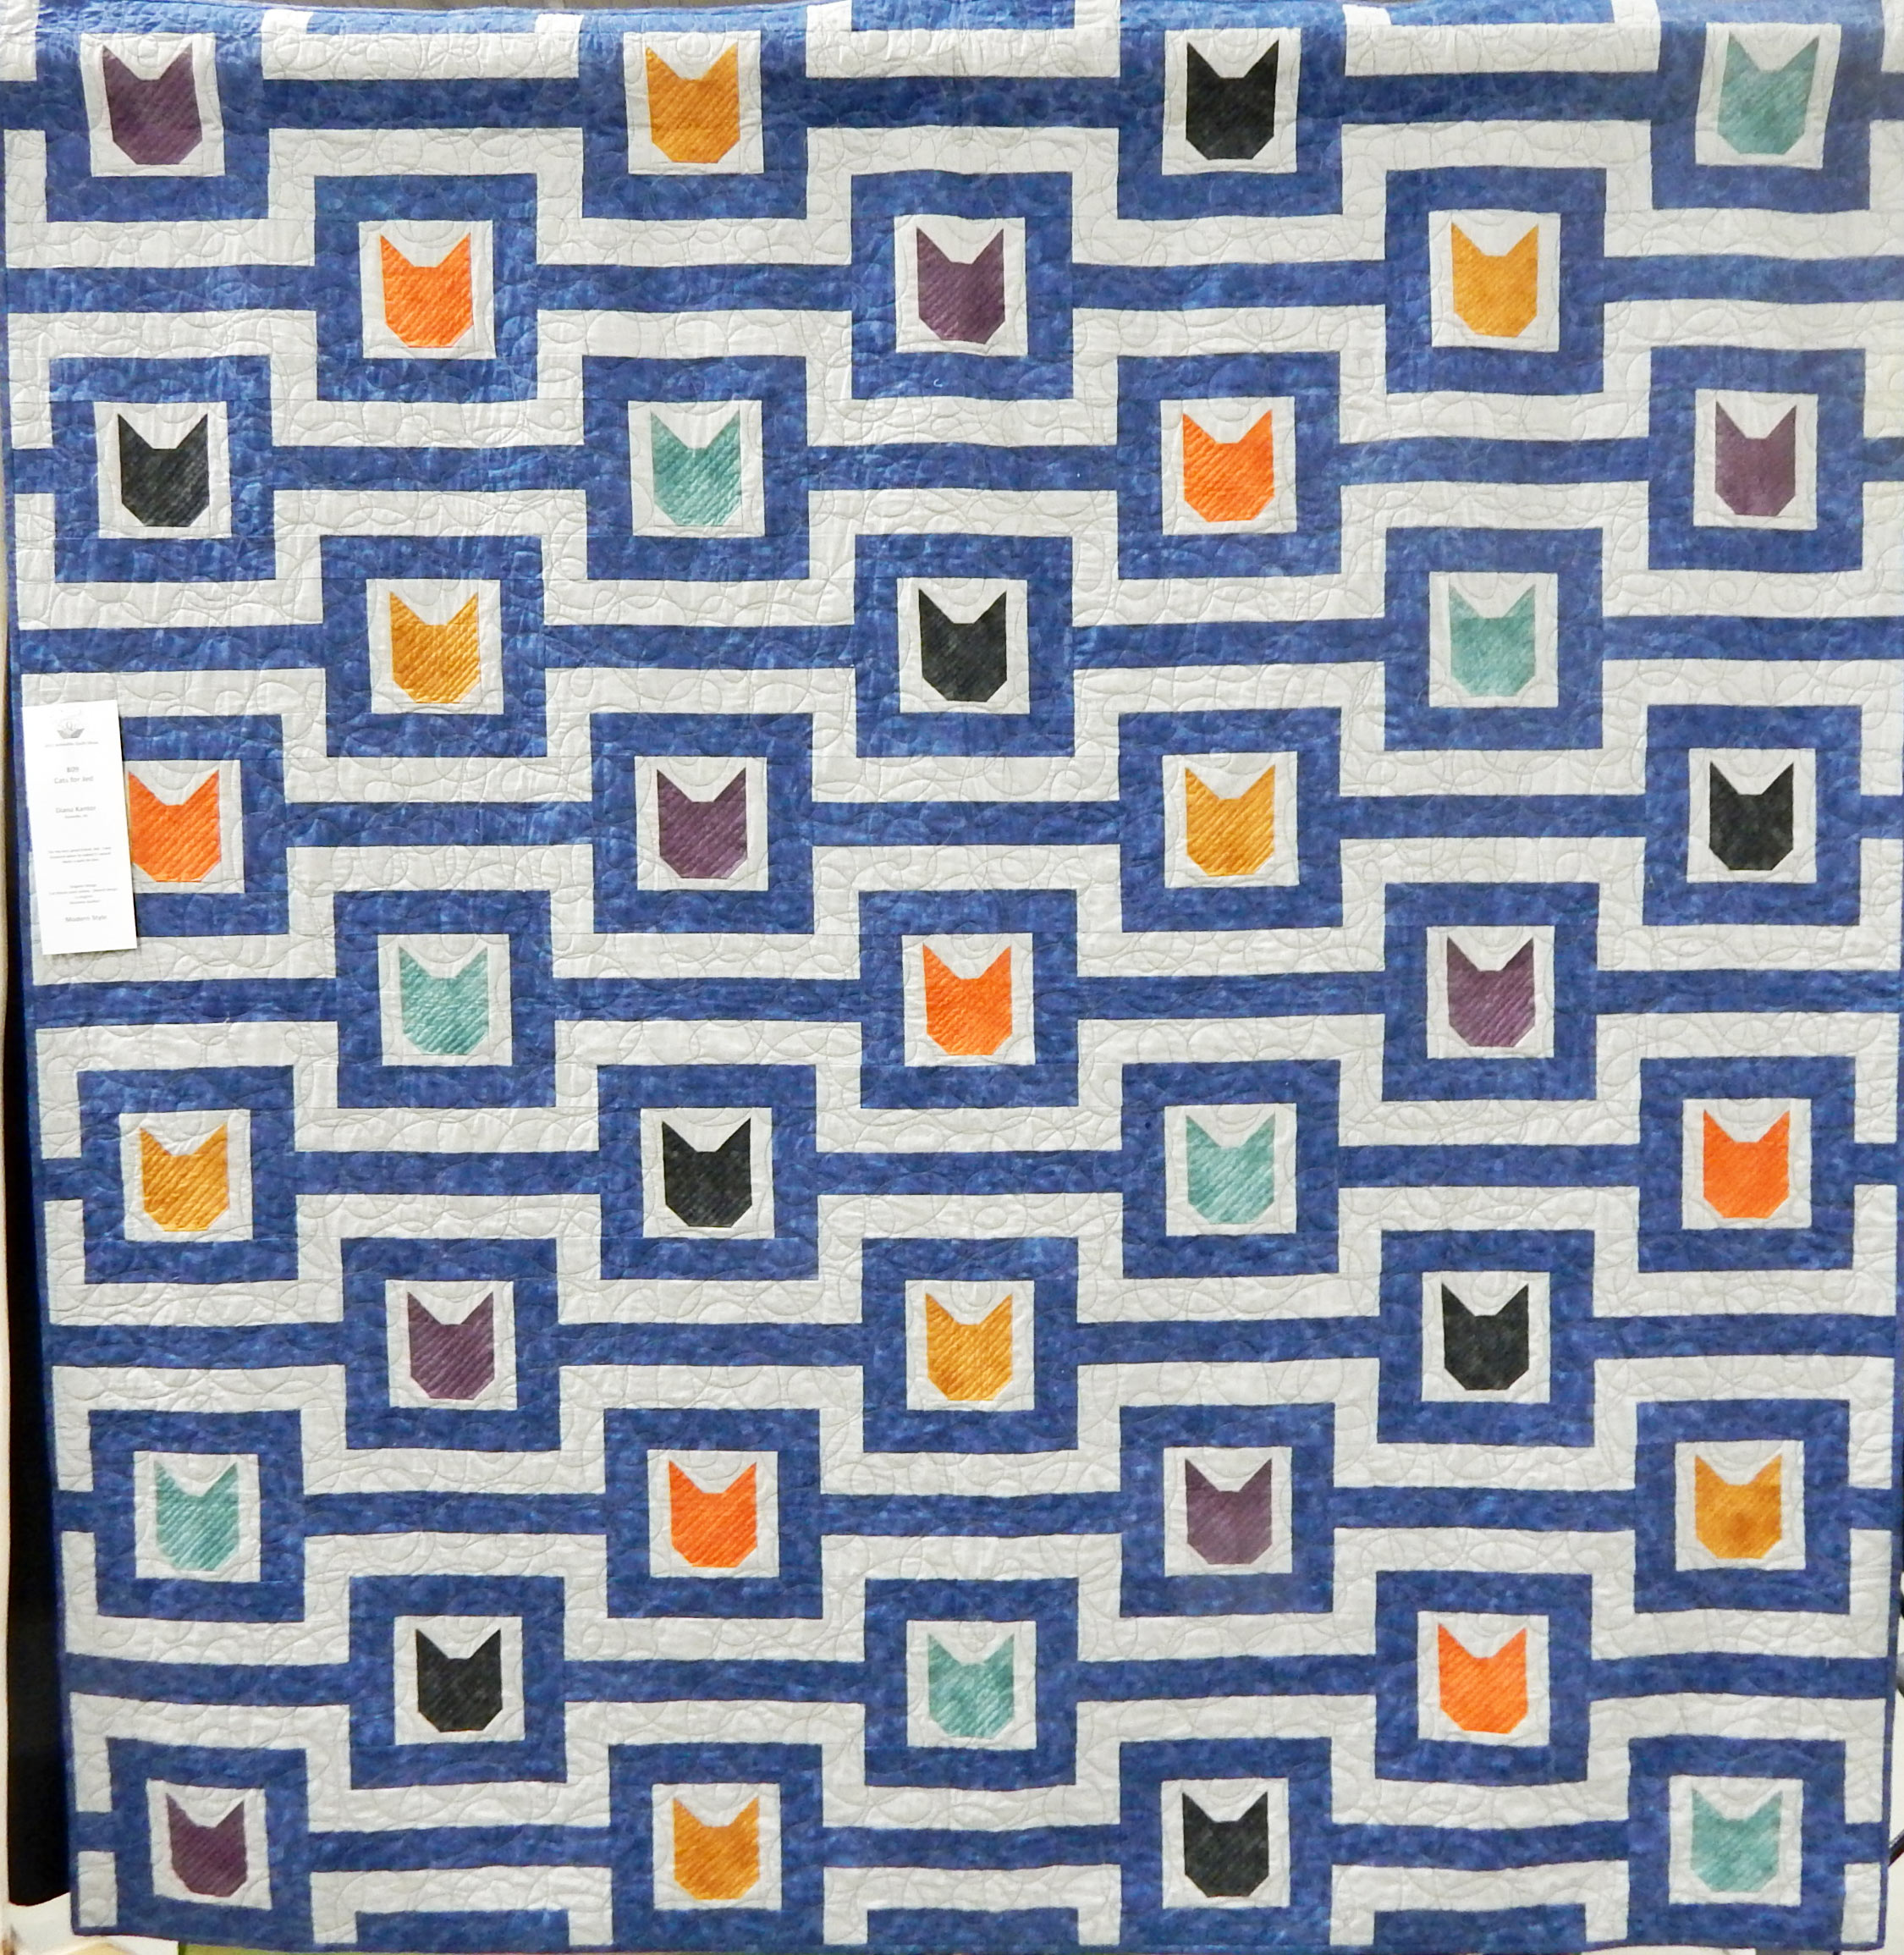
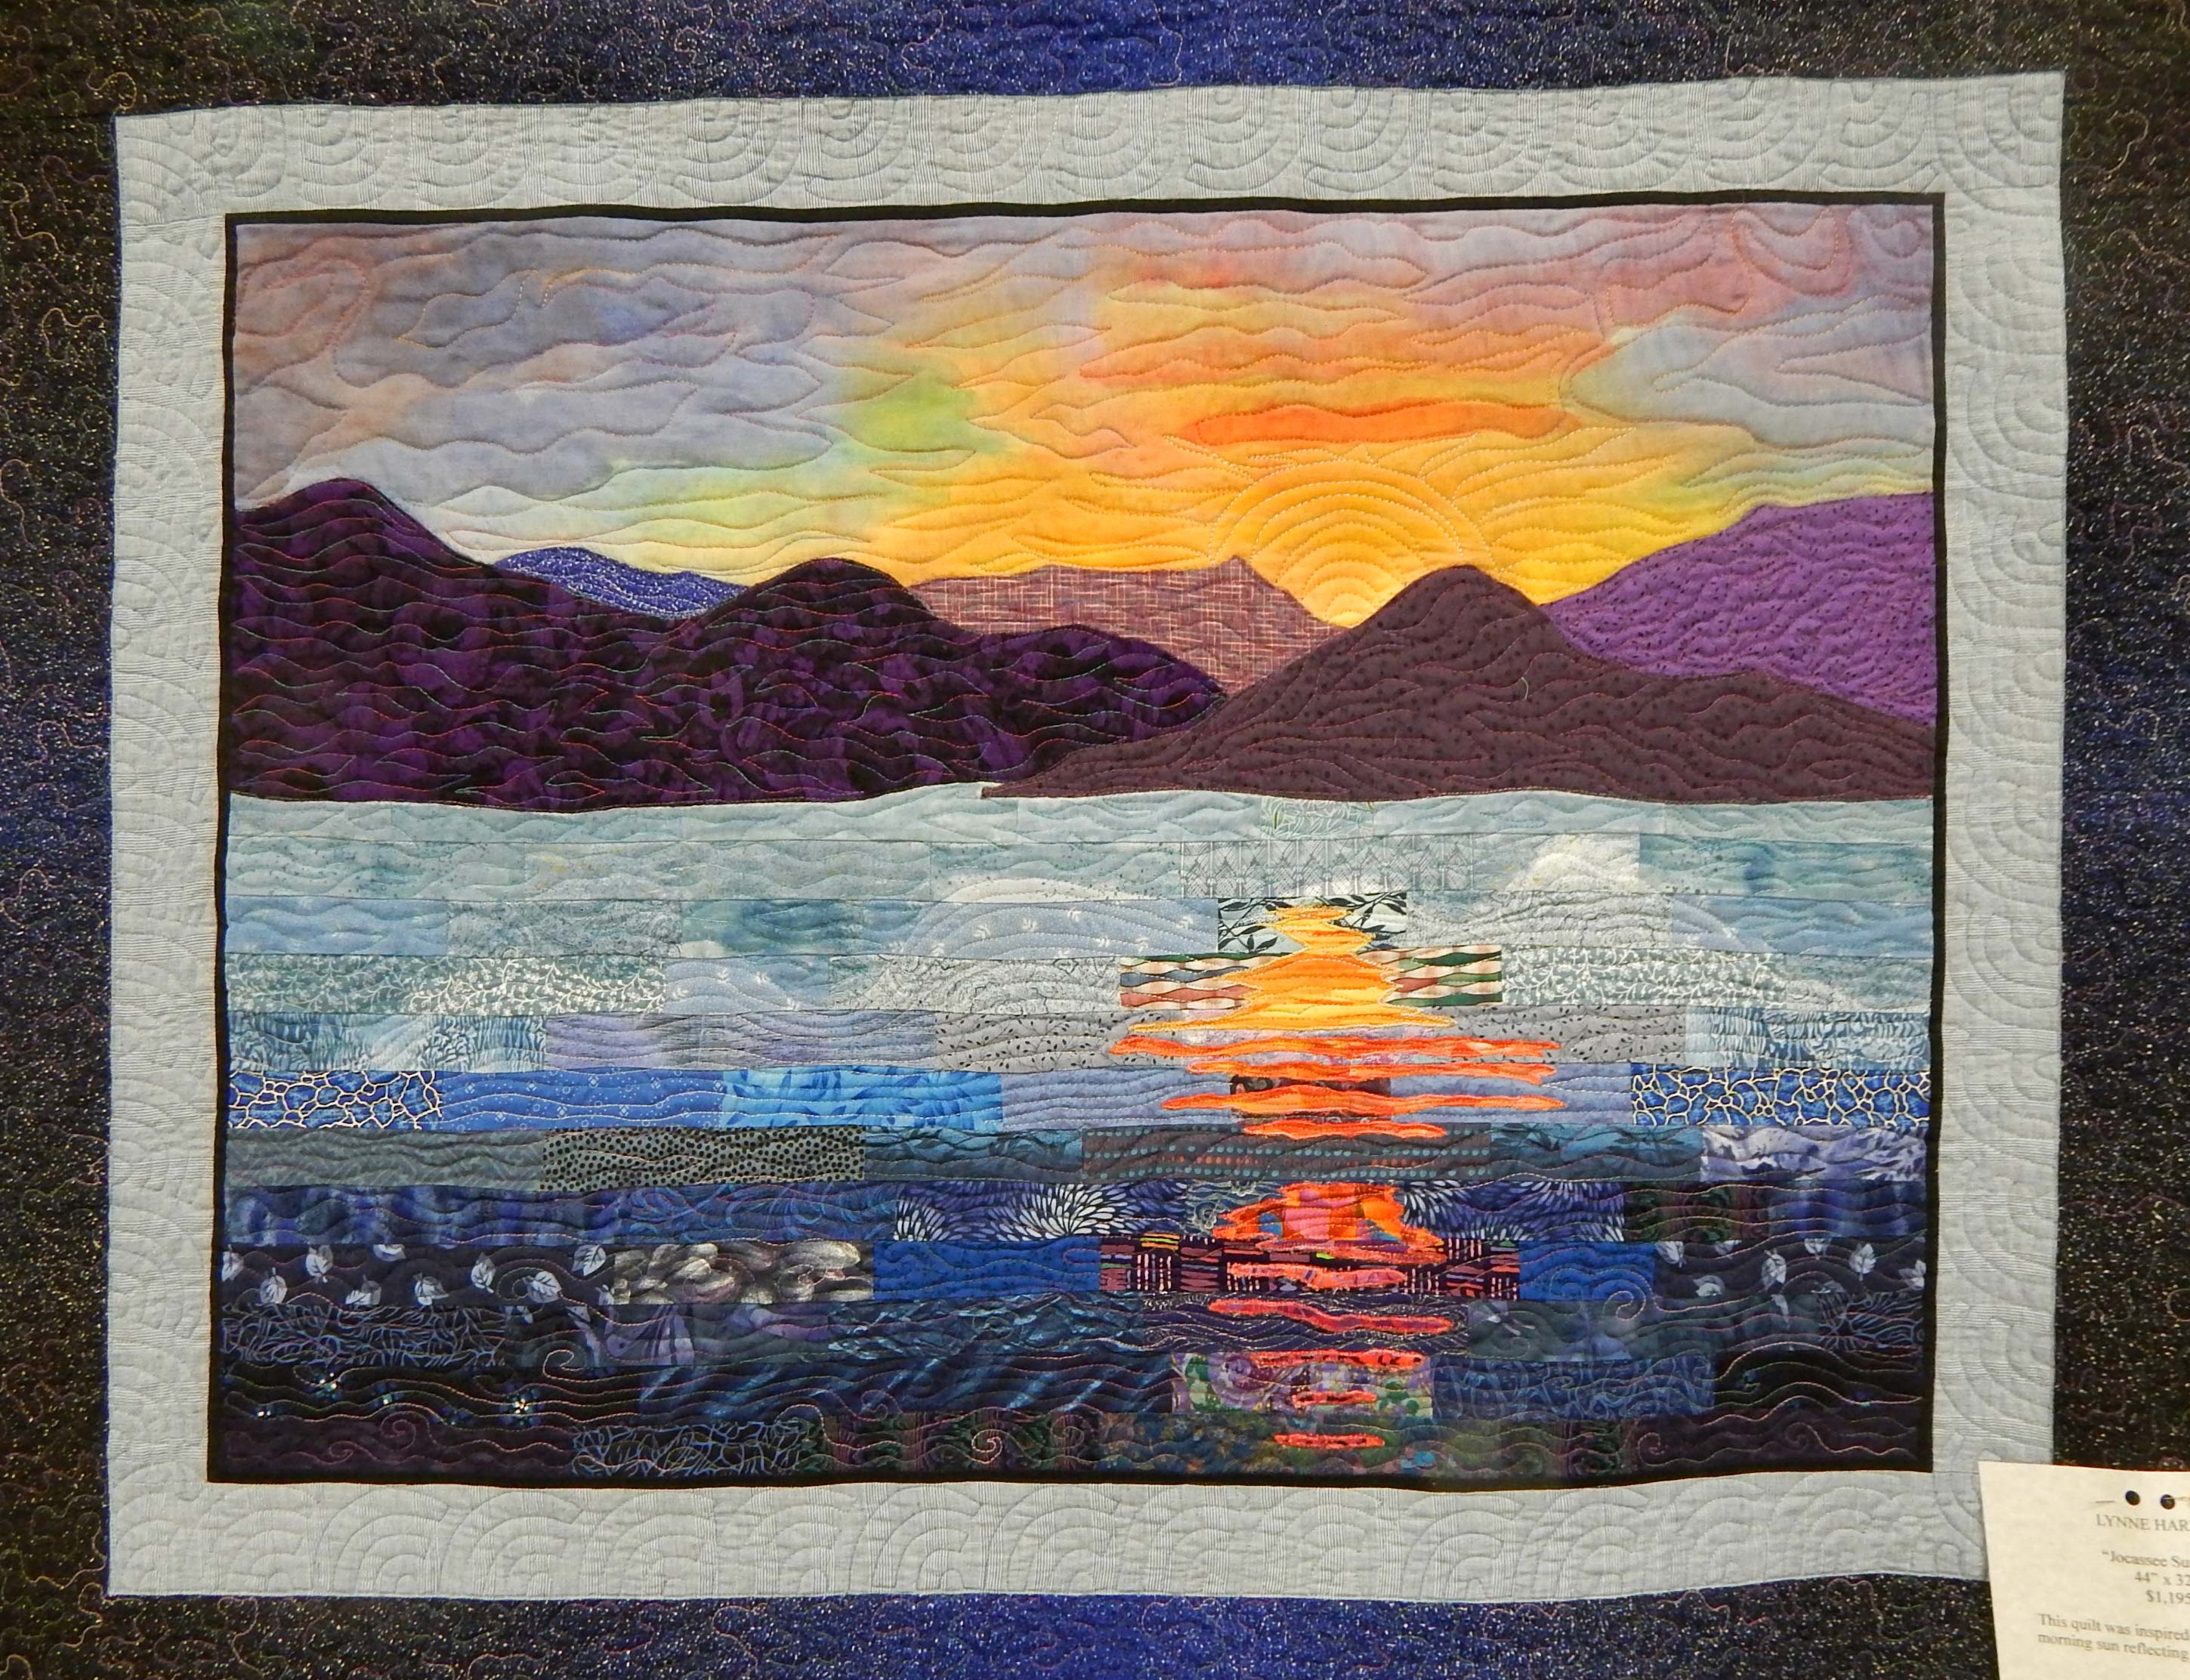
Here are some close-ups of the quilting on the batik block-swap quilt.  I love the choice of thread color as well as the design.  It enhances the overall quilt!batik quilt, block swap

applique, applique blockNow I’ll just get these bound and ready to go!

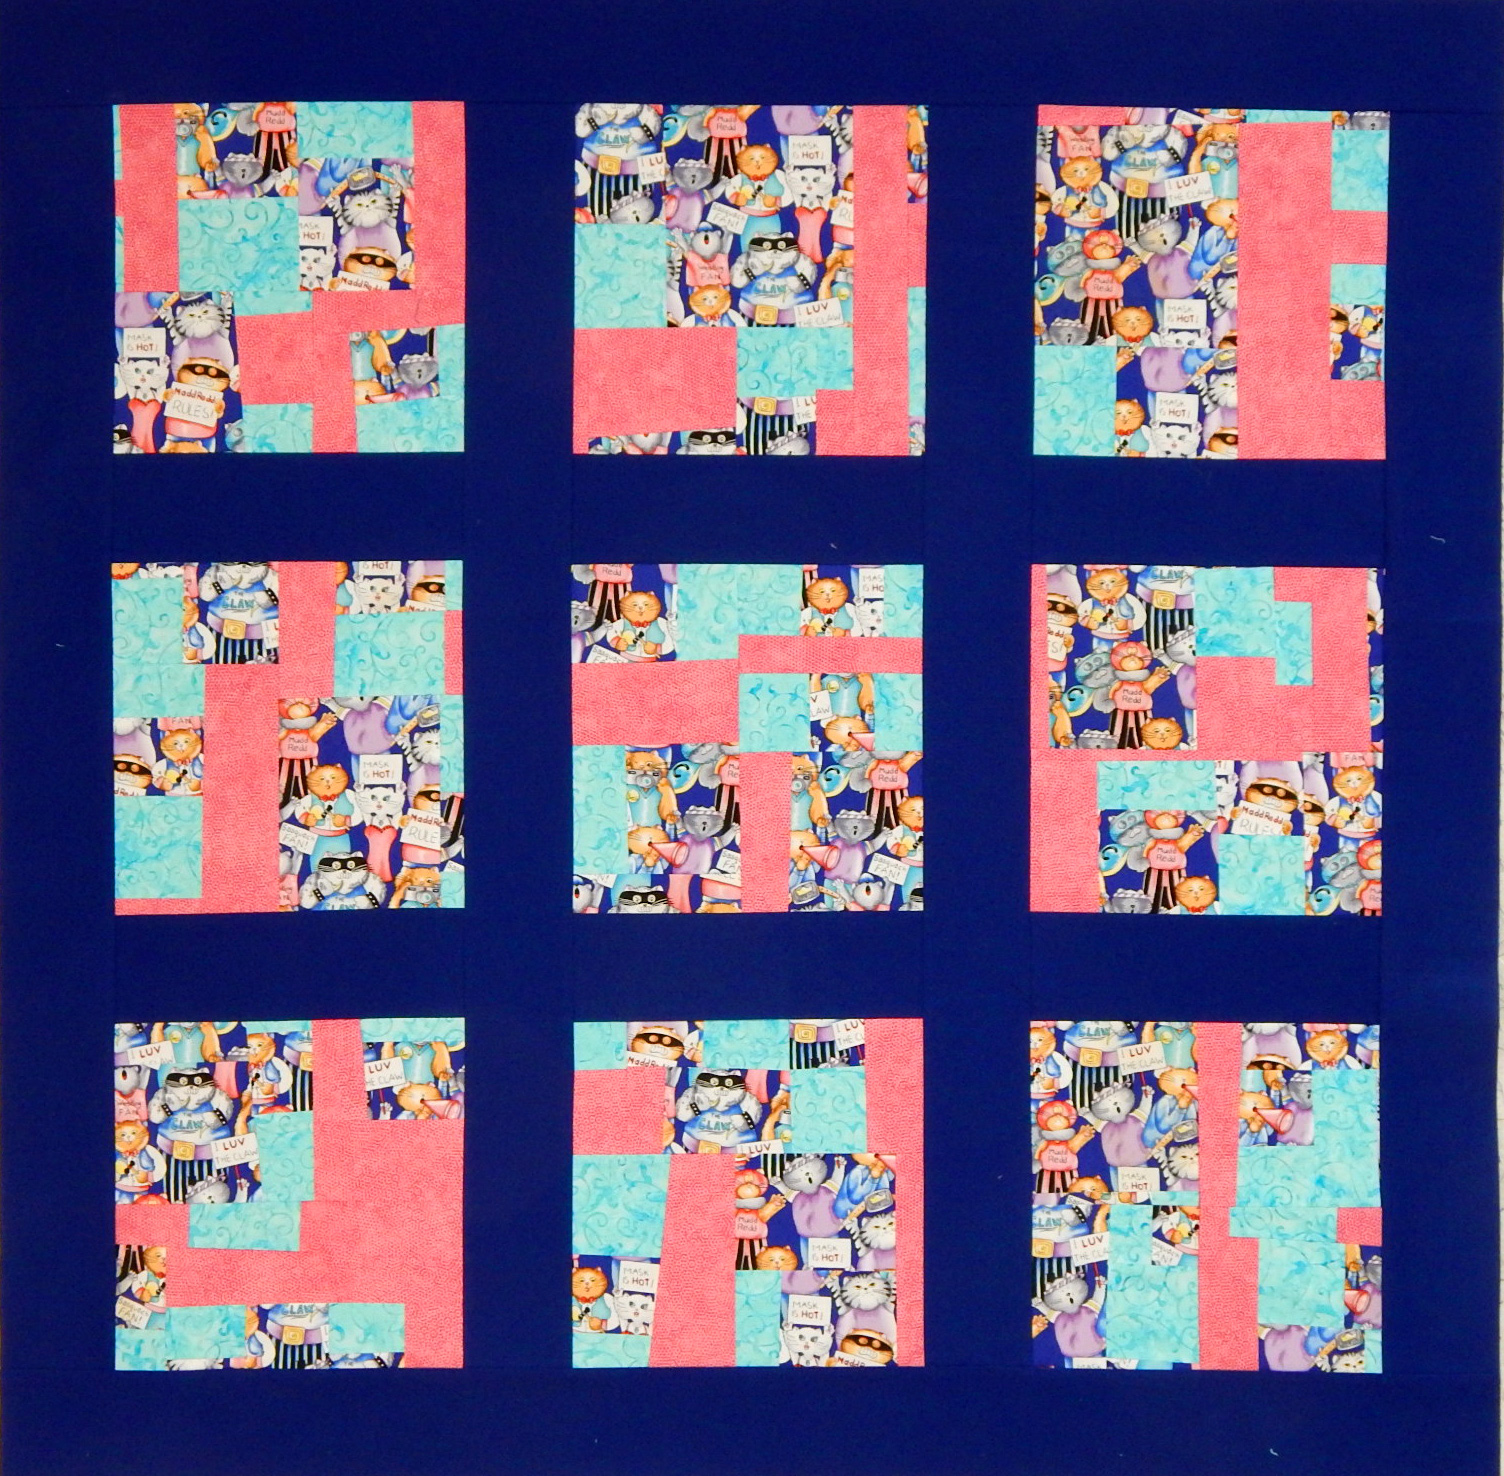
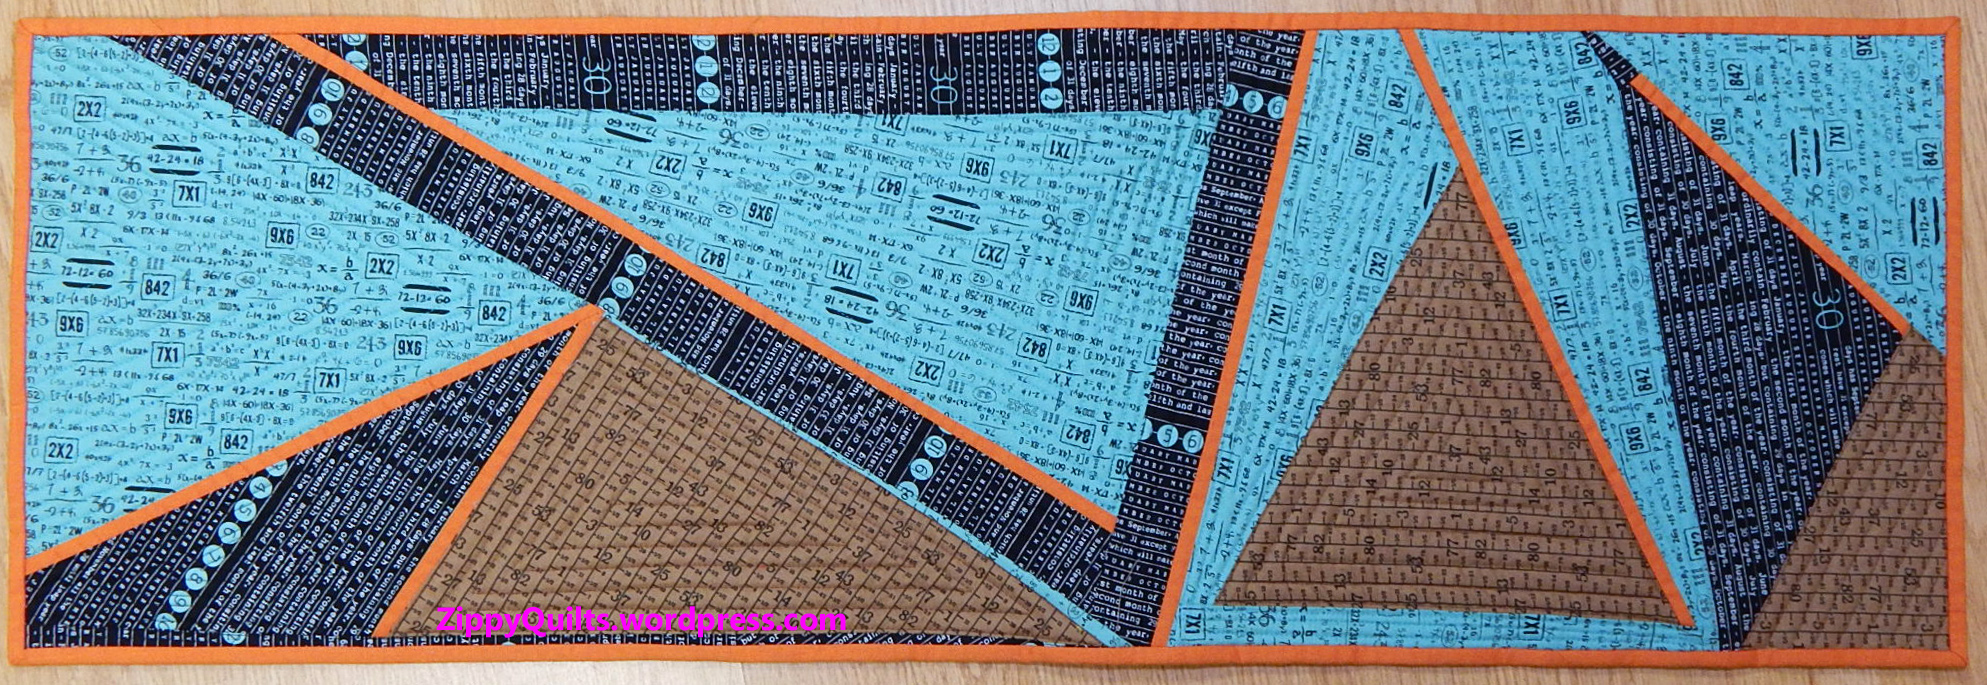
Here’s one more reason I choose panto quilting.  I asked for a choppy quilting design to go with the chopped-up blocks in this quilt and got just what I wanted!

modern quilt

Panto quilt design on one of my improvised quilts

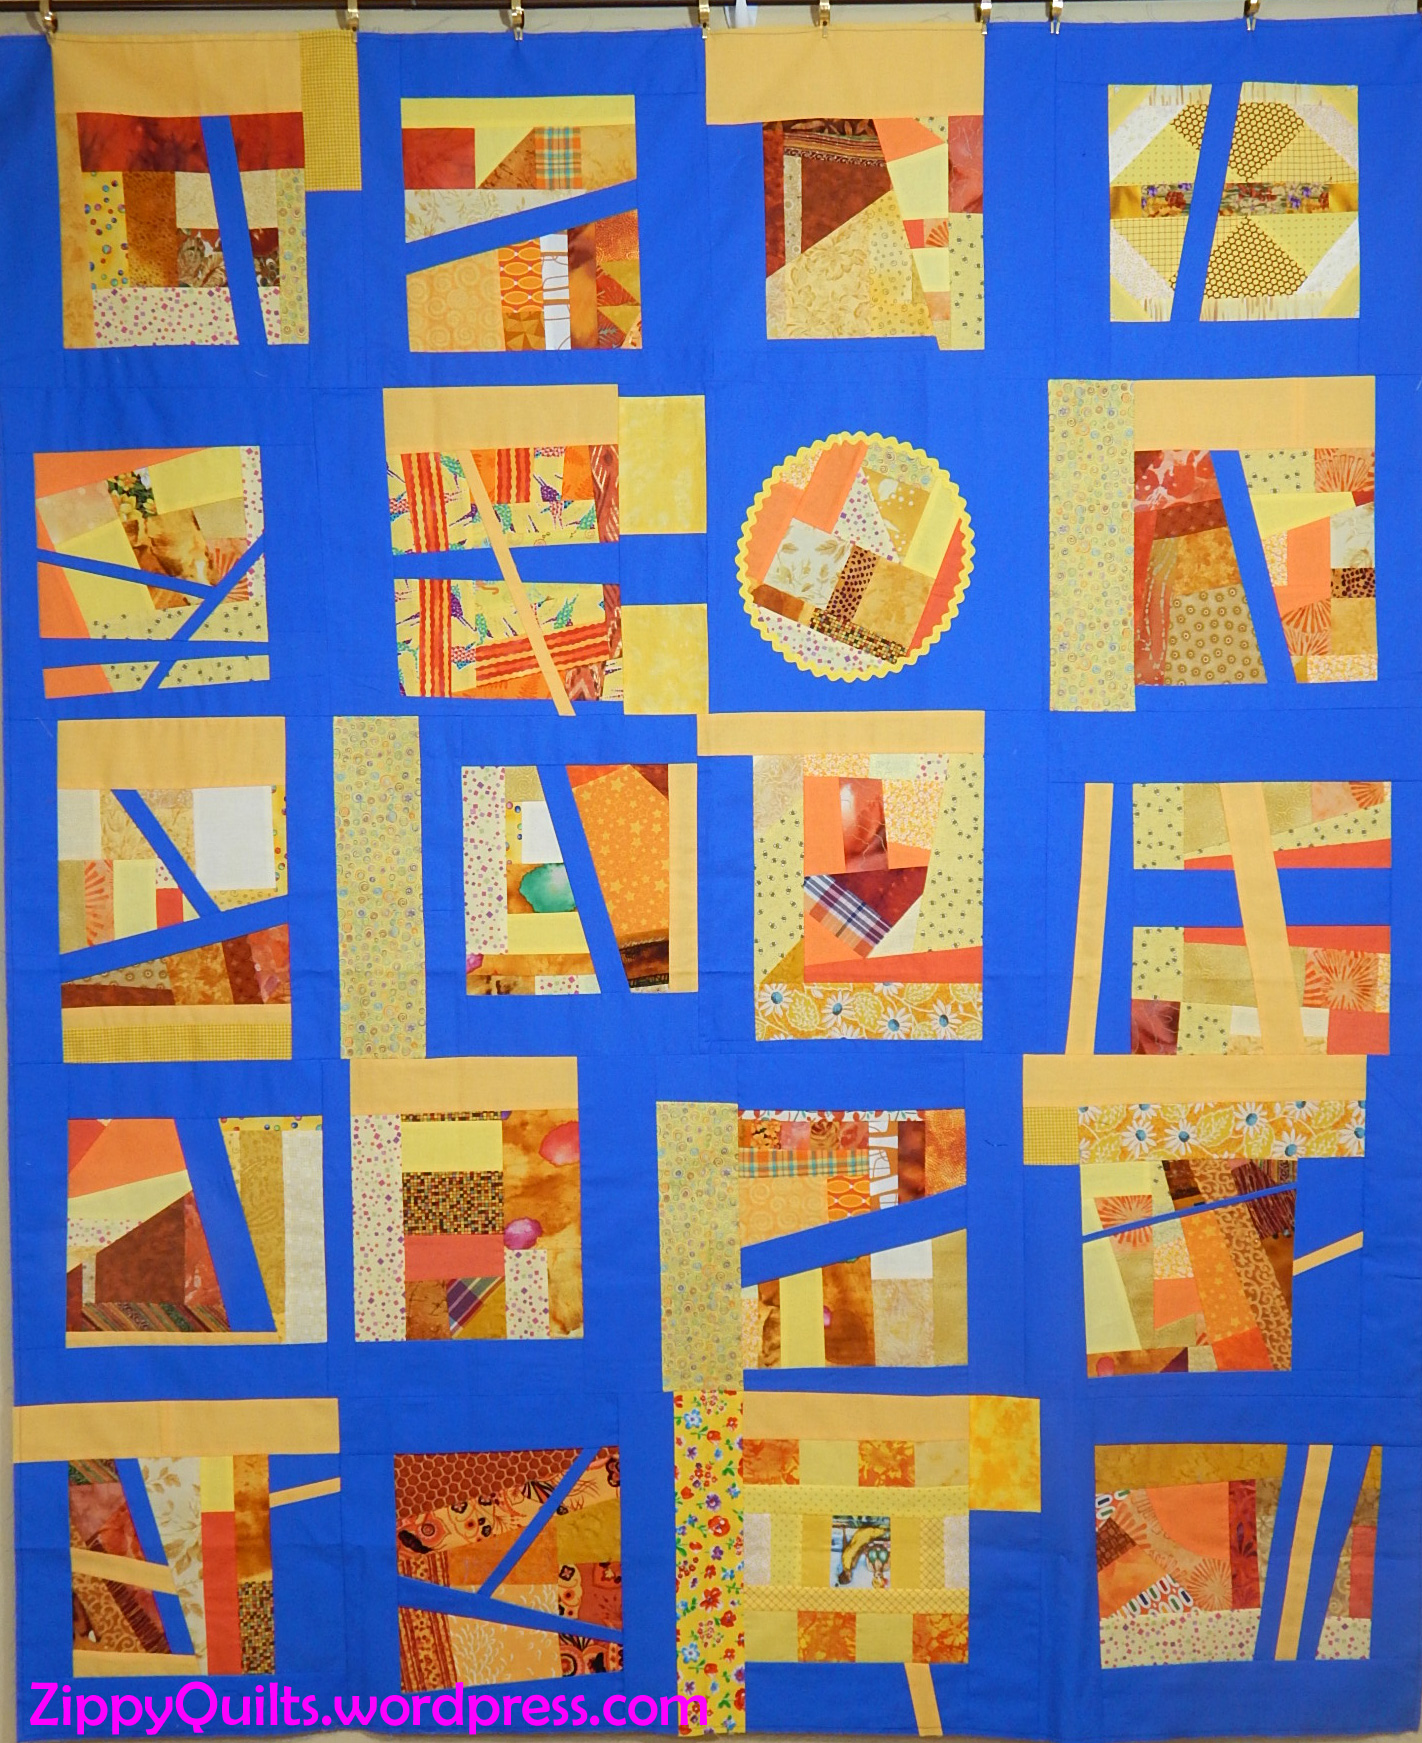
I do quilt my own quilts on my domestic sewing machine, both free-motion and with the walking foot.

free motion quilting

Here’s some free motion quilting I did years before I tried the stitch regulator

free motion quilting

Here’s some sort-of straight line quilting I did freehand

walking-foot quilting

I did this with the walking foot without marking

It’s not my favorite thing to do, but if I need a quilt done a certain way or in a hurry, I do it.  Alas, I have not found the stitch regulator as useful as I expected. (You can read my review here.)  I do enjoy all the things I can do with the walking foot!

walking foot quilting

Here are some variably-spaced lines I did with the walking foot

hand quilting

Here’s something I quilted by hand “back in the day”.  It’s been around a while.

Update on KonMari in the Studio:

It took an entire week to go through all my fabric and then get it put away, but it was worth it.  I had a great “ahhh…” feeling when it was all done.  My studio is much neater and I know what I have.

One thing I learned is that almost any fabric brings me joy!  Probably why I’m a quilter.  So there wasn’t much fabric to get rid of.  I DID get rid of a bunch of scrap collections I was “saving”.  I cut my scrap fabric in strips of pre-determined width and store it by strip size so that I can find what I want easily.  However, I had several collections of tiny pieces too small to cut into strips.  I know some people just love those and do lots of things with them, but it’s not for me!  So out they went.

My next project is the donation quilt for the Quilt Alliance’s 2016 Contest, so the next step in KonMari will have to wait until that is done.  You should consider entering, too!  Entries are only 16 inches square, so it’s not a huge commitment.  Check it out here.

Quilt Alliance


When Good Improv Goes Bad

I really love improvisational quilting and, in fact, have been doing it for about 15 years–since before I knew improvisational quilting was a “thing”. Most of the time it works out great.

improvisational quilt

Nothing Is Wasted, my first improvisational quilt, 2001-2002

This is my first improvisational quilt, made with scraps from an Amish style quilt with yellow added.  I made it for the friend who helped me select fabrics for the original quilt.

It wasn’t easy to get good solids back then, and I ended up going to an Amish-owned store.  When I got there, I found that there WERE a lot of solids, and MANY of them were polyester blends.  Well, duh, if you don’t have an electric iron, that makes a lot of sense. Anyway, I got the solids eventually, but NOT at my local quilt shop!

Once in a while, though, the improvisation requires revision.  Maybe more than once!

Take this attempt at an improvised log cabin block, made in 2012 to use up the little maple leaves at the center.

improvised quilt

“Bad Ronald”, a failed attempt to improvise a donation quilt for Ronald McDonald House

I added too many fabrics, and even though they were in the same color families, the design did NOT gel!  That stripe, in particular, really blew it!

It took a while, but in 2015 I cut the piece up and started over, coming up with something I liked better:

donation quilt

Maple Leaf donation quilt–I guess we could call this one “Good Ronald”

And then there was this attempt at Sherri Lynn Wood’s Score #1:

improvised quilt

This came from following one of Sherri Lynn Wood’s “scores”

Which I eventually re-made into this donation quilt:

improvised quilt

The “New! Improved!” quilt

And, just to end on a positive note, let me repeat that mostly the improvisations DO work out well, like this one:

Improvised slab quilt

I cut up the yellow-orange slabs and inserted blue

Have a good week!

Asheville Quilt Show 2015!

The Asheville Quilt Show isn’t juried, but it always has some outstanding quilts. Here are a few of my favorites this year.  I was particularly struck by how many modern designs there were, even in the categories that weren’t designated “modern”.

Jean Larson

Jean Larson won second place in the Modern category with “Off Center”

Connie Brown

Connie Brown, who is a beekeeper as well as an outstanding quilter, made this lovely miniature, “The Hexagon Life”

modern quilt Asheville Quilt Guild

“Singing in the Rain”, by Elizabeth Allen, was one of many modern-style quilts entered in other categories. Love the rain-texture quilting!

Asheville Quilt Guild Show

“Sonoran Skies”, by Jolene Stratton, made striking use of some striped fabrics and effective use of quilting to reinforce the design

Asheville Quilt Show 2015

Phyllis Tarrant stated her “Geese in the Parking Lot” made use of principles taught by Joen Wolfrom. Wow!

Asheville Quilt Show 2015

Heat Wave, by Cathy Nieman, made striking use of shape and color

modern quilt Asheville

Amster-daze, by Terri Jarrett, was the most unusual quilt in the Modern Style category

modern quilt show

Tuesdays, by Lisa Heller, had fun colors and design

Asheville Quilt Guild show

Back in Time, by Linda Hallatt, isn’t modern but it is very striking and well done. I just had to take a picture for my husband!

Asheville Quilt Guild Show 2015

Purple Haze, by Connie Brown,. She says she made it many years ago, but I think it looks contemporary.

art quilt Asheville 2015

This clever art quilt, “Fit’ting-ly” by Dale Williams, was in the modern category

modern quilt

Drunkard’s Path the Modern Way, by Linda Fiedler, was an exceptionally beautiful quilt in the modern category

modern quilt

Cats for Jed, by Diana Kantor, a talented member of the Modern Quilt Guild of Asheville

traditional quilt

Though traditional, this quilt of 1700 Pyramids by Kathryn Weston certainly caught my eye

modern quilt

Geez Louise, by Connie Brown, was a fun quilt in the Modern category. I wondered about the background fabrics with their mottled look.

art quilt, modern quilt

Pathways & Passages, by Diana Ramsay, was in the art quilt category but looked very modern to me.

art quilt, modern quilt

Finally, Jocassee Sunrise by Lynne Harrill caught my eye. Not modern, but certainly beautiful.

There were many more wonderful quilts, but I limited myself to the modern ones and those I especially liked.

New Class

I had the opportunity to teach my new class, “Try Improv!” recently for the Smoky Mountain Quilters Guild in Franklin, NC. It was lots of fun and everybody made a successful table runner using techniques that were new to most of them. Here are a few pictures.

modern table runner

Here is one of the samples for class

Although I made 3 different samples for the class, there is no pattern. The goal is for each student to start with a few fabrics and improvise a table runner from them.  Of course, I provided some guidelines and lots of assistance as needed.

Improv-Susan-2Susan brought Christmas fabrics and made a  successful design by distributing several triangles on her template and then filling in with accent fabrics.


Susan's Christmas table runner in progress

Susan’s Christmas table runner in progress

Improv-Nancy-1

Nancy’s runner started out as a fan, then she cut it up to improvise further and make it a rectangle

Improv-Nancy-2

Nancy

Nancy has been improvising for a long time, and said, “This is what I do all the time!”  She chose a beautiful collection of iris-themed fabrics for her runner.

Improv-MaryAnn-2

MaryAnn

MaryAnn made a halloween-themed runner and zipped it up by adding some purple!


MaryAnn's runner, in progress

MaryAnn’s runner, in progress

Maggie chose a fall theme; her fabrics had a nice variety of scale and coordinated well

Maggie’s runner

Maggie

Maggie


Maggie chose a collection of fall fabrics with a good variety of scale, then picked a coordinating green for her accent strips.

Chris

Chris


Chris had a nice bundle of blacks and grays as well as a stunning coral-pink fabric for accents.

Chris's runner in progress

Chris’s runner in progress

Pat made a lovely red and black table runner, but decided to model it rather than lay it on the table!Improv-PatAs you can see, a good time was had by all!


Tutorial: Quilt from Shirts and Pants

Traditionally, quilts were made from whatever scrap  fabric was available. I recognize some of my Mother’s dresses in my Grandmother’s quilts and know that Mother gave the scraps to Granny after making the dress. Another traditional source of fabric is old clothes. Most still have quite a bit of useful fabric even if the cuffs are too tattered to wear.

quilt from clothing

Quilt top made from khaki pants and 2 shirts, 40″ x 40″

So I’ve been saving shirts and pants for years as they were discarded, thinking I’d use them in quilts. (I’ve got a box of discarded neckties, as well.)

Finally I got around to designing a quilt made with 8 inch (finished) blocks to use some of this.  When I cut the pieces, I used half a pair of pants, one and a half shirts, and one pocket from a pair of jeans. This means I have plenty of potential quilts in that box of old clothes.

quilt from khaki pants

Cut carefully around the seams to remove them from the clothing


quilt from khaki pants

Use some pockets, discard others–your choice


pants leg ready to cut quilt pieces

Pants piece with all seams, buttons, and hems removed.  Note that the crease should be along the straight grain of fabric, so use it to orient your cutting.

I learned a few useful things:
• It would be better to use smaller (6 or 7 inch finished) blocks, especially when trying to make a block from a pocket.

Jeans pocket quilt block

Consider cutting out pockets so that they can be used to keep treasures in

• I needed to watch out for worn spots.  If the worn spot is in a piece of fabric you really want to use (e.g., a pocket or placket), just put a second block of the same fabric behind it.
• The shirt and pants fabrics really do iron nicely! Much easier to get wrinkles out of than regular quilting cotton.

In case you want to do this, here is a quilt diagram with more detailed cutting instructions.. The diagram and instructions are for 7″ finished blocks, since I learned on this first one that 8″ blocks don’t make best use of the available fabric.

tutorial quilt from shirts

7 inch blocks made of shirt and pants fabric, finished quilt 42″ x 42″

One pair of khakis and 2 shirts should be enough for this size, with fabric left over.  I had a pair of jeans, so I added a jeans pocket and I’ve shown that option here, so it’s really a pair of pants + part of a pair of jeans + 2 shirts.

First cut out any pockets you want to use from the shirts, jeans, and pants.  Mark a 7-1/2 inch block with chalk or pencil, being sure you leave enough seam allowance above the pocket opening.  Then cut with scissors along the lines.  The quilt here uses 2 pocket blocks.

tutorial quilt from shirts

Draw the square before you cut out the shirt block, since this can be tricky

Then carefully remove all seams, cuffs, waistbands, and any other features that would make a quilt block too bulky.  See pictures above, and here:

Cut the cuff off the sleeve, since it is rather bulky.  Save the sleeve placket and stitch it closed before cutting out a block that includes it. See the arrows below and the red pin head below; they show where to show the placket shut.

quilt from dress shirt

Watch out for worn spots like the one circled above.

From the khaki pants, cut 36 pieces 3-1/2 inches square for the 4-patch blocks.  See the pictures and captions above.

From the shirts, cut (16) 7-1/2 inch squares for the large blocks.  (You’ll need 18 if you aren’t using any pocket blocks).  Include the plackets from the sleeves for interest!

From the shirts, cut 36 pieces 3-1/2 inches square for the 4-patch blocks.

Now assemble the 4-patch blocks as shown above, lay it all out, and put it together.  (I’m assuming you already know what you’re doing here!)

And DON’T EVER TELL where the shirts and pants were “found” 😉


2015 Donation Quilt #1

A couple of my quilty friends try to make a quilt a month for various charities, so I thought I’d try that this year.  The group with which I make donation quilts sends them to a Ronald McDonald House to be given to sick children.  The House wants all quilts to be 40″ x 40″, which doesn’t seem too big to do one a month.  Here goes….

For January I took some of my orphan blocks and related fabrics and made this quilt.  The blocks also happen to be on my UFO list for 2015, so there’s TWO projects accomplished at once 🙂

Donation quilt

February finish and January donation quilt

The blocks finish 12″ square, which means that with a 2″ border the quilt comes out 40″ x 40″ as planned. The 9-patch blocks were made using the stack and shuffle method I learned years ago from Karla Alexander’s books.  It’s easy and fun.  To end up with blocks this size, I started with 15″ x 15″ squares of fabric (since they’re cut wonky on purpose it takes a bigger starting square than you might think).

The center block has little inset strips using a technique I modified from one of Judy Niemeyer’s ideas.  To make a quarter inch inset that doesn’t “wobble”, do this:

block tutorial

Block pieces, including yellow insert

Cut a 1″ strip of fabric and lay one edge along the raw edge of the piece where you want a narrow inset. Stitch through both the strip and the quilt piece 1/2″ away from the edge, either by using the 1/2″ mark on your machine’s throat plate or by marking the center of the strip.

Quilt tutorial

The center pieces of the block have been jointed and the insert laid along the side

Fold and press along the seam-line so that you now have 3 raw edges, all lined up.

quilt tutorial

Strips have been added to all sides of the center pieces and pressed along the seam

I don’t usually trim away the extra fabric because I like the stability, but it DOES make for some weighty intersections if you choose not to trim away the bottom 1 or 2 layers.  Then assemble the block as you normally would, using 1/4″ seams.  The strip you added will show up as a 1/4″ inset.

Let me know if you try either of these blocks.  I thought they were fun!


A Blunt Question to Ponder

Today I’m “re-blogging” a post by friend Melanie because I think it’s relevant not just to quilters but to anyone with a hobby–which is most of us.  So click through to her site and see what you think.

Melanie McNeil's avatarCatbird Quilt Studio

Do you have a plan for your stash? Not for while you’re using it, but for when you are not?

I’ve heard the old joke, “She who dies with the mosts stash wins!” But it’s not really true, is it? At some point, all of us will be done quilting, whether that comes because of a loss of interest or ability, or due to death. Be prepared for that day.

Will your family look hopelessly at your shelves, cupboards, closets, bins, and tubs, full of fabric and kits and unquilted tops, wondering what to do with it all? I have read too many stories of people whose stashes were discarded because family members were not interested and had no idea of the value. Sewing machines are expensive. Here again, family members may have no idea of value. Would you like your $1,000 sewing machine sold for $75? It might be able…

View original post 239 more words

3 Favorite Quilts from 1 Quilter!

When I noticed that 2 of my favorite 11 quilts at AQS-Charlotte were by Jean Larson, I knew I had to meet her. Luckily, while I was trying to figure out how to contact her, she contacted me! Jean has lived in Chattanooga since the early 1970s, so we met at AQS-Chattanooga.

First, as a refresher, here are the two quilts that attracted my attention at AQS-Charlotte:

modern quilt AQS

This quilt by Jean Larson won the Original Design award in the Modern Quilt Challenge!  The Modern Quilt Challenge exhibit was on display at AQS Charlotte as well as other shows during the year.

modern quilt, AQS Charlotte

The Market is Up, another quilt by Jean Larson

Jean entered a different, and maybe even more interesting, quilt in AQS-Chattanooga:

quilt AQS Chattanooga

Jean (right) and I pose in front of her quilt, “Barbed Wire” at AQS-Chattanooga

There are so many things to see in this simple quilt!  First, the design is tessellated!  Jean is a mathematician by training, so she explained it to me, but I’m going to have to ask her to write a guest post to explain it to you.  More on that later.

Second, those variations in yellow are for real, not just trouble with exposure on my camera 😉  The two yellows add complexity to the quilt.  And finally, although I couldn’t see it until she pointed it out, this quilt is actually a grid of squares in alternating colors:

Look at the quilting, too!

So, here’s a little bit about Jean:

She’s had several starts at quilting.  Her first quilt, in 1976, was a traditional log cabin made with the quilt-as-you-go method and using poly-cotton fabrics, which were about all that was available at the time.  Her second, in 1984, was an orange and turquoise quilt that she worked on while potty training her two adopted boys!  She began quilting seriously in the late ’90s.  In 2012 she discovered modern quilting through a neighbor, and she hasn’t looked back since.  She’s an active member of the Chattanooga Modern Quilt Guild and apparently knows everybody–numerous people stopped to chat with her while we were talking about quilts at the AQS show.  She had a quilt accepted for the first QuiltCon in 2013, and it has been published several places as an example of good use of negative space.  Here it is:

modern quilt

Lanterns, by Jean Larson, was accepted for Quilt Con 2013

Jean says she likes simplicity and alternative grid work in quilts.  She is inspired by geometric shapes and by fabrics–especially stripes.  She loves the mathematics of tessellations and plans to make more tessellated quilts.  I look forward to seeing them!

And I’m going to beg her to write a guest article on tessellations for my next design-your-own-quilt post.  If you know Jean, encourage her to do it!

Personal labels 3 ways

quilt back and binding

The first quilt to have my new label on the back!

I’ve been thinking for some time that I’d like a “standard” Zippy Quilts label to sew into the binding of my quilts in addition to the usual label I put on with the name of the quilt and the date.  I’ve seen several such labels and think they look cool.  They make me think the creator takes herself and her work seriously enough to have a professional label.

I collected a bunch of ideas for making labels on my Pinterest page, here, if you want to look.  Pinterest is great for gathering idea from around the web and organizing them all in one place.  I also got some of those ideas by doing a search within Pinterest for “fabric labels”, which lead me to things other people had discovered.

It boiled down to just a few good options in 3 categories:

1.  Print your own labels, sort of like I do my labels with the quilt name/date/etc.  This would be fairly economical despite the cost of printable fabric, because the labels are small.  However, the washability of some of the printable fabrics was in question, and there would be the need to finish the edges in some way to avoid fraying.  Nevertheless, there’s a very nice tutorial on how to do it here, on the Emmaline blog.

2.  Get commercially-made labels, either woven or printed, from specialty companies that make them.  There are lots of companies that offer lots of different labels, from laundry tags like you sew into your kids’ clothes before they go to camp to really professional woven labels.  The cost varies a lot, too.  The main drawback was that, for the better looking ones, you have to order an awful lot.  What if I had 1000 labels I didn’t much care for?

3.  Design your own at Spoonflower and have them printed up on fabric for you to cut apart into labels.  There’s a tutorial on how to do it here, on a nice blog called “While They Snooze”.  This is what I ultimately decided to do.  They’ll print either a sample or a fat quarter (FQ) for you, so I ordered FQs of 2 different layouts to see if I liked them.

Spoonflower labels

Spoonflower labels–first layout

I cut them apart with pinking shears to avoid a hard edge and sewed a little hem around each one to prevent fraying.  I think another time I’d make them a little smaller, but this is a good start.  The Spoonflower site is easy enough to use that I never even had to contact them for help.

Spoonflower label

The second layout

My second layout left space below my name on each label so that I could cut out the label, hem the sides only, and then fold it in half, inserting the remaining raw edges in the binding.  This avoids the need to sew it down separately on 4 sides.  I may like this better, but I haven’t had time to try them much yet.  The first one is going on my Quilt Alliance donation quilt, which I’m still binding.  I think I’ll go back and put them on all this year’s projects.

If you get some labels made for your projects, write and let me know what you did and how it worked out.

Spoonflower label

Label on Quilt Alliance quilt back